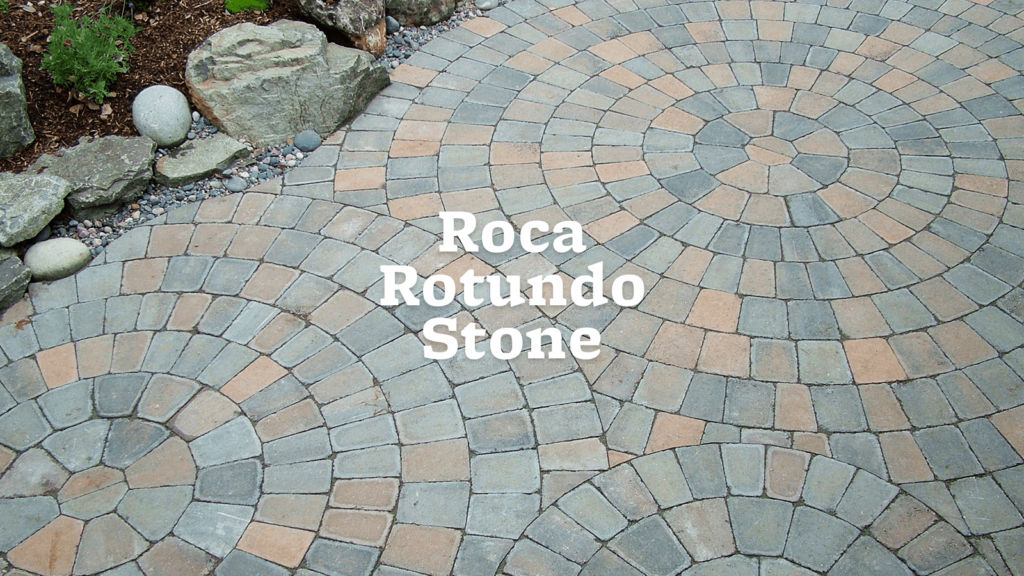


There is a correct way to place a paver, but don’t be intimidated. It’s as easy as click-and-drop. Follow our two-step method in this article and you’ll place your pavers perfectly with tight joint lines that last—and you’ll be able to enjoy a beautiful hardscape.
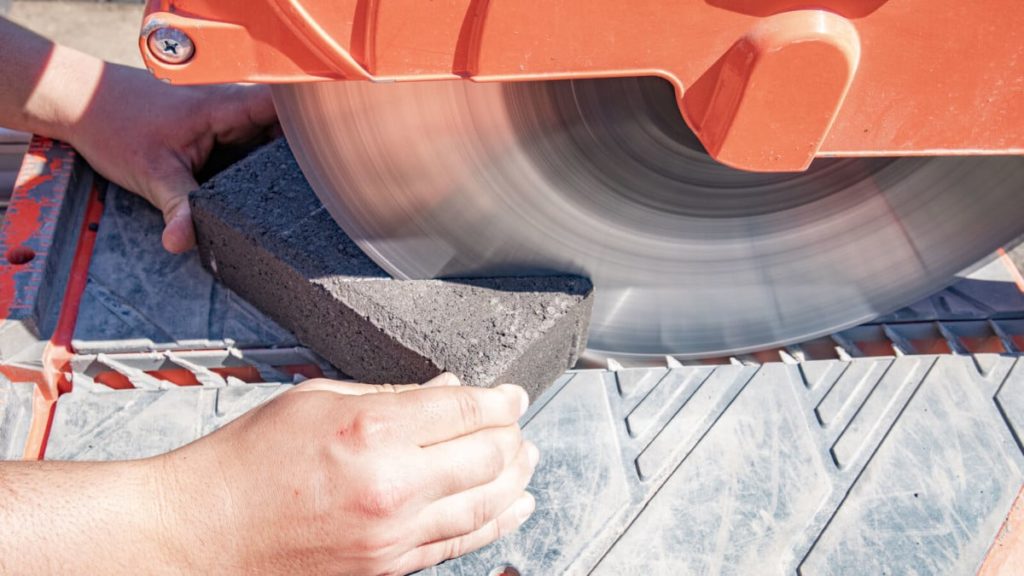
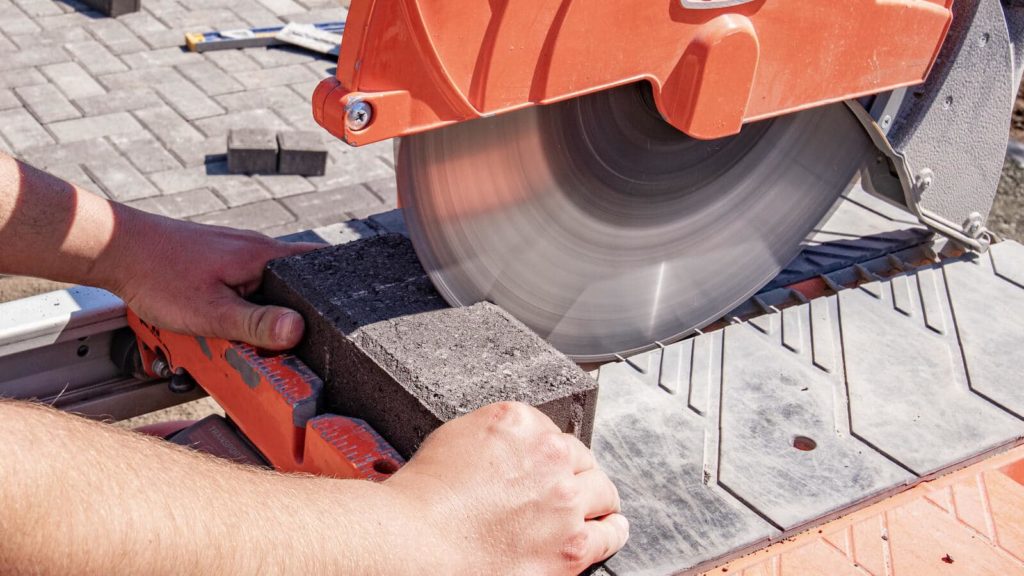
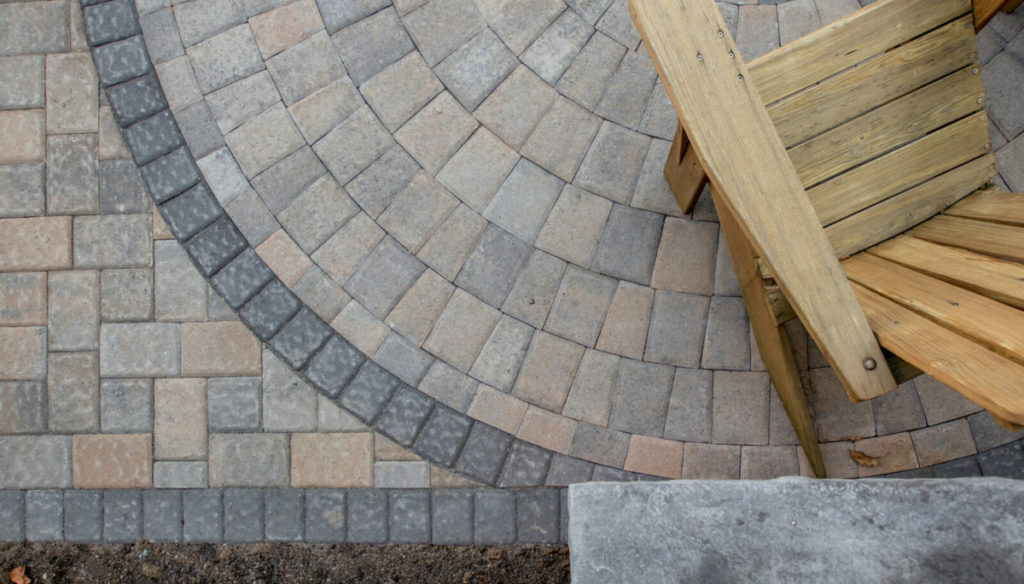
Note: If you’re tackling your first paving stone project, check out our DIY with WI page tutorials to learn how to start and complete any job. We cover all kinds of tips and tricks, such as How to Lay a Circle Patio or How to Build a Retaining Wall to 6 Ways to Cut a Paving Stone and How to Seal Hardscape after you’re done laying.
1. Click
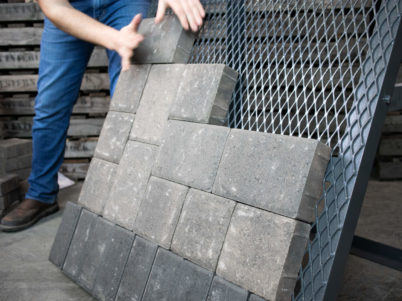
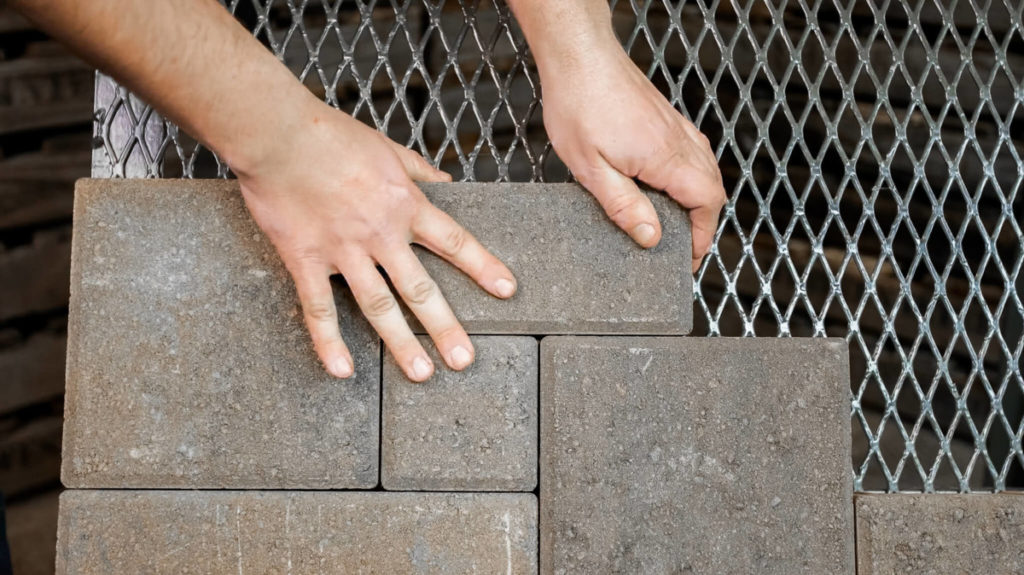
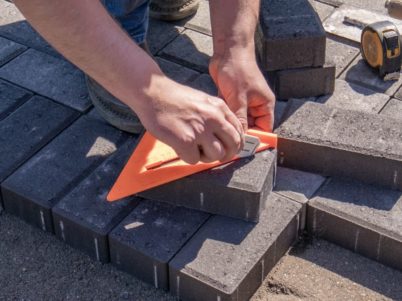
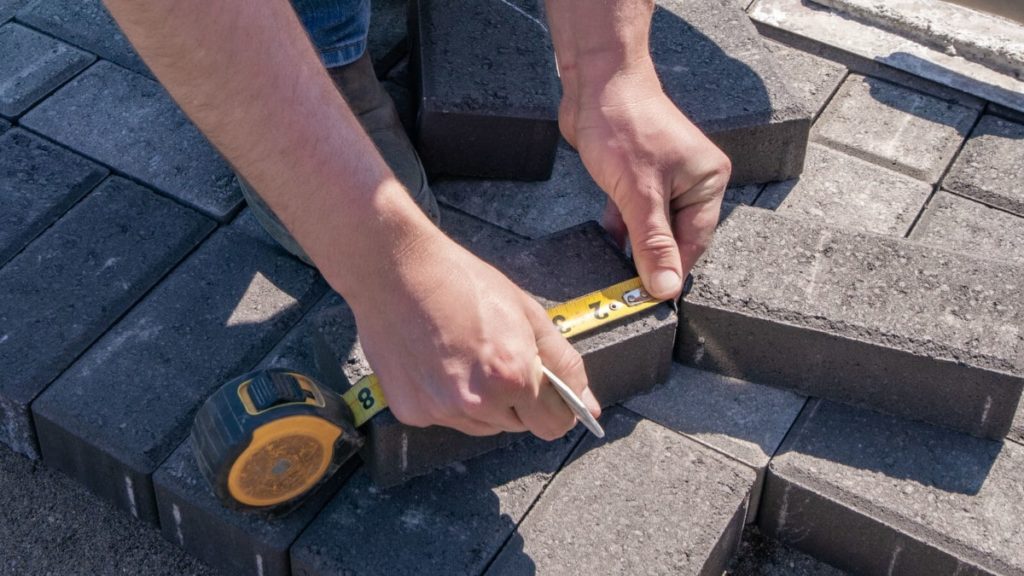
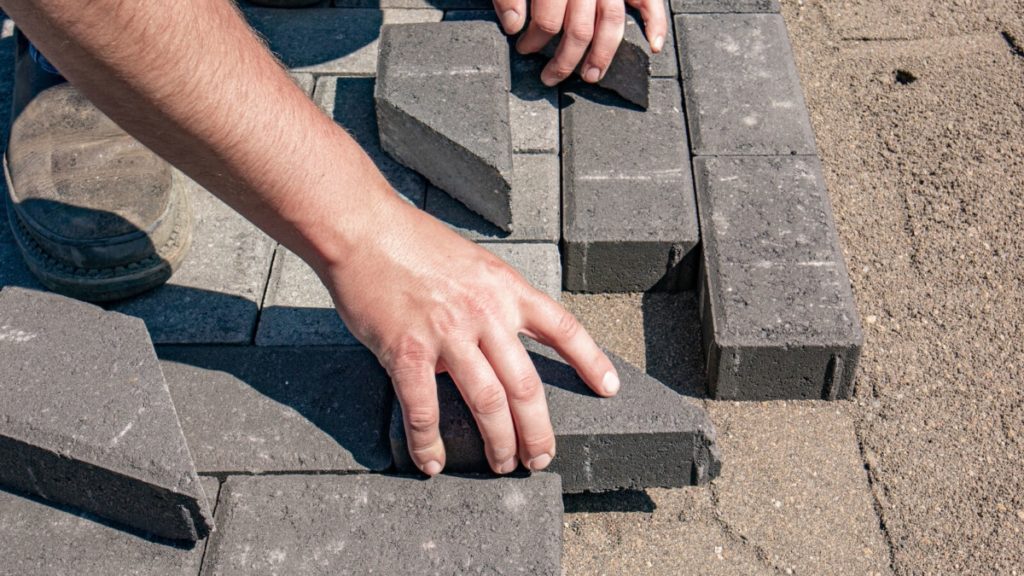
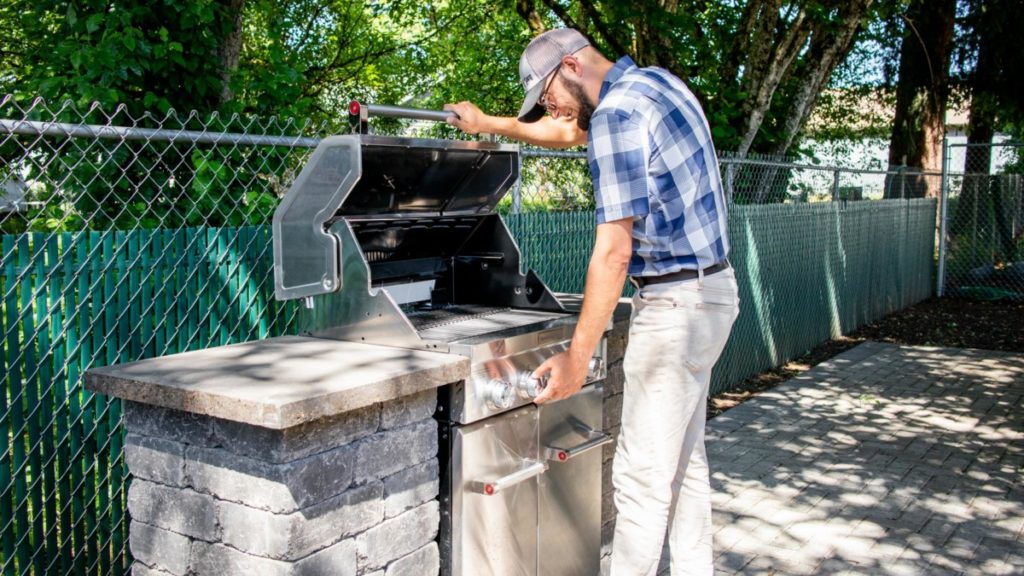
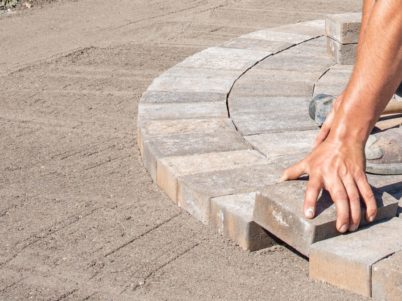
First, place a paver so that the back of the stone is lined up with the front of the previous stone that was laid. See how our team member is holding the stone in the image below.
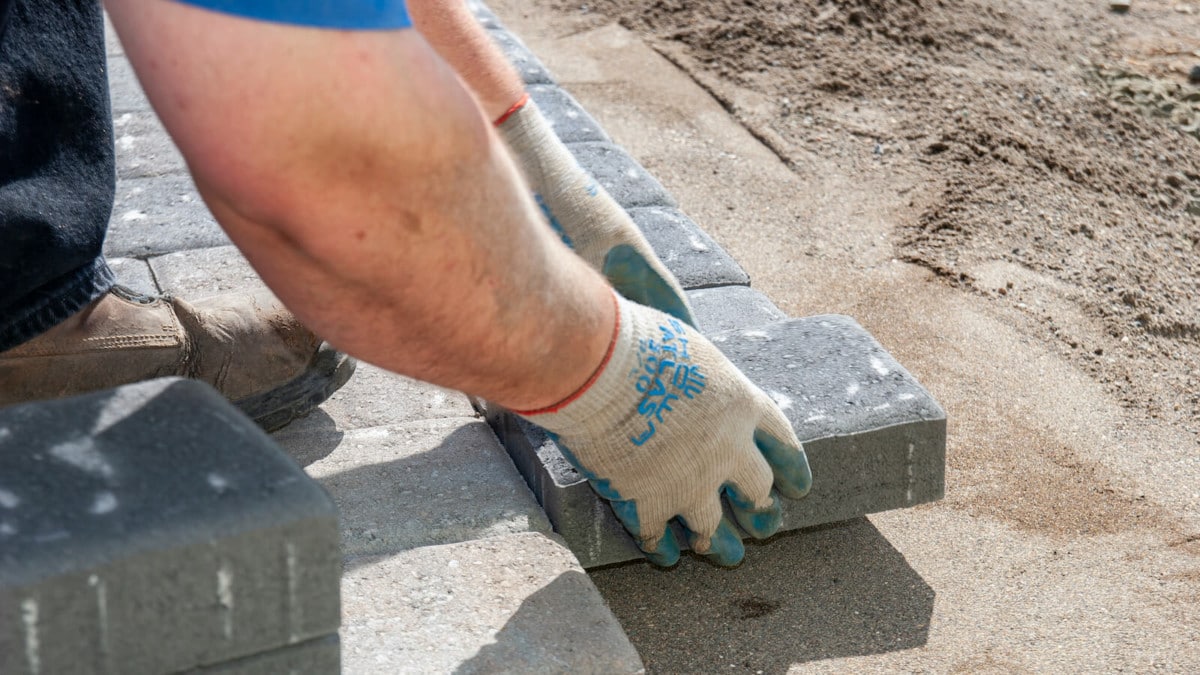

Push the paving stone onto the previous stone’s front surface until it makes a ‘click’ sound.
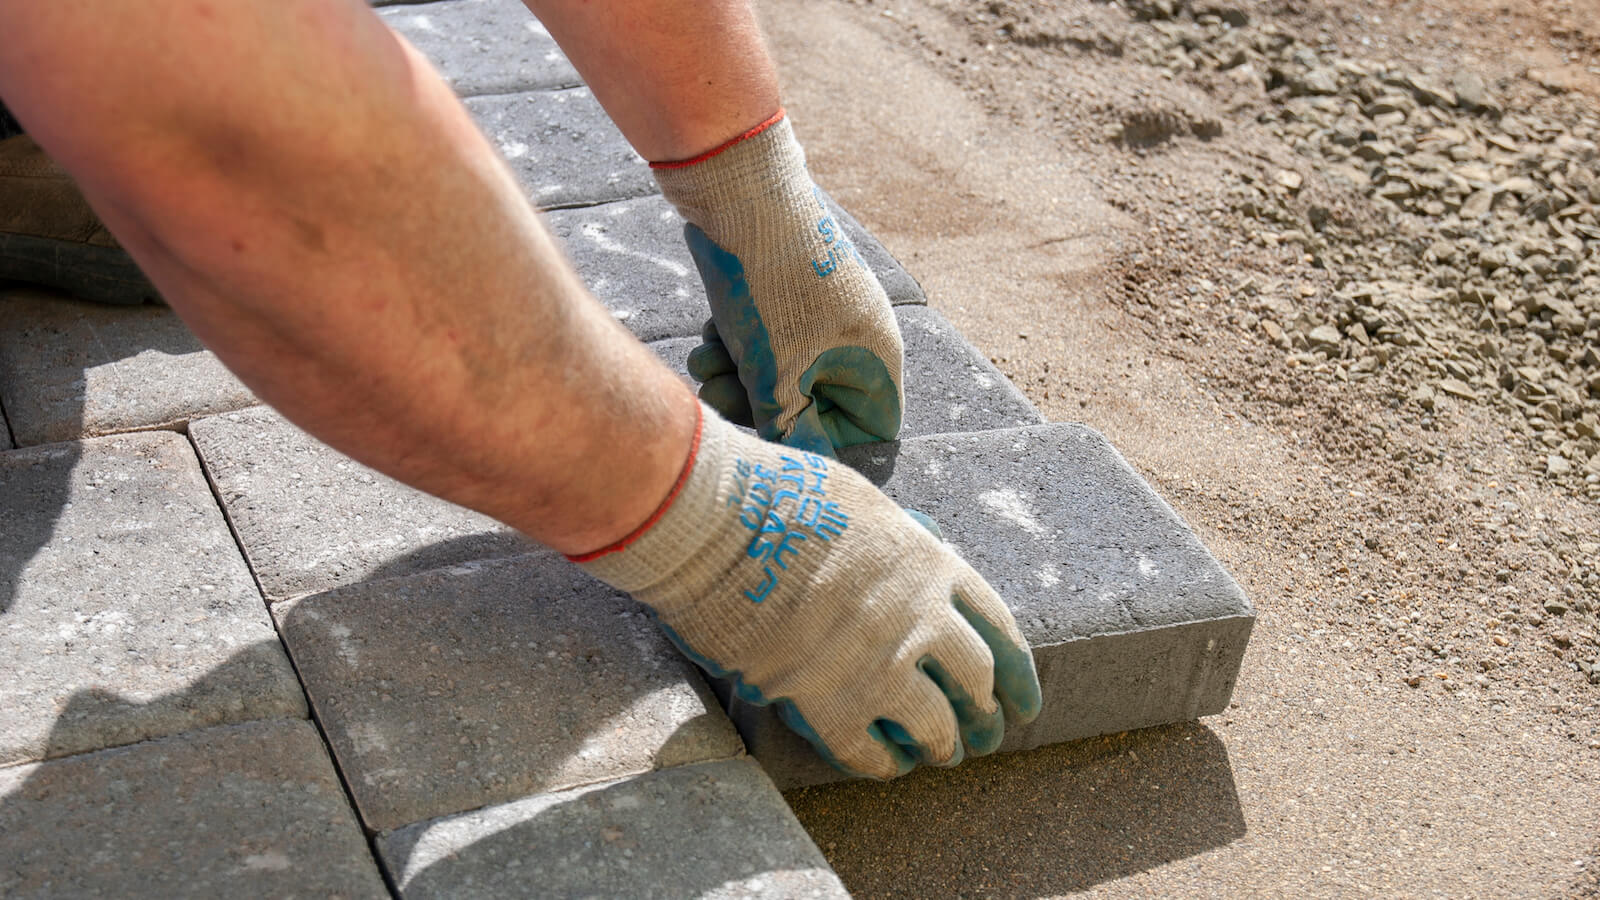
2. Drop
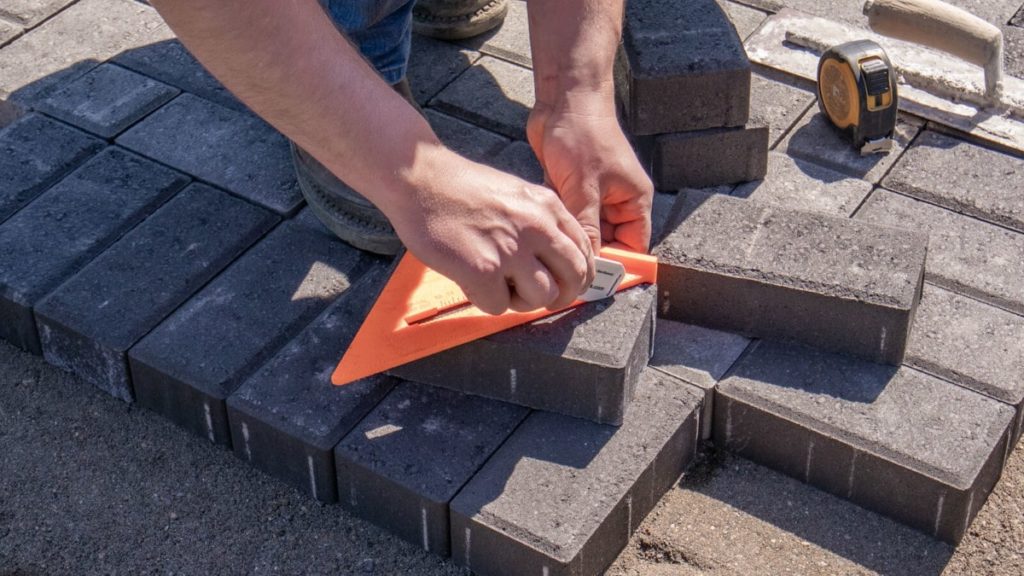
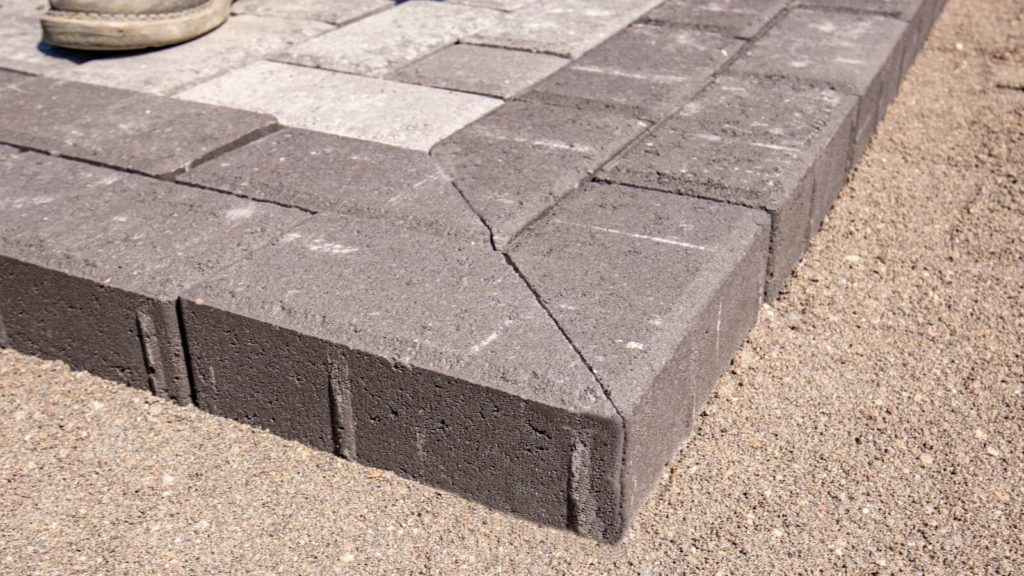
As soon as you hear the stone click, it means that your paver is flush with the one behind it, and is ready to be placed.

Gently drop the paver into place. It’s as simple as click and drop! Now you’re ready to place any paver.
How to not place a paver
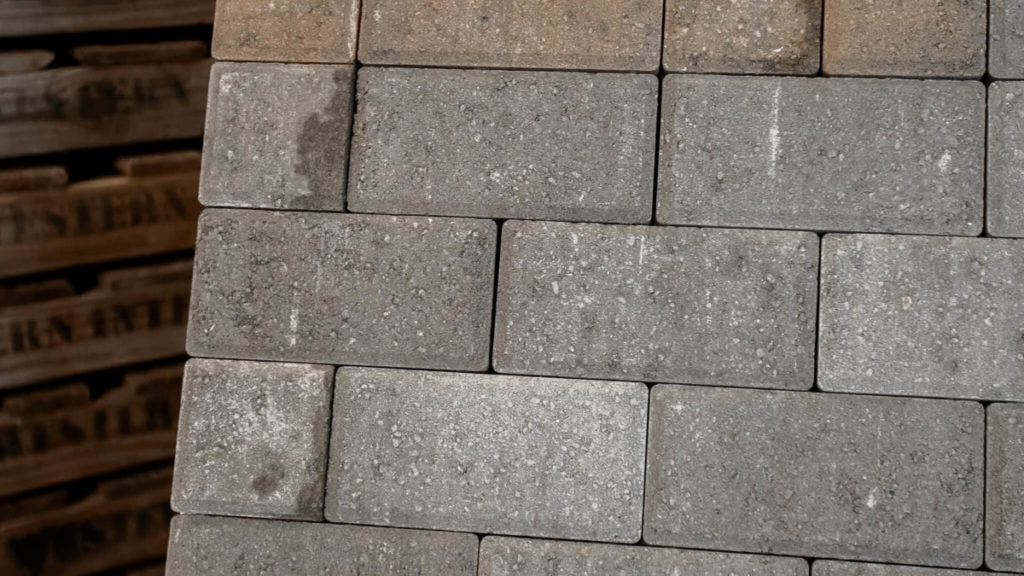
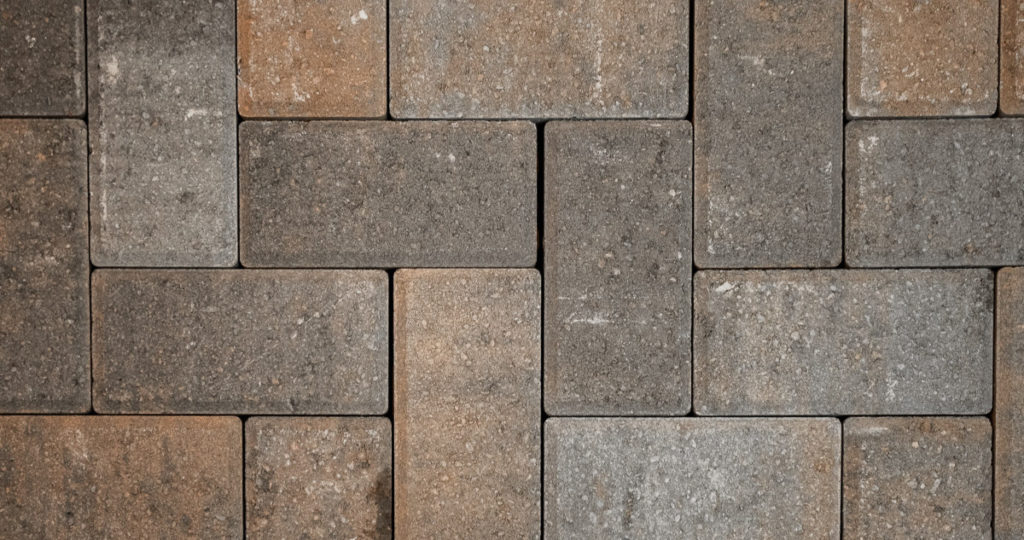
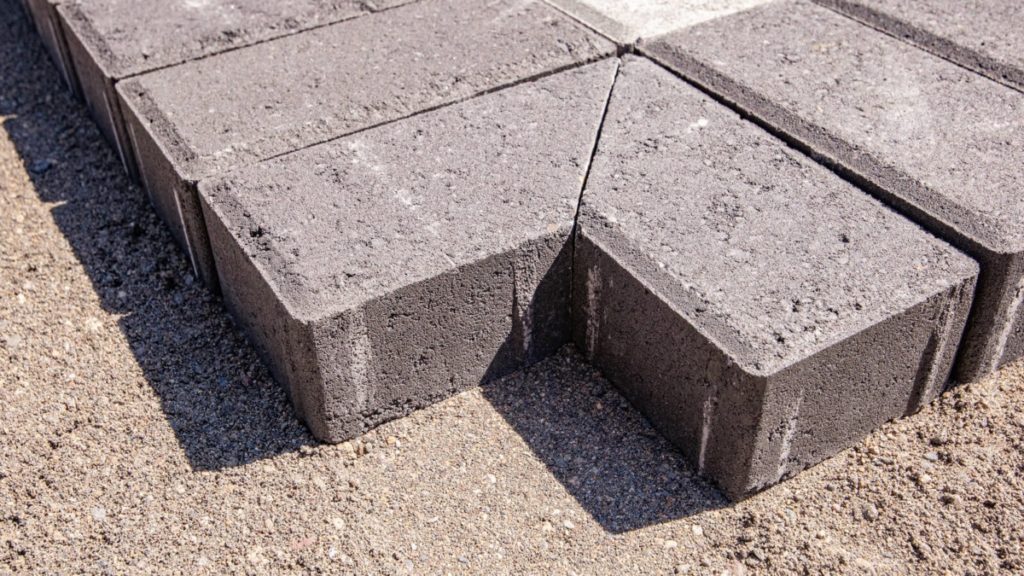
Truth be told, we’d be remiss if we didn’t share with you what happens if you place your pavers wrong. First, you’ll scrape the sand beneath your paver, which creates two problems: either a deep void or a large hill. This error will result in either sunken or raised pavers that will have to be replaced later.
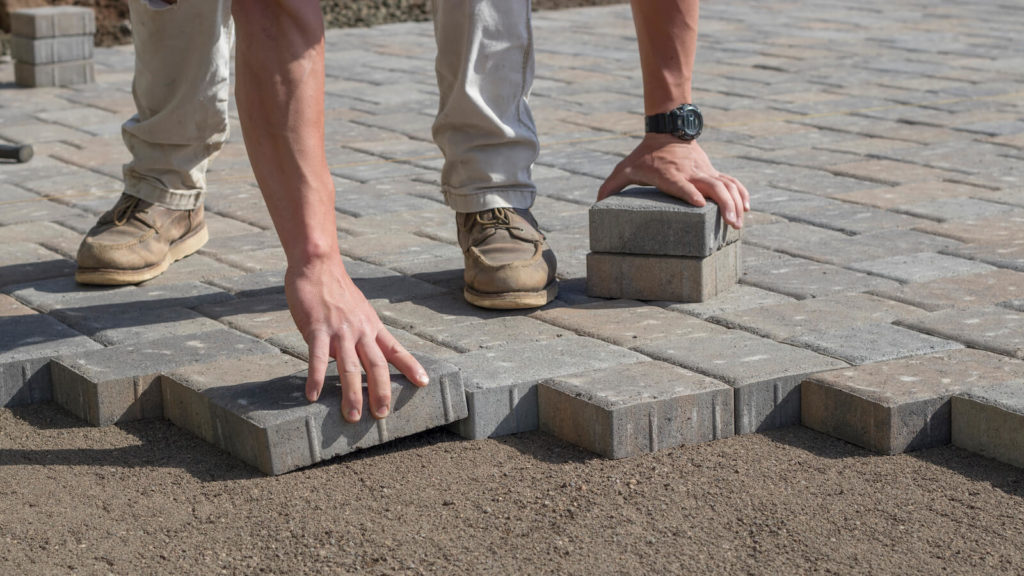
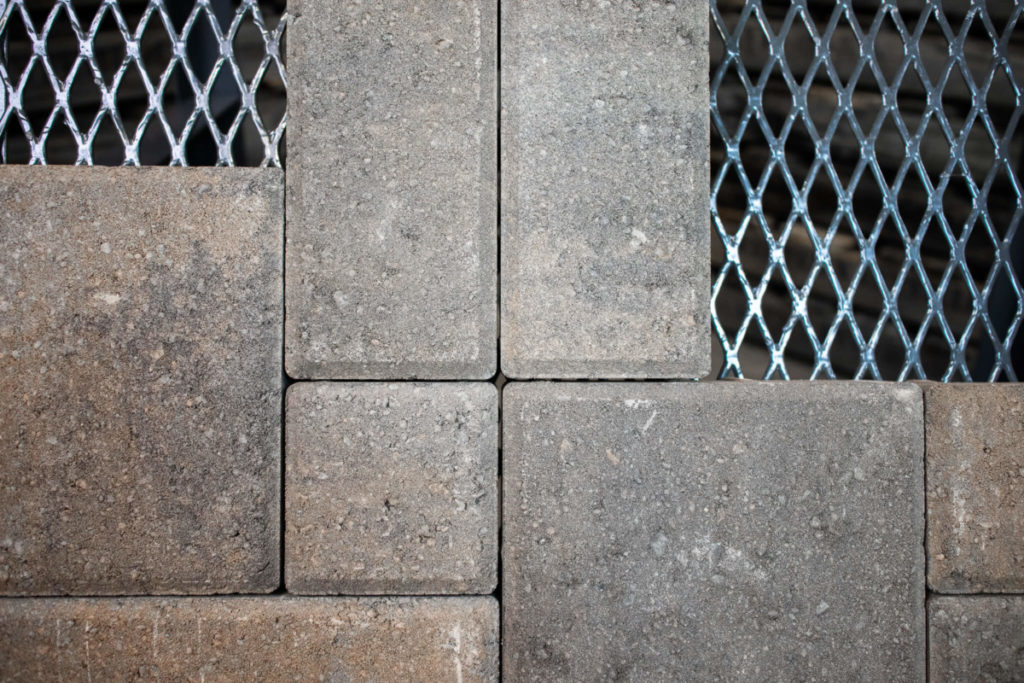
Second, if you do some scraping, you could accidentally get bedding sand between your pavers. If you look closely, you can see that the pavers in the photo above have spacer bars so those gaps stay open and clean until you sweep in the sand.
Take the hard out of hardscaping at home
Here at Western Interlock, we’re on a mission to take the hard out of hardscaping. That’s why we publish DIY tips, tricks, and step-by-step tutorials at DIYwithWI.com.