Most people hire a professional contractor to seal their paving stones instead of doing it themselves. While we love and support hard-working contractors, it can cost up to $3,000 to have your hardscape sealed. And not everyone can afford that kind of service. Not to mention, some people just enjoy doing it themselves. That’s why we want to show you how to seal your own paving stones in just a few hours for less than $350. Let’s get started.
Below, we’ve outlined a simple five-step process for sealing your paving stones. It’s not that difficult—it just takes a bit of time and patience. Be forewarned though. You can really make a mess of things if you skip steps or if your pavers are too hot or too wet.
Step 1: Prepare your outdoor patio
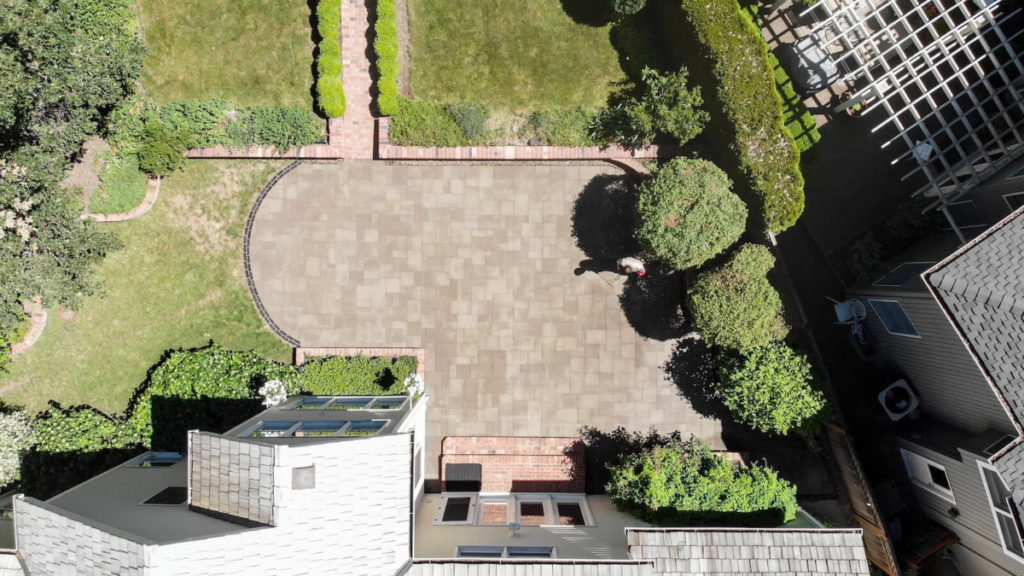
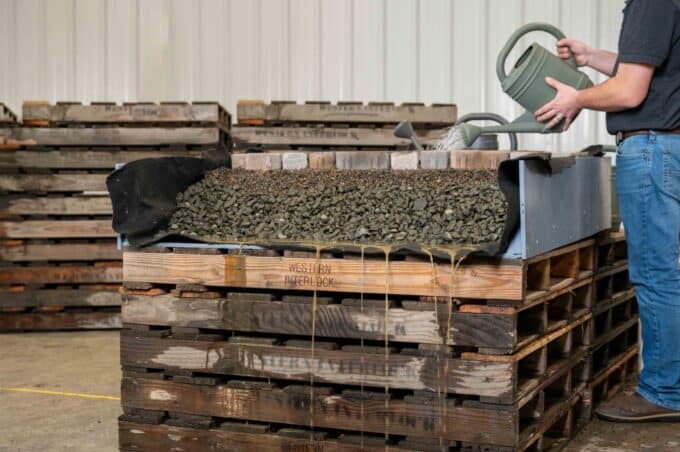
Before you apply any sealer, make sure your hardscape is dry and free of debris. The owners of the patio we sealed in this tutorial installed their paving stones recently, so we used a commercial blower to blow away leaves and dirt. The sprinklers at this location had been off for two days to ensure that no residual moisture was on the blocks. Before applying a sealer, we recommend that you test your pavers for moisture by following our Sealer Surface Dryness Test.
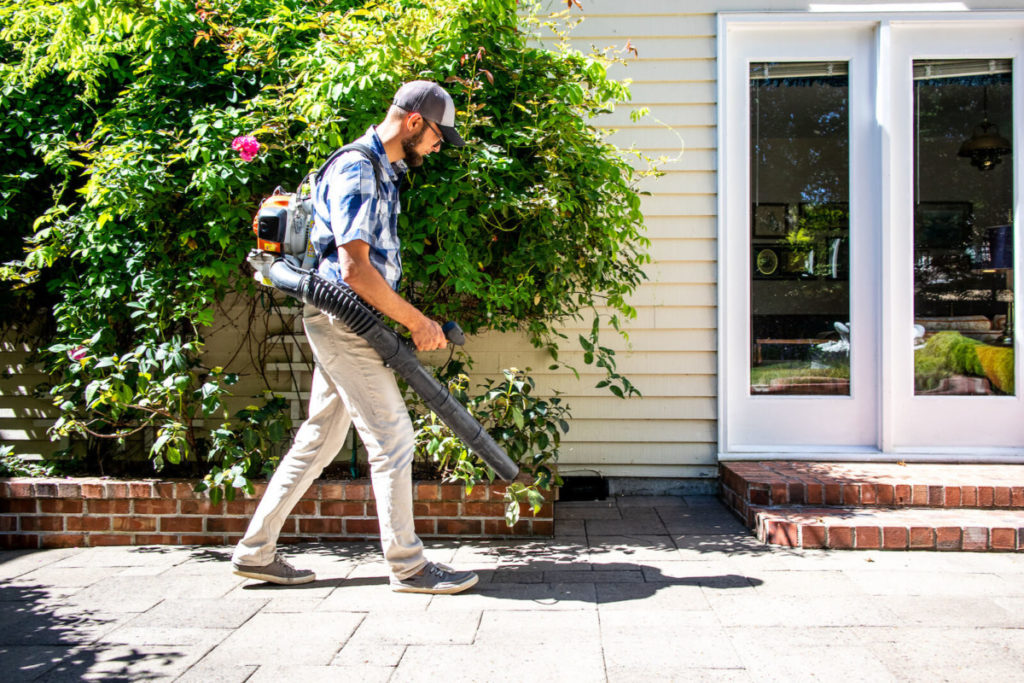
Pro Tip: If your hardscape is older, has weeds, or has any fungus build-up, we recommend that you properly clean your hardscape before applying sealer. Follow our cleaning instructions in How to Clean & Maintain Beautiful Hardscape.
Step 2: Pick your sealer
We’ve found that SEK-Surebond makes a fine line of paving stone sealers. However, we’ve found that SB-7700, SB-8700, and SB-9000 are suitable for most applications.
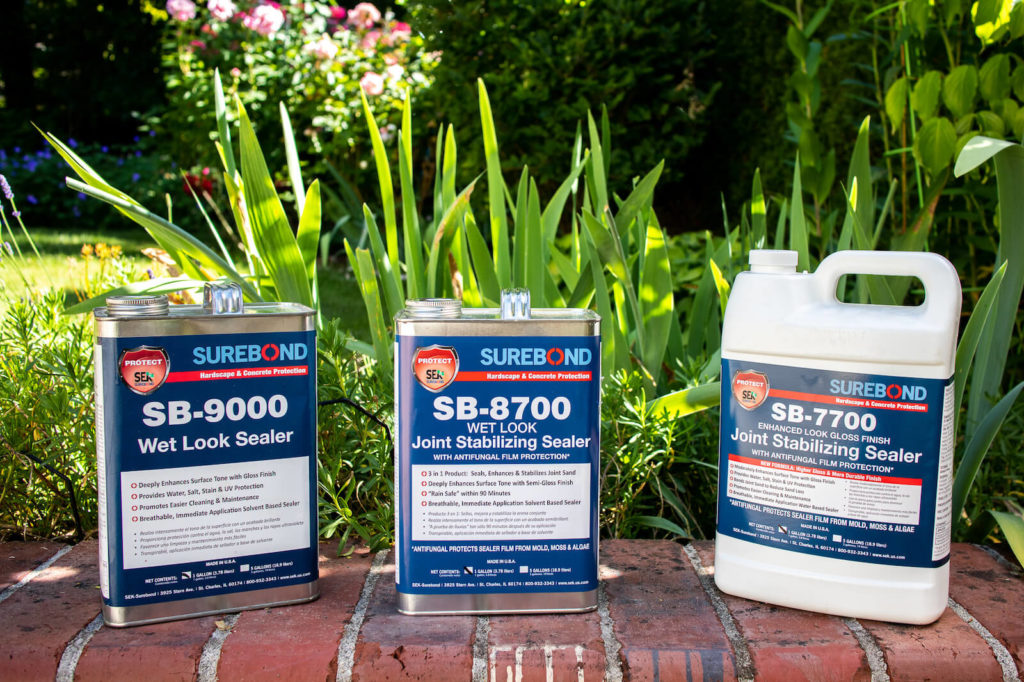
Here’s a brief overview of each sealer and how to know which one to apply to your hardscape.
SB-7700
SB-7700 Joint Stabilizing Antifungal Sealer is a water-based acrylic sealer with stabilizing components. While this product will enhance the visual appearance of your hardscape, Surebond made this sealer for much more than a spit shine.
SB-7700 protects the surface of your hardscape from efflorescence, acids, and other corrosive chemicals. After application, your hardscape will require little-to-no maintenance and will be protected from deterioration.
While this sealer is sturdy, it’s also sensitive. If you’re sealing hardscape in an area that receives intense moisture such as a garden, a patio that receives overspray from automatic sprinklers, or if you’re near the coast, we wouldn’t recommend sealing with this product. But if you’re in a dry climate and you want to use SB-7700, we recommend that you apply in the summer or spring months. Also, be sure to give the sealer 24-48 hours to cure.
SB-8700
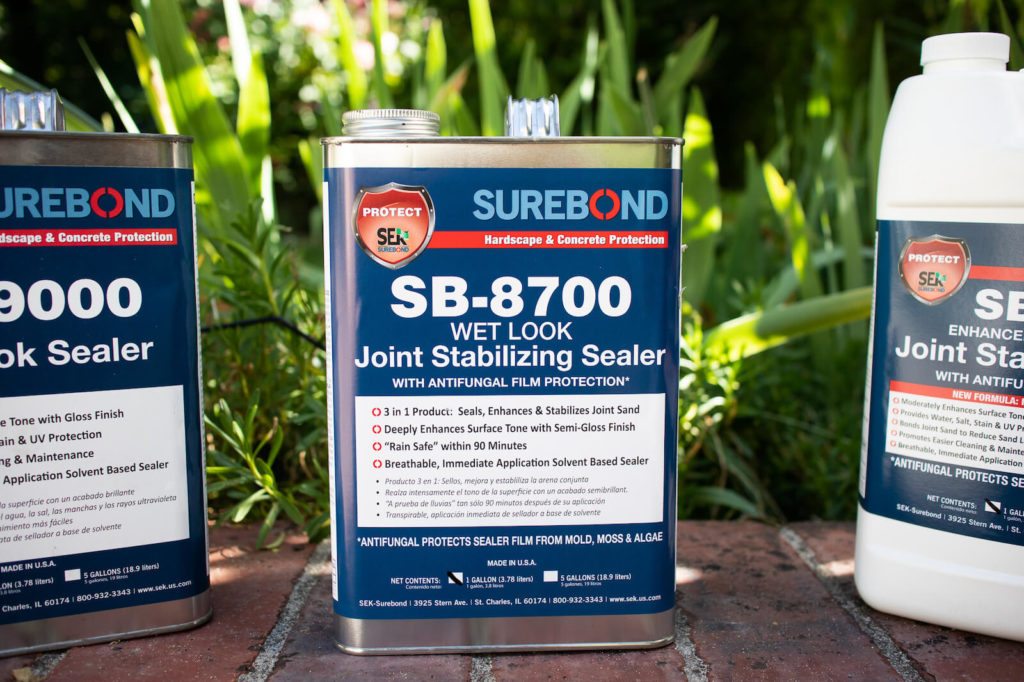
SEK SB-8700 Wet Look Joint Stabilizing Sealer is an advanced premium acrylic sealer that’s rain-safe within 90 minutes after application. This sealer does three things particularly well.
- Deeply enhances with a semi-gloss finish
- Protects the surface
- Stabilizes joint sand
This product will enhance your hardscape because it’s a solvent-based product that looks clear when applied. SB-8700 is a one-coat application product, but a second coat may be applied if desired.
It’ll also protect the surface and stabilize the structure by penetrating the substrate so that it’s resistant to most natural corrosives like acids, ultraviolet rays, salts, and more, while also glossing the surface. In this DIY tutorial, we used this sealer.
SB-9000
Like the other Surebond sealers, SEK SB-9000 Wet Look Sealer guards against salt, acid, and other corrosives, and promotes easier cleaning and maintenance. But SB-9000’s primary purpose is to enhance the visual appearance of your hardscape with a glossy, wet look. After product application, the surface of your hardscape will be dry in 20–30 minutes. However, we recommend waiting for 24 hours to open your hardscape to pedestrian and vehicular traffic, depending on site conditions.
How to choose your sealer
There are three primary factors you’ll want to consider when choosing a sealer: protection, stabilization, and appearance.
If you’re looking to stabilize your hardscape or protect from the elements of your environment, consider SB-7700. It’s sturdy if applied in near perfect conditions. On the other hand, if you’re to looking to enhance the visual appearance of your hardscape, consider the SB-9000. Its primary purpose is to make your hardscape look great. If you’re looking for general protection and joint stabilization, while also giving a clean look to your stones, consider SB-8700.
Step 3: Apply your sealer
There are a few different ways to apply the product outdoors
- Roll
- Spray and roll
- Spray and squeegee
The type of sealer you choose will determine the method of application. Here’s what we mean. If you’re applying SB-7700, you can spray on your sealer—and even use a plastic garden sprayer. But a solvent-based sealer like SB-8700 will melt the plastic in your garden sprayer so we recommend a metal concrete sealer sprayer. If you’re applying SB-9000, you’ll have to roll on the sealer because the mixture is too thick to spray.
Since we applied SB-8700, we used a concrete sprayer and squeegee. If you’re doing the same, you’ll want to start by filling your concrete sprayer. While your sealer will be extremely clean, there will be some residue, so plan to pour your sealer through a paint filter.
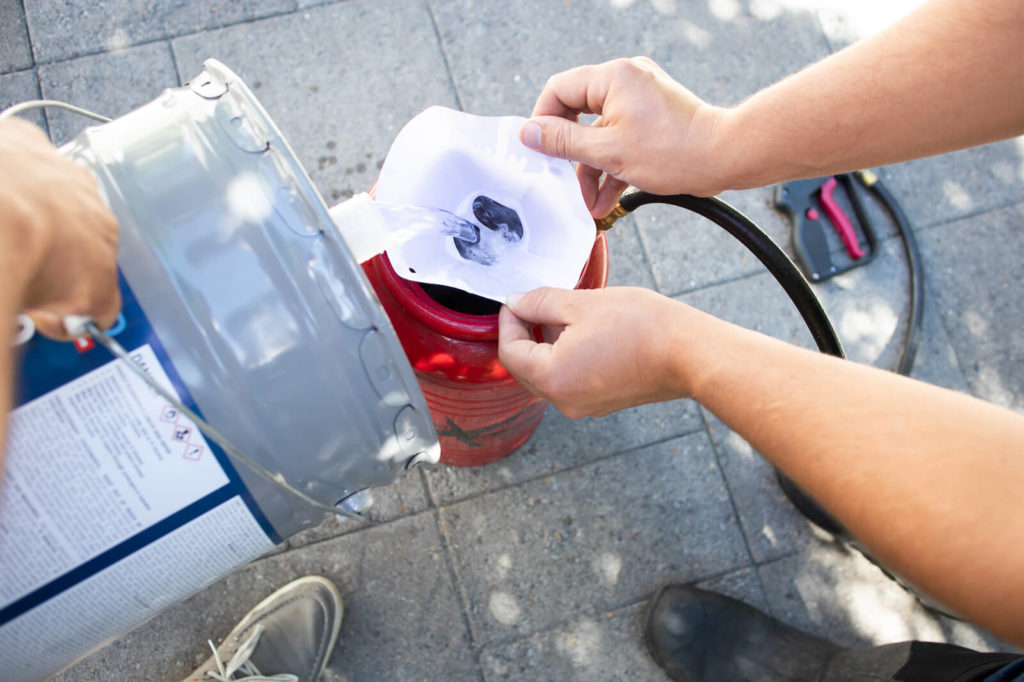
Next, you’ll start spraying. We recommend covering all landscaping, siding, or fixtures surrounding your hardscape as you spray. You’ll want to make sure you spray smooth lines and overlap slightly to get maximum coverage. If you miss a spot, you’ll notice it later.
Pro Tip: It’s best to apply sealer in the morning hours, while outside temperatures are between 60–70 degrees Fahrenheit.
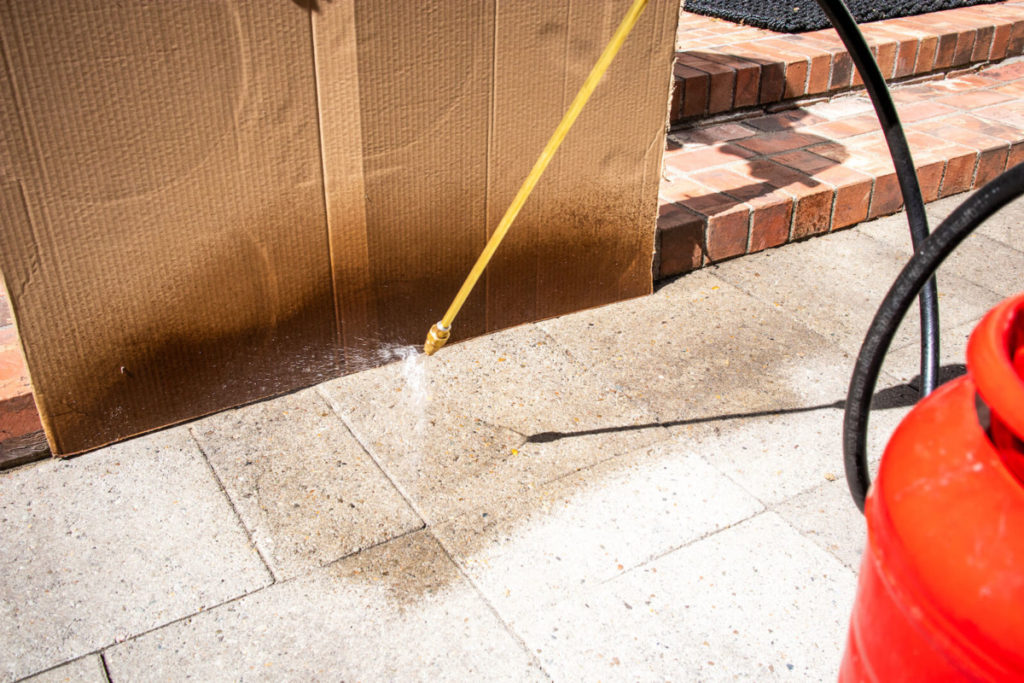
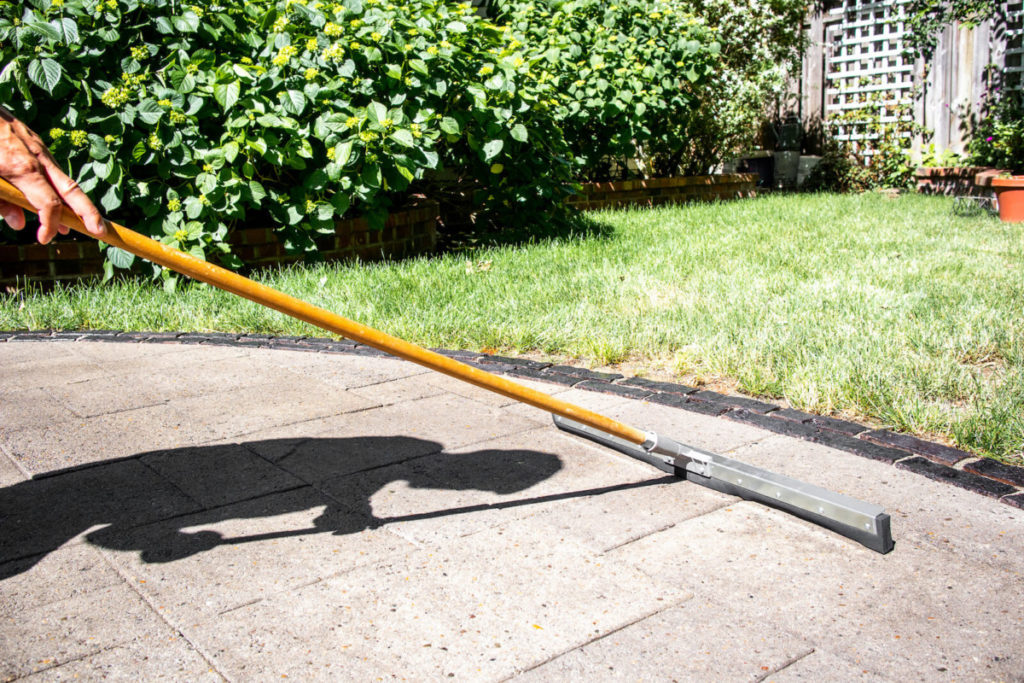
On the day we applied our sealer, it was hot so the sealer quickly penetrated the substrate and we rarely used a squeegee. However, depending on how and when you apply your sealer (and the environment where you apply it), you might experience pooling. If this happens, use a large squeegee to spread out your sealer.
Step 4: Cure for 24 hours
If you use SB-9000, your hardscape could be dry within 20 minutes. If you use SB-8700, your hardscape will be rain-ready within 90 minutes. There’s a difference between drying and curing. The former regards the surface, while the latter addresses the process. That’s why, regardless of how your hardscape looks, we highly recommend letting your sealer cure for at least 24 hours before inviting any pedestrian or vehicular traffic.
Step 5: Enjoy your hardscape
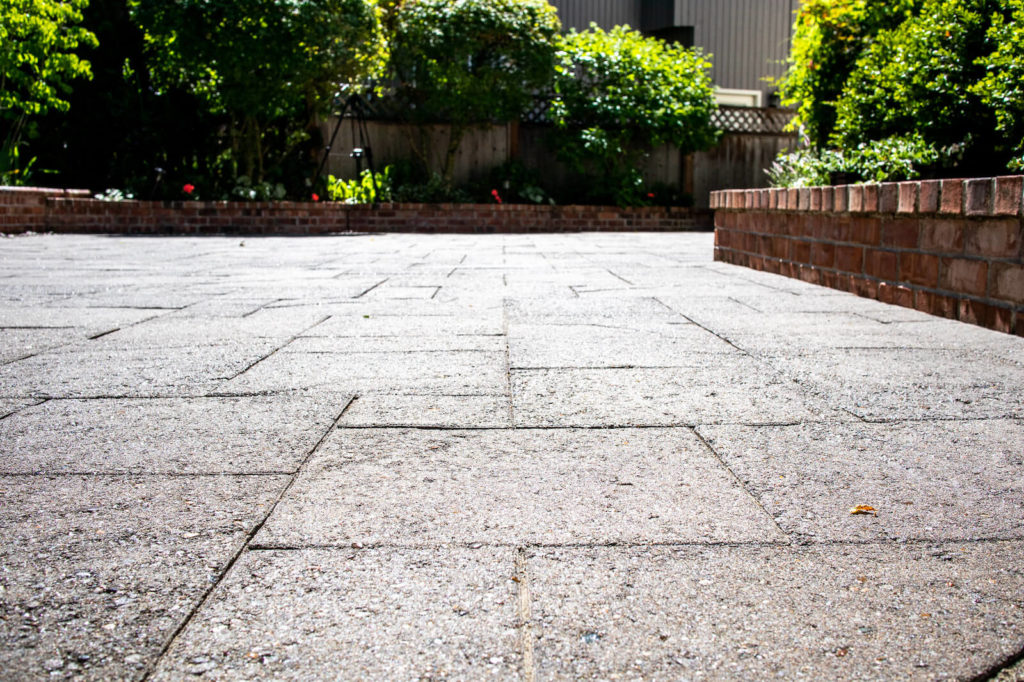
Now you have beautiful hardscape that’s easier to maintain, more structurally sound, and will fight off any naturally deteriorating environmental elements.
Pro Tip: Reseal your hardscape every three or four years.
