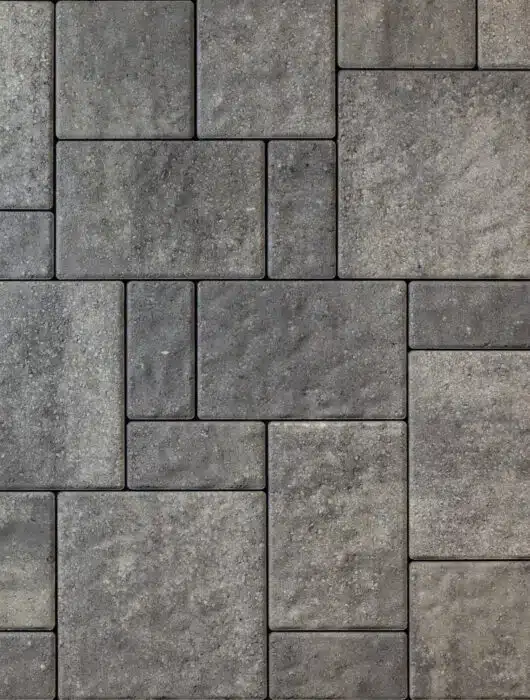
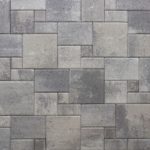
SERVING THE PACIFIC NORTHWEST

Say goodbye to cracks - Our Driveway Pavers are Built to Last

Your driveway is more than just a path to your home; it’s a statement of durability, design, and craftsmanship. At Western Interlock, we understand that a driveway should withstand the test of time, resist the elements, and enhance your home’s curb appeal. That’s why our driveway pavers are engineered for longevity, aesthetic versatility, and ease of maintenance.

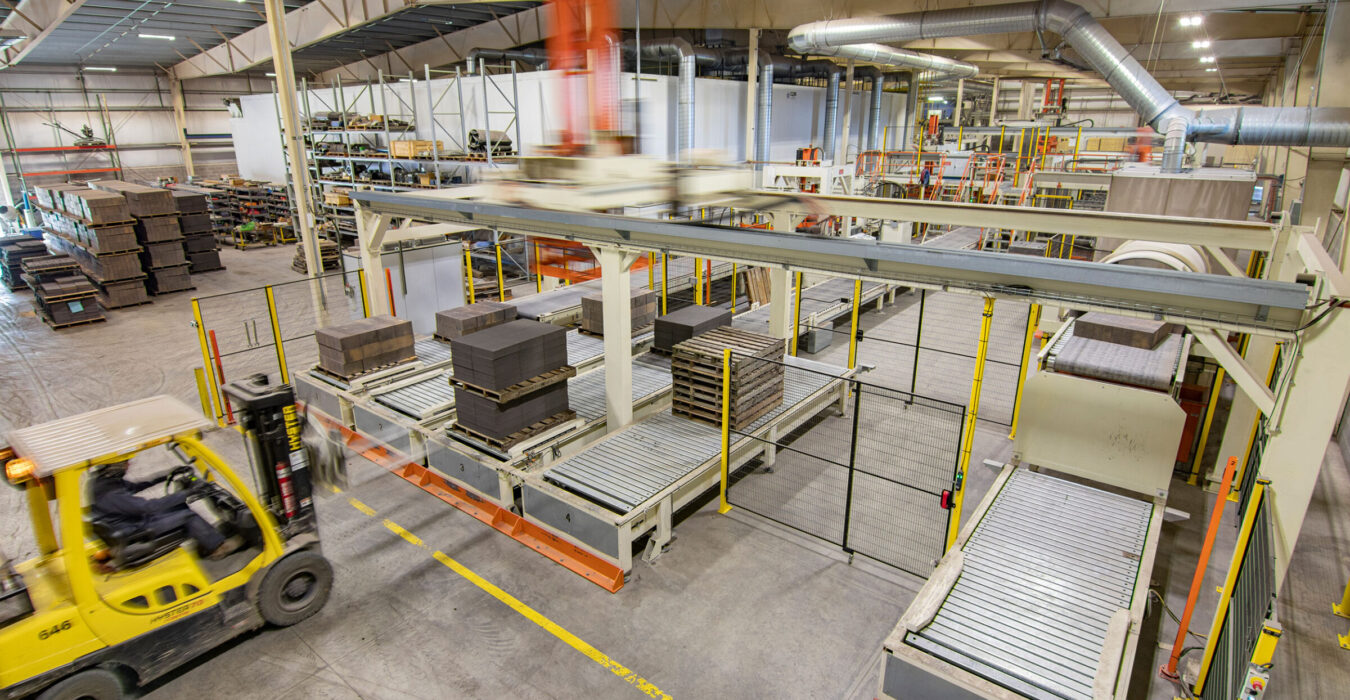
At Western Interlock, we don’t just make pavers. We engineer solutions meant to last for decades. Each one of our stones reflects our commitment to craftsmanship, performance, and enduring beauty. Whether you're dealing with the freeze-thaw cycles of the Pacific Northwest or the wear and tear of daily use, our driveway pavers hold strong, resist shifting, and maintain their elegant finish year after year.

Engineered for Strength and Stability

Unlike traditional poured concrete, which is prone to cracking and difficult repairs, our interlocking concrete pavers are designed to flex with the earth’s movements. This flexibility prevents unsightly cracks and ensures a stable surface for years to come. Each paver is manufactured to exceed 8,000 psi in compressive strength, making them suitable for both residential and commercial driveways.

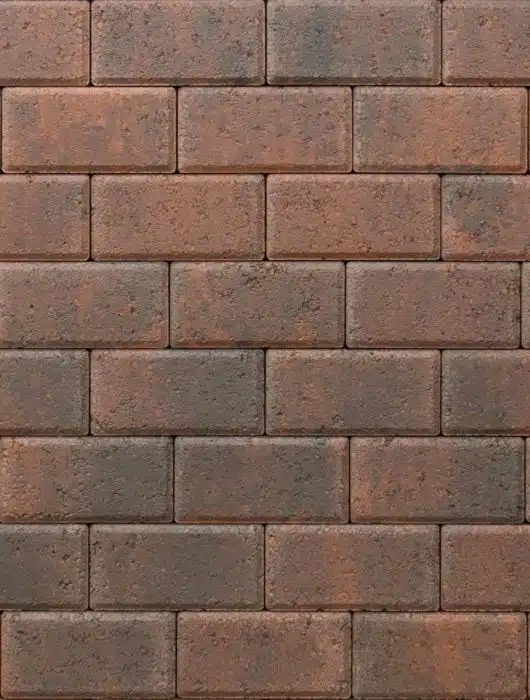
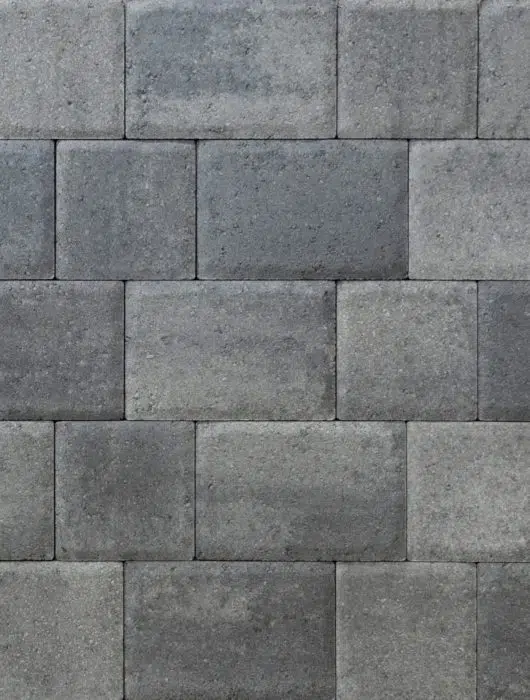
Selecting the right paver depends on your specific needs, including load requirements, aesthetic preferences, and maintenance considerations. Some of our top recommendations for driveways include:

  • Milana Moderna™: A large-format paver with sleek lines, ideal for contemporary homes. It offers strength and stability, handling residential traffic with ease.
  • Camino Stone™: Features an old-world cobbled surface that complements both modern and traditional settings. It’s one of our most popular driveway pavers due to its reliable strength and timeless look.
  • Park & Plaza Stone™: Offers design flexibility and driveway-grade strength. Use the stones individually or combine sizes for a custom look that holds up under pressure.
  • Holland Stone™: Known for its clean, strong, and classic appearance. Its rectangular shape is ideal for herringbone patterns, providing superior interlock and load distribution.
  • Roma Stone™: Offers a warm, rustic aesthetic with its cobbled texture and soft, rounded edges. Its unique shape allows for curved layouts without the need for cutting.

For permeable options, consider:

  • Camino Permeare™: Combines the charm of Camino Stone with added permeability, allowing stormwater to drain naturally while maintaining a polished appearance.
  • Holland Permeare™: A compact, durable option for high-traffic driveways, often laid in a 45° herringbone pattern to maximize strength and drainage performance.
  • Park Permeare™: With its slim, rectangular profile and modern look, it’s a refined option for driveways needing sustainable drainage.


Creating a driveway with our pavers involves several key steps:

  1. Design and Planning: Determine the layout, dimensions, and pattern of your driveway. Consider factors like vehicle load, drainage, and aesthetic preferences.
  2. Excavation: Remove existing materials to the required depth, typically 10–12 inches, to accommodate the base layers and pavers.
  3. Base Preparation: Install a compacted gravel base (usually 6–8 inches of ¾” minus gravel) to provide stability and drainage.
  4. Bedding Layer: Apply a 1-inch layer of concrete sand over the gravel base to create a smooth, level surface for the pavers.
  5. Laying Pavers: Place the pavers in your chosen pattern, ensuring tight joints and consistent alignment.
  6. Edge Restraints: Install edge restraints to prevent lateral movement of the pavers.
  7. Compaction: Use a plate compactor to set the pavers into the bedding layer, ensuring a stable surface.
  8. Joint Sand: Sweep polymeric sand into the joints to lock the pavers in place and prevent weed growth.

  9. Sealing (Optional): Apply a sealer to enhance color, protect against stains, and stabilize joint sand.


Installing driveway pavers is a manageable DIY project with the right tools and preparation. Here’s a step-by-step guide:

  1. Mark the Area: Outline the driveway perimeter using stakes and string lines, extending the area by 6 inches on all sides to accommodate edge restraints.
  2. Excavate: Remove soil to the appropriate depth, considering the thickness of the base, bedding sand, and pavers.
  3. Install Base Material: Add and compact the gravel base in layers, ensuring proper grading for drainage.
  4. Add Bedding Sand: Spread a 1-inch layer of concrete sand over the compacted base, screeding it to create a level surface.
  5. Lay Pavers: Begin placing pavers in your chosen pattern, starting from one corner and working your way across the area.
  6. Cut Pavers: Use a masonry saw or splitter to cut pavers as needed to fit the layout.
  7. Install Edge Restraints: Secure the perimeter with edge restraints to maintain the integrity of the installation.
  8. Compact the Surface: Run a plate compactor over the pavers to set them into the bedding sand.
  9. Apply Joint Sand: Sweep polymeric sand into the joints, then compact again to ensure the sand settles properly.
  10. Seal the Surface (Optional): Apply a sealer to protect the pavers and enhance their appearance.


Regular maintenance keeps your driveway looking its best. Here are some effective cleaning methods:

  • Routine Cleaning: Sweep or blow off debris regularly to prevent staining and moss growth.
  • Spot Cleaning: For oil stains or other spots, use a mild detergent and a stiff-bristle brush to scrub the affected area.
  • Pressure Washing: Use a pressure washer with a maximum of 1,500 PSI to clean larger areas. Keep the nozzle at least 6 inches away from the surface to avoid damaging the pavers.
  • Eco-Friendly Solutions: For organic stains, a mixture of vinegar, baking soda, and water can be effective. Apply the solution, scrub with a brush, and rinse thoroughly.
  • Rust Removal: Use a rust remover like SureBond S.R.B. Stain and Rust Buster for rust stains. Follow the manufacturer’s instructions for safe and effective use.

Sealing your pavers enhances their appearance and protects them from stains and weathering. Here’s how to do it:

  1. Clean the Surface: Ensure the pavers are clean and dry. Remove any dirt, stains, or debris.
  2. Choose the Right Sealer: Select a sealer based on your desired finish and protection level. Options include:
    • SB-7700: A water-based, antifungal sealer that stabilizes joint sand and protects against efflorescence and acids.
    • SB-8700: A solvent-based, semi-gloss sealer that enhances color and provides joint stabilization.
    • SB-9000: A solvent-based, high-gloss sealer that offers maximum color enhancement and protection.
  3. Apply the Sealer: Use a sprayer, roller, or squeegee to apply the sealer evenly across the surface. Follow the manufacturer’s instructions for application methods and drying times.
  4. Allow to Cure: Let the sealer cure for at least 24 hours before using the driveway to ensure optimal protection.


Extending your driveway with pavers is a practical way to increase parking space or enhance functionality. Here’s how to approach the project:

  1. Assess the Area: Determine the size and location of the extension, ensuring it aligns with local zoning regulations and property lines.
  2. Design the Layout: Choose pavers that match or complement your existing driveway. Plan the pattern and orientation for a seamless transition.
  3. Prepare the Site: Excavate the area to the required depth, typically 10–12 inches, to accommodate the base, bedding sand, and pavers.
  4. Install Base and Bedding Layers:
    1. Add 6–8 inches of ¾” minus gravel and compact in 2” lifts.
    2. Then add 1 inch of concrete sand for the bedding layer.
    3. Screed the sand level before laying pavers.
  5. Lay the Pavers: Start from the existing edge of your current driveway and lay pavers outward into the new space. Use spacers or string lines to maintain straight rows and even joints.
  6. Install Edge Restraints: To maintain long-term stability, secure the perimeter with concrete or plastic edge restraints.
  7. Compact and Sand the Surface: Once all pavers are in place, use a plate compactor to settle them into the bedding layer. Sweep polymeric sand into the joints and compact again to lock everything in place.
  8. Seal if Desired: Apply a paver sealer to unify the look and protect the extension from weathering and stains.

Whether you’re creating more room for guests, adding a turnaround space, or making room for an RV, extending your driveway with Western Interlock pavers gives you a high-performance surface that looks beautiful and lasts for decades.

Why Choose Pavers Over Asphalt or Poured Concrete?

When planning a new driveway, many homeowners consider asphalt or poured concrete. While those options may seem convenient, pavers offer superior long-term performance, aesthetics, and ease of repair.

Here’s why pavers are a better investment:

  • No cracking: Asphalt and concrete are prone to cracking as the ground shifts or temperatures fluctuate. Pavers are installed as individual units with joint flexibility, so they move with the ground without breaking.
  • Easy maintenance and repair: If a paver becomes stained or damaged, it can be replaced individually—no need to redo the entire driveway. That’s not possible with a poured concrete slab or asphalt patch.
  • Better drainage: Pavers promote natural water flow between joints, reducing pooling and runoff. With permeable pavers, you can even eliminate the need for storm drains or complex drainage systems.
  • Aesthetic flexibility: With pavers, you can mix colors, patterns, and textures to create a truly custom look that matches your home and landscaping. Asphalt and concrete can’t compete with the design potential.

Over time, the value of a paver driveway becomes clear, not just in durability, but in curb appeal and reduced maintenance costs.

Designed for the Pacific Northwest Climate

Living in the Pacific Northwest means dealing with a range of weather conditions from heavy rains to freeze-thaw cycles. Our pavers are crafted with low water absorption rates to resist moisture penetration, reducing the risk of damage from freezing and thawing. This design consideration ensures that your driveway remains intact and visually appealing, regardless of the season.

Aesthetic Versatility to Match Your Style

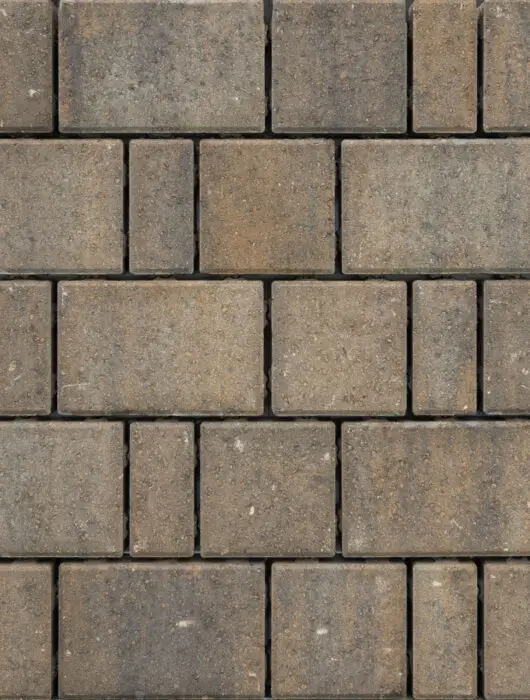
We offer a diverse selection of paver styles, colors, and patterns to complement any architectural design. Whether you prefer the classic look of cobblestone or a sleek, modern finish, our pavers can be arranged in various patterns, such as herringbone or running bond, to achieve your desired aesthetic.

Sustainable and Permeable Options

For environmentally conscious homeowners, we provide permeable paver options that allow water to pass through the joints, reducing runoff and promoting natural groundwater recharge. These options not only support sustainable landscaping practices but also help manage stormwater effectively.

PAVER FINDER

Find the perfect paver

Get a personalized paver recommendation

Choosing a paver can sure feel overwhelming. You have to consider size, style, thickness, color, and more. That’s why we made a short and simple quiz that asks a few questions about what you’re looking for and, at the end, provides a recommendation, or two, you can start with.

Learn More

See how a paver is made

Believe it or not, not all pavers are made the same. Get a close look at every step of our production process so you know exactly how your pavers are made.

2:14
Get a quote
Request a free, zero-obligation quote today
  • Hi, I'm
  • and I need
  • for my
  • . I'm interested in
  • and I want to
  • . I live in
  • ,
  • and you can reach me at
  • or
  • .
  • If you’re located outside of our service areas (CA, ID, MT, OR, WA, WY, UT), please call 503-623-9084 to get recommendations on where to purchase your pavers.
  • This field is for validation purposes and should be left unchanged.
Popular Products