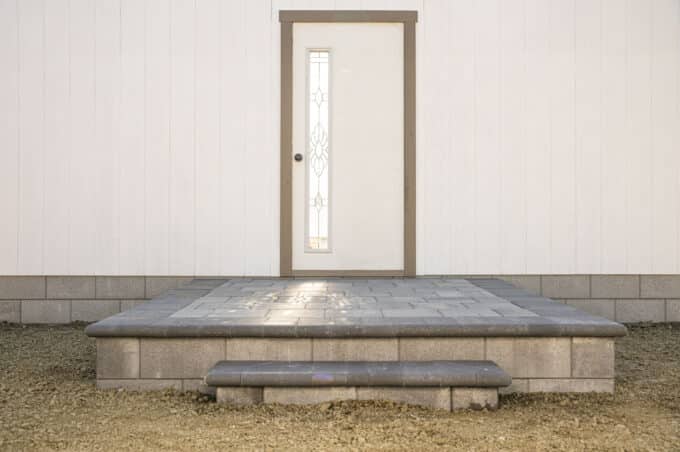
How to Build a Raised Paver Patio
Building a raised paver patio is an excellent option for homeowners who want to expand or raise their outdoor entertainment area and create a cozy, relaxing spot. In this blog […]

The easiest way to finish a corner is to continue the border and end with full stones. However, many people don’t feel like that looks elegant enough. That’s why we’re going to teach you how to miter your corner.
To properly accomplish this task, you’ll need a few tools. Here’s the shortlist of tools we use in this tutorial. You can pick up any of these tools at one of our Oregon or Washington sales offices, or your local hardware store.
The mitering process slightly varies depending on if you’re laying a soldier or sailor course. We’ll explain each in this tutorial. If you want to gain a better understanding of the different types of borders and what’s right for your project, read How to Design a Paving Stone Border.
That said, let’s get started! Here’s a three-step process on how to miter a corner.
A square or rectangle hardscape project is the easiest to miter because you’re working with 90-degree corners. If you’re laying a soldier course, you’ll only need to mark and cut two stones. If you’re laying a sailor course border or a double sailor course border (like we’re doing), you’ll need to mark and cut four stones.
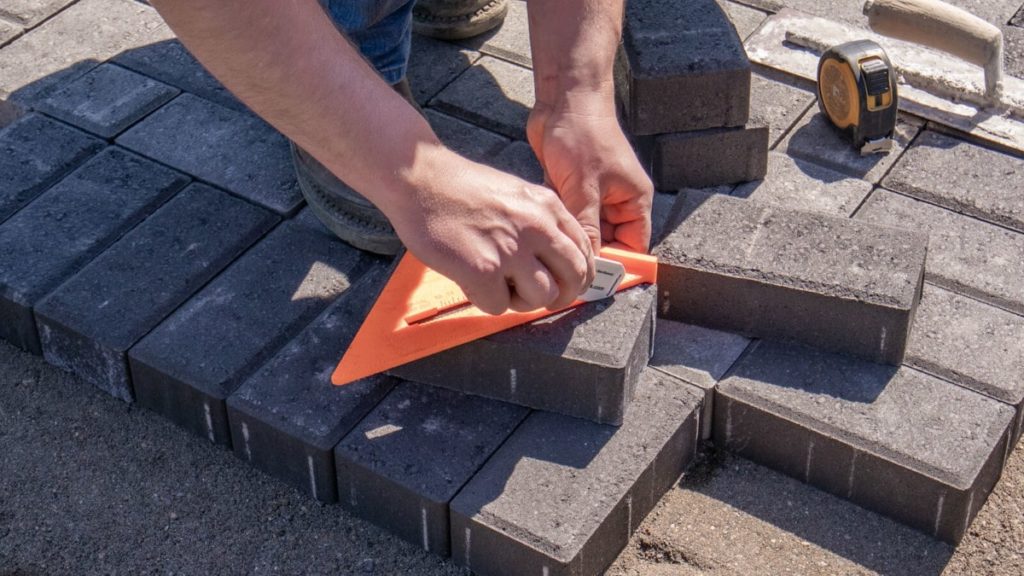
In this tutorial, we’re laying a square paver patio, so the easiest way to mark your pavers is to use a carpenter square. Line up a corner of your carpenter’s square with a corner of your paving stone. Mark a line using your paver marker, and you’ll have a perfect 45-degree angle.
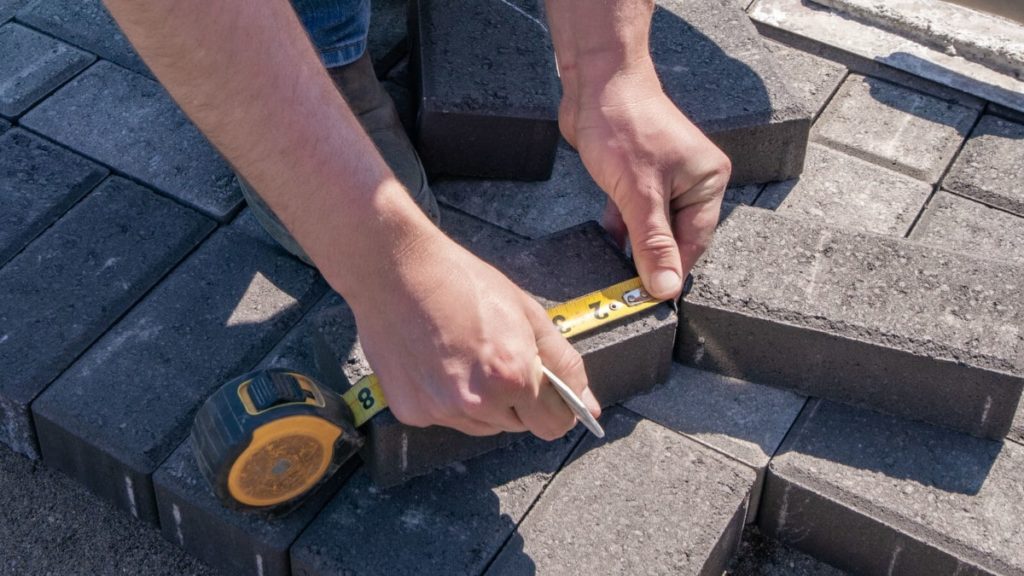
If you don’t have a carpenter square, you can measure and mark with any straight edge that you have lying around. In this tutorial, we’re working with Holland Stone, which is 7 ¾” long, so we’ll make a mark at 3 ⅞” to get as close to half as possible.
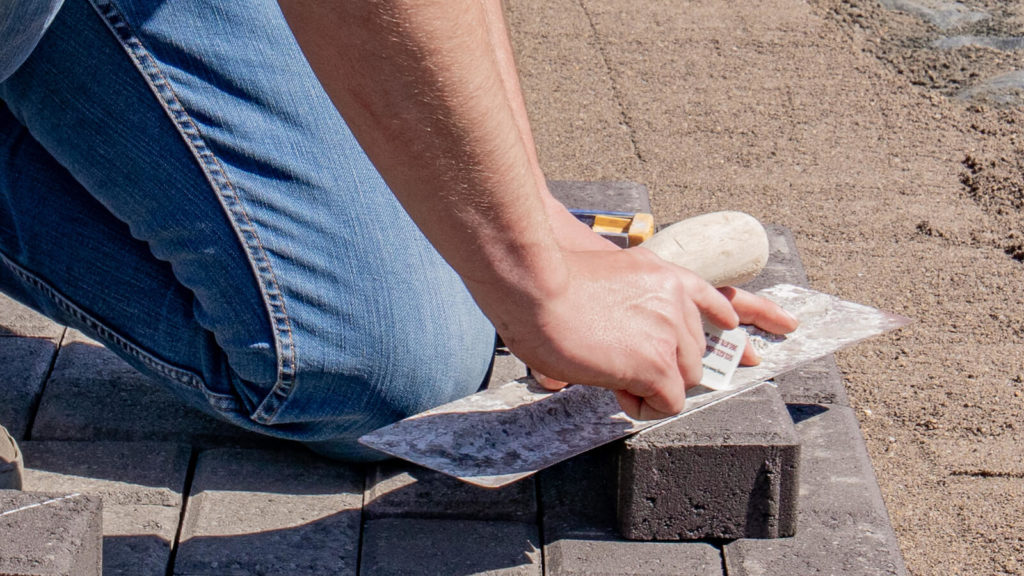
Then, take your straight edge (we used a trowel) and mark from the middle to the very corner of the stone. Then you’ll have a perfect 45-degree angle.
If you’re mitering a soldier border, you’ll need a half-stone to finish off the corner. You can either purchase a half-stone with your order or cut a paving stone in half.
Now, you’re ready to cut your paving stones. All you’ll need to do is make a clean cut along the lines you’ve marked.
There are many ways to cut a paving stone but, in this tutorial, we’re using the iQMS362 Dust Control Masonry Saw. With this type of saw, you can cut dry because the saw has a built-in vacuum system to capture, filter, and contain 99.5% of the dust (meeting the 2017 OSHA silica standard).

If you’re mitering a soldier border and you need to cut a half-stone, you’ll cut right down the center on your mark.
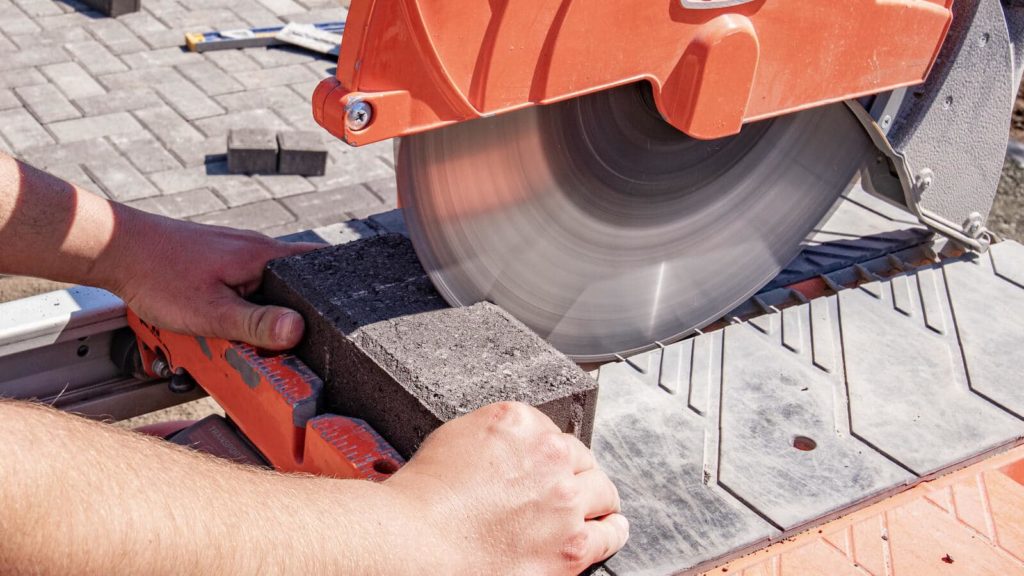
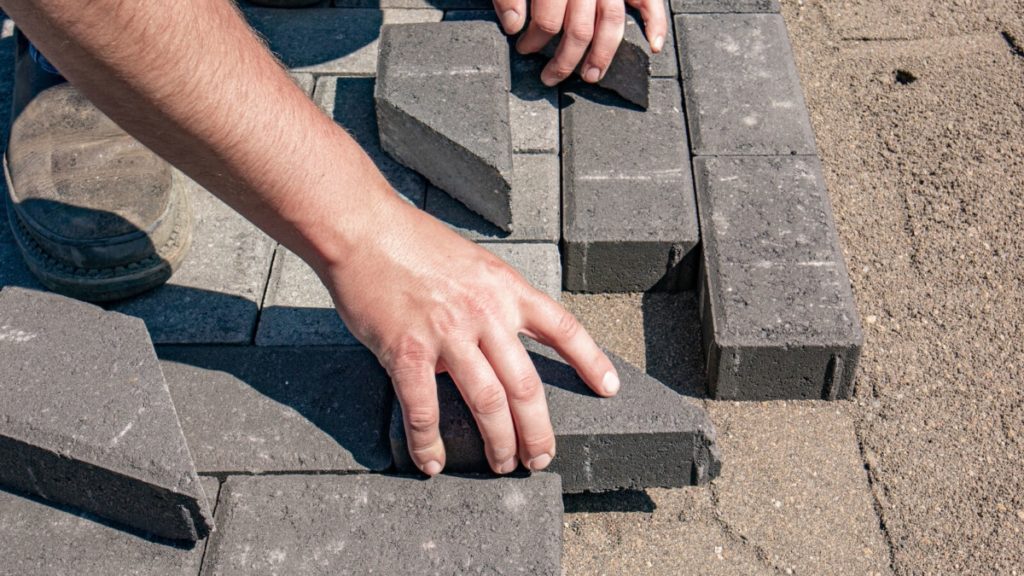
After you’ve cut your pavers, you’ll almost have a finished product. The next step is to place your pavers.
If you’re mitering a soldier (or double soldier) border, you’ll place the stones as if they’re pointing inward toward the center of your project. We left out the half-stone below so you could see how the stones come together—but don’t forget to add that final piece for an entirely square corner.
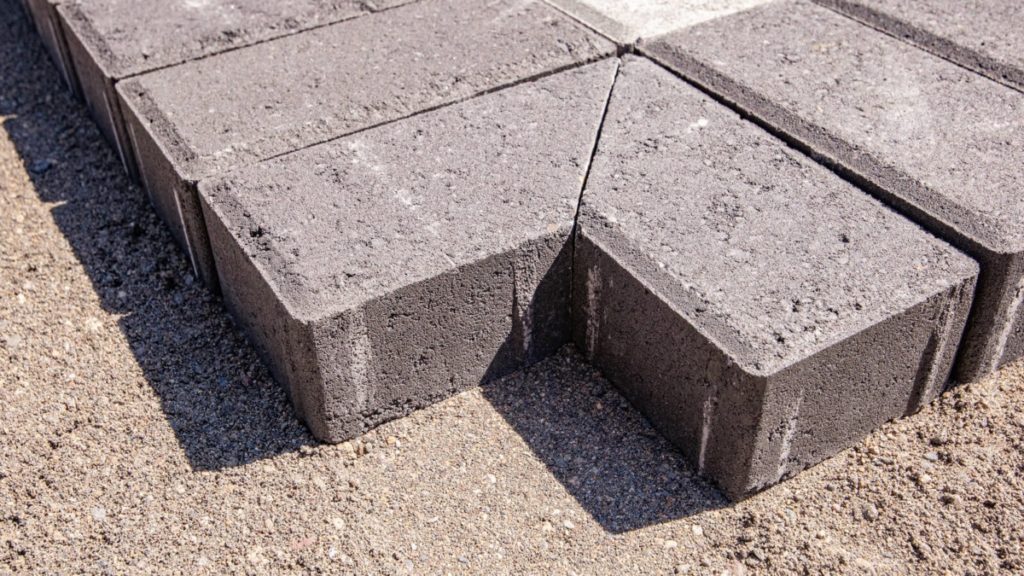
If you’re mitering a sailor (or a double sailor) border, you’ll follow the same process we just described. The only difference is that you’ll place your stones so that they point out toward the outside edge of your hardscape instead of inward toward the center like the soldier border.
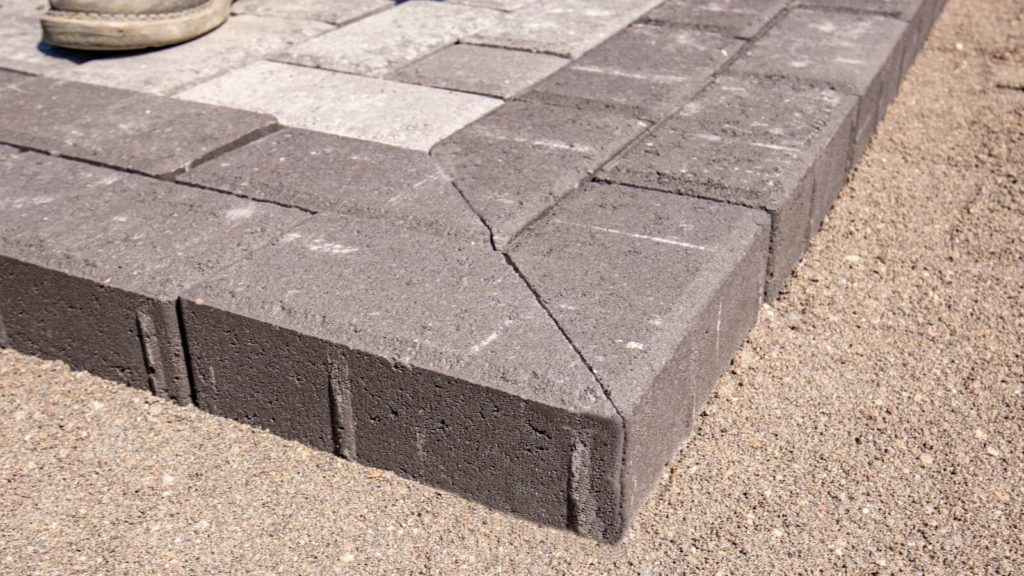
Here’s the finished product once you’ve placed your mitered sailor border.
Here at Western Interlock, we’re on a mission to take the hard out of hardscaping. That’s why we publish DIY tips, tricks, and step-by-step tutorials at DIYwithWI.com.
If you have any questions, you can visit our Paving Stone Display at our Manufacturing Facility in Rickreall, OR. Or, give us a call to our team of hardscape experts at 503-623-9084.

Choosing a paver can sure feel overwhelming. You have to consider size, style, thickness, color, and more. That’s why we made a short and simple quiz that asks a few questions about what you’re looking for and, at the end, provides a recommendation, or two, you can start with.
Learn More