Overview
- Difficulty: Easy
- Est. time: 1–2 hours
Materials
- 10” landscape spikes
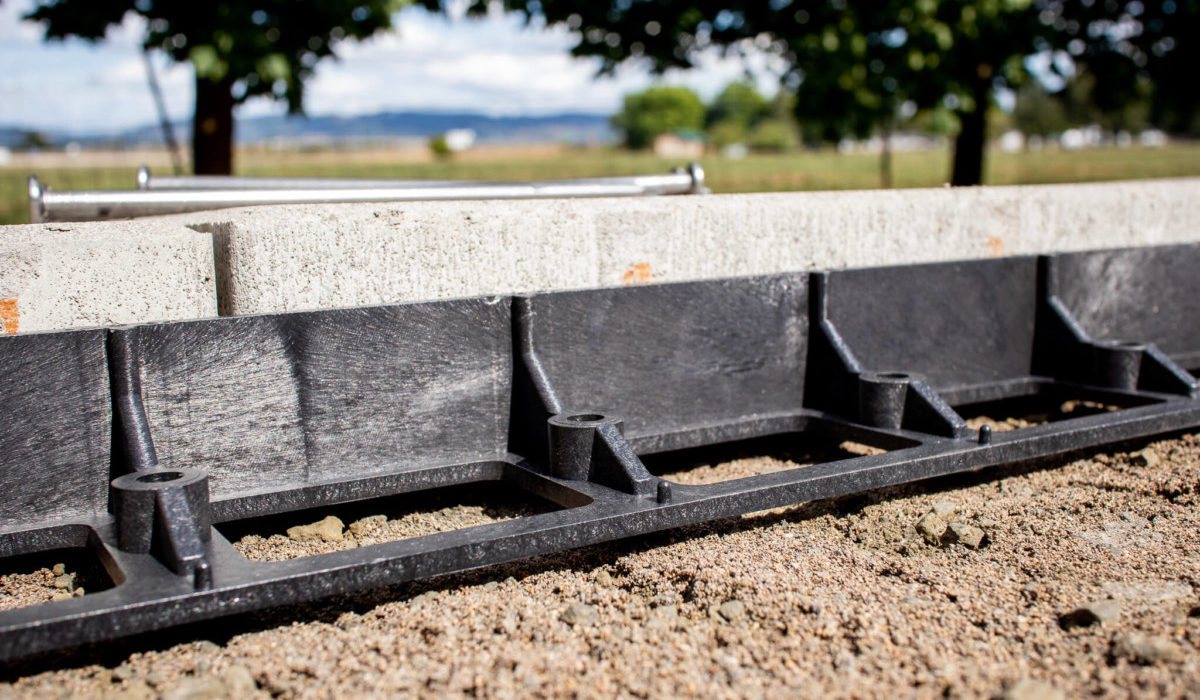
- Plastic edge restraint
Tools
- Work gloves
- Small sledgehammer
- trowel
- Snap-edge cutters, side-cutting wire cutters, saw or knife
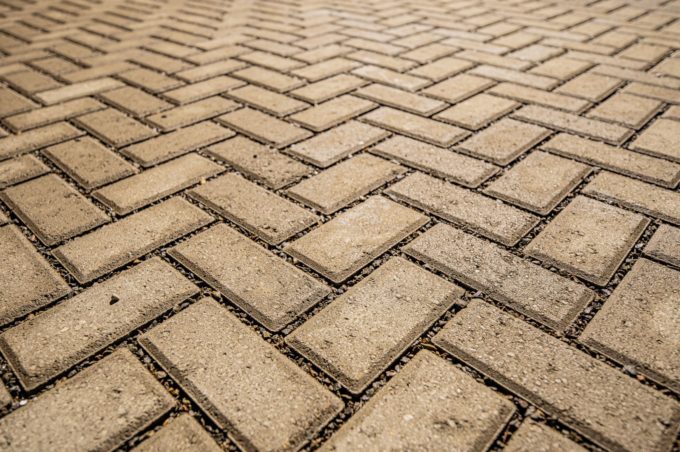
Restraint is an essential part of every hardscape project. You restrain a retaining wall with backfill. You restrain a fire pit with concrete adhesive. You restrain a paver patio or walkway with edge restraint.
While there are several methods to restrain hardscaping, in this tutorial we’ll walk you through four easy-to-understand steps on how to reinforce your paver project. Let’s get started.
1. Pull away sand from your pavers
Once you’ve laid all your paving stones on a solid base, it’s time to start installing your edge restraint. The first thing you’ll want to do is use a concrete trowel to scrape or pull the sand away from your pavers. The reason this is important is that you need to prepare a space for your edge restraint.
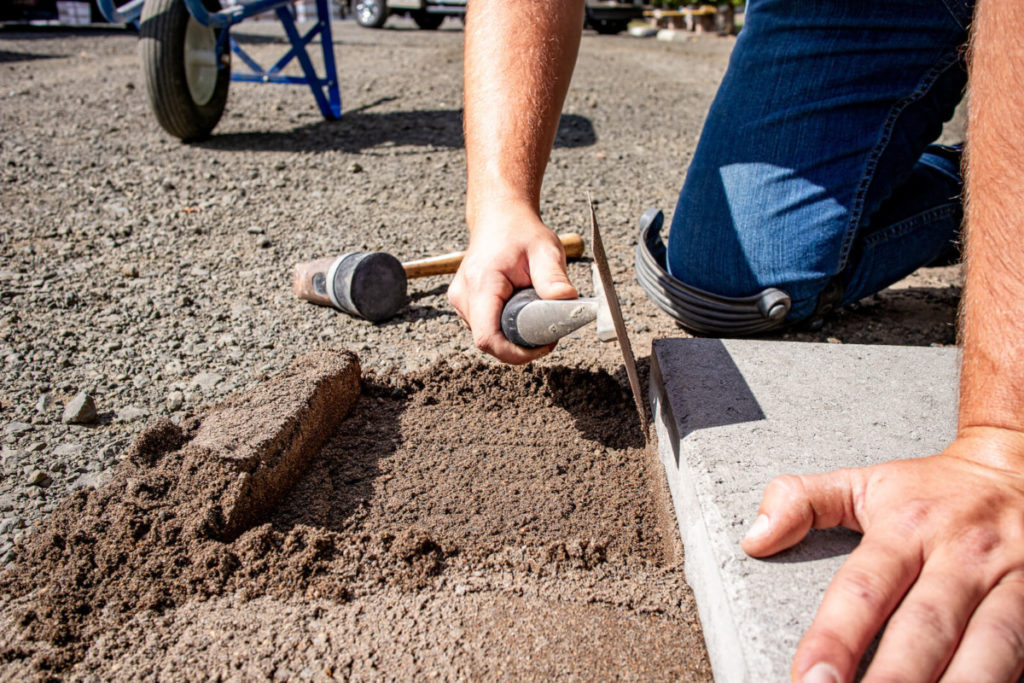
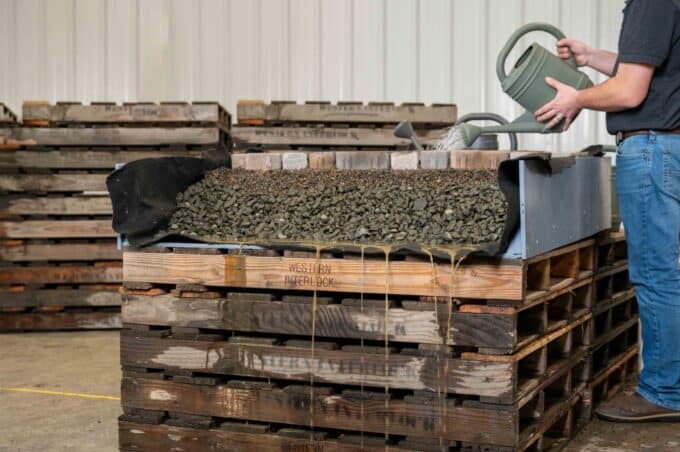
We all know that it’s easier to build a sandcastle with wet sand. The same concept applies here. It’s much easier to scrape away a clean space for your restraint when the sand is wet. Keep a watering can or hose handy to spray your sand before you start scraping. Be careful not to over-wet the sand because it can actually begin to wash the sand out from under the pavers.
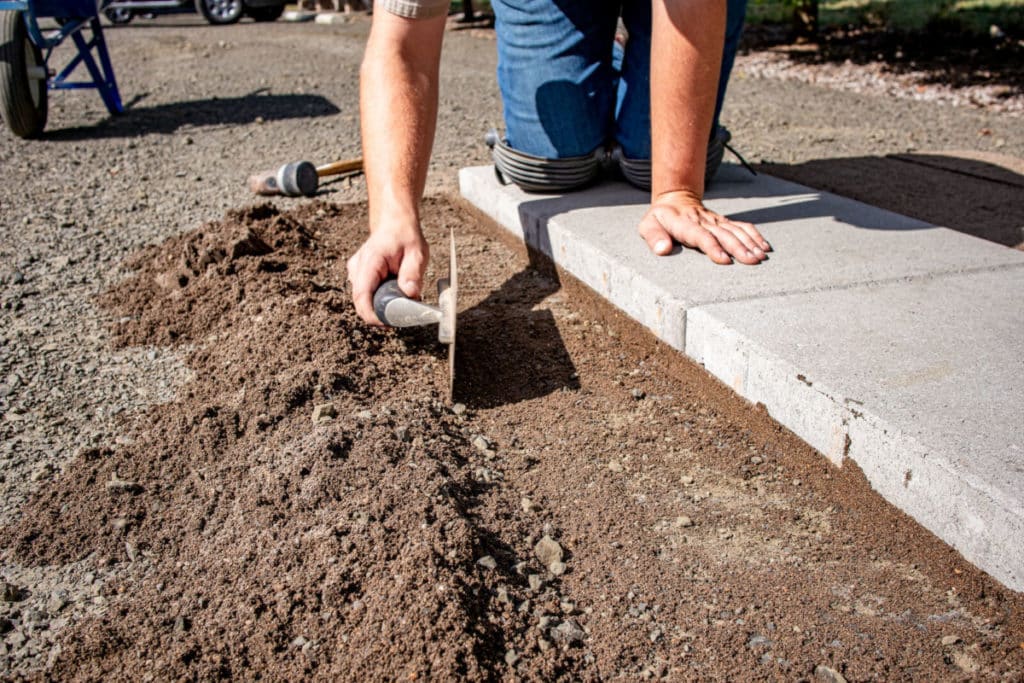
2. Install edge restraint
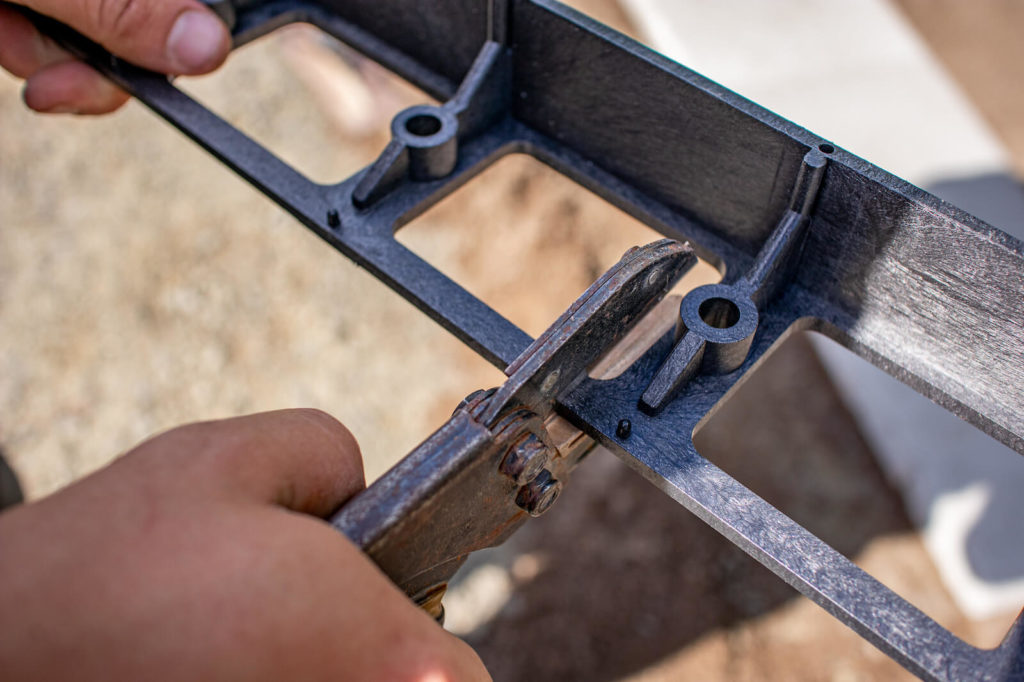
Now that you’ve prepared your paver edges, it’s time to install the edge restraint. In this example, we installed a square paver patio, so there were no modifications we needed to make before installing. However, if you’re installing a circle patio, you’ll need the edge restraint to flex to fit the circle design. Cut the thin back web on the outer side of your restraint, using a snap-edge cutter, side-cutting wire cutters, saw or knife, after every third hole like you see below.
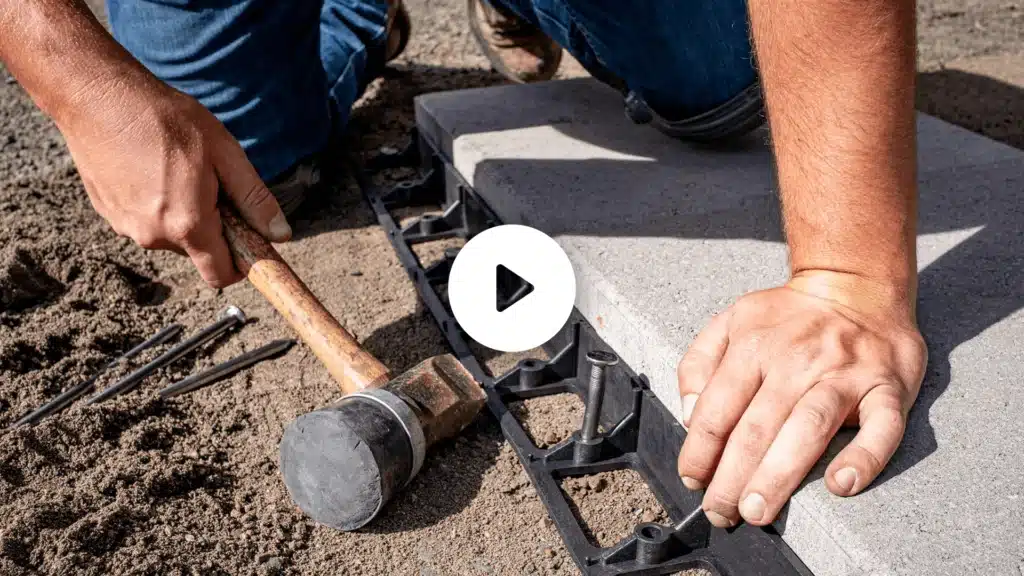
Next, set the restraint firmly against your pavers.
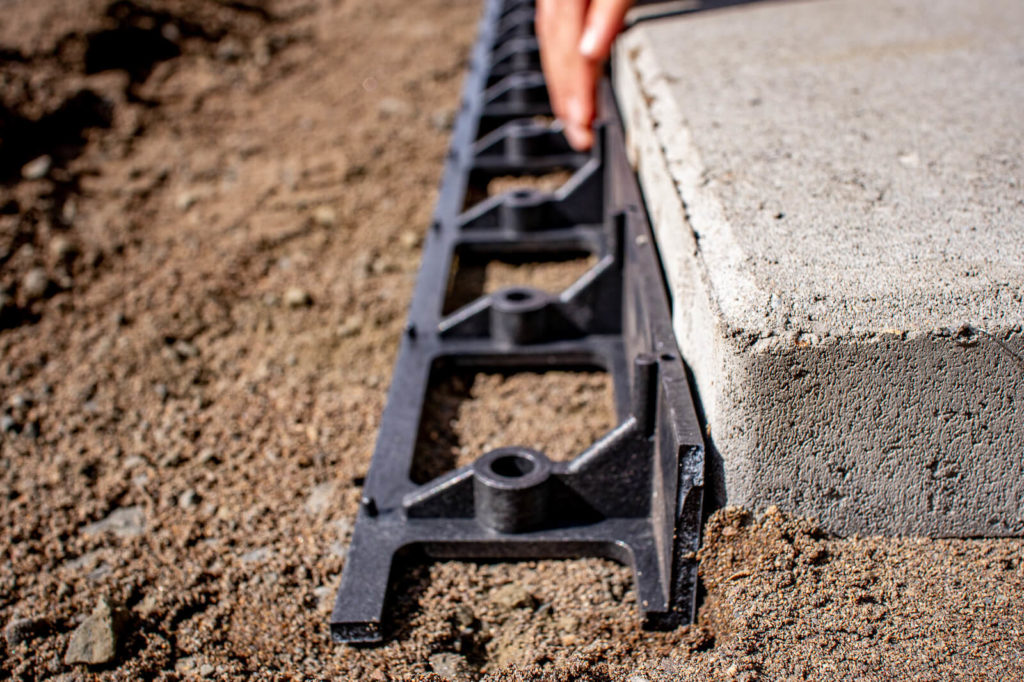
3. Place spikes
Now, you’ll want to install 10” non-galvanized landscape spikes in every third hole (about every foot in length). If your pavers are for vehicular traffic, we’d recommend placing a spike every second hole (about every 8”). Hold the spike as straight as possible while holding the restraint in place with your foot.
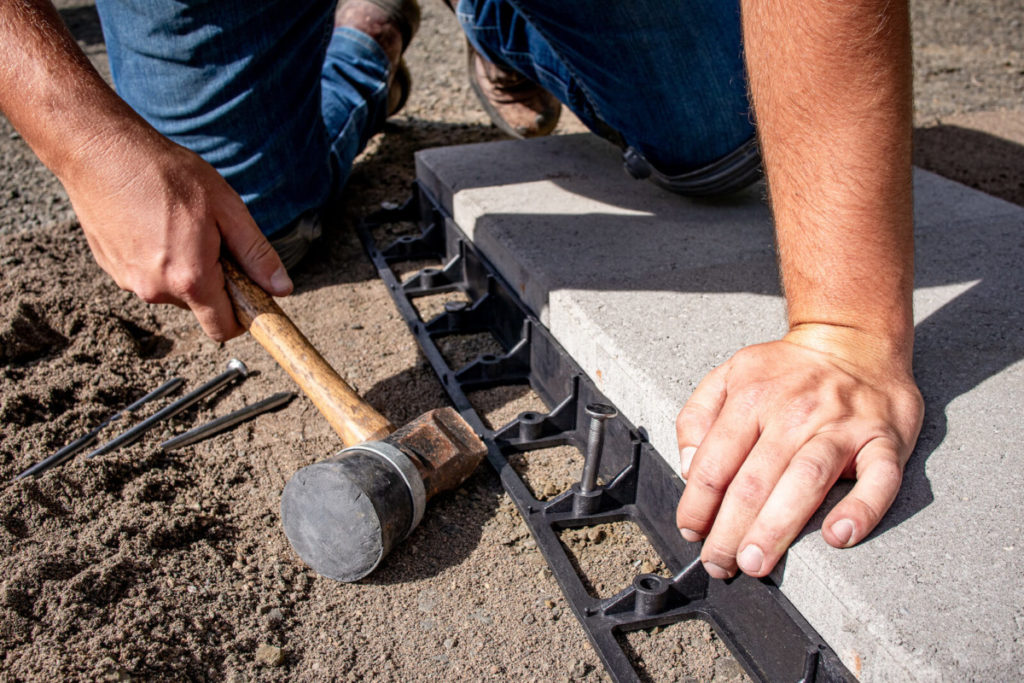
4. Cover edge restraint
Once you’ve placed spikes for your specific application, whether pedestrian or vehicular, cover the restraint using any extra sand, gravel, or dirt that’s lying around.
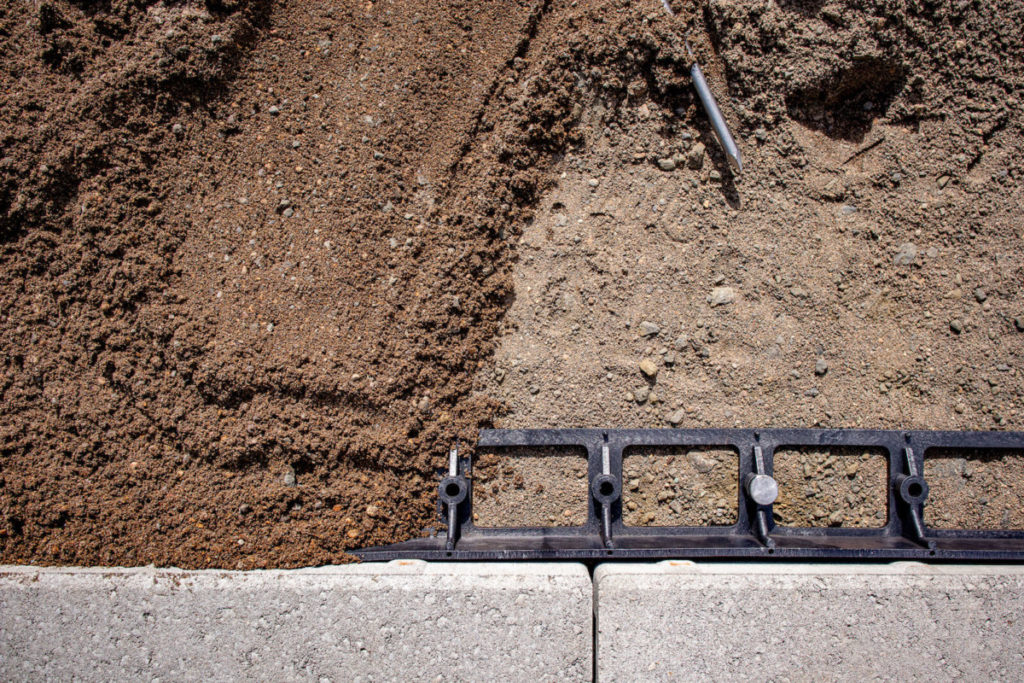
The reason you want to cover your edge restraint is that it’s thermoplastic-based, and the heat from the sun can warp the product, resulting in a less restrained project. By covering it up, you’ll ensure that your edge restraint secures your pavers as intended.
Become an at-home hardscape expert
Here at Western Interlock, we’re on a mission to take the hard out of hardscaping. That’s why we publish DIY tips, tricks, and step-by-step tutorials at DIYwithWI.com and host a live DIY seminar every month during the summer at one of our manufacturing or distribution facilities.
If you have any questions, you can visit our Paving Stone Display at our Manufacturing Facility in Rickreall, OR. Alternatively, give us a call our team of hardscape experts at 503-623-9084.


