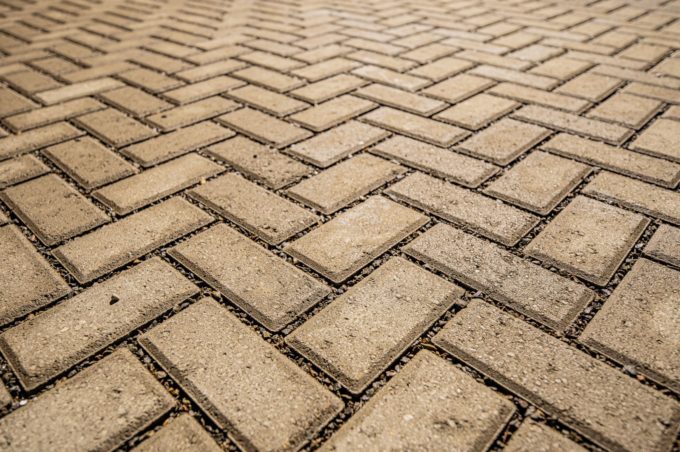
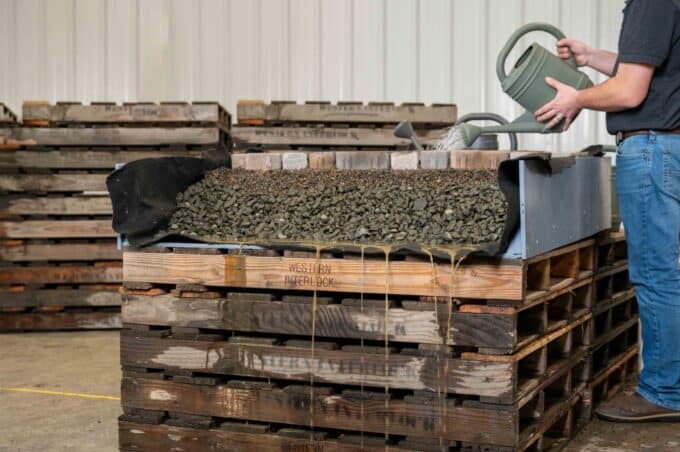
In this do-it-yourself hardscape tutorial, we’ll be using our Murata™ Retaining Wall Blocks to build a reinforced retaining wall. The principles we’ll teach you apply to all retaining wall systems, including Chateau Wall™, Tegula Garden Wall™, Slope Block, and Nursery Stone.
Stacking retaining wall blocks is easy. However, keeping them stacked for years is difficult. That’s why your DIY retaining wall must have a solid gravel base and firm backfill to ensure it’s stability. If you find you’re spending 80% of your time reinforcing your wall and 20% of your time stacking blocks, you’re doing it correctly.
Steps to Complete
Step 1: Excavate your space
Before you can start building, you’ll have to start digging. The amount of ground you’ll have to excavate depends on the height of your wall and the retaining wall blocks you’ll be using. In this how-to tutorial, we excavated about 12” below ground level so we could establish a 6” compacted gravel base and 6” of an embedded wall block.
Step 2: Lay a substantial gravel base
After excavation, we dropped a 6” base of ¾” minus road gravel in 2” lifts.
We used a wheelbarrow to move the gravel, but depending on the scale of your retaining wall, you might want to use a walk-behind front-end loader or small tractor with front-end loading capability.
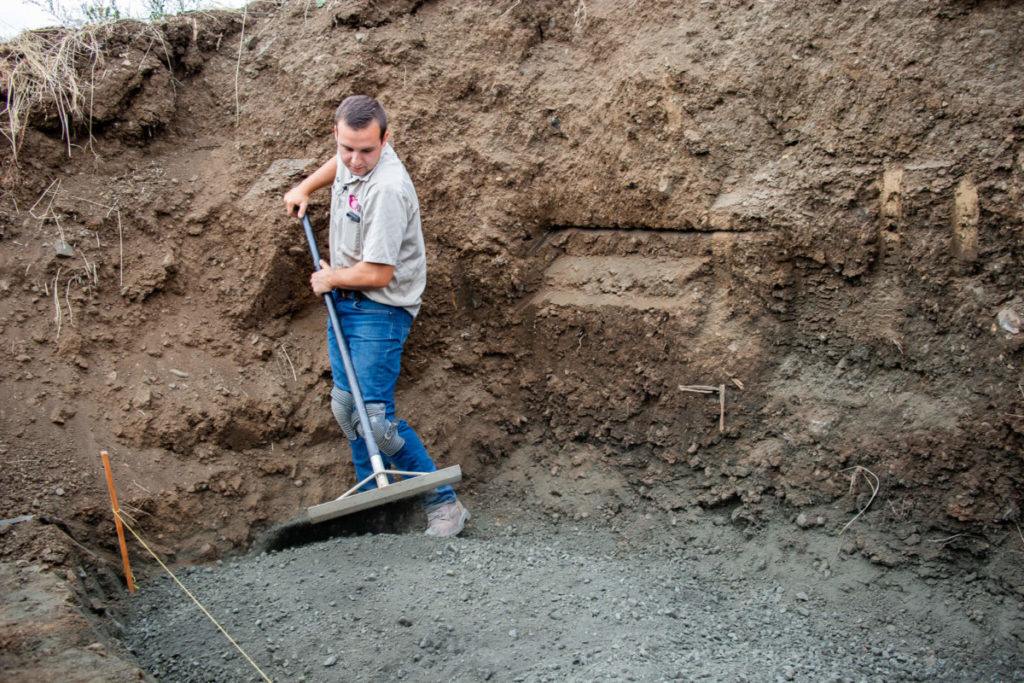
Once we dumped a sufficient amount of gravel in the hole, we used a garden rake to spread the gravel as evenly as possible for smooth compaction.
Step 3: Compact the gravel with a large compactor
Depending on the rating of your compactor, you’ll have to space out your base in a few lifts. For this project, we compacted three times, which means, we compacted the base after every 2” of gravel we laid.
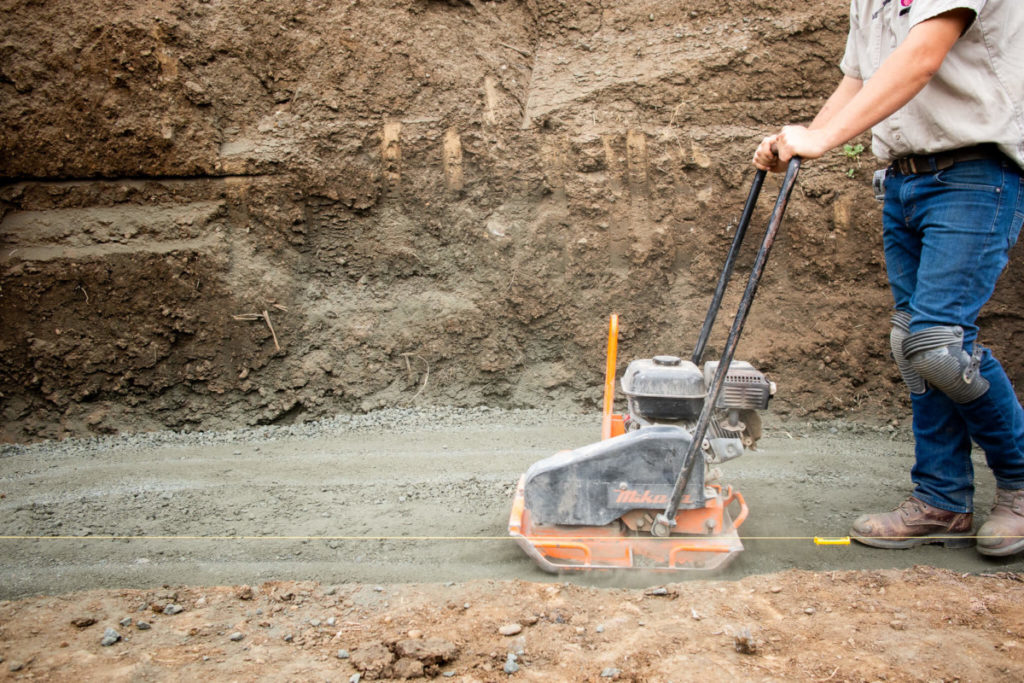
If you’re wondering, “how much gravel can my plate compactor compact at one time?” The general rule of thumb is a plate compactor can compact as many inches of gravel at one time as the number of people it takes to pick it up. Since our plate compactor takes two people to pick it up, we only compact 2” of gravel at a time.
Step 4: Pinup filter fabric
Filter fabric is an essential step in the process of building a retaining wall because it lets water through but prevents dirt, bark dust, or other landscaping from migrating into your gravel base.
First, measure and cut the length of the space you need to cover. We’d recommend cutting the width twice the height of your wall so that you can drape the filter fabric over your backfill when you’ve finished. This step is vital so that any topsoil or landscape you install on top of your retaining wall stays out of the reinforced backfill.
In this project, we used the entire width of the fabric roll as our height. If you’re building a tall wall, you can always cut a strip of filter fabric to lay on the top to compensate if needed.
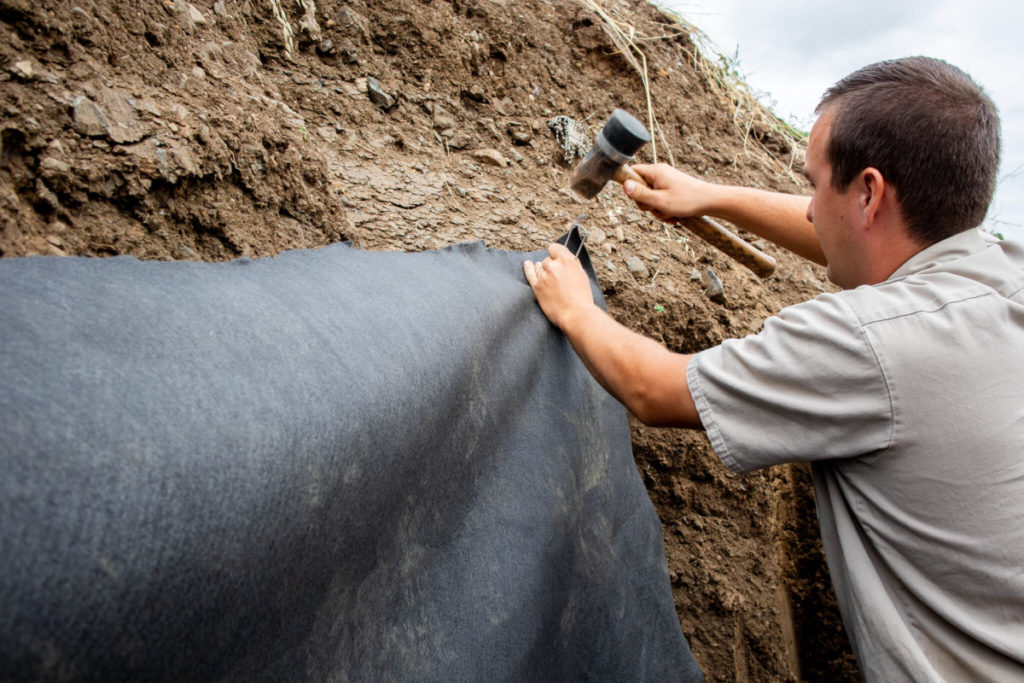
Pinning up filter fabric is pretty simple. Use enough landscape staples to hold it in place while you build your wall. You’ll pull the staples out when you’re done so that you can fold the filter fabric on top of your backfill once you’re done.
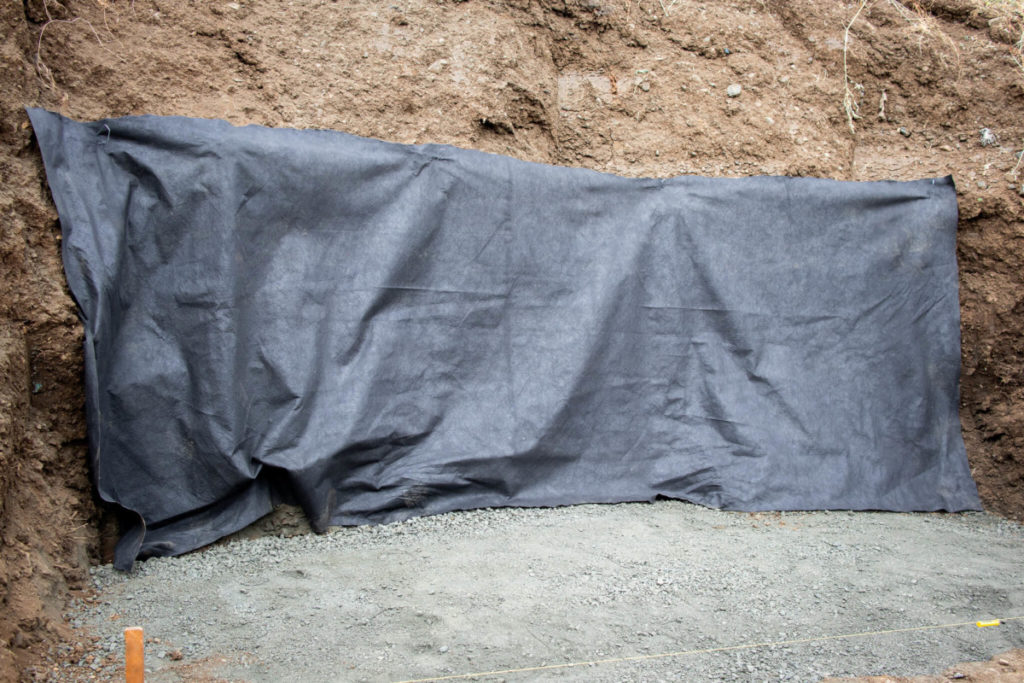
There you have it. You’ve set the foundation for a reinforced retaining wall with a compacted gravel base and filter fabric shield.
Step 5: Install perforated pipe for water drainage
No matter where you live, you’re going to experience water drainage that needs to move behind or under your wall—especially if you live in the pacific northwest.
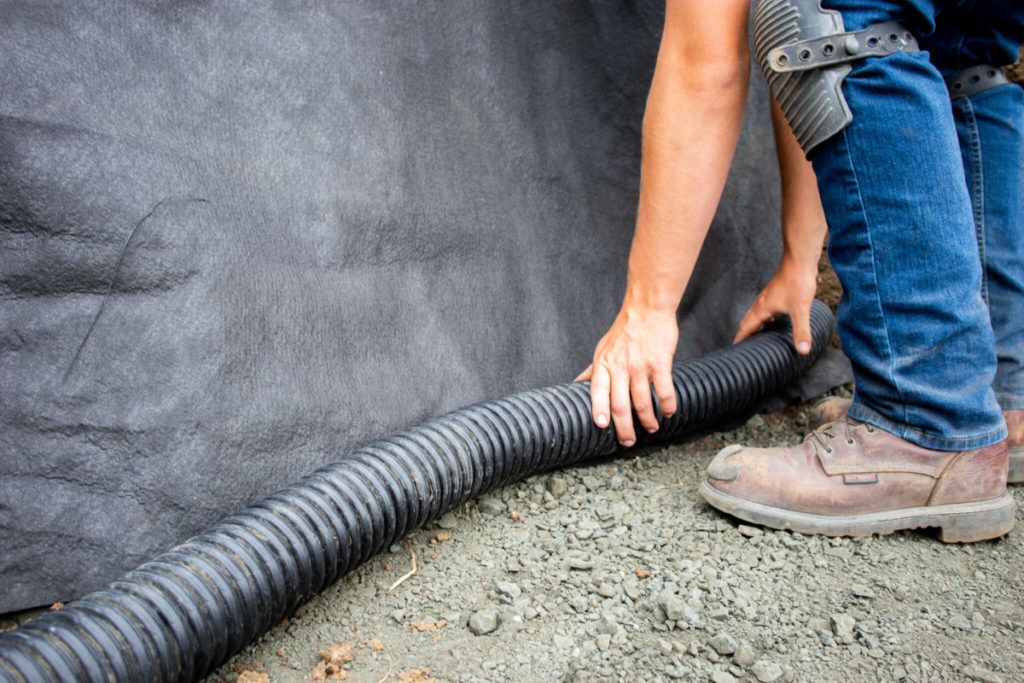
To install the perforated piping, you’ll want to lay it down at the back of your wall at a grade so water can drain through the pipe as needed. As you add gravel backfill, you’ll bury the pipe (save the ends), so it stays in place.
Step 6: Lay the first course of block and fill with gravel
At this point, your retaining wall area is ready for the first course of block. Before you lay block, we recommend installing a string line where you’ll be stacking blocks to help you establish a straight and level first course.
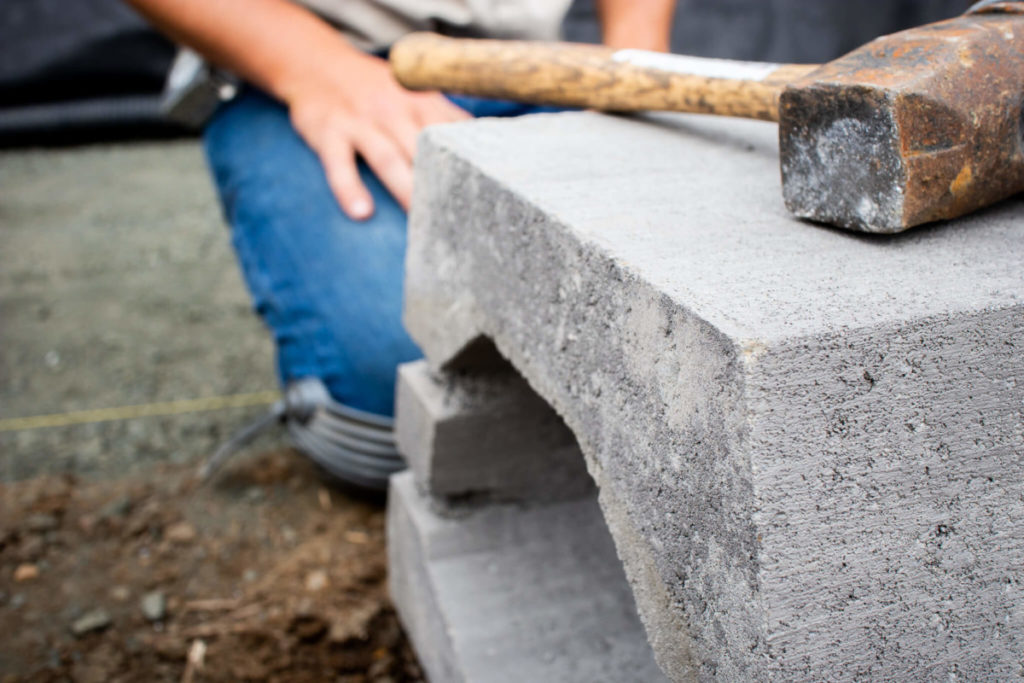
For the base course, we recommend using the Murata™ Variable. This retaining wall block is different because, as you can see in the picture above, it doesn’t have a lip. That’s to make it easier for you to lay it flat on your gravel base—without needing to chip off the lip.
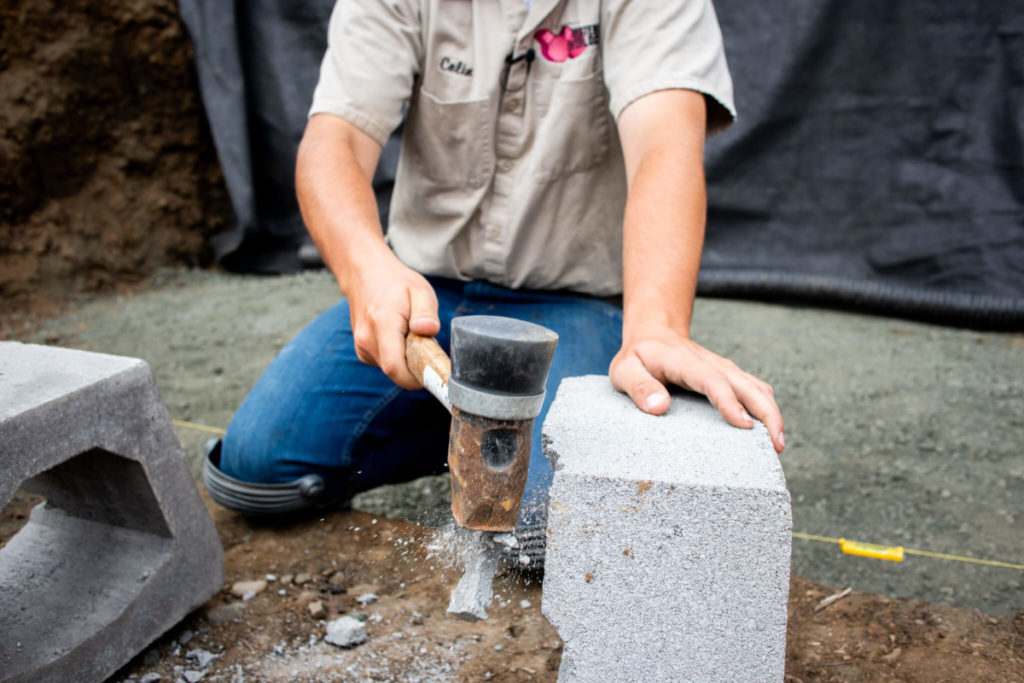
However, if you’re using a standard 6×16” manor stone (also known as a cinder block), you’ll need to chip off the lip. To do this, you’ll take a standard hammer and break it off, you see in the picture above. It doesn’t have to be perfect because it’ll be at the bottom of your first course.
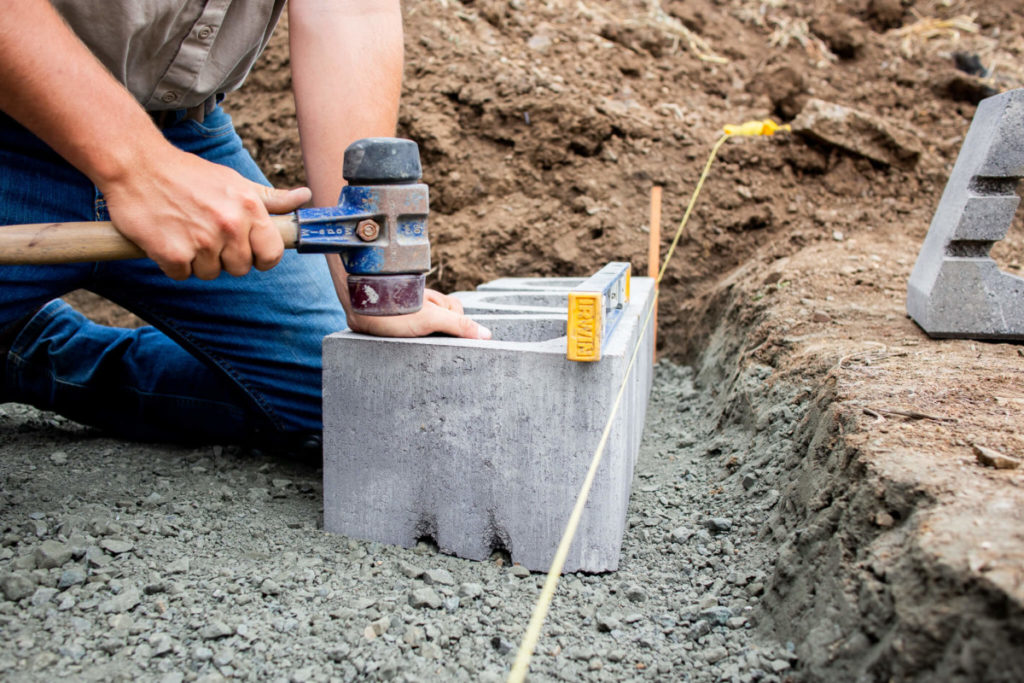
As you lay your blocks on the gravel base, use a small torpedo level to ensure that each block is level, front-to-back, and side-to-side.

Once you’ve laid the first course, fill the retaining wall blocks with gravel to ensure stability.
Step 7: Compact the first course for a solid foundation
Once you’ve finished laying your first course of retaining wall blocks and have filled them with gravel, add another 6” of gravel backfill behind your blocks. Rake and compact as we’ve instructed in steps two and three.

Step 8: Place geogrid to enhance the stability of the wall
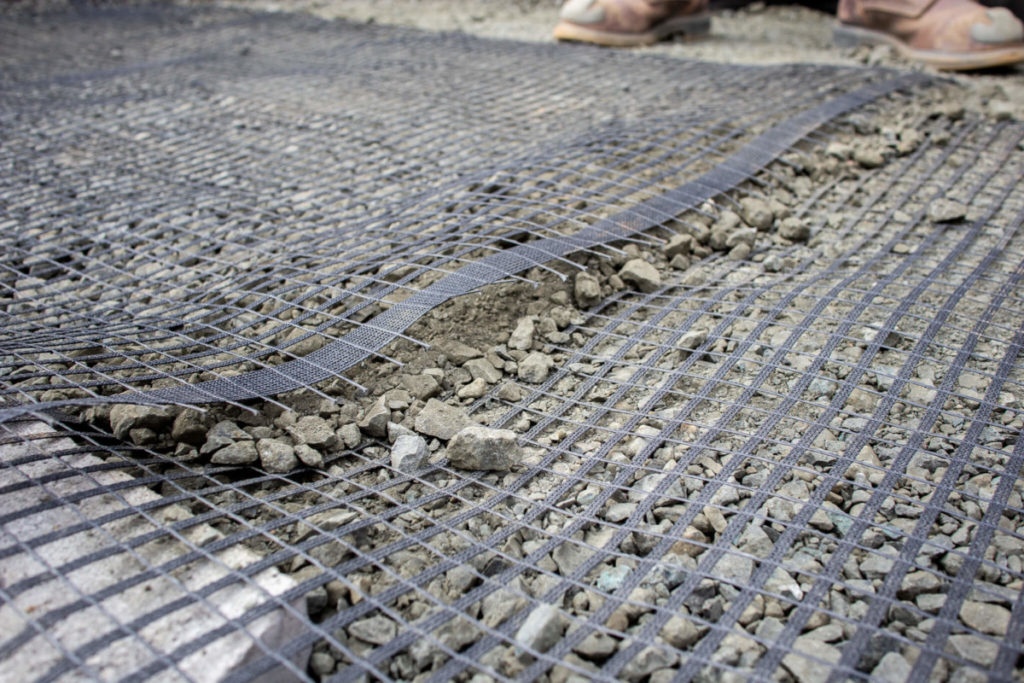
Another critical step to reinforcing your retaining wall is placing geogrid between courses. Geogrid provides a framework inside your backfill to help ensure your gravel (and your wall) stays in place.
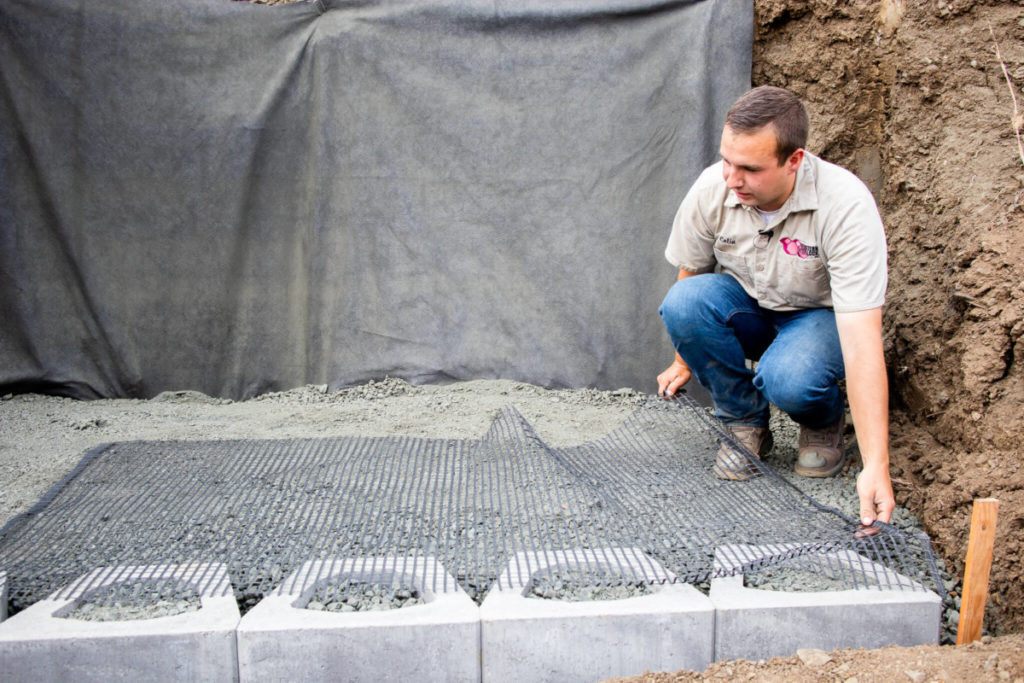
A standard geogrid roll comes in a 6’ width. Depending on the length of your wall, you may need to overlap the grid as we’ve done below, to ensure it covers the entire wall length. Shovel a thin layer of gravel between the overlap—in instances where you need to overlap the grid—to ensure stability.
Step 9: Stack, compact, and grid
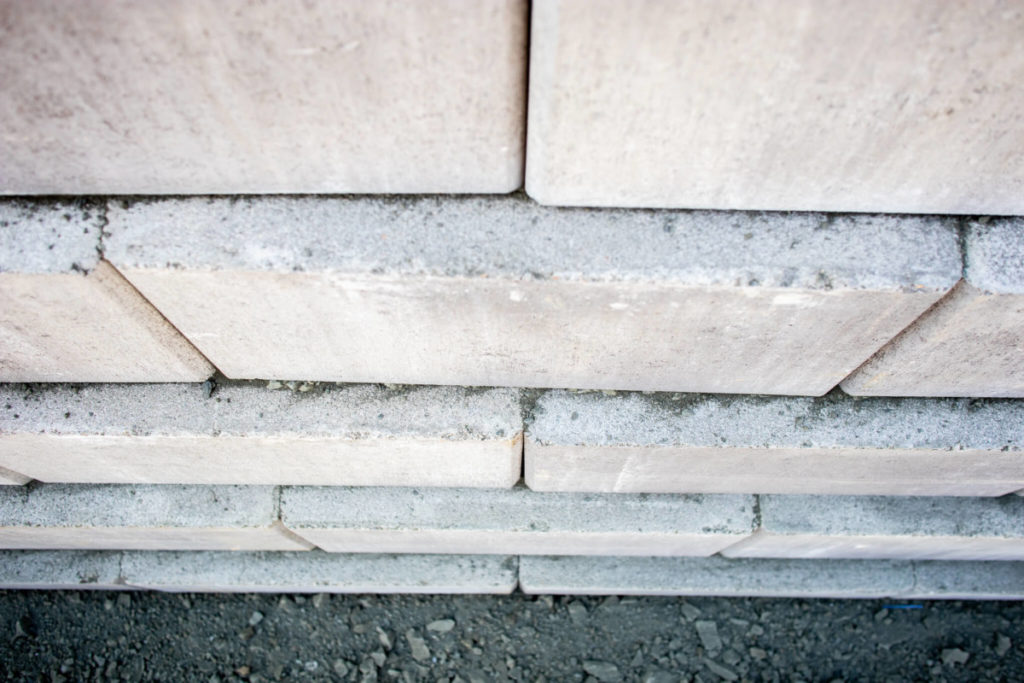
Now that you’ve laid your first course, backfilled with gravel, and installed geogrid, you can repeat steps six through eight until your wall is the right height.
Step 10: Cap off your retaining wall
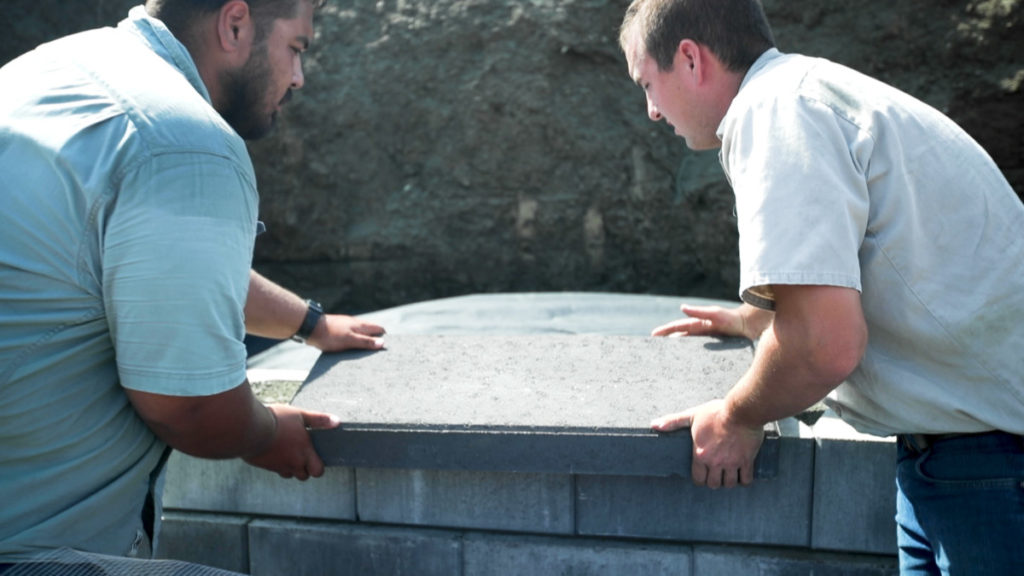
The last step is unpinning the filter fabric and folding it over the backfill to protect your gravel backfill. Once your filter fabric is in place, you can add landscaping on the top, whether it’s bark dust, decorative rock, or topsoil. That’s how you build a beautiful and stable retaining wall system.
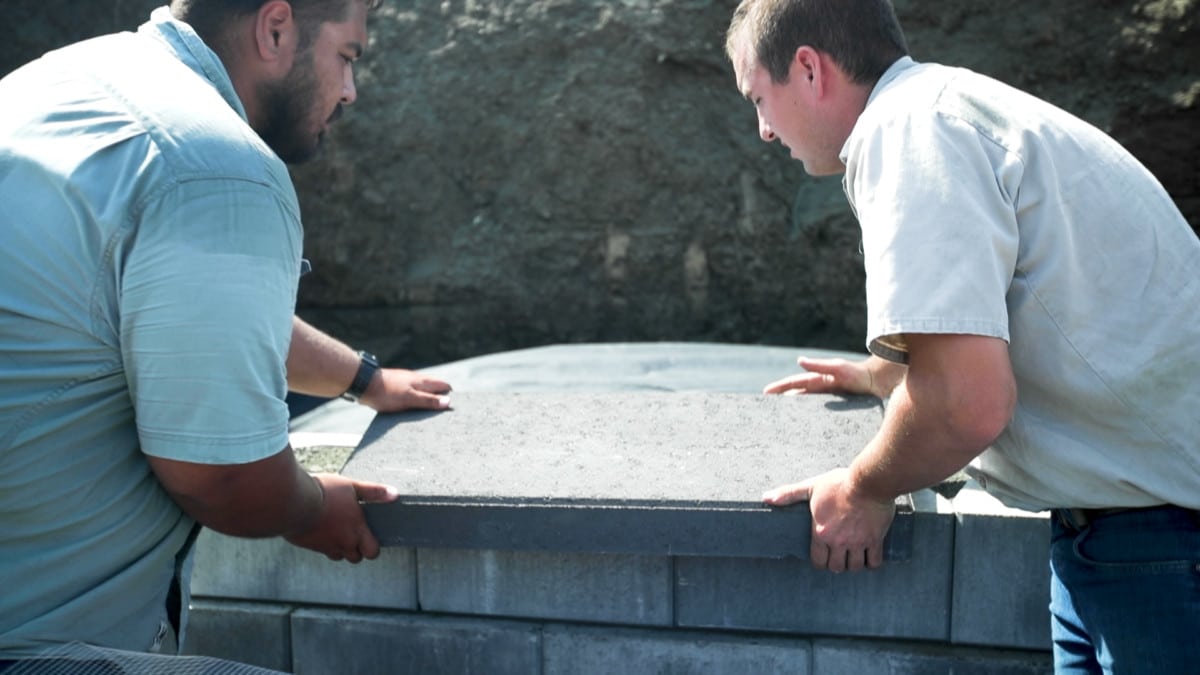
Once you’ve reached your desired wall height, you’ll want to add Murata™ Capello caps to the top of your retaining wall blocks to finish it off.
Learn how to hardscape and Build a Retaining Wall at Home
Here at Western Interlock, we’re on a mission to take the hard out of hardscaping. That’s why we publish DIY tips, tricks, and step-by-step tutorials at DIYwithWI.com and host a live DIY seminar every month during the summer at one of our manufacturing or distribution facilities.
If you have any questions, you can visit our Paving Stone Display at our Manufacturing Facility in Rickreall, OR. Alternatively, give us a call our team of hardscape experts at 503-623-9084.


