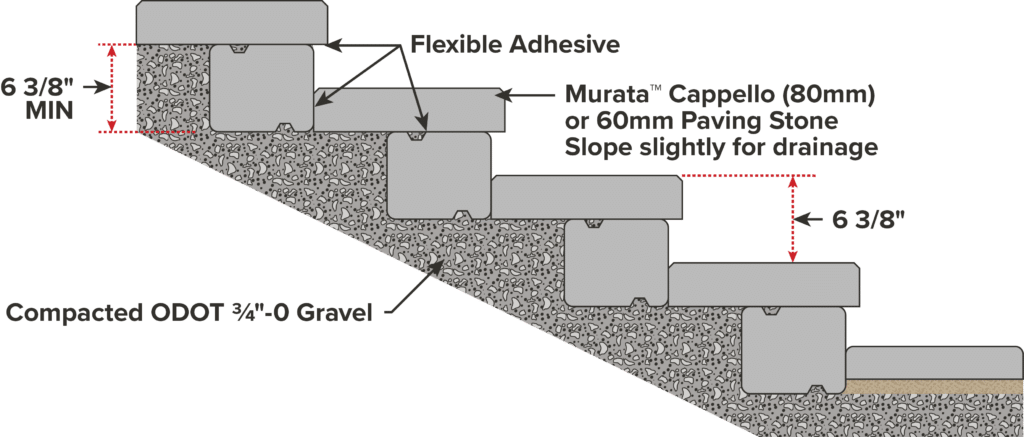
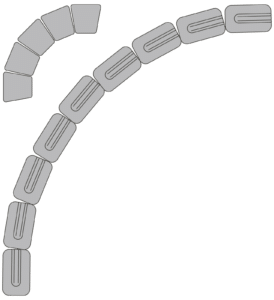
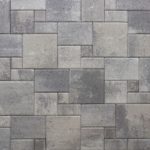
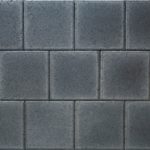
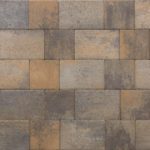
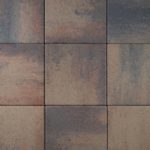
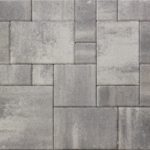
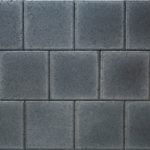
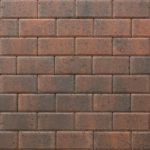
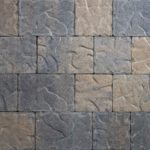
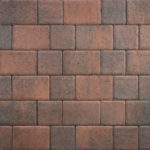
Tegula Garden Wall™ is an easy do-it-yourself decorative and gravity retaining wall (up to 36″ tall). Tiered walls, garden walls and planters (including those with curves and corners) are all easily installed.
GRAVITY WALL INSTALLATION:
1. Planning Your Project
Prepare a layout for your Tegula Garden Wall™ project. Projects that retain soil and are over 32″ high should be engineered. Determine the face square feet of wall and any columns you will have. When calculating wall face square footage, remember that you will have at least the first layer of block buried below the finished soil grade.
2. Preparing the Base
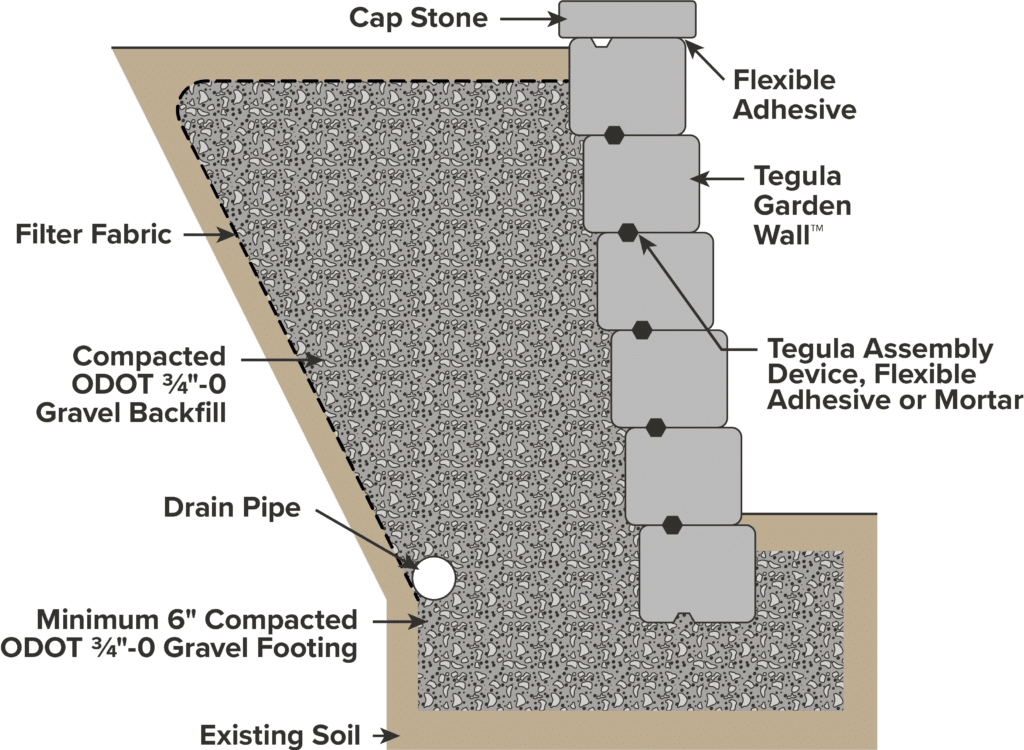
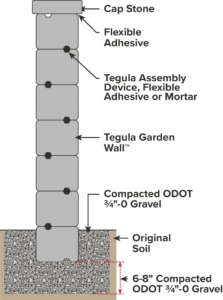
Excavate the soil 10″-12″ below grade and at least 4″ wider on each side than the blocks you are laying. Refer to the installation diagrams for details and better understanding on varied types of projects. With unstable soils, increase the depth of excavation as required to allow for a deeper base. Place ODOT ¾”-0 gravel into the excavation area to a minimum depth of 6″ and level it. Next, compact the gravel with a hand tamper or plate compactor. Make sure that you have a minimum of 12″ of excavation behind the wall for gravel back fill. This may need to be increased, depending on soil type.
3. Positioning the Bottom Course
Set the bottom course of block at the desired position on top of the prepared gravel. Using a large rubber mallet and a level, adjust the block until it is level, end to end, and front to back. Set the adjacent blocks in the same manner, using a string line or a level to keep long runs straight and flat.
4. Building and Backfilling
Place an assembly device, a small ball of mortar in the top groove, or place a bead of approved adhesive on the surface of the block. Set each additional course in the same manner, ensuring that each new block is resting on the two blocks below it. Align the assembly grooves for a retaining wall or alternate them for a free-standing garden wall. Continue this process one layer at a time until the desired height is obtained. Retaining walls require backfill of ODOT ¾”-0 gravel to within 6″ of the finish height. Backfill and compact behind each course as the wall is built. Use a masonry saw to make any necessary cuts.
4. Finishing the Wall
Place a cap on the top course, using an approved flexible adhesive. Roca paving stones, Monaco Coping, or Murata™ Cappello caps may be used.
