DIY with WI Seminar Series | 2020
Yes, you CAN do it yourself!
We’ll show you how.
We’ve developed seminars especially for homeowners and DIYers, that explains the process in language you can understand. This year, we’re also including some new build it in an afternoon project seminars that are sure to inspire you to take your yard from ordinary to extraordinary.
Get some practical how-to from our experts.
We host hour-long seminars on the first Saturday of each month during the season. With six seminars to choose from, there’s sure to be one that fits your busy schedule. All of our seminars are FREE and viewable online*.
If you are interested in viewing one of our seminars, click the button below to be taken to the next event’s landing page for more information!
*It is possible that we may be able to begin hosting live, in-person seminars outside at our Rickreall, OR facility soon. If we do, the number of attendees will be limited, so sign up today!
How to Build a Stone Fire Pit in Your Backyard
Overview
- Difficulty: Easy
- Est. time: 1–4 hours
Materials
- Tegula 40” Fire Pit Kit
- ¾” minus gravel
- SureBond SB20 or other Flexible Construction Adhesive
- Marking paint (white)
Tools
- Work gloves
- Wheelbarrow
- Pickaxe
- Shovel
- Garden rake
- Hand broom
- Tamper
- Rubber mallet
- Torpedo level
- 24-inch level
- Tape measure
- Caulk gun
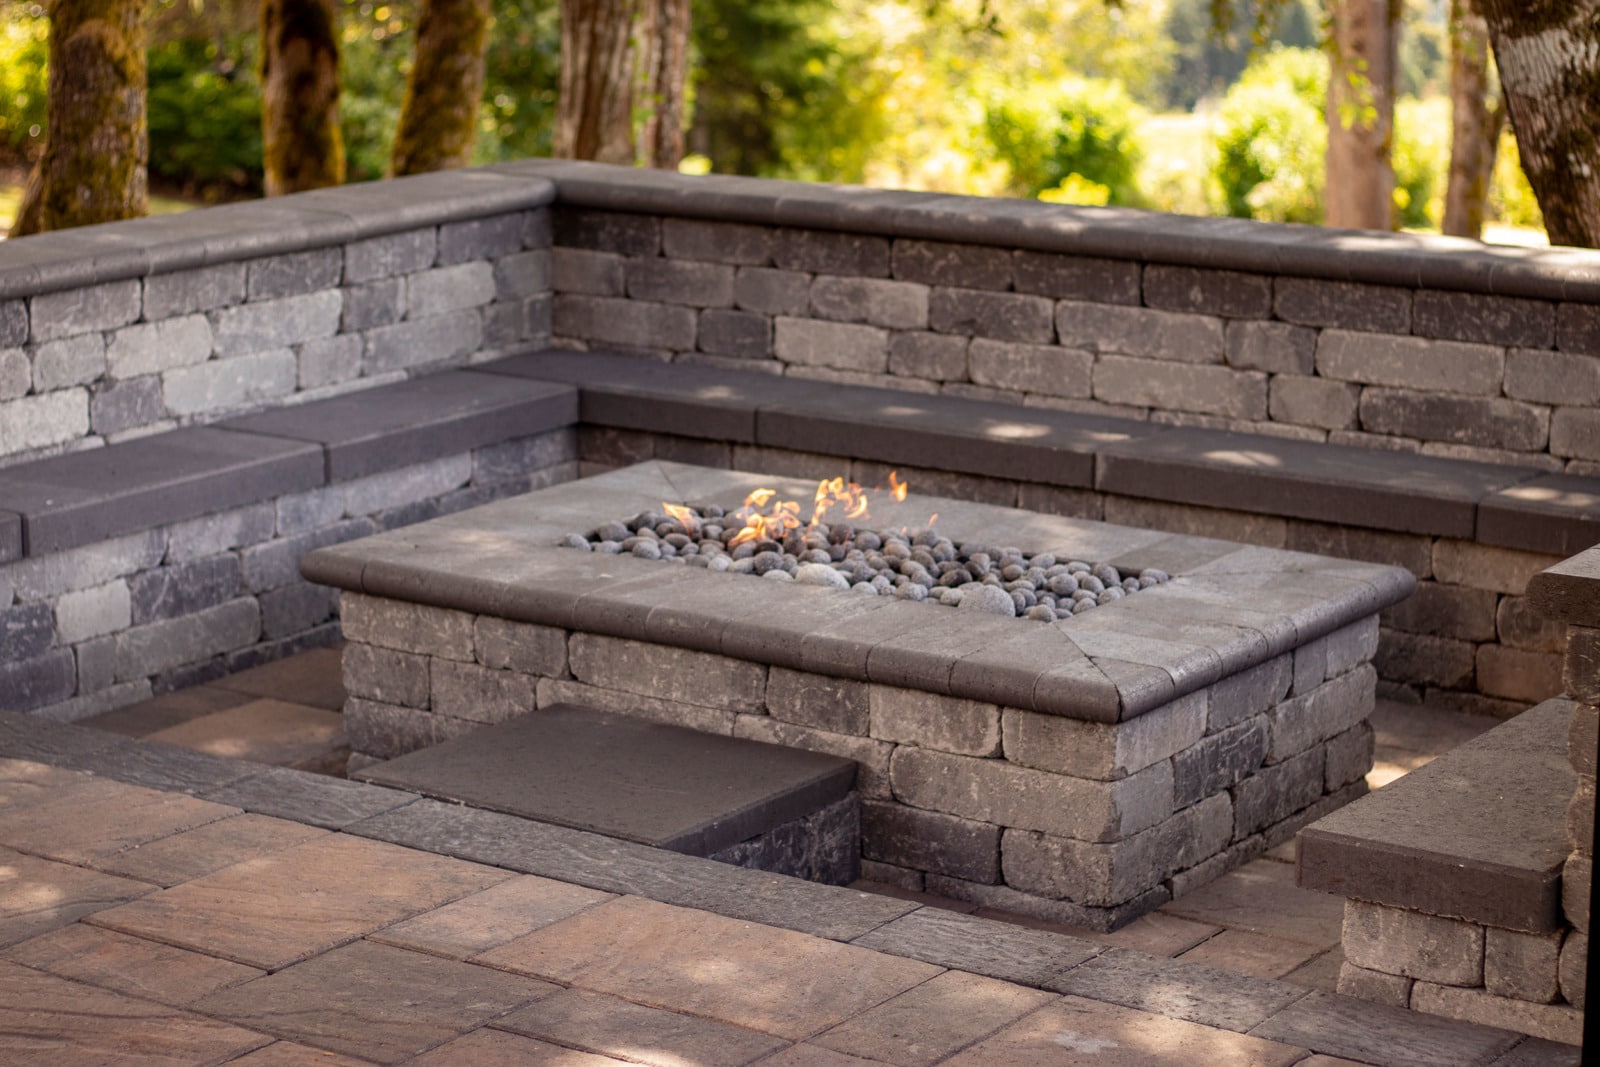
In this DIY with WI tutorial, we’ll be using our Tegula 40” Fire Pit Kit to build a beautiful fire pit. The principles we’ll teach you apply to all fire pits, including our 50” Chateau Fire Pit Kit which has smaller blocks but boasts a bigger outside diameter.
Since Summer’s brewin’, we thought that it would be timely to show you how to build an outdoor fire pit at home. Lucky for you, we’ve made it easy. Not only can you buy a ready-to-build Tegula 40” Fire Pit Kit, we’ve given you step-by-step instructions for how to put it together.
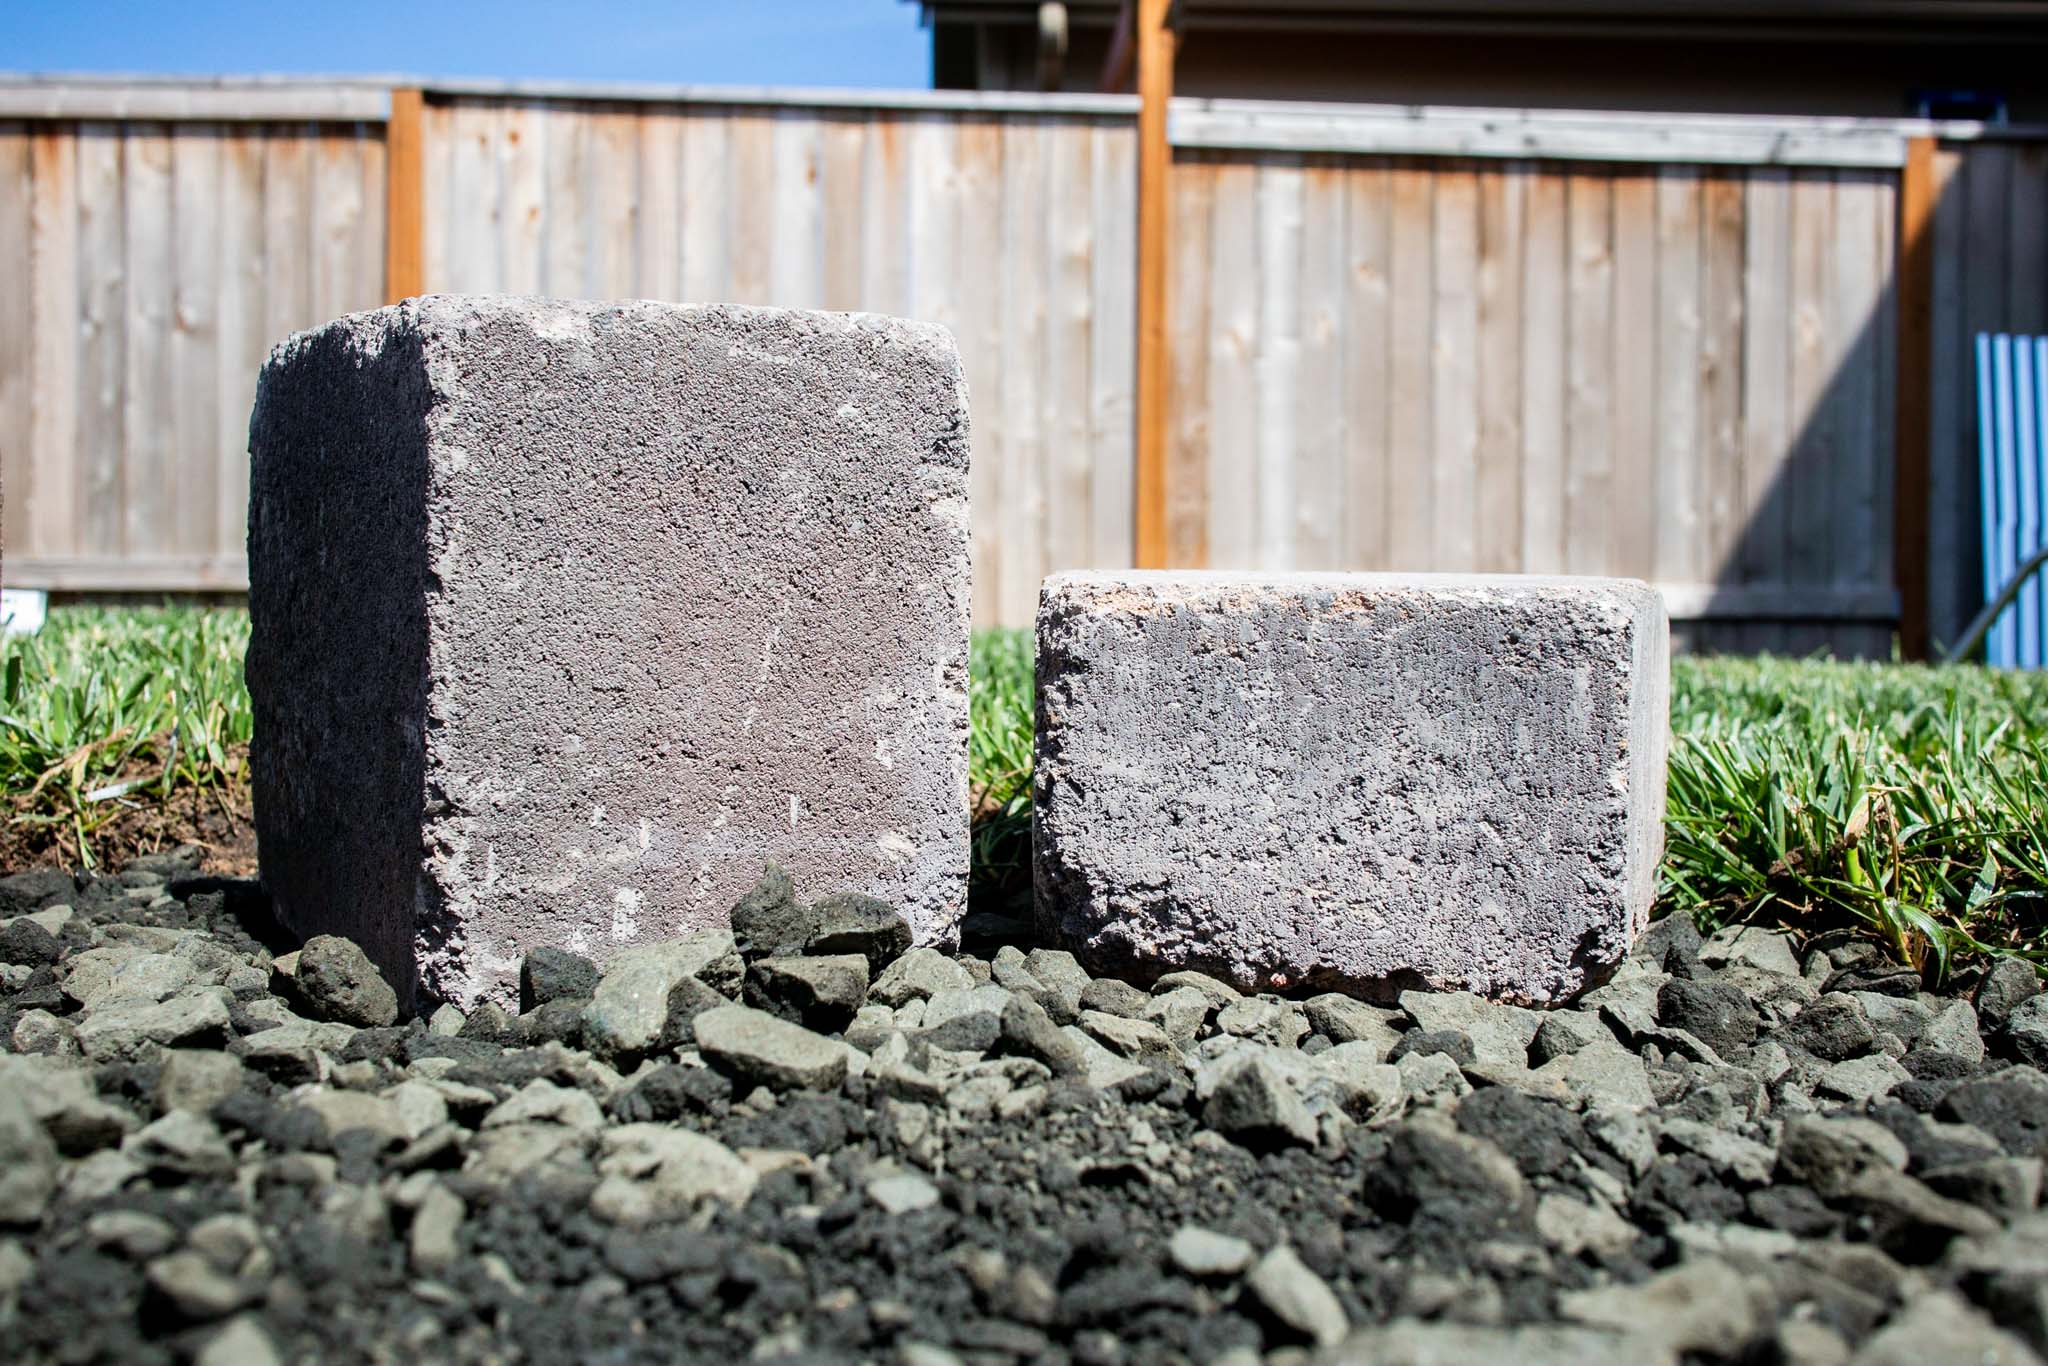
As you can see above, the left block is from the Tegula 40” Fire Pit Kit and the right block is from the 50” Chateau Fire Pit Kit. Since the Chateau block is smaller, you’ll have to use more blocks to build your firepit, which naturally results in more color variation. Either way, both fire pit kits are beautiful and ready-to-build.
The wood’s wastin’ and the chocolate’s meltin’. Let’s get to work!
Step 1: Layout
First things first, you’ll want to identify where to put your firepit. It can be in the grass, on a concrete patio, or on an existing hardscape.
Due to building code restrictions, your fire pit should be at least 15’ away from flammable surfaces. If you’re in Seattle, they recommend at least a 25’ distance.
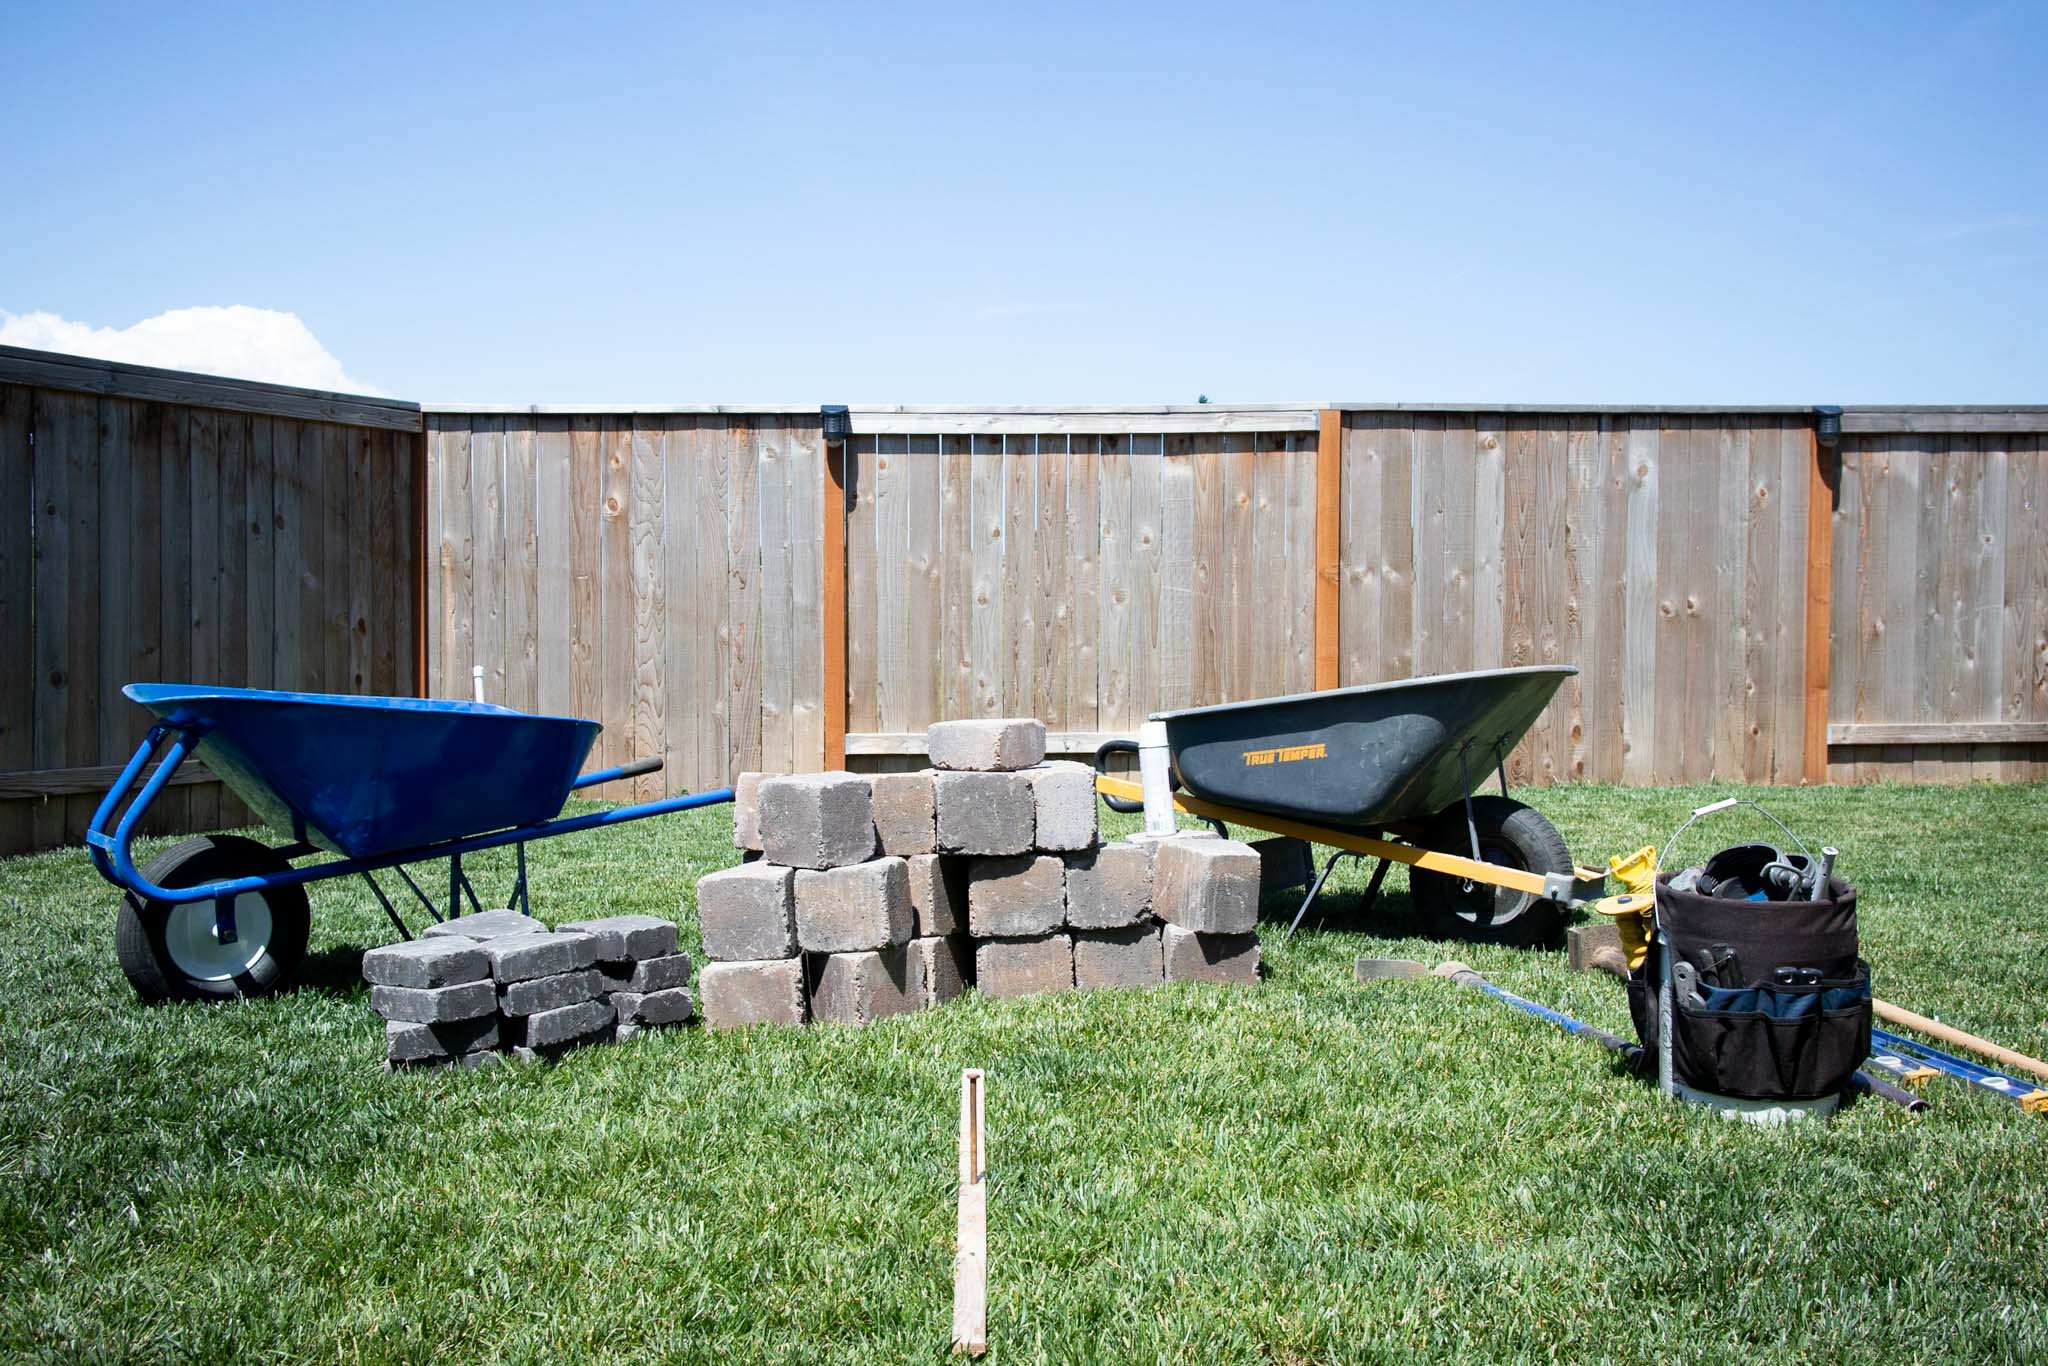
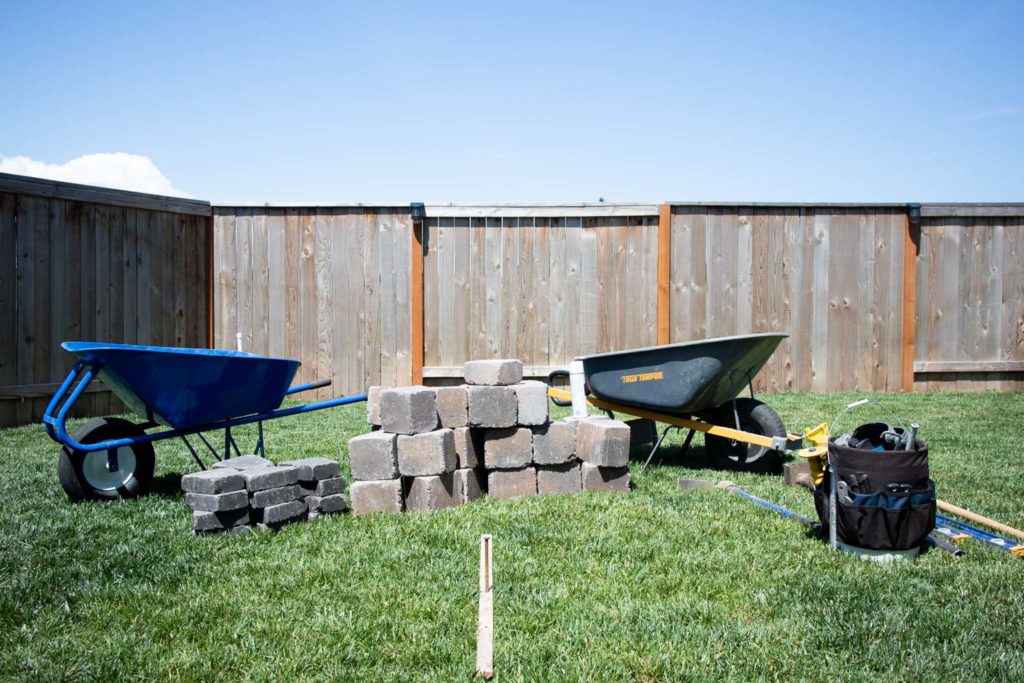
In this example, we installed our fire pit in the grass. So the first thing we did was mark where we wanted the center of our fire pit with a stake. Then, we marked a 40” diameter circle around the stake with white marking paint. It’s easiest to scribe a circle when you cut a string to the exact radius of your fire pit kit and use it as a guide. We used a tape measure, but a string is typically easier and only takes one person.
Step 2: Excavate
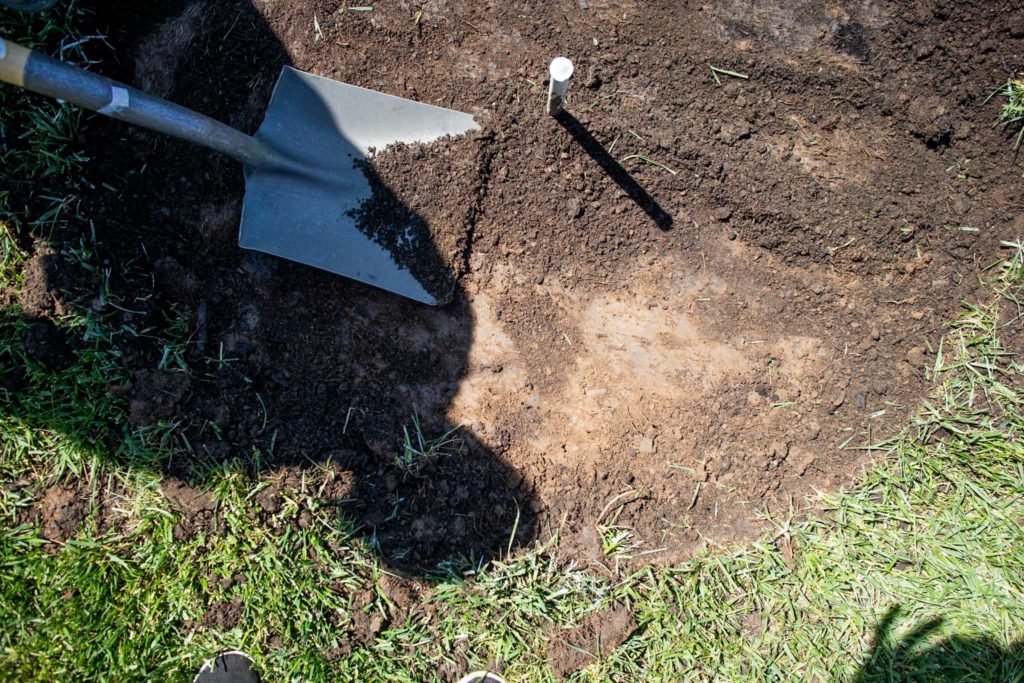
If you’re building your fire pit on existing hardscape, you can skip this step. The reason we excavated—and we want to show you how as well—is because we built our fire pit on an uneven surface. For most yard installations, you’ll need to excavate and lay a gravel base so that your fire pit is stable and secure.
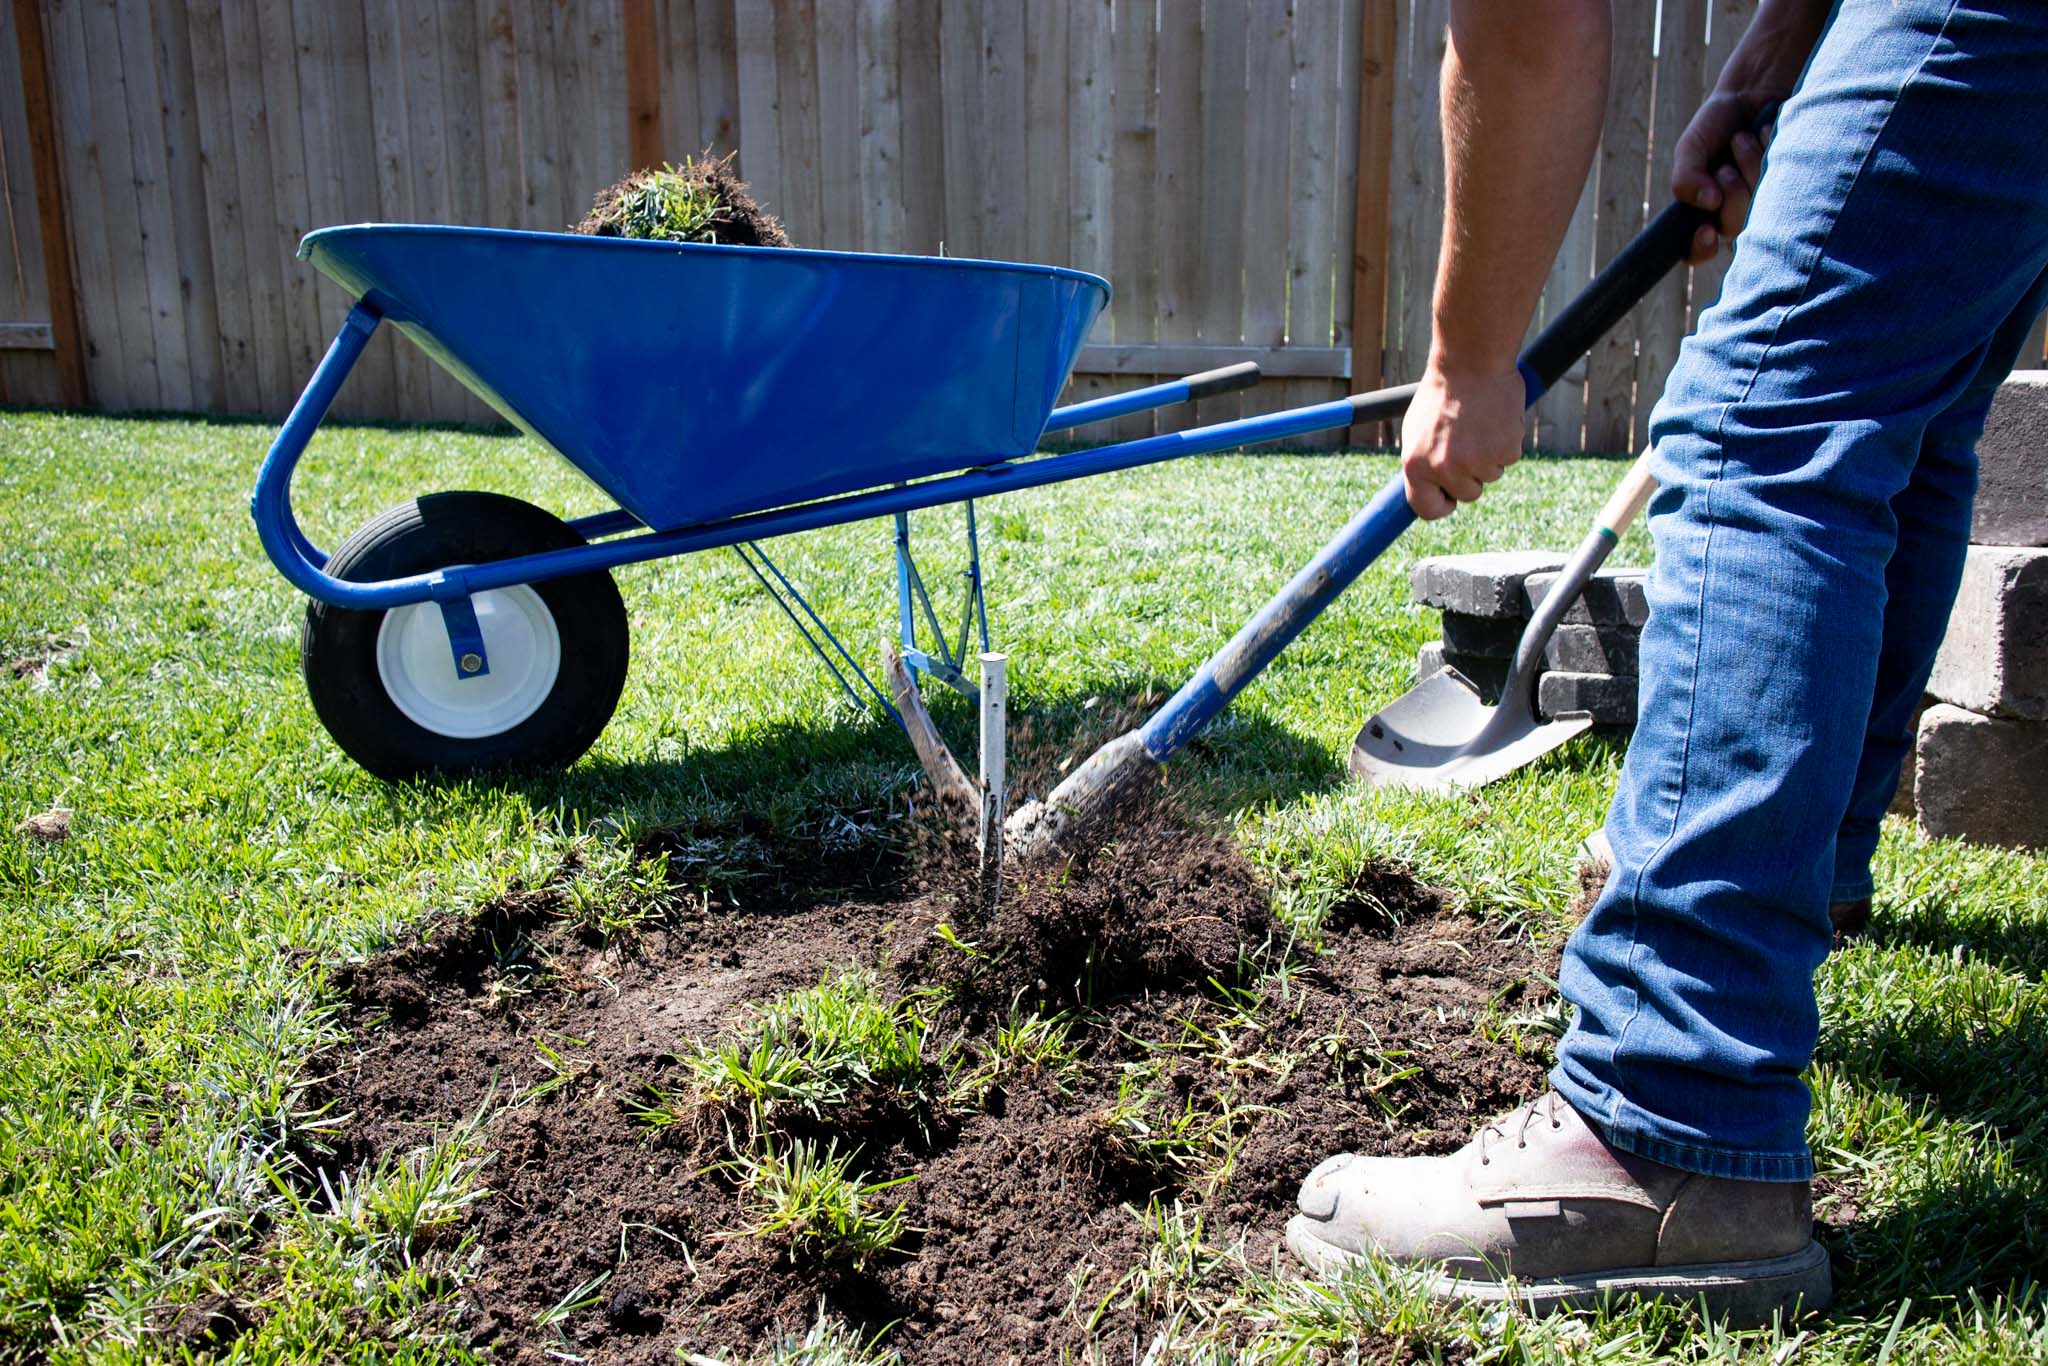
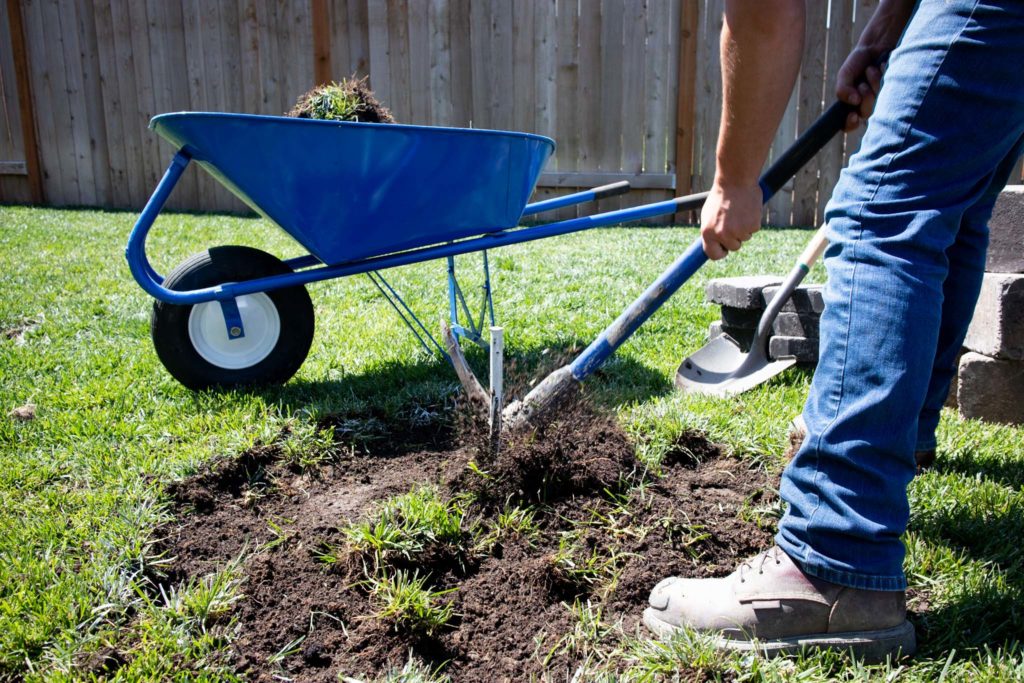
Here’s how to excavate for a level fire pit: after you’ve marked out your fire pit, you need to remove about 4” of dirt or sod so that you have approximately 3” of base underneath.
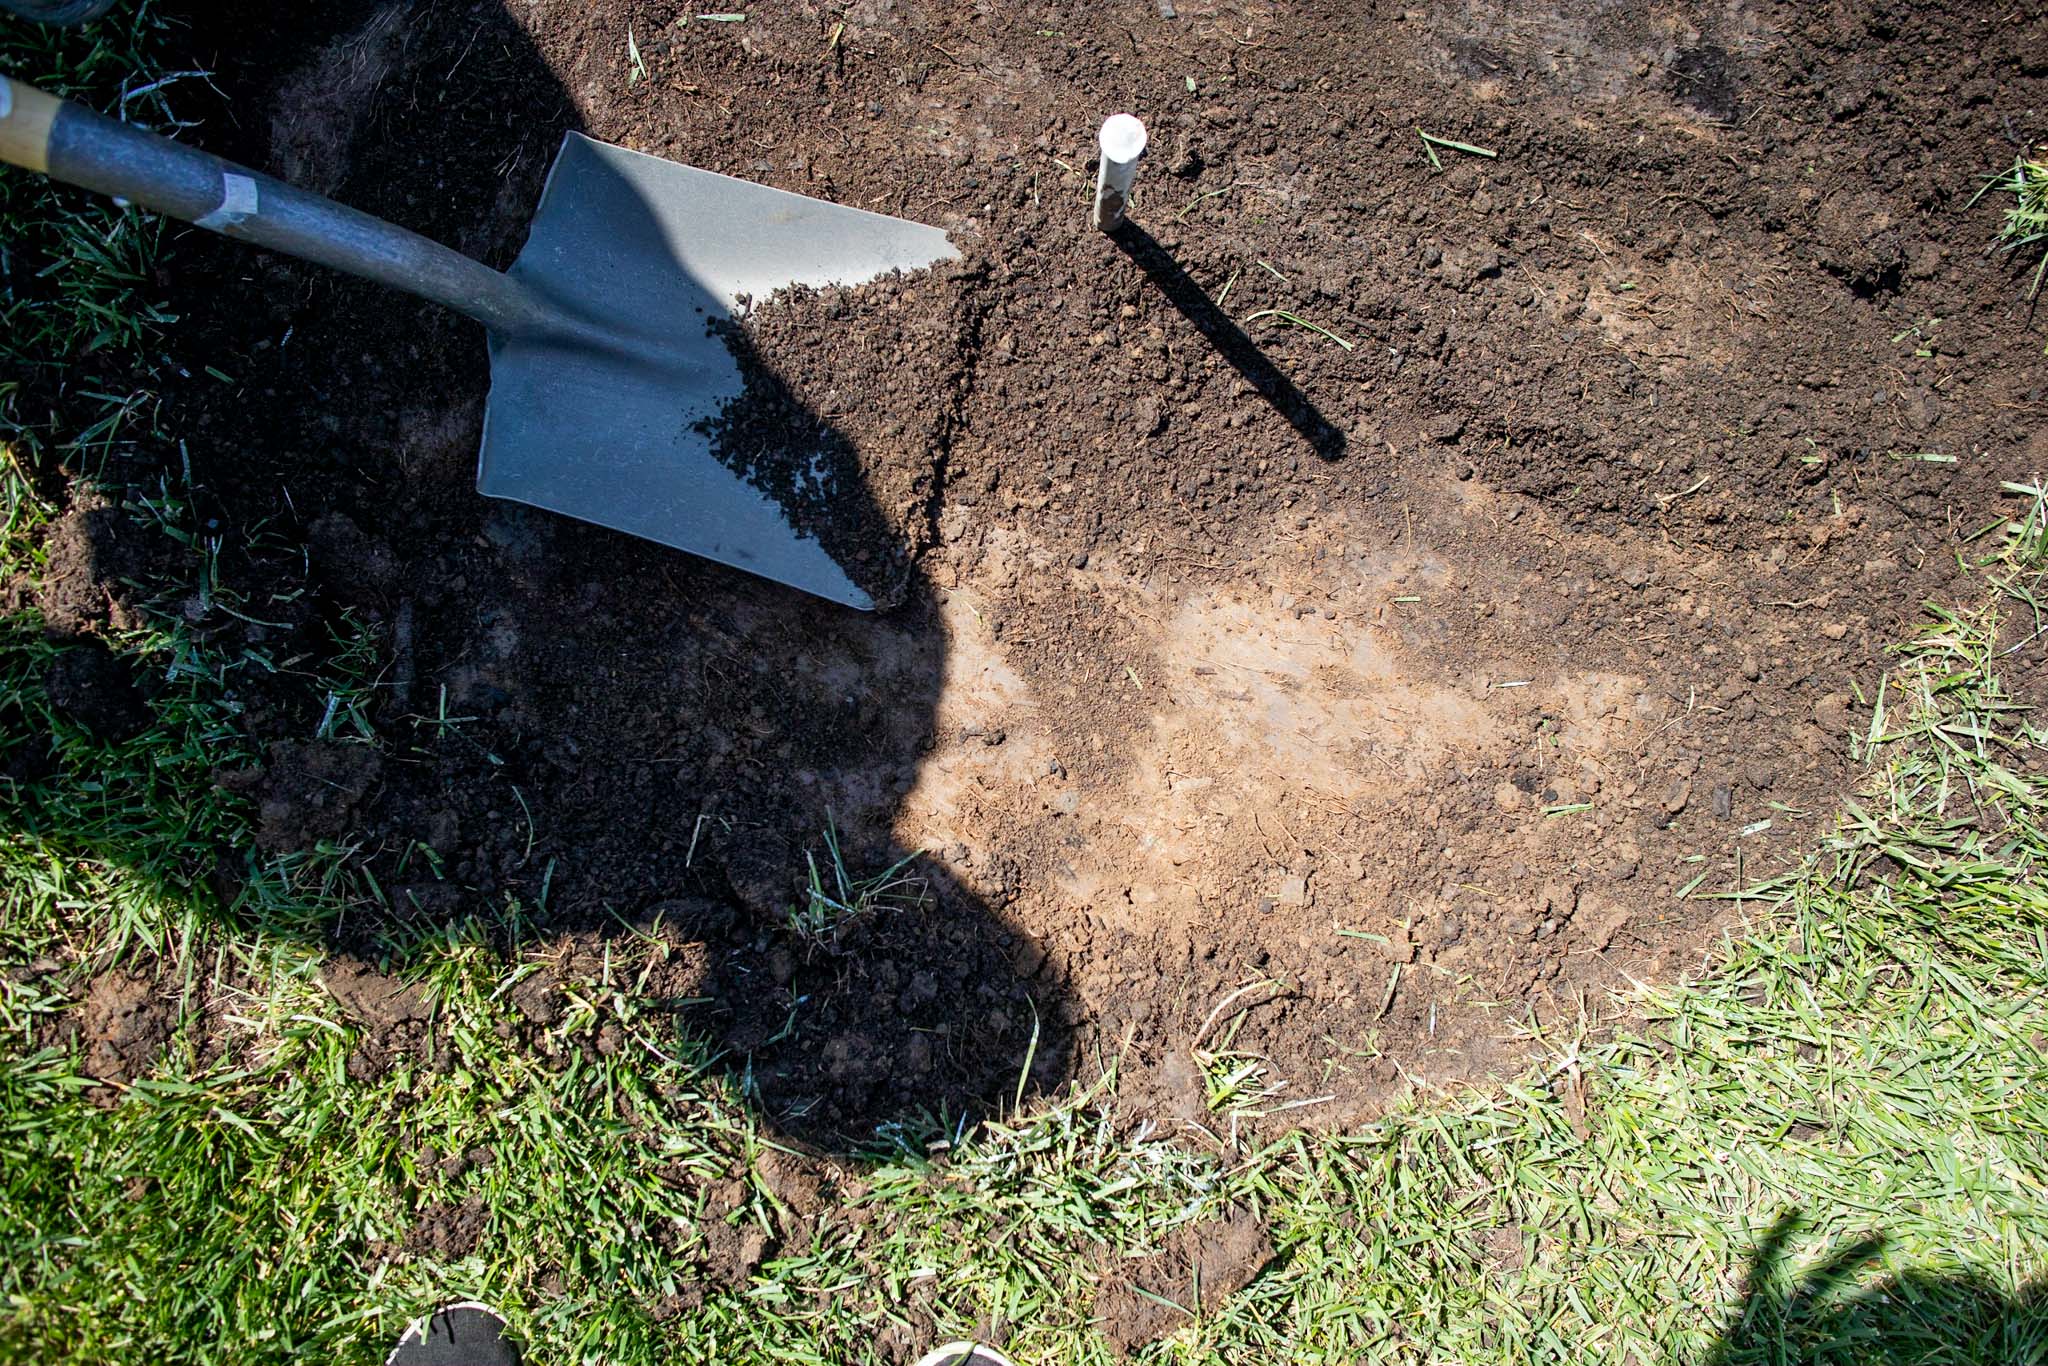
The dirt doesn’t have to be perfectly even, but we recommend that you do your best. After we excavated a majority of the sod with a pickaxe and spade, we used a flat shovel to scrape out any dirt clumps or rocks that would disrupt the final product.
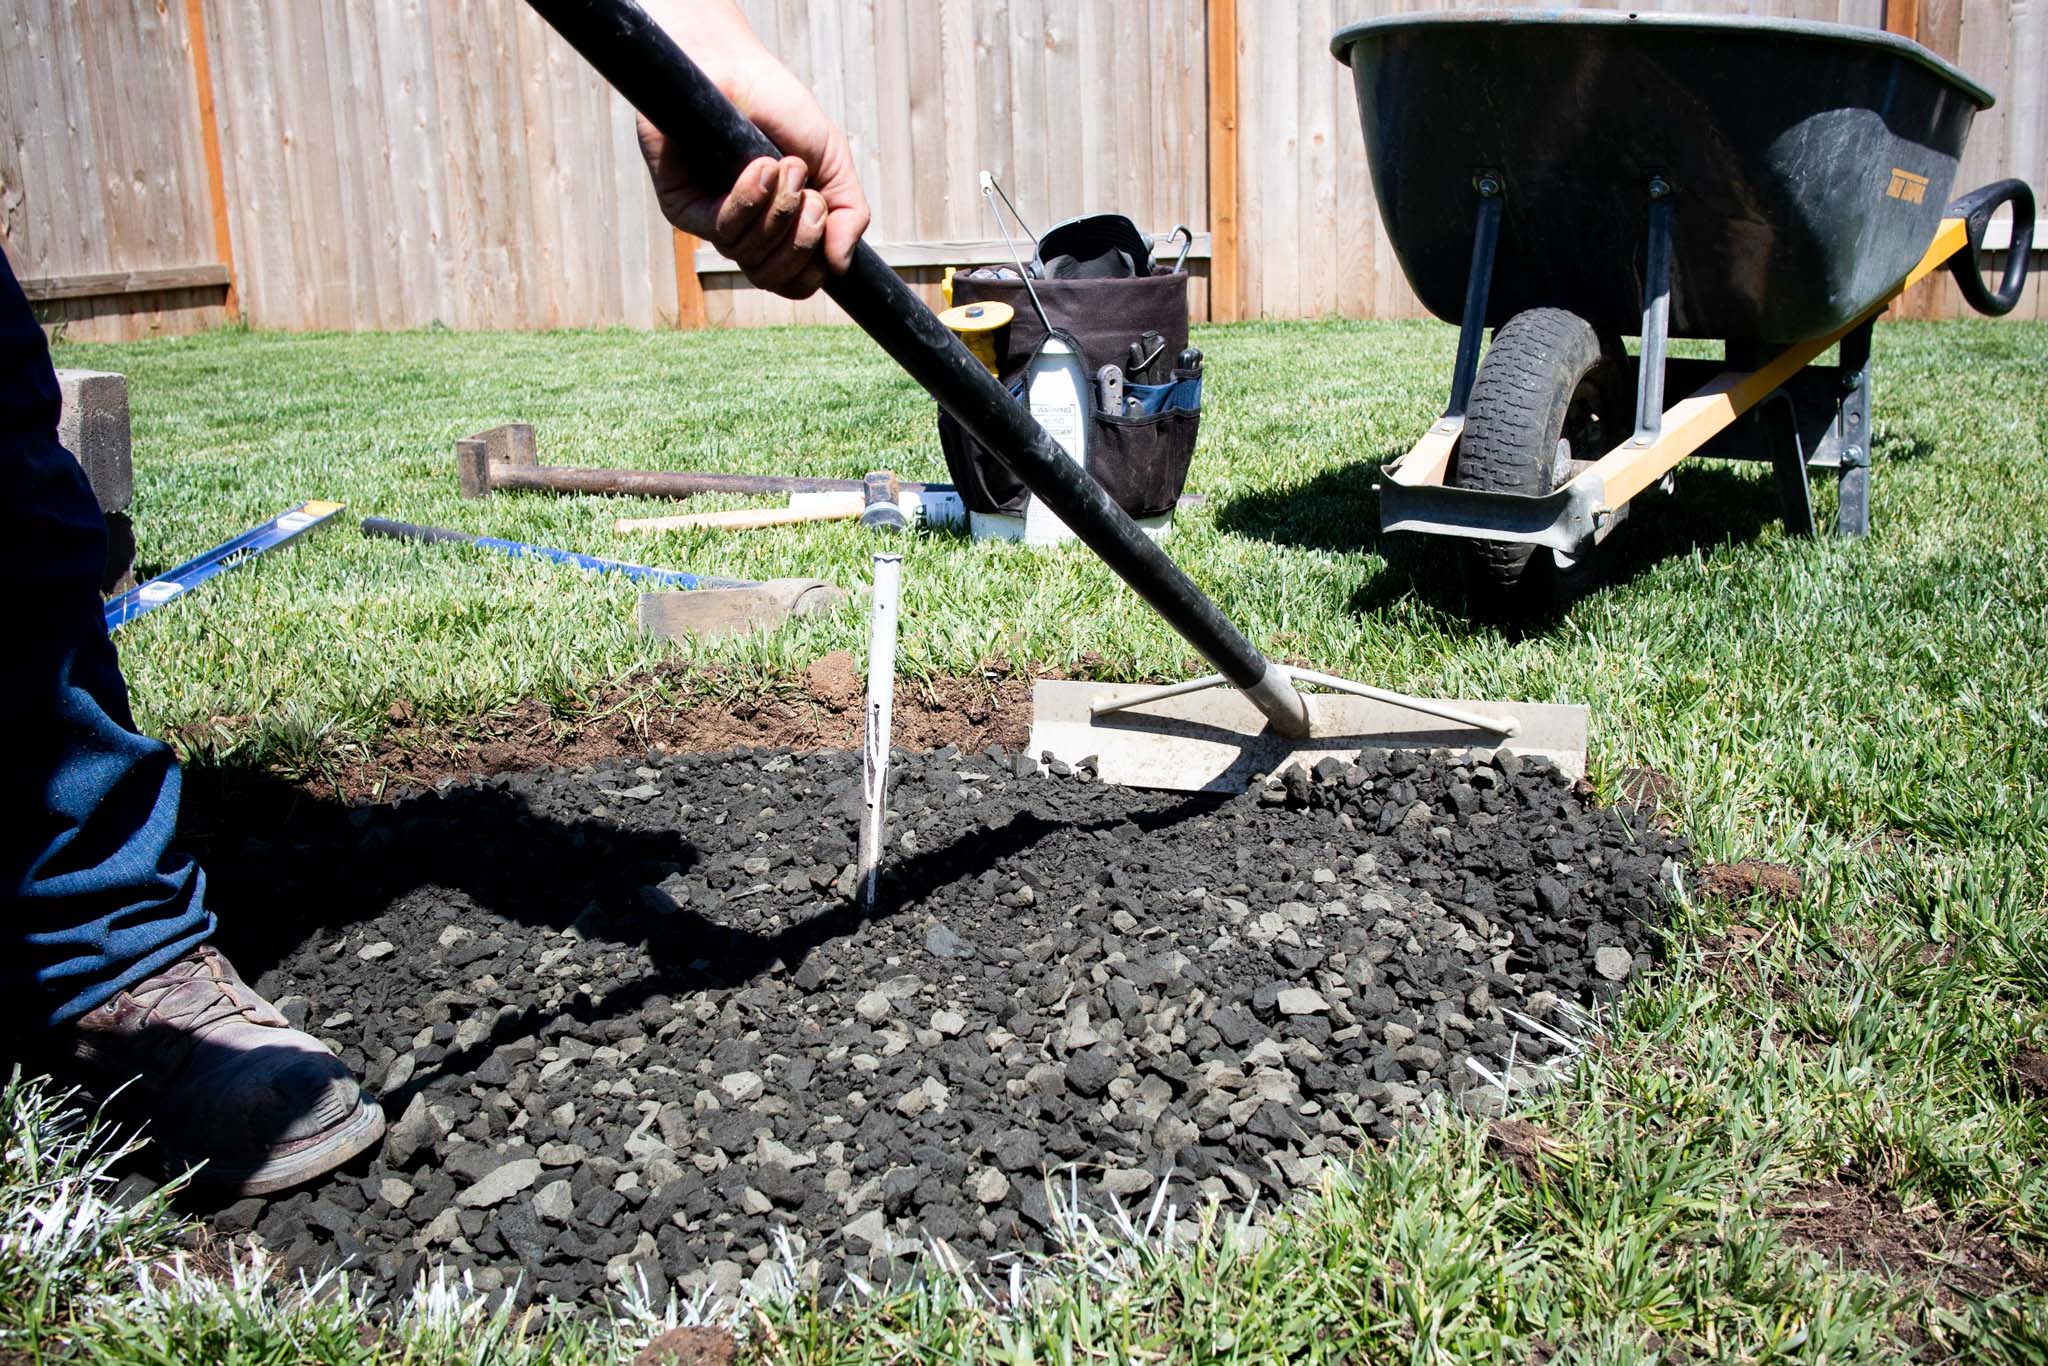
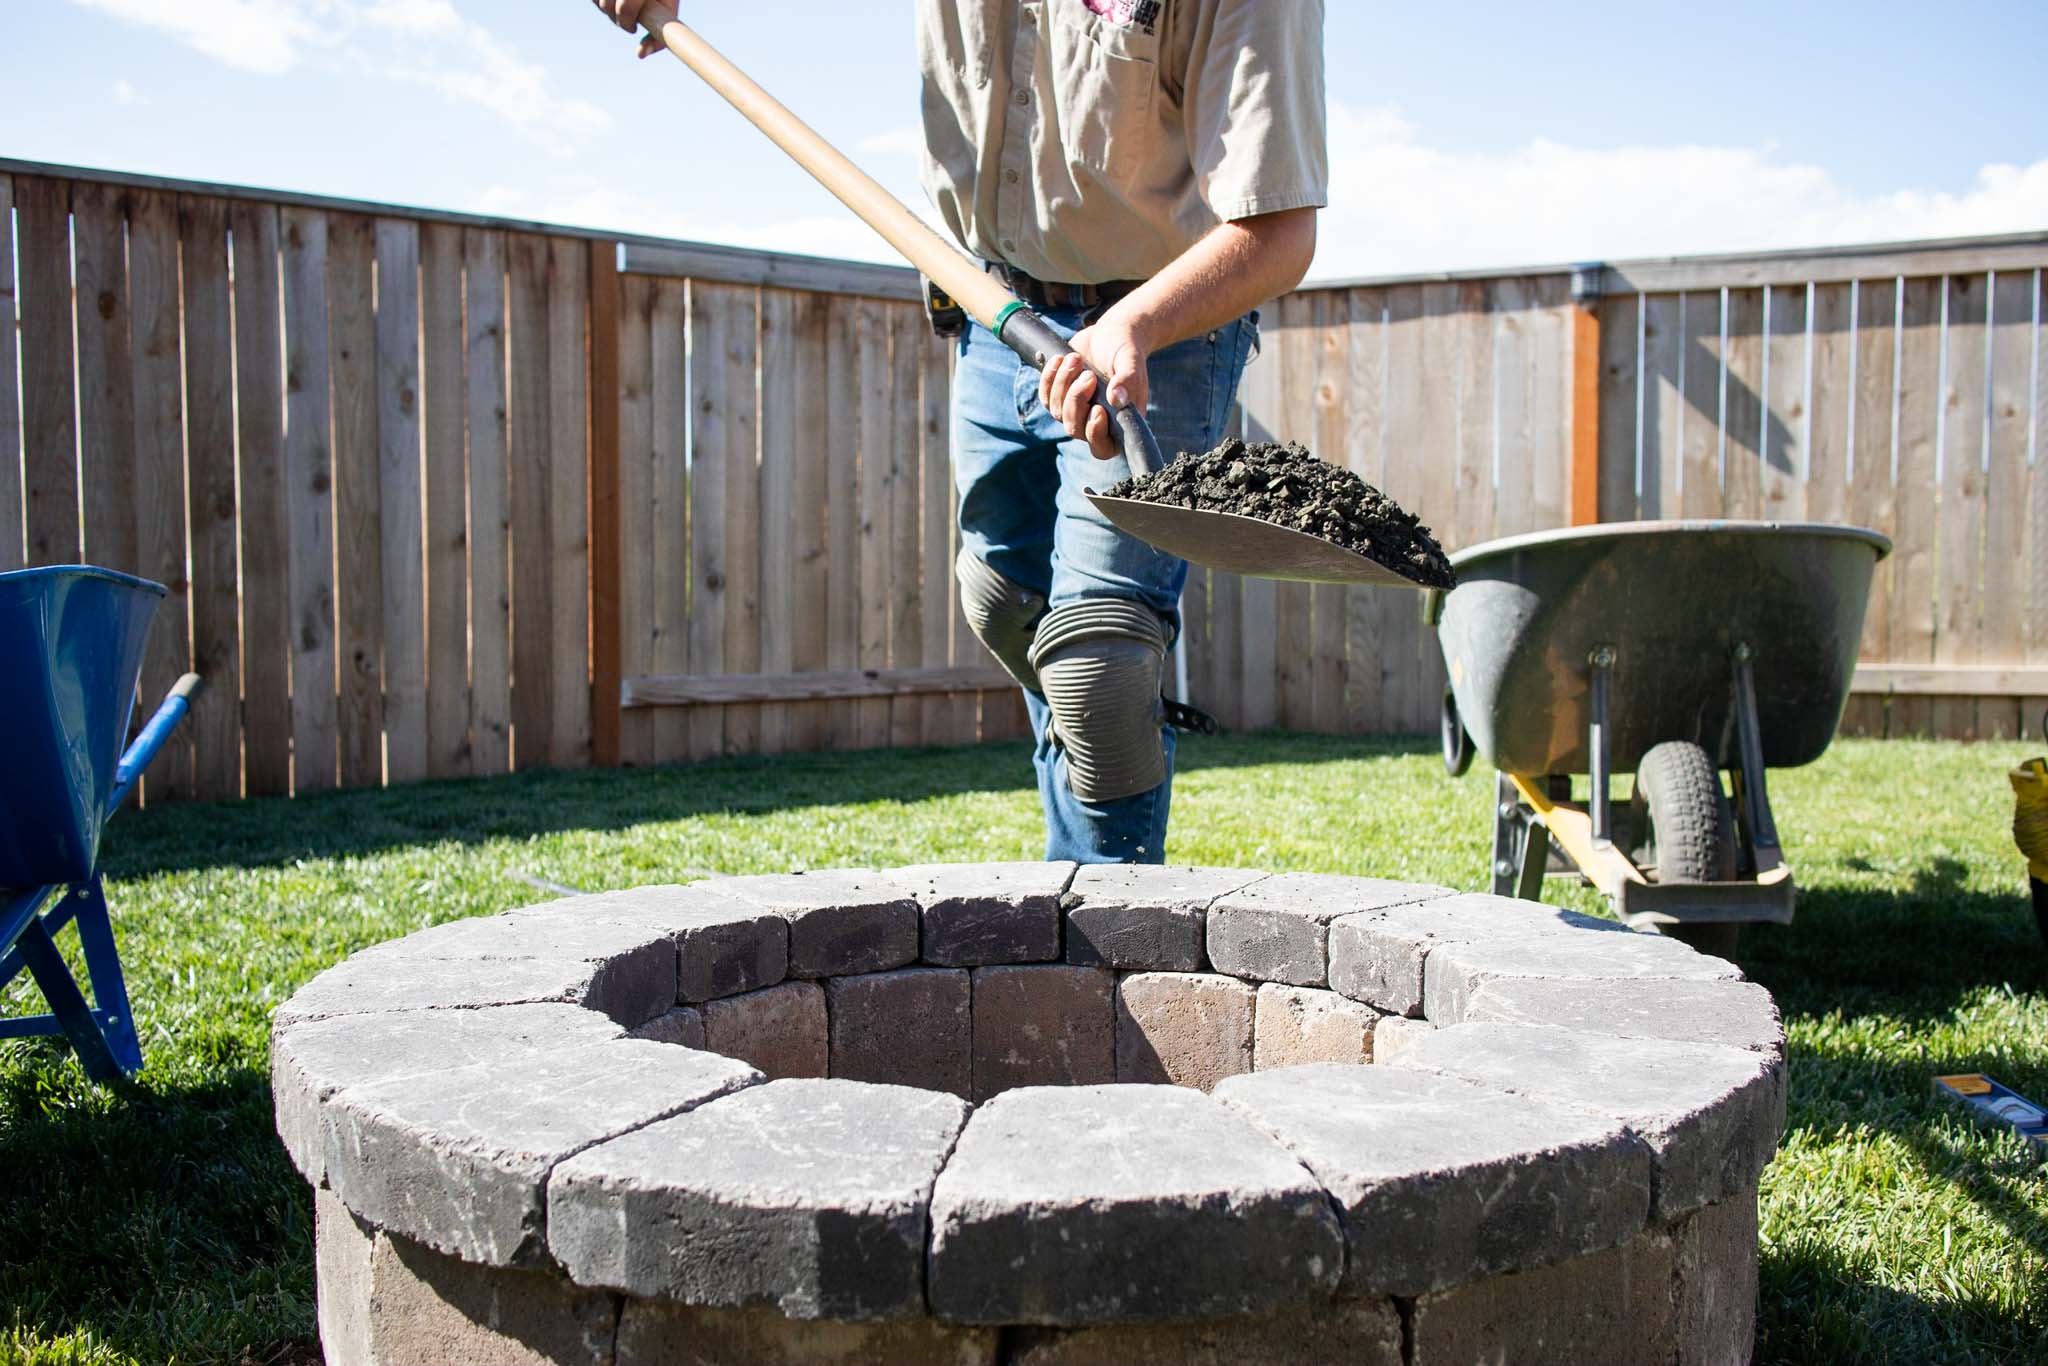
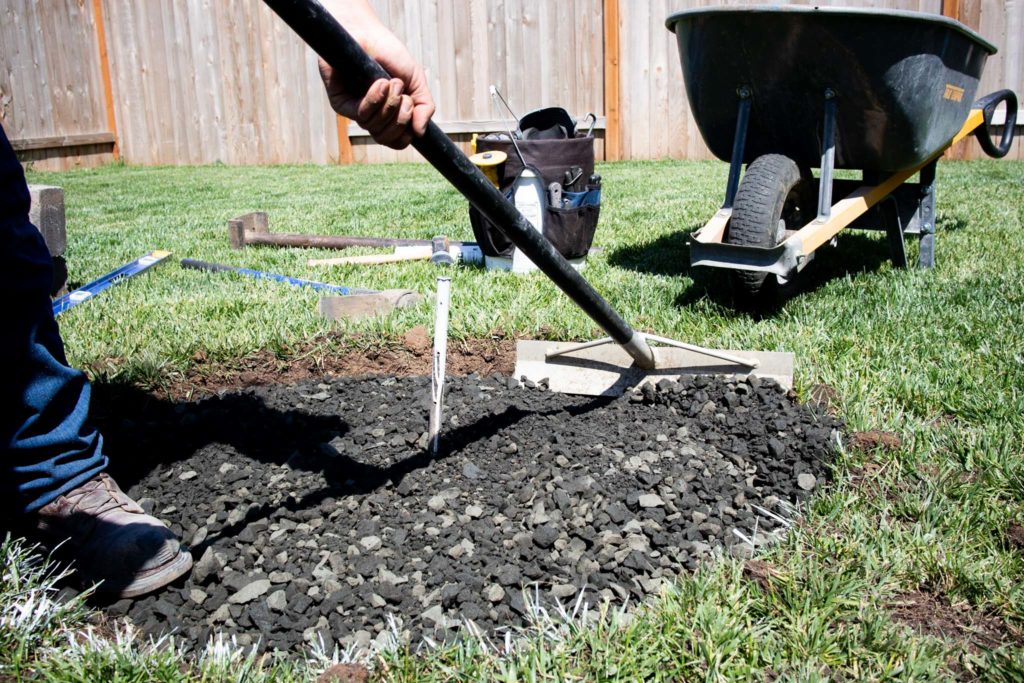
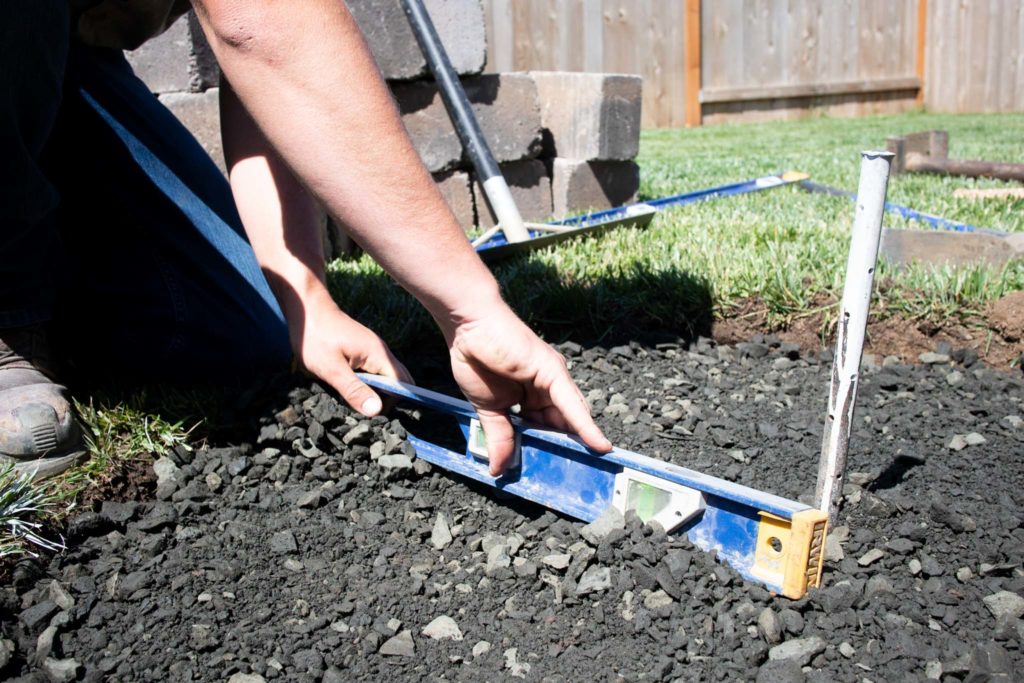
Once your sod is completely excavated, you’ll want to bring in a wheelbarrow (or two) of ¾” minus gravel. Once your gravel is in the hole, you’ll want to spread it. We used a concrete placer and level, but you can use any rake or straight board.
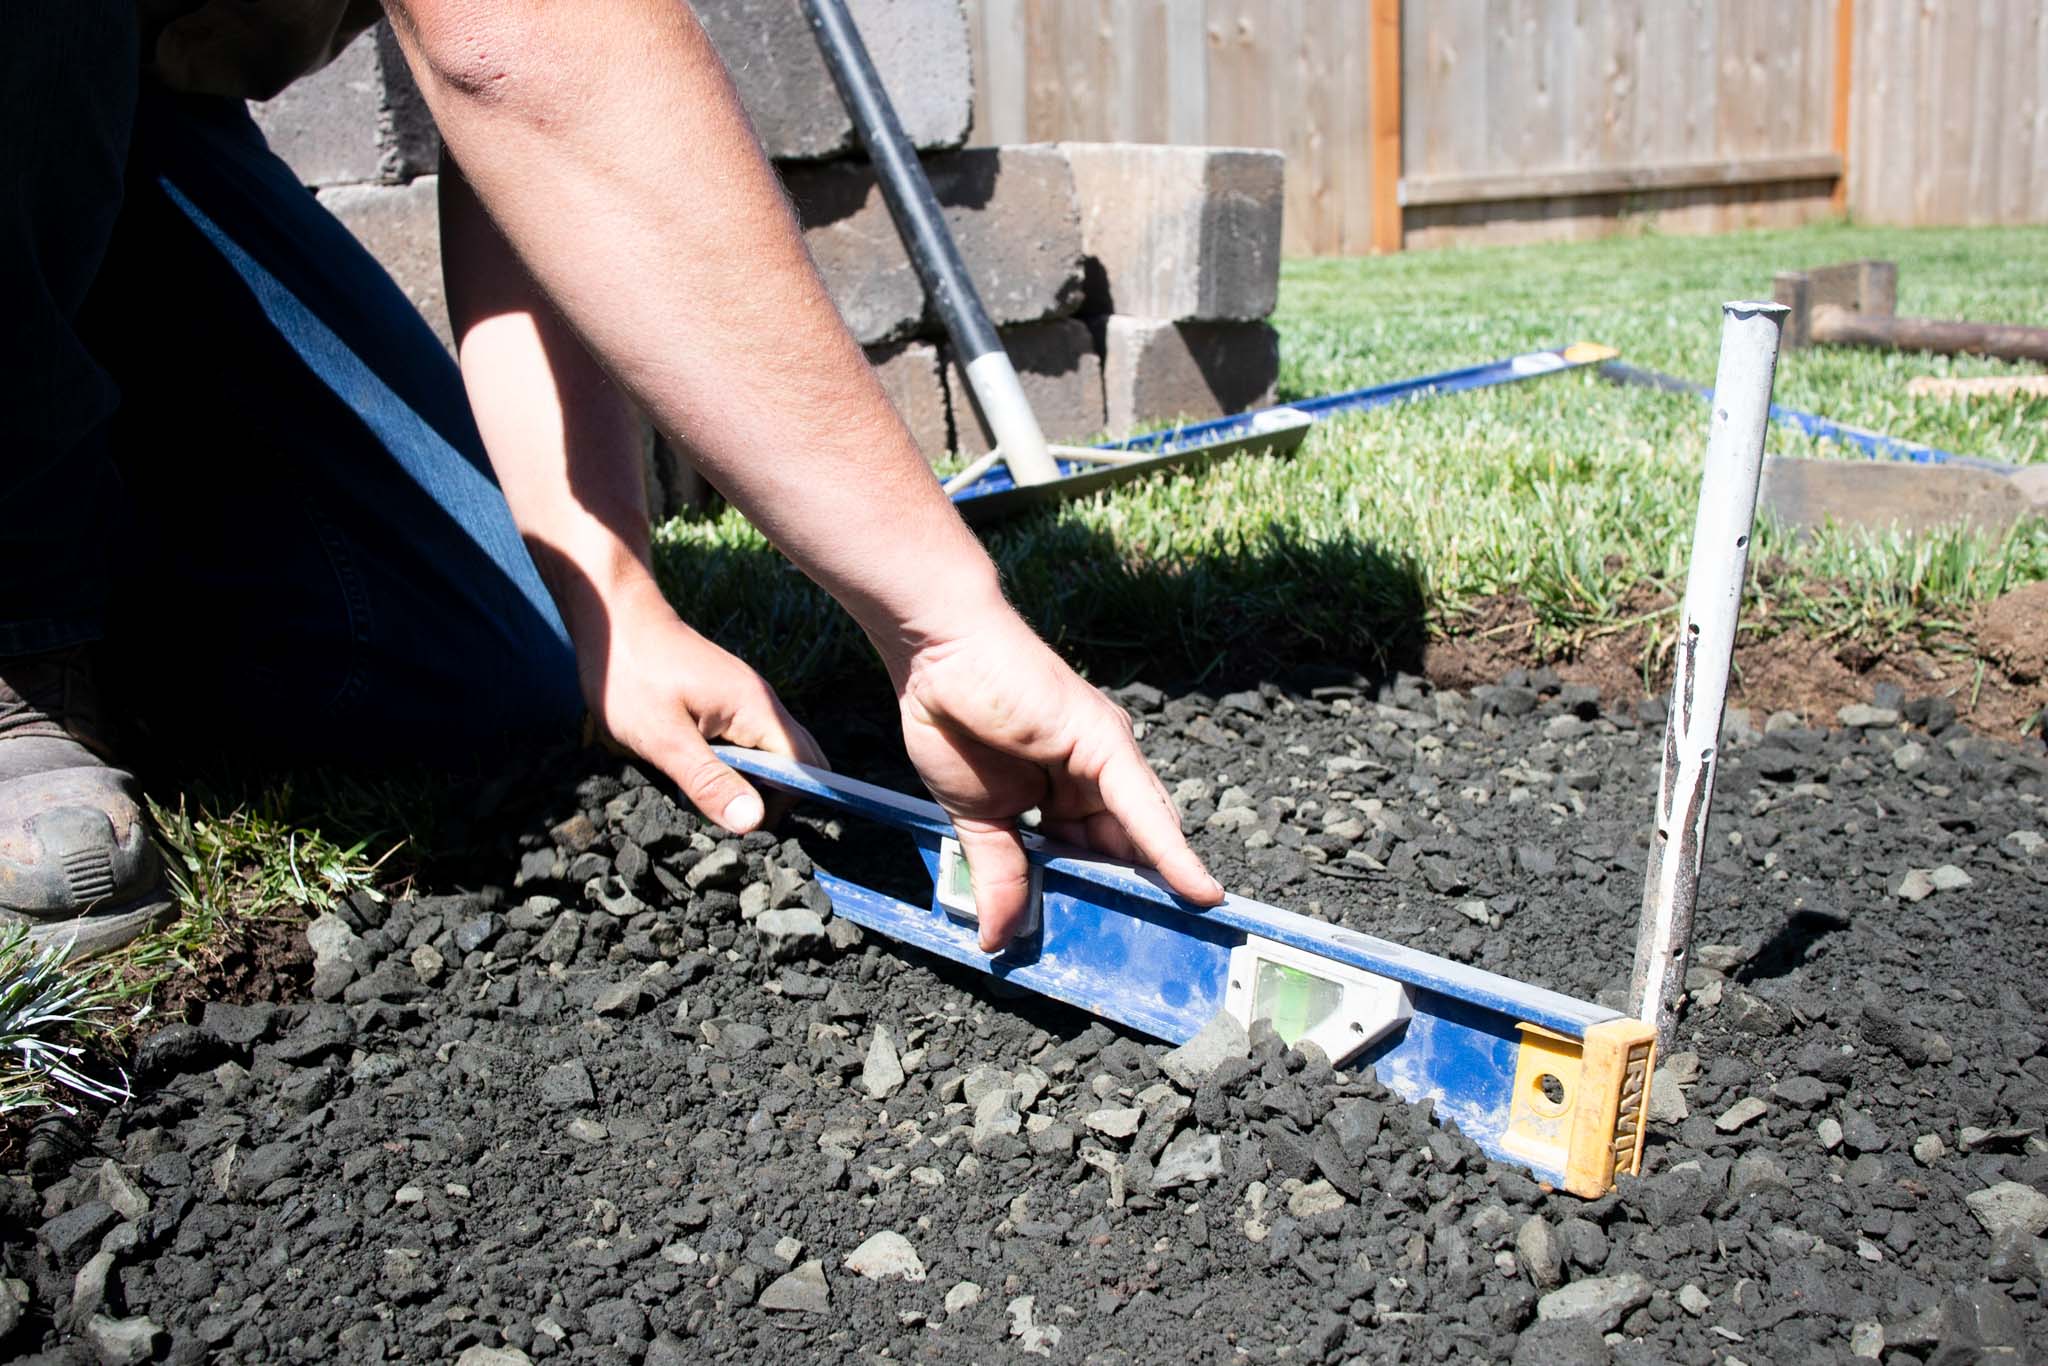
The goal here is to spread your gravel as evenly as possible so that your fire pit sits as level as possible.
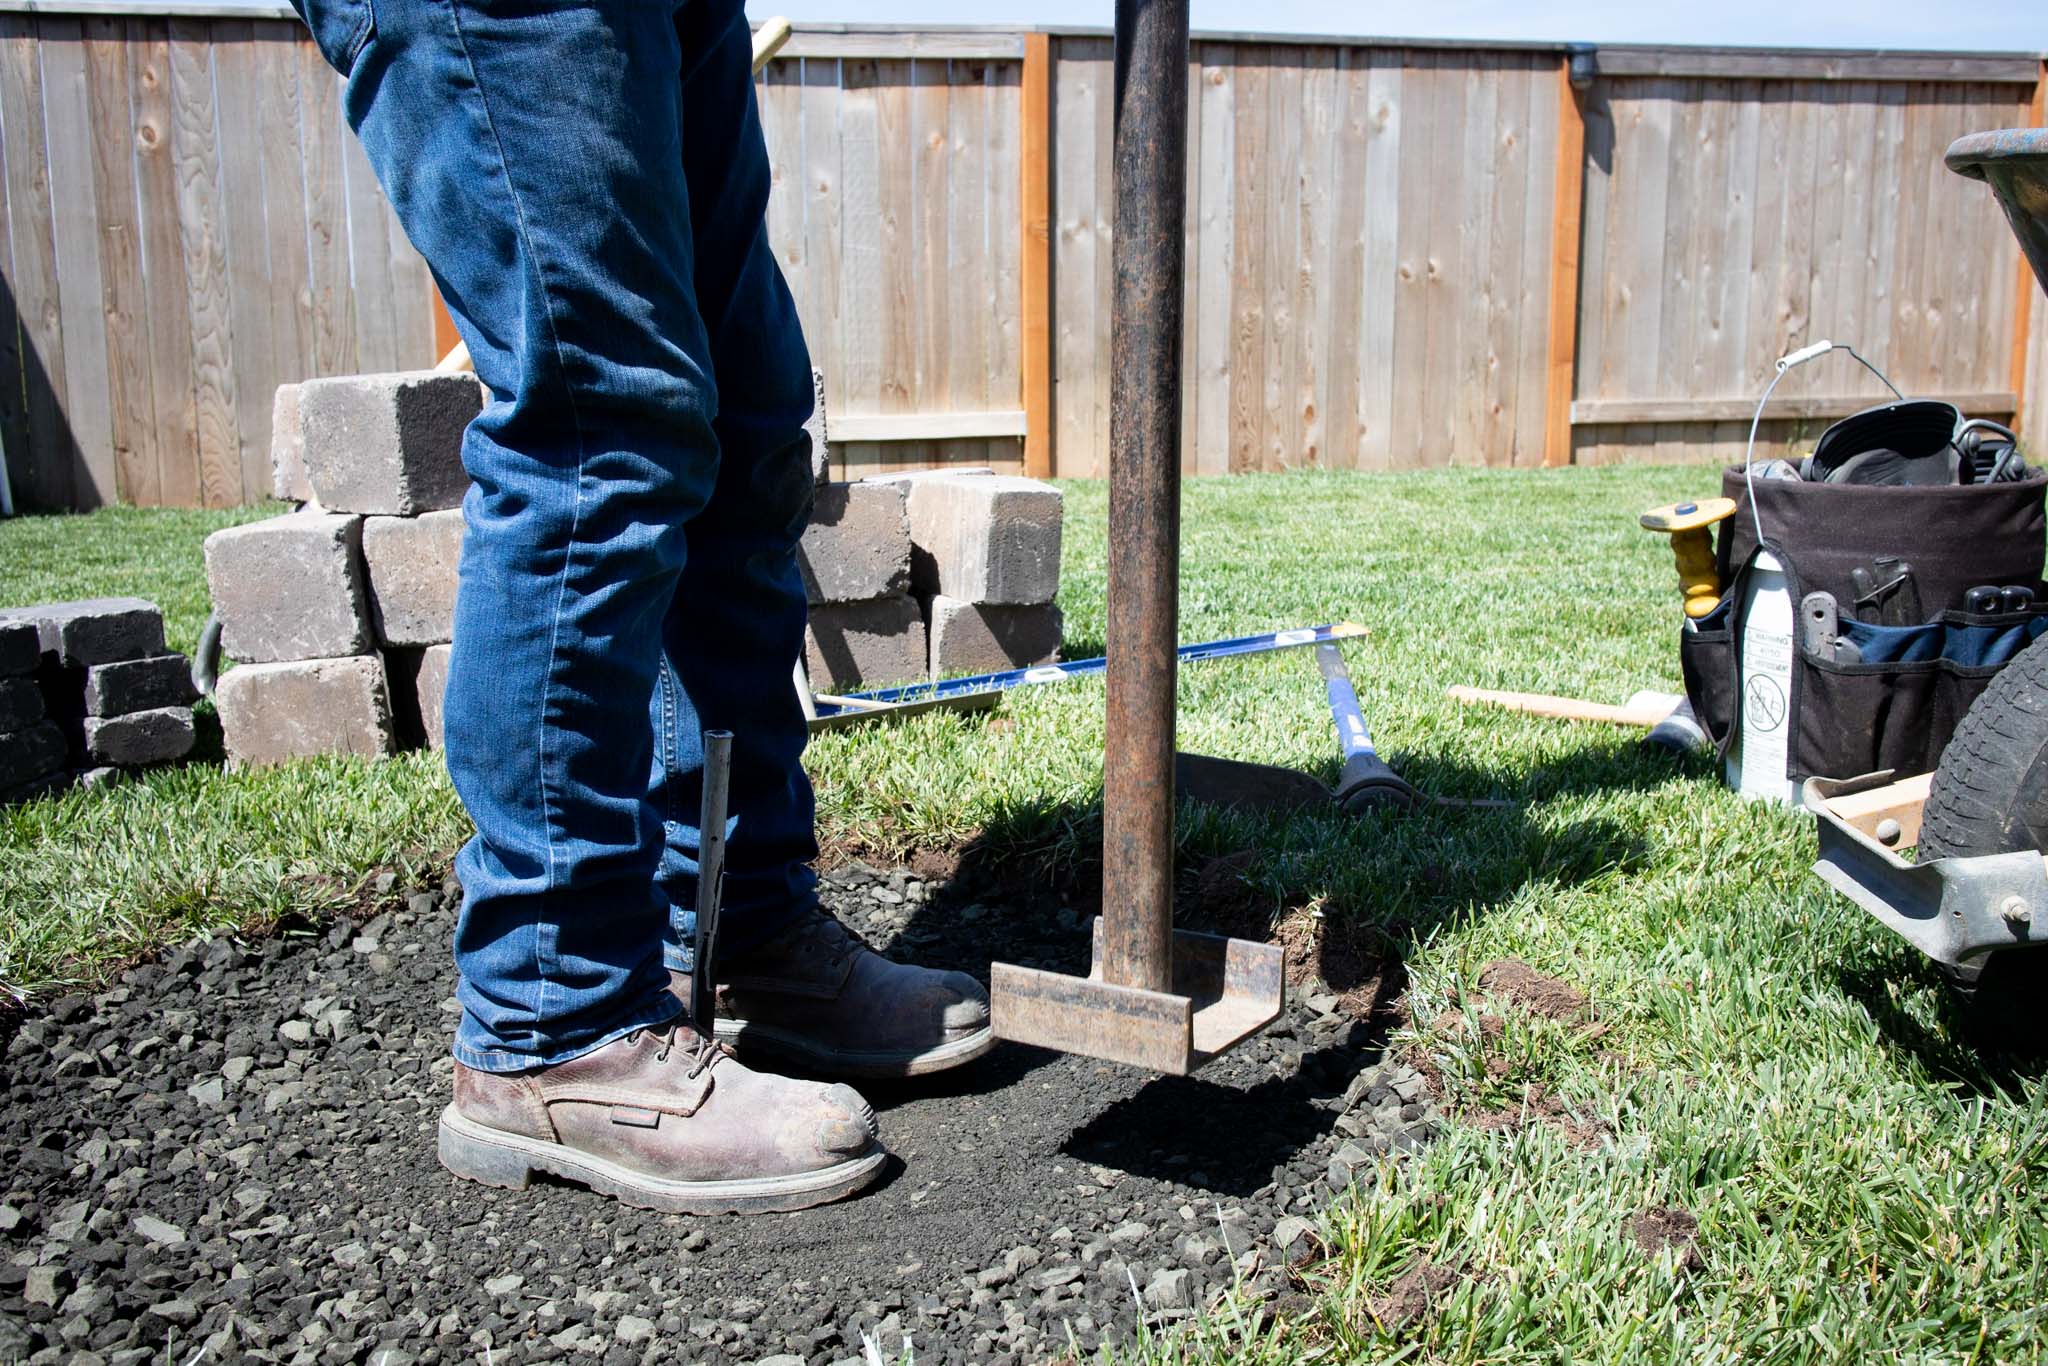
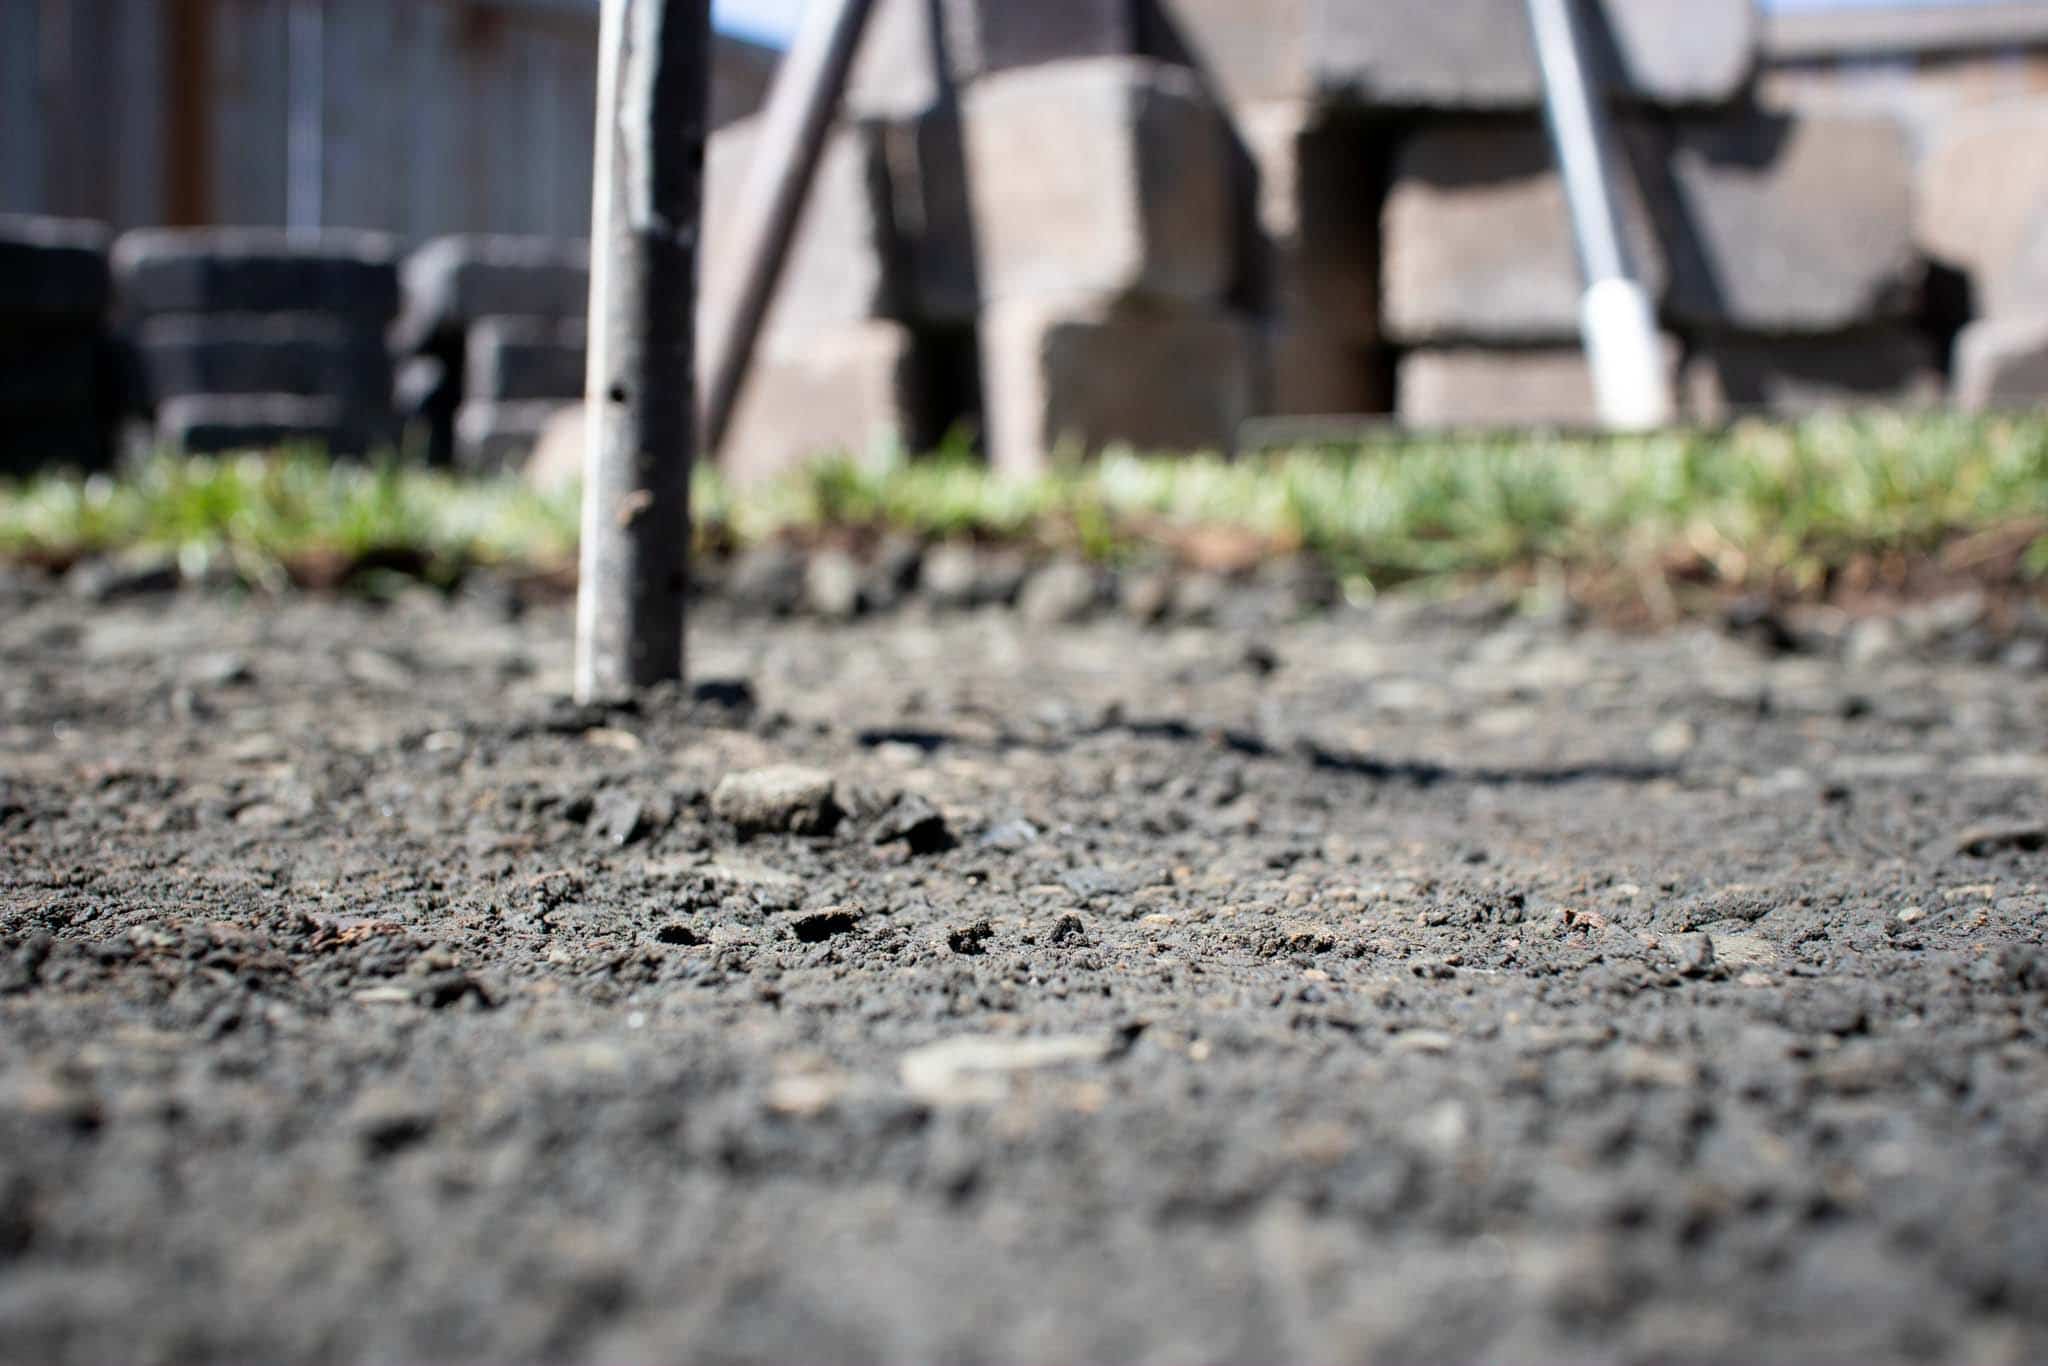
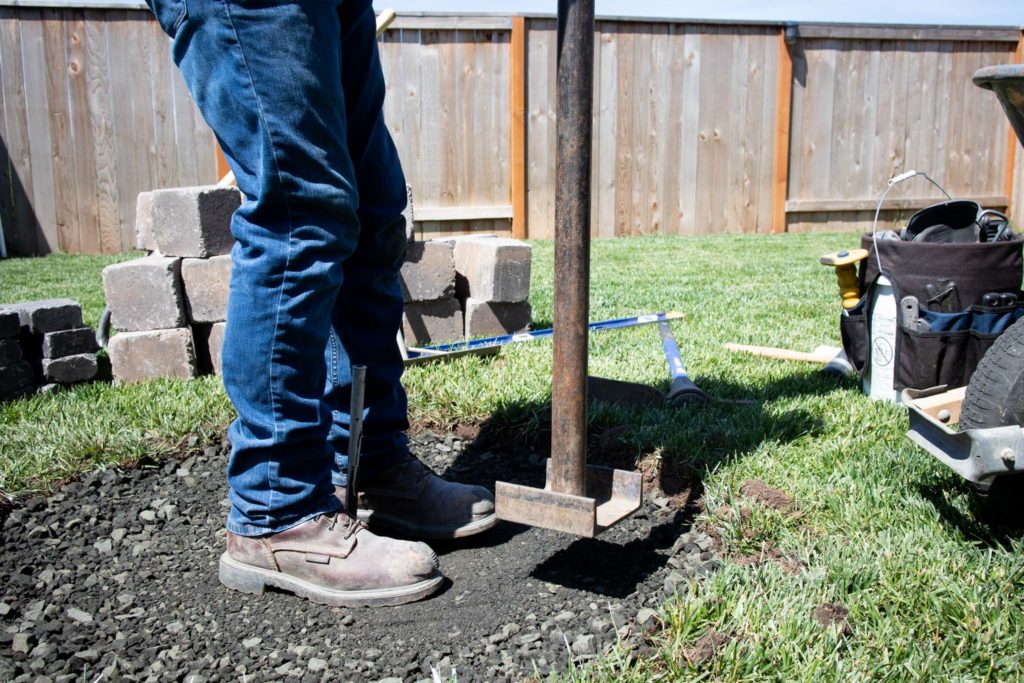
Next, you’ll compact the gravel using a hand tamper until it’s firm and even.
Step 3: Lay your first course
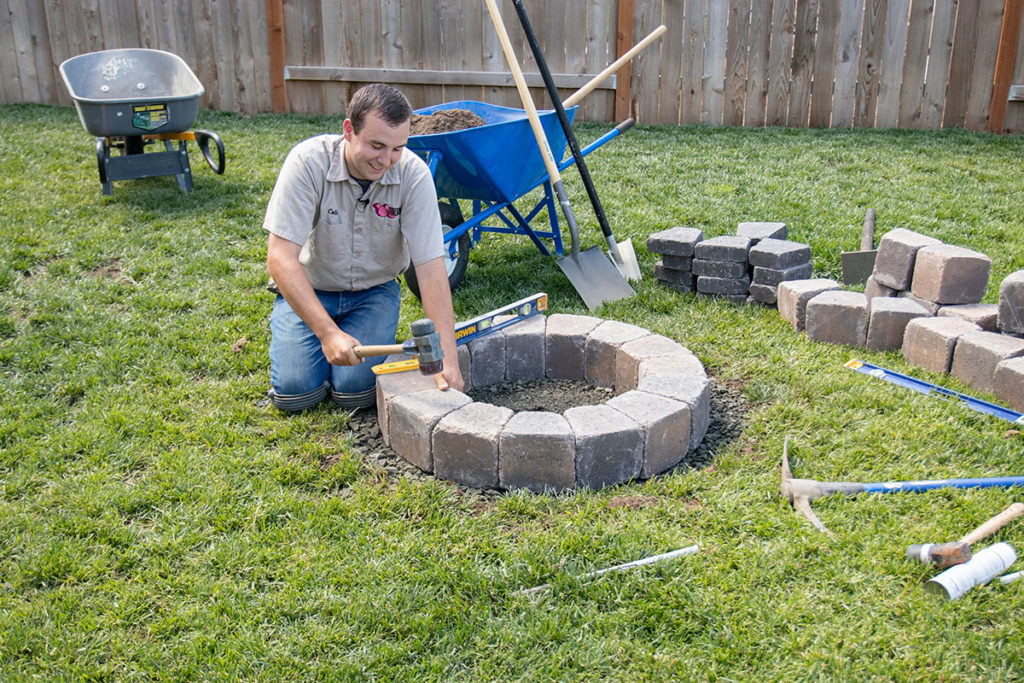
After you have your gravel hand tamped, you’re going to set the first course of your fire pit.
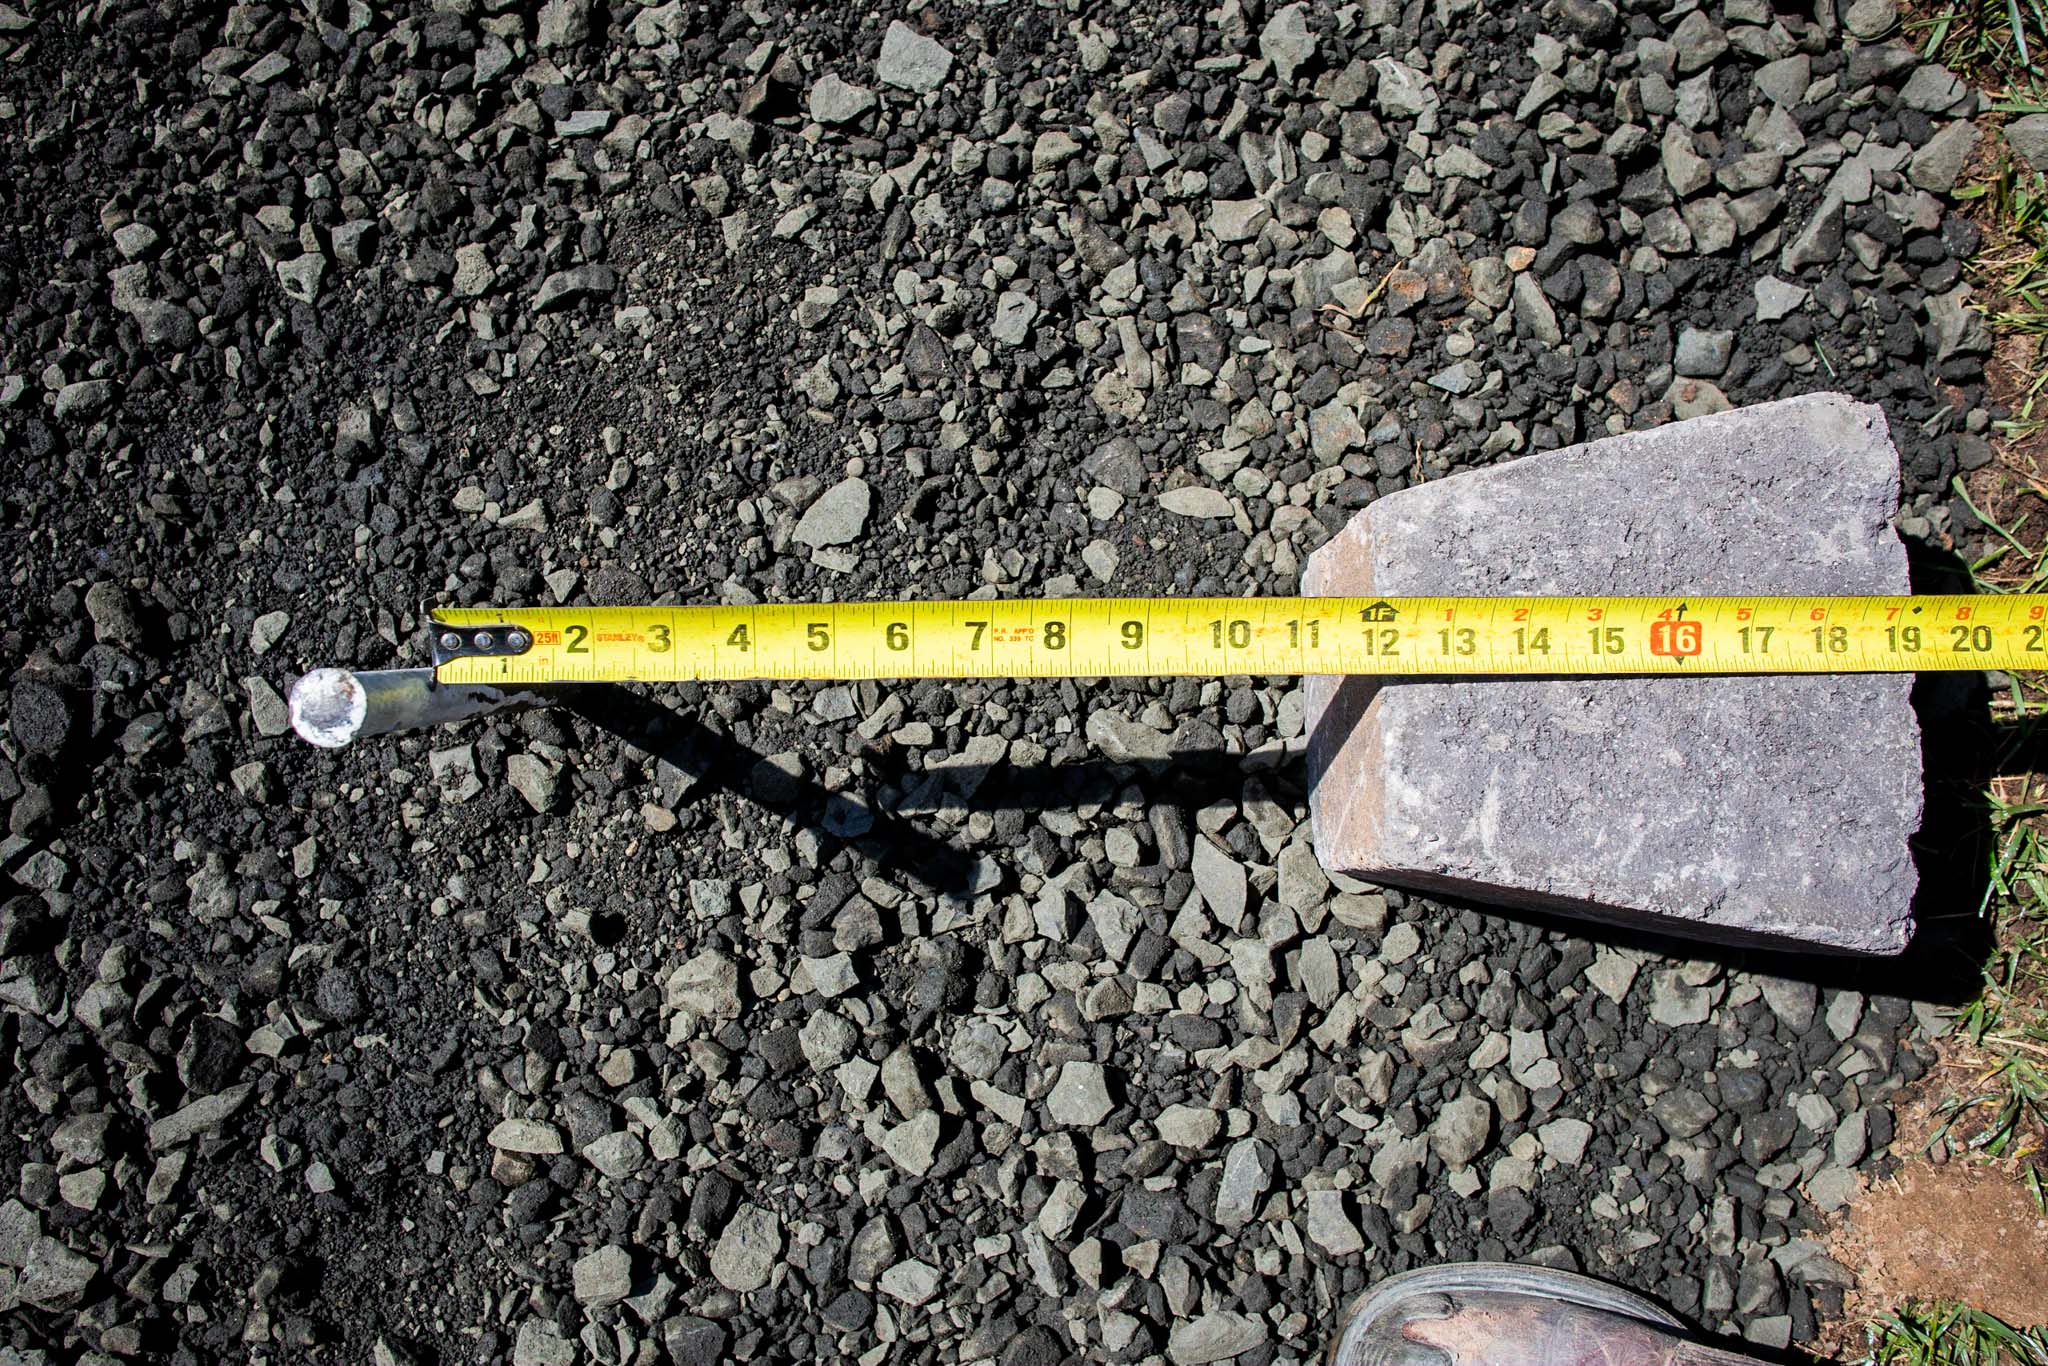
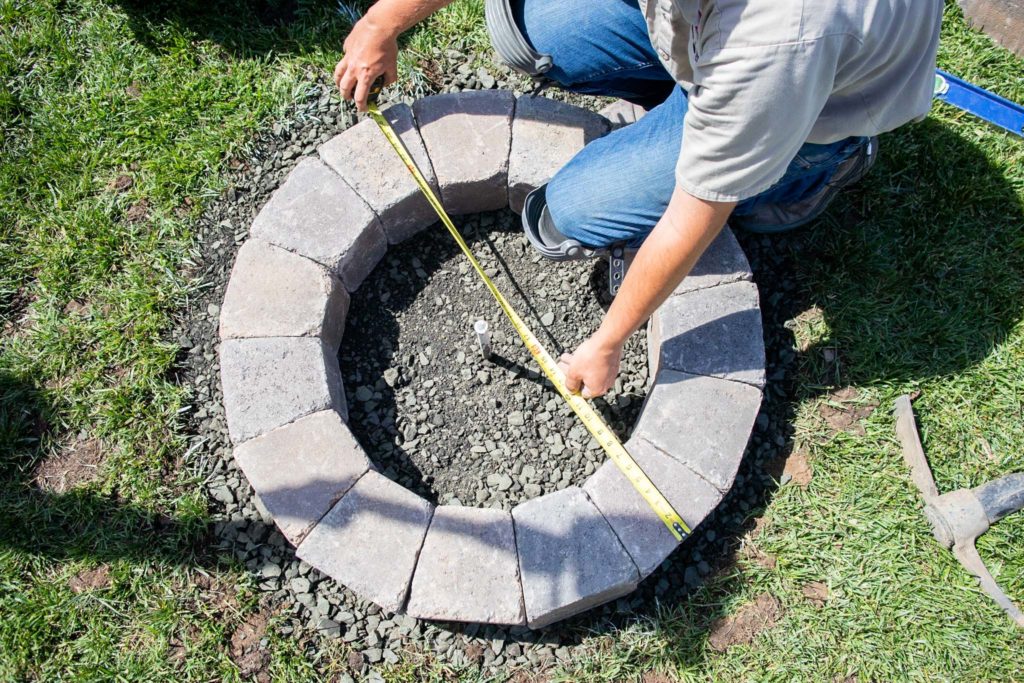
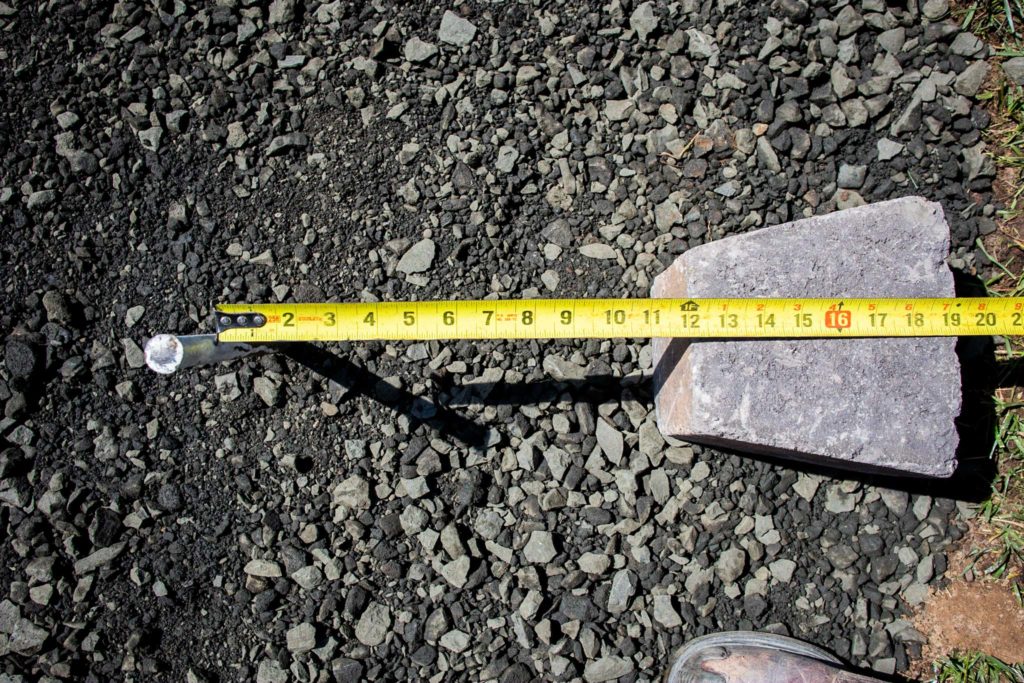
To verify that our base was the right size, we placed a block down and double checked our measurements. Since we’re building a 40” diameter fire pit, we had to make sure the radius from our stake to the outer edge of the block was about 20”.
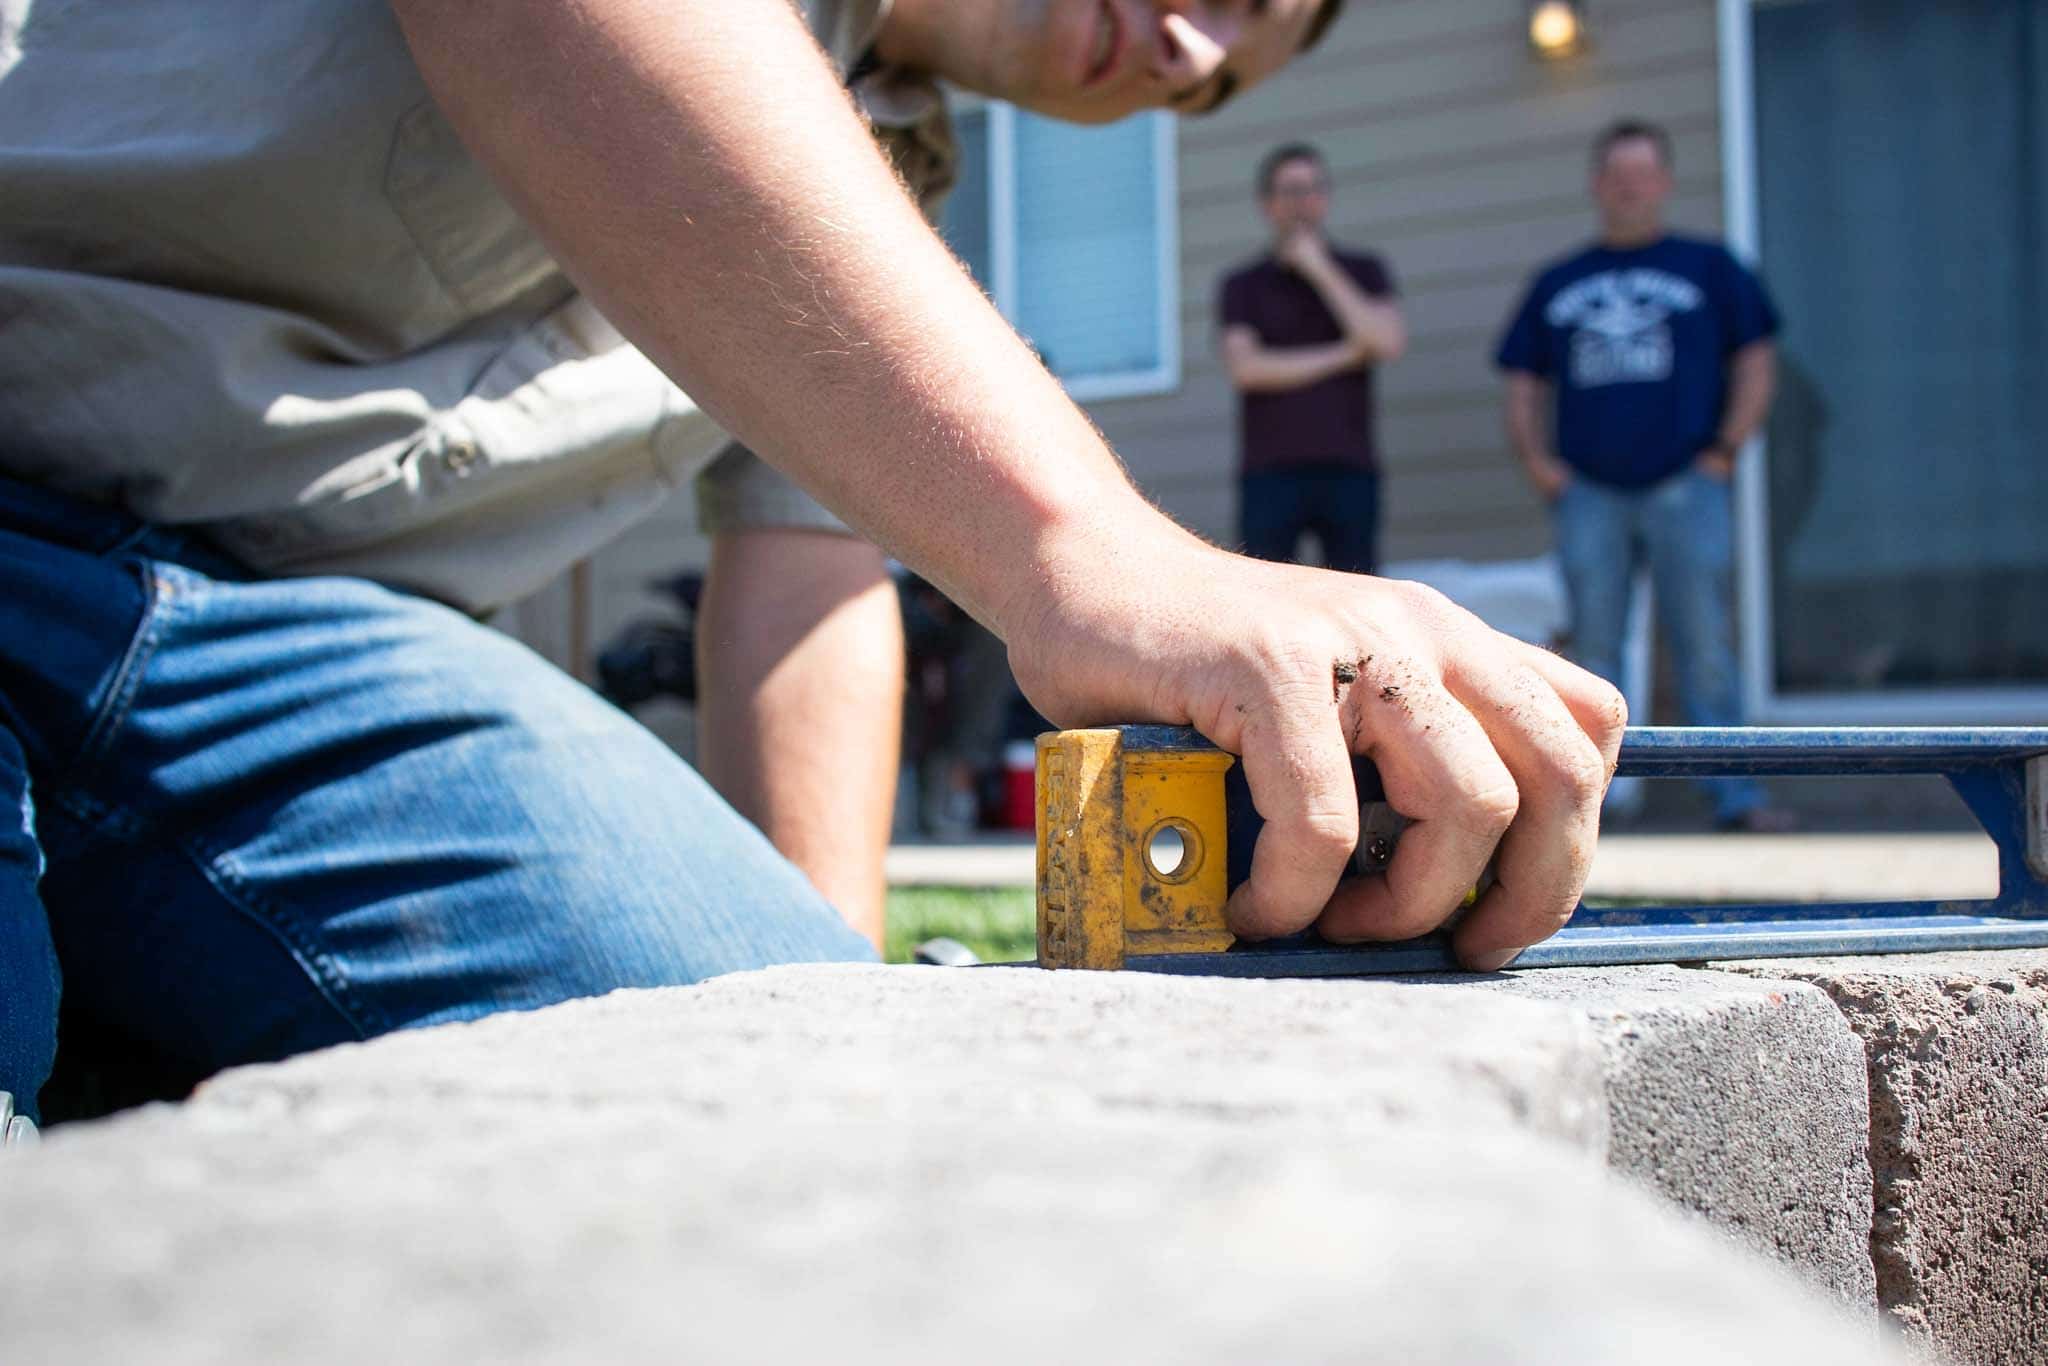
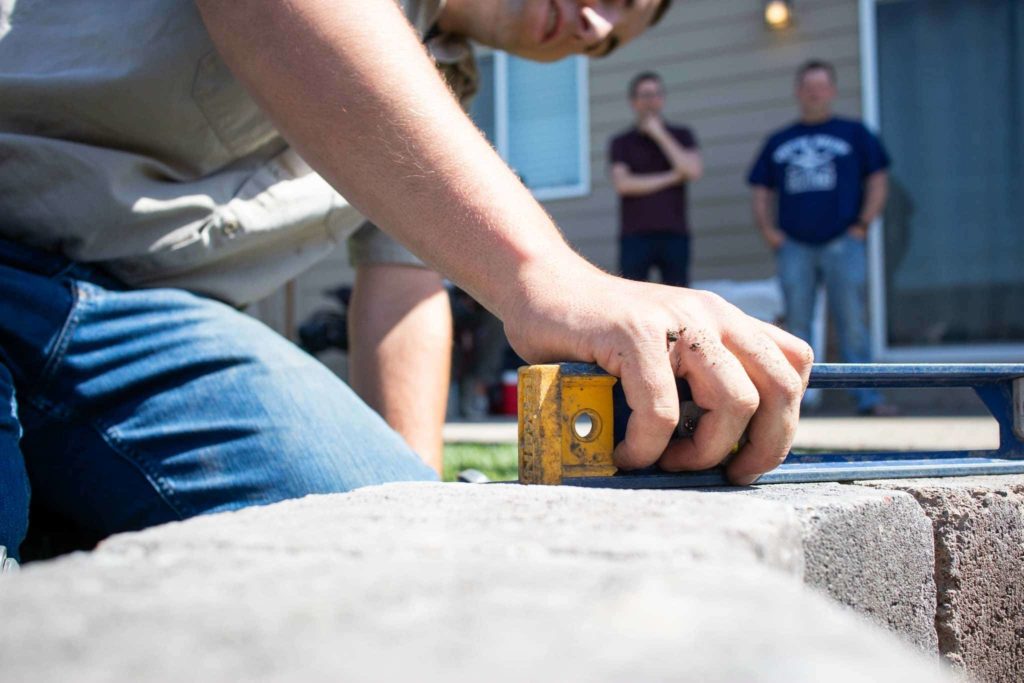
Since there’s no sand to screed, and the first course doesn’t need to be glued, we went ahead and went to work. The first course is the toughest because you have to set each individual block level, front-to-back and side-to-side.
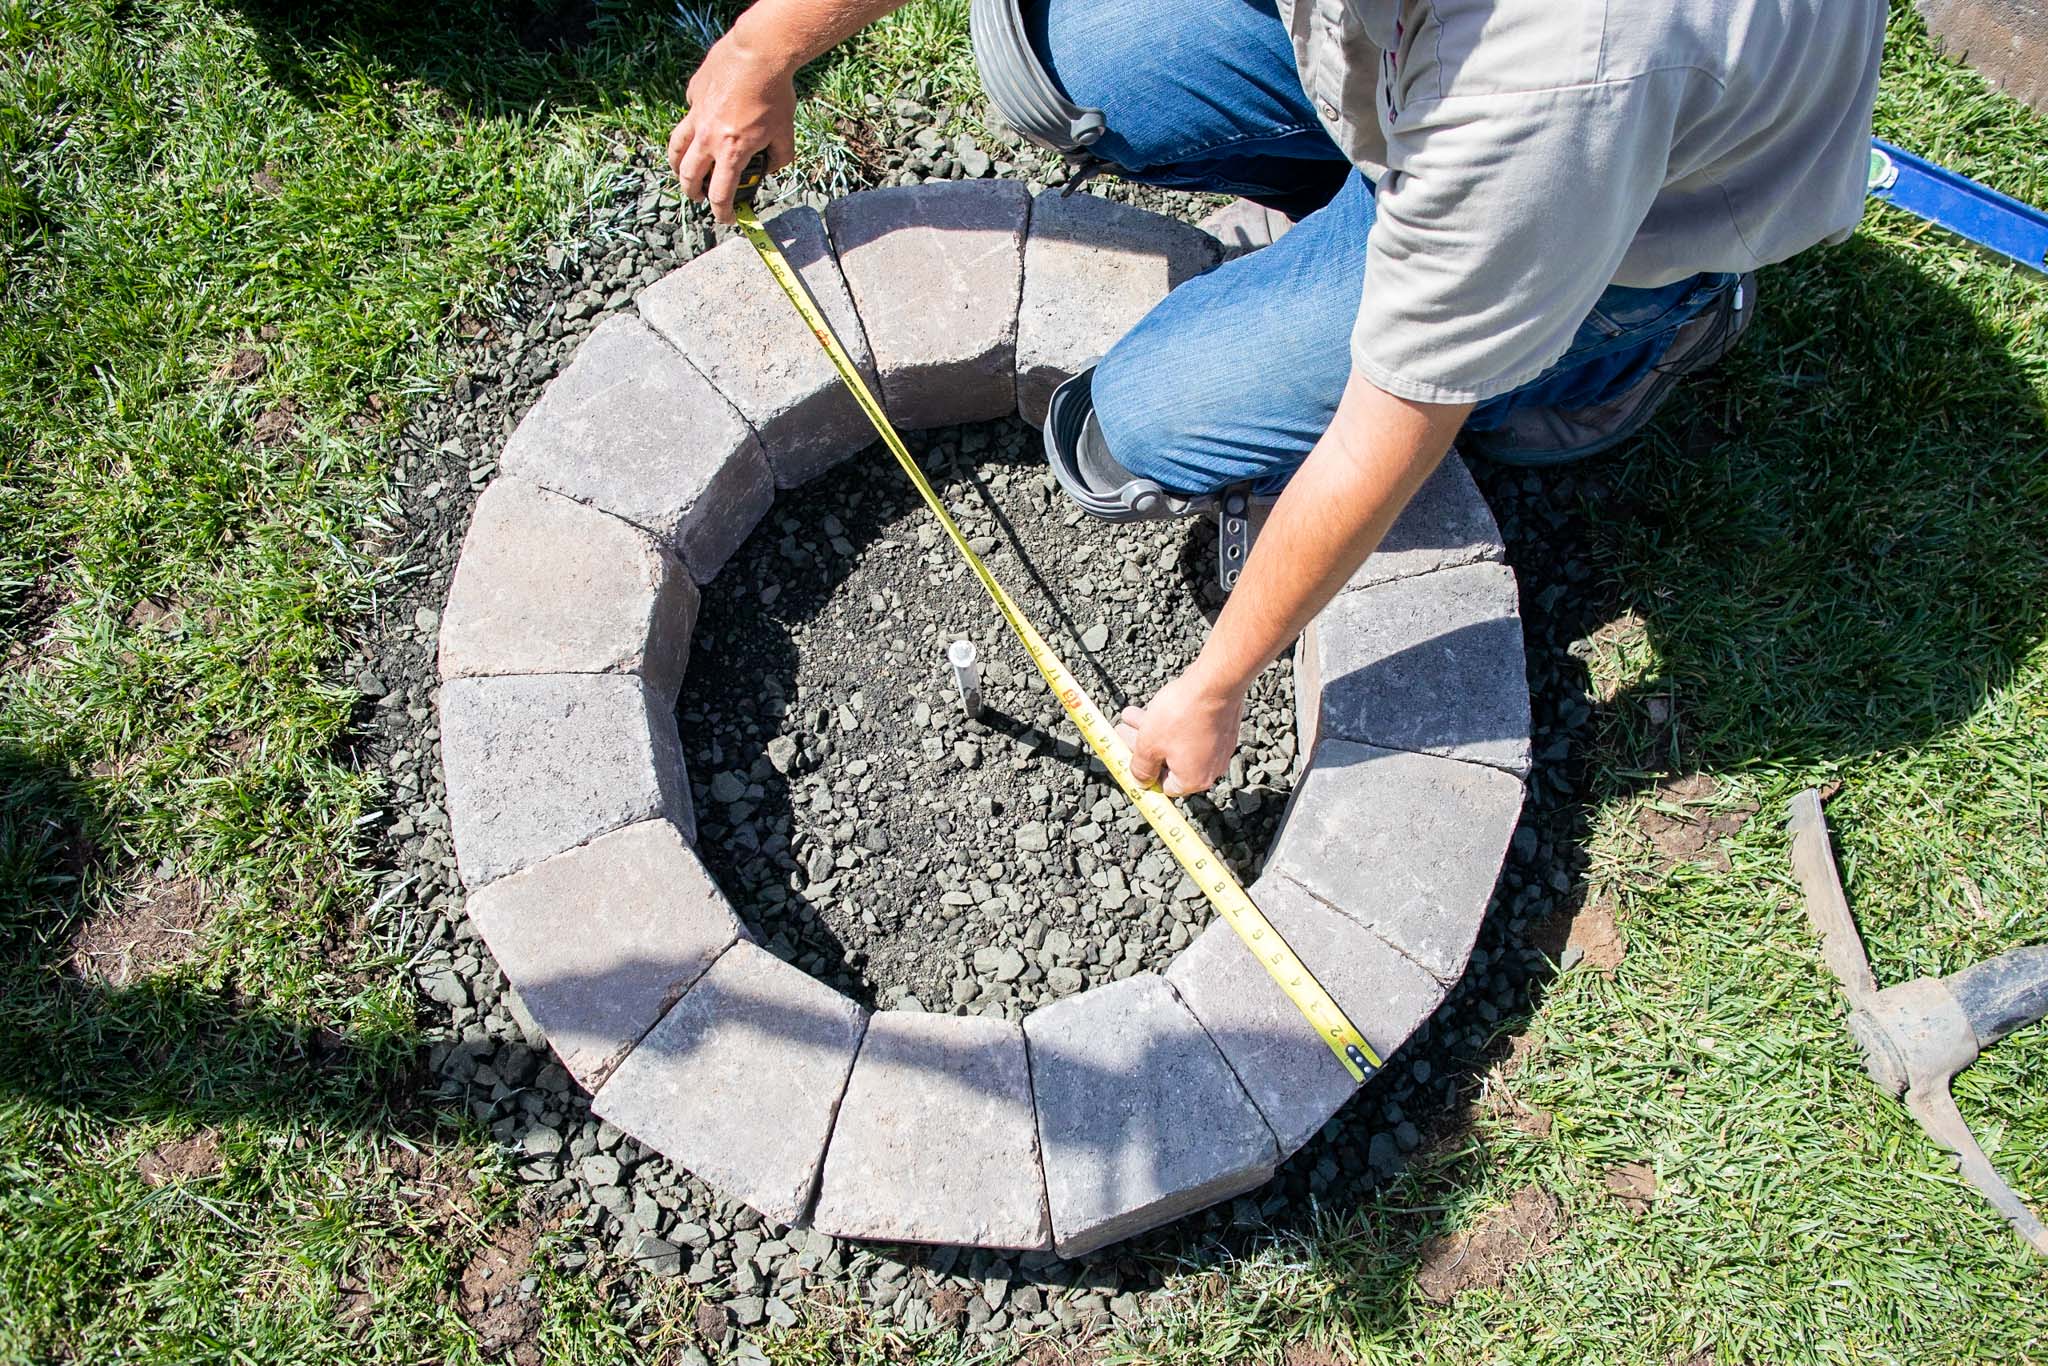
After we laid the first course, we measured the diameter of the course from a few angles to ensure it was a true circle. If you’re using the Tegula 40” Fire Pit Kit, you’ll want to make sure it’s 40” in diameter all the way around. If you’re using the 50” Chateau Fire Pit Kit make sure it’s 50” in diameter.
Step 4: Lay additional courses
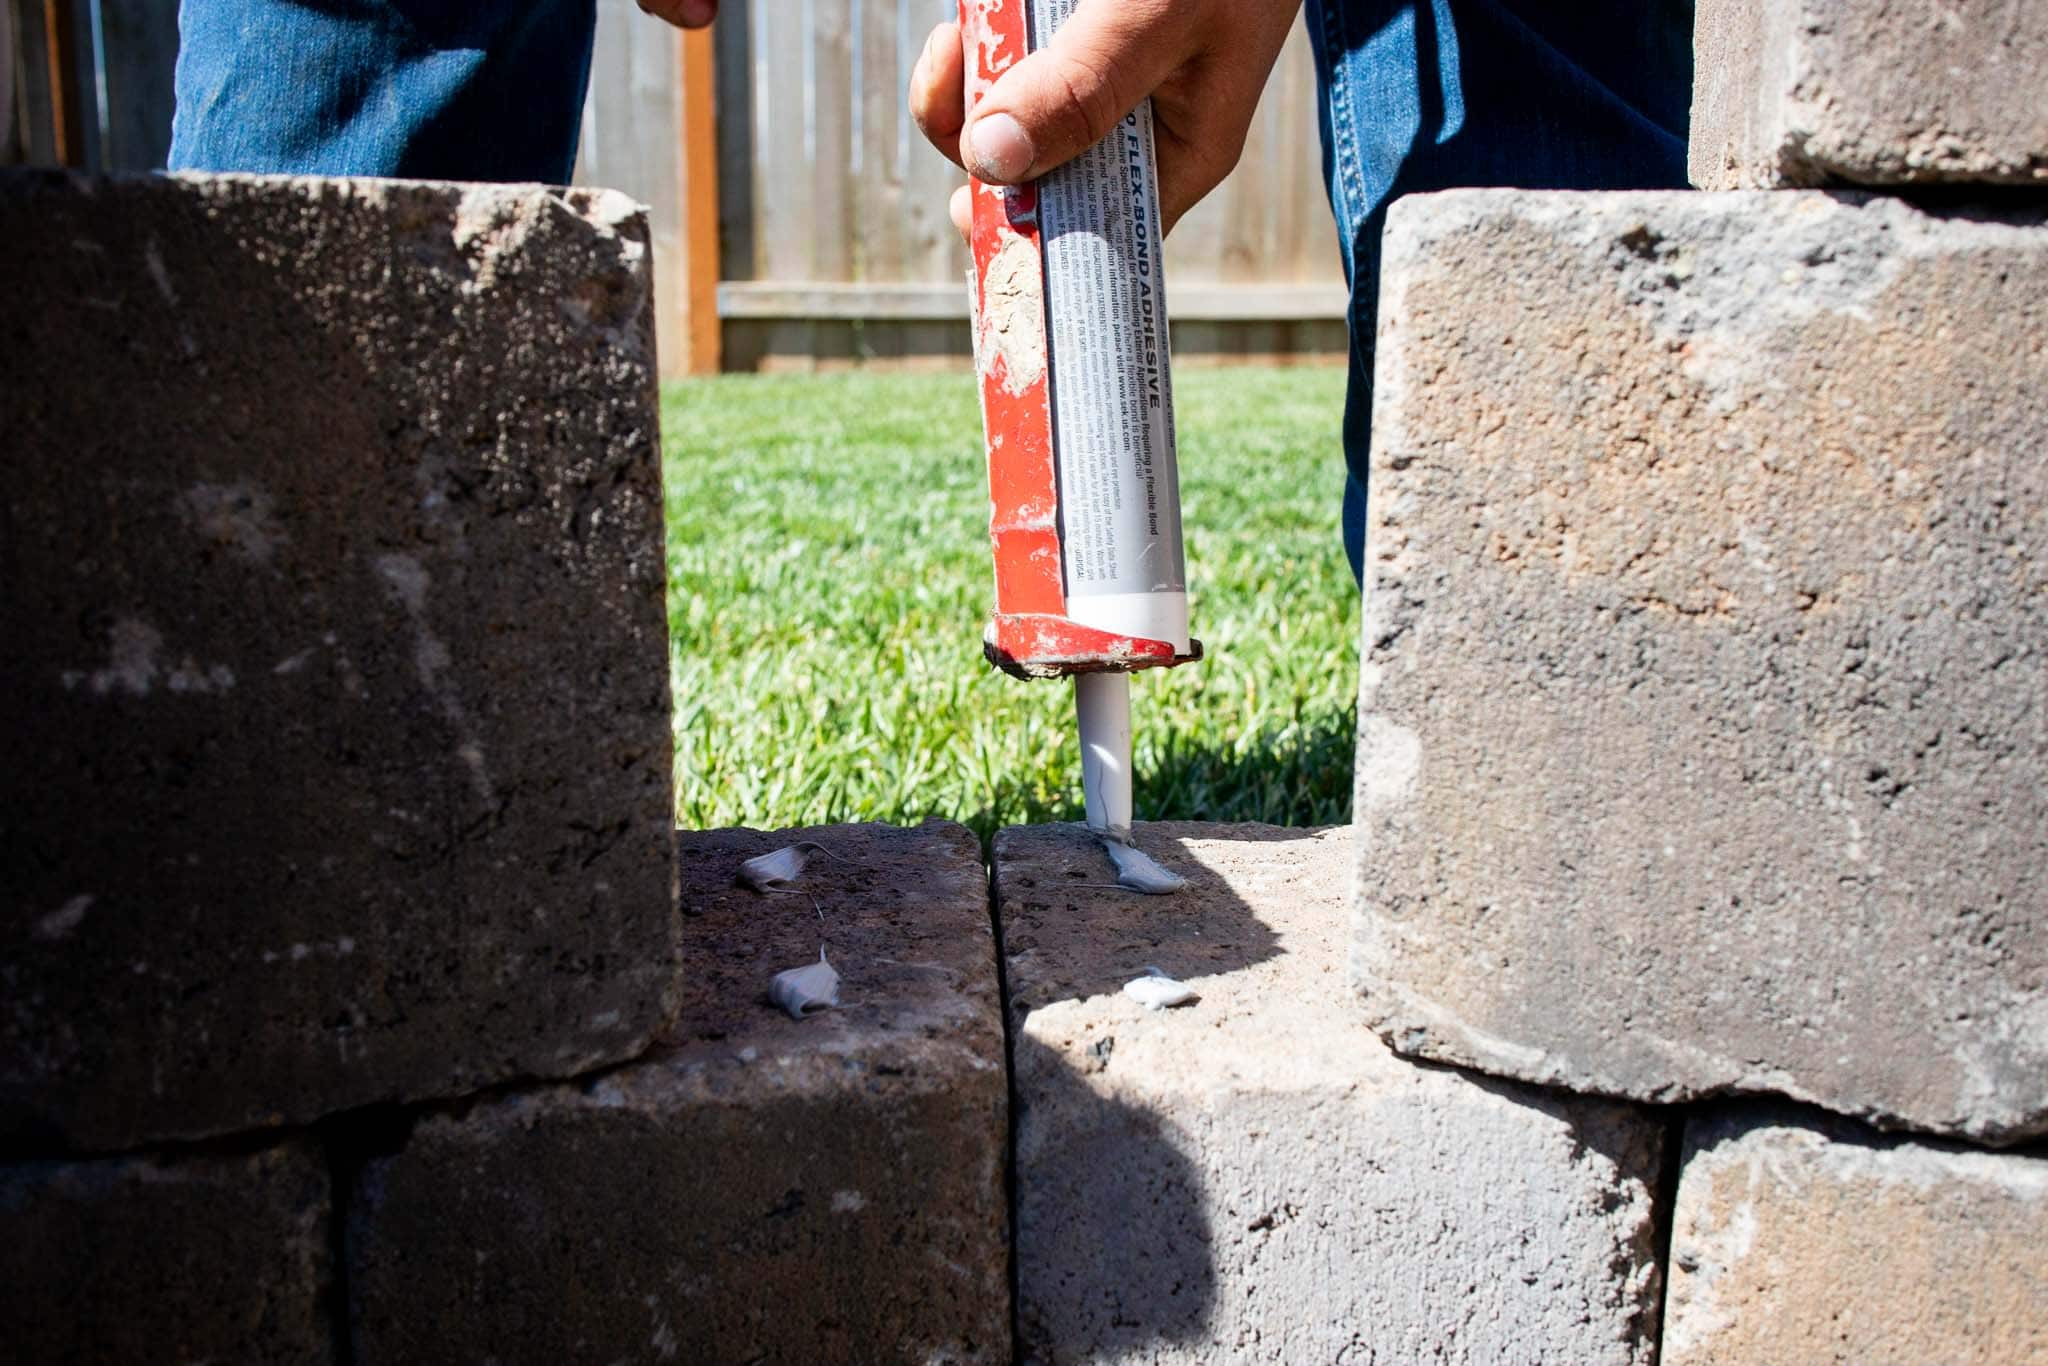
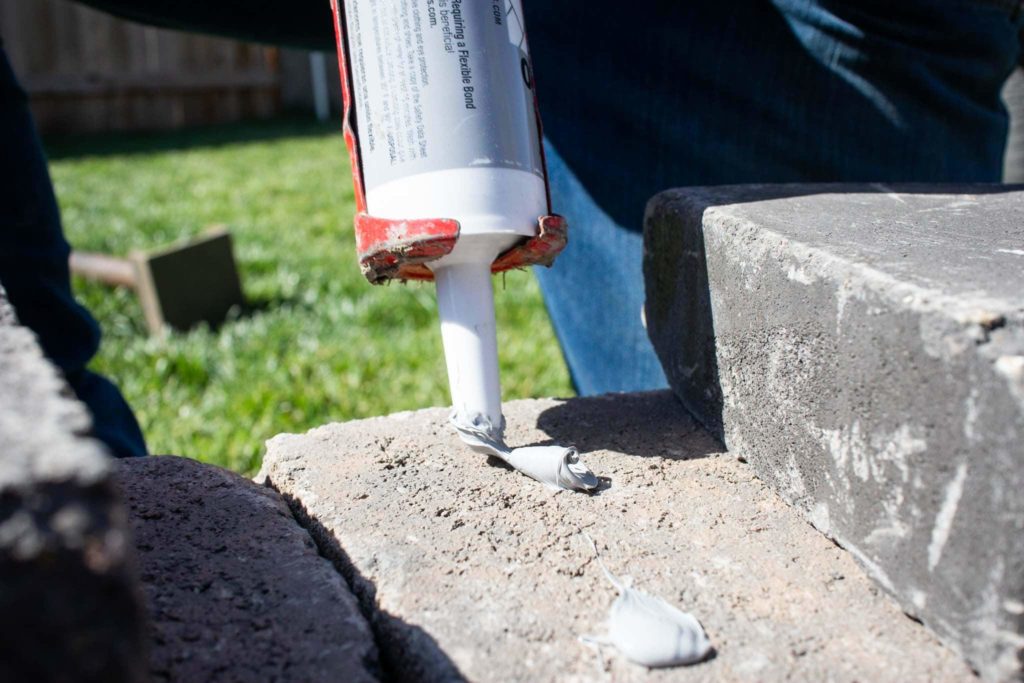
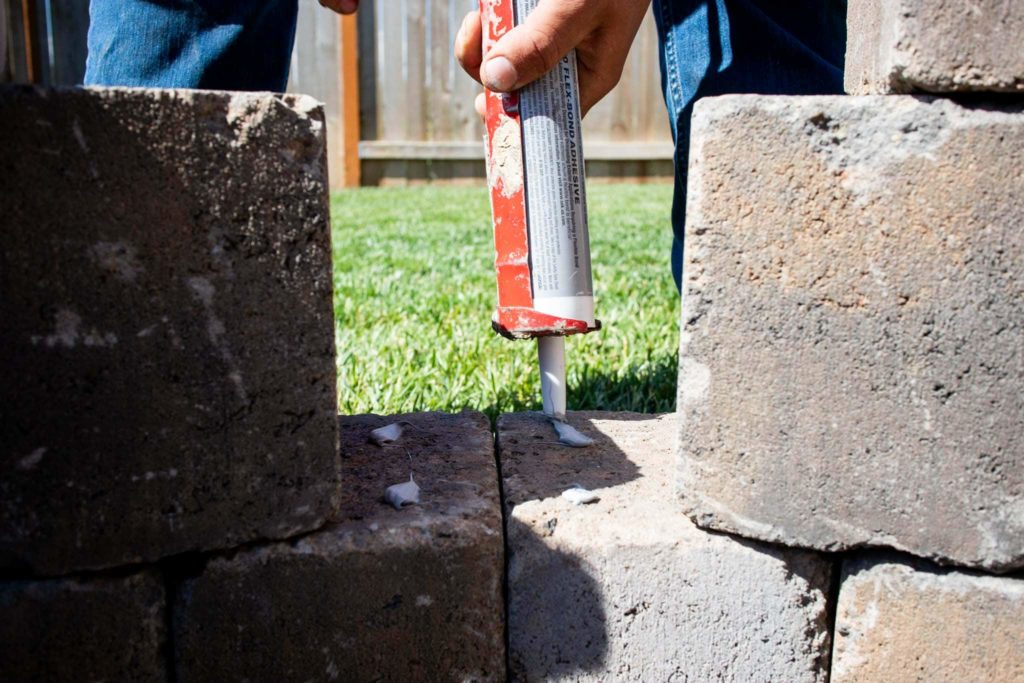
After you set your base course and made sure that it’s perfectly round, you’re going to need to stack and glue your next couple of courses. We suggest that you dry stack each course before gluing. This will allow you to easily check and adjust the alignment of the blocks. Once you have what you want, simply pick up each block, apply the glue and set the block back down. For best results, give each block a good brushing before you glue because the glue works better if the blocks are nice and clean. A good rule of thumb is you want the glue globs to be about the size of a dime.
We recommend a flexible exterior-grade construction adhesive such as Sure Bond 20. It’s a caulk specifically made for concrete products.
Tuck the globs into the corner because if you make them a little bit too big, the caulk will spill out of the sides. This is important because, unfortunately, construction adhesive doesn’t dry clear like school glue.
After you set your second or third courses, you can add an additional ring of caps, if desired, using the same method that you used on the blocks.
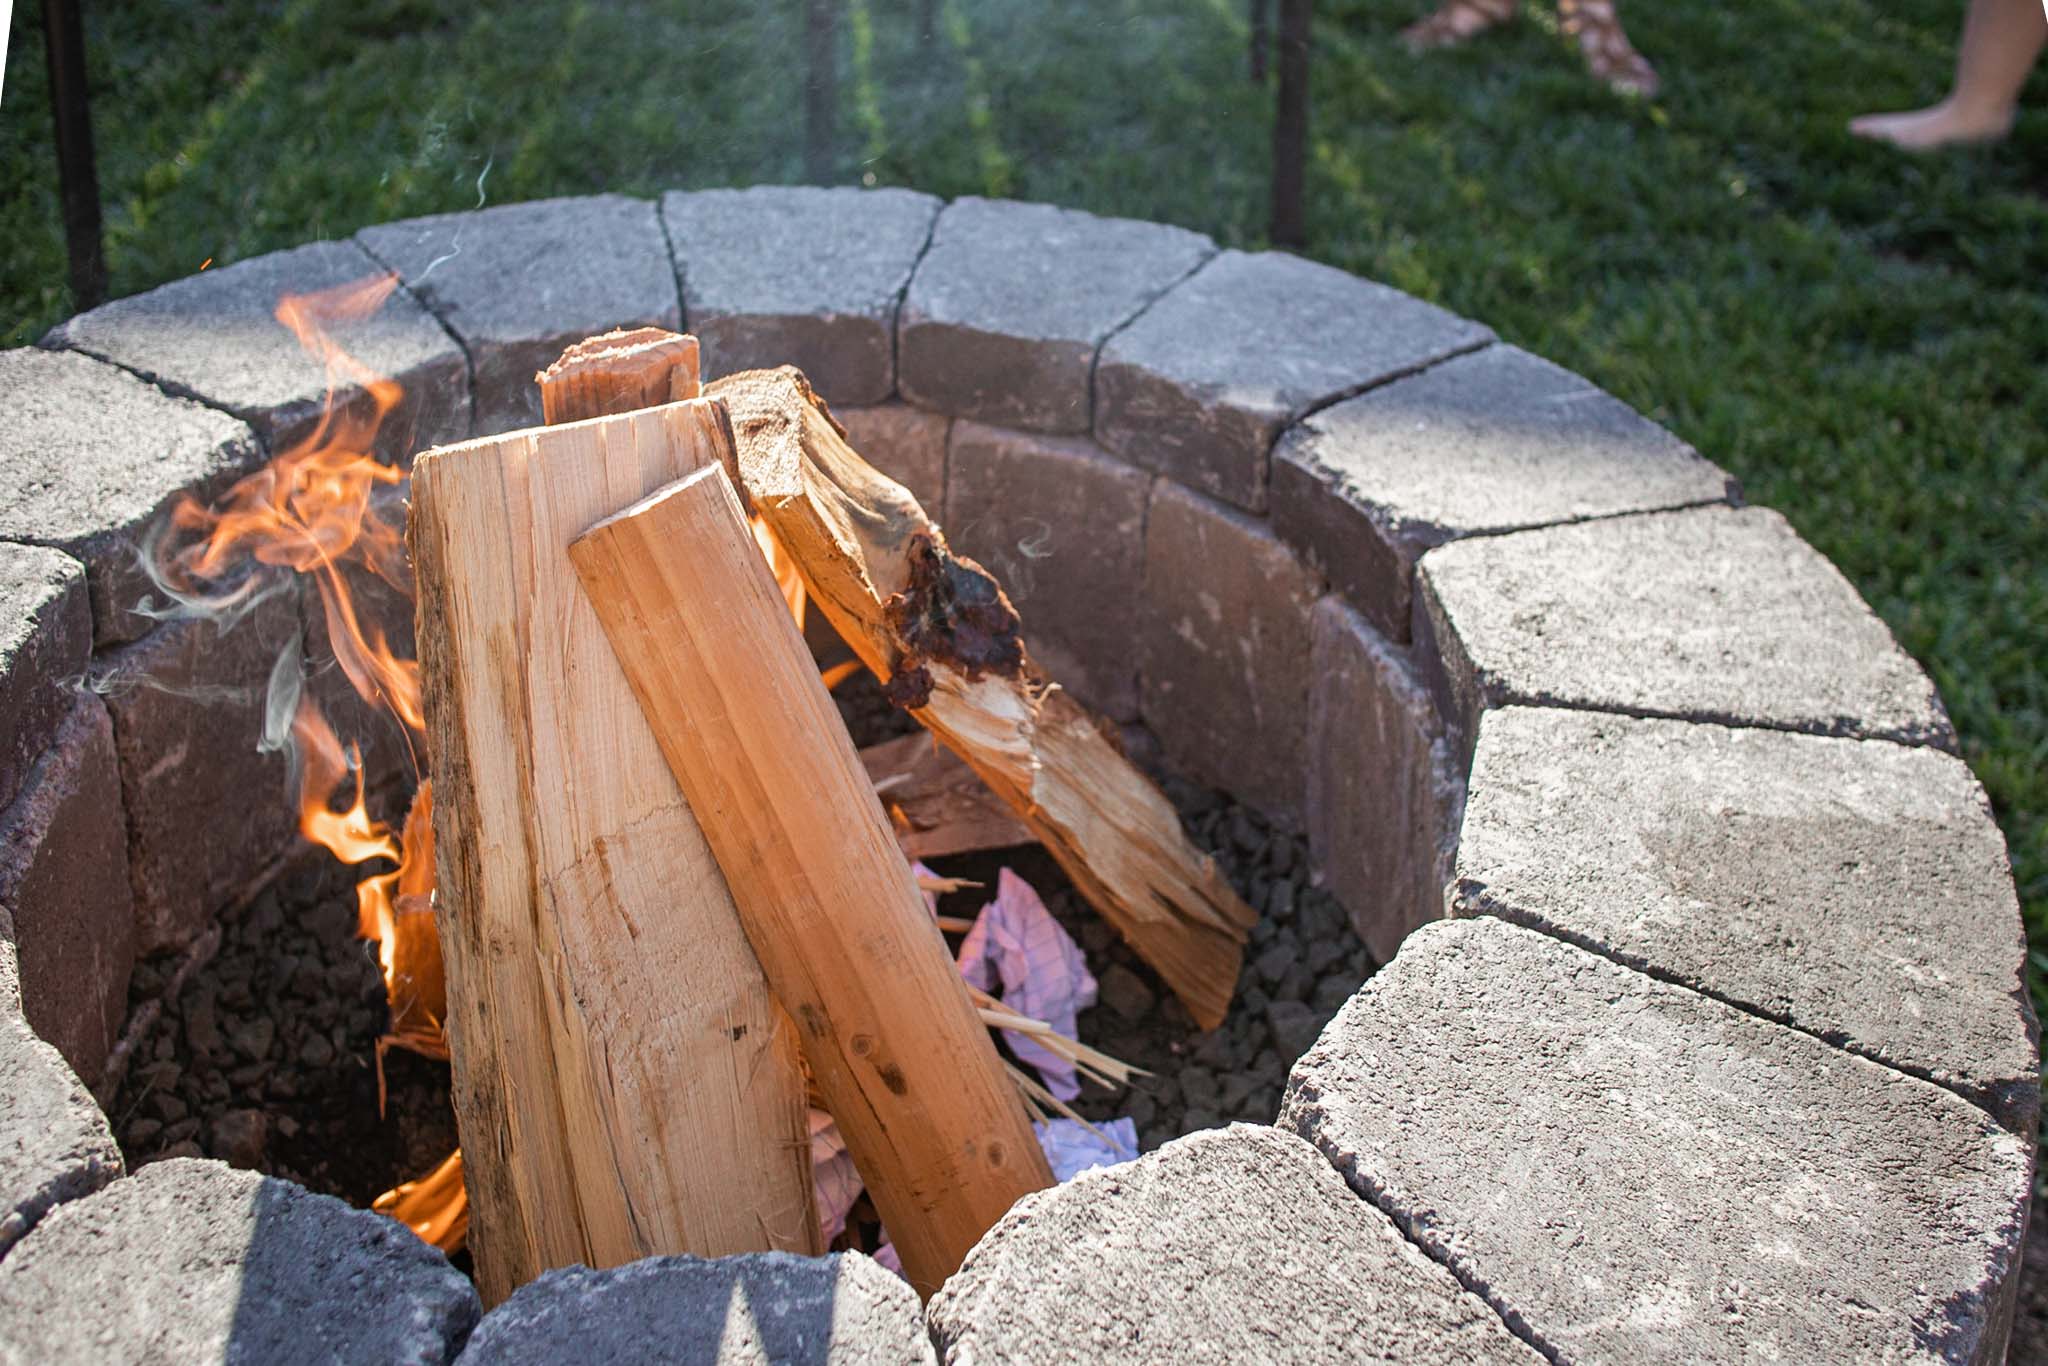
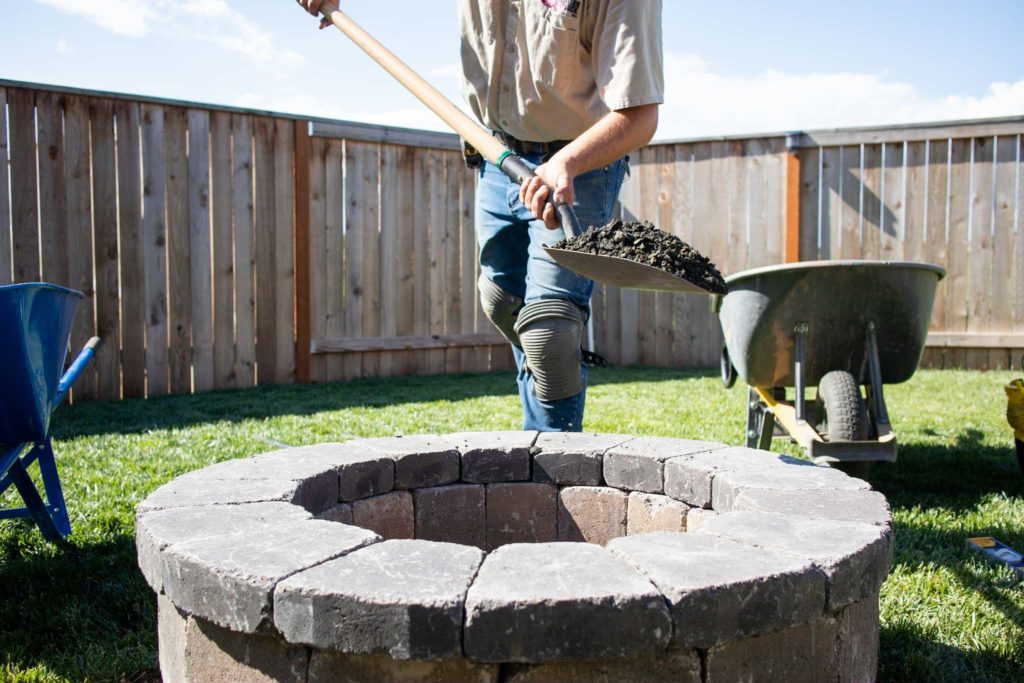
Before lighting a fire, we added some leftover gravel to the bottom of our firepit to raise the interior depth of the pit and provide a base for the coals. This step definitely isn’t required, but we’ve found it helpful.
Step 5: Enjoy your firepit
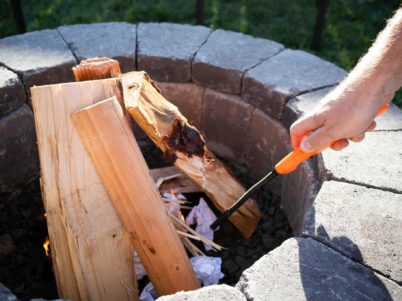
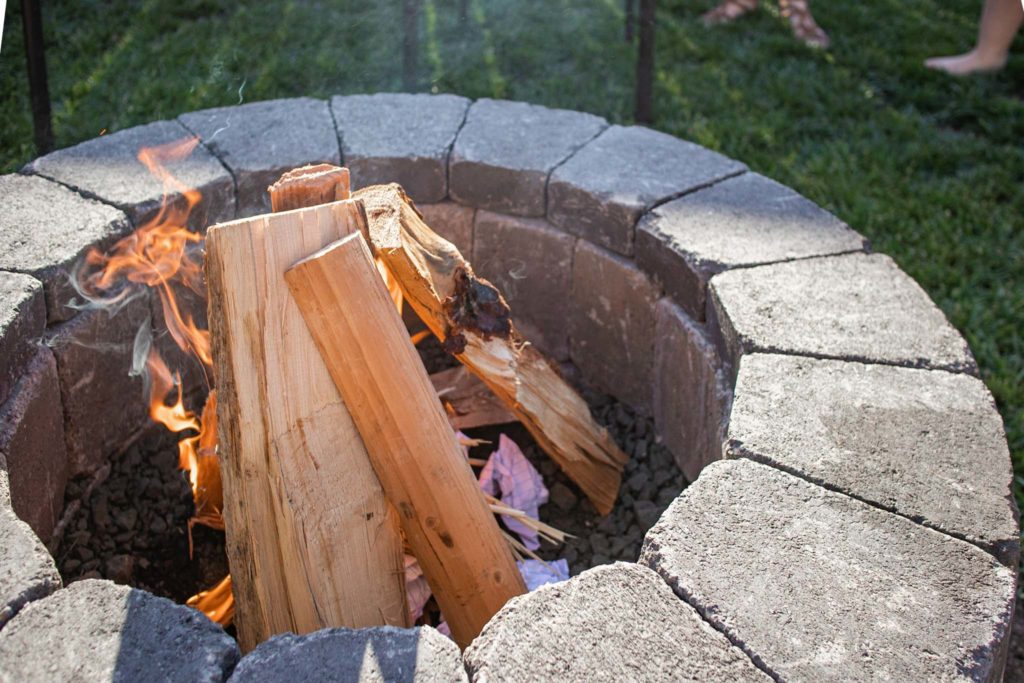
Now, you can enjoy your fire pit! Since you’ll be lighting a blazing fire in your new fire pit, we recommend that you wait at least 24 hours for the glue to dry.
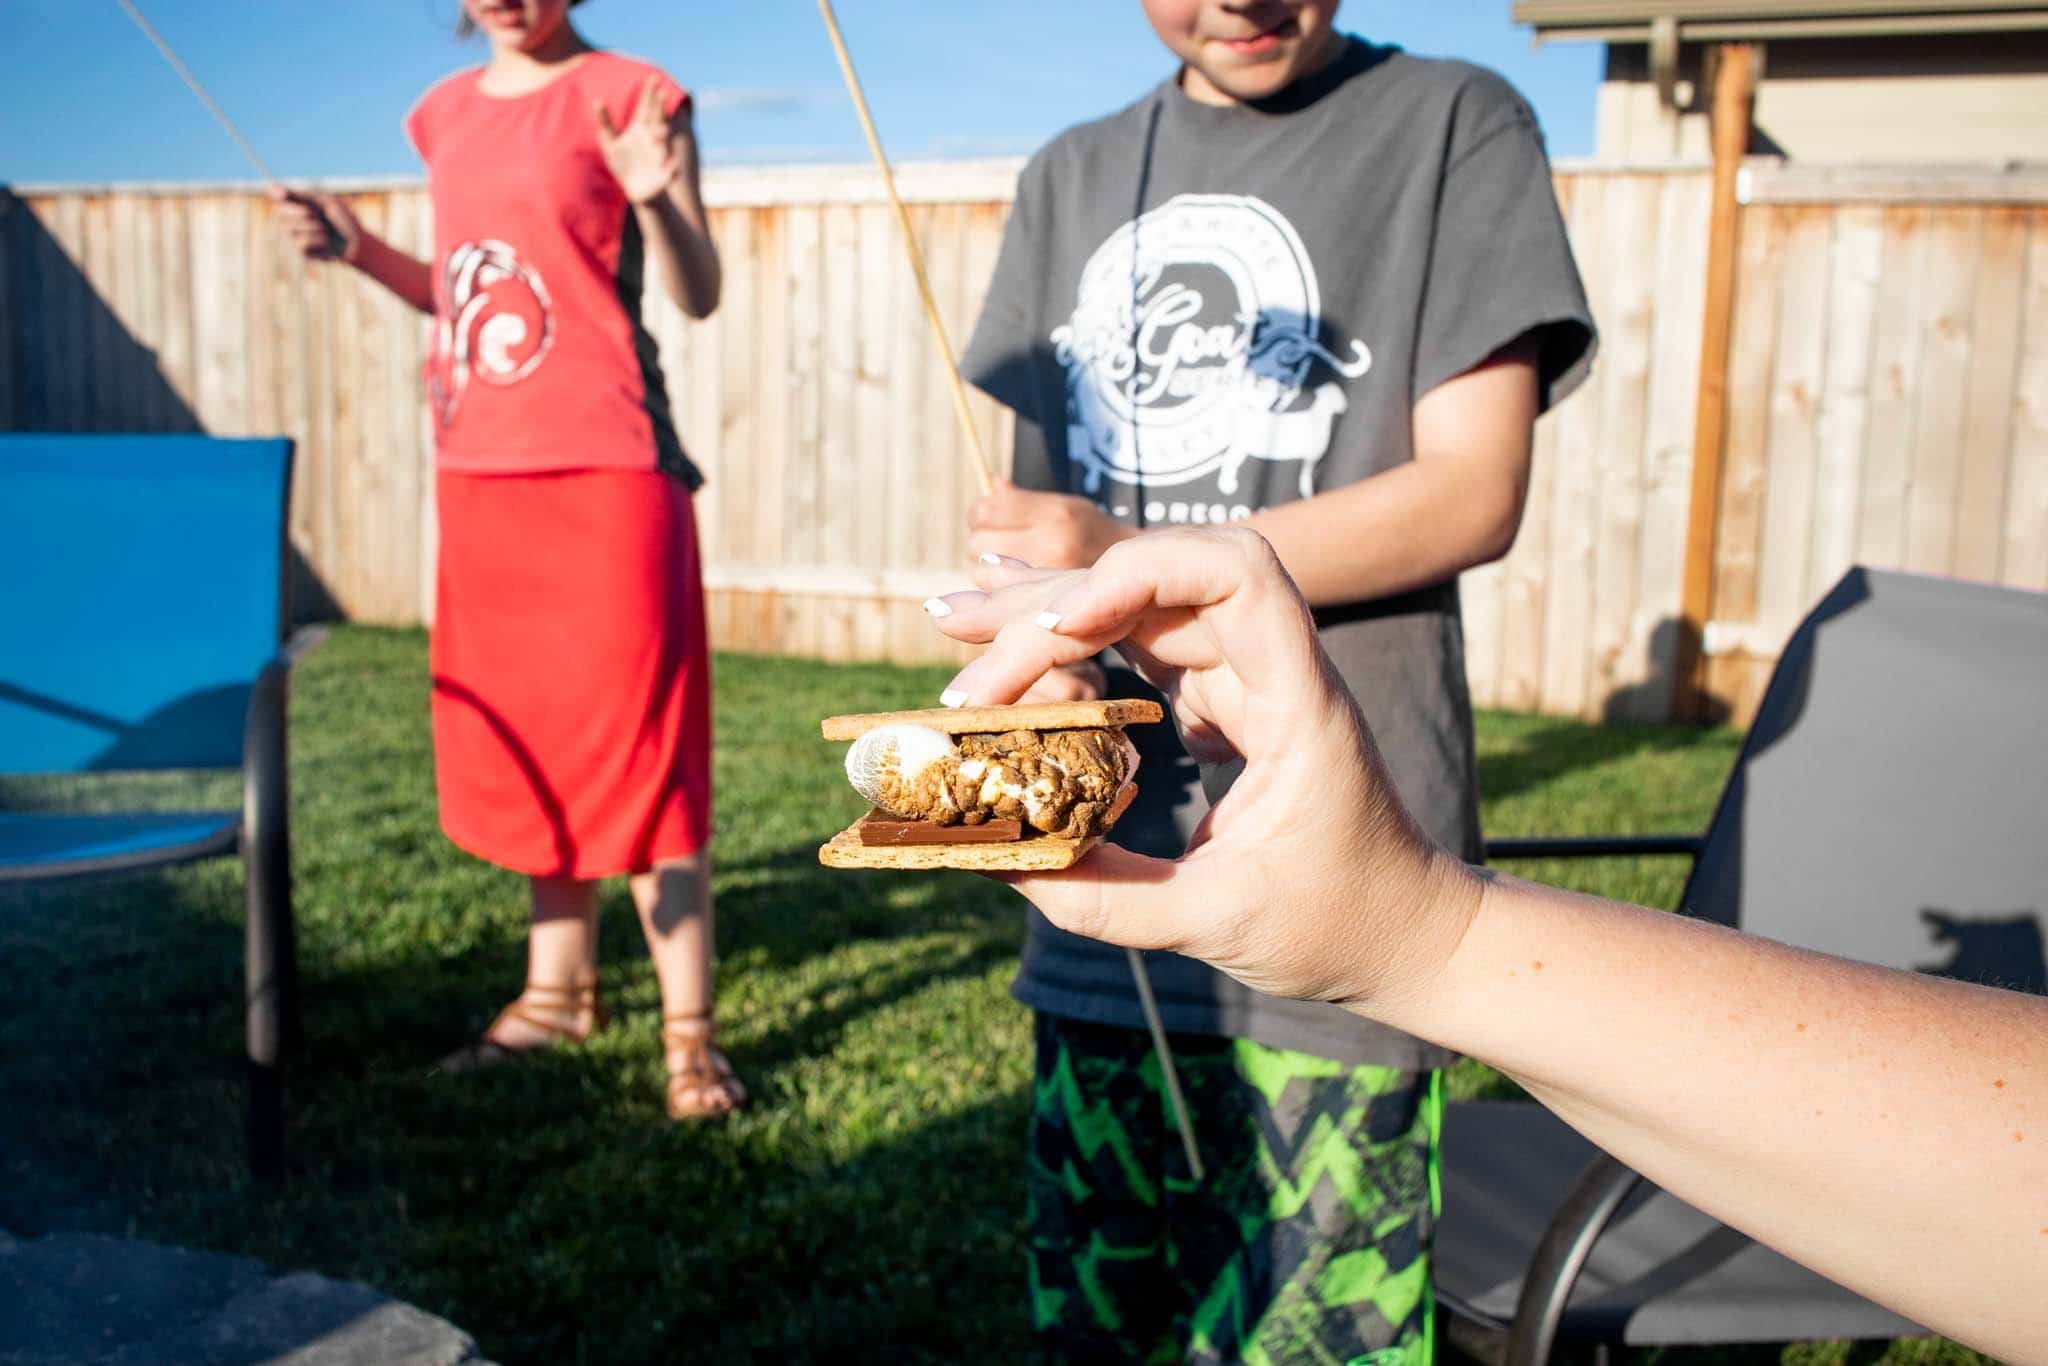
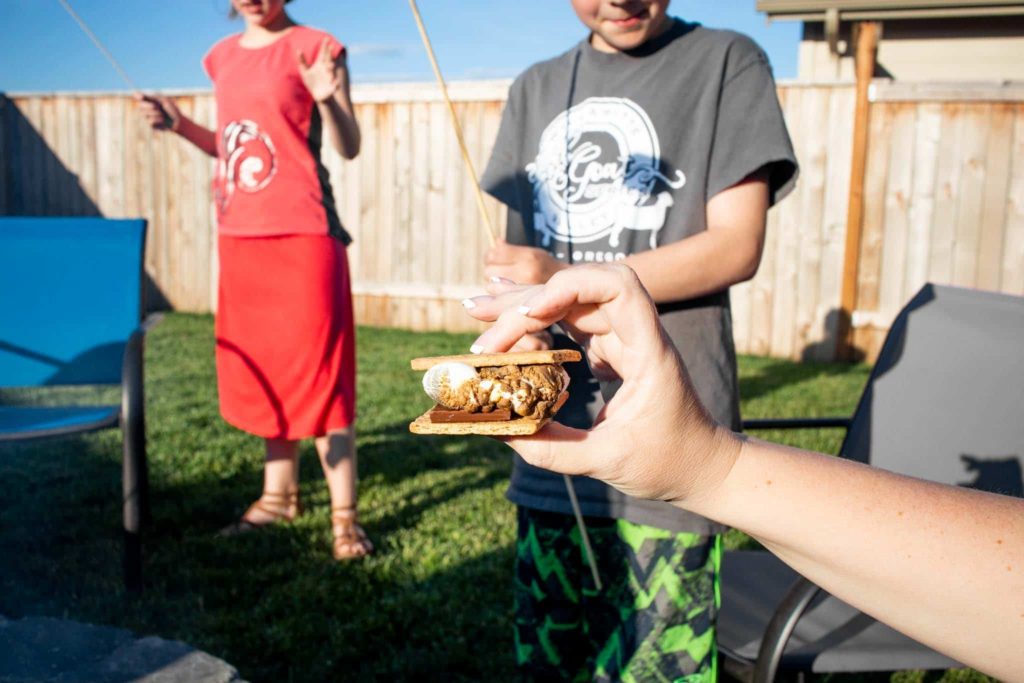
Don’t forget that a fire pit isn’t the same without friends, family, and some tasty s’mores!
Learn how to work with paving stones for a fire pit at Western Interlock
Here at Western Interlock, we’re on a mission to take the “hard” out of hardscaping. That’s why we frequently host a live DIY seminar at one of our manufacturing or distribution facilities.
You see, we created DIY with WI for everyday homeowners like you and me. In each seminar, we’ll personally walk you step-by-step through how to build and maintain your own hardscape. Join our next seminar for free.
Federal Highway Administration Tech Brief on Permeable Interlocking Concrete Pavement
We think that permeable concrete pavers are superior to other kinds of permeable pavements. Don’t just take our word for it though, read the new tech brief from the Federal Highway Administration.
Download the brief here.
How to Clean & Maintain a Beautiful Hardscape
Over the seasons, your paving stones have been exposed to sun and rain, they’ve ever so slightly expanded and contracted from hot and cold temperatures, and sneaky weeds and insects have snuck in.
You can trust that Western Interlock’s hardscape is resilient. In fact, we’ve seen our stones still look great after 30 years. But that doesn’t mean it doesn’t fall prey to the realities of our ecosystem.
So if you have any of these issues, how do you deal with it? Should you scrub your stones with a brush or blast them with a pressure washer? Should you scrape away growth or use rinse-away products? Hardscape cleaning and maintenance can feel intimidating, but it doesn’t have to be. In this article, we’ve got the answers you’re looking for.
Here are the five hardscape cleaning and maintenance methods we’ll cover.
- Spot cleaning
- Bleach rinse
- Acid wash
- Large surface cleaning
- Pressure washing
In the next few paragraphs, we’ll show you which method to use depending on what kind of elements you’re dealing with. We’ll also show you how to approach each method so that your hardscape stays strong and beautiful.
Spot cleaning
Whether you’re working with ants and insects, moss and weeds, or motor oil, you’ll likely have to do some spot cleaning on your hardscape. In this first section, we’ll explain how to spot clean effectively in a variety of circumstances.
Ants and insects
- Difficulty: 1
- Cost: 2
- Est. time: 30 minutes
- Tools: Screwdriver, brush or broom, hose
Ants and insects sure know how to mess up hardscape. Sometimes they’re blatant and they’ll dig up your sand right in the middle of things. Other times they’re sneaky and they’ll dig up sand under a potted plant or doormat. Either way, if you’ve noticed any signs of ants or insects, you’ve got a problem.
The first step to fixing this problem is to get to the root issue and kill the ants or insects. For this, we recommend applying an Insecticide called Tempo SC. Apply the product to the insect’s exit hole, following the manufacturer’s instructions.
Next, you’ll want to replace the sand between your pavers. You might be able to simply sweep the sand mound right back into the hole. But depending on the severity of the ant or insect problem, you may have to backfill with additional sand. After you’re done, simply sweep away the excess sand or use a hose to spray the surface of your hardscape clean.
Moss and weeds
- Difficulty: 1
- Cost: 1
- Est. time: 1–2 hours
- Tools: Screwdriver, brush or broom, hose
Since Western Interlock is based in Oregon’s Willamette Valley, we deal with a lot of moss. If you’re in the area, you probably do too. But the thing with moss is that it doesn’t grow everywhere. Sometimes it grows only in a few shady, moist areas. You might have a similar situation. If so, here’s how to spot clean your moss.
Note: If you have moss, algae, or fungi growth on the entirety of your hardscape’s surface, read our recommendations on bleach rinse and large surface cleaning below.
First, scrape it with a flathead screwdriver. We recommend that you place your screwdriver head in a vertical position so that while you break apart the moss, you don’t scrape away the surface of your pavers.
Second, brush away the moss remains with a broom or brush. After you use the screwdriver method, moss and sand will be laying on the surface of your hardscape. That’s okay, we’ll backfill the sand later. Simply brush away the residue using a hard bristled broom or brush.
Motor oil
- Difficulty: 1
- Cost: 2
- Est. time: 1-2 hours
- Tools: Brush, hose
If you have a paver driveway, you’ll be hardpressed to not ever deal with motor oil drips or spills. At first, these black stains can seem scary—and it can feel like you’ve ruined your beautiful pavers forever! Well, you didn’t. Here’s how to clean it up.
First, use our favorite oil stain cleaner: Surebond Oil Extractor. Pour it on liberally, following the manufacturer’s instructions.
Second, scrub it in using a small, handheld brush and let sit for 30 minutes. While our oil stain cleaner was sitting, we took a break and enjoyed some time together. While cleaning and maintaining hardscape isn’t difficult, it can be exhausting. Why not use this time and put a steak on the grill or spark an encouraging conversation with your neighbor?
Third, rinse using hot water. While rinsing, we used our brush and scrubbed at the oil stain for good measure. Depending on the size and severity of your oil stain, you might consider using some additional elbow grease as well. If the stain is persistent, simply repeat the process another time or two and your pavers will be as good as new.
Bleach rinse
- Difficulty: 1
- Cost: 1
- Est. time: 30 minutes
- Tools: Bleach, watering can, hose
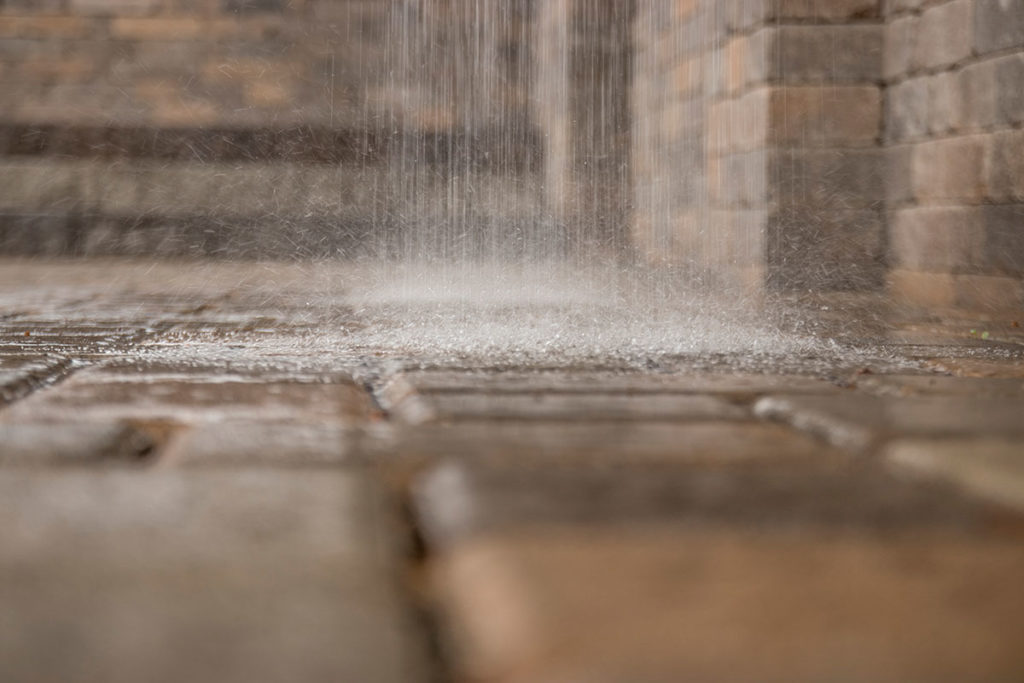
If you live in a climate that’s conducive to moss, it’s likely you’ll experience other fungi growth like algae. As you can see in the picture above, algae are both black and green and will grow on ultra moist areas of your hardscape such as corners and edges. In our example, algae growth extends onto the lower wall and ground around the foundation because of splash back from frequent rain.
It can be easy to pull out your pressure washer for any hardscape cleaning job. But often it’s not necessary and can disrupt your stone’s joint sand, whether standard sweeping sand or poly sand; or any sealer that has been applied. That’s why we recommend that the best way to combat algae is with a bleach rinse.
First, mix a 50/50 bleach and water solution in a watering can. Add the bleach first then add cold hose water to help mix the solution.
Next, sprinkle the bleach solution on your hardscape. It rained while we were applying the bleach rinse to our retaining wall so it’s difficult to see exactly how liberal Colin’s applying it—but we recommend covering the affected area by applying as much bleach rinse as you’re comfortable with.
Rest assured that your Western Interlock pavers are tough and this rinse is not going to discolor or disintegrate your pavers. In fact, most paving stones have a top face—which means that the stone only has coloring ⅛” deep. Western Interlock paving stones, on the other hand, have consistent color all the way through.
Last, rinse your pavers with fresh water. After 15–20 minutes, stretch out your garden hose again and rinse. After your hardscape dries, the fungi should be either dead or gone. If you’re dealing with moss, you’ll need to scrape or spray it off. If you’re dealing with another fungus, like algae, it should rinse easily. If not, follow our recommendations for pressure washing below.
Acid wash
- Difficulty: 1
- Cost: 2
- Est. time: 1–2 hours
- Tools: Muriatic Acid, watering can, hose
If your hardscape is starting to lose its vibrancy or you notice that it’s becoming whiter, that’s the effect of efflorescence. That’s just a big word for salt crystallization on your stones. Efflorescence is a natural occurrence and is easy to remove. All we’ll do is use a natural acid to remove a natural base. Here’s the gist of it.
First, find yourself some Muriatic Acid. We use and recommend Muriatic Acid from Transchem. The proper mixture is approximately 11:1, which works out to 20 oz of acid in a 2-gallon watering can.
Next, wash your hardscape with the Muriatic Acid mixture. Don’t be shy. Make sure to coat your hardscape well but rinse within three minutes.
Finally, thoroughly wash off the mixture using a standard garden hose. That’s it! Your hardscape will look beautifully vibrant once again.
Large surface cleaning
- Difficulty: 1
- Cost: 4
- Est. time: 2–3 hours
- Tools: Pressure washer, surface cleaner
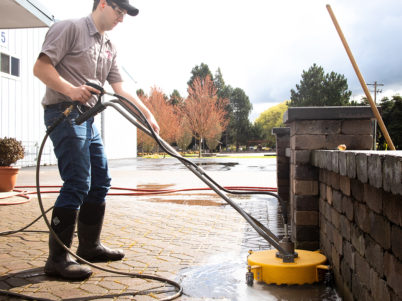
Many of our customers use paving stones to make driveways or large patios in their backyard. Some have even used our stones to make basketball or tennis courts. And let me tell you, they’re beautiful. But on the other hand, it’s a large space to clean and maintain. For these situations, we recommend using a surface cleaner.
While large surface cleaning can be done with a standard pressure washer, we’ve found that the surface cleaner attachment gives you more control and coverage because of it’s defined round cleaning space.
Using the surface cleaner is like mowing your lawn. You know exactly where you’ve mowed and you can overlap if necessary. And just like if you’re mowing tall grass, take it slow. In fact, measure your distance and try to cover about 10 feet per minute. In plain language, if you have a 10-foot walkway to clean, it should take you one minute to clean one pass.
It’s important to note when doing any sort of pressure washing, that you want to control the PSI (pounds per square inch). Since the surface cleaner has two rotating heads that blast an inch or less from your hardscape, keep your pressure under 1,500 PSI.
Cleaning with a surface cleaner is easy. Like I mentioned above, just pretend you’re mowing your lawn. Walk slowly, overlap when necessary, and have yourself a good time.
Pressure washing
- Difficulty: 2
- Cost: 3
- Est. time: 2–3 hours
- Tools: Pressure washer
For everything else, there’s pressure washing. Sometimes spot cleaning, bleach rinse, or large surface cleaning just don’t cut it. Any tenacious residue that’s still hanging on can be blasted away using a pressure washer.
But while everyone loves a good pressure washing, we recommend using caution. Your hardscape relies on two things to stay beautiful: sand and sealant. And when blasting away with a pressure washer, it can be easy to remove those elements from the equation.
The sand between your pavers reinforces the structure so that it’s safe and secure to walk on, sit on, or drive on. Additionally, your Western Interlock pavers are finished with a protective sealant. This sealant doesn’t hold the pavers together, but it does make them resilient in even the harshest of weather conditions. So when you pressure wash, we recommend two things.
First, limit your water pressure to 1,500 PSI. This gives you quite a bit more pressure than the surface cleaner for those super tough stains while still keeping the pressure low enough to protect your pavers from damage.
Second, keep your nozzle at least six inches away from your hardscape. We’ve found that this is the perfect distance to get all the hard-to-get slime, grime, and fuzzies.
Third, sweep in fresh joint sand. Pressure washing, in particular, will lift the joint sand from between your pavers. Losing a bit of sand may not seem like a big deal, but just like in music how the rest is just as important as the note, the sand is just as important as the stone. Your beautiful hardscape relies on the sand and to keep it structurally sound. To replace the joint sand, simply sprinkle it around the area you cleaned and use a broom to sweep it in. If there’s any leftover, simply put it back in your sandbag or sweep it away.
By following these simple guidelines, you’ll save your pavers and maintain exceptionally beautiful hardscape.
Note about the soil in Tigard
If you are working in the Tigard area, make sure to take precautionary measures to avoid walking on the pavers with muddy shoes. The soil in Tigard has high iron content and will severely stain our paving stones. Our pavers are colored with iron oxide and the iron in the soil bonds molecularly with the iron in the pavers, resulting in an extremely difficult to remove stain.
The best preventative measure is to avoid walking in the mud to begin with, but we realize that this is an unreal expectation. The first thing that you can do is to rinse off your boots, or you can put down plywood or plastic in areas that will receive traffic. You can also put down a thick layer of sand to cover the pavers. Basically, what you want to do is to prevent the soil from coming into contact with the pavers if at all possible.
Gray tone colors such as Charcoal and Cambridge Blend are especially susceptible to staining because there are no brown tones to hide the soil.
Stones already stained? Here’s what to do
- Locate a heated pressure washer capable of exceeding 212° F. To prevent damage to the surface of the paver, it is important that the pressure can be lowered to 1500-2000 psi.
- To keep from damaging the stones, hold the wand at a safe distance of at least 8 inches away from the paver surface.
- Work in a back and forth or side to side motion and make sure you are spraying the entire stone from edge to edge or you will see the unclean areas!
- When you finish washing the area, wait to check the cleanliness of the stones after they dry. If you missed any spots, you can wash them again.
- NOTE: It may work better if you wash the stones with a good cleaner (such as SEK’s SRB) to help break down the dirt before you pressure wash them.
Have questions about cleaning and maintenance? Give us a call at 800-627-3153 or send us a message. We’d love to hear from you.
Learn from the pros for free
Here at Western Interlock, we’re on a mission to take the hard out of hardscaping. That’s why we host a live DIY seminar every month at one of our manufacturing or distribution facilities.
You see, we created DIY with Western Interlock for everyday homeowners like you and me. In each seminar, we’ll personally walk you step-by-step how to build and maintain your own hardscape. Join our next seminar for free.
Pro Tip: Sealer Surface Dryness Test for Pavers
There are three big mistakes that people make when applying sealer to pavers.
- The surface is too hot
- The surface is not dry
- The surface is not clean
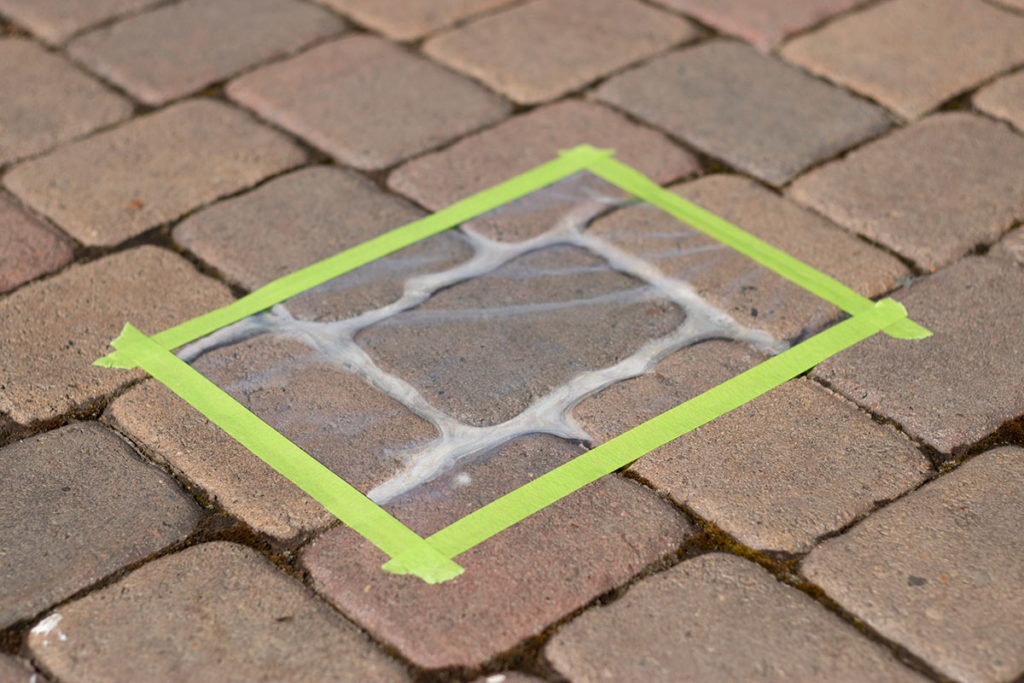
Temperature and cleanliness are pretty easy to understand, but how in the world do you tell if your stones are dry enough? Most sealer manufacturers recommend waiting 24 hours before sealing, and we recommend waiting 72 hours just to make sure, but what if it’s been hot and dry or cloudy and cold? Since the moisture tends to linger in the sand joints which you can’t see down into, how can you really be sure?
The Vapor Barrier Test
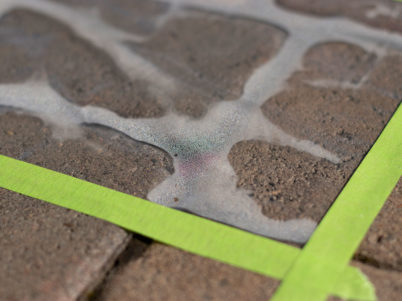
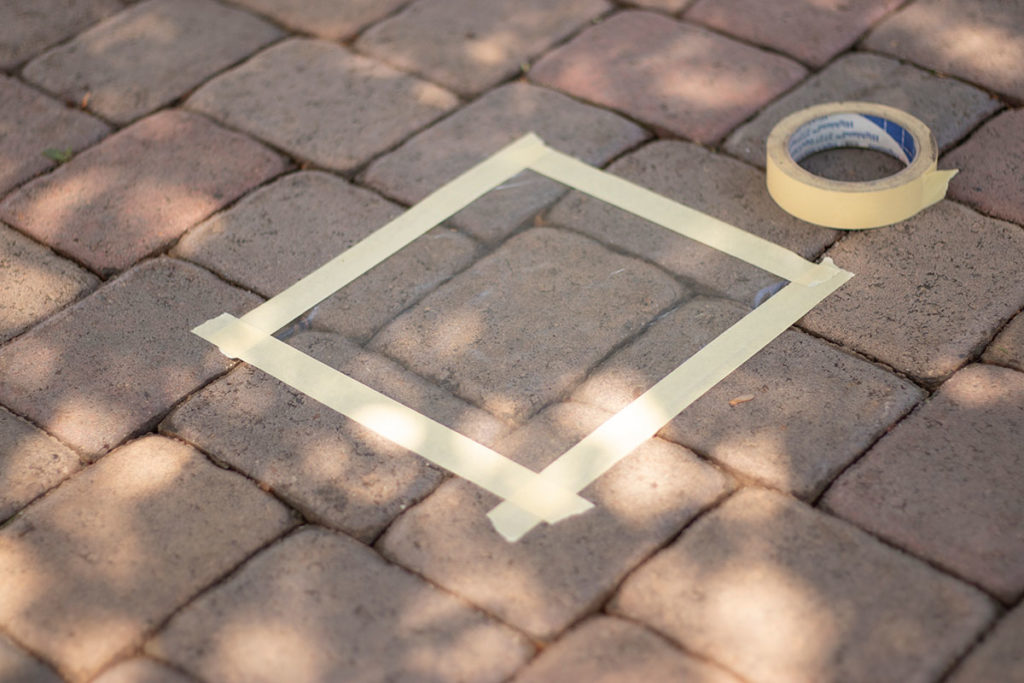
After waiting the manufacturer’s recommended 24 hours, an easy way to be sure that the surface and sand joints are completely dry is to create a sort of miniature greenhouse over a small test area by taping down a small sheet of clear plastic. The plastic forms a natural greenhouse which warms the surface in the sun. Any moisture that evaporates from the additional warmth will be trapped inside the vapor barrier. If you tape down a sheet of plastic and leave it for at least 45 minutes in the sun, and you have no moisture on the plastic, your pavers are dry enough to seal.
The Options are Endless with Chateau Wall™
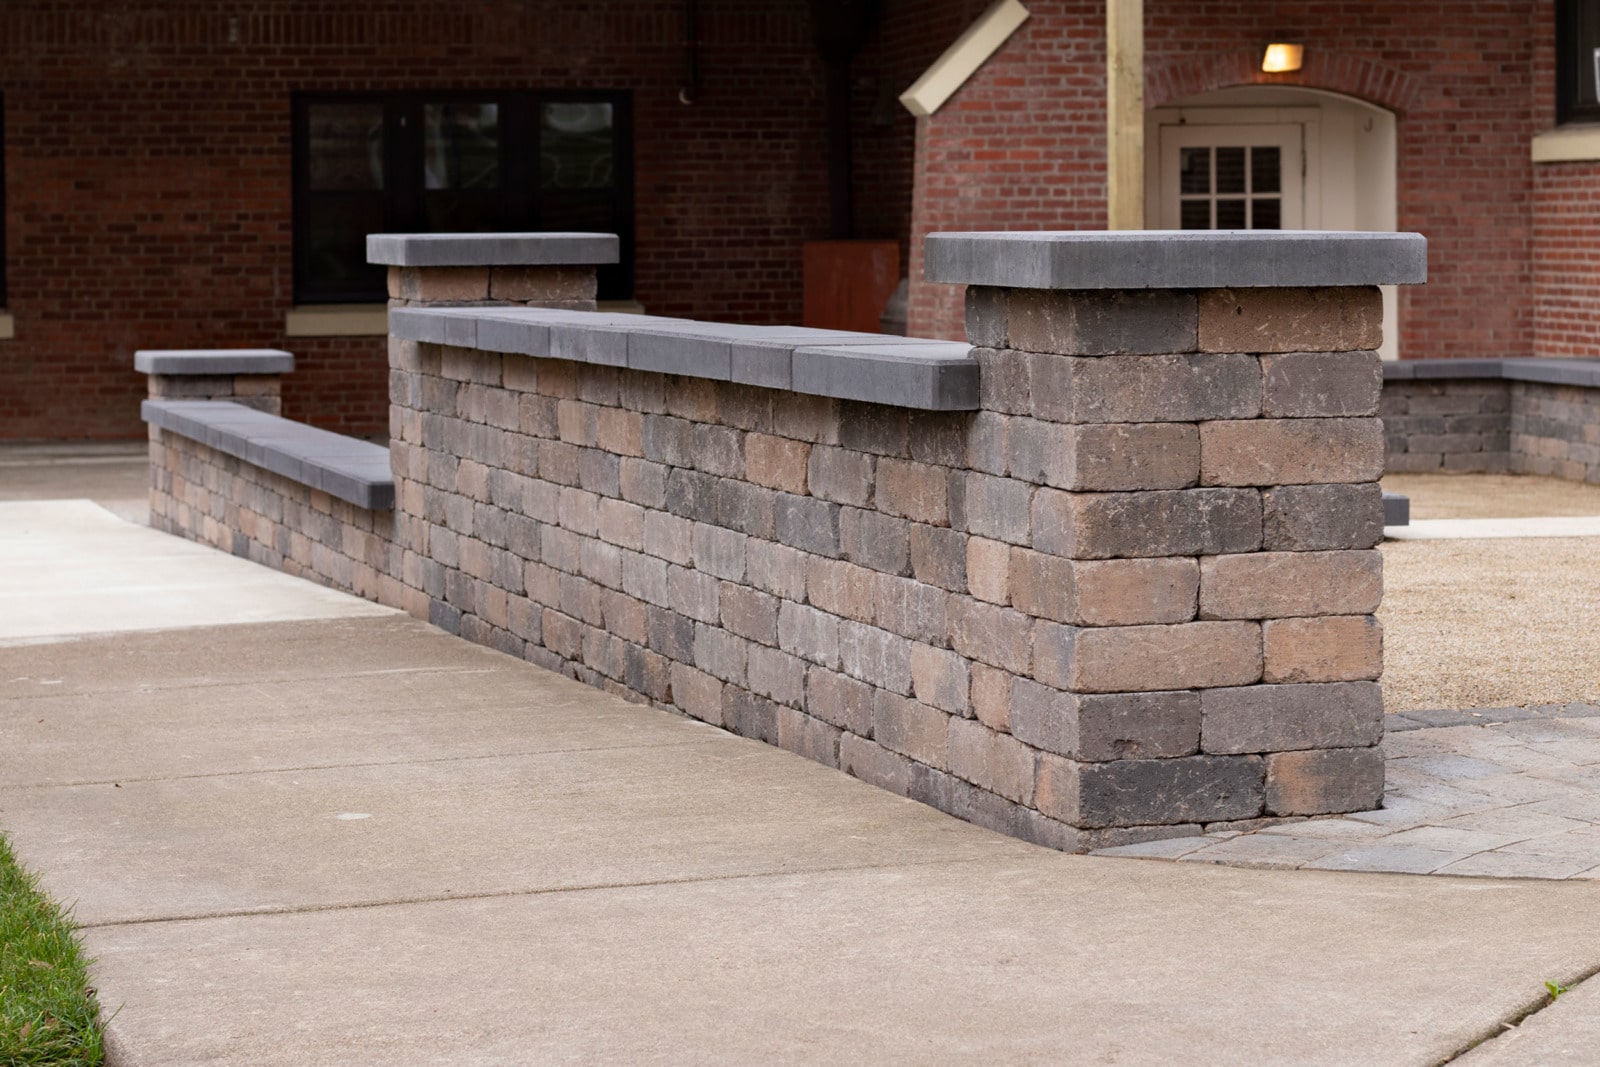
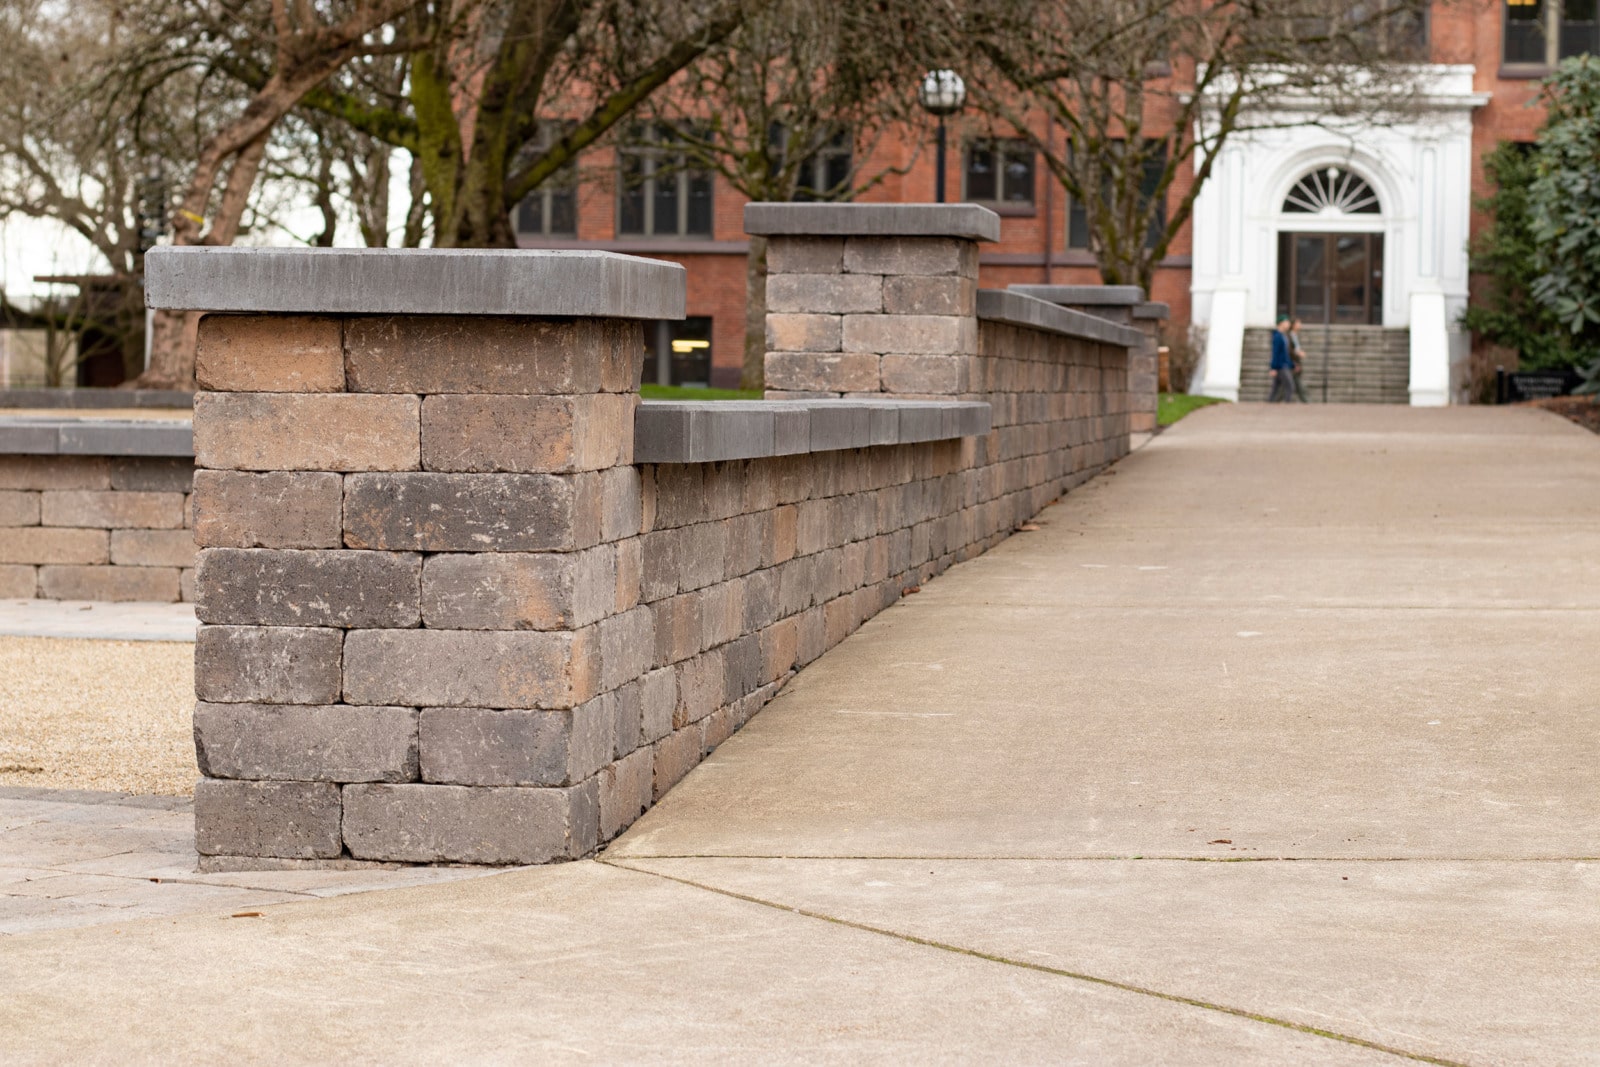
When designing a landscape, a wall makes a perfect final addition, enhancing any area by giving it shape, structure, and style. There is no wall block so suited to the widely varying demands of different landscapes than Western Interlock’s Chateau Wall™.
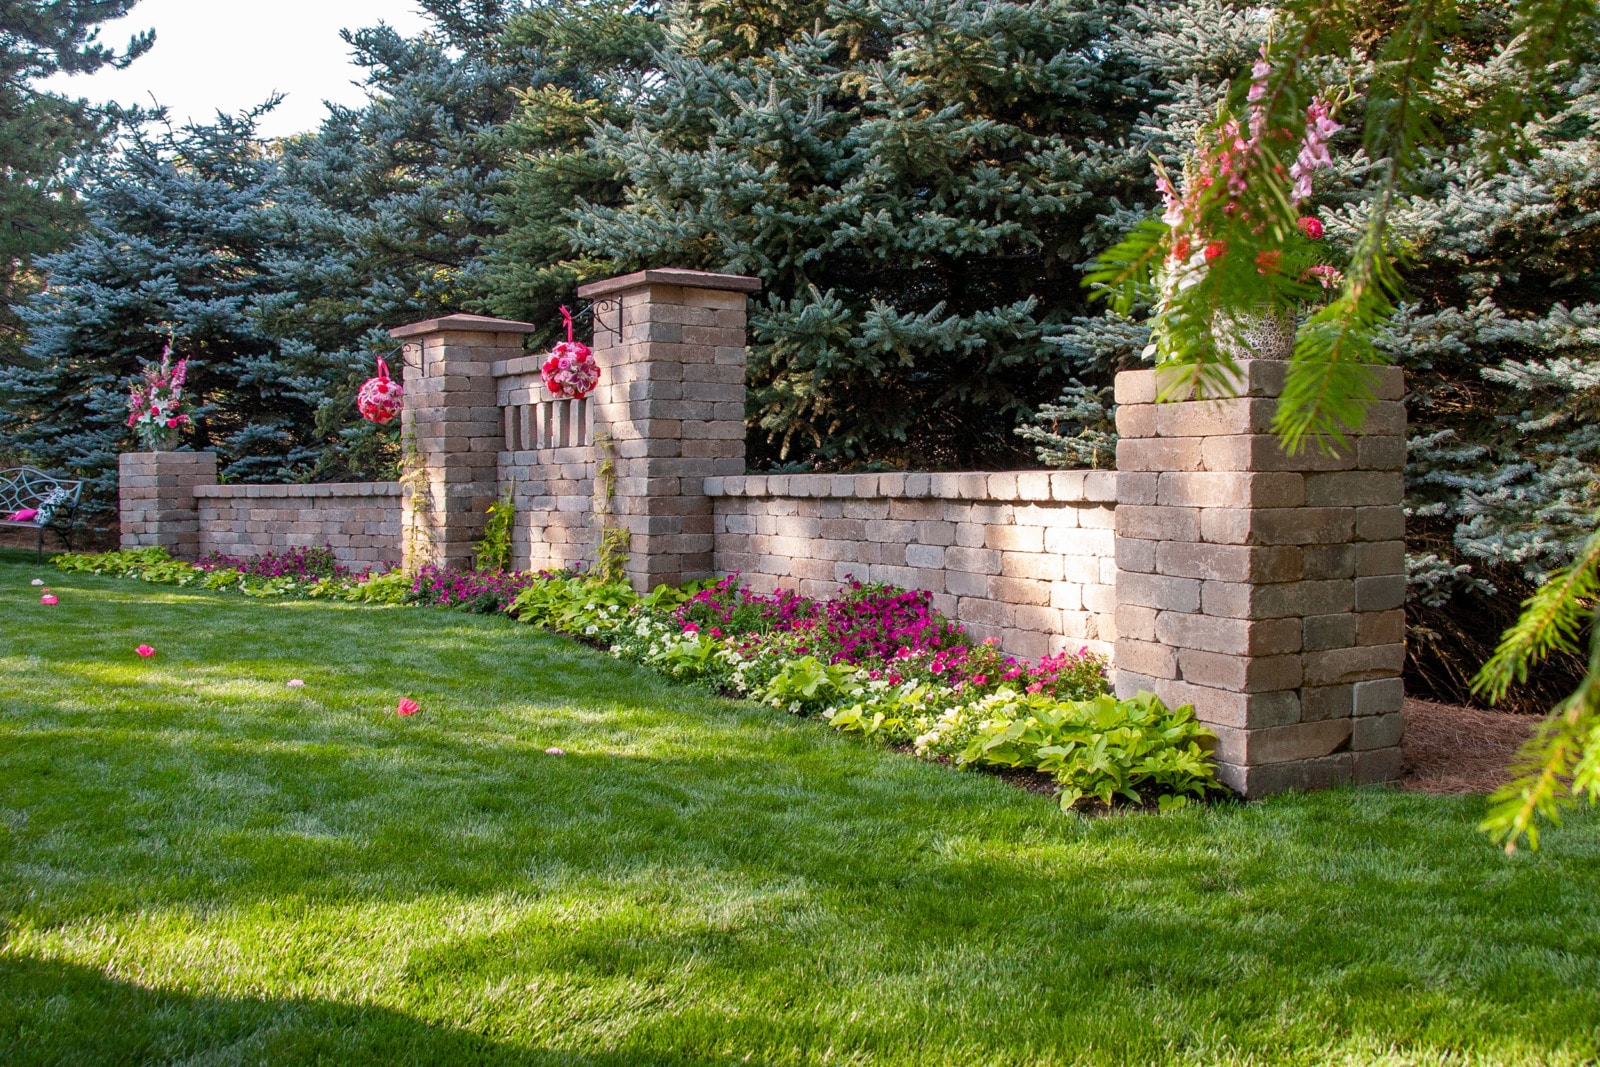
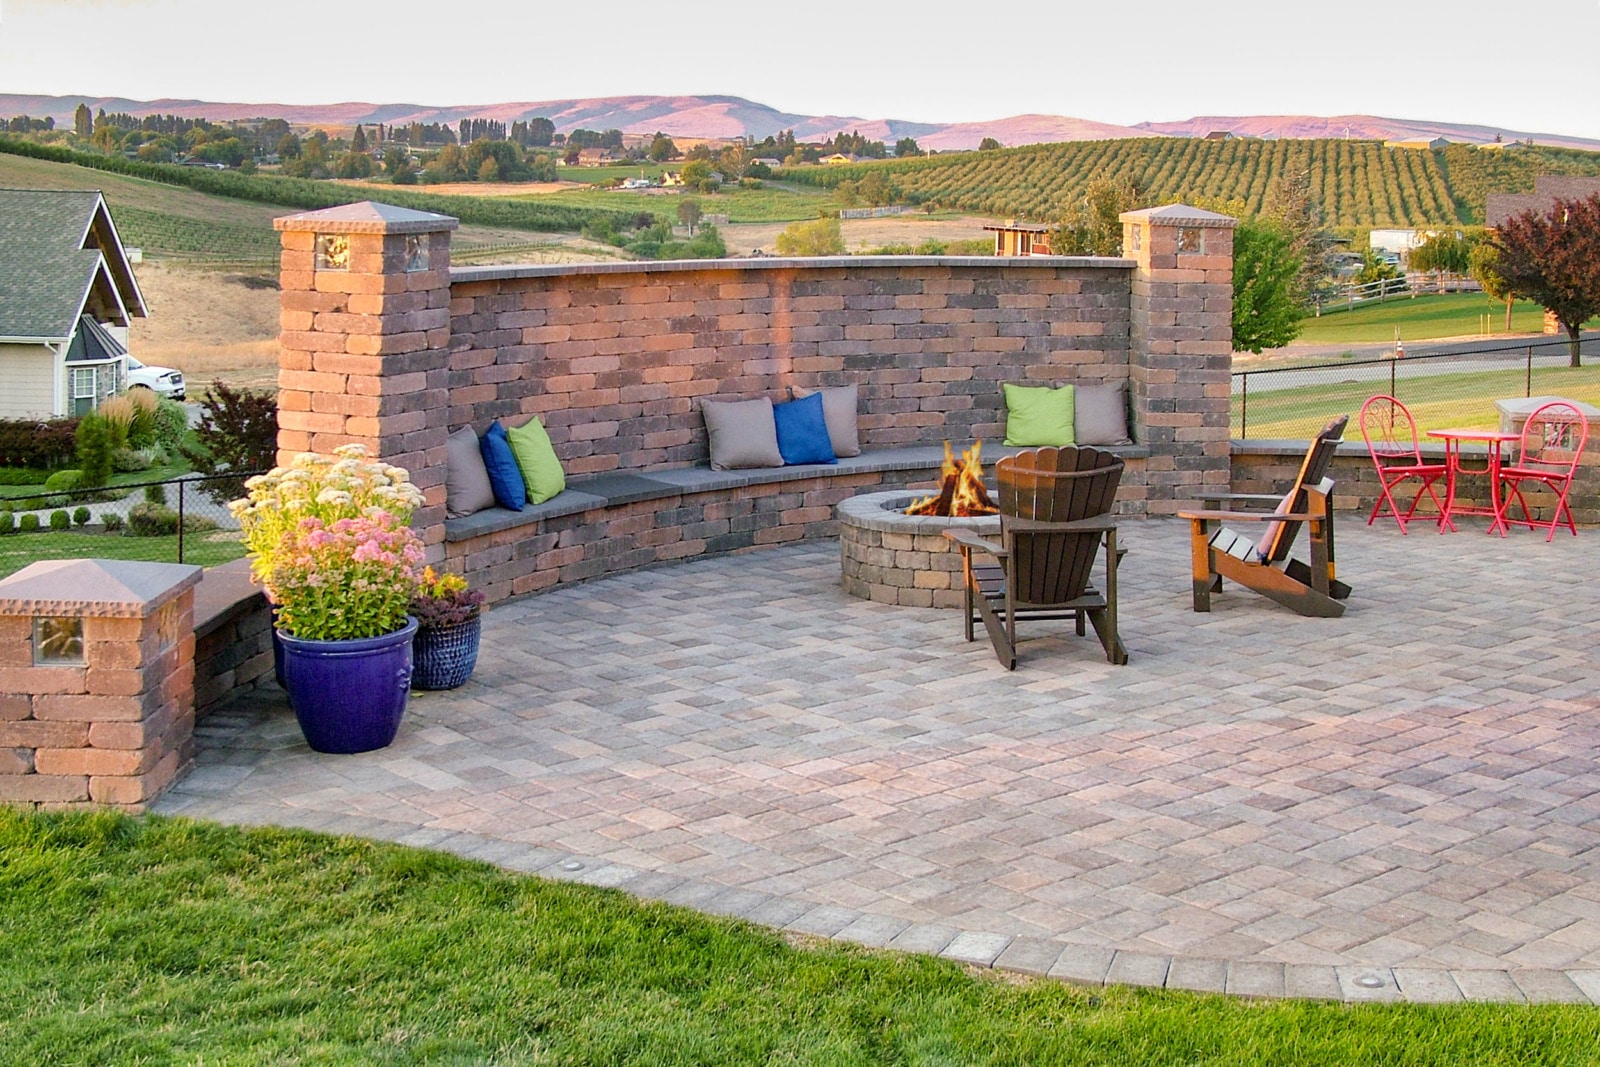
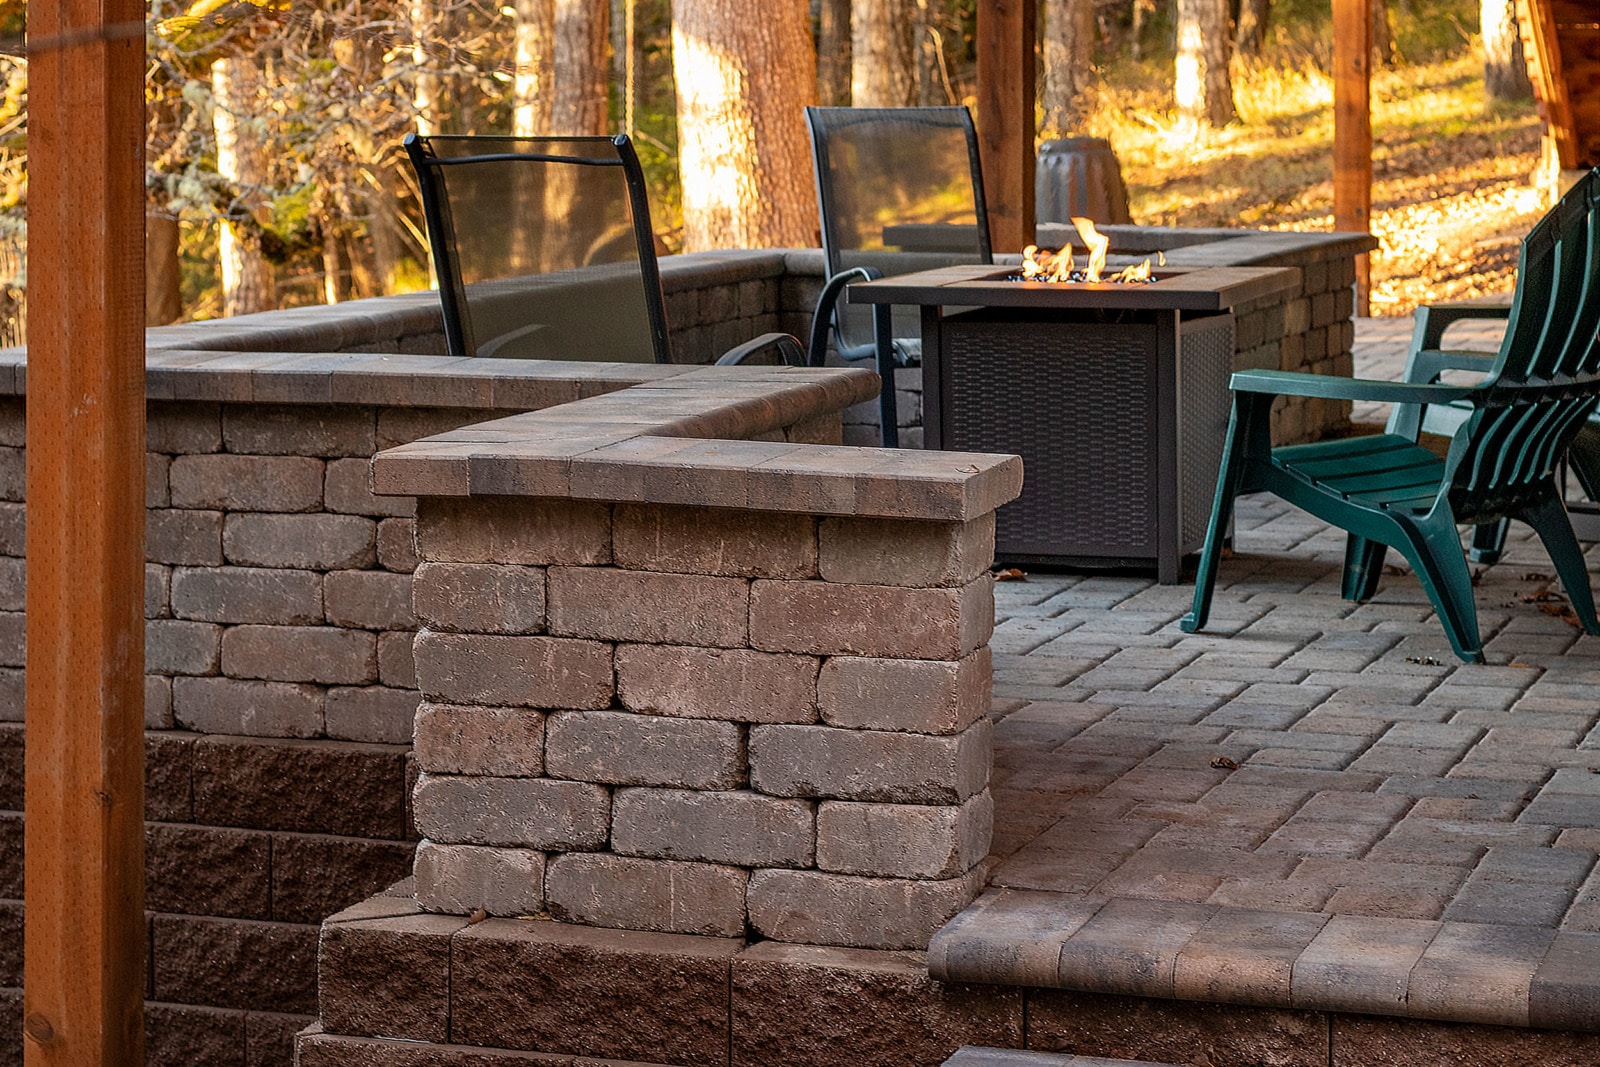
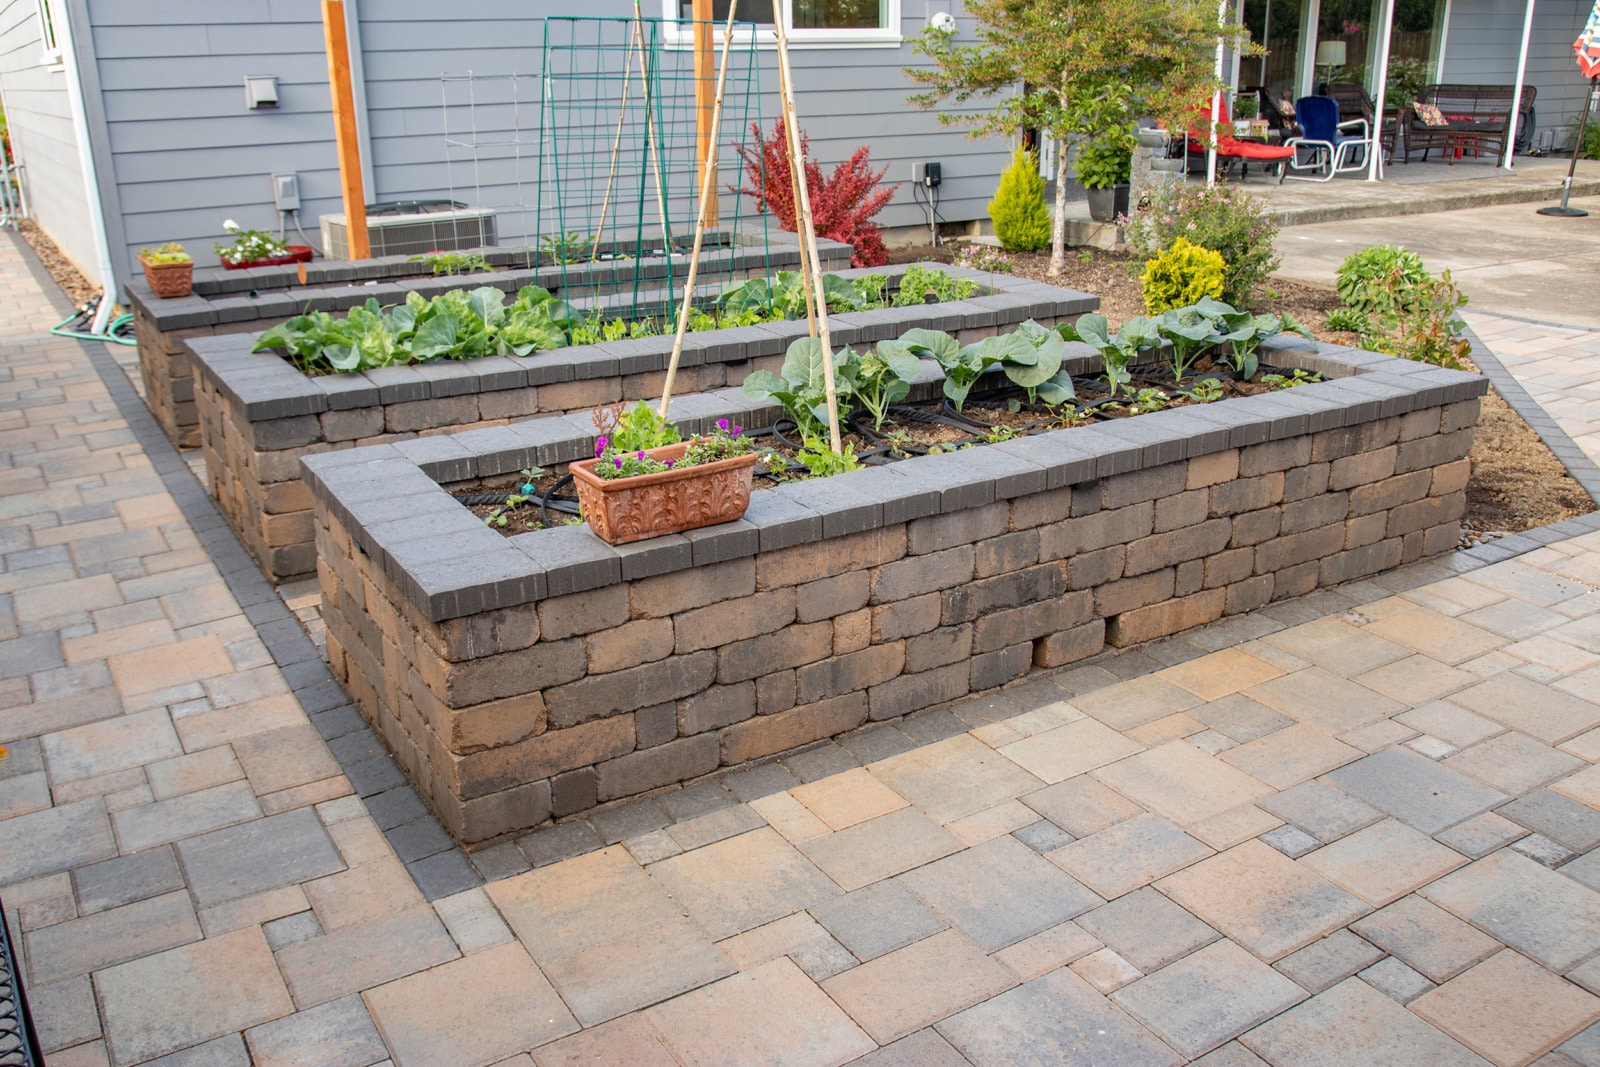
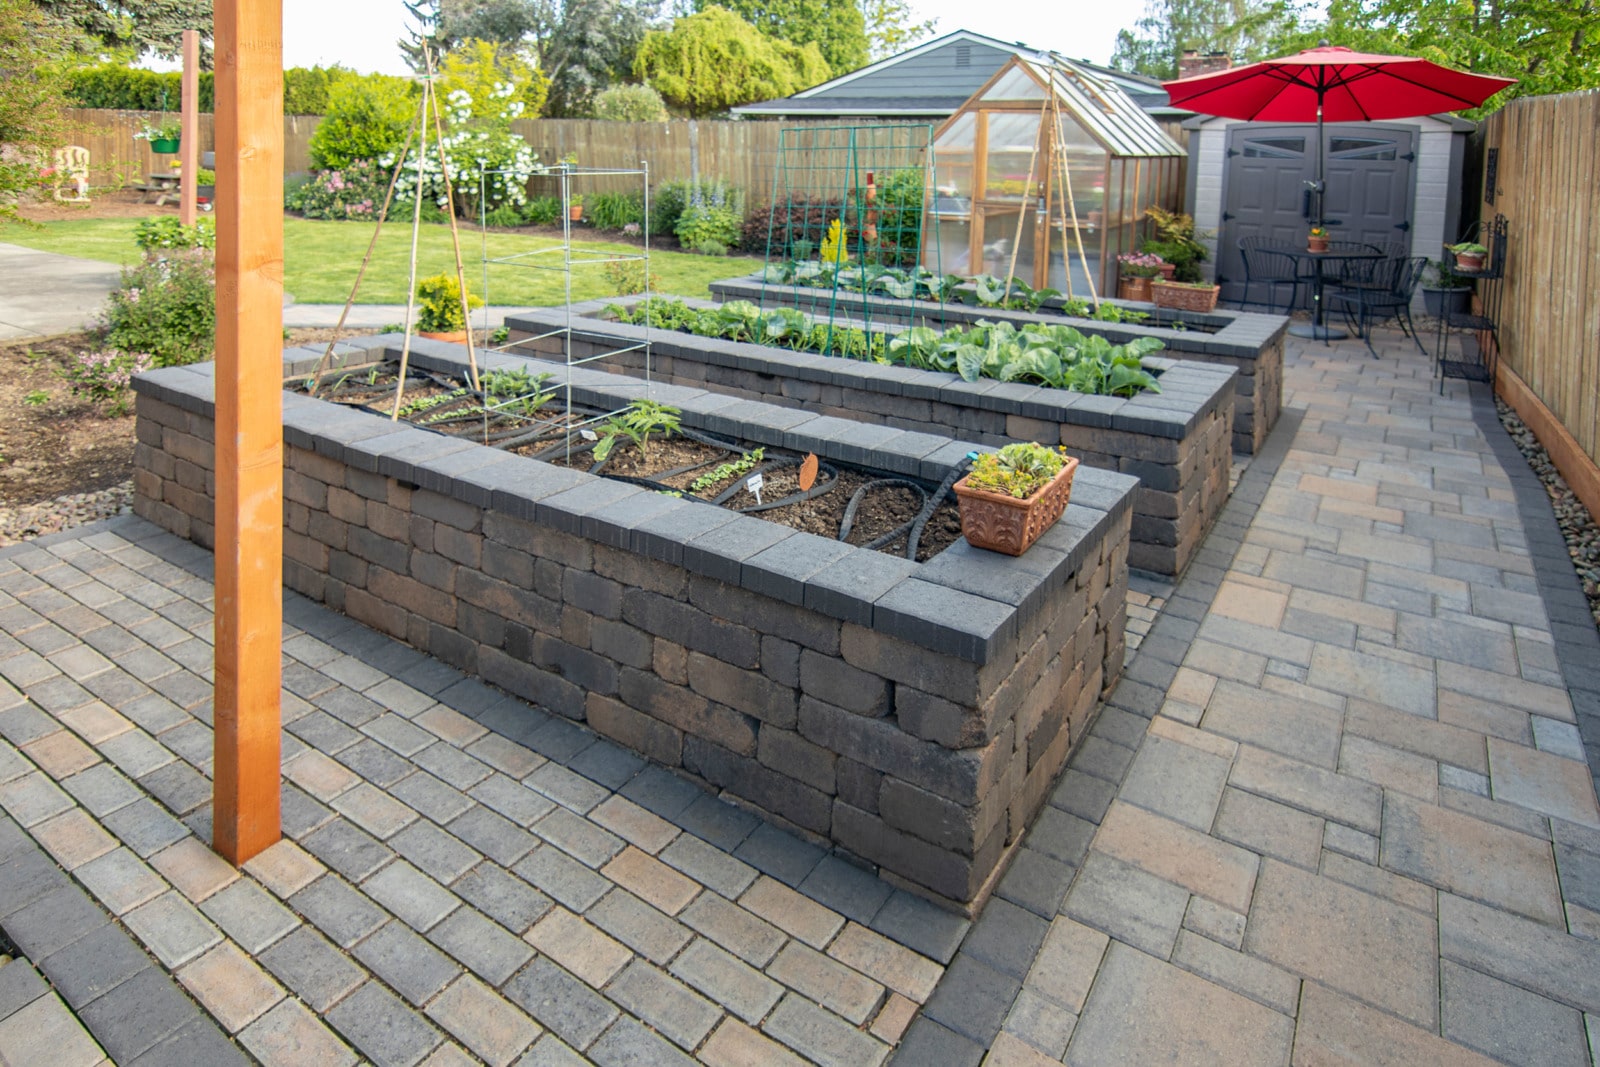
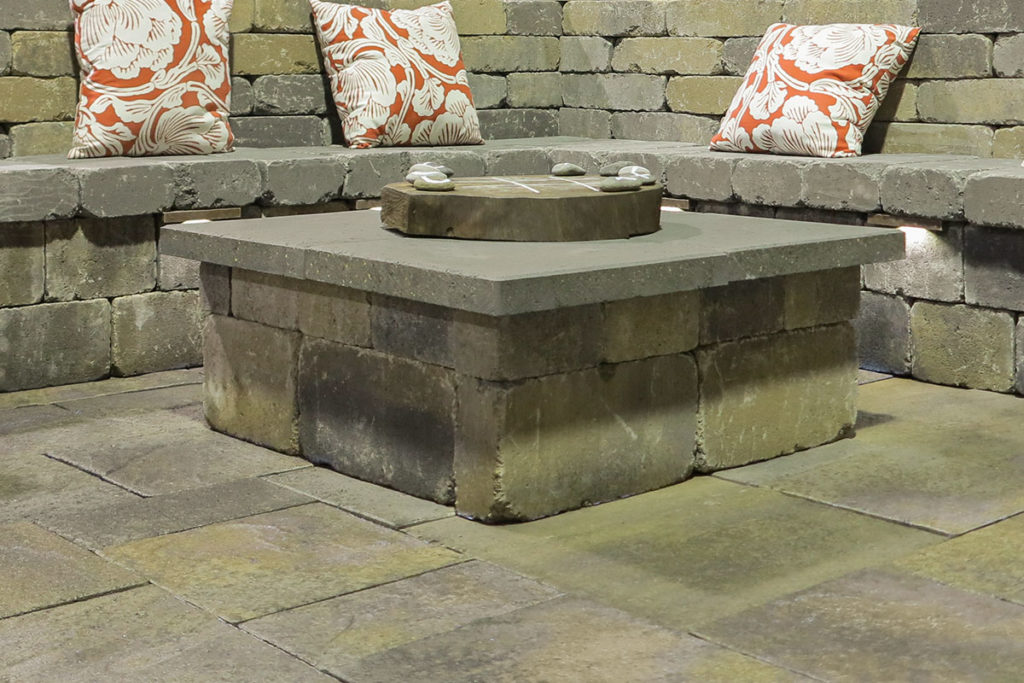
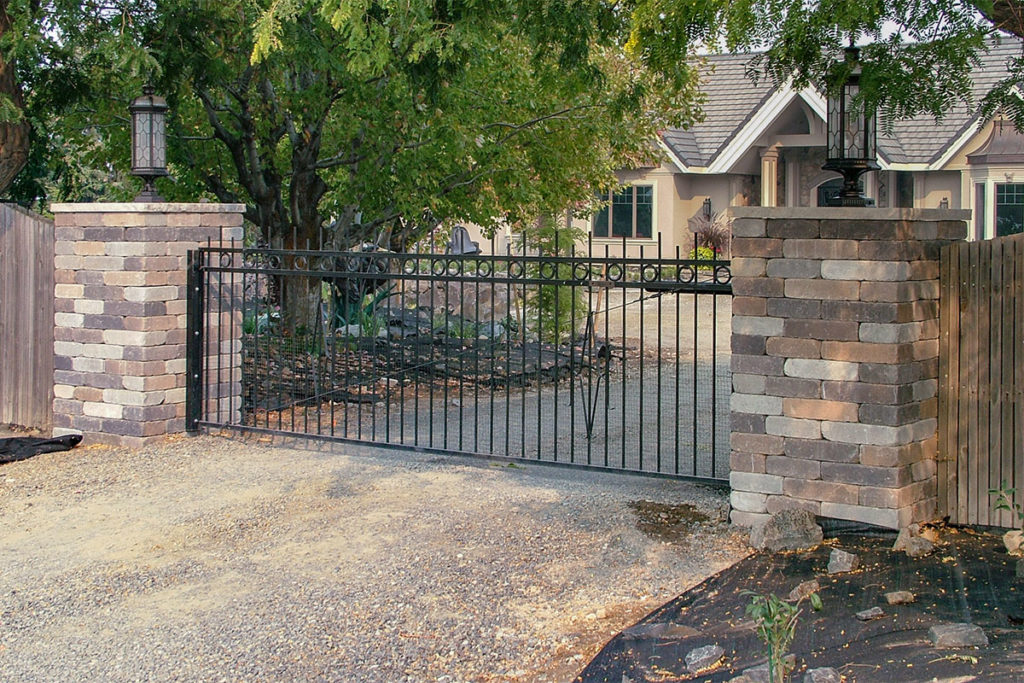
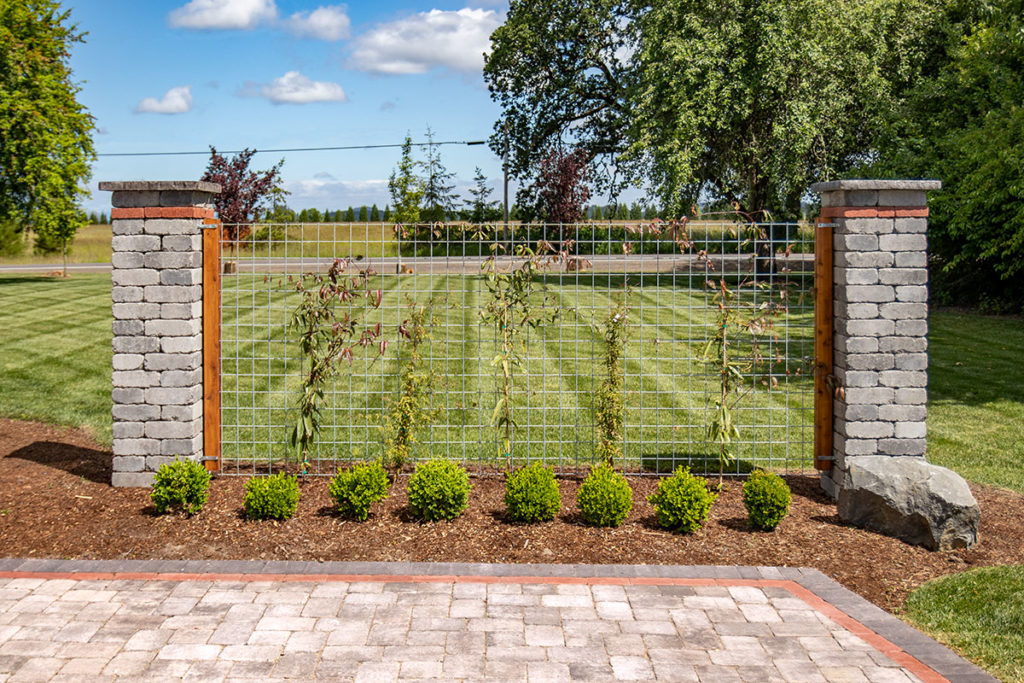
Chateau Wall™ makes it easy to build beautiful features such as raised beds or planters, columns, screens, fire pits or fireplaces, even extensive outdoor kitchens. It is perfect for DIY projects because its modular sizing and mortar-free, glue together construction can be installed quickly and easily by almost anyone with an imagination, much like those little interlocking plastic bricks we’re all so familiar with.
Modular Makes it Easy
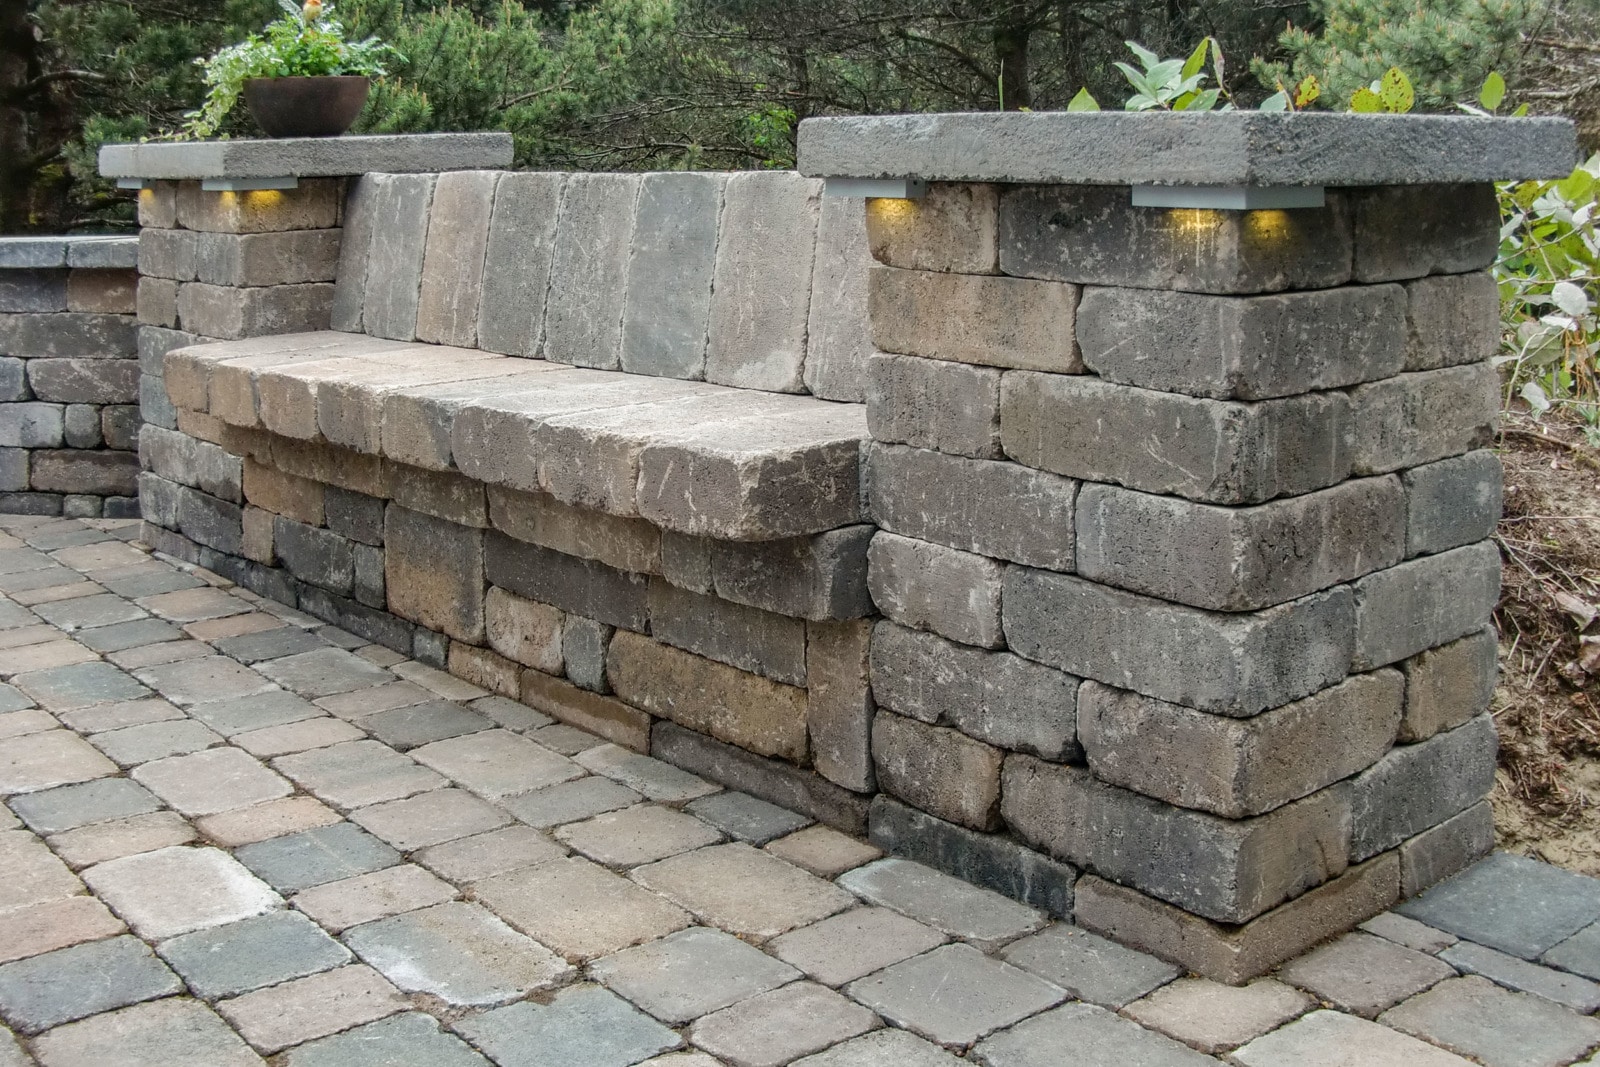
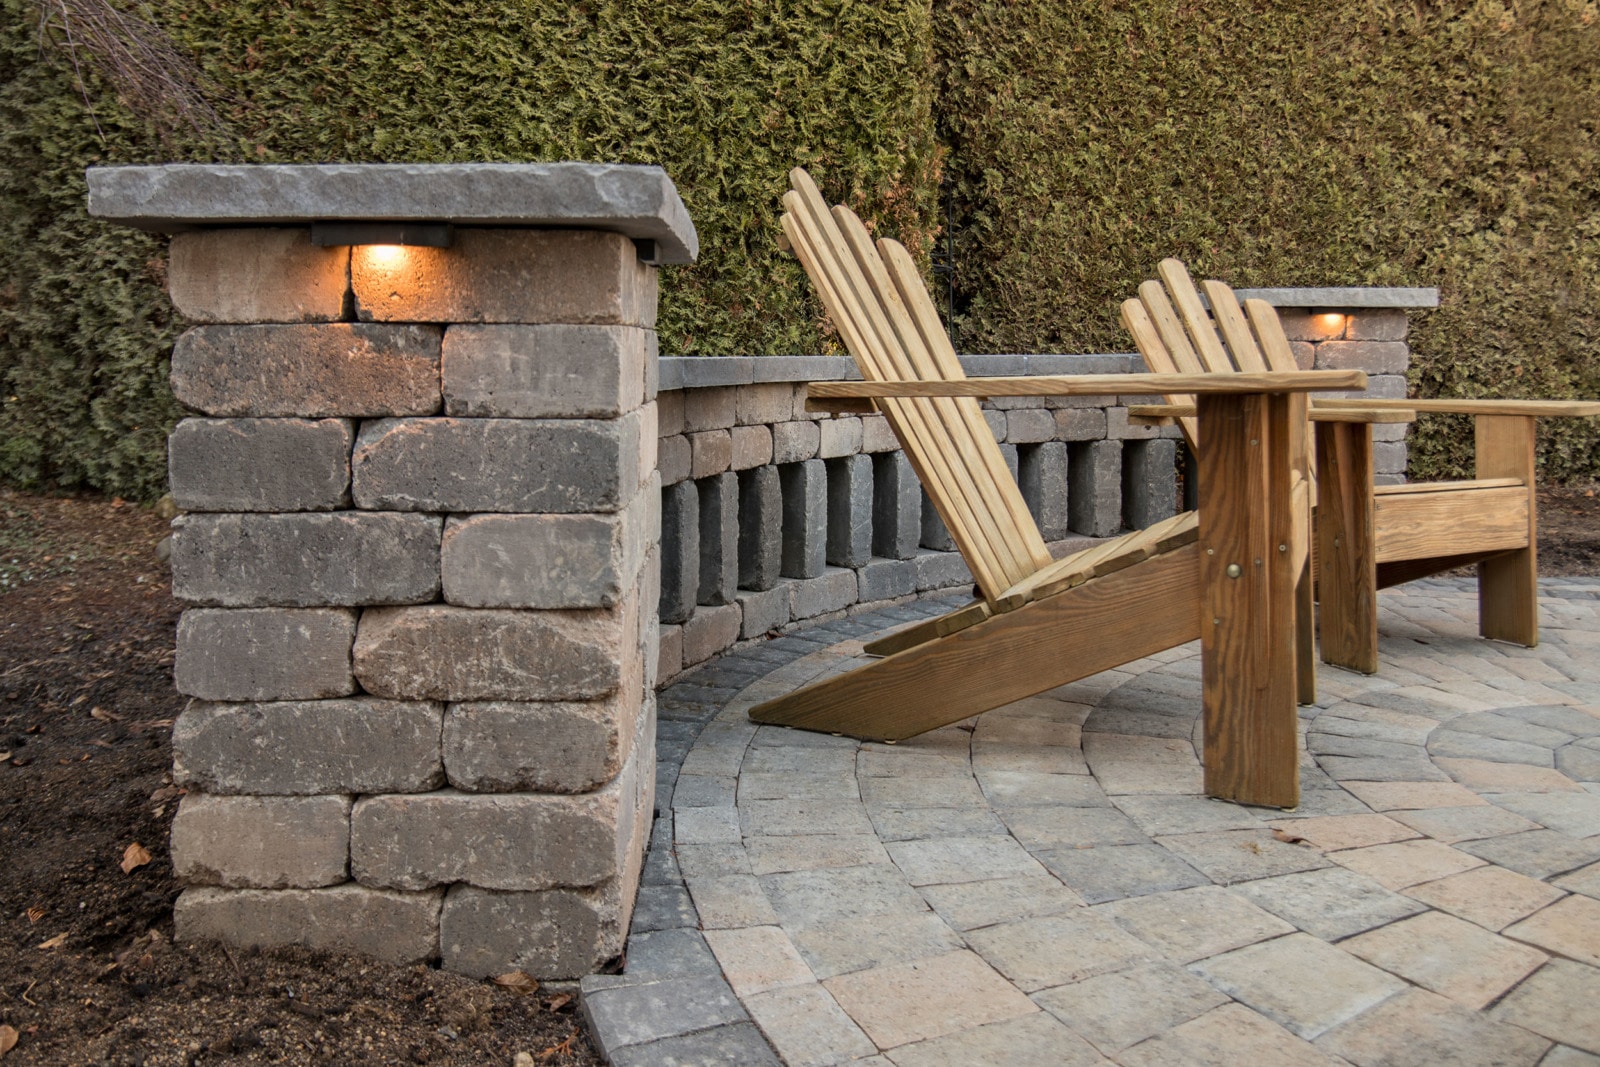
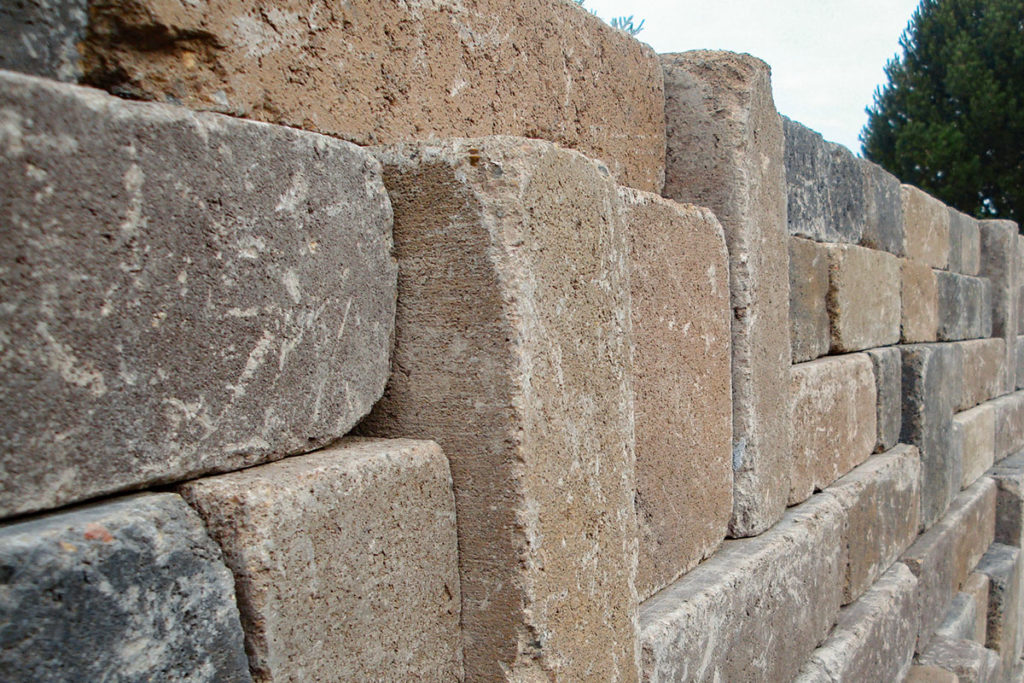
Chateau Wall™ comes in four sizes (100×200, 200×200, 300×200, 400×200), along with a beveled piece for making curved features. Because of the 100mm module, blocks can be interchangeably laid flat or laid as jumper blocks that span multiple courses to add visual appeal. Longer blocks can also be laid horizontally so that the extra length protrudes from the wall to create ledges or shelves. On structures like planters or short retaining walls that are visible only from one side, the stones can be staggered in their offset, making the face varied and interesting (see image below). The modular sizing also allows Chateau Wall™ to be installed with a minimum of cuts, as long as the wall length is kept to 4” increments.
Rustic Good Looks
The rustic tumbled appearance of Chateau Wall™ harmonizes especially well with our Roca surface pavers, allowing you to create any number of exciting combinations. Each individual block is treated to give it a hand-hewn old world look with irregular edges that fit in with the natural Northwest landscape. Additionally, since Chateau Wall™ is a dual-sided block; it can easily be used to create freestanding garden walls or other features that will be visible from all sides. For a varied texture, a block splitter can be used to turn a 400 into two 200s with a rough split face. When these are sprinkled into a wall, it can add an interesting variation in surface texture and serve to break up the field a bit.
Color Coordinated
Chateau Wall™ is also available in five striking colors, designed to complement all of the Western Interlock product lines. Keep it simple with a monochromatic look with your pavers or spice things up a bit by mixing two colors by hand to create a new truly custom color blend. To really set things off from the paver surface, try using a contrasting color such as Charcoal to build your wall.
Cap it Off Correctly
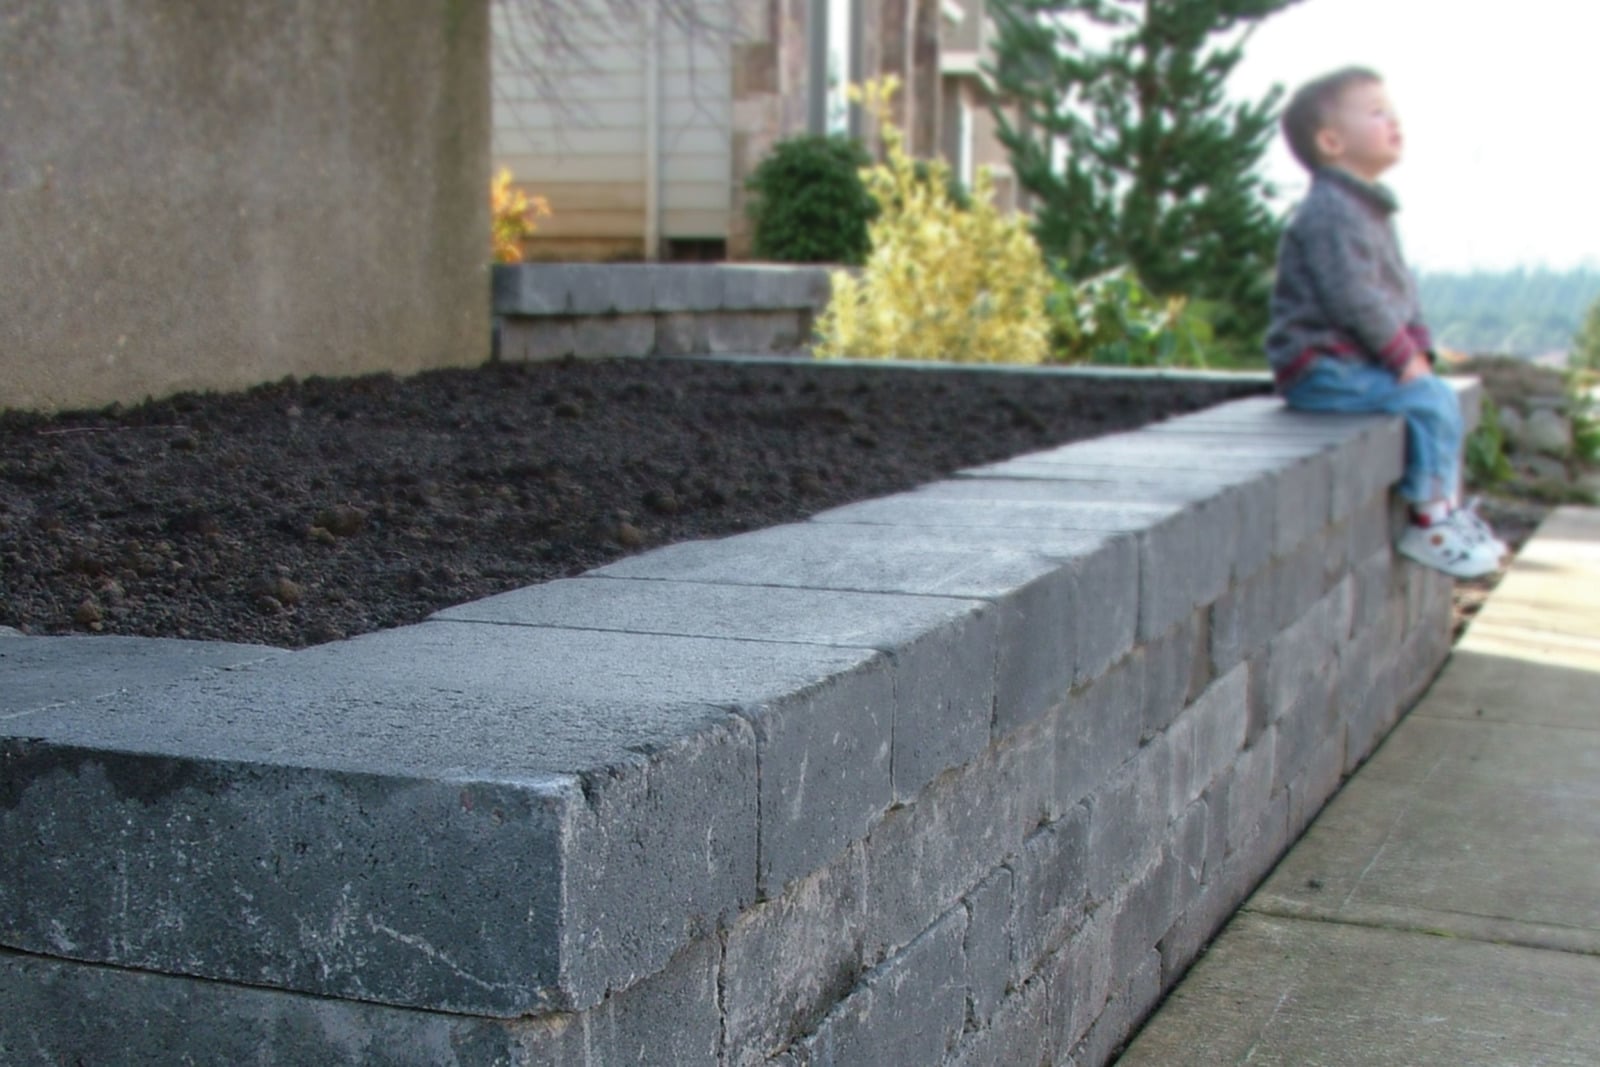
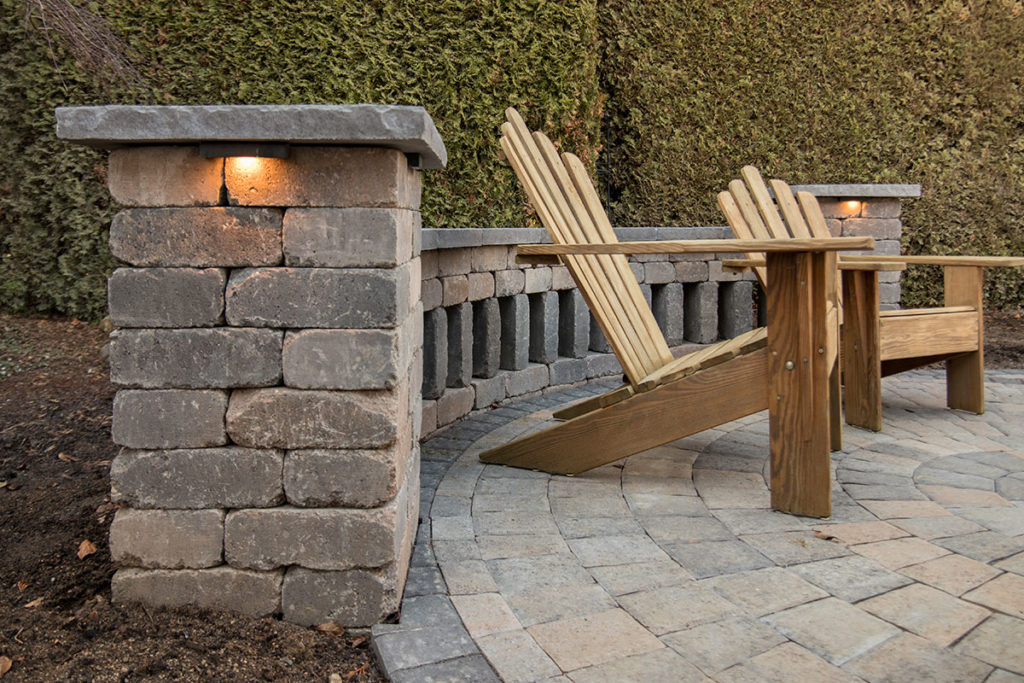
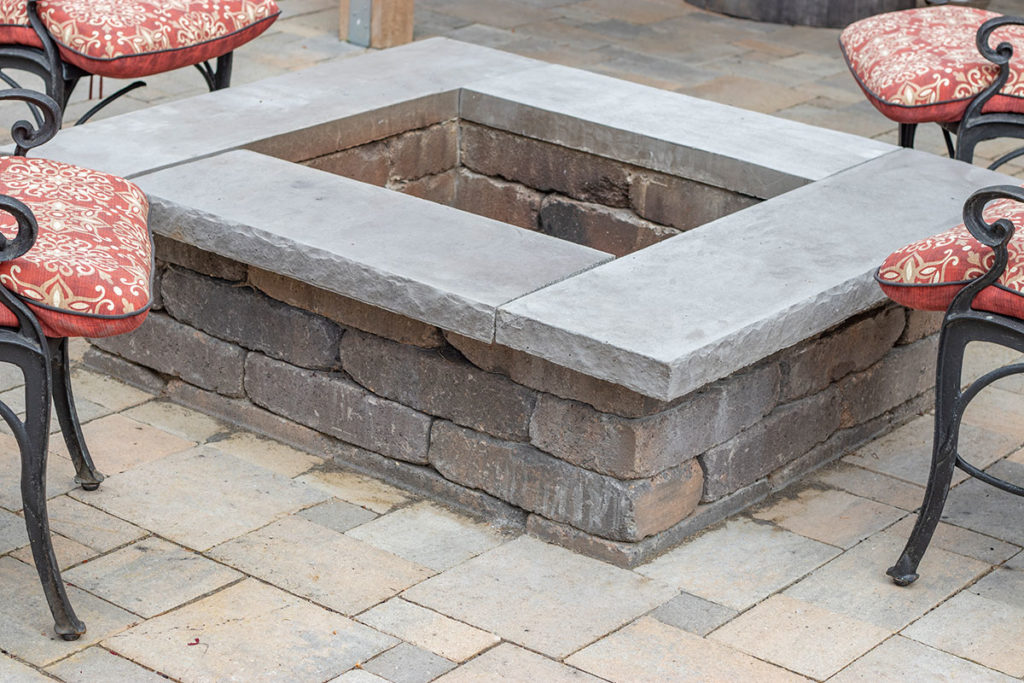
When creating a free-standing garden wall, short retaining wall, planter box or fire pit, Chateau Wall™ is self-capping. For garden walls, lay a 300 block sideways, creating the perfect cap with 50mm (2”) of overhang on either side. For fire pits, simply add one piece of Chateau Wall™ Beveled to the circle. This creates an overhang of approximately 25mm (1”). We also sell precast profiled wall caps, post caps, and fire pit caps to really put a crown on your project. To really set off your design, choose a contrasting color such as charcoal for your cap.
Visionarily Versatile
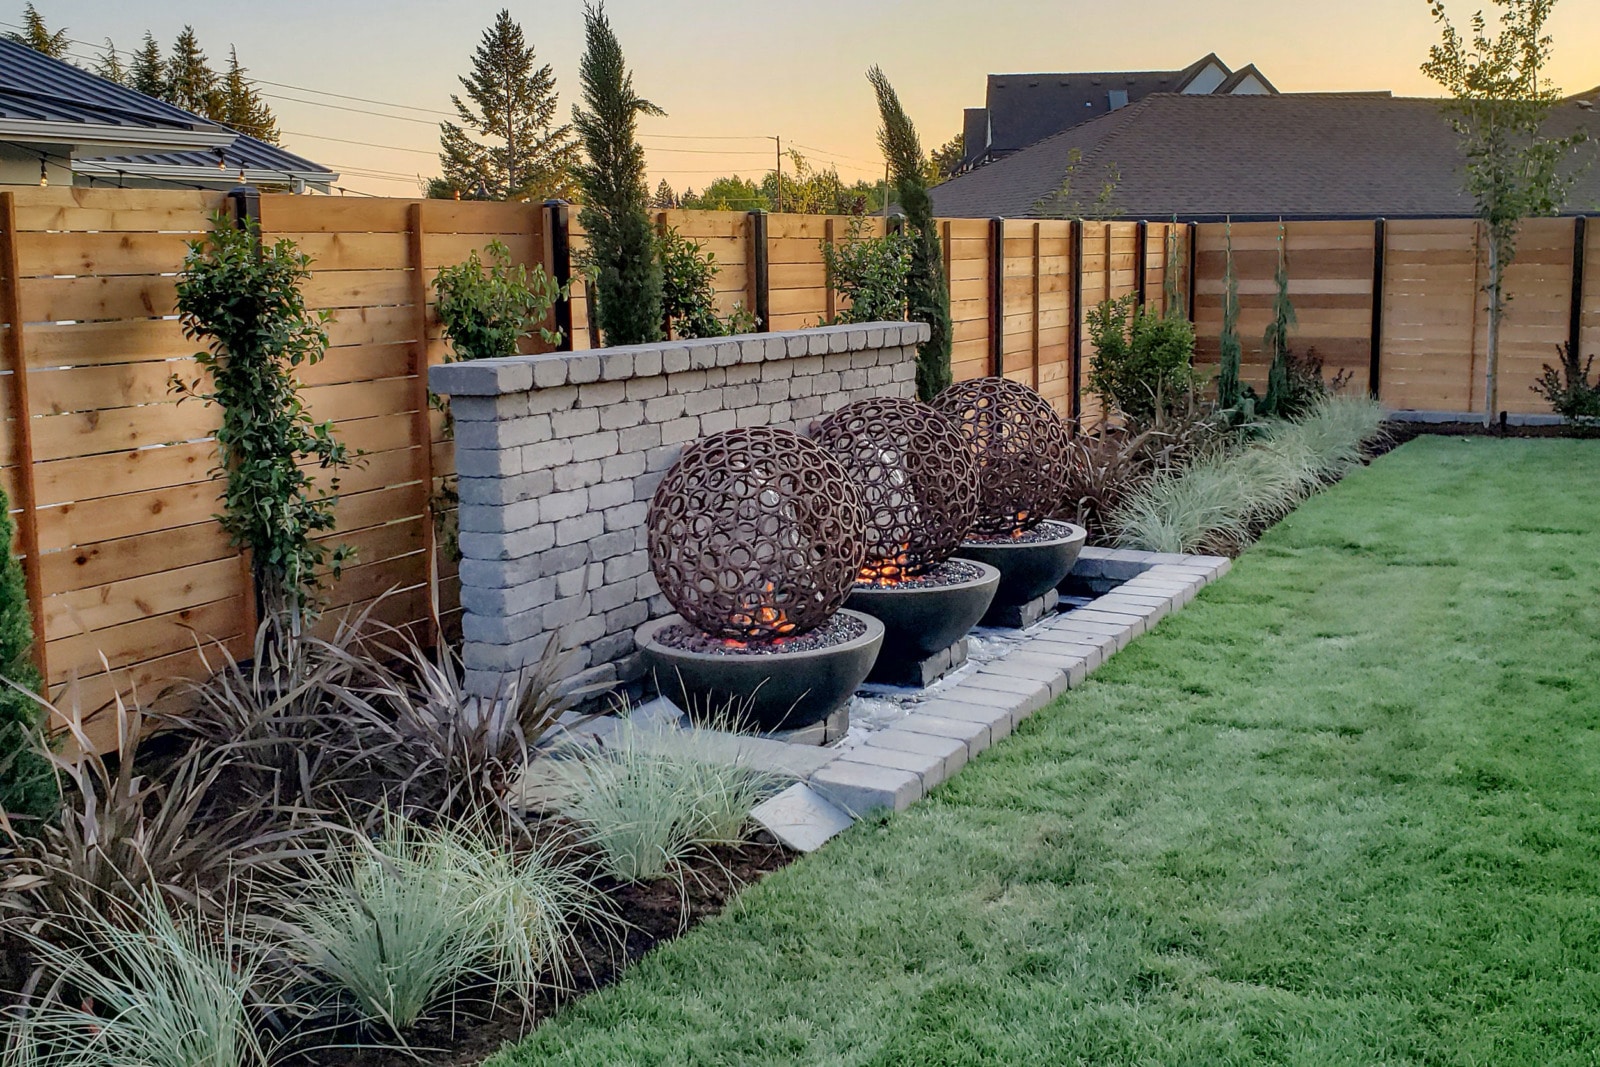
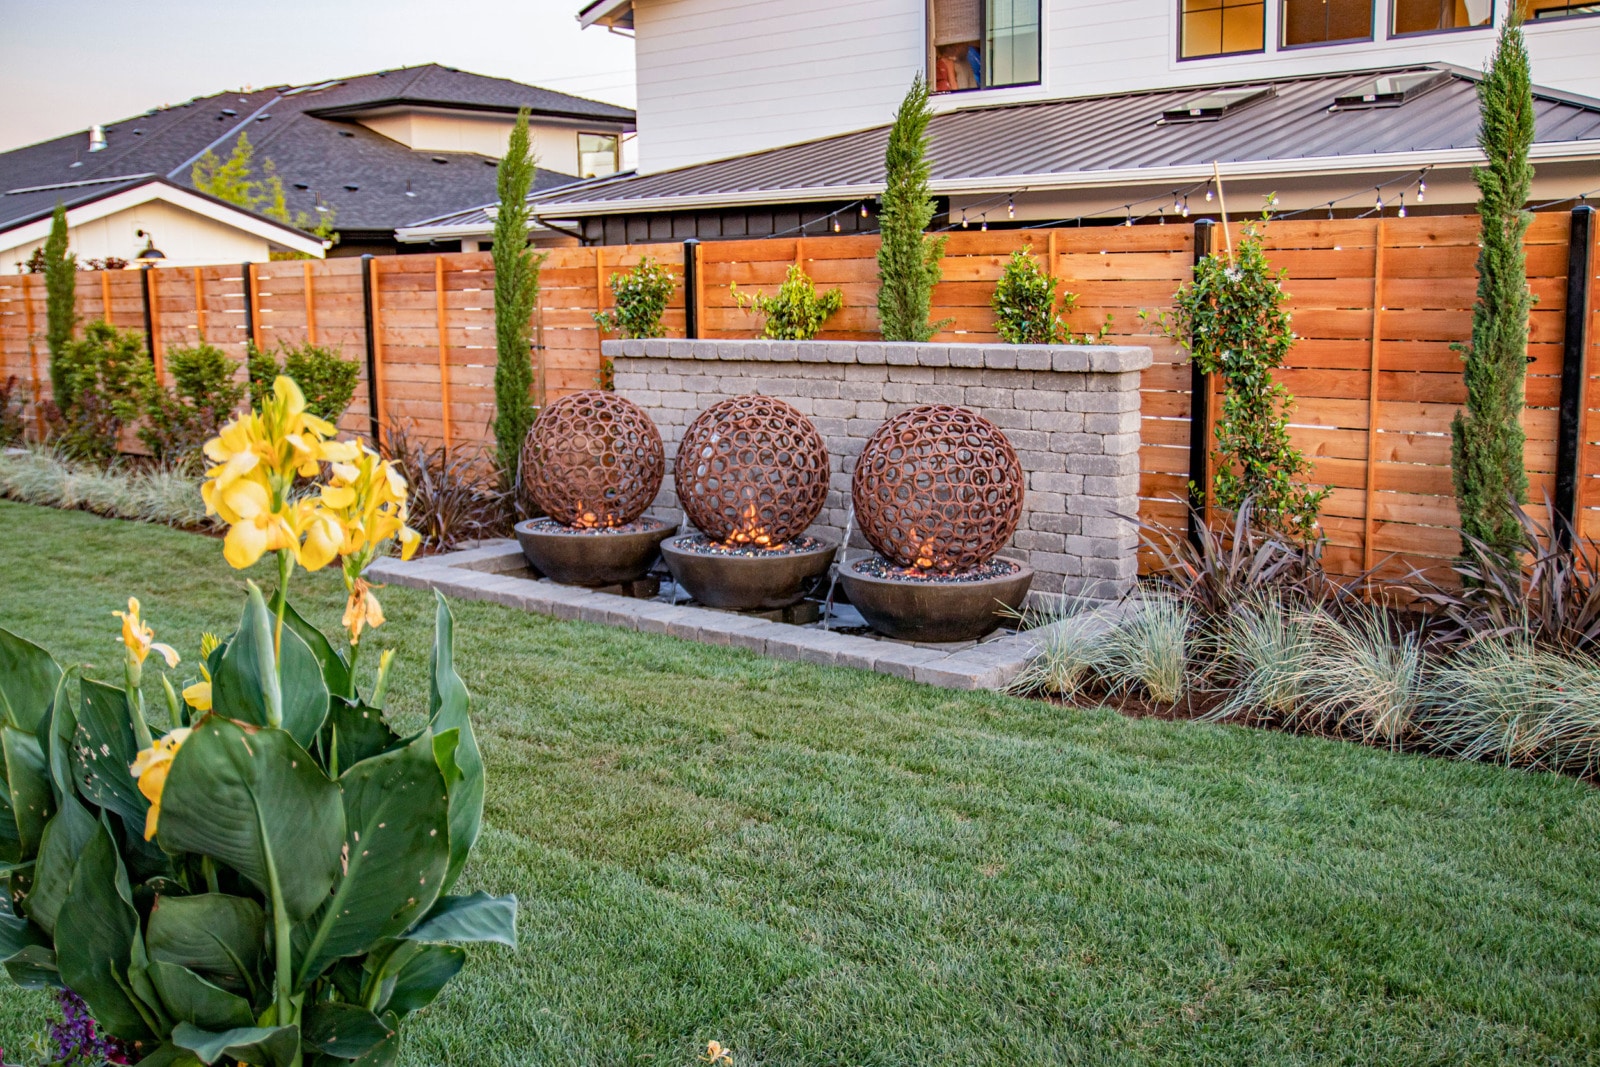
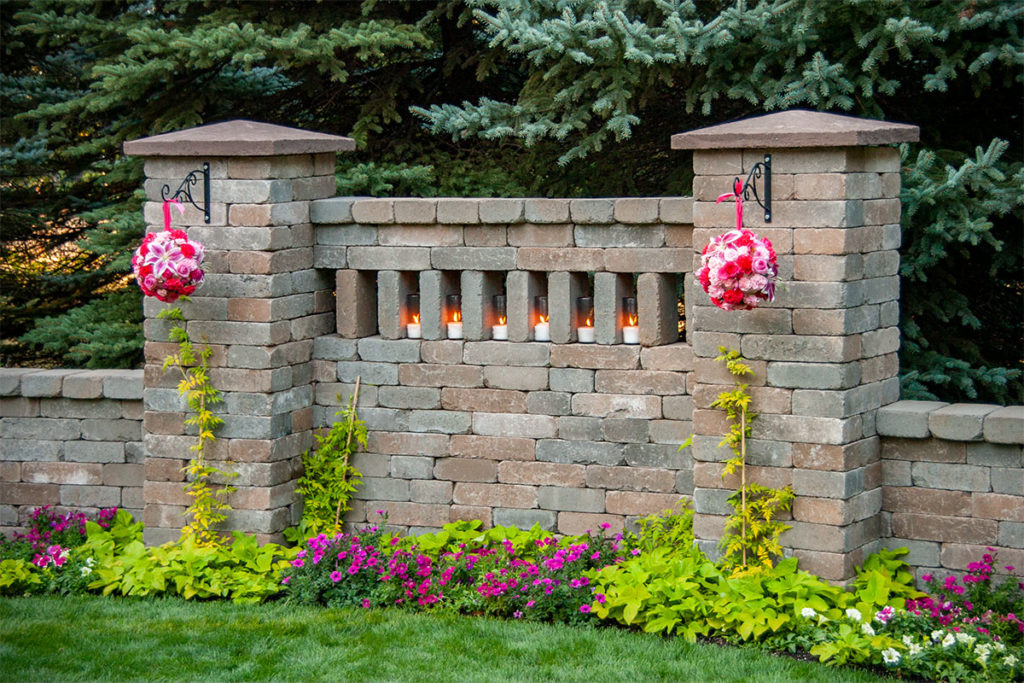
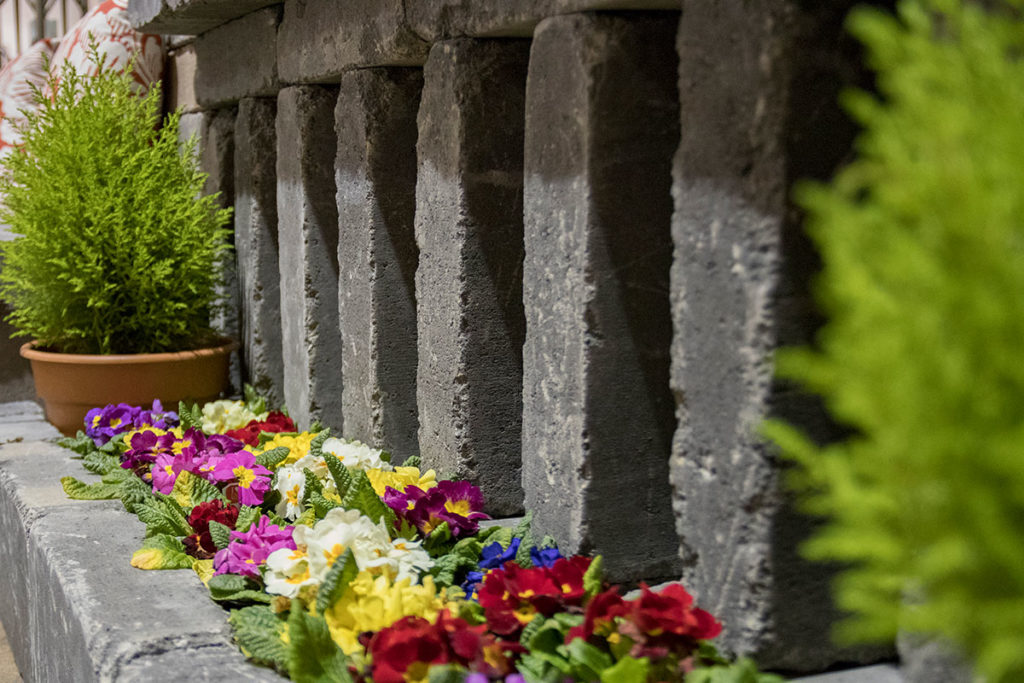
The versatility of Chateau Wall™ lends itself to more involved designs such as our fireplace kits or custom outdoor kitchens. By standing 400s on end and spacing them apart 100mm, you can create an interesting open wall with a slatted look.
By making a square out of 400s and capping them with four 18” La Lastra™ slabs, you can make a convenient and durable (albeit unmovable) coffee table.