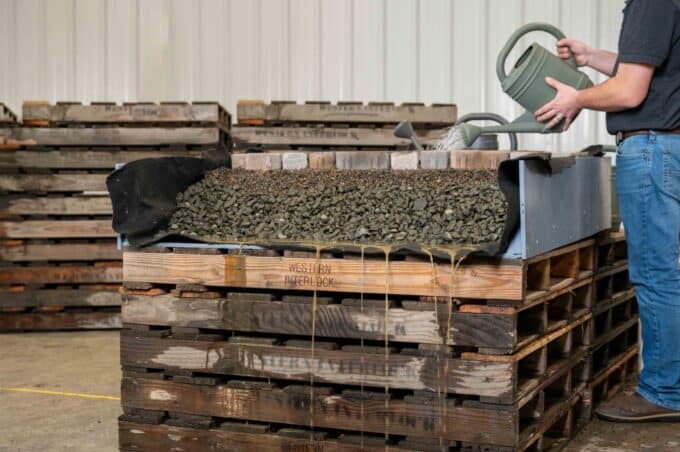
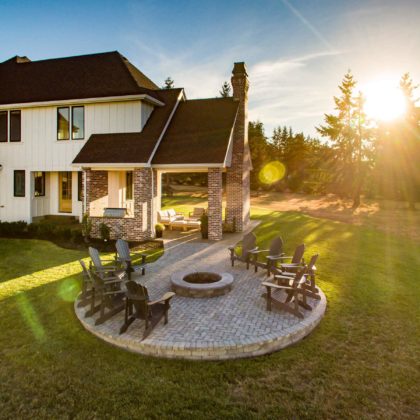
Pavers (particularly permeable pavers) immediately drain water into the ground and don’t get as muddy in wet weather or dusty in dry weather. Additionally, since pavers are flexible, they will not crack in the same ways concrete does. However, there’s one primary reason why pavers fail: they don’t have a strong paver base.
That’s why one of the most common mistakes you can make when installing pavers is skipping or skimping on the base.
In this article, it’s our goal to help you see why your paver base is the most critical part of your hardscape, and how to lay it properly. You see, if you lay a strong paver base, installation is easy.
What is the paver base?
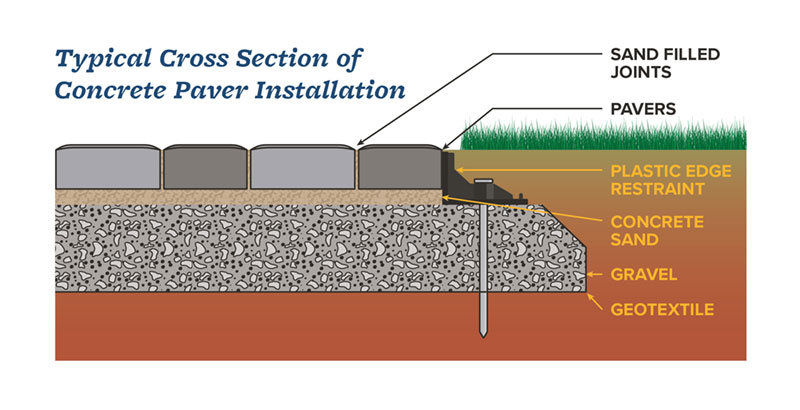
The base is another word for foundation. In hardscape, your base includes the layers of aggregate directly under your paving stones that give your hardscape stability, strength, and permeable power.
The traditional base for a paver patio is 4–6” of compacted gravel above your dirt. If you’re installing a driveway or road intended for vehicular traffic, you’ll need to double the thickness of your gravel layer.
Let’s take a closer look at what goes under your pavers and how to lay a base that won’t fail.
How to prep and lay a paver base
You can lay a structurally sound base in four simple steps: layout, grade, gravel, and sand. Before you jump in, you’ll need a few tools and materials to do it right. You can get many of these items at a Western Interlock facility in Oregon or Washington, a local hardware store, or landscape supplier.
Tools
- Work gloves
- Wheelbarrow
- Tape measure
- 24” level
- Rubber mallet
- Steel tamper or plate compactor
- Pickaxe or mattock
- Shovel
- Garden rake
- Concrete placer
- 10’–12’ aluminum strike board
Materials
- Marking paint (white)
- Line level
- Geo-textile
- ¾” minus gravel
- Washed concrete sand
- 1” square (or round) metal pipe bars or ¾” PVC pipe
- Plastic edge restraint
1. Establish a layout
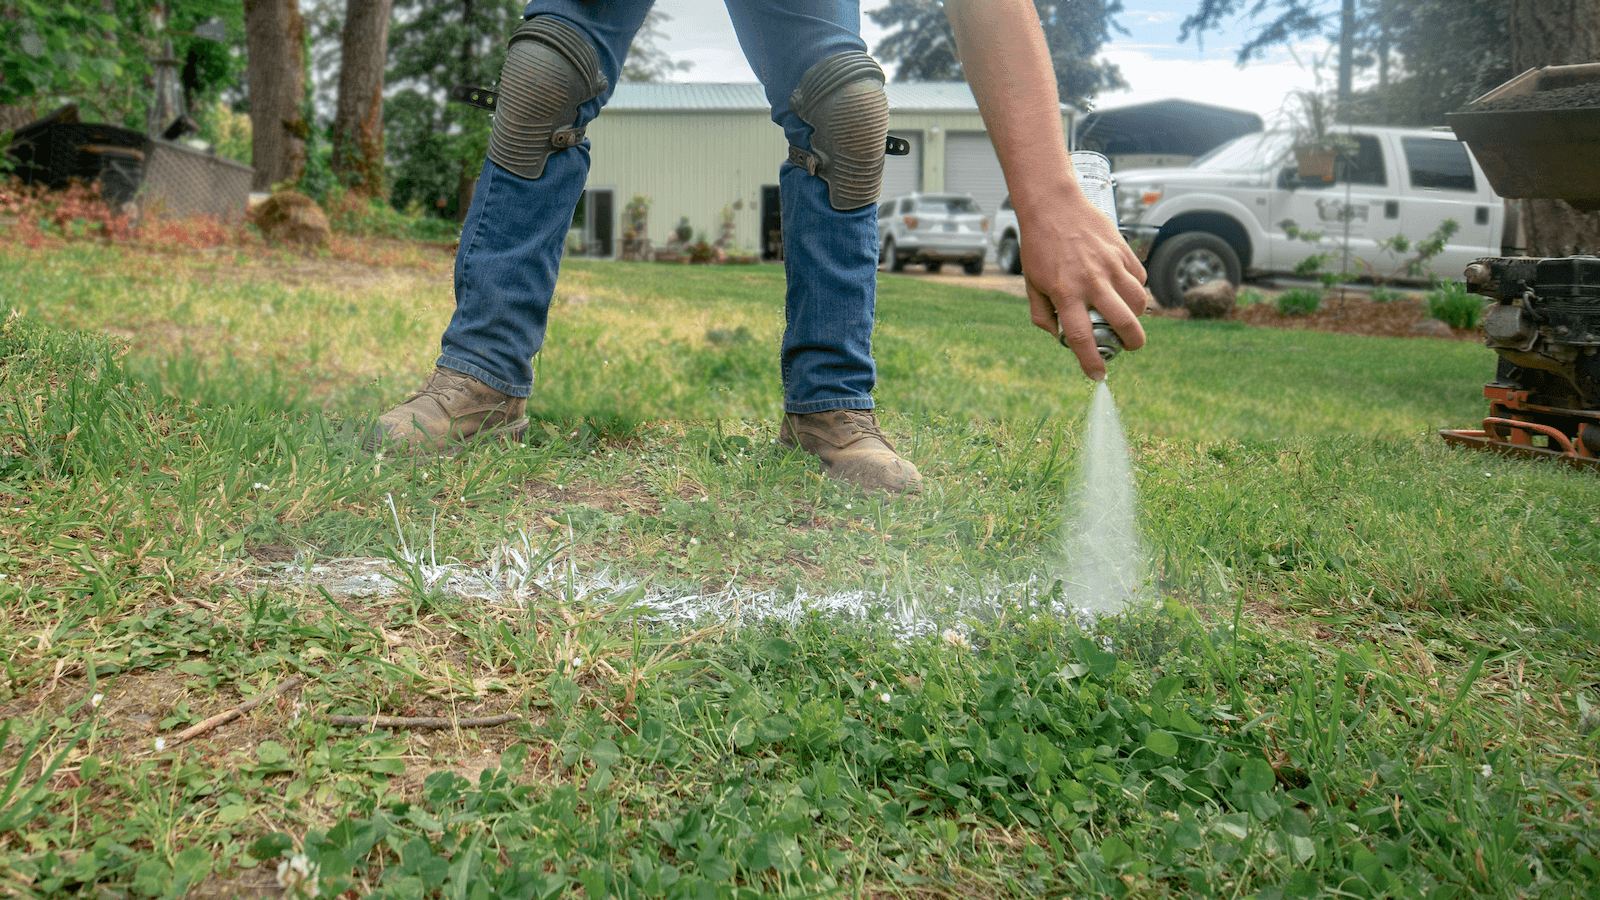
Whether you’re laying a 10’x10’ patio or a 100’ driveaway, you’ll need to establish your layout. First, mark out your area using white marking paint. It’s important to use white marking paint so that your markings don’t interfere with any geolocates.
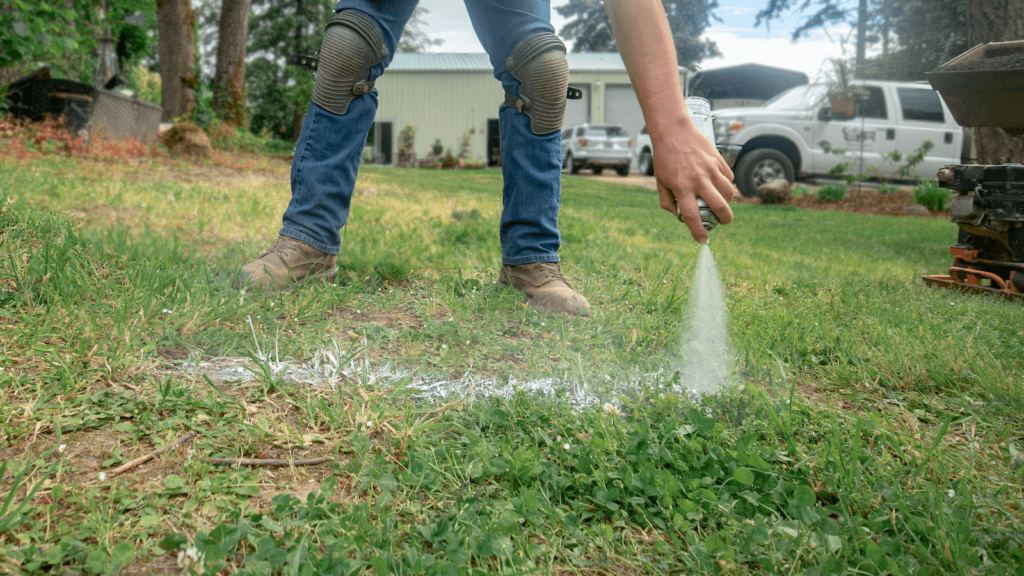
Pro Tip: Get a locate to ensure there are no utilities located below the project area.
After making initial markings, you’ll want to extend the area of the paint by 6” on all sides to ensure enough room for the pavers as well as an edge restraint.
If you are laying a circular patio, place a stake in the center of your project space. Tie a string to the stake that is 6″ longer than the radius of your patio. Use that string as a guide and spray a circle border.
2. Square your corners
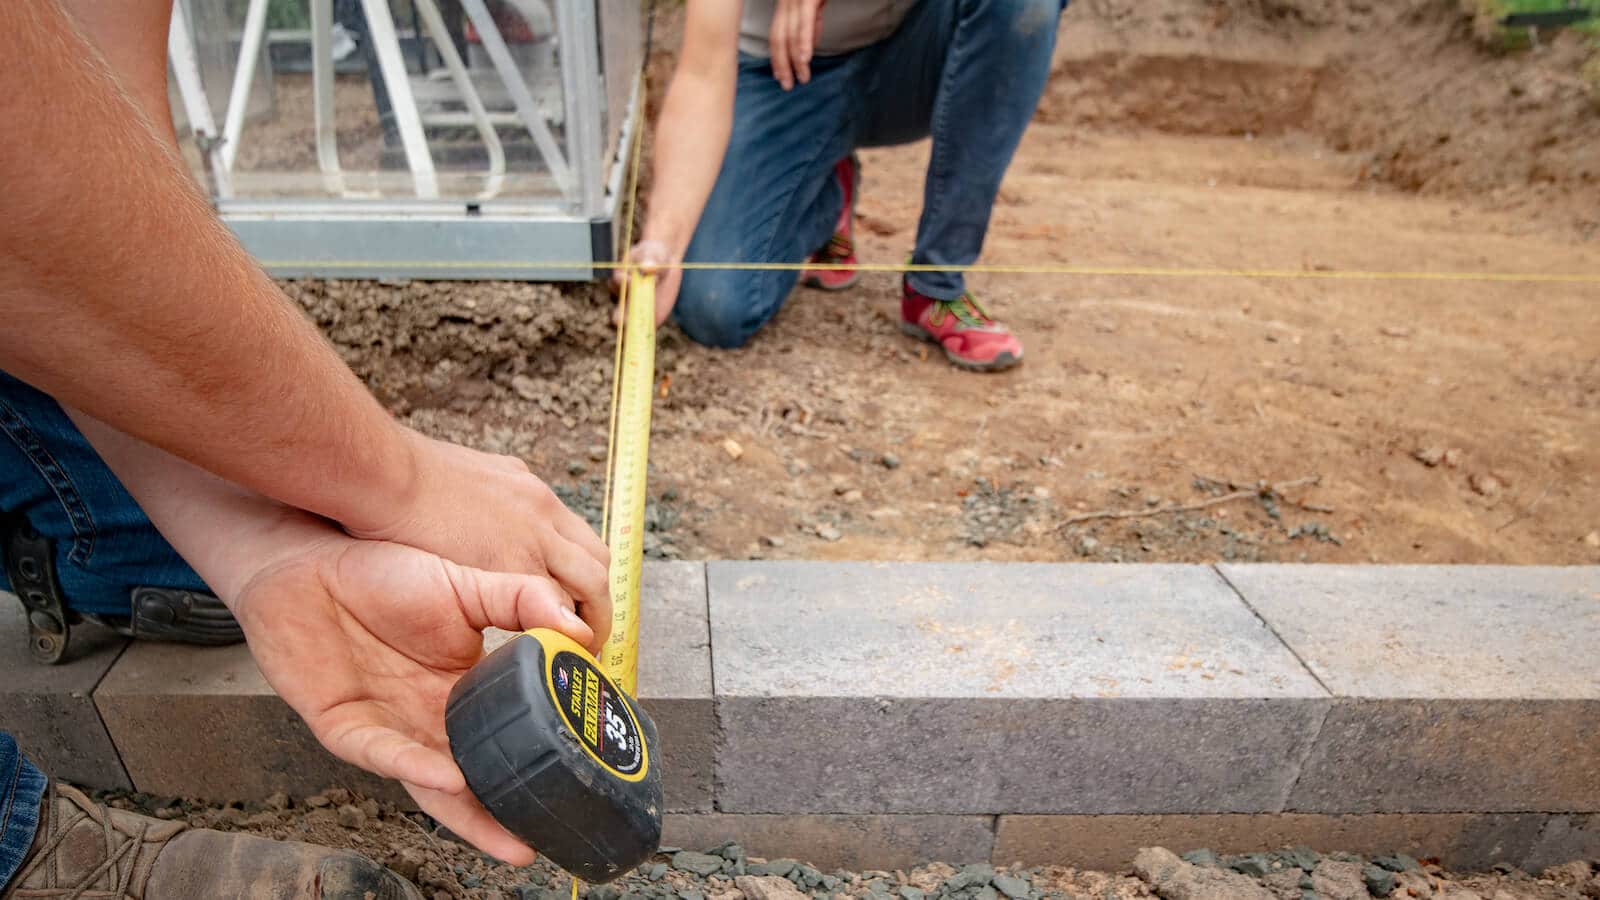
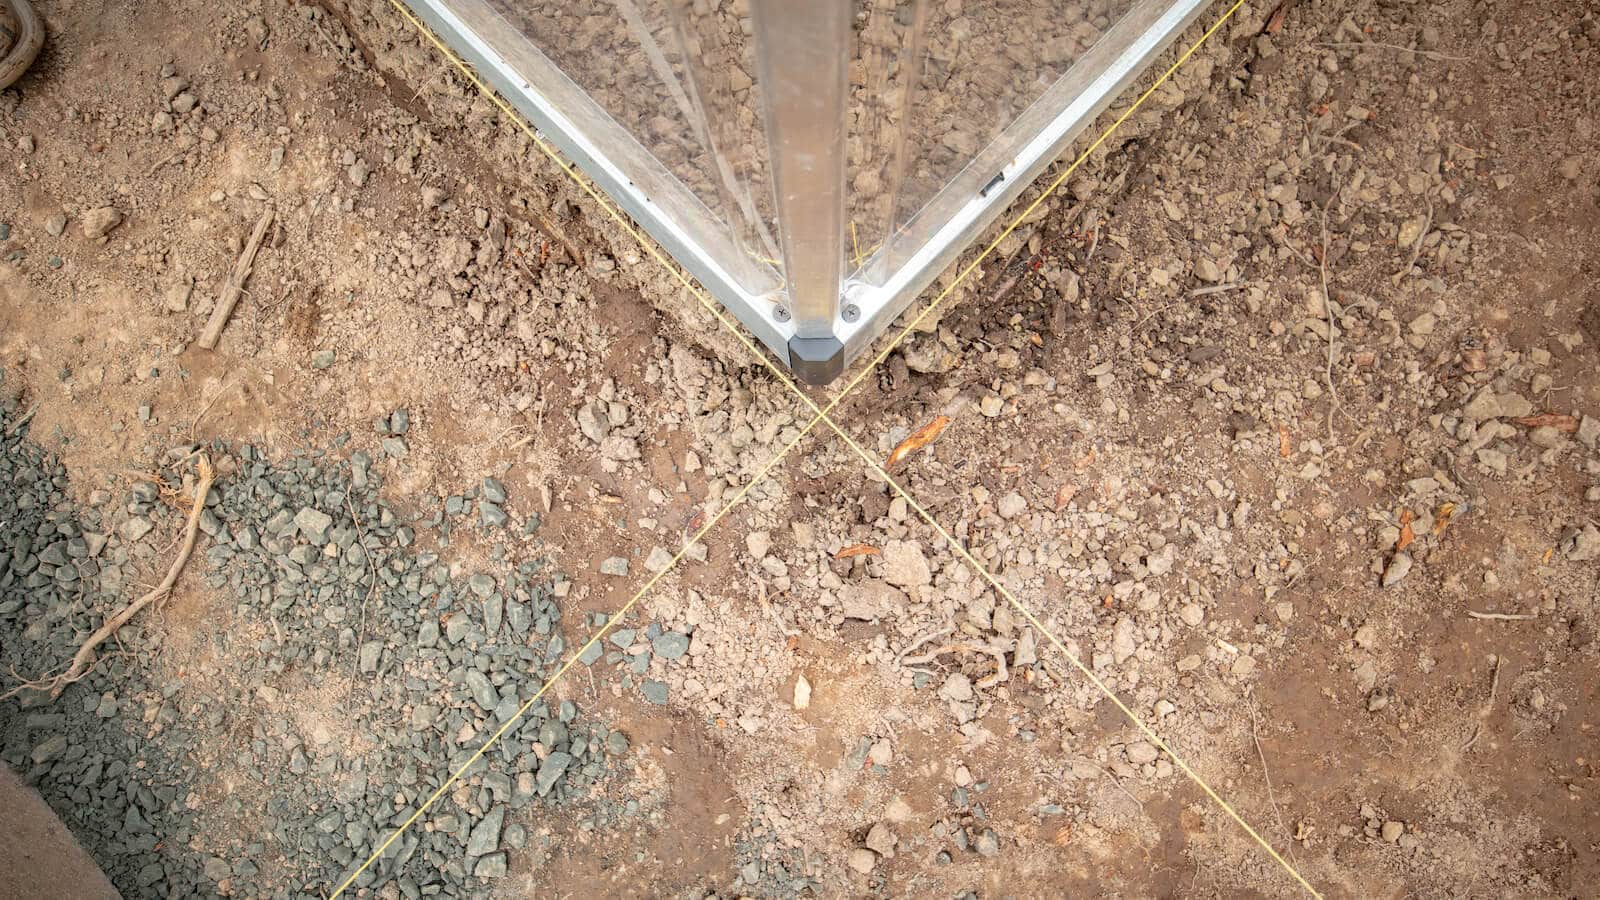
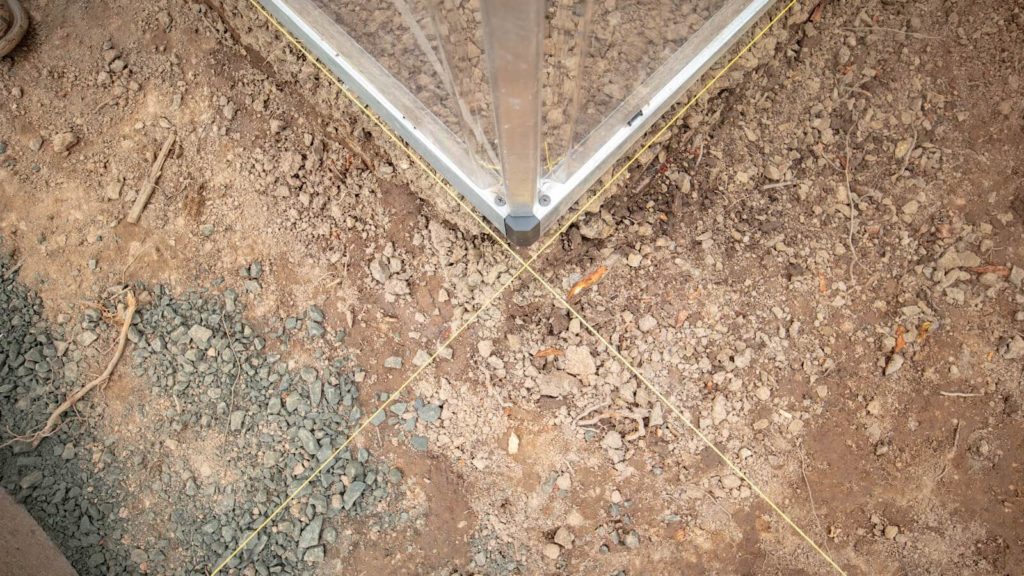
Next, create a square corner to work from using string, stakes, and the 3-4-5 method. If you have a structure, get the string lines as close to the structure as possible and create straight lines parallel to the structure’s walls.
3. Set the grade
Next, you’ll need to set your grade. You may be wondering, what does that mean? Setting grade (or grading) is simple—it’s how you control or manipulate a slope to ensure that surface drainage runs in a particular direction.
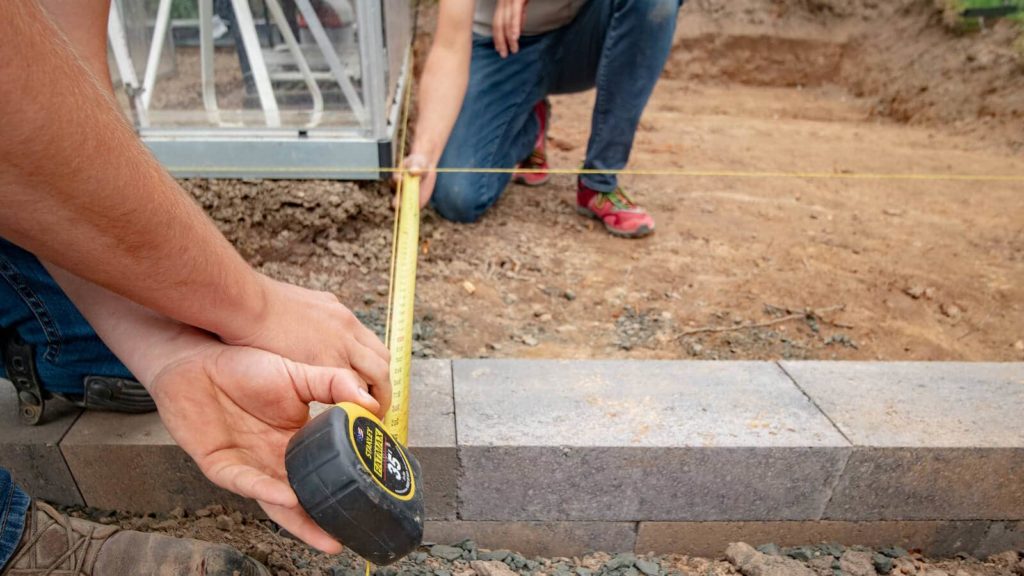
There’s nothing worse than finishing your project to find out that water runoff drains toward your structure instead of away from it. That’s why you grade before you go.
Choose the height that you want the finished project to be and adjust your string lines to grade. We chose the base of the structure to be our top height. As a general rule, adjust the strings so that they are sloped away from any structure to allow proper drainage away from the building.
To learn more about the specific measurements to use, read our tutorial, How to Set Grade for Hardscape.
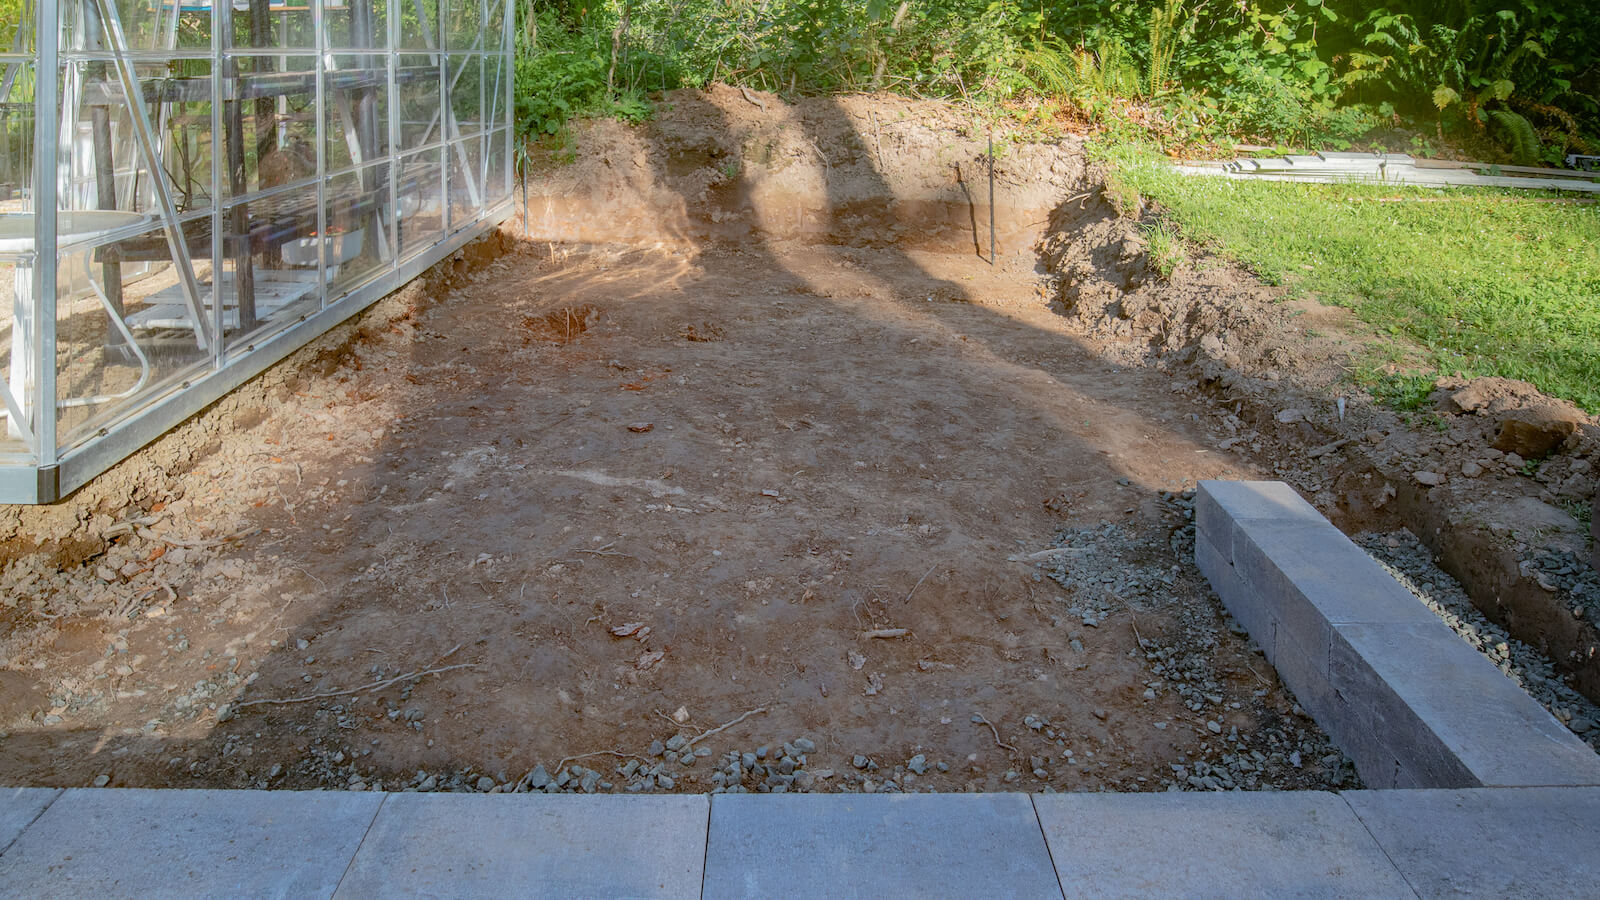
4. Excavate dirt and debris
Excavate the dirt and debris to 7–13” below the finished grade, depending on the type of traffic the pavers will receive. If the pavers are only for pedestrian traffic, dig 7” below finished grade. If the project will be receiving vehicular traffic, excavate 9–13”.
We recommend excavating this deep because vehicular traffic requires a super sturdy base. The deeper the base is excavated, the more gravel you can add and compact.
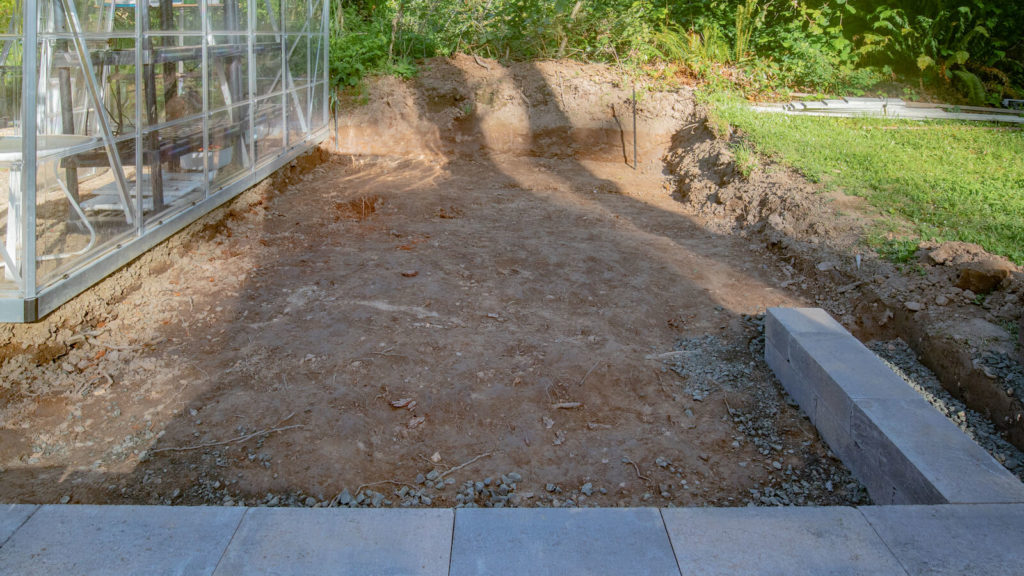
Pro Tip: If you remove large debris and are left with large divots do not backfill with dirt. Instead, backfill those depressions with gravel and hand tamp them before laying geotextile.
5. Lay geotextile
Now, lay geotextile down over the soil. This material will provide a barrier between the gravel and the ground, keeping dirt and gravel from mixing.
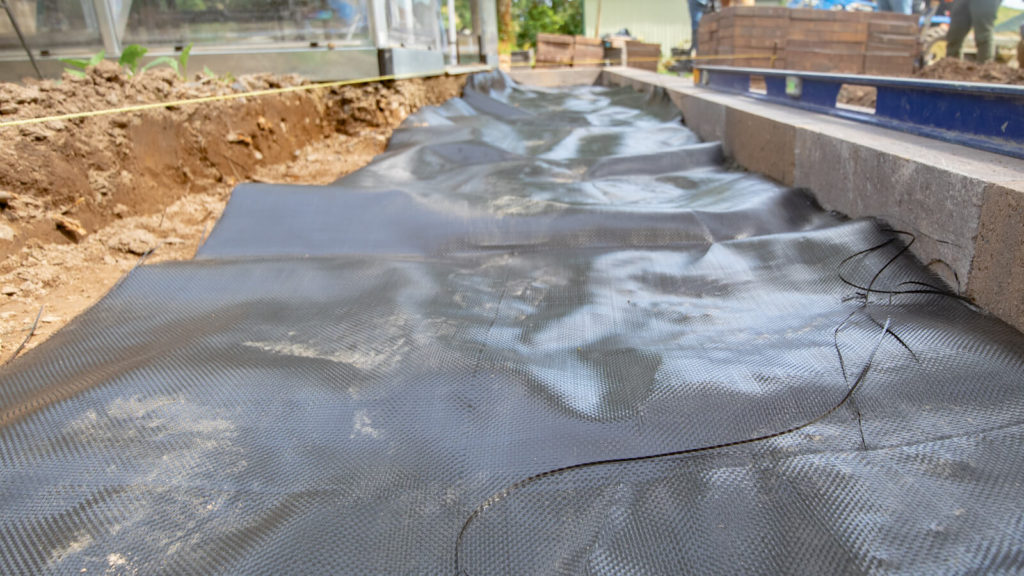
Geotextile also encourages proper compaction and settling. It’s one of those things that you could easily leave out. However, it’s the details that make the difference between a good base and a great base.
6. Spread gravel
After you’ve set your grade, you’ll need to lay 4” of gravel base for pedestrian applications, 6–10” for vehicular. Be sure to use 3/4″-0 or ODOT road base gravel so that you get a good mix of fine and coarse aggregate for the best compaction. We prefer crushed quarry rock.
If you’re installing a residential driveway, you can get away with only 6” on a light, well-draining soil. In colder climates with continually wet or weak soils, add an extra 2–4” to your gravel base. For parking lots or residential streets, you’ll want to lay at least 8” if not 10” of gravel.
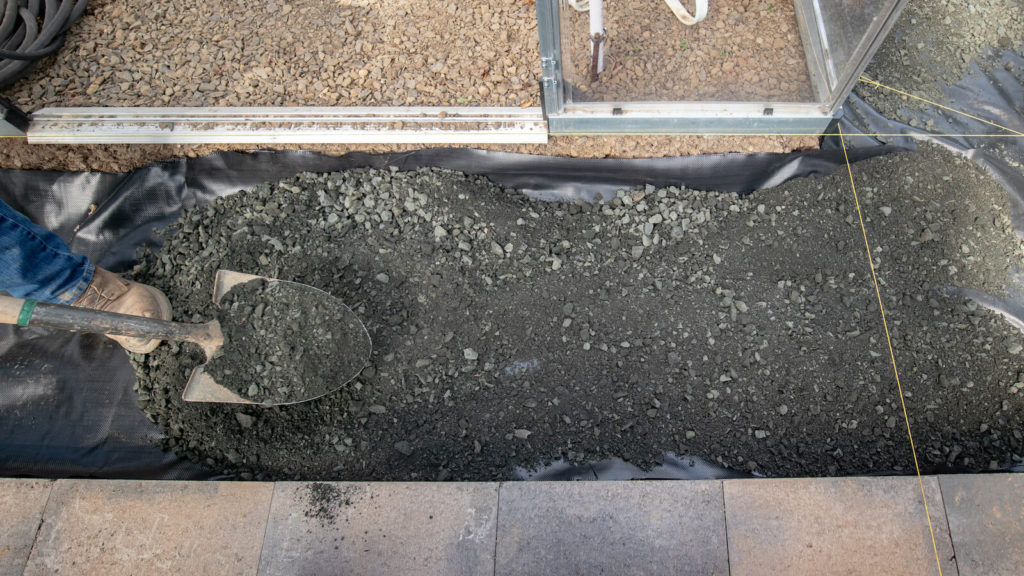
Many new hardscape DIYers make the mistake of using dirt as their base aggregate layer. Don’t do that! Your pavers are only as sturdy as your base. That means, if you use dirt, pavers quickly sink, rotate, and separate.
Before moving on, your gravel base needs to be flat, without any bellies or rises of more than 1/8″. Any imperfections of more than this are noticeable in the final product.
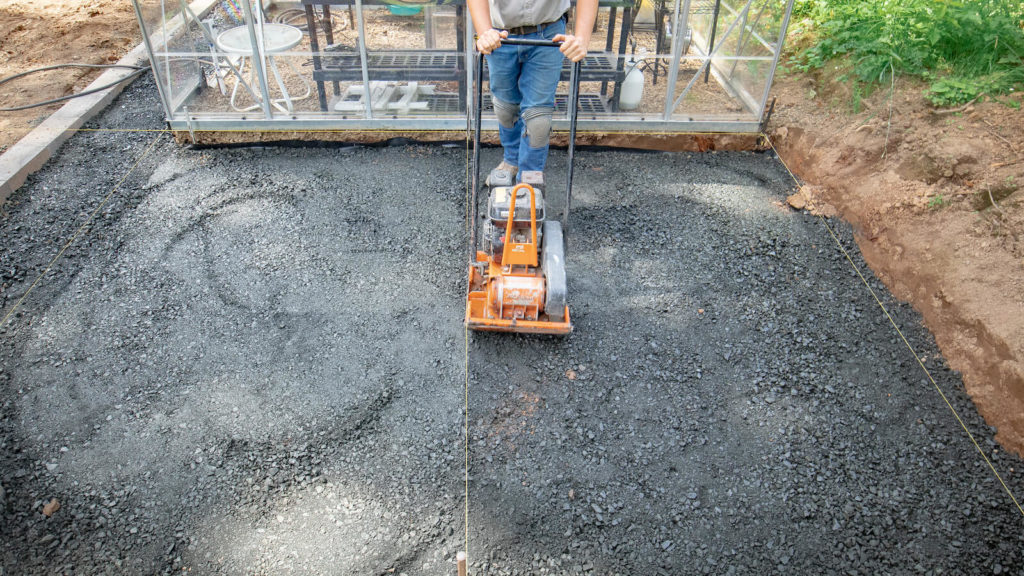
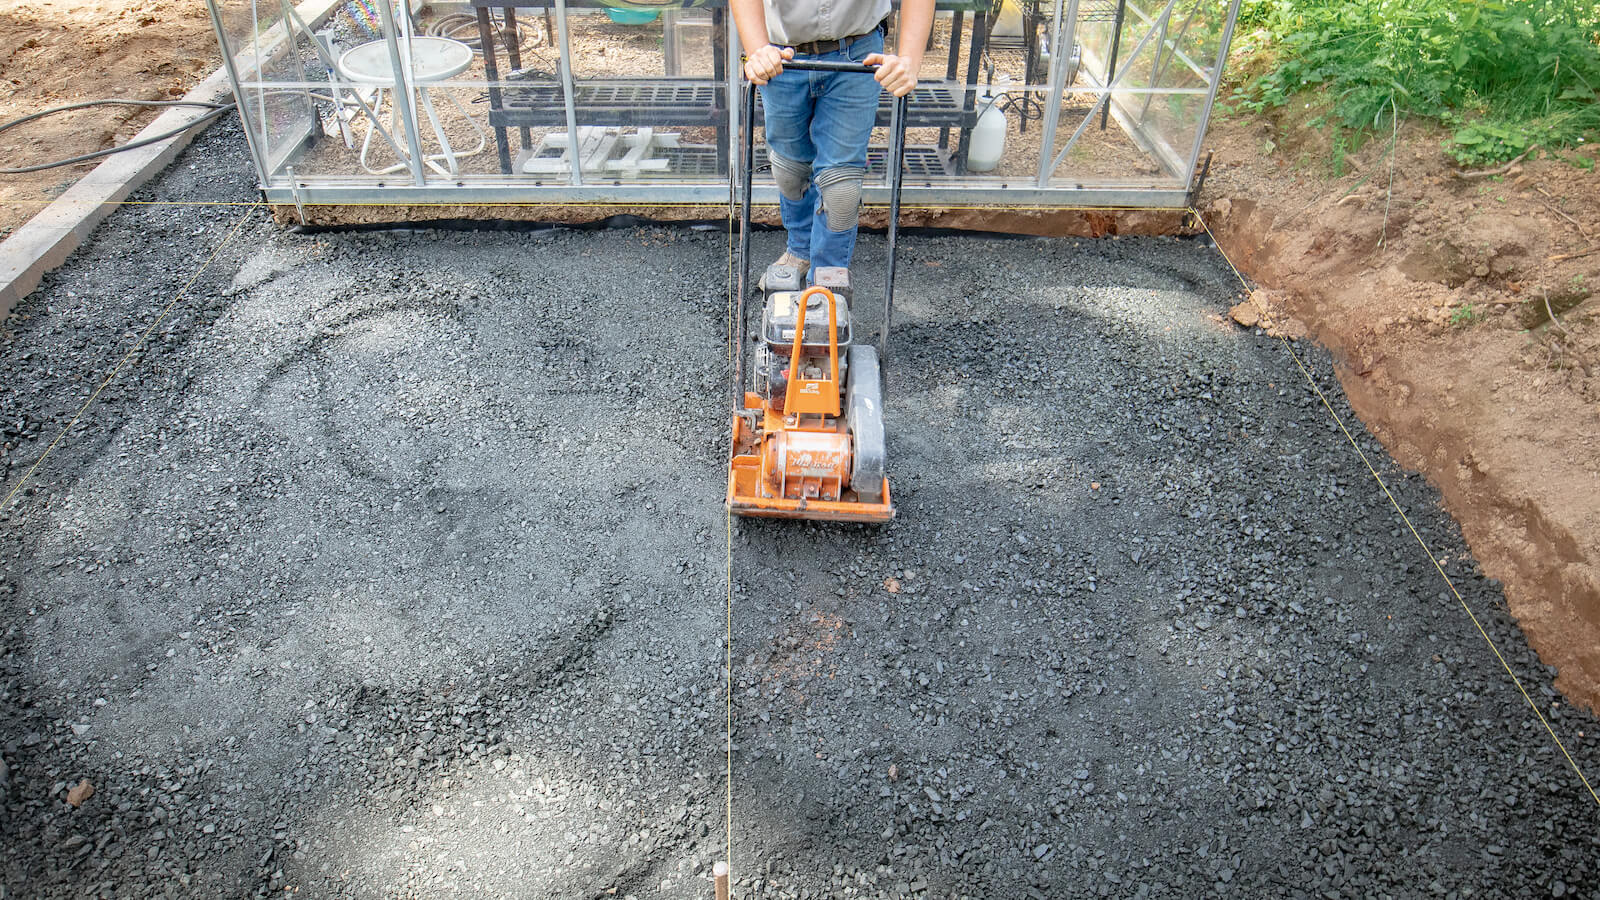
To accomplish this, you’ll need to compact your gravel with a steel tamper (for small projects) or a plate compactor (for large projects). Compact your gravel in 2″ lifts, which means, compact your gravel 2″ at a time until the desired thickness is achieved. For example, if you’re laying a circle patio for your backyard, you’ll need to spread a total of 4” of gravel, 2” at a time.
A general rule of thumb is that a steel plate compactor can compact about as many inches of gravel as it takes people to pick it up. The smaller compactors that most people can readily obtain, like the one shown above, require two people to pick it up, therefore it should not be used to compact more than 2″ at a time.
Drag a flat board across the compacted gravel to ensure there are no remaining dips or rises in the gravel. Compact the gravel one final time. Once your gravel is flat, your base is ready to start laying pavers.
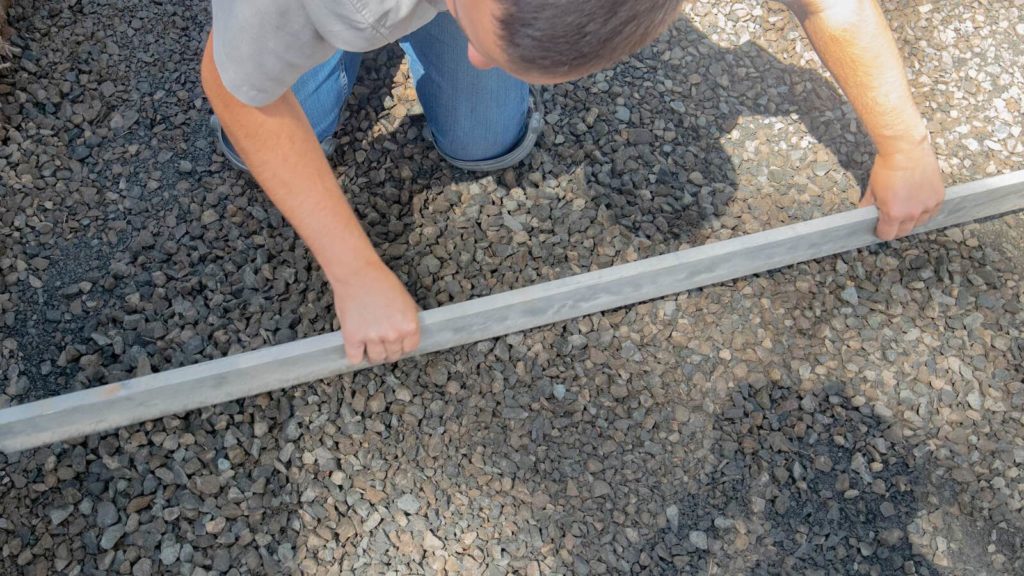
7. Screed the sand bed
Once your base is complete, you’ll need to prepare a sand bed for your pavers.
Start by placing 1″ metal rails on top of the gravel base, making sure they are slightly closer together than the length of your screed board to cover the entire width.
Once the rails are in place, spread concrete sand over the gravel and rails, creating a 1″ layer of sand. Use your screed board to level the sand by moving it along the rails in the same direction as the grade.
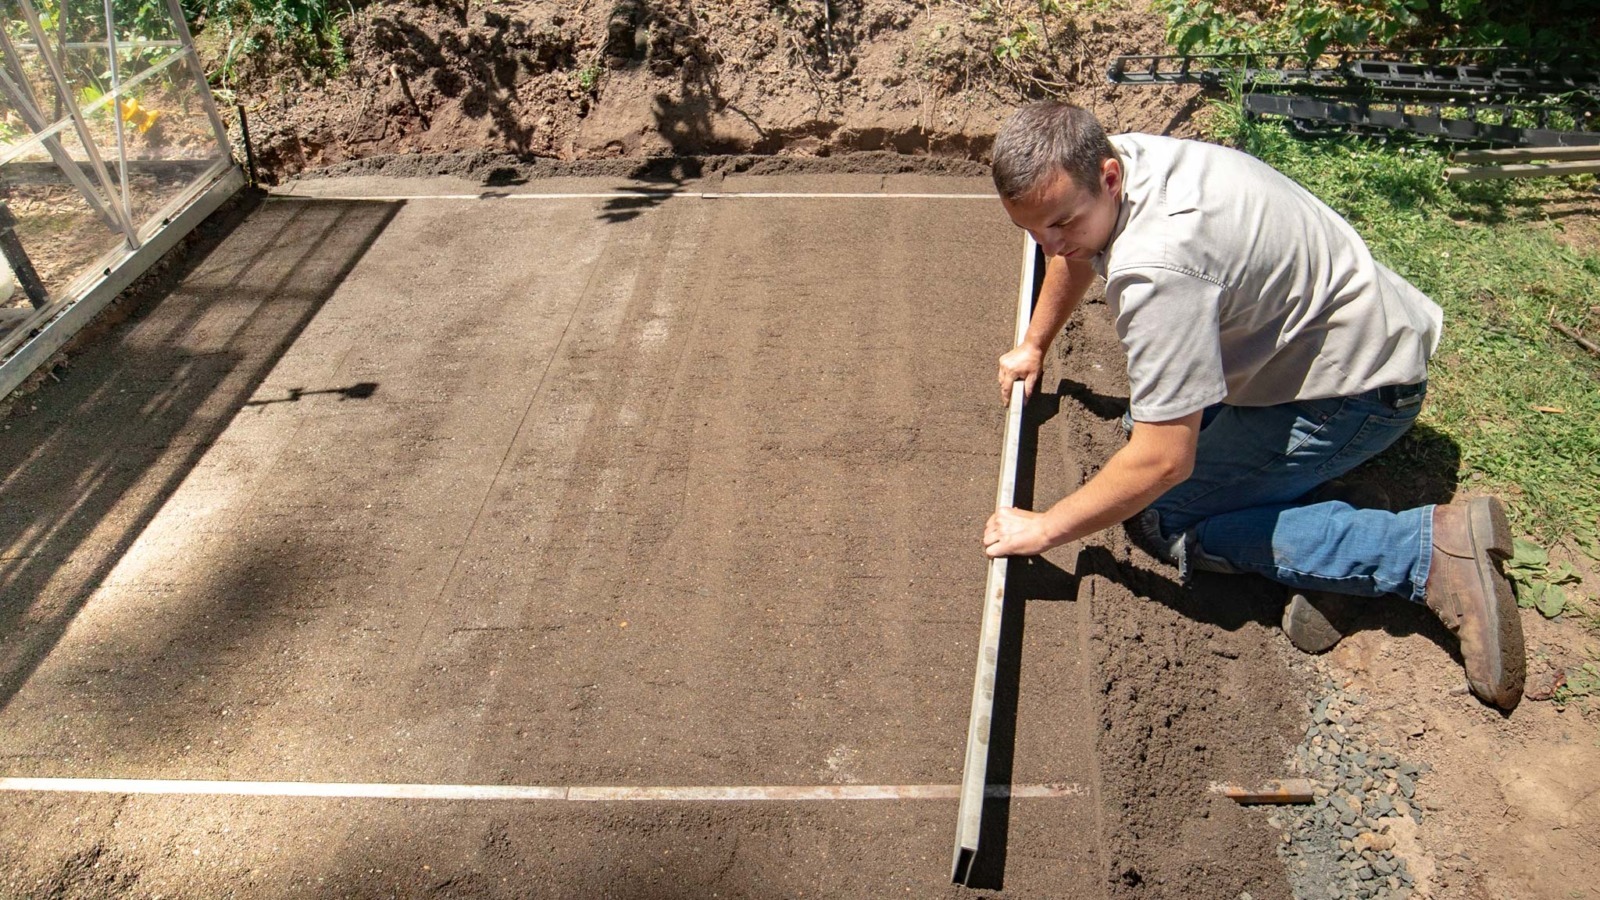
Afterward, remove the screed rails and fill any gaps with additional sand. To do this, simply shovel more sand over the affected areas and use a shop broom with the bristles facing up to fill the voids left by the rails.
For complete screeding instructions, follow our tutorial How to Screed Bedding Material for Pavers.
As a recap, here are the screeding steps.
- Step 1: Set up screed rails
- Step 2: Add the bedding material
- Step 3: Screed the bedding material
- Step 4: Remove the screed rails
- Step 5: Fill any voids
Once you’ve screeded the bed, go ahead and place your pavers!
Lay your paving stones
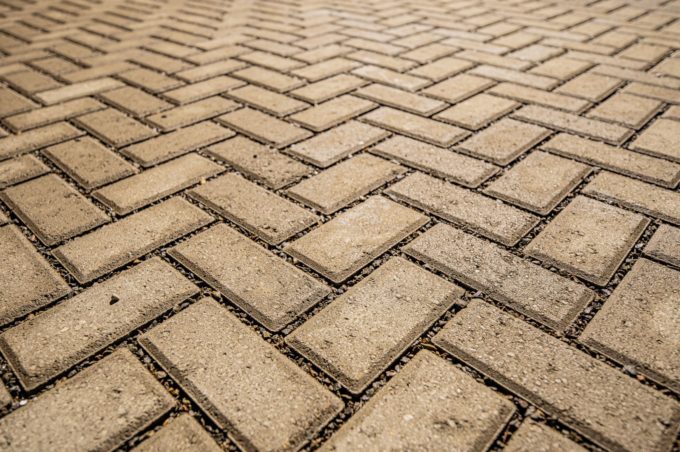
Now that you have a stable base, you can lay your pavers. Use the click and drop method to place your pavers properly. Additionally, there are dozens of paver pattern options to select. Be sure to watch or read our tutorial on How to Lay a Paver Pattern, where we show you how to lay eight different patterns.
If you haven’t noticed, we’re on a mission to take the hard out of hardscaping. If this article was helpful, learn more hardscaping tips and tricks with our step-by-step tutorials at DIYwithWI.com.


