Get our FREE Project Planning Guide
"*" indicates required fields
In this tutorial, you will learn how to build a square paver patio. First, you’ll need a few tools and materials. Here’s the shortlist of supplies we use in this tutorial. You can pick up any of these tools at one of our Oregon or Washington sales offices, or your local hardware store.
1. Lay a proper base
First, prepare a gravel base. Create a square corner as close to your structure as possible using the 3-4-5 method. Next, set the grade at least ⅛” per linear foot away from the structure and excavate. Finally, lay gravel on top of your geotextile and compact it.
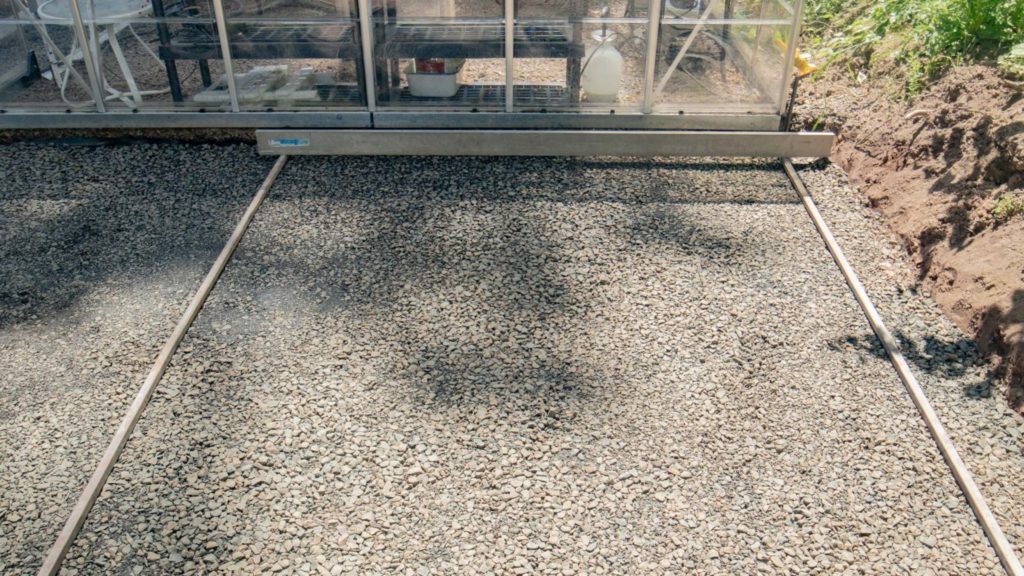
To learn more about the specifics of how to lay a proper base for your square patio, read or watch our DIY tutorial, How to Prep & Lay a Base for Pavers.
2. Screed the sand bed
Now, place 1” metal rails on the gravel base. Distance the rails slightly closer together than the length of the screed board that you will use, so it spans the full width of the rails.
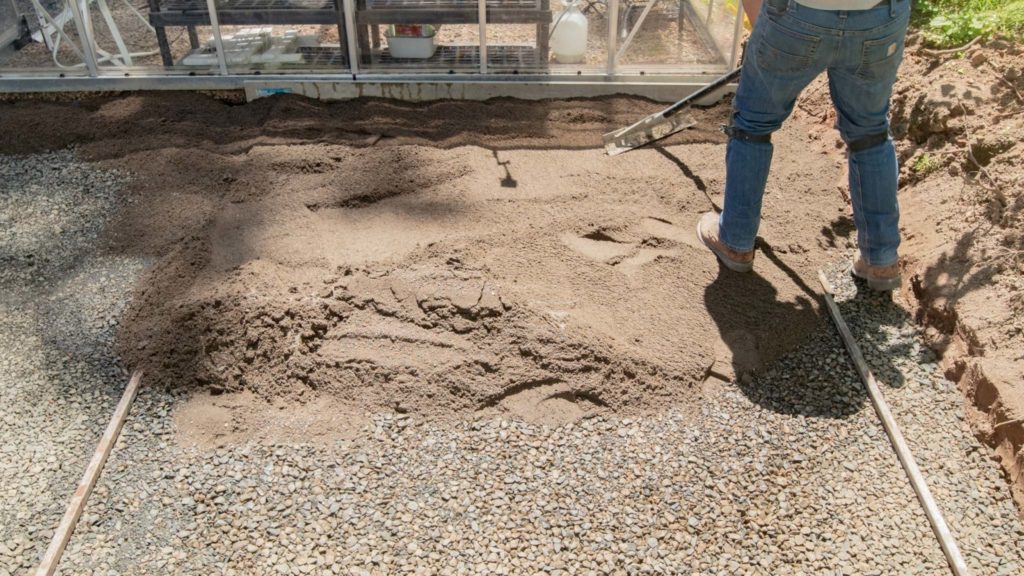
Spread concrete sand over the screed rails and gravel base. Make sure to lay enough to have a 1” layer of sand.
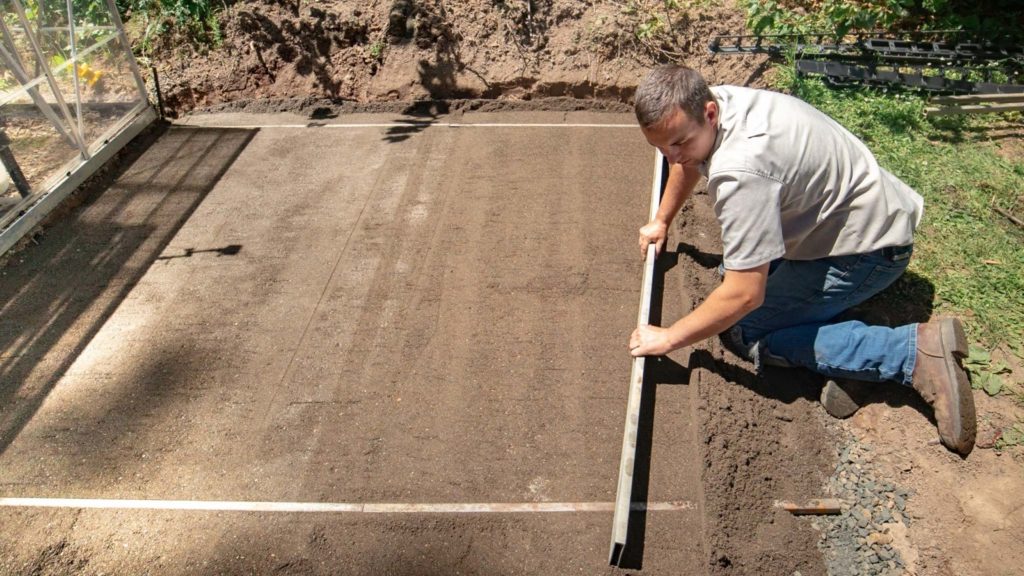
Level the sand by running the screed board along the rails in the same direction as the grade.
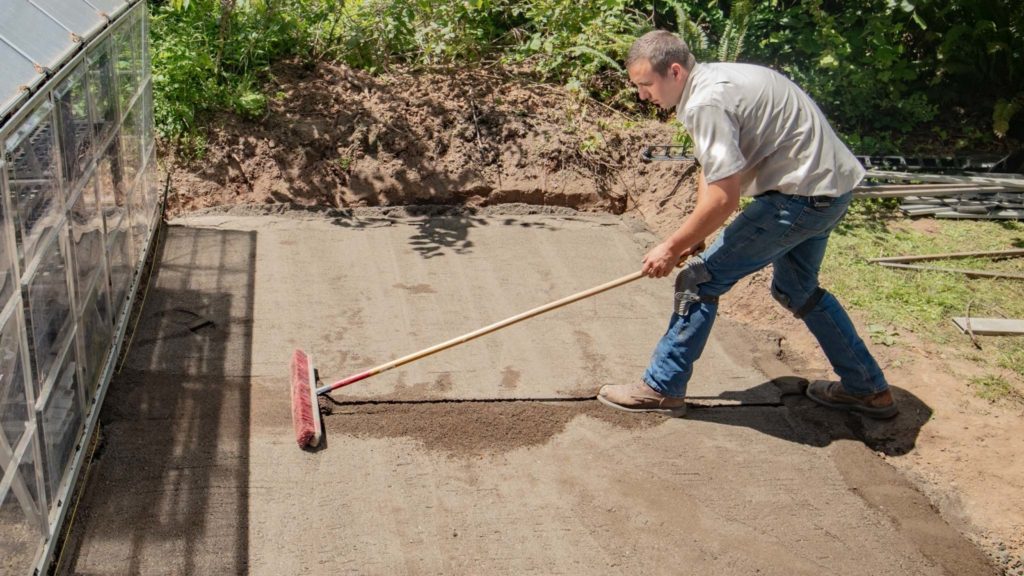
Next, remove the screed rails. Shovel additional sand over the affected areas and pull a shop broom along the sand-filled divot (with the bristles facing up) to fill the rails’ voids.
3. Lay your paving stones
If you removed your string lines to screed the sand, go ahead and string them back up. Doing so will help you place the first stone in-line with the corner of your space or structure if you’re lying around a building of any kind.
Once you’ve laid your first stone, continue laying stones according to the pattern you’ve selected using the click-and-drop method.
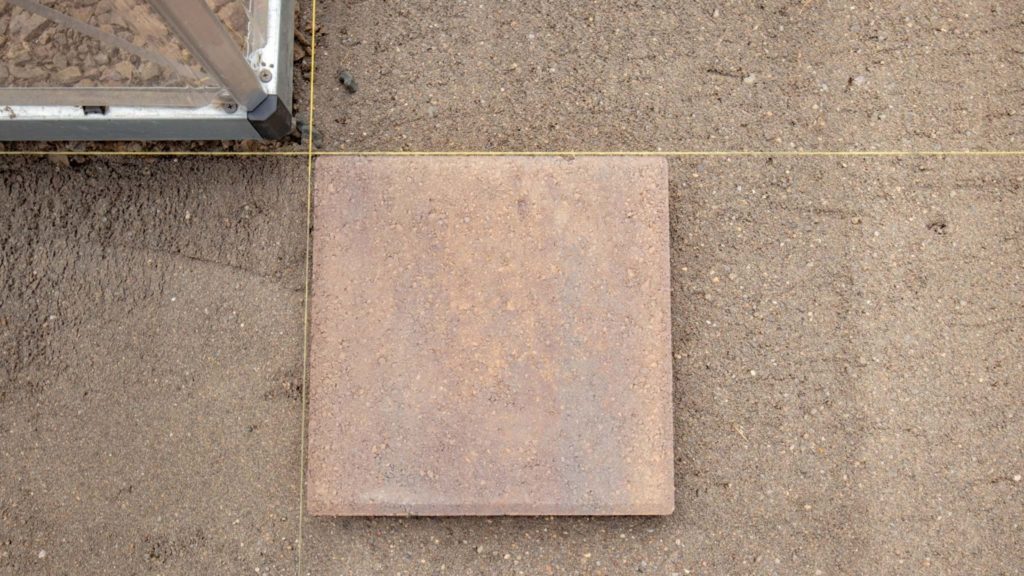
In this project, we laid a Random Layout. What this means is that we placed the stones in any order, as long as they met these conditions.
- At no point do four corners meet
- There are no continuous lines longer than 3’
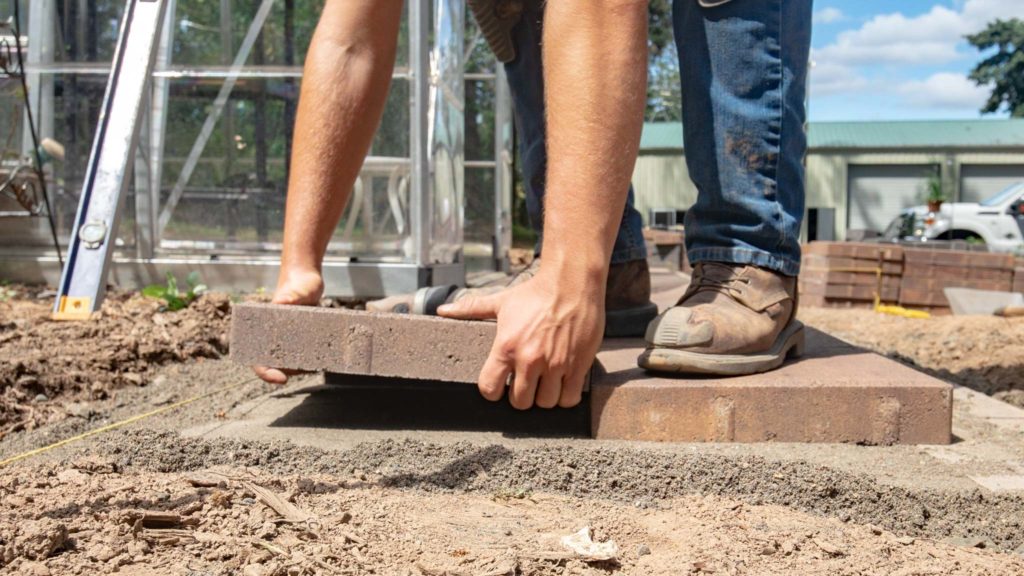
There is more information about layouts and patterns in our article, How to Lay a Perfect Paver Pattern.
4. Install edge restraint
Because of the hardscape location, we built a short retaining wall to level the project area. We laid border stones on that wall instead of plastic snap-edge as we usually would on a dirt surface.
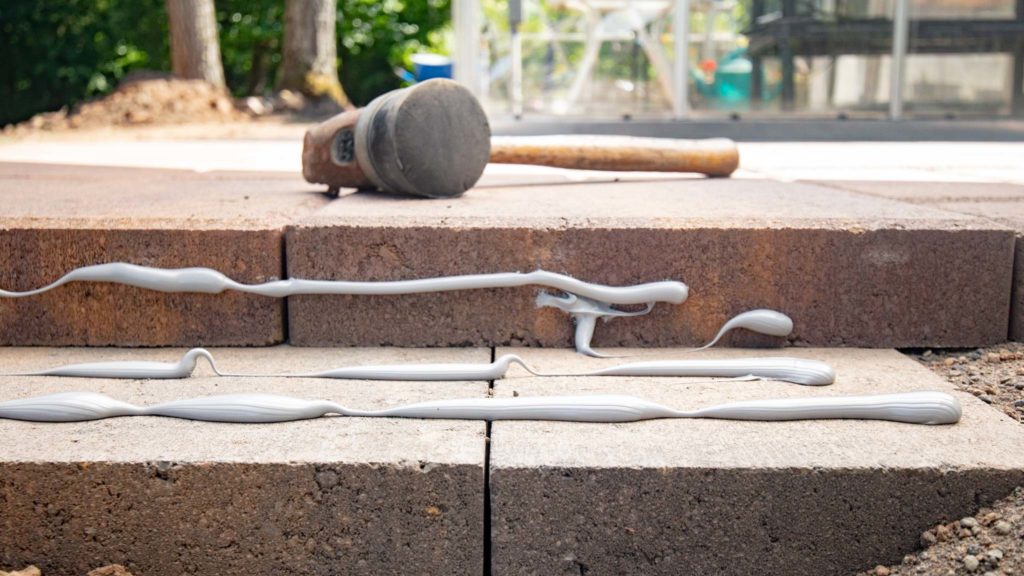
To install a border on a retaining wall, use caulking glue on the walls top surface and the edge of the stones. Lay the border using the click-and-drop method, making sure the stones are level.
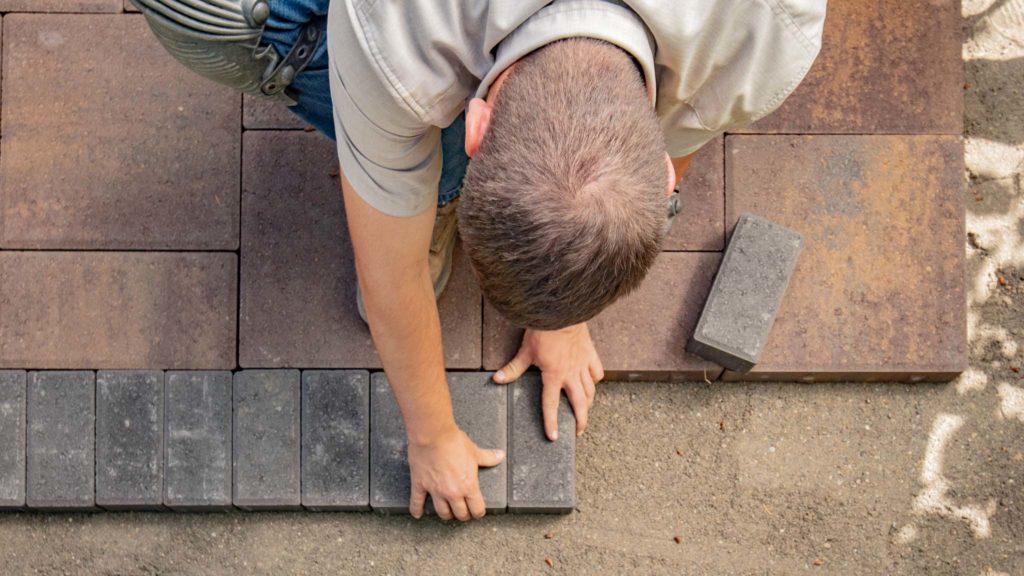
Next, install the remaining border stones around the rest of the project.
For the rest of the project, we used a snap-edge to restrain our patio. To lay snap-edge, wet the sand, scrape the sand away from the edge of the border, place the snap-edge tightly against the border stones and nail in every third hole using 10” spikes.
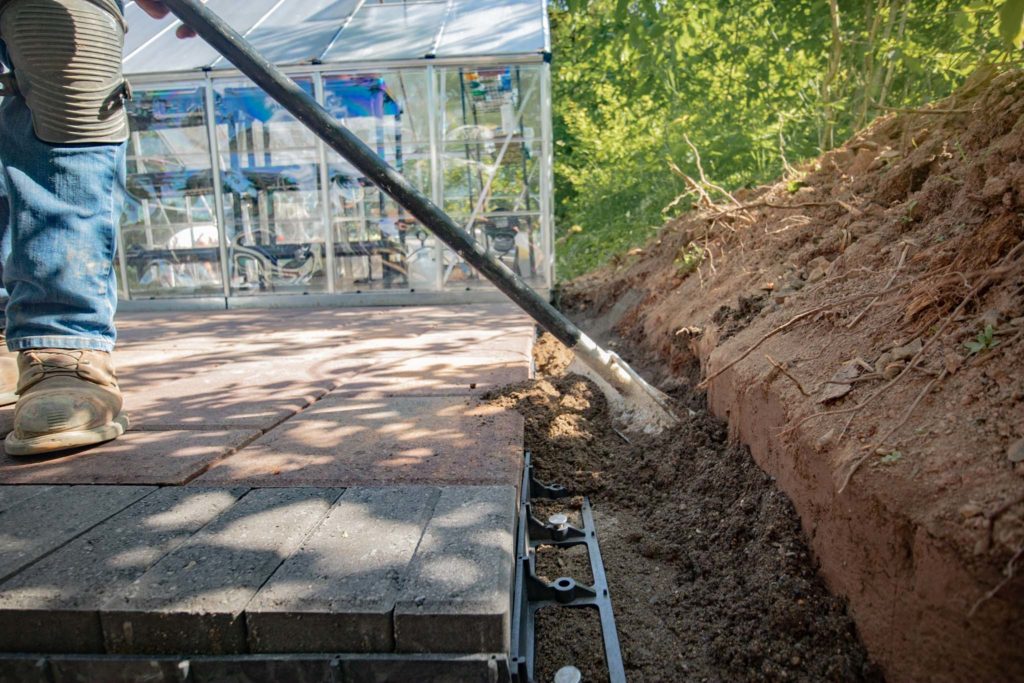
Make sure to cover the snap-edge with dirt or and to prevent the edge restraint from warping from the sun.
5. Sweep-in polymeric sand
Finally, ensure that the area is dry and free of debris. Sweep polymeric sand into the joints of the hardscape. Be generous with the amount of sand you use as joint lines can hold more sand than you think.
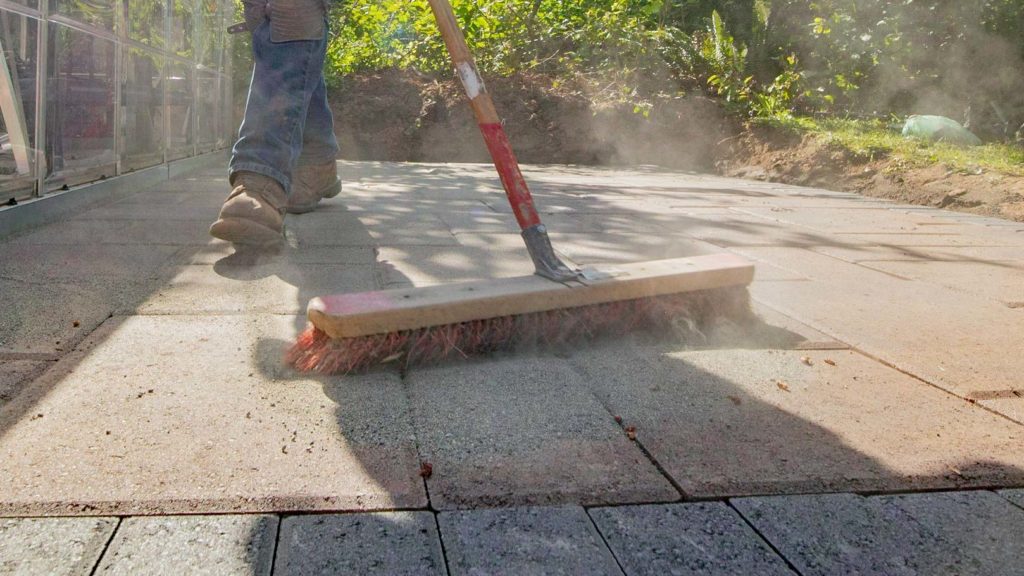
Clear the patio of any remaining sand with a broom or leaf blower. Take a hose and spray down the hardscape. When the polymeric sand absorbs the water, it will create a bond between the stones.
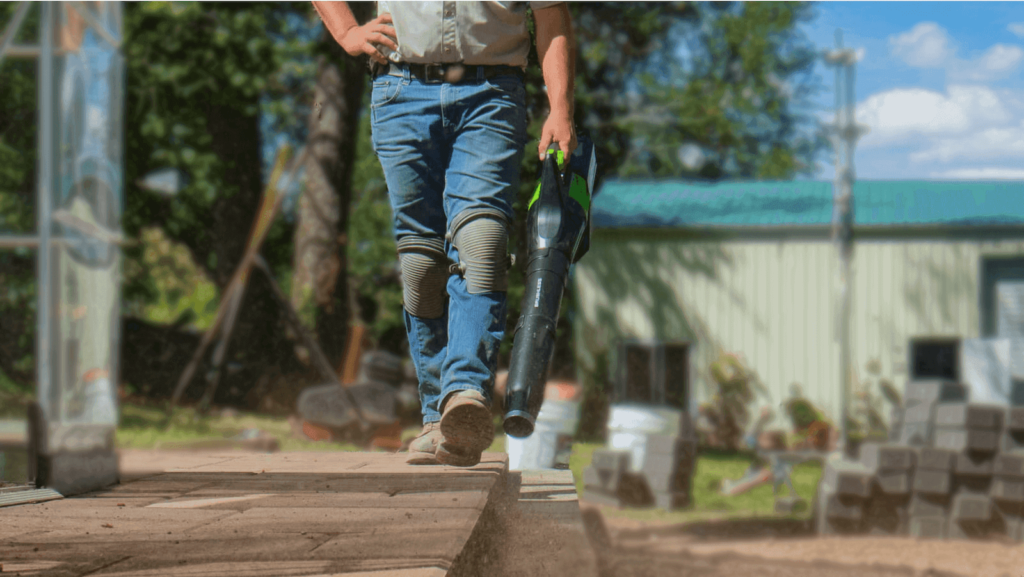
Now, your square patio is complete and ready to enjoy.
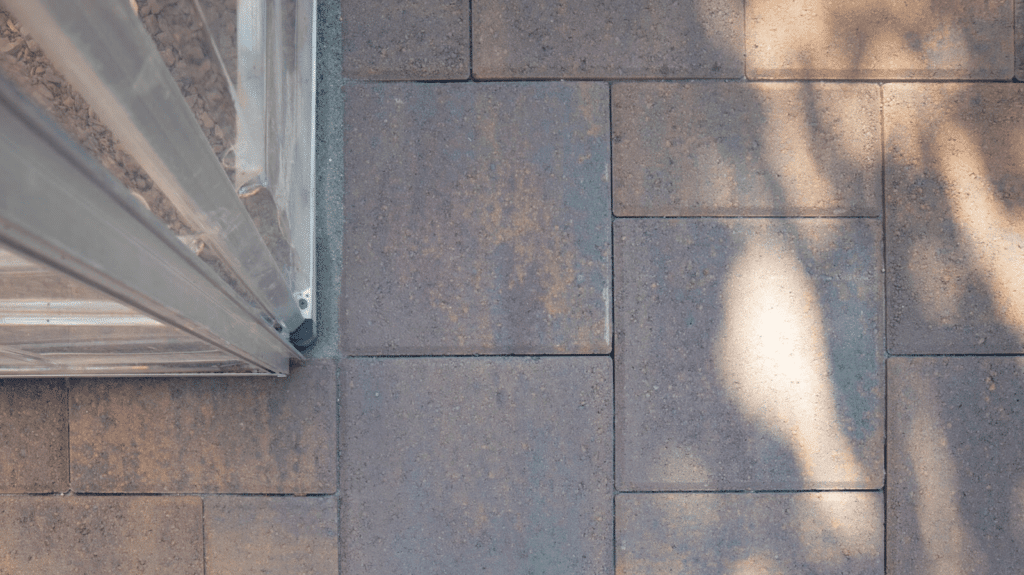
How to Build A Square Paver Patio: Conclusion
Here at Western Interlock, we’re on a mission to take the hard out of hardscaping. That’s why we publish DIY tips, tricks, and step-by-step tutorials at DIYwithWI.com.
If you have any questions, you can visit our Paving Stone Display at our Manufacturing Facility in Rickreall, OR.
Give us a call to our Patio team of hardscape experts at 503-623-9084.
Get our FREE Project Planning Guide
Tell us where to send it and we’ll email the backyard planning guide to you right away!
"*" indicates required fields


