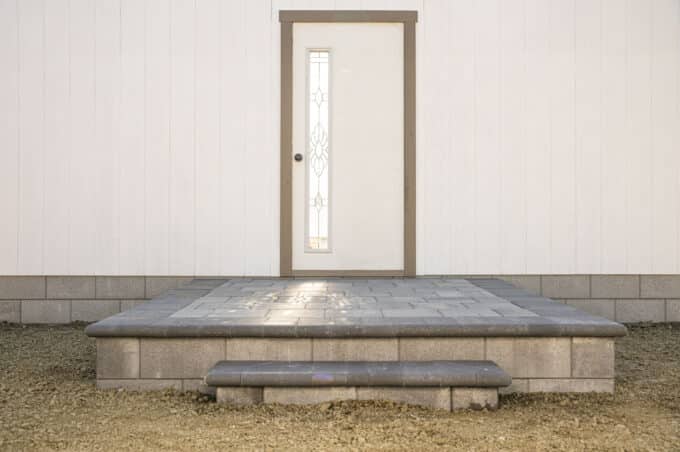
How to Build a Raised Paver Patio
Building a raised paver patio is an excellent option for homeowners who want to expand or raise their outdoor entertainment area and create a cozy, relaxing spot. In this blog […]

Today we’re going to show you how to replace a standard 10 by 10 concrete patio with paving stones.
Like most who live in suburban or small-town homes across Oregon, Washington, Idaho, Montana, and other United States, you might have purchased a home with a small patio.
It doesn’t take too many summers to realize that you’d like to extend your concrete patio and make more space for relaxing and entertaining. In this article, you’ll learn how to do just that.
The first step for this project is to mark out your excavated area. The homeowner gave us a rough drawing of what he wanted, but we’ll go back and remark all the lines using the foundation as a straight reference and the existing concrete patio that he wants to utilize as a reference, as well. We want to make sure we have excellent straight and square marking lines.
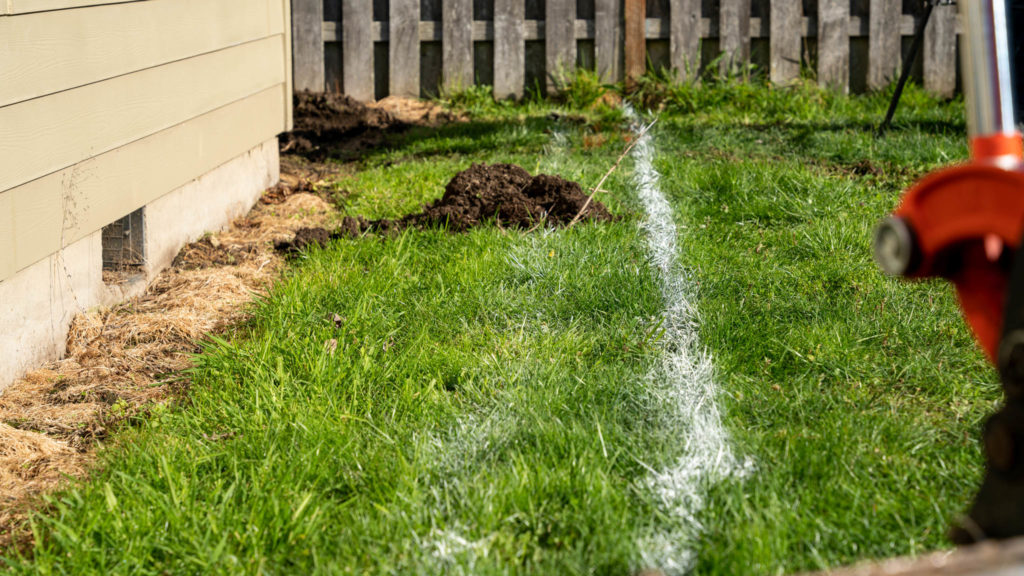
We always recommend white marking paint. It is a marking paint designed explicitly for excavation areas. Any other color denotes a utility. You’ll probably have a utility locate completed before beginning your project, so make sure you use white marking paint to mark out an excavation area to avoid confusion.
We’re done marking out our area for excavation, and we made sure we had a utility locate done before this project to ensure nothing was going on. We can go ahead and start excavating.
You have two different options here. The traditional method is to use string lines and some shovels and pickaxes. We wanted to utilize an excavator. It doesn’t usually work out well when you pair string lines with equipment because they get in the way. So we’re using an excavator and a laser transit to maintain our grade.
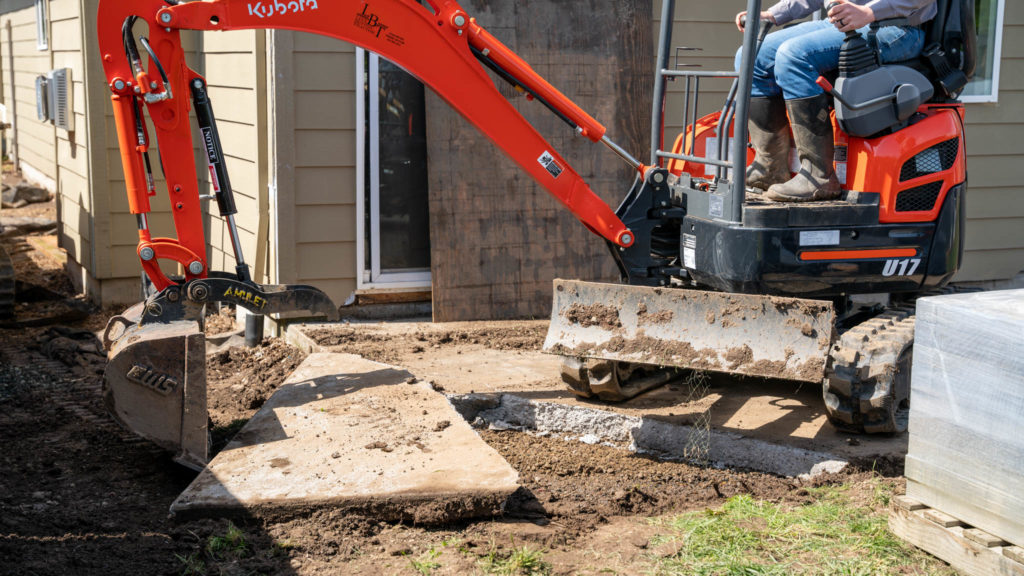
Whenever you’re tearing up concrete, it’s always good practice to cover up the glass like we are with a piece of plywood here. It’s what we always do. You should try to do it, too.
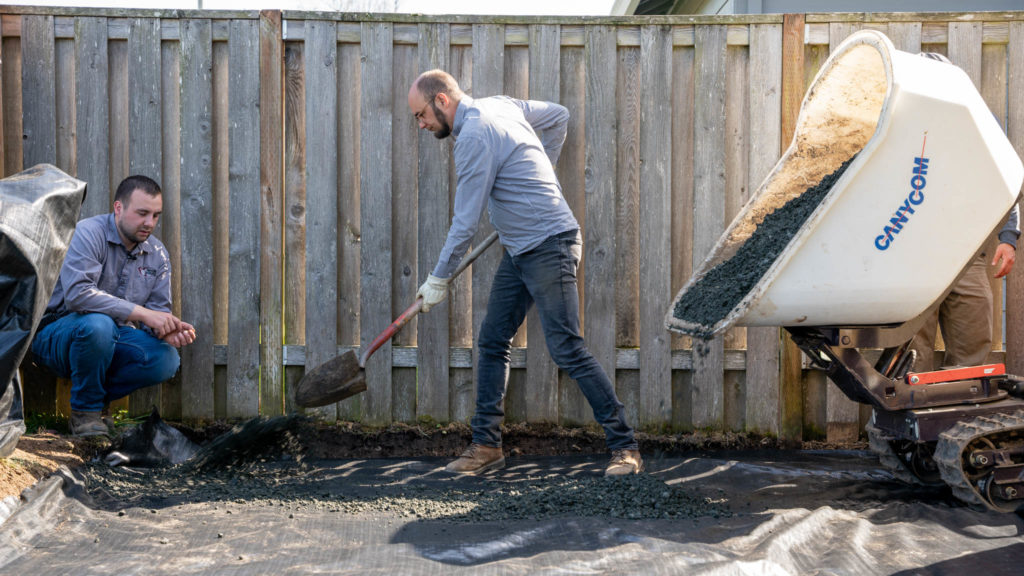
We have taken up our concrete patio. Now our excavation process is complete. We can start bringing in our gravel base; we compacted our subgrade, which helps promote the project’s longevity. When you bring in a gravel base, you want to make sure you lay down geotextile first because it’s an excellent preventative measure.
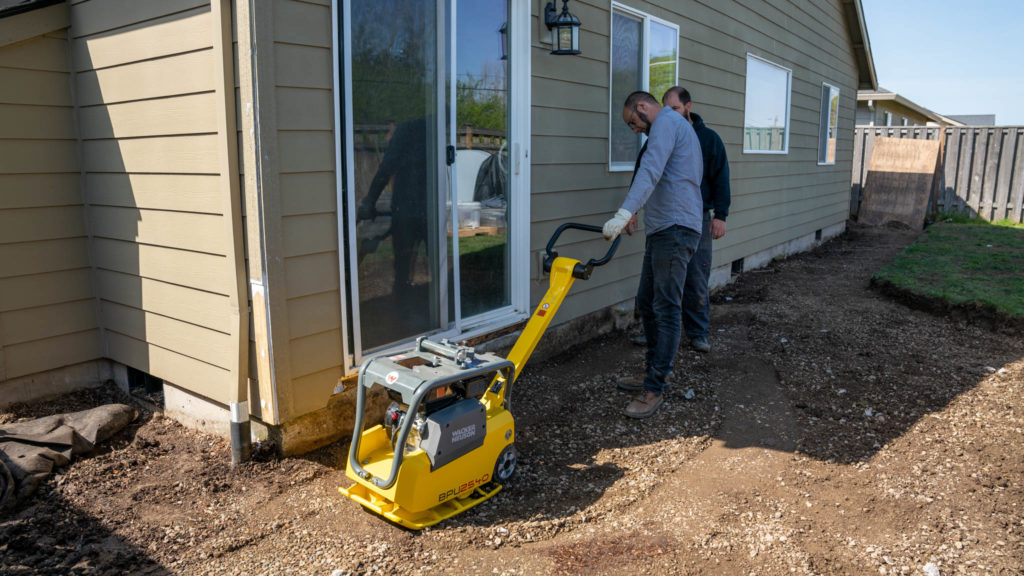
Also, check the ratings for your plate compactor. Most smaller plate compactors people can rent are rated for 2’ lifts. We have a giant plate compactor that can do a little bit more, but you always want to ensure good compaction for your gravel base.
Occasionally, you have some vents while doing a project in your backyard or near your house. Foundation vents are very common; if you want to build up around them, you must have a retaining barrier.
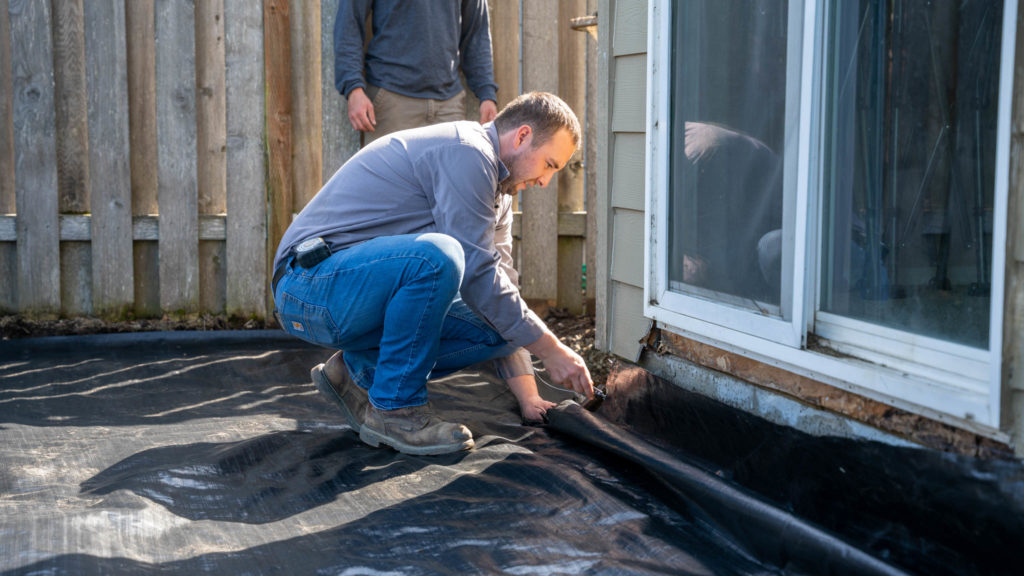
The simplest way to achieve this barrier is to use a one-piece vent well system. Some people use wall blocks that they glue together. This is nice because it’s easy. It’s one piece. Build up a little gravel underneath it and then set it level like a wall block.
If your project has hardscaping that has a grade on it, you can bring these flush with your hardscape. We set these about a quarter inch below our foundation or our siding to look neat.
We finished the gravel base for our project. Now we can move on to the next step, which is our bedding layer. We use something 1” uniform. That way, we have 1” of the bedding material across our entire project. The easiest way to do that is to use something like a metal rail that is square like we’re using. Or maybe some ⅝” conduit that has a 1” outside diameter. Regardless, that’s just the rule of thumb: 1” of bedding.
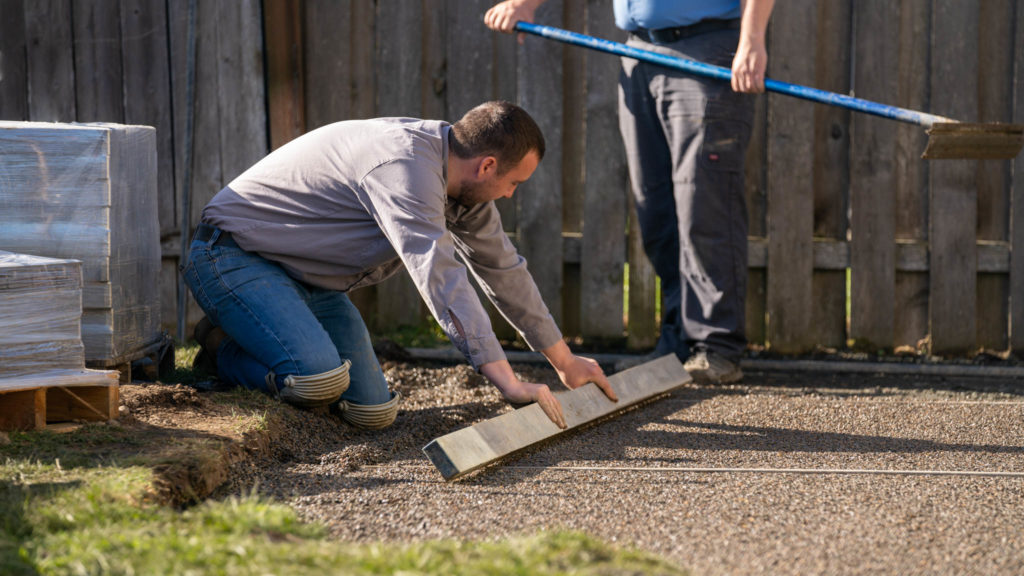
The bedding material we’re using today is “washed quarter 10.” It’s traditionally washed concrete sand, which is the spec, but we have noticed that using this material as our bedding layer has made our product perform better and makes installation a little bit easier. As long as you use a uniform 1” of that material, you’ll be just fine.
We have screened out all of our bedding materials, so we can start laying our stones. Before we get started, we’ll set up some stakes and string lines for straight and square reference lines to lay from. For most patterns, you want to look nice and neat. They have to be straight and square to do that. Once you have your string lines, you can start laying your stones.
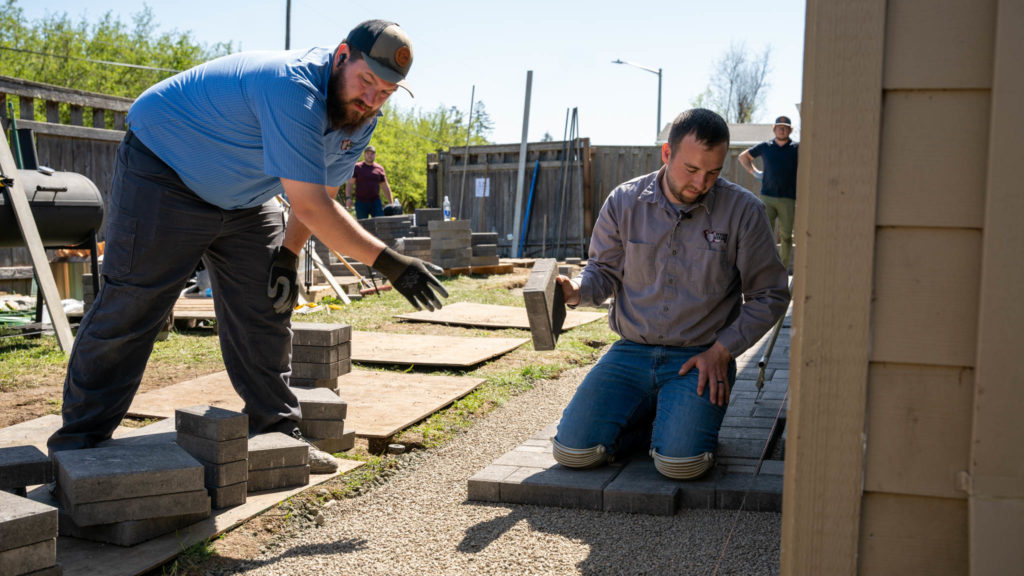
They had an existing concrete patio that was a step down from their current threshold for this specific project. Since we made the paving stones at the same elevation, we will help them by creating a step here to help transition between their patio and the inside of their house. We’re going to lay in some Chateau Wall™ blocks, glue them to the paving stone patio and then glue capstones on top of that. This makes for excellent ease of access to the house.
We laid our field and cut all the stones that we needed to. Now it’s time for the next step, which is edge restraint. No matter what edge restraint you use, you must pull away whatever bedding material is beyond the edge of your paving stones. This is much easier when using quarter 10 gravel or chip rock as your bedding material.
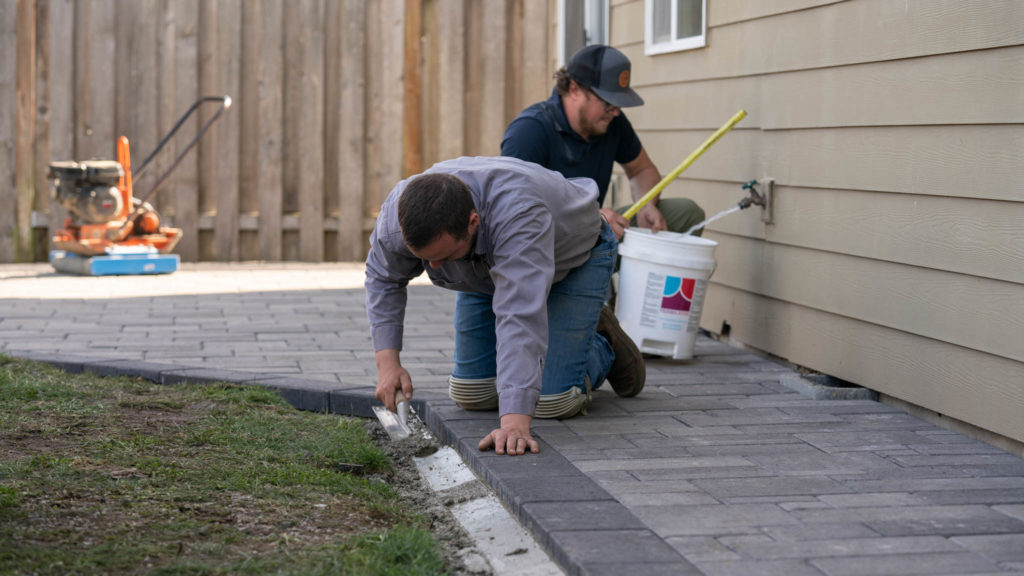
The edge restraint we’re using today is called Perma Edge paver edging, a flexible concrete bonded with fibers. It is also lower profile than other edge restraint systems and performs exceptionally well.
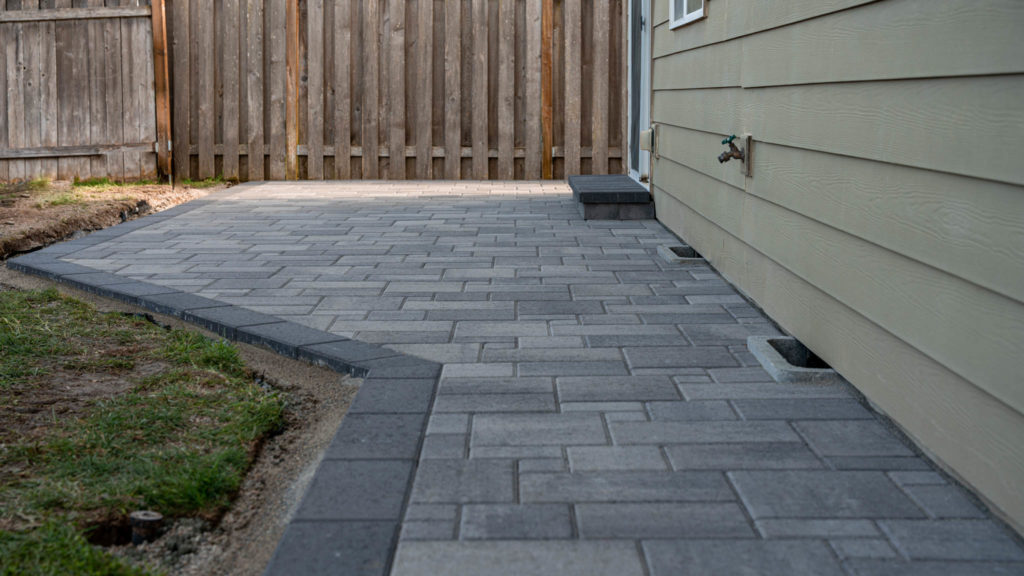
We’re almost done laying down our Perma Edge, and the last step in our process is our joint sand and compaction. We will bring in regular dry joint sand for this project because that’s what the homeowner wanted, and we will compact our stones to help wiggle that sand into place. After that, you have a completed project, and you can finish the edges that aren’t covered however you’d like.
Choosing a paver can sure feel overwhelming. You have to consider size, style, thickness, color, and more. That’s why we made a short and simple quiz that asks a few questions about what you’re looking for and, at the end, provides a recommendation, or two, you can start with.
Learn More