Raised patios offer a great way to get the most out of your outdoor space—enjoy dinner with family and friends, host summer soirees and BBQs, or relax in the fresh air. But ensuring you do it right is key; you want that perfect stone step for your patio entrance!
Building a stone step can seem daunting if you don’t know where to begin. We’ve put together this guide to help make it easier for you. Read on to learn our tips and tricks on how to get those stone steps looking beautiful.
Learn How to Build a Raised Patio in our step-by-step video tutorial.
Steps to Complete
Step 1: Design Your Step
Step one is like any other hardscape project—you want to start with design and layout. You’ll want to consider the overall height you’re trying to achieve and the product you want to utilize. In our sample project, we know we can make a very comfortable 6.5” step up to our raised patio. So we only need one course of the block because it’s just a single step.
The type of material we’re using is Murata™. We chose it because it allows for many variances in the height of the step we can build and matches our existing raised patio. We’re using Western Interlock’s Monaco Coping as a cap to match our raised patio. It makes a nice round bullnose.
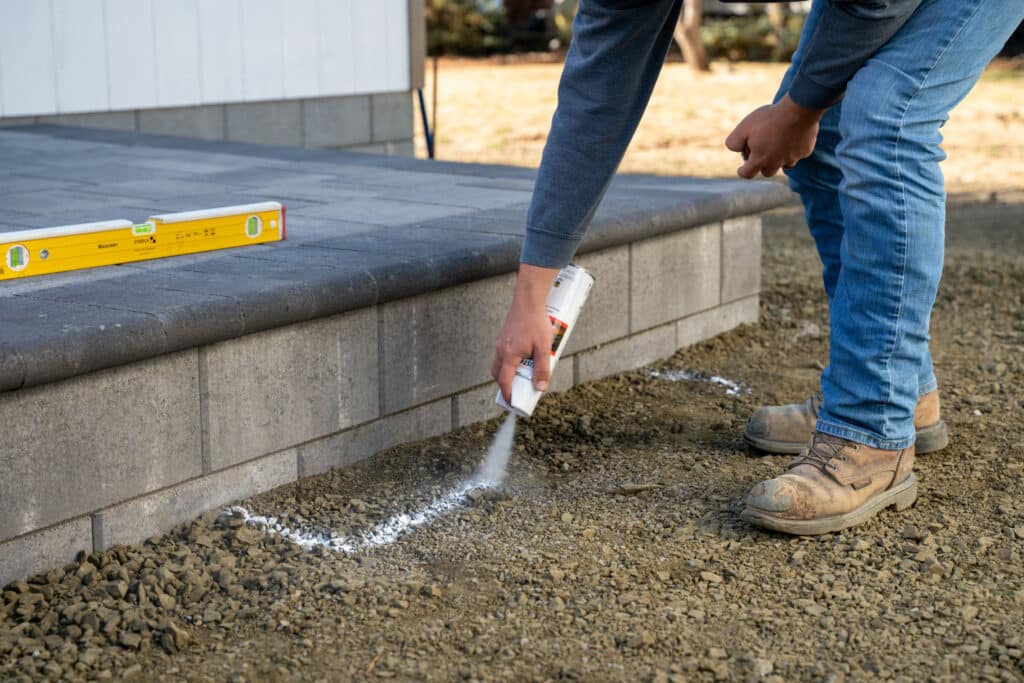
As for the width of the step, we will go 4’ wide to make an excellent, comfortable step. That’s very easy to achieve with our Murata™ block as a reference because they’re all 16” long. You can take your marking paint to mark out a 4’ step.
Step 2: Set Your Step Grade and Excavate for the Base
After you’ve painted everything out, it’s time for step two, which is excavation. The depth of excavation is dependent on your particular project. We will excavate 21” below the top of our capstone for our specific project.
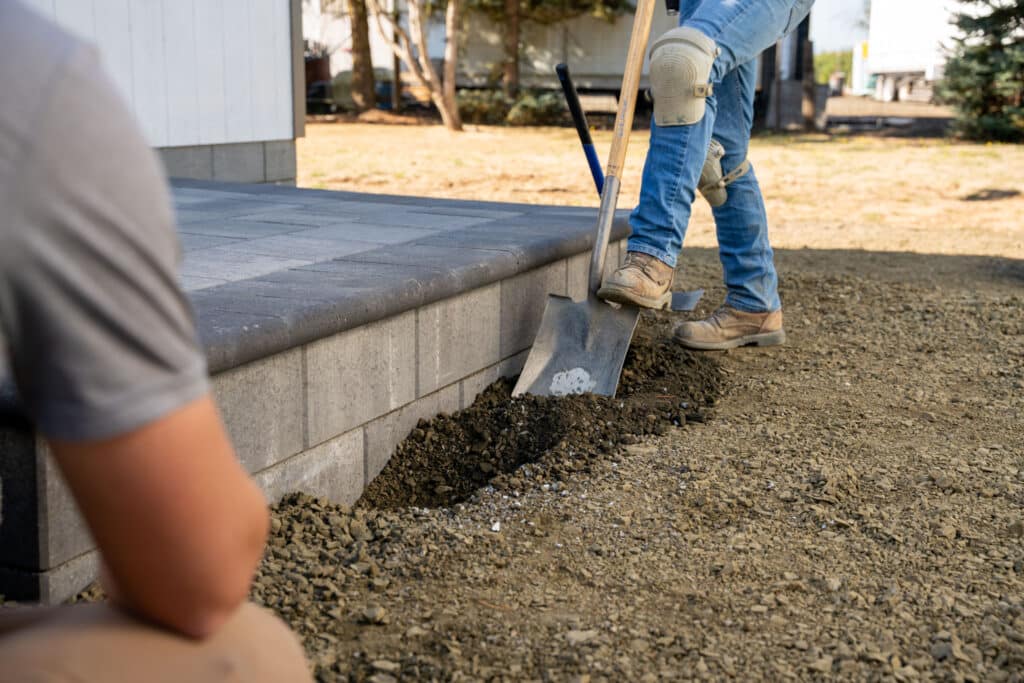
That’s because we need to fathom the following:
- The depth of gravel: 4”
- The height of the block: 8”
- The capstone: 2″
It doesn’t relatively equal 21”, but we still need a 6.5” buffer between the top of one cap and another. So, 21” is our reference point below the top of our capstone.
Step 3: Lay a Gravel Base
After you excavate your trench, you can go ahead and bring in your gravel base. In our sample project, we will bring in 4” of gravel overall, but we want to do that in 2” lifts and hand tamper to achieve proper compaction.
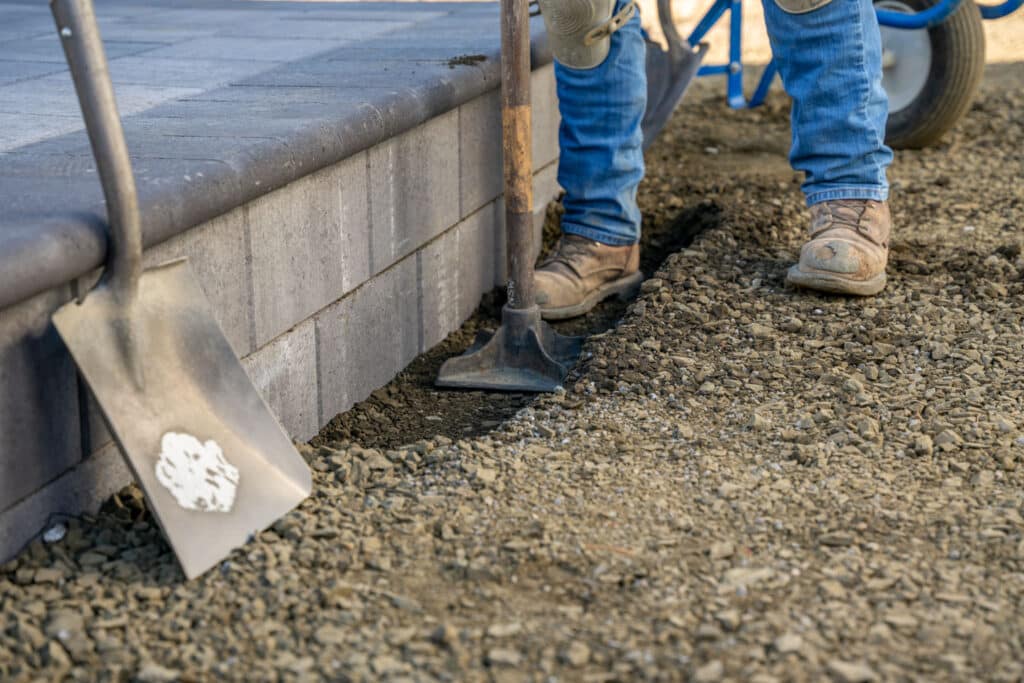
If we excavated 21” for the complete depth of the step, we would bring the gravel up to about 17”, ensuring we have at least 4” of compacted gravel base.
Step 4: Set the Base Step Block
After you’ve tamped in all your gravel bases, you can move on to step four, setting your base block. We use the Murata™ Angolo for our coping because they’re nice and shallow. We had to cut the corner pieces to 10” to incorporate that 2” projection. We double-checked that we were centered where we started using the block seam.
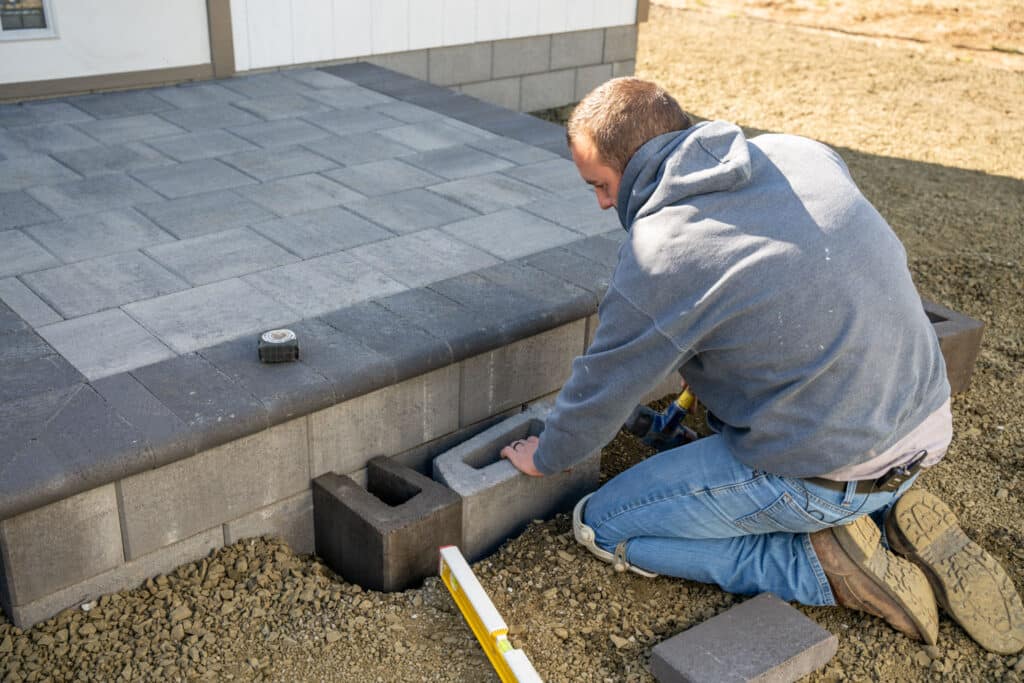
All you have to do is set the blocks level in each direction with any spirit level. And once you have all of your blocks in there to obtain 4’ in length, you will fill all the voids behind the blocks with gravel. You have something nice for your caps to sit on, which you’ll achieve in the last step.
Step 5: Set the Step Block
Our sample project uses Monaco Coping in charcoal to match our existing raised patio for this final step of capping your block. We did a couple of mitered corners, so it matches our raised patio.
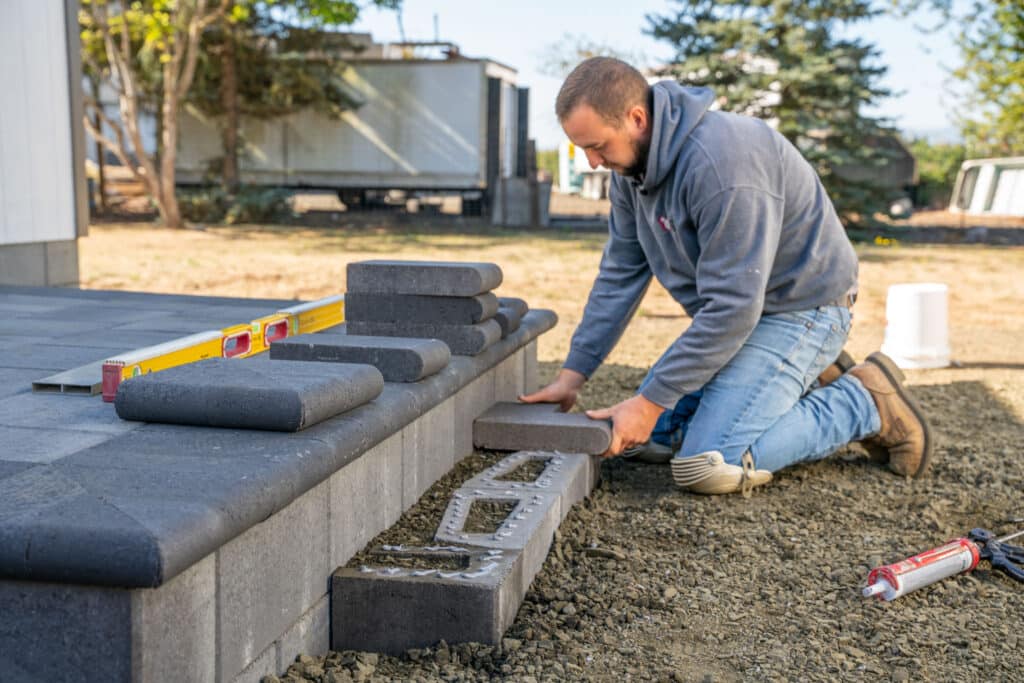
We used Sure Bond 20 flexible adhesive and put our caps on. You have a completed project except for some landscaping to fill the void from excavating for your block.
Download the Paver project planning guide
If you are ready to start your paver project, we have a guide that might help. Download our free Project Planning Guide so you can be prepared before you start your project.


