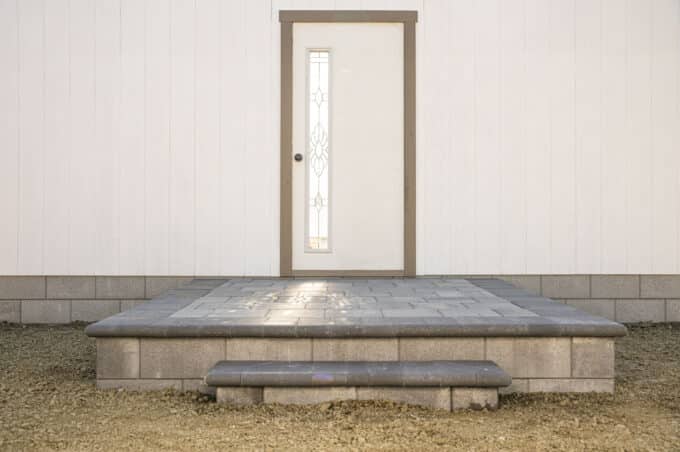
How to Build a Raised Paver Patio
Building a raised paver patio is an excellent option for homeowners who want to expand or raise their outdoor entertainment area and create a cozy, relaxing spot. In this blog […]

Ready to learn how to build a circular paver patio with a fire pit? In this video, Colin teaches you how to transform your backyard into an incredible paver patio fire pit area for your friends and family.
The first step in any hardscape process is design. We recommend using the Western Interlock Rotundo Circle System because you can make a limitless-diameter circle without any cuts.
For this project, we’ll create a 12.5’ circle, then add a ring for the border, bringing us to a diameter of about 14’. We’ll also be putting in a 50” fire pit, which fits perfectly within the center ring of our circle.
The second part of the process is going to be the layout. Now, circle systems are easy so long as you know what diameter you need. What you’re going to want to do first is establish where you want the center of your circle to be with a can of marking paint.
Your circle’s placement can depend on where you want it, and the slope of the terrain. After establishing the center, you can mark it with a stake. If you take a tape measure to the radius, which is half of your diameter, and goes in a circular motion, you can draw a perfect circle. If you would like to go any larger or smaller with your circle system, this would be the time to do so.
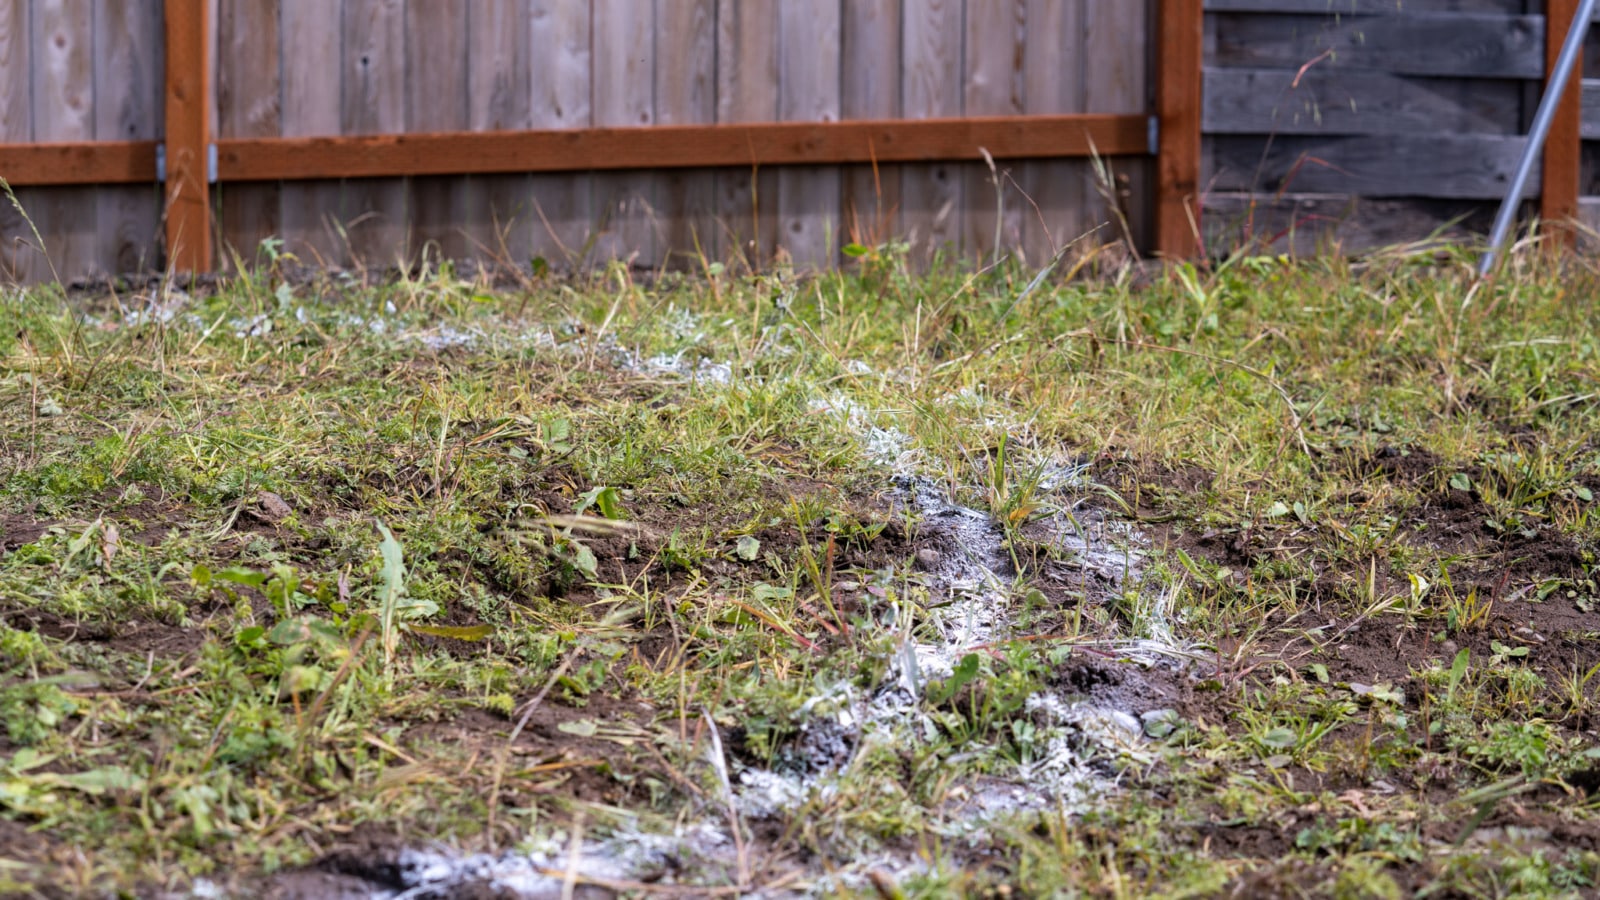
If you’re content with the size of that circle, all you have to do is add a 6” to 8” dotted line outside of that circumference to note the gravel base you’ll need to lay 6” to 8” past the edge of your paving stones. This is for edge restraint.
The third step in your project will be establishing and setting your finished grade. We’re going to be using string lines and stakes. It’s the easiest way to have a good reference throughout your project.
First to establish the highest point in your terrain and the lowest point because it’s traditionally easiest to slope it in that direction.
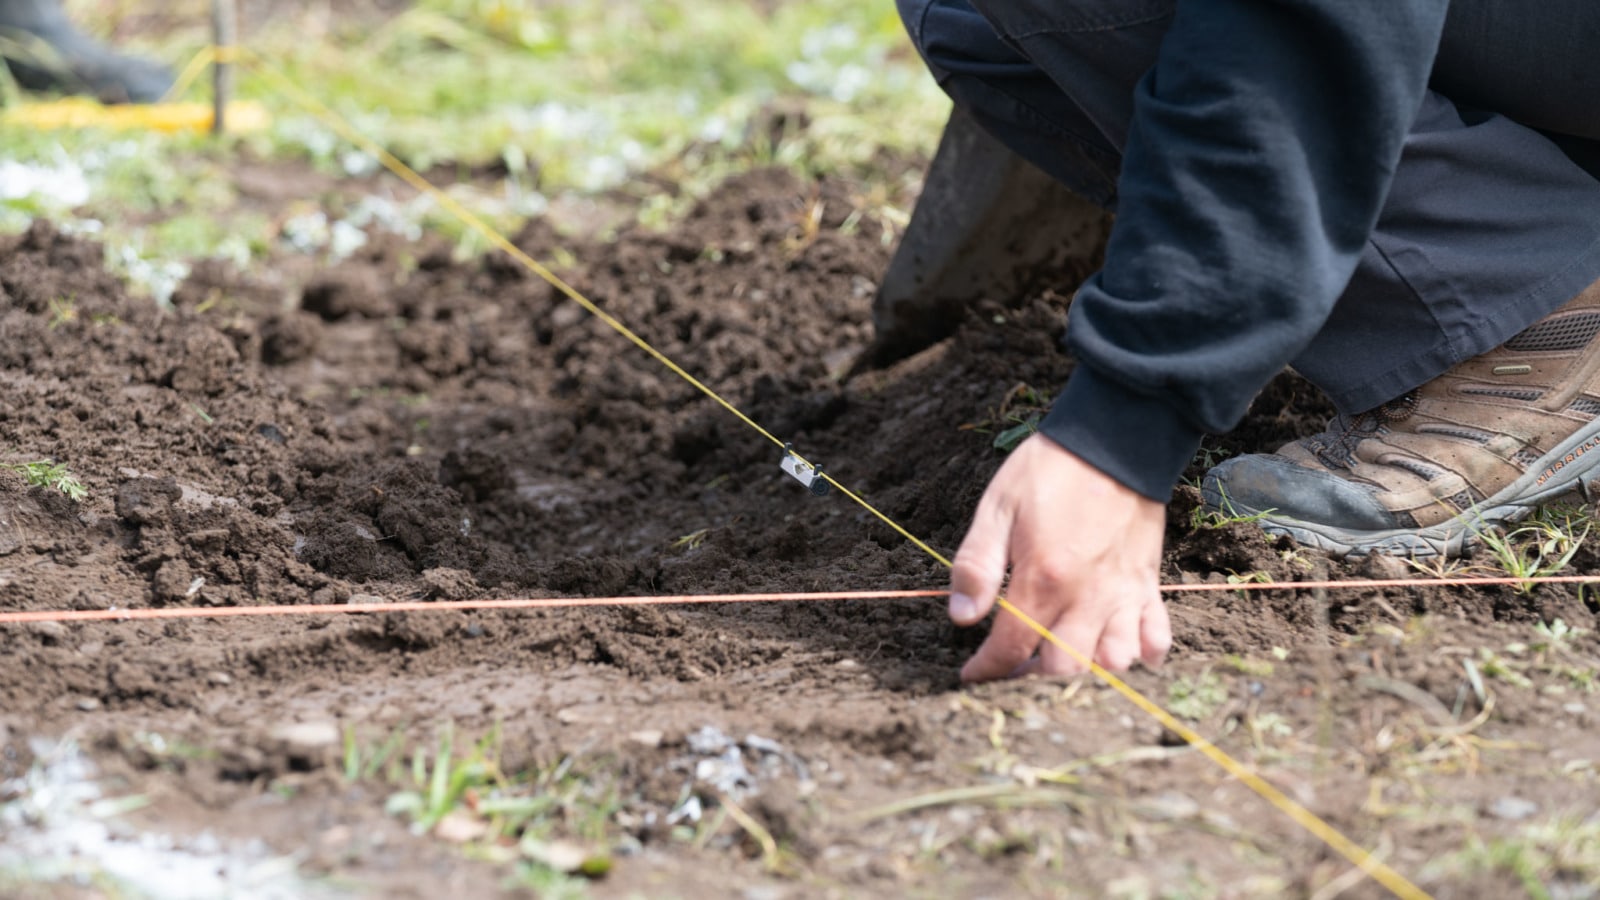
Once you’ve established the two points, you’re going to set a string line about where you want the paver patio, stretching from that highest point to the lowest point. Then, adjust it for your slope. We recommend sloping about 2.75” for this size of circle patio because we have about 14’ of run.
Once you have that first string line, you can repeat the same process. Set up additional string lines every 1′ to 2′ so you have accurate reference points for excavation and base.
If you want to learn more about setting finished grade for paving stones, you can watch or read our tutorial How to Set Grade for Hardscape .
Now, you should have all your reference lines set up at the proper slope. Begin excavating 7” below your string lines. That will accommodate 4” of gravel, 1” of bedding material, and our paver, which is just a little over 2” tall.
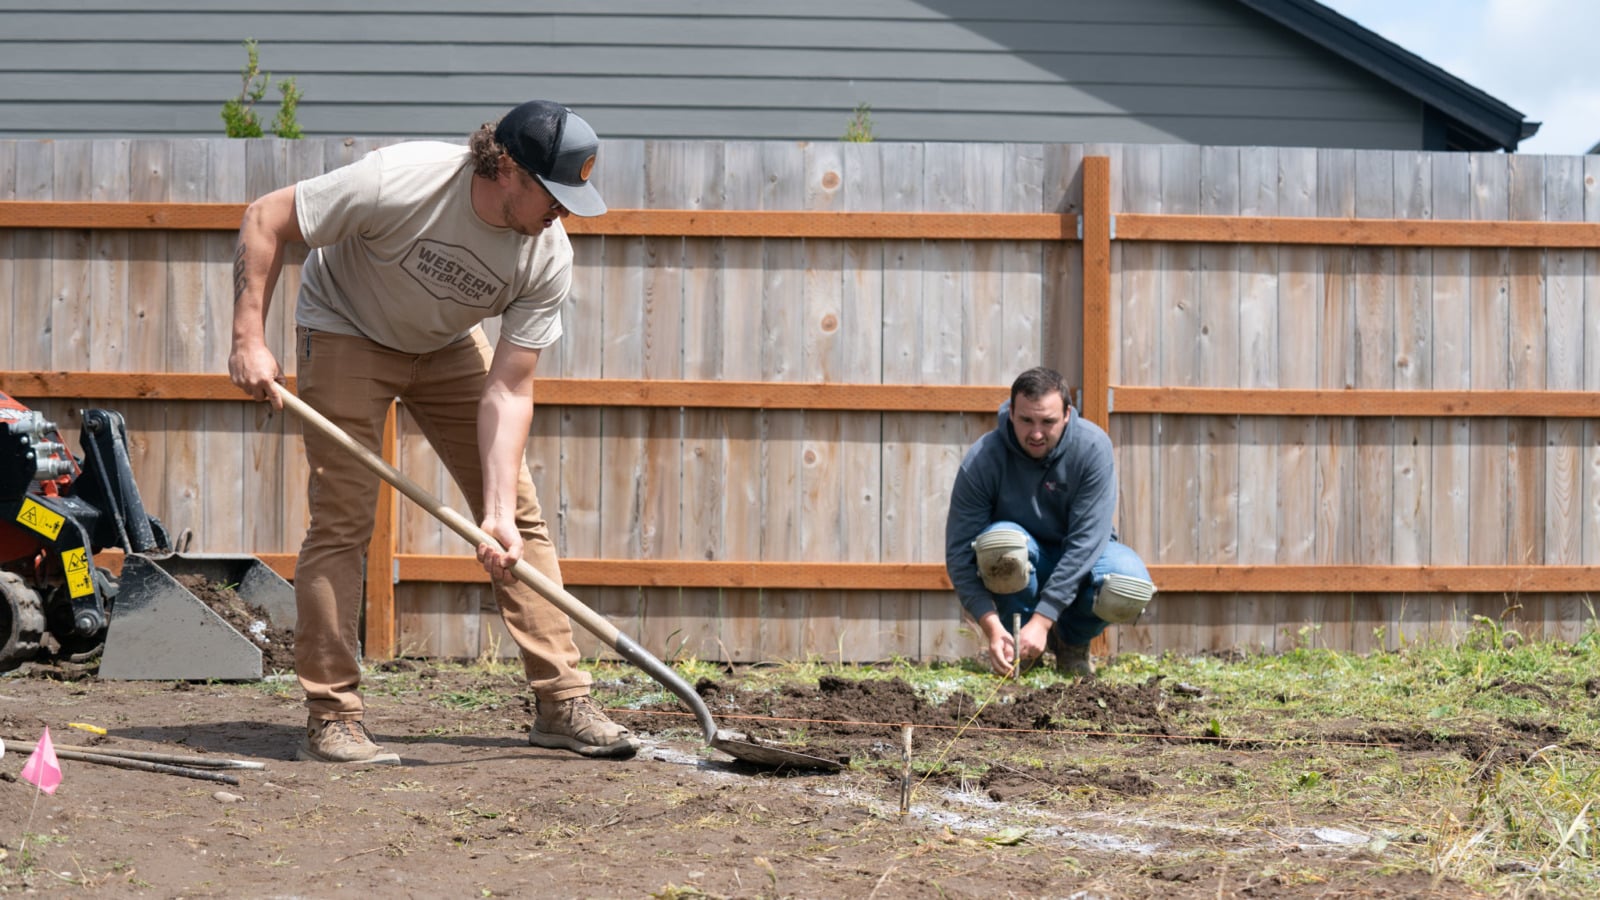
There are a variety of ways you can dig up dirt. The simplest way is probably to use a shovel (with or without the assistance of a pickax). Or, if you want to move things around a little quicker or more accessible, you can rent an excavator.
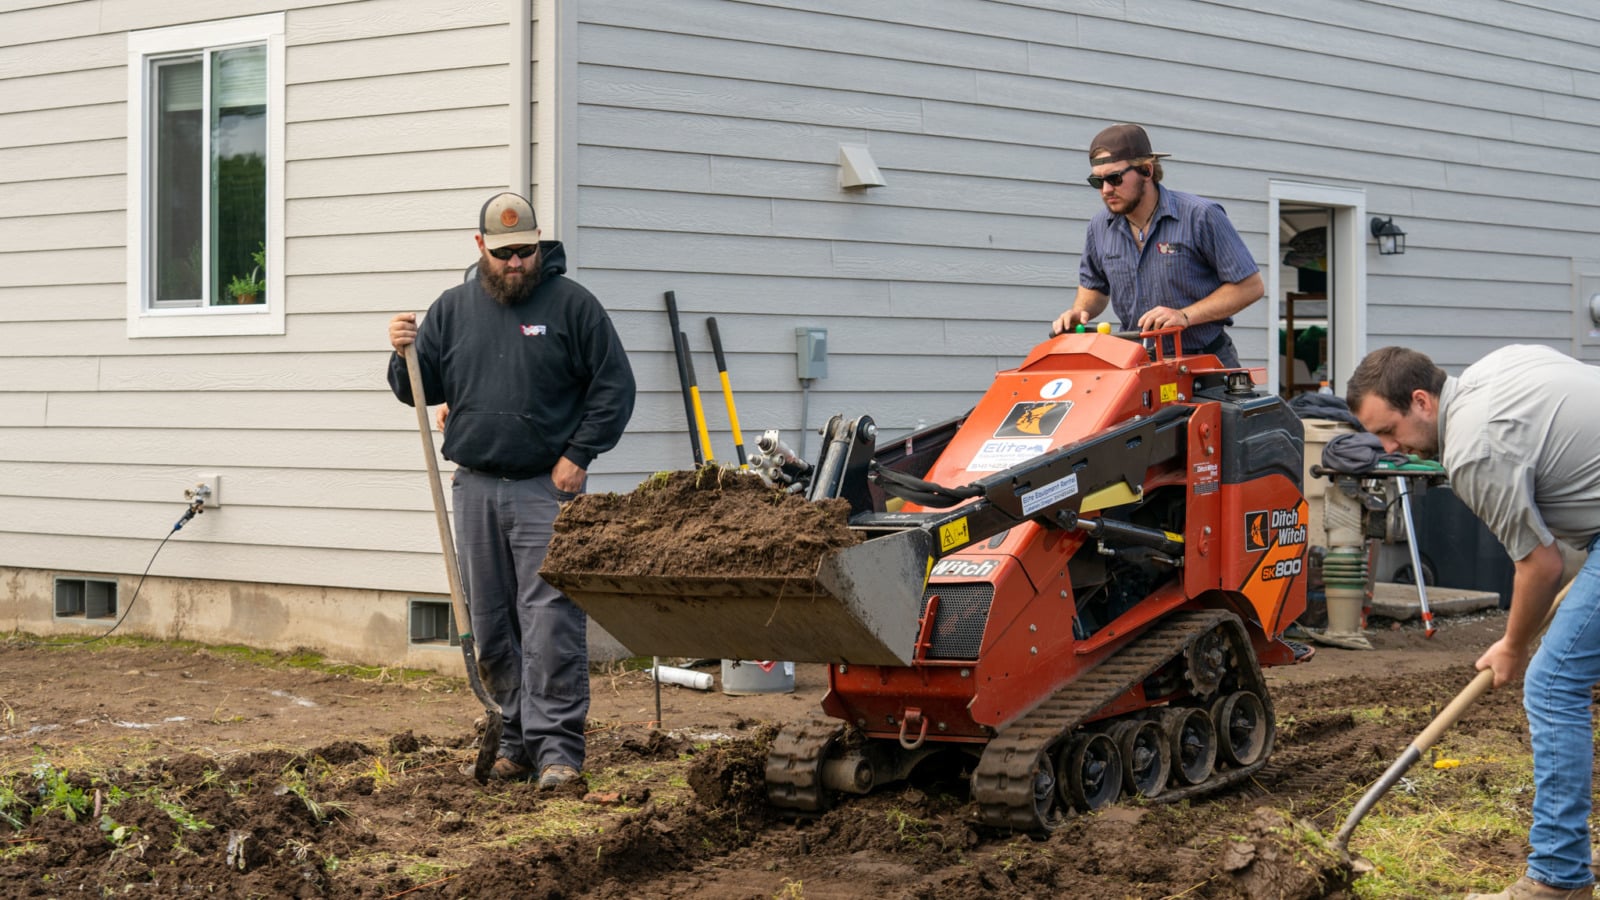
We used a shovel and a mini skid steer, but you could also use a mini excavator if you have coarse soil. Either way, the goal is to get 7” below all these string lines to excavate properly.
When you’re confident that you’re 7” or lower underneath all of your string lines, you can move on to the next step—laying the base. We’ll go ahead and bring in our fabric and gravel base.
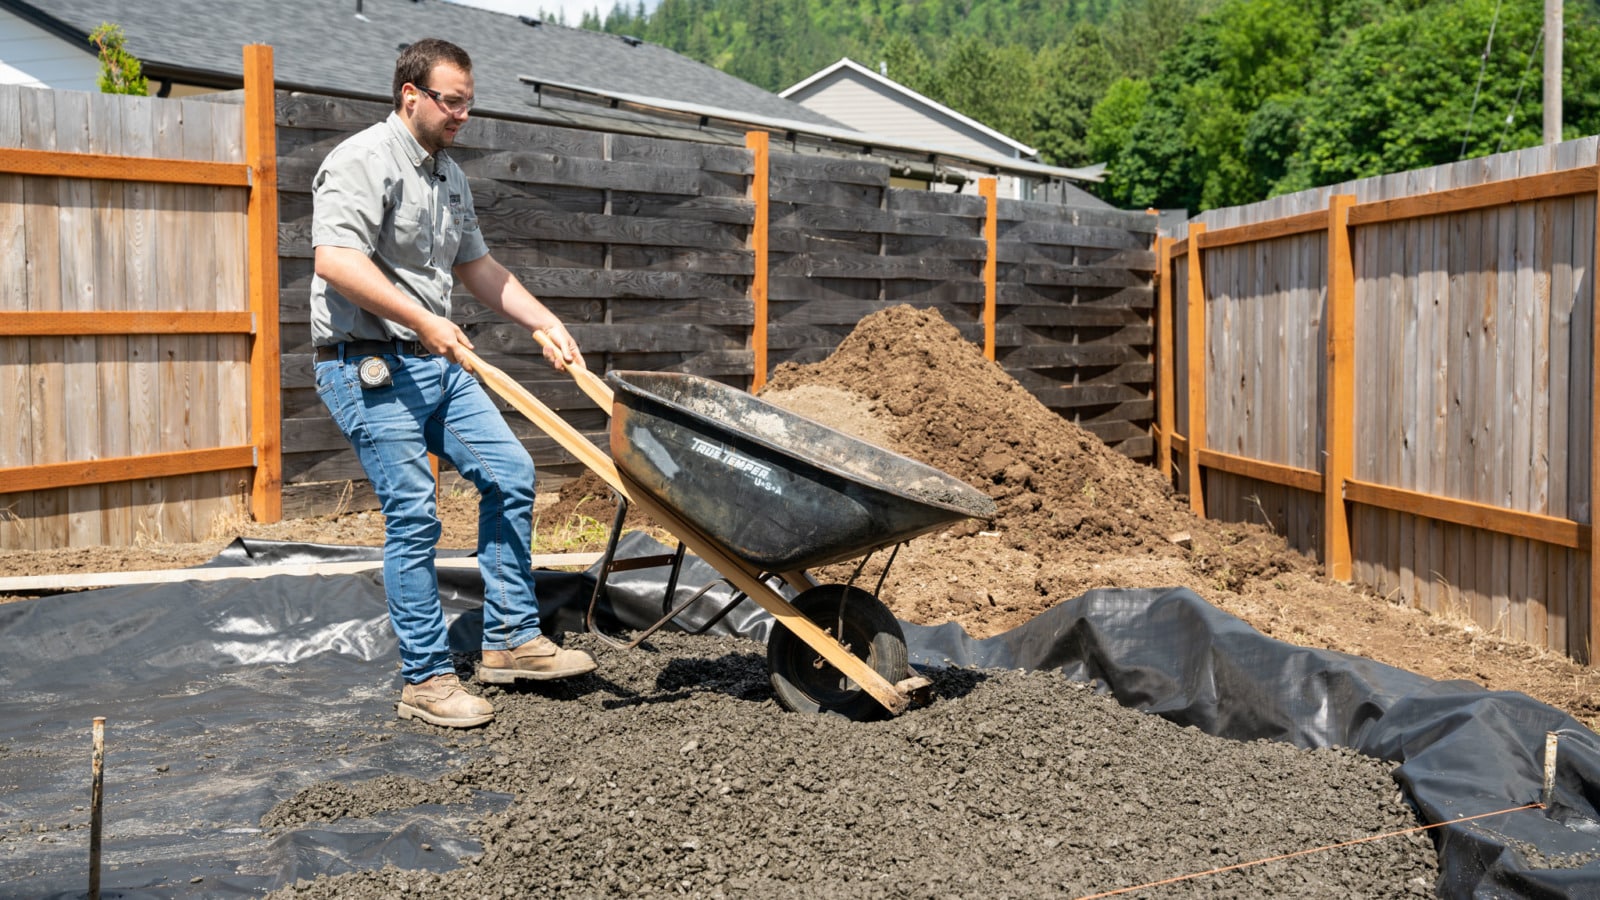
If you want to learn more about properly installing a base, you can watch or read our tutorial How to Prep & Lay a Base for Pavers .
Your gravel base should be nice and flat, and compact. Now you can move on to the next step: screeding your bedding material.
The rule of thumb is to use something 1” like square metal tubing. The type of bedding material we’re using is 1/4″-10 open. It’s crushed, washed river rock that retains zero moisture compared to traditional concrete sand. Screed your material across the gravel, and then you can lay your stones.
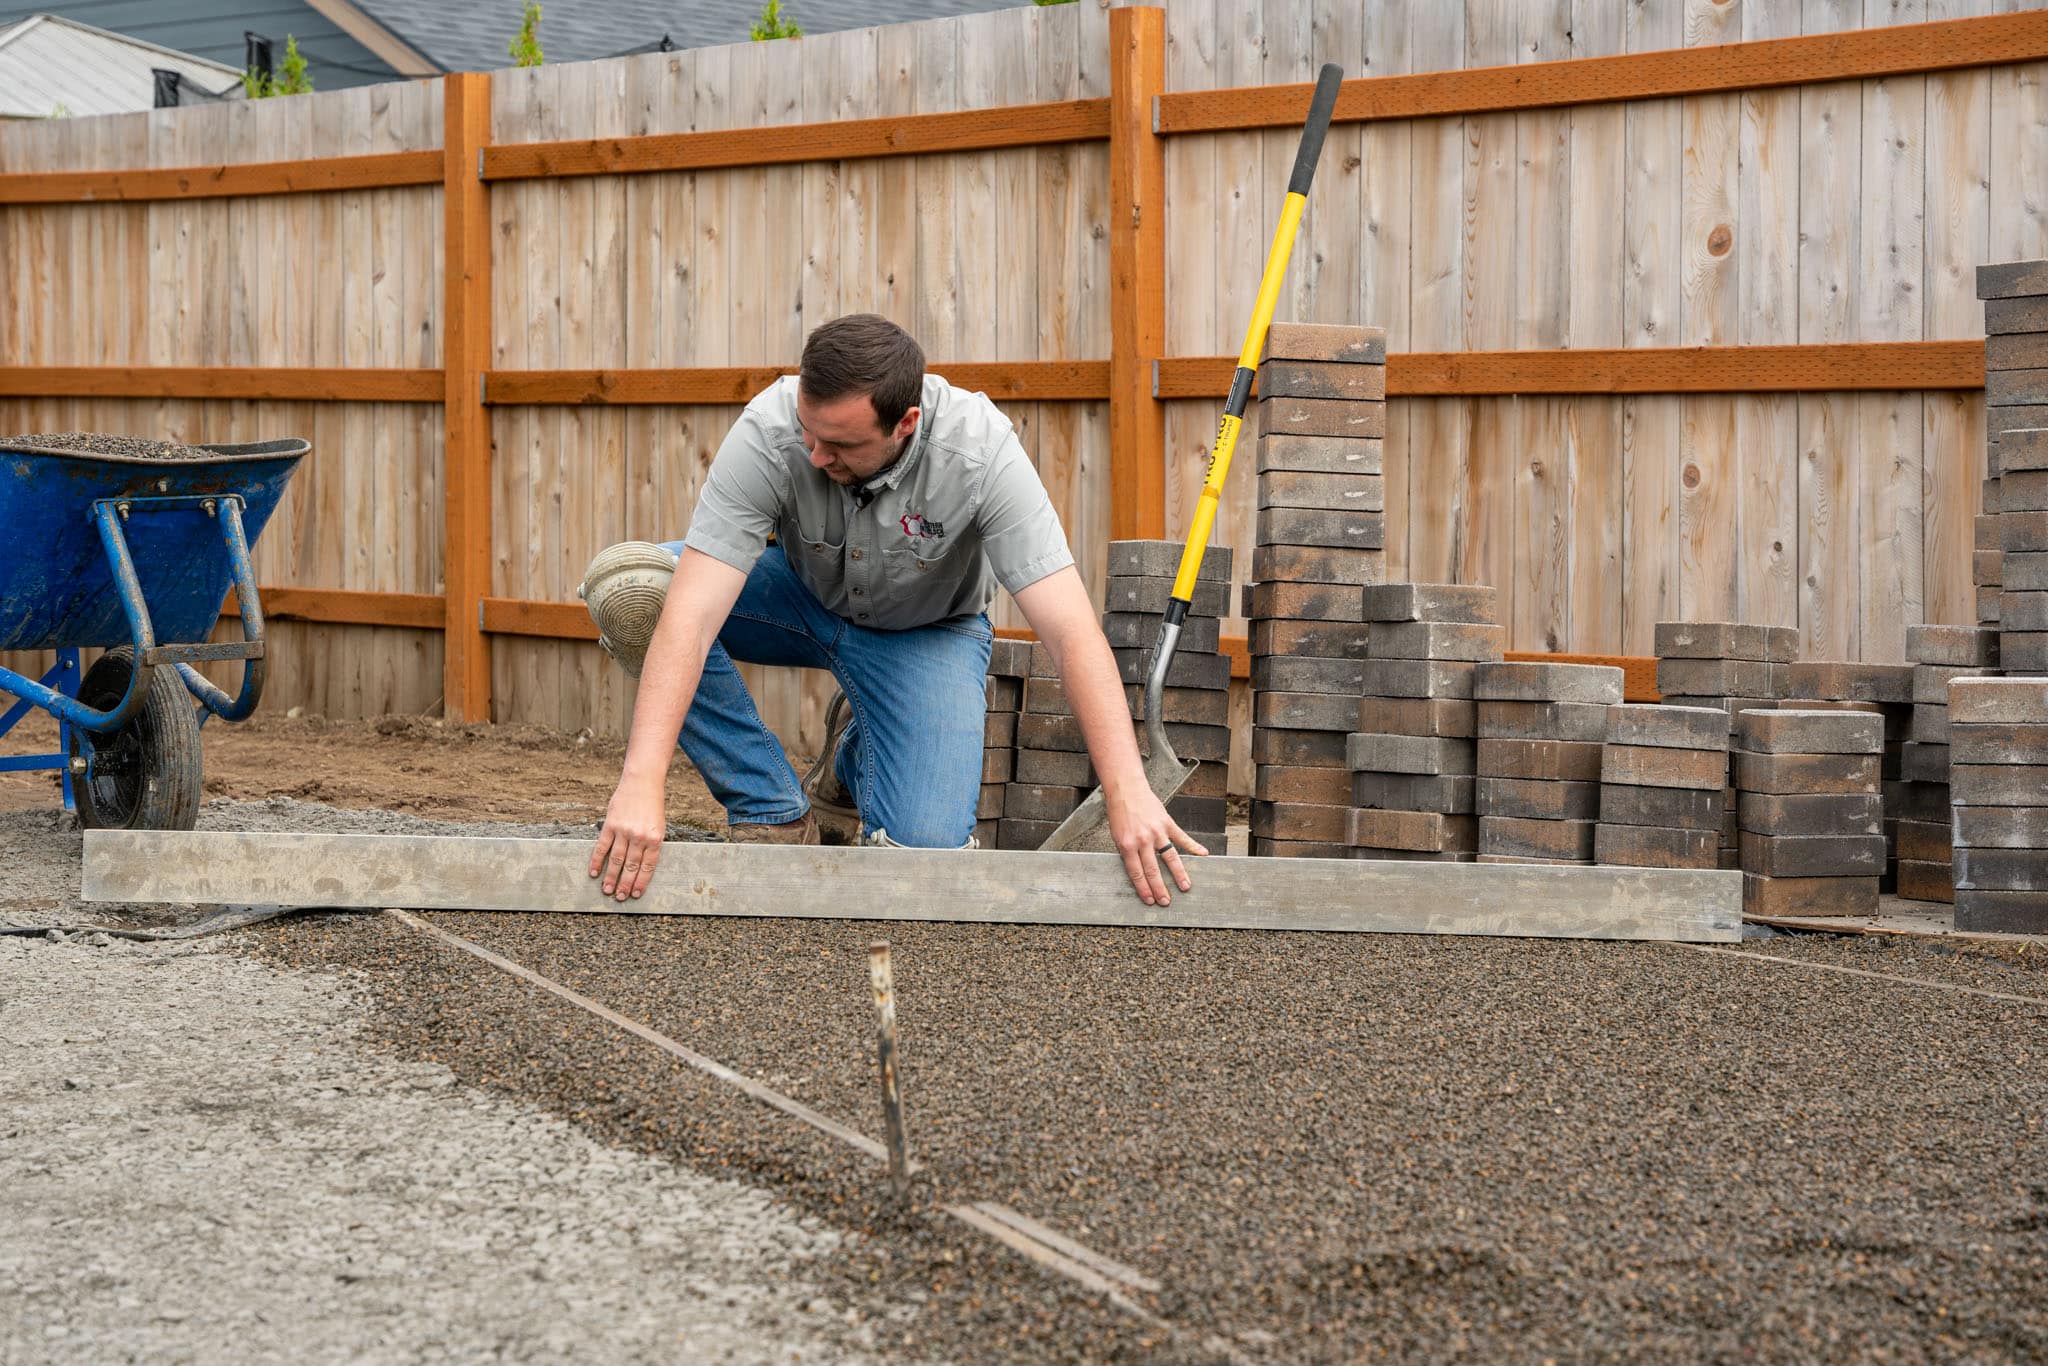
You might have a few voids to fill as you lay your stones. You can easily add extra 1/4″-10 with a trowel wherever needed. When you lay a Rotundo Circle System, you must start from the center and work your way out.
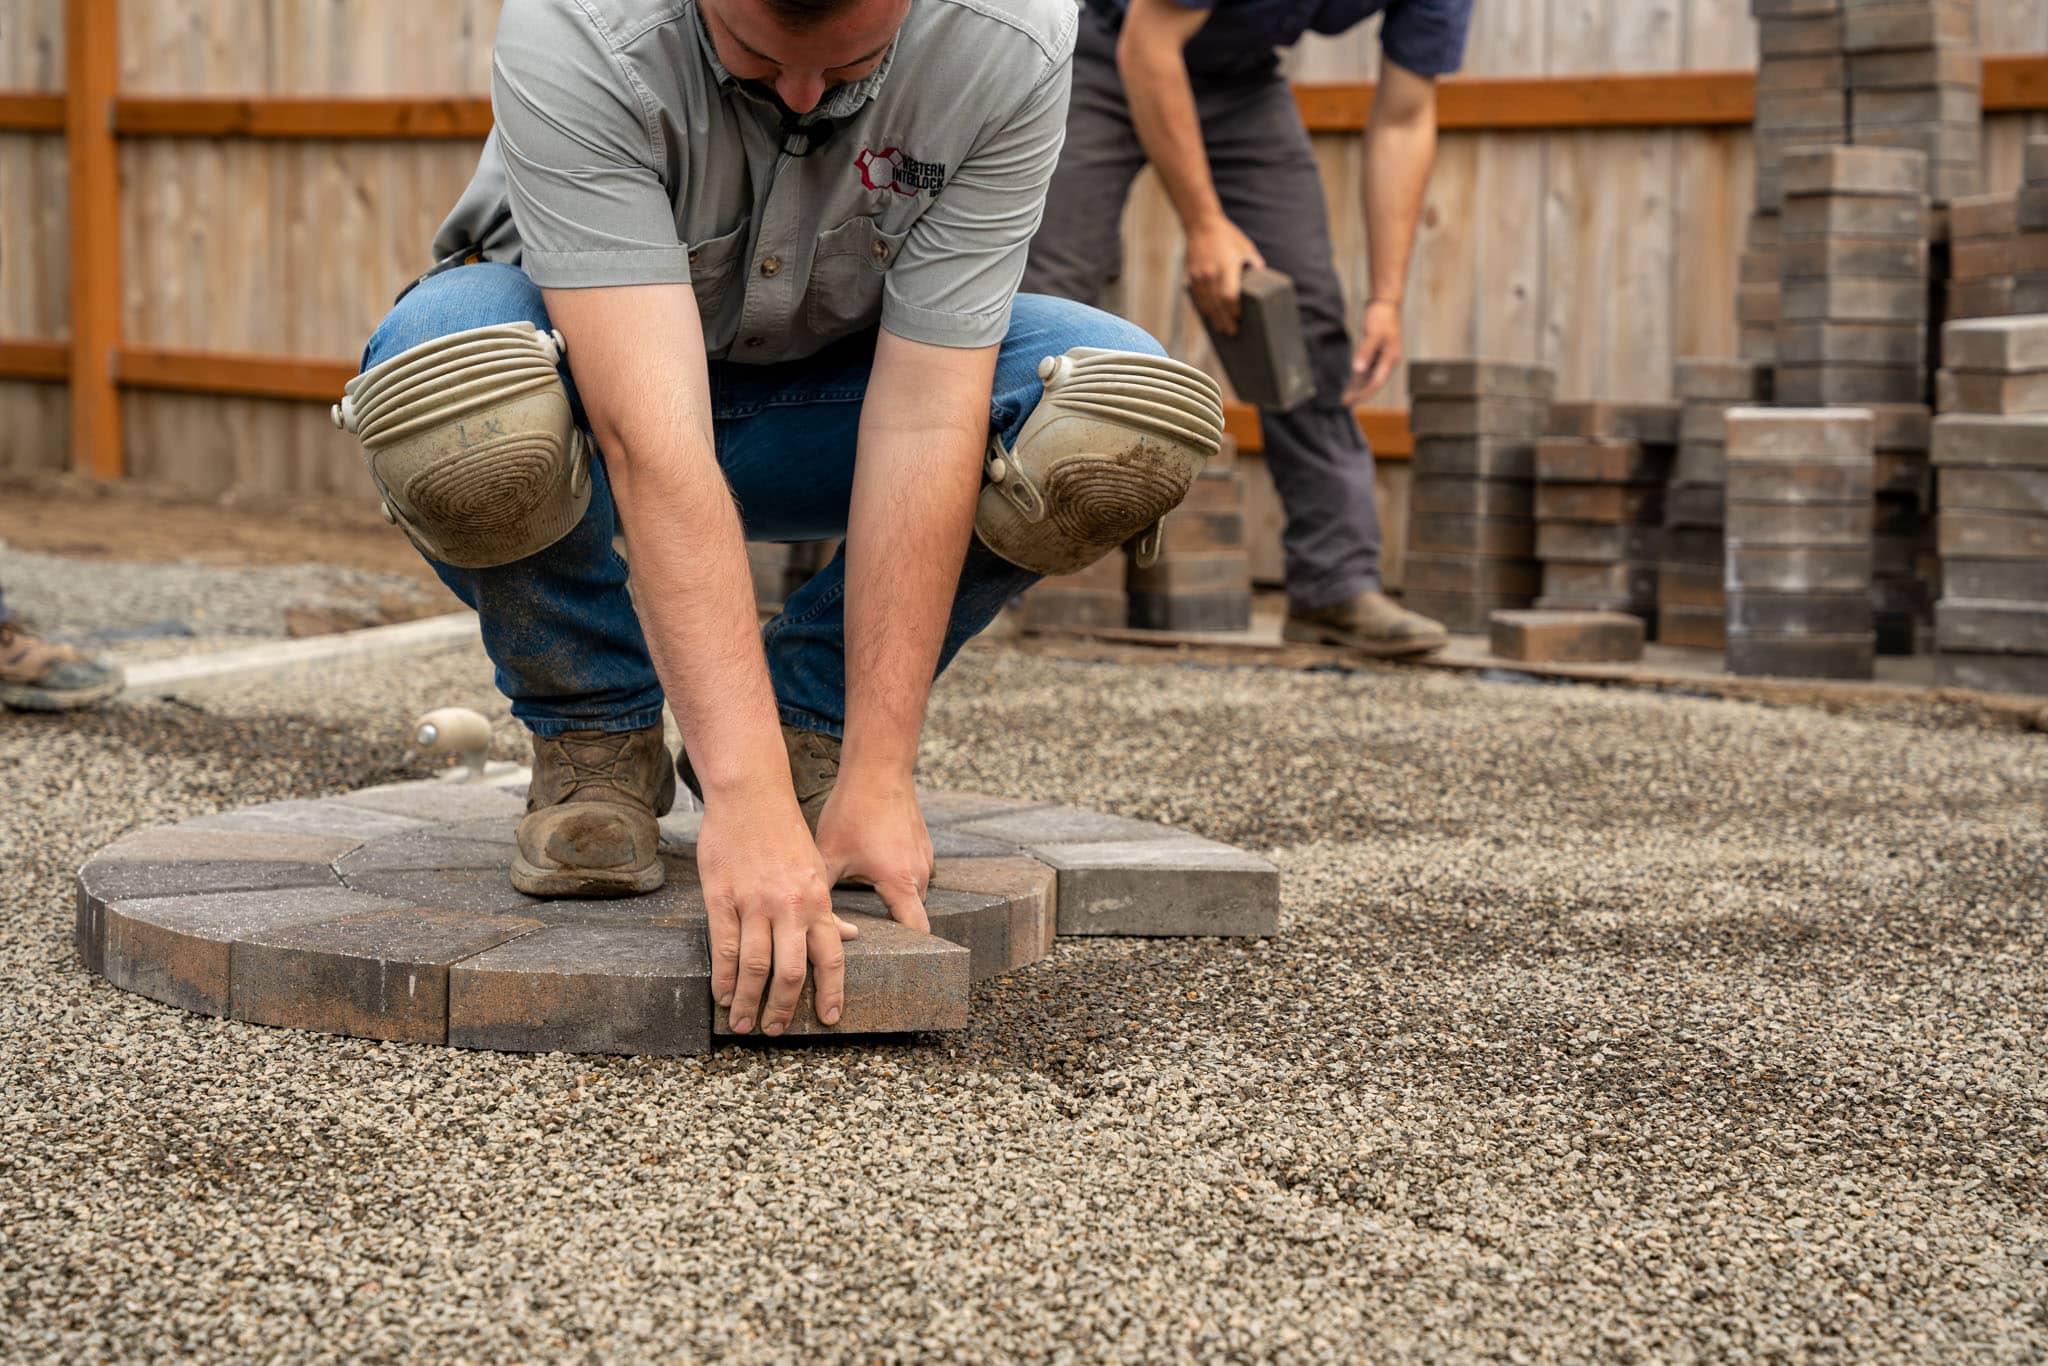
Pluck out your center stake if it’s still there, fill the hole, and place your two center stones where the stake was. Continue working your way out, following the instructions on your pallet tag.
If, for some reason, your pallet tag is missing; you can print an extra one off on the Cobble Rotundo Circle Stone product display page.
After you have laid your 12.5’ circle system, you can put on your edge restraint. We added a ring of border stones around ours, so we put our edge restraint on the outside of that.
The type of edge restraint we’re using is called Perma Edge. It’s a flexible concrete that’s bonded together with fibers, and it’s made to be low profile. We scraped our bedding layer before applying our edge restraint about 4” wide.
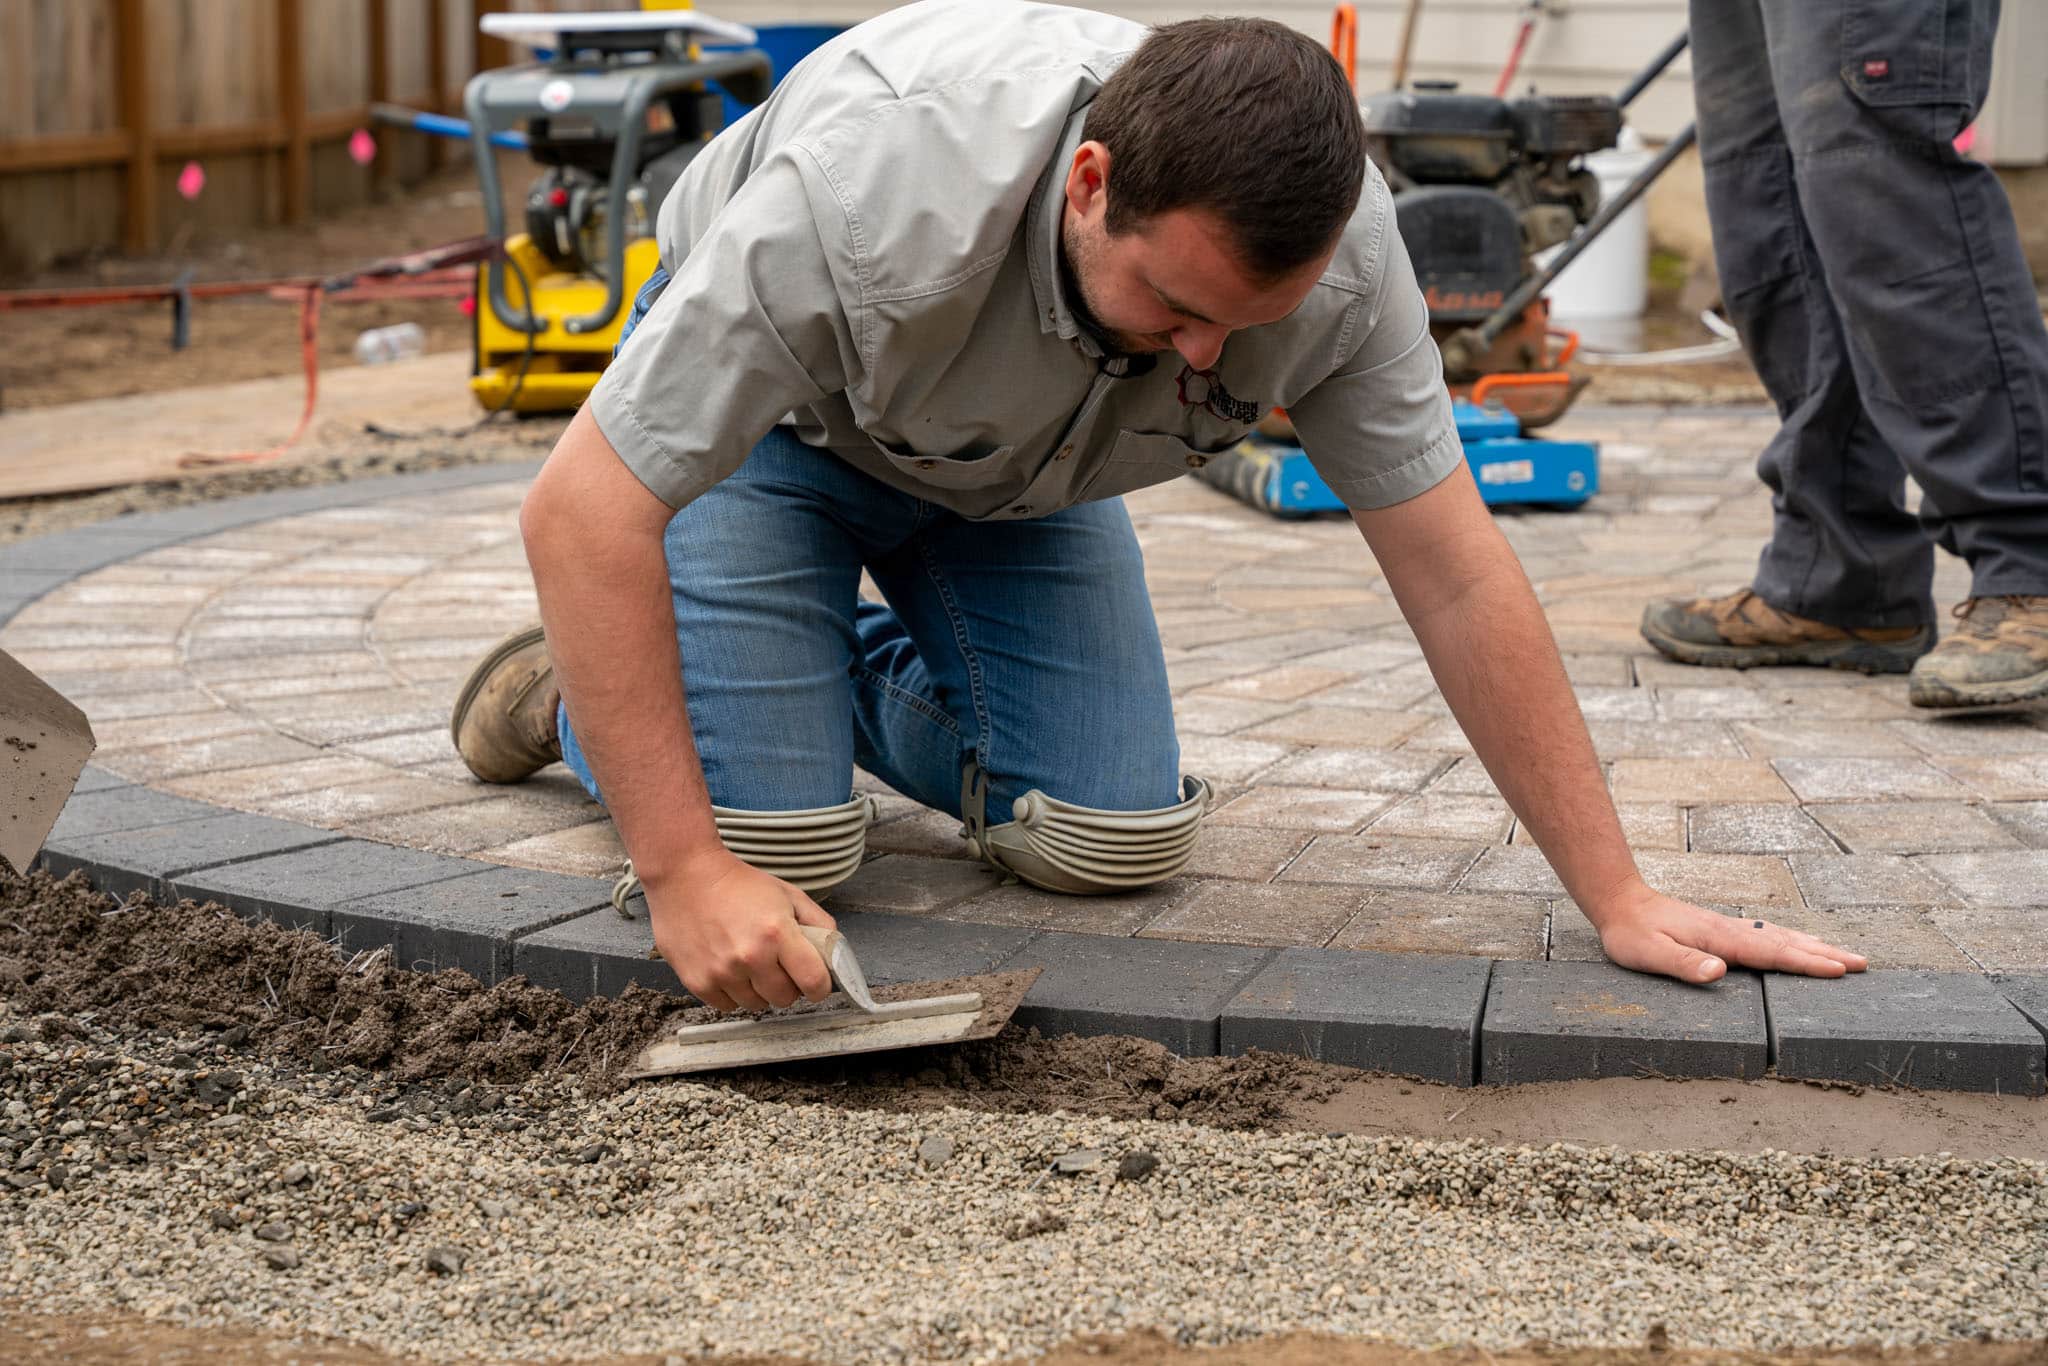
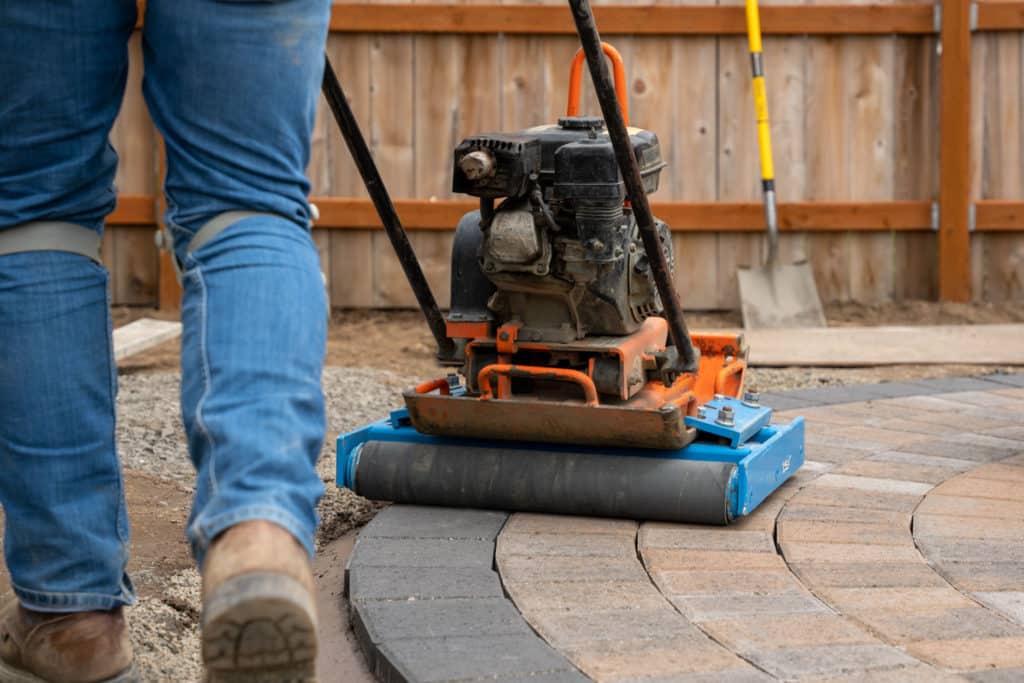
Once you’ve put the edge restraint around our whole circle, compact your stones with a plate compactor. For this type of stone, you could use a traditional plate compactor. We always have a roller attachment attached to our clay compactor if we need to do textured stones. It also helps reduce chips so that they won’t hurt anything.
So typically, after you put in your edge restraint, you will start sweeping in your joint sand. But for this project, we have a fire pit in the center of our patio. Pluck out the center in our first ring with a paver puller.
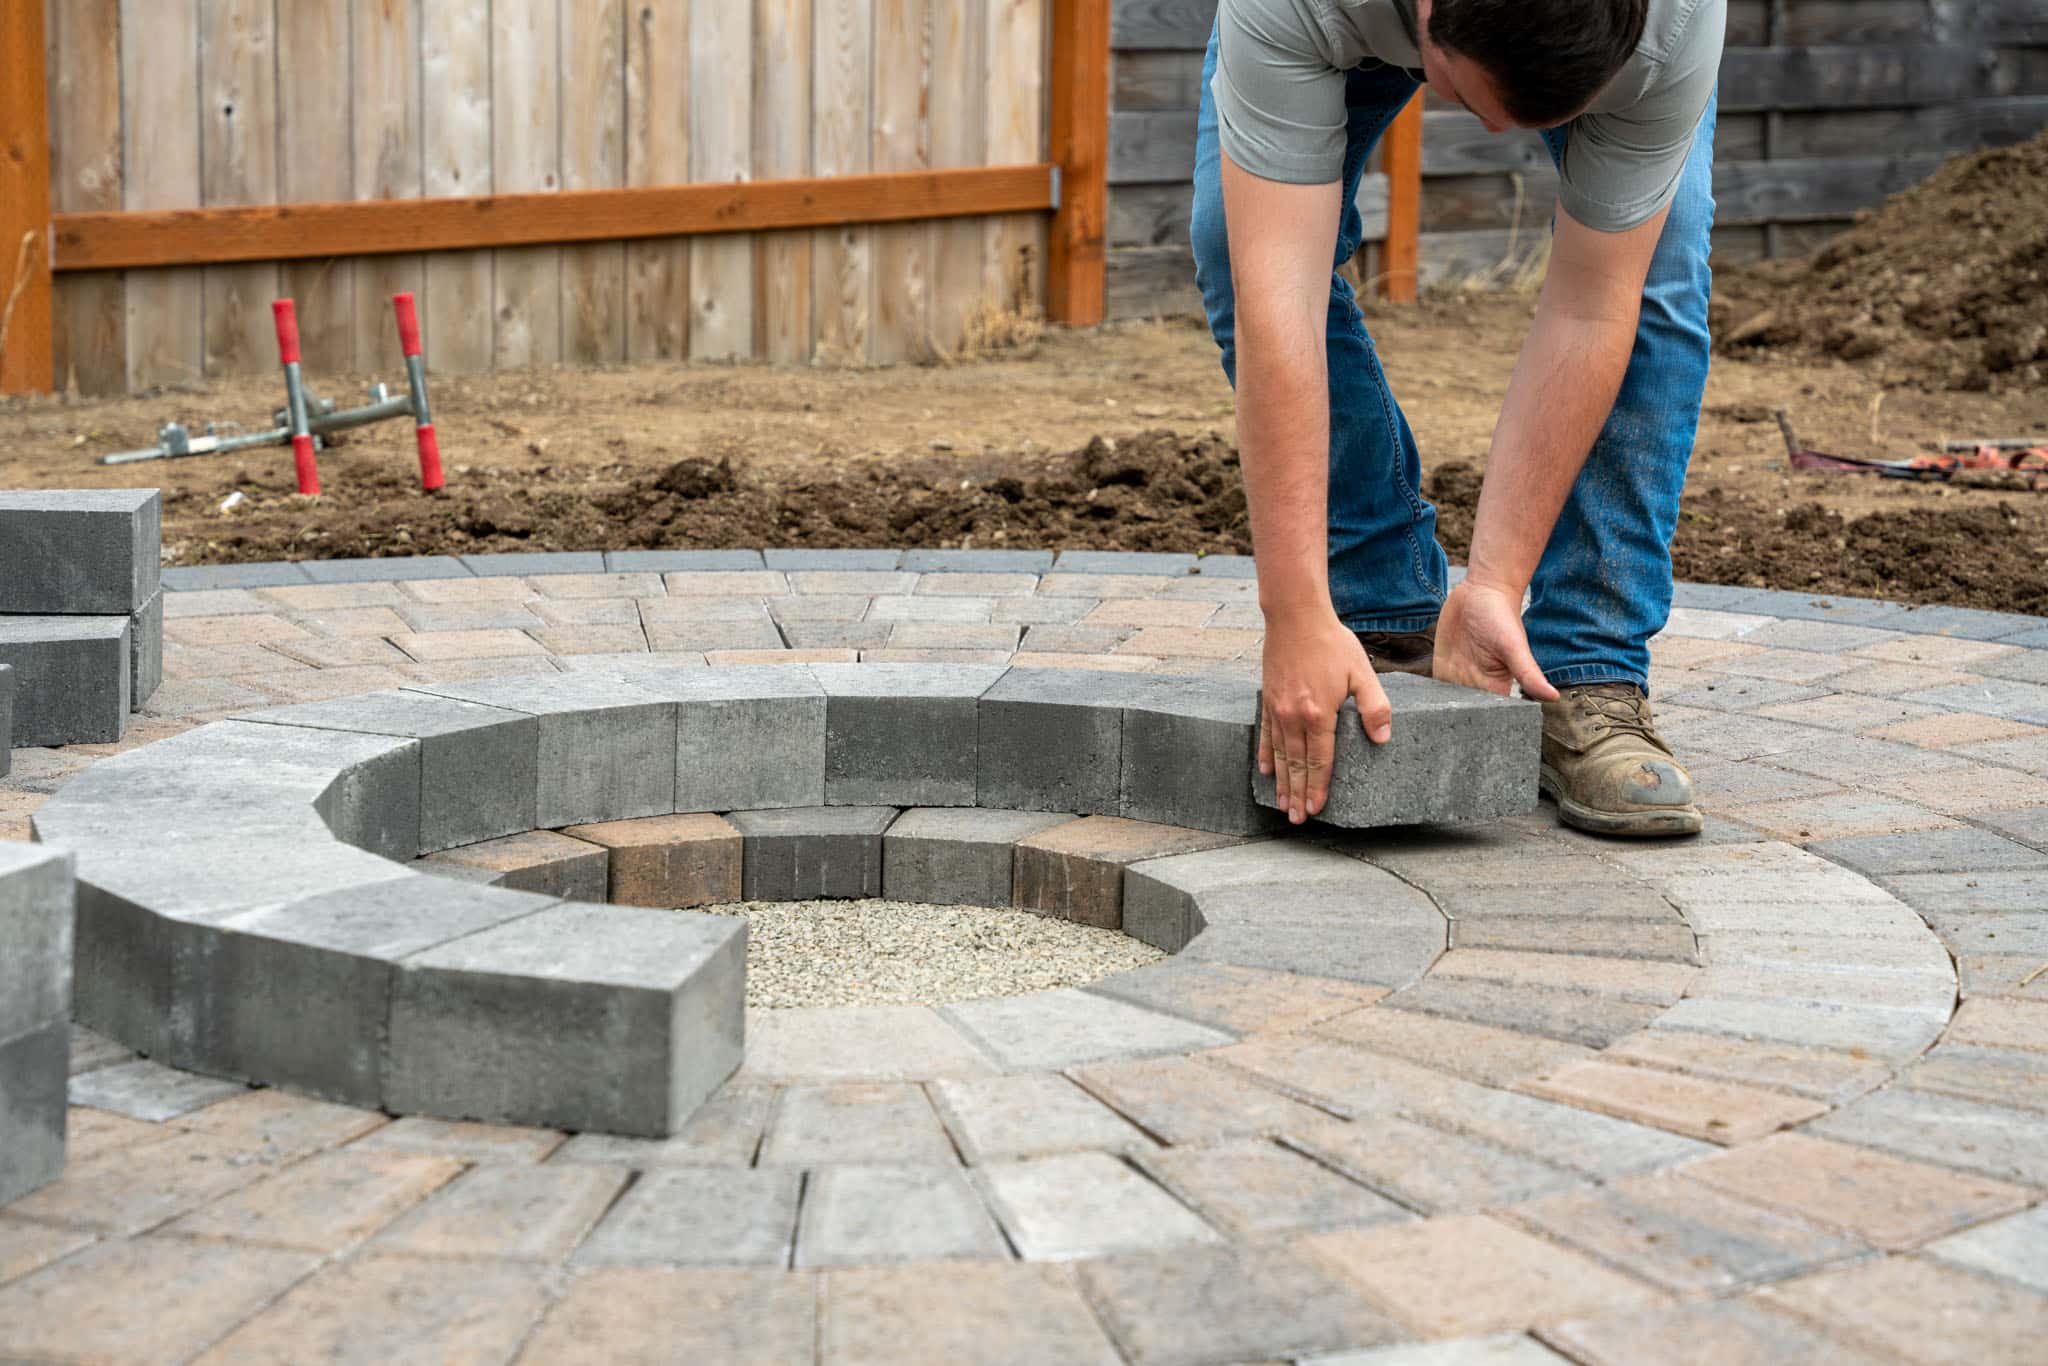
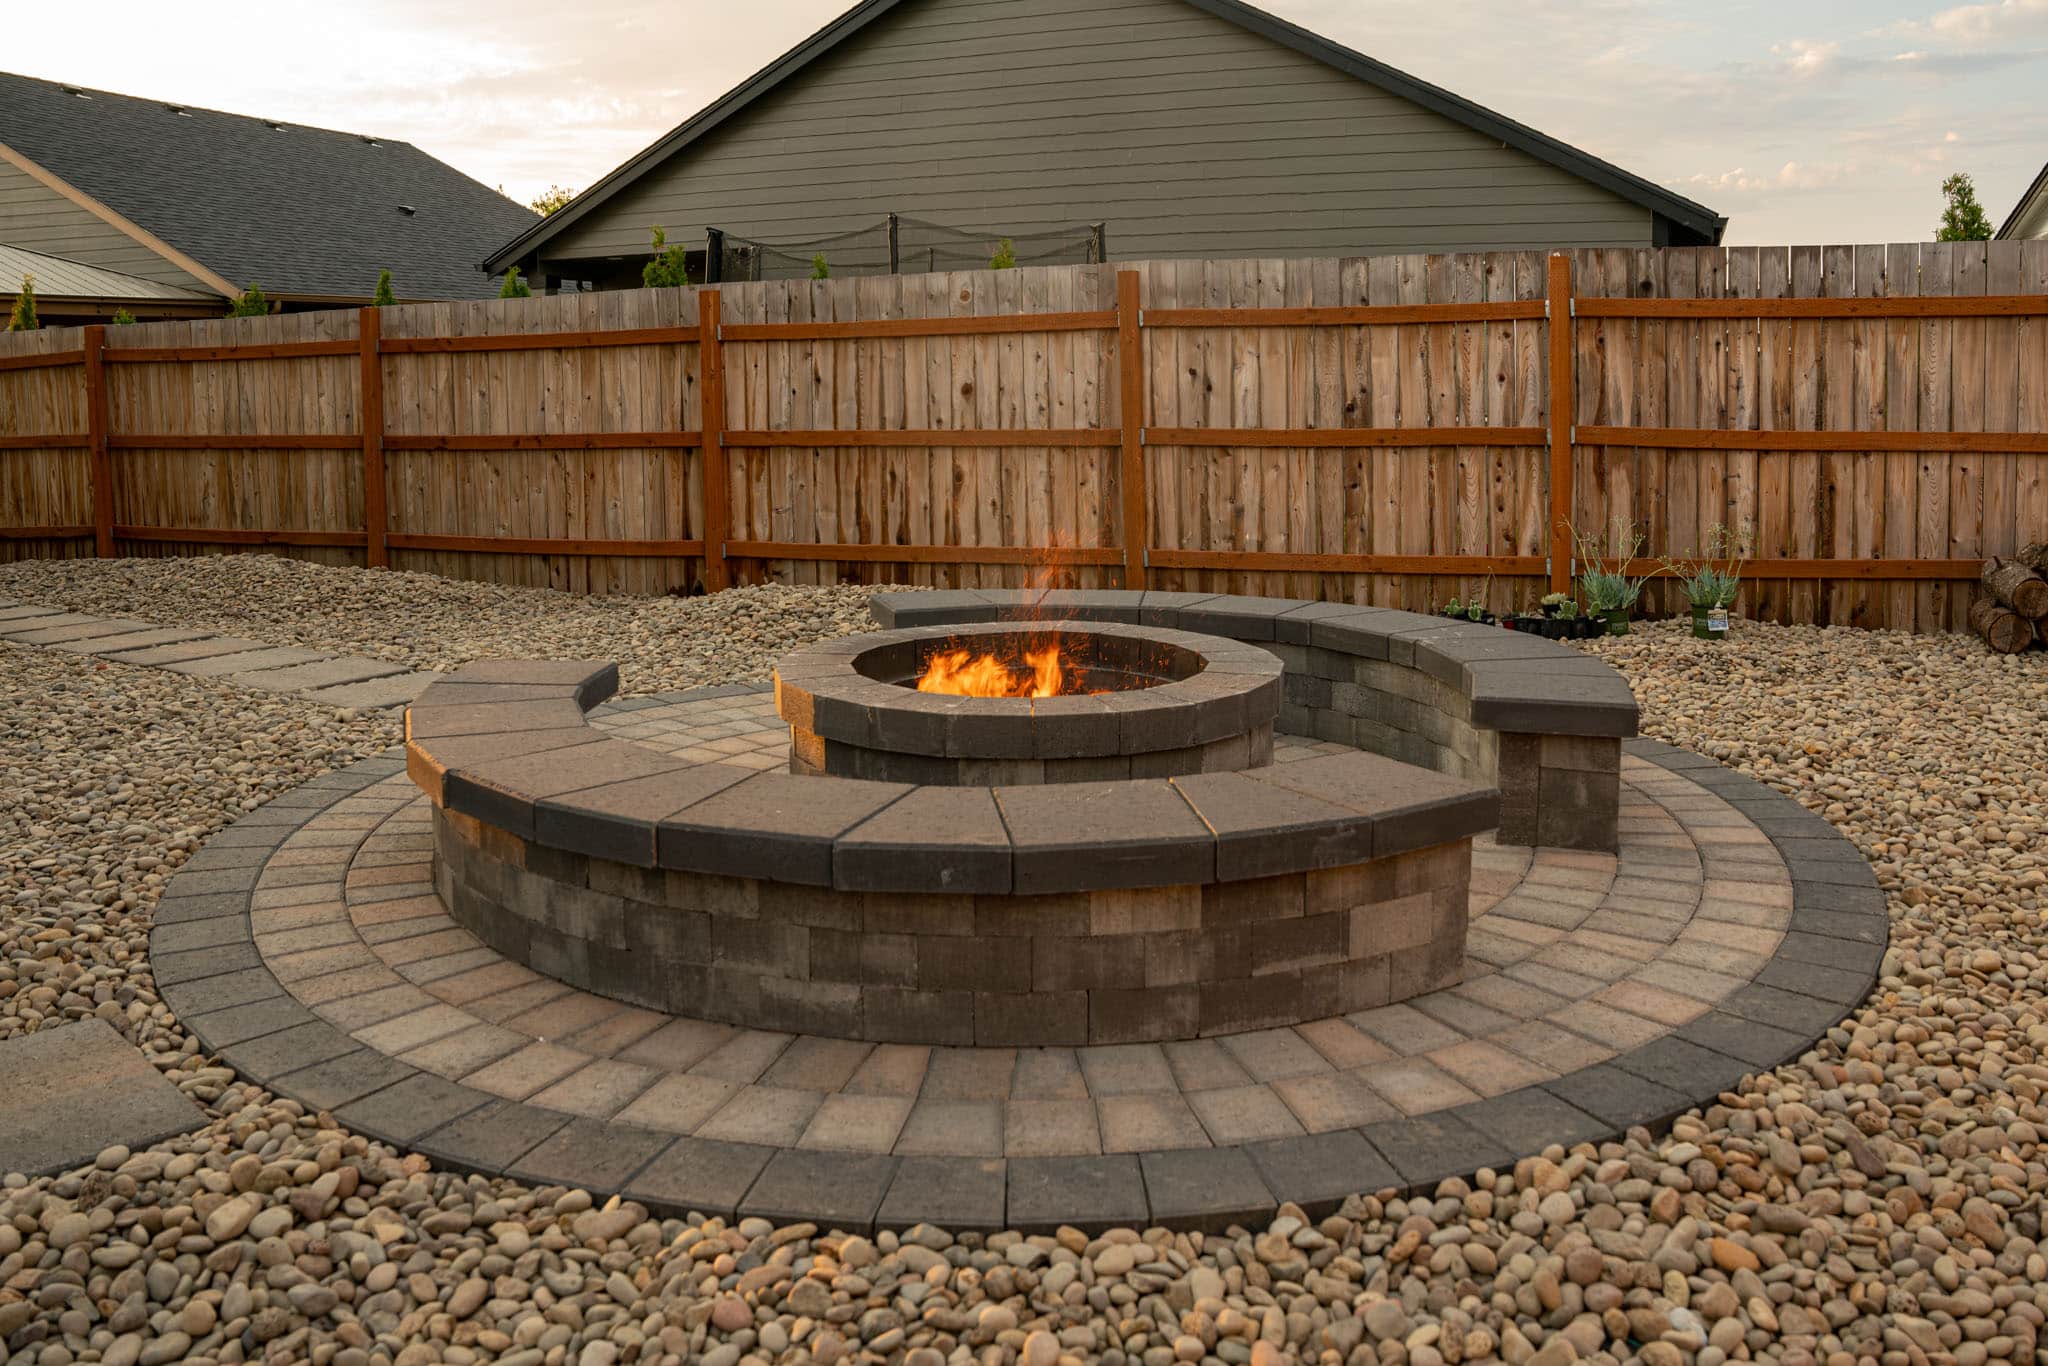
Then, lay your Chateau fire pit, which has a 50” outside diameter, right on top of the second ring, and then glue it to your pavers for stability. We’re going to build this one to about 16” tall.
If you want to learn more about laying a circle fire pit, you can watch or read our tutorial How to Build a Stone Fire Pit in Your Backyard .
Lastly, with your fire pit complete, sweep in your joint sand and landscape around the project. This is the last step in the process. Enjoy your outdoor oasis!
If you are excited to jump into your DIY paver project but wish you had someone you could tap into for guidance, we have just the thing for you. Download our free Project Planning Guide, which will walk you through everything you need to know to get started.
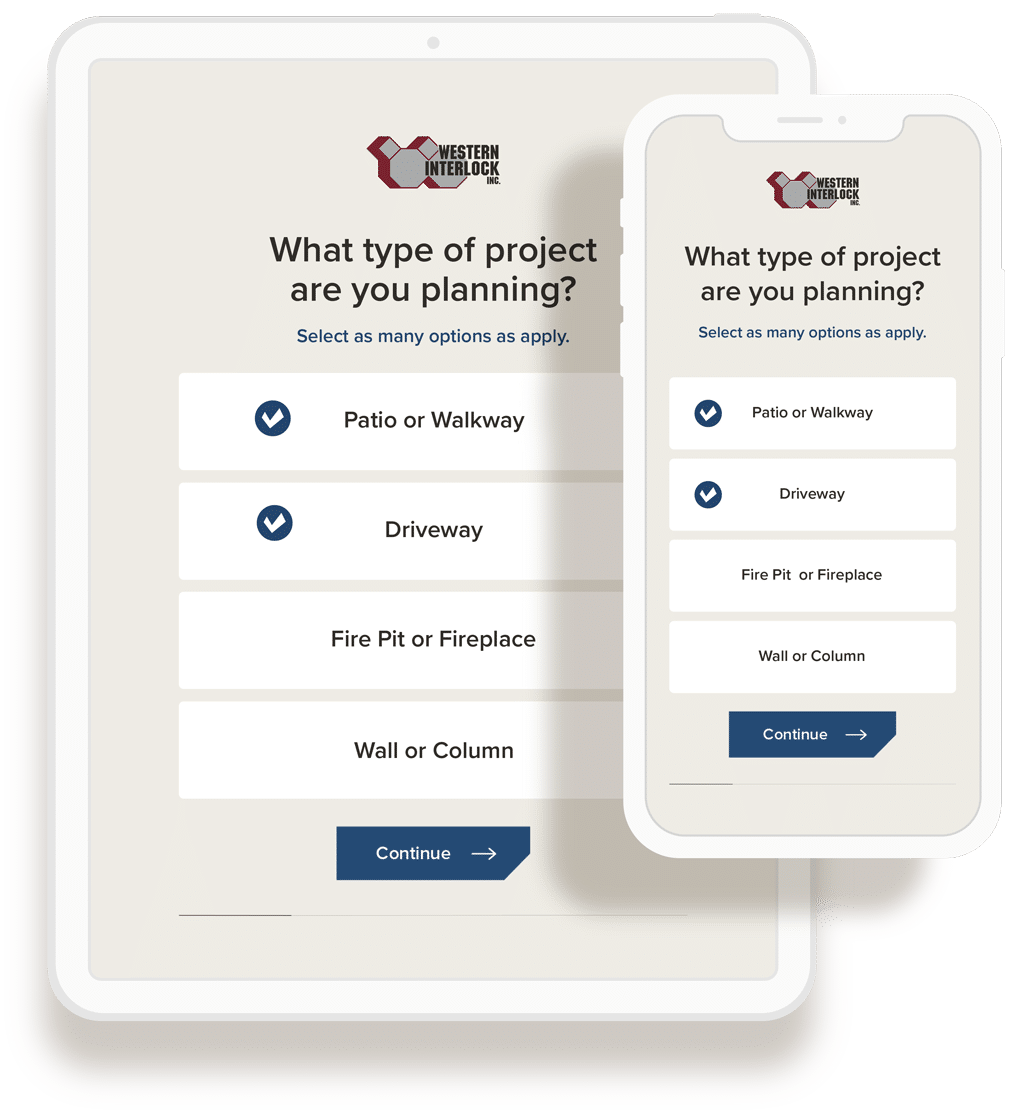
Choosing a paver can sure feel overwhelming. You have to consider size, style, thickness, color, and more. That’s why we made a short and simple quiz that asks a few questions about what you’re looking for and, at the end, provides a recommendation, or two, you can start with.
Learn More