Get our FREE Project Planning Guide
"*" indicates required fields
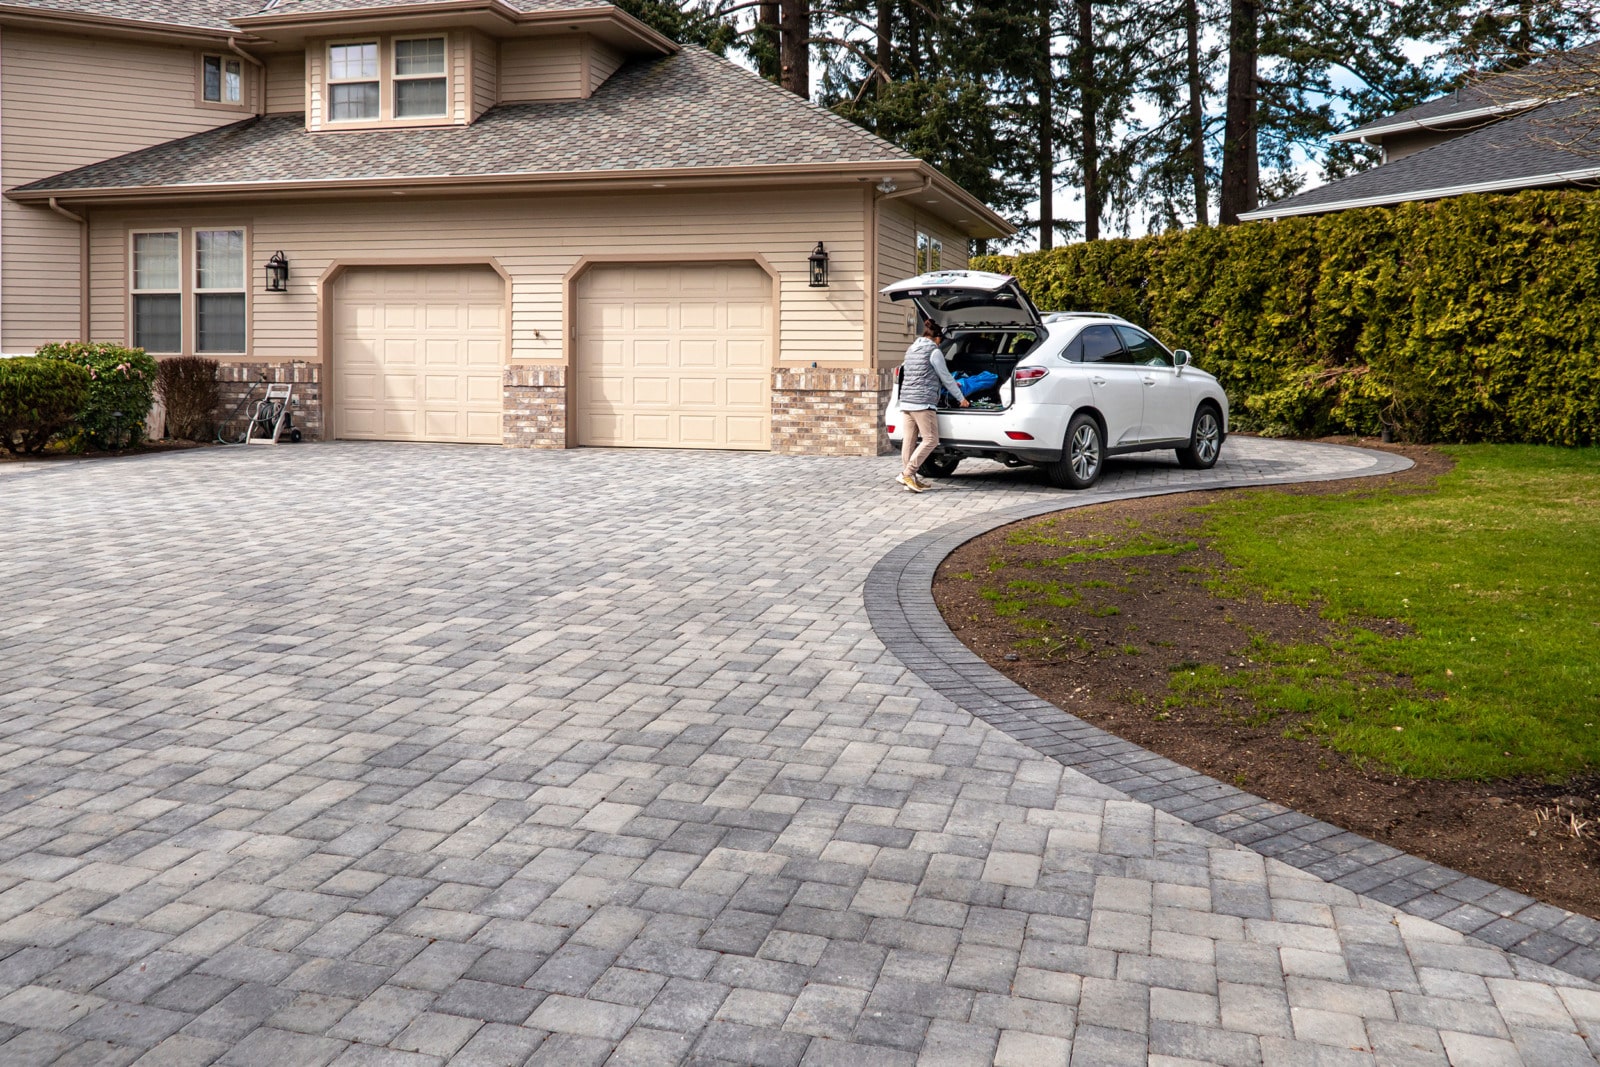
Are you getting ready to install a new driveway or garage floor out of pavers? You may be wondering what edging material you can use to maximize the strength and longevity of your paver installation. We highly recommend using PermaEdge for its quality and ease of application.
Here at WI, we are committed to equipping you with the products and resources you need to install beautiful pavers. In this blog post, we look at the steps to installing PermaEdge as an edge restraint for your paver project.
1. Lay biaxial geogrid
Typically, in a pedestrian application, PermaEdge is just troweled on the outside edge of your paving stones. However, in an area that will receive vehicular traffic, the process should actually start at the gravel base.
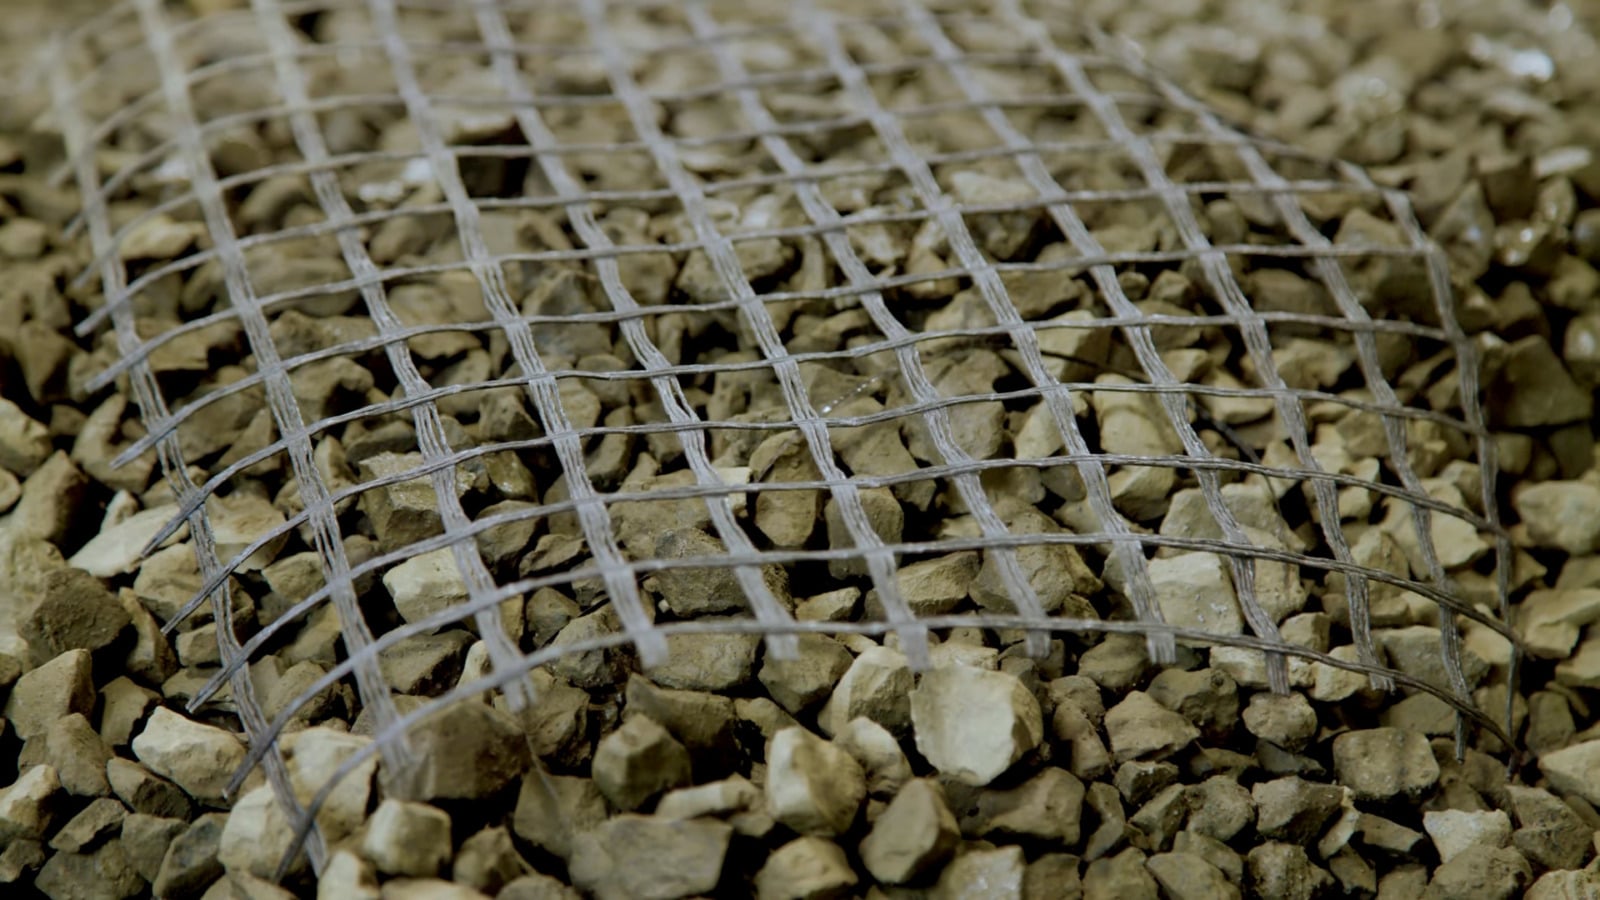
Once your gravel base is completed, you should lay down two feet of biaxial geogrid before you bring in your bedding material. This will help reinforce the entire area where you are laying hardscape. With the tensile strength and extra interlock the geogrid provides, pulling a vehicle along the edge of your paver driveway will pull the edge of strength toward the vehicle and make the entire driveway or area much stronger.
You need two feet of biaxial geogrid. You should have 18 inches underneath the field and edge of your paving stones, and six inches beyond the outside edge so that your PermaEdge can be troweled on top.
2. Lay your pavers
Once you have laid the biaxial geogrid, go ahead and lay and level your bedding. After your bedding is evenly laid, carefully lay your pavers and tamp them down as you typically would with any other paver installation.
3. Remove excess bedding
After the entire field has been laid and cut in, you are ready to move to the next step of installing PermaEdge as your paver edge restraint.
First, remove your excess bedding material. One of the most common mistakes we see with any paver project is that people fail to remove their excess bedding material and put their edge restraint right on top. When this happens, you will likely have issues with your pavers moving and bedding washing out.
To prevent problems with excess bedding, scrape away the excess bedding with a trowel or flat shovel. Whether it is concrete sand bedding or quarter ten crushed stone, you need to expose the gravel and the geogrid to apply PermaEdge.

4. Mix your PermaEdge
Once your excess bedding material has been removed, you can mix your PermaEdge.
Dump the material from the PermaEdge bucket into your wheelbarrow. Combine one bucket of PermaEdge mix with one gallon of water. Mix it until you don’t see any more dry parts, and then you can move on to troweling that PermaEdge.
5. Apply the PermaEdge
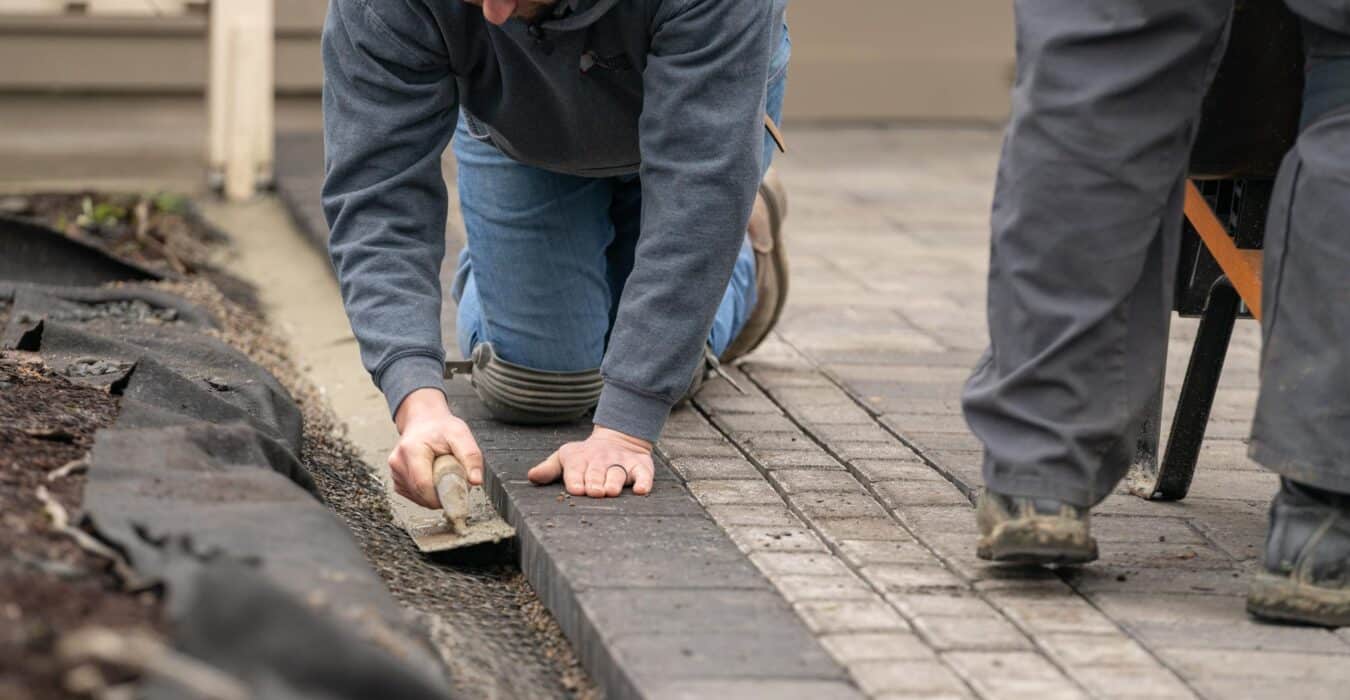
Once the mixture is ready, use your trowel to apply the PermaEdge to the edge of your project. Depending on the size of the paving stone, you always want to apply the mix about one-third of the thickness of the paving stone and four inches wide. If you go too long or too high with the PermaEdge, it will not perform the same—so stick to about four inches wide and a third of the way up on the paving stone for the best performance possible.
Use a trowel to press the PermaEdge mix neatly and tightly against the pavers.
6. Compact the pavers
PermaEdge is designed to be compacted as soon as it is troweled. As soon as you have applied it, move on to compaction. We recommend using a vibratory roller because it reduces damage to paving stones but gives us the best compaction possible.
If you see any separating or cracking of the PermaEdge while it is still wet, simply take a trowel and touch it up after the compaction.
7. Explore additional resources
Check out our DIY with WI page for access to tutorials, guides, and more. If you’re ready to get started today with the hardscape process, click here to check out our selection of paving stones. Our team will be happy to assist you with any questions or personalized advice you need for your edging or any other part of your project.
Get our FREE Project Planning Guide
Tell us where to send it and we’ll email the backyard planning guide to you right away!
"*" indicates required fields


