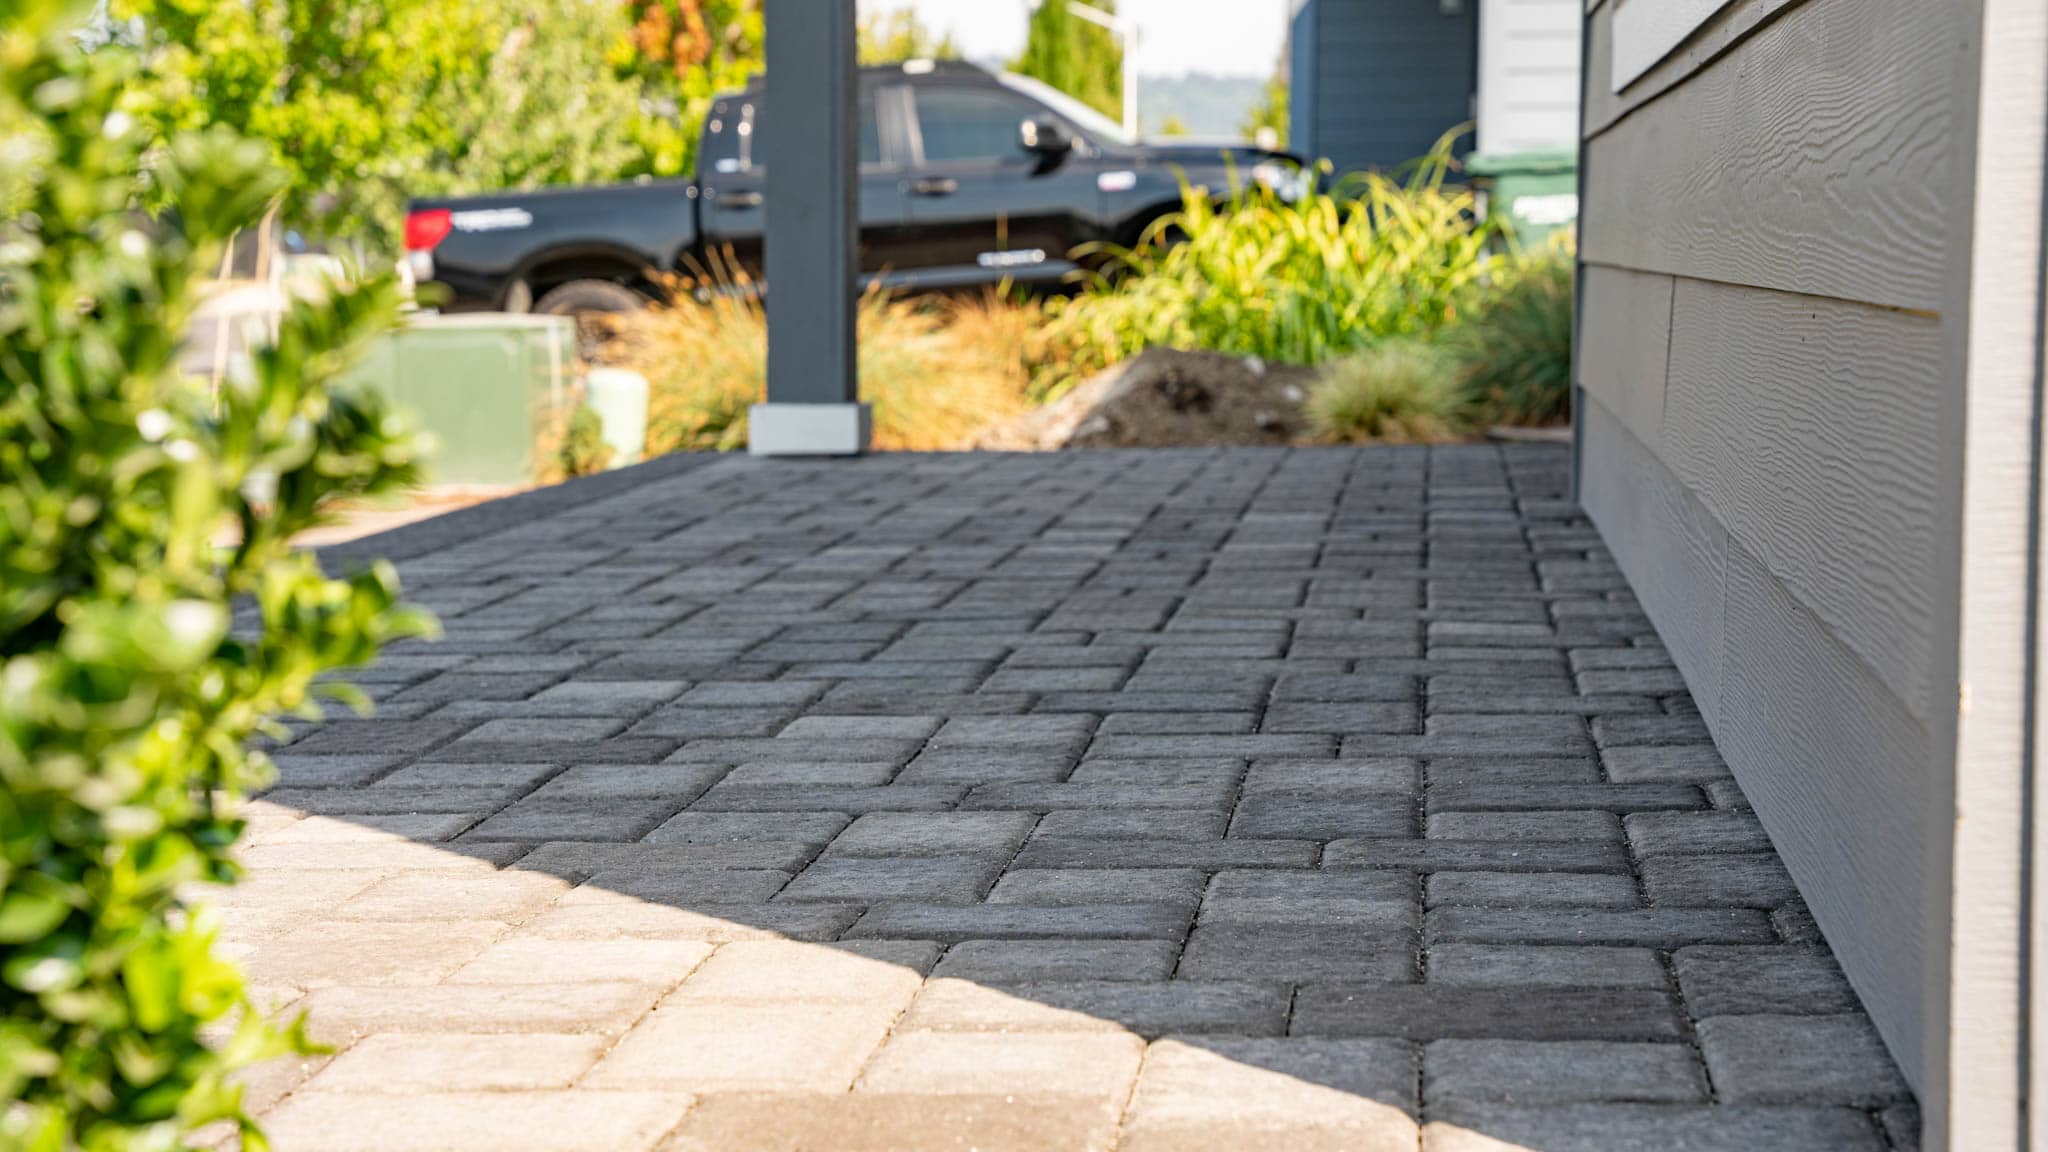
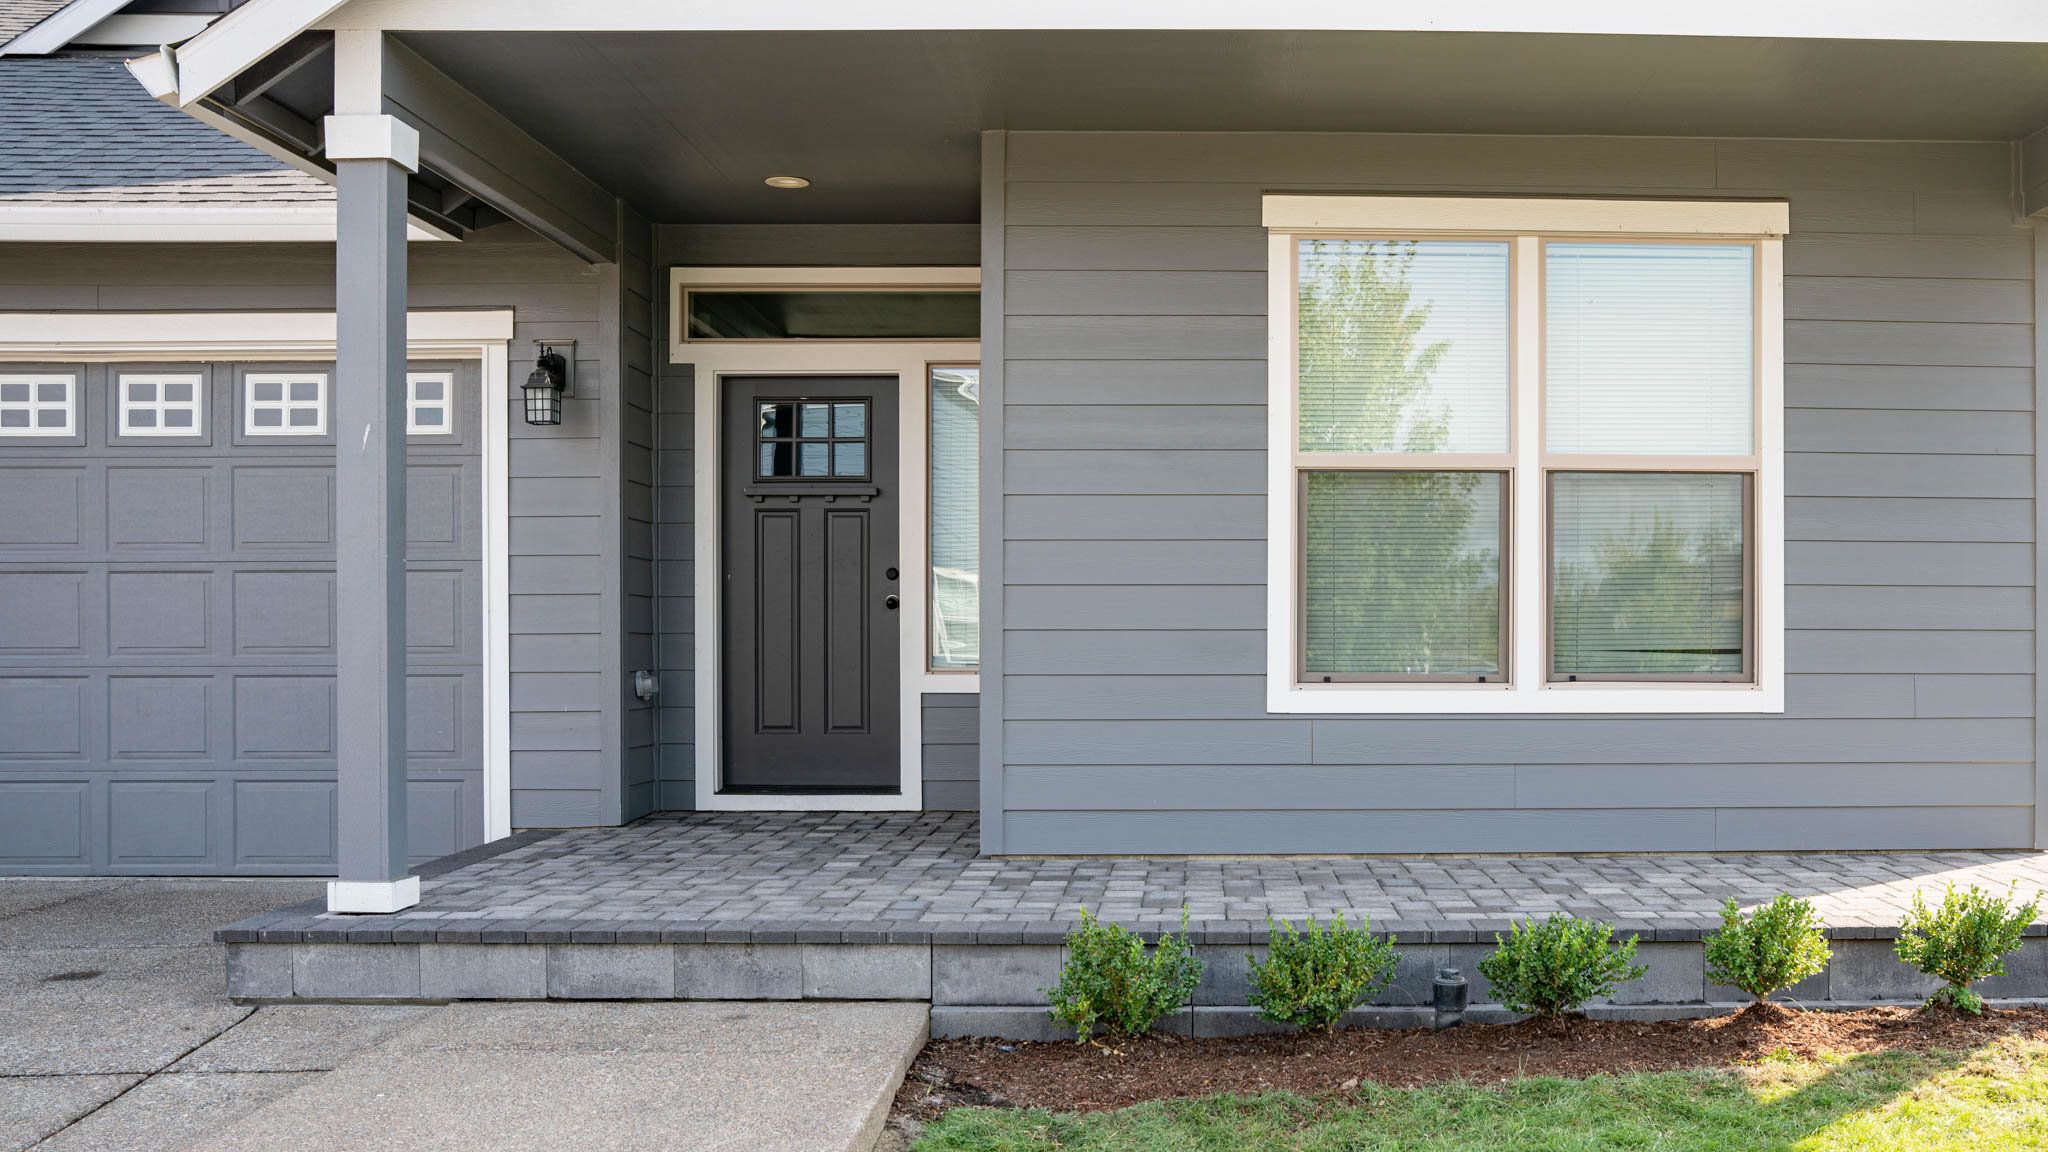
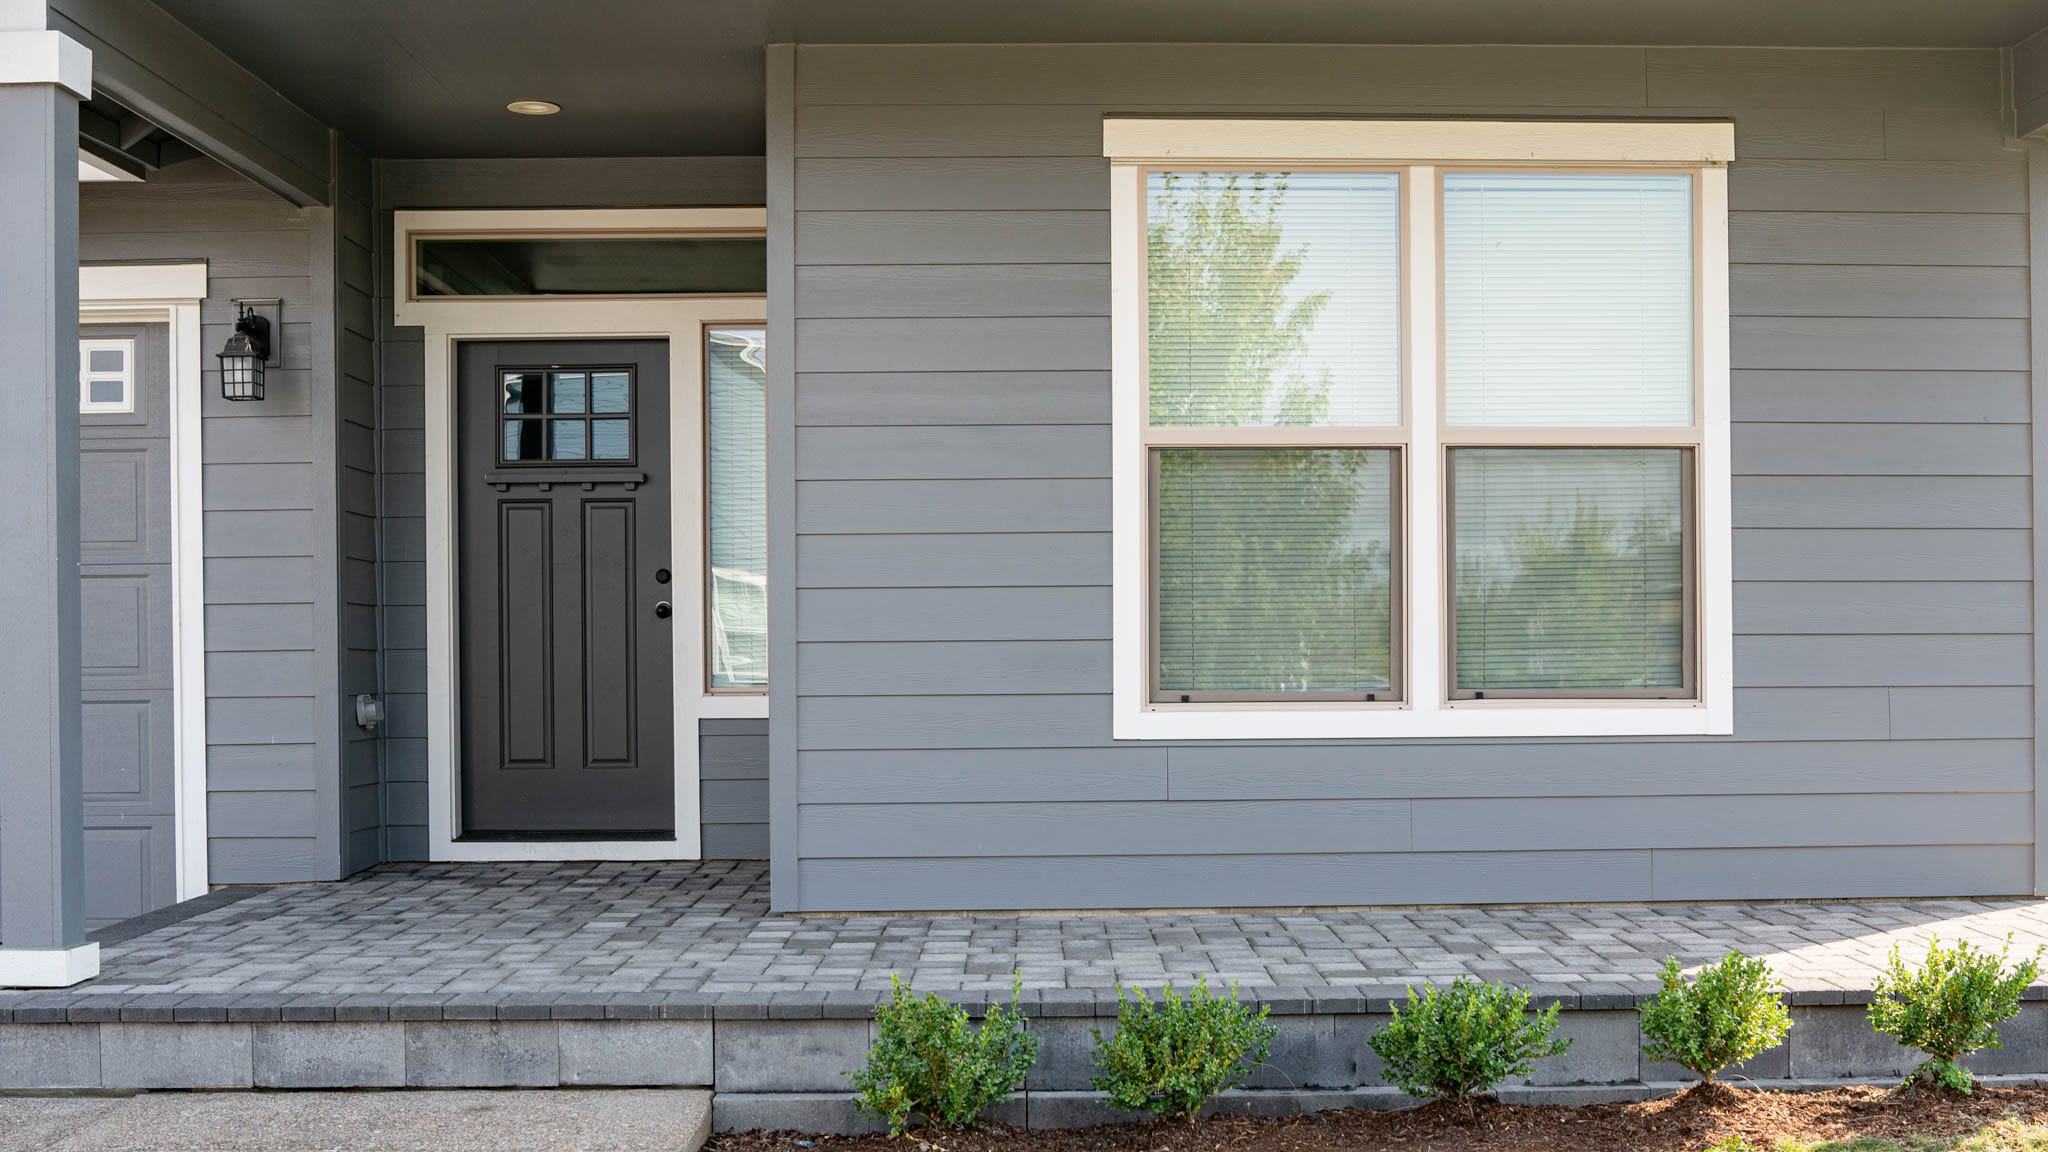
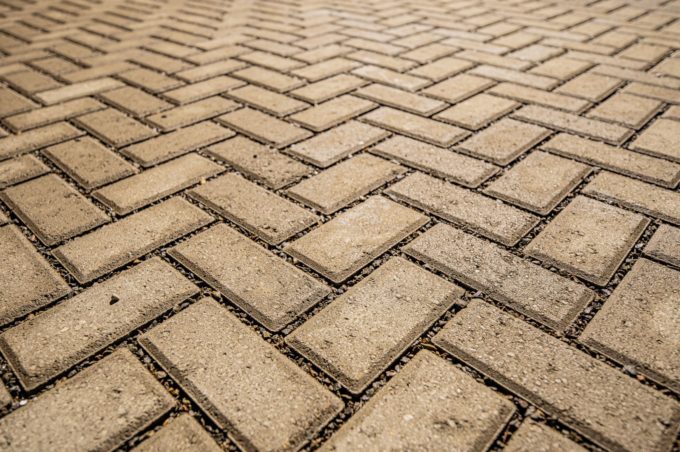
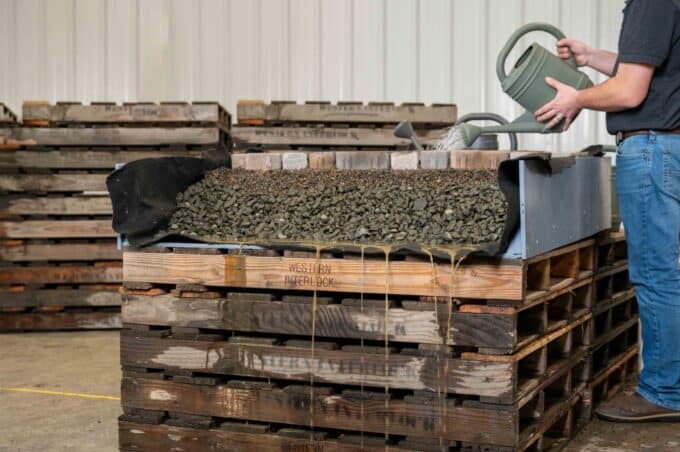
When you want to learn how to lay pavers over concrete, you’ve come to the right place. This article will show you step-by-step how to dress up an old, cracked, or unwanted concrete patio by covering it with nice, eye-appealing pavers.
You’ll want to consider a couple of things when doing a paver overlay on concrete.
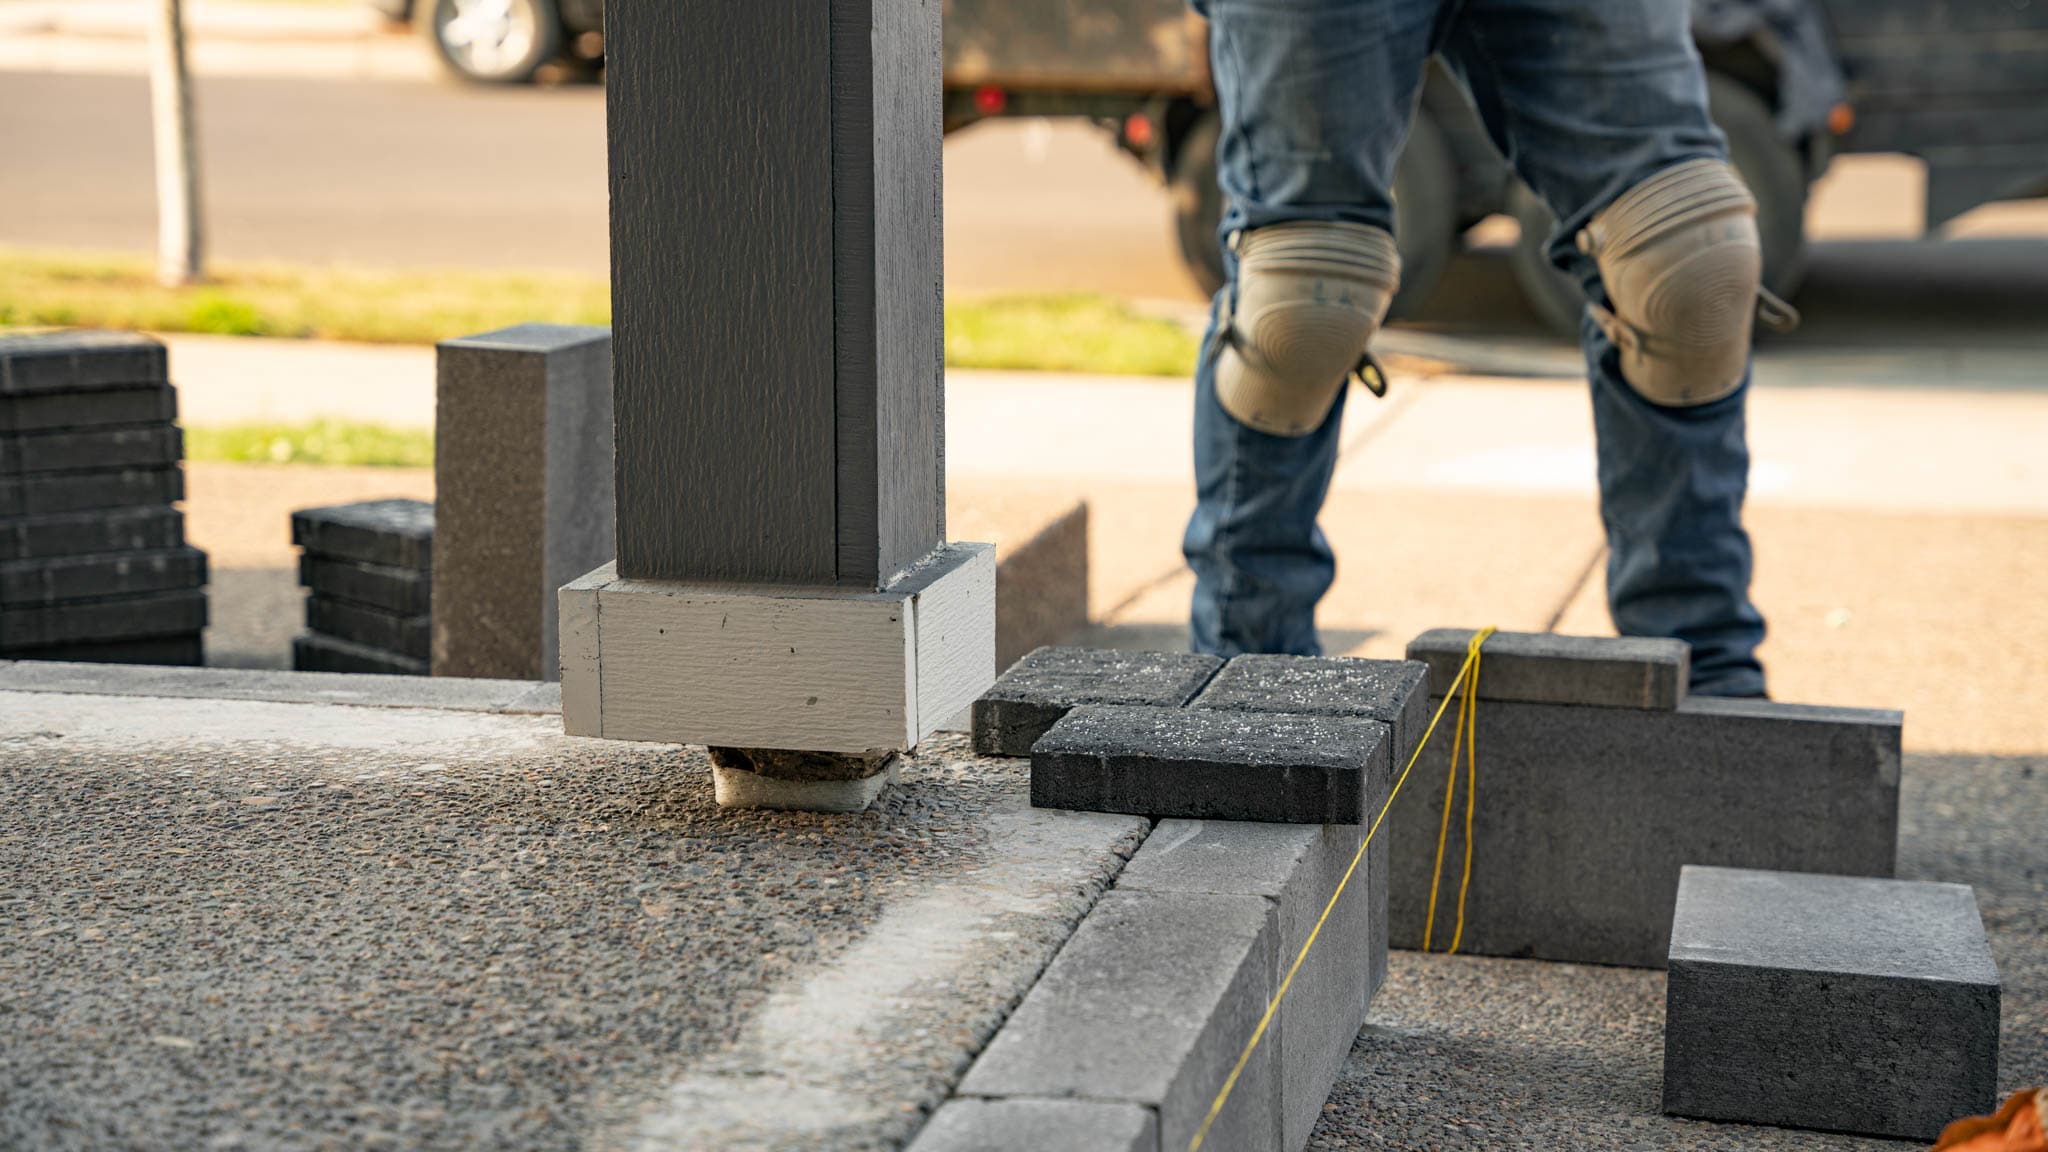
- Make sure you have the proper ground clearance for your pavers around your siding or any pillars.
- If any steps are involved, consider whether or not you want to overlay them as well.
Lay Pavers Over Concrete: Supplies Needed
To install patio pavers over an existing concrete slab, you’re going to need some tools and materials.
Tools:
- Rubber mallet
- Measuring tape
- Level
- Box knife
- Shop broom
- Oscillating or circular saw
- Concrete saw
Materials:
- Stakes
- Stringline
- Sweeping sand
- Joint sand
- Geo fabric
- Adhesive
- Slimline pavers
Lay Pavers Over Concrete: Steps to Complete
1. Inspect your existing concrete for large cracks, dips, or rises
The first step to overlaying your concrete with paving stones is to inspect your concrete. Consider the following:
- Cracks: Make sure there are not any major cracks. If there are just a few hairpin cracks, you’ll probably be okay.
- Slope: You want to make sure the slope is acceptable. The goal is to either meet or exceed the Interlocking Concrete Pavement Institute (ICPI) standard of a 2% slope grade. This ensures that any water accumulating at the top of your patio or covered area will drain properly off of it.
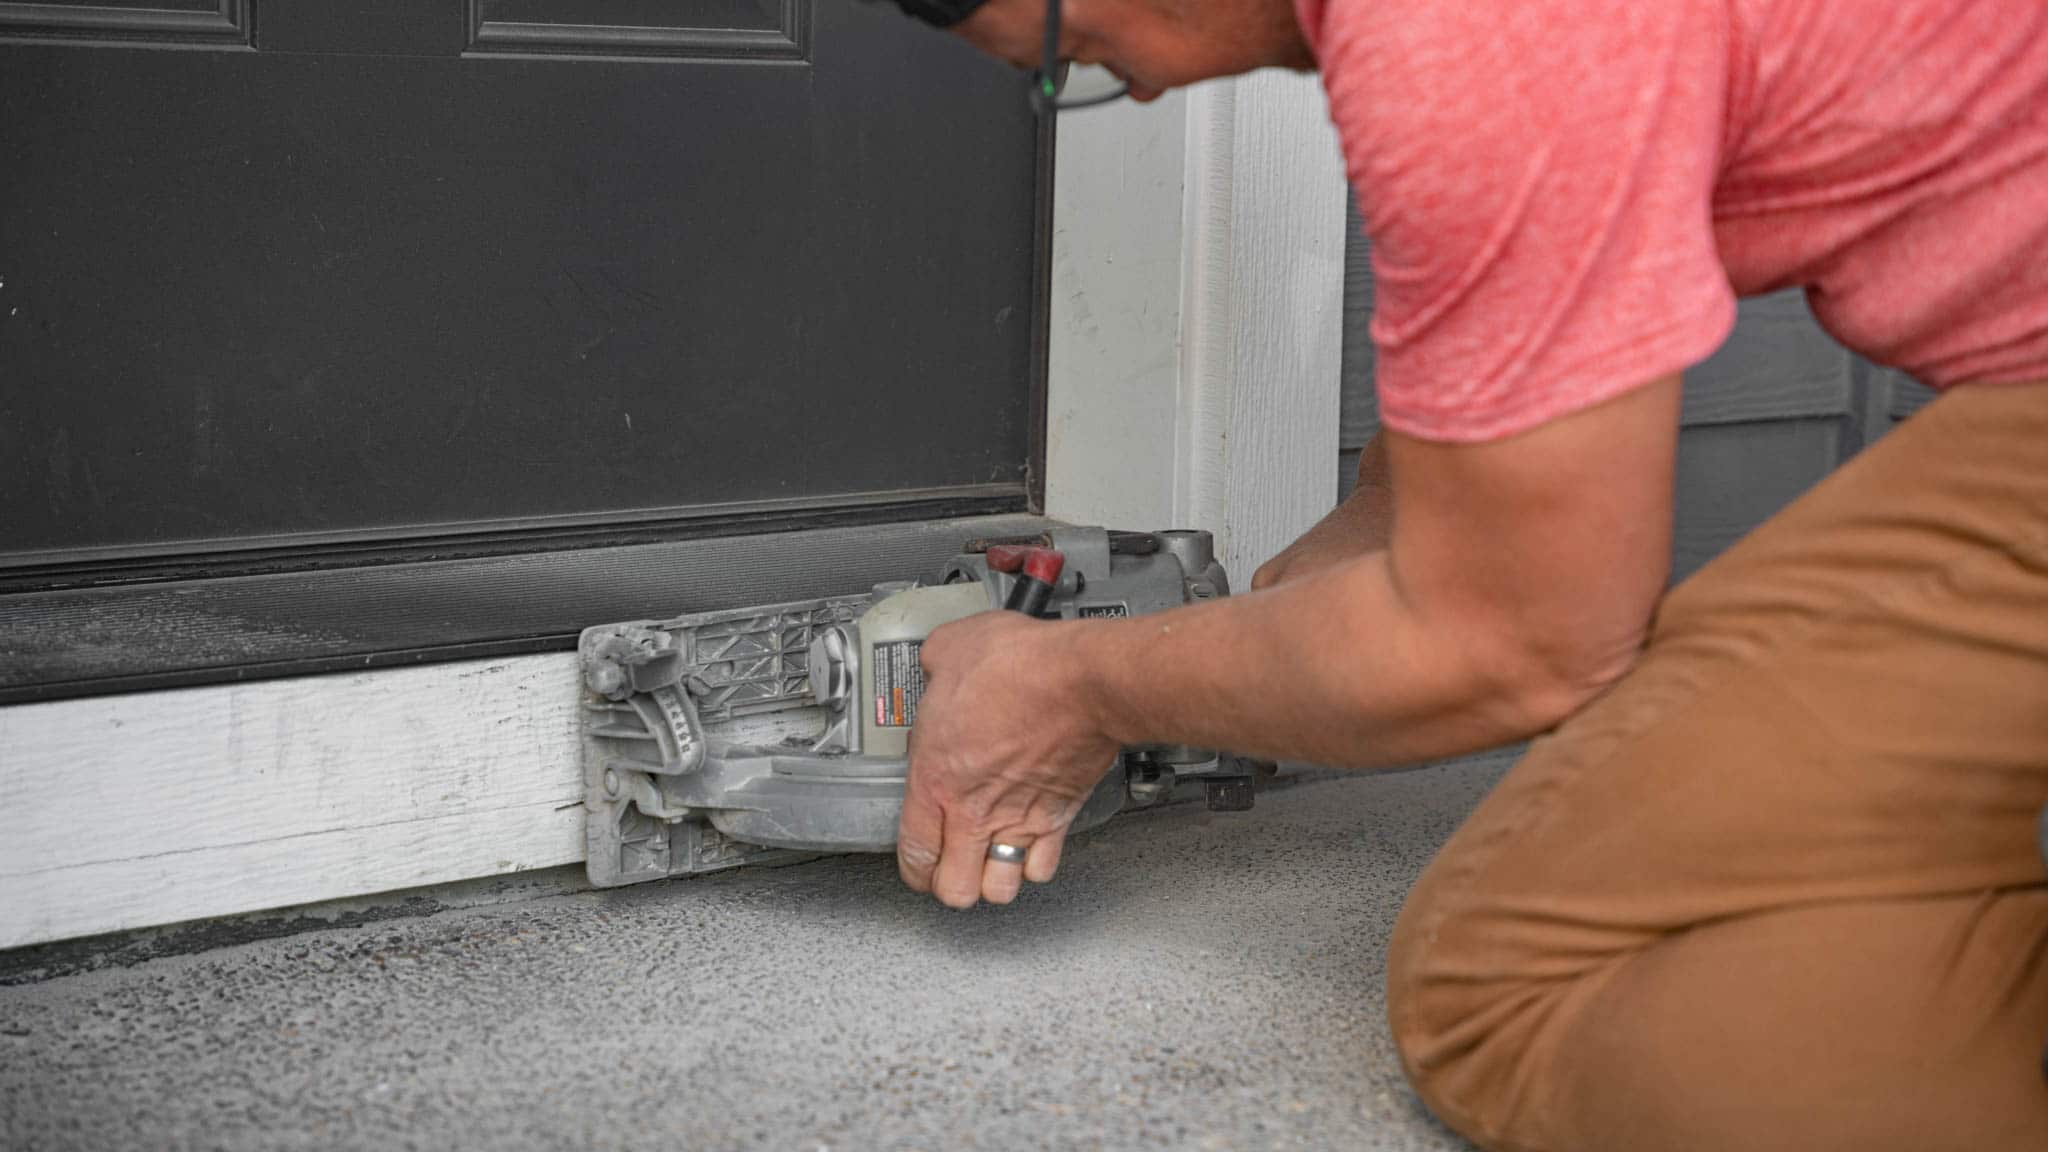
- Threshold: Make sure any threshold, siding, or pillars around your concrete area will clear the thickness of the paving stones you’re adding.
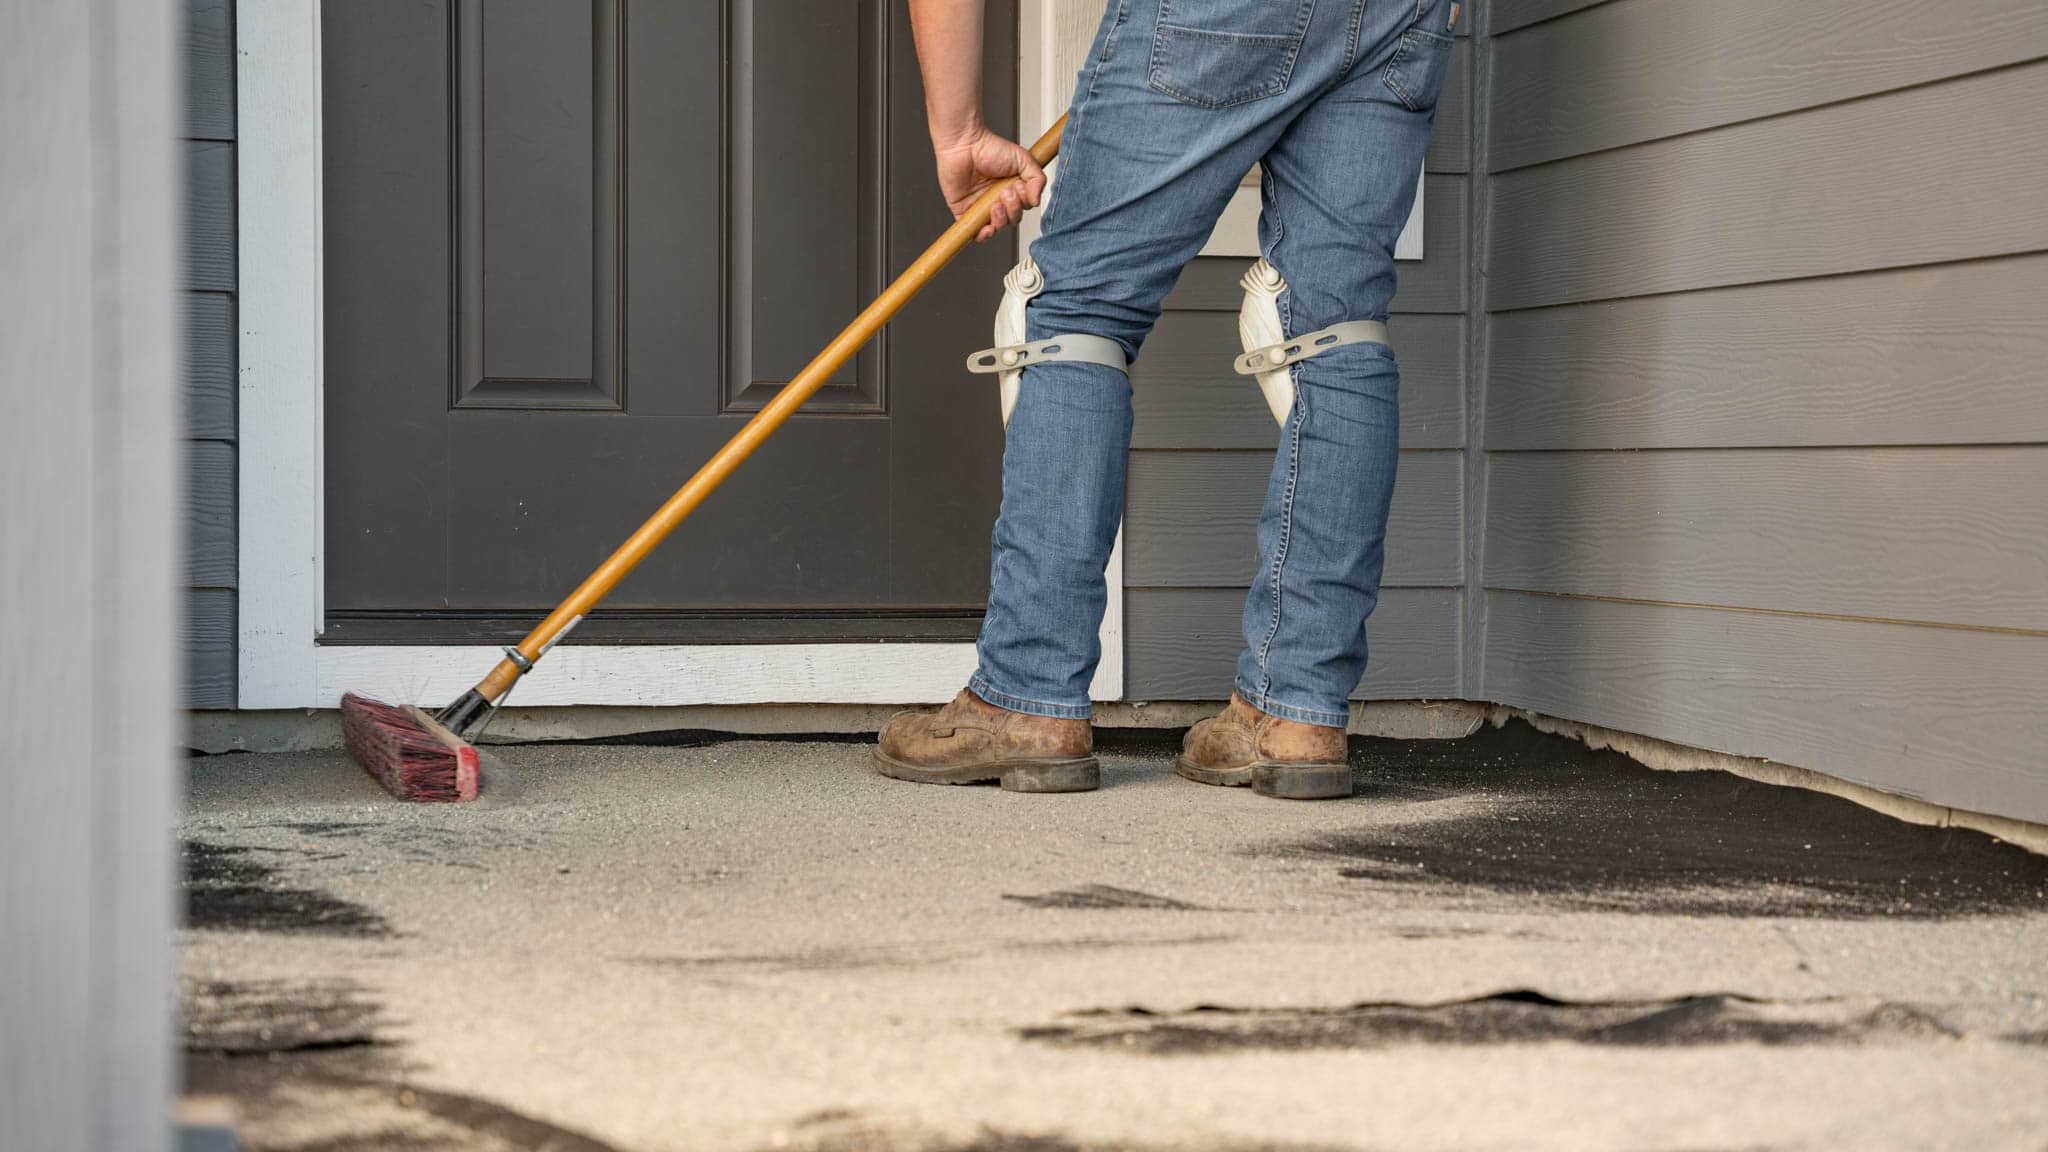
- Clean: Make sure your concrete is perfectly clean so that whatever type of adhesion method you use, whether concrete, caulk, or mortar, will adhere well for longevity.
2. Cover your patio face with a wall block (optional)
This step is optional and worth considering for any project that has a concrete face you want to cover.
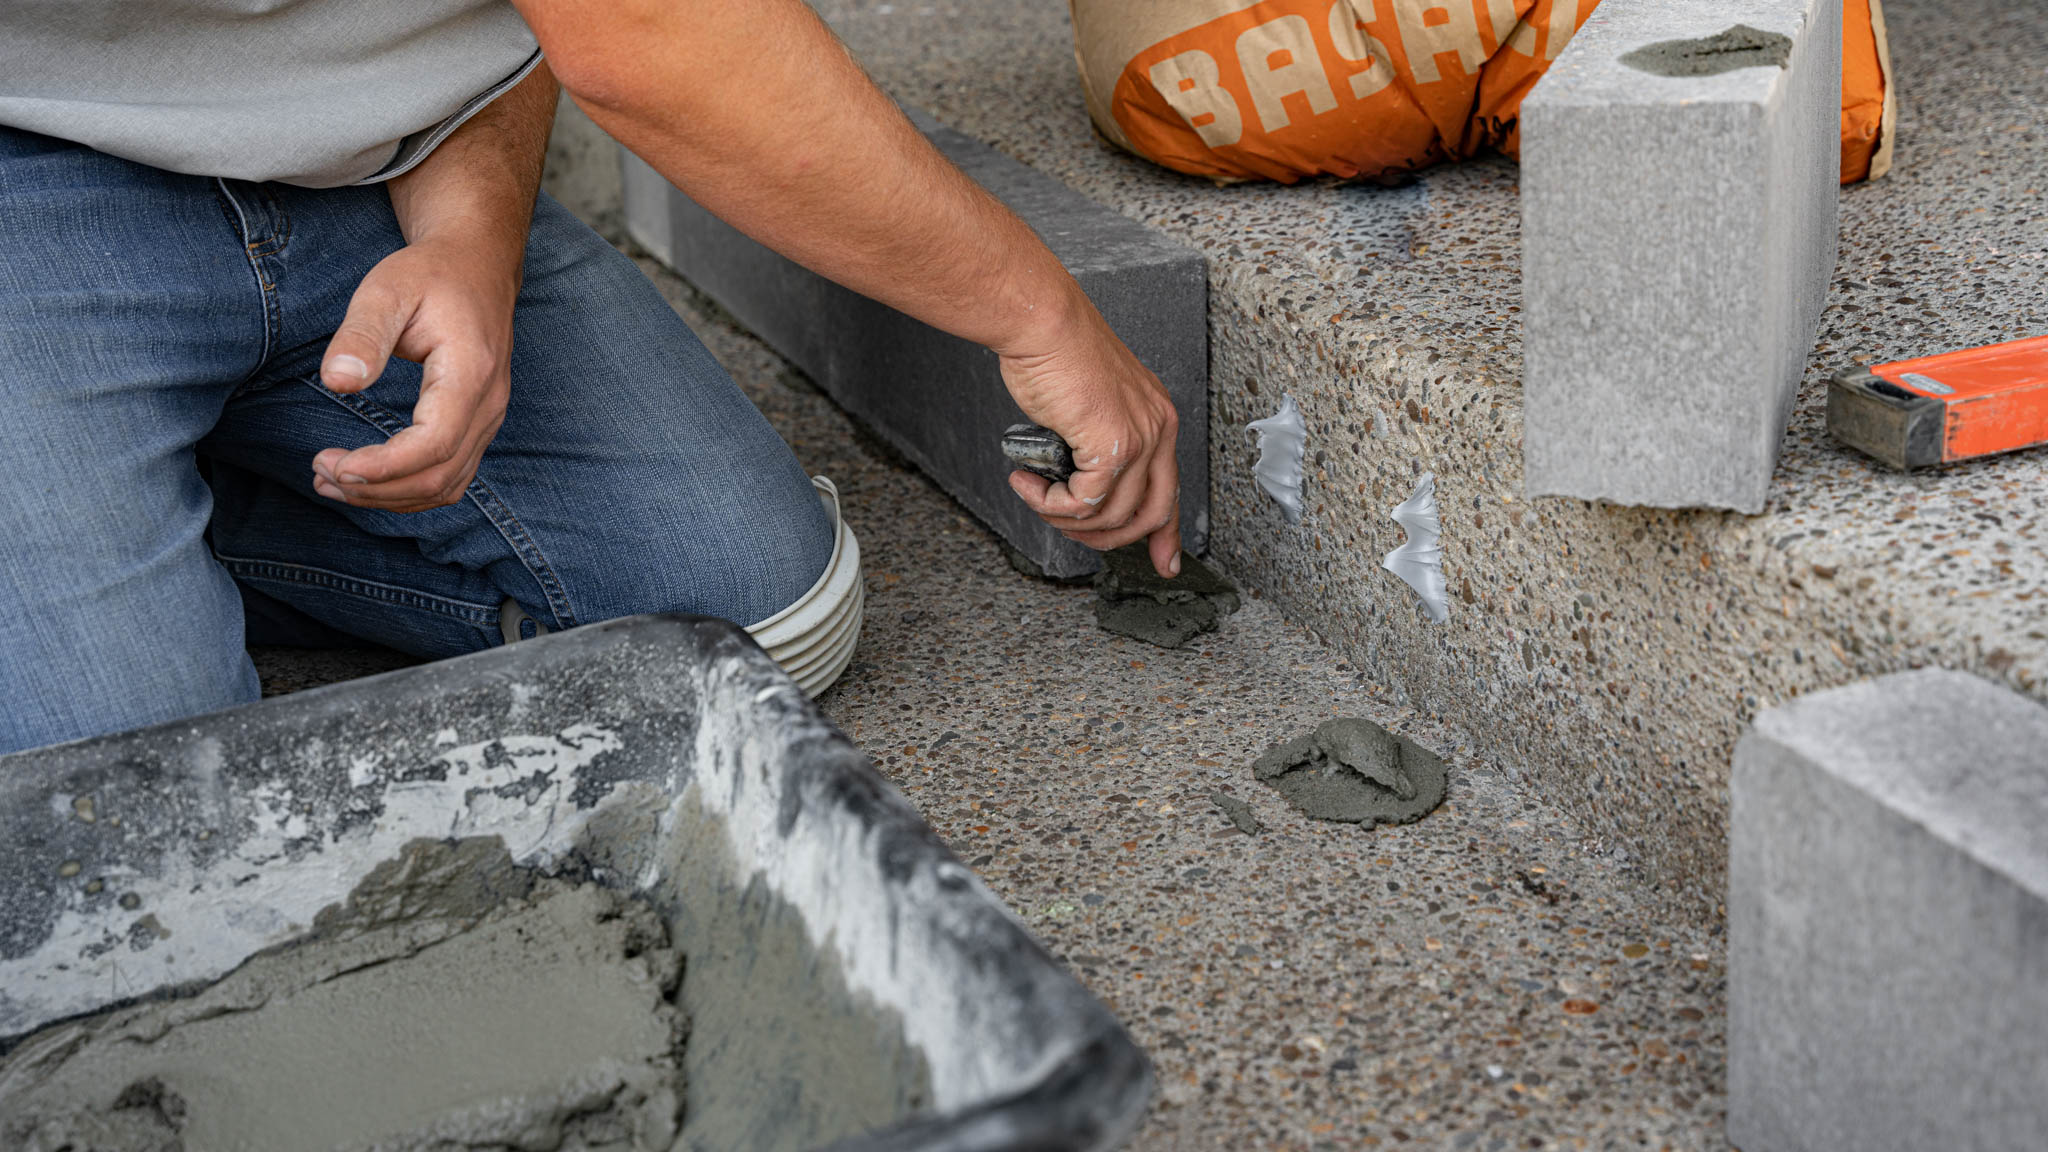
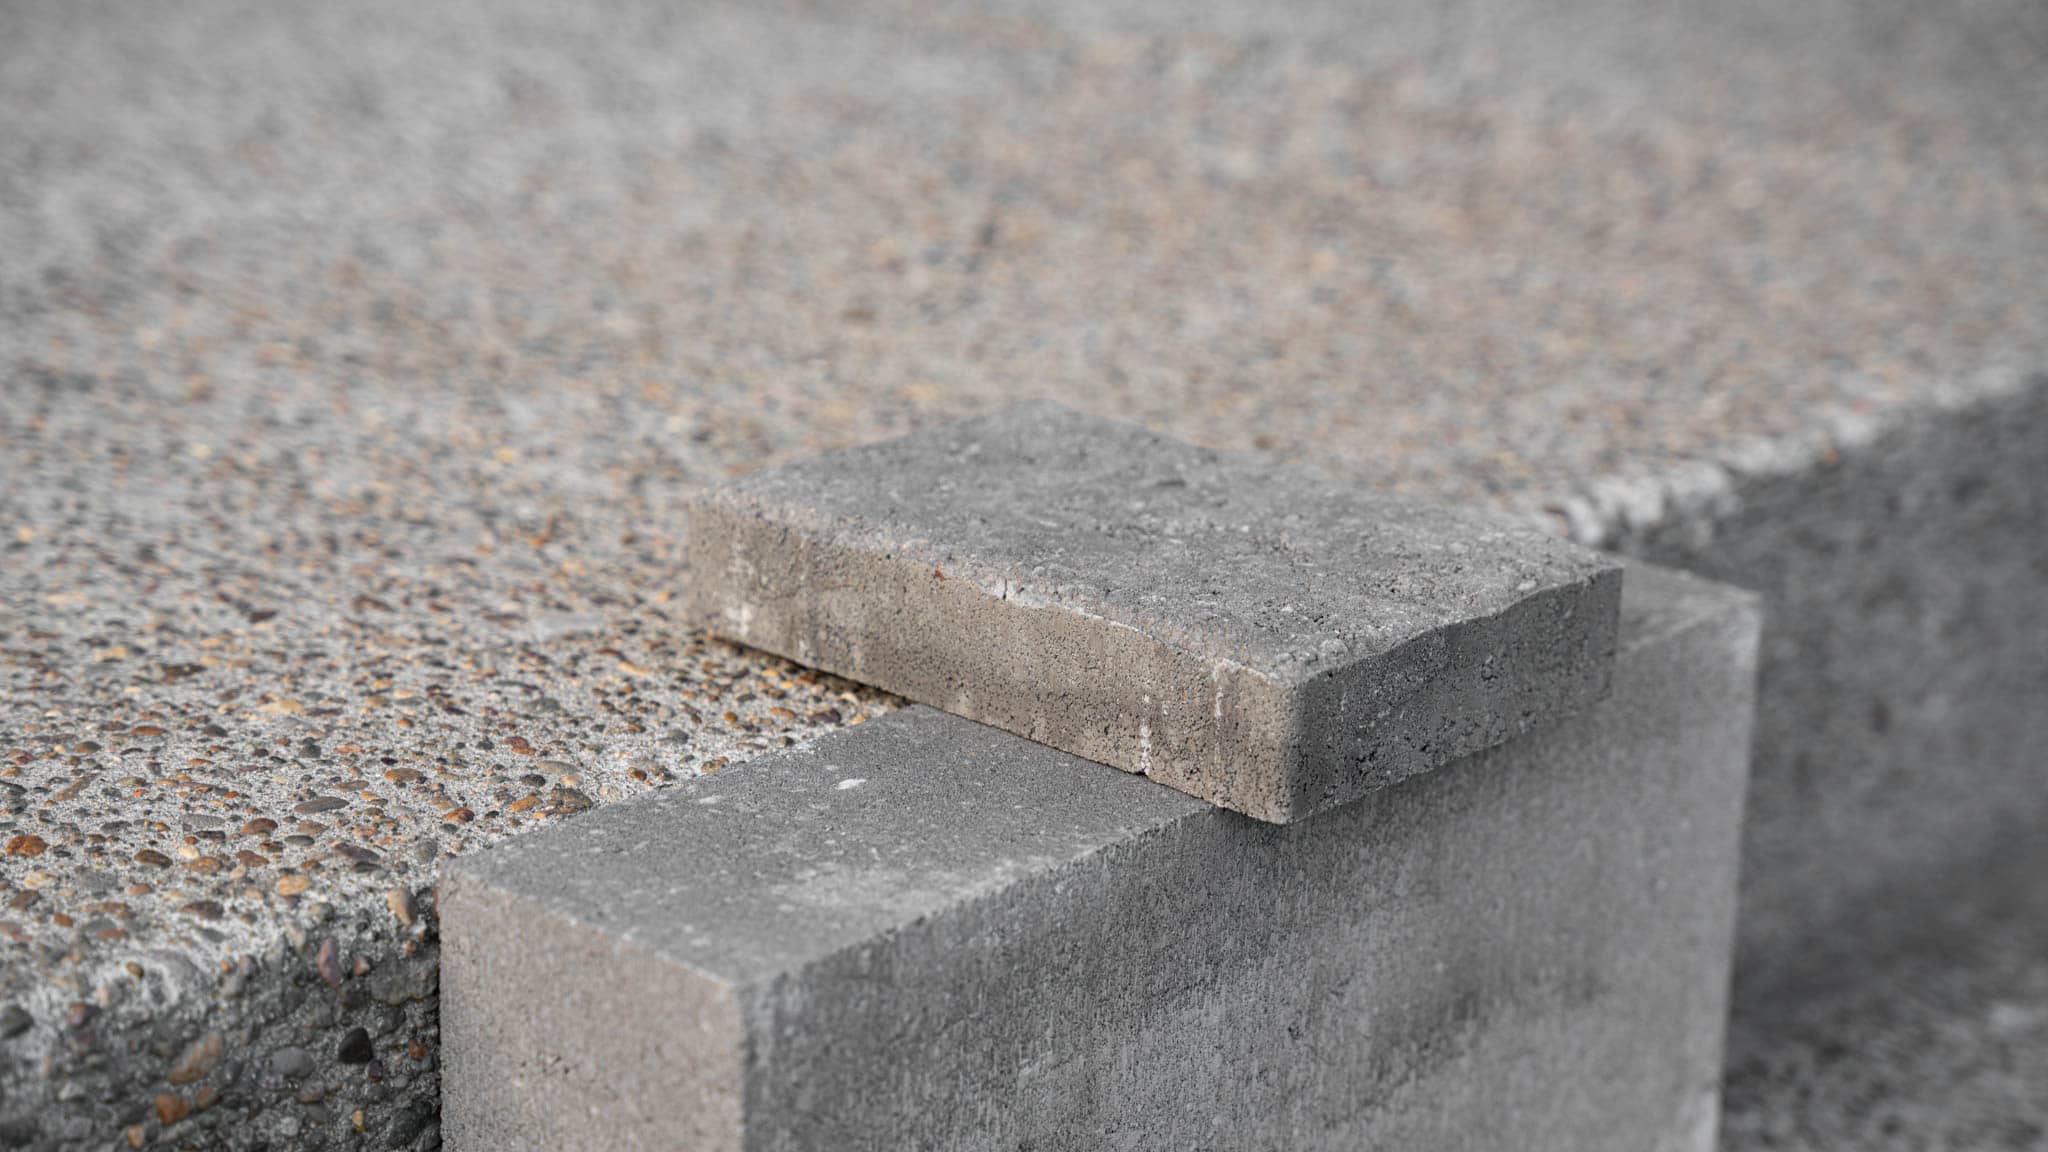
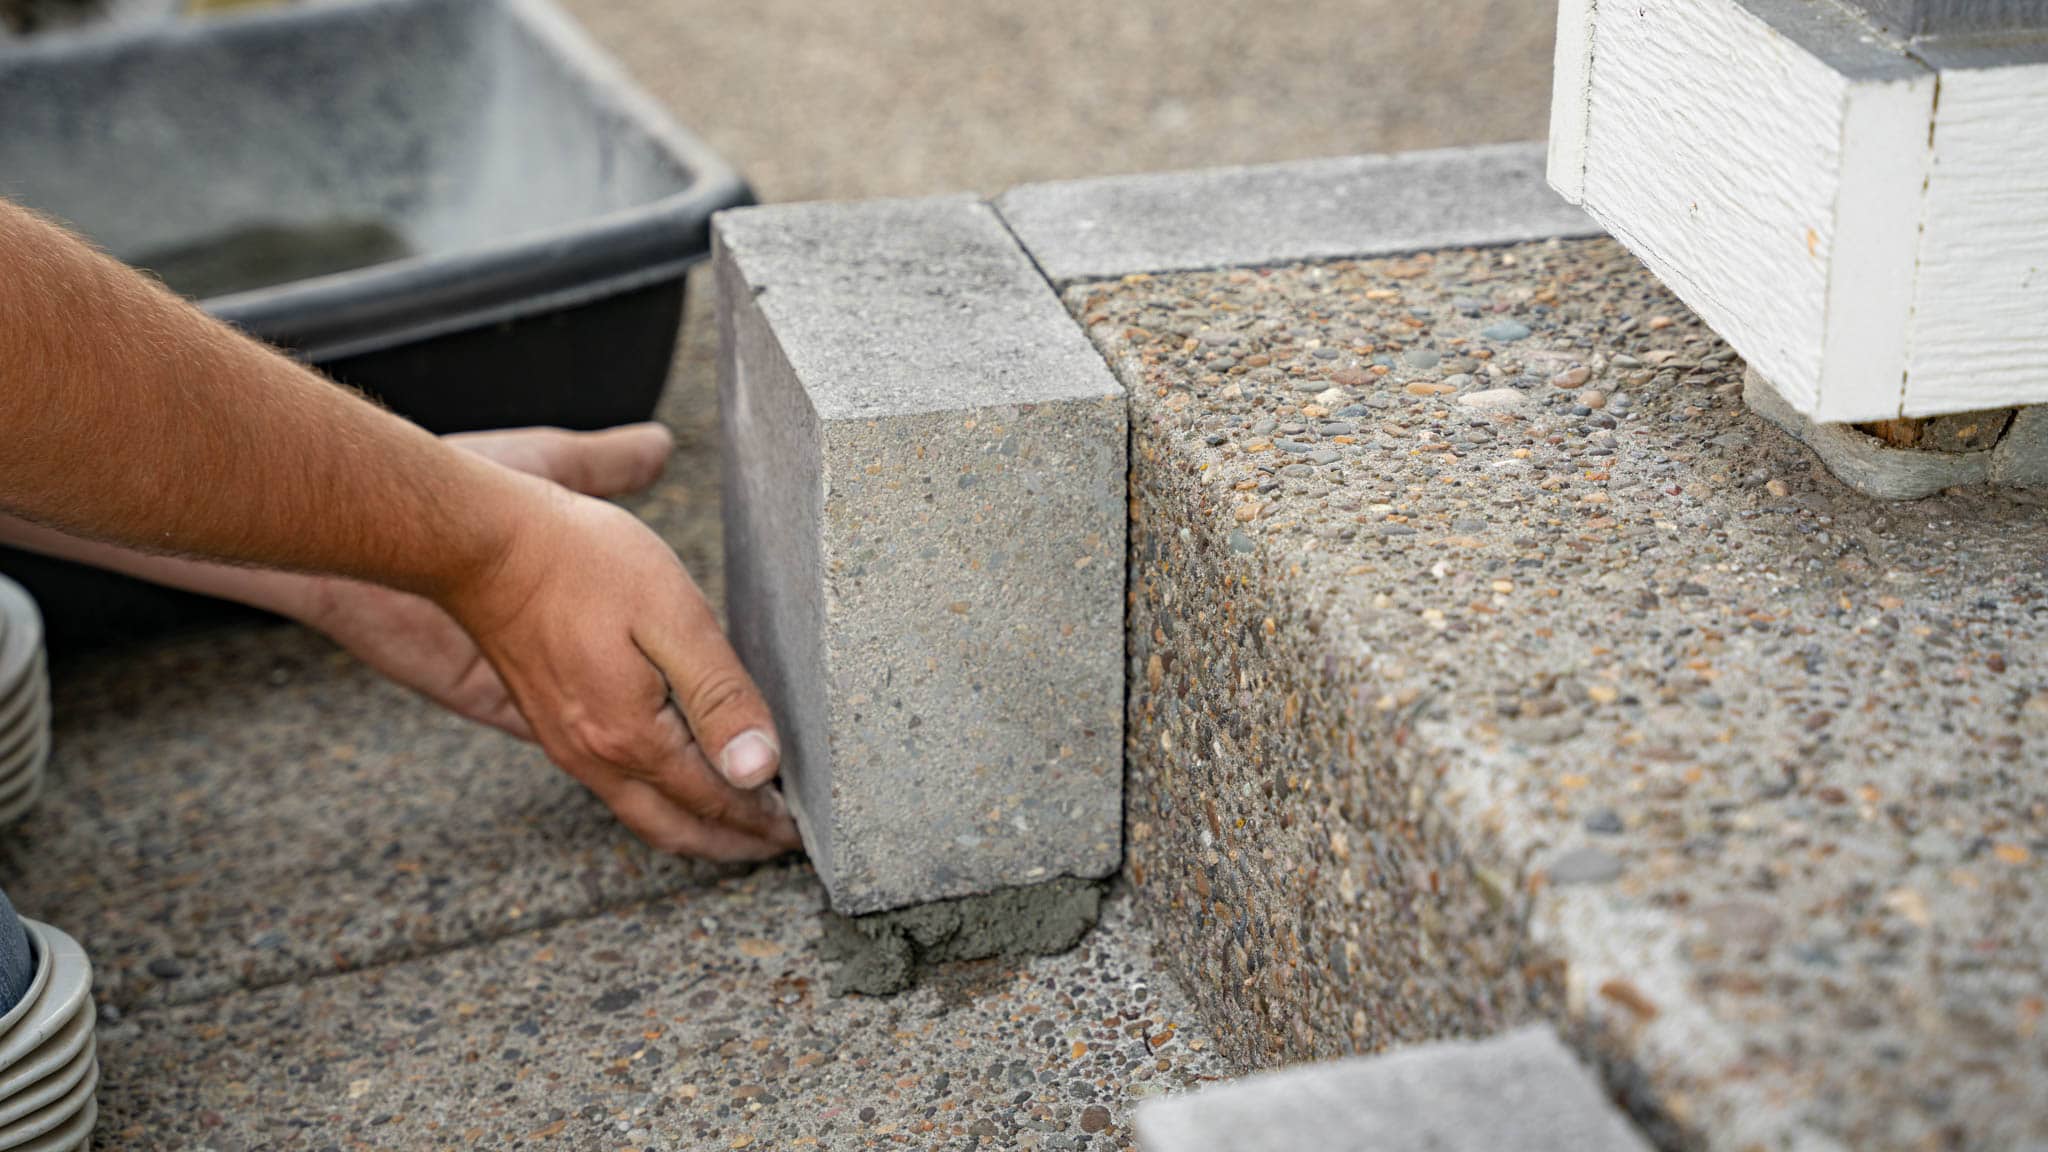
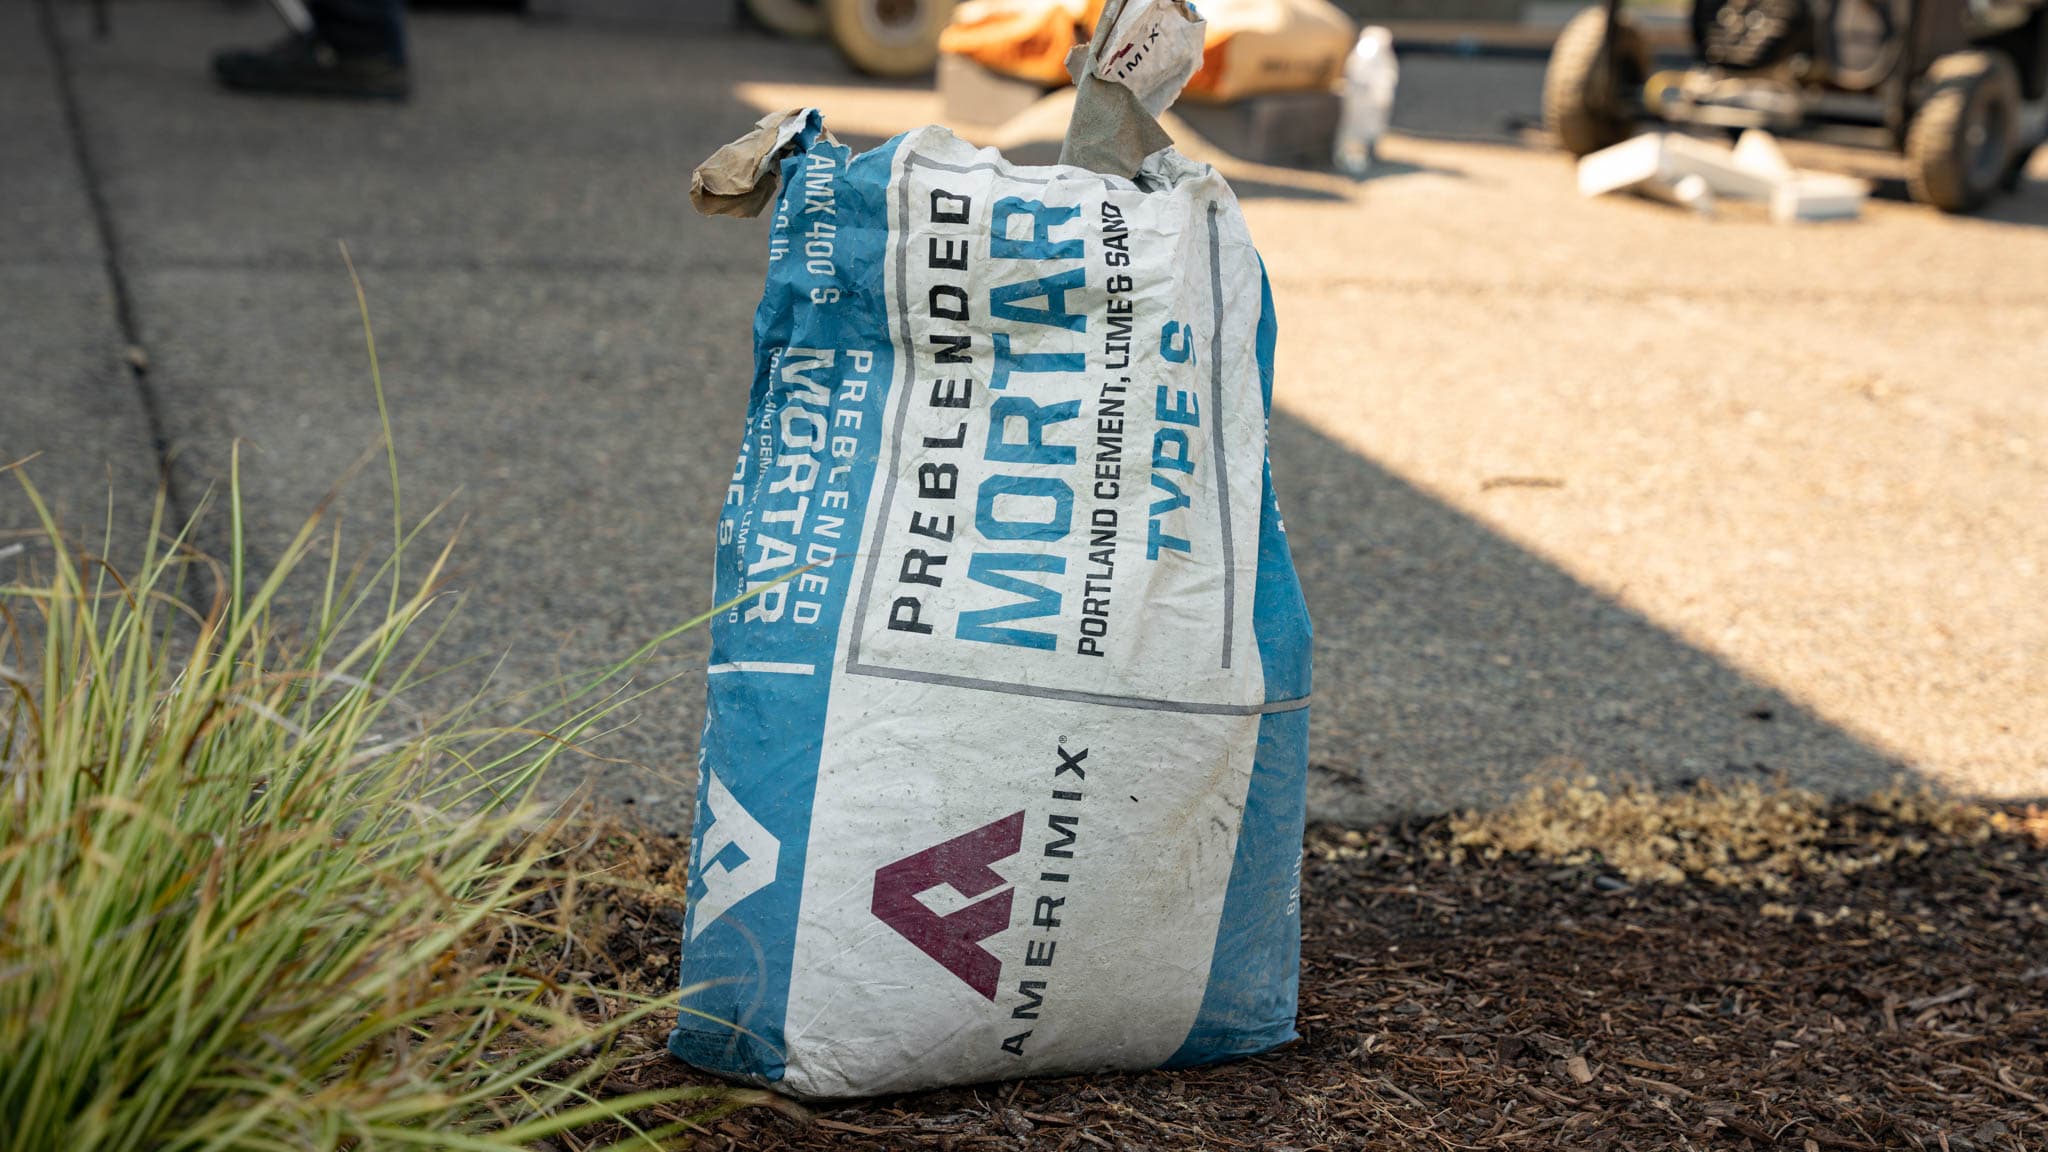
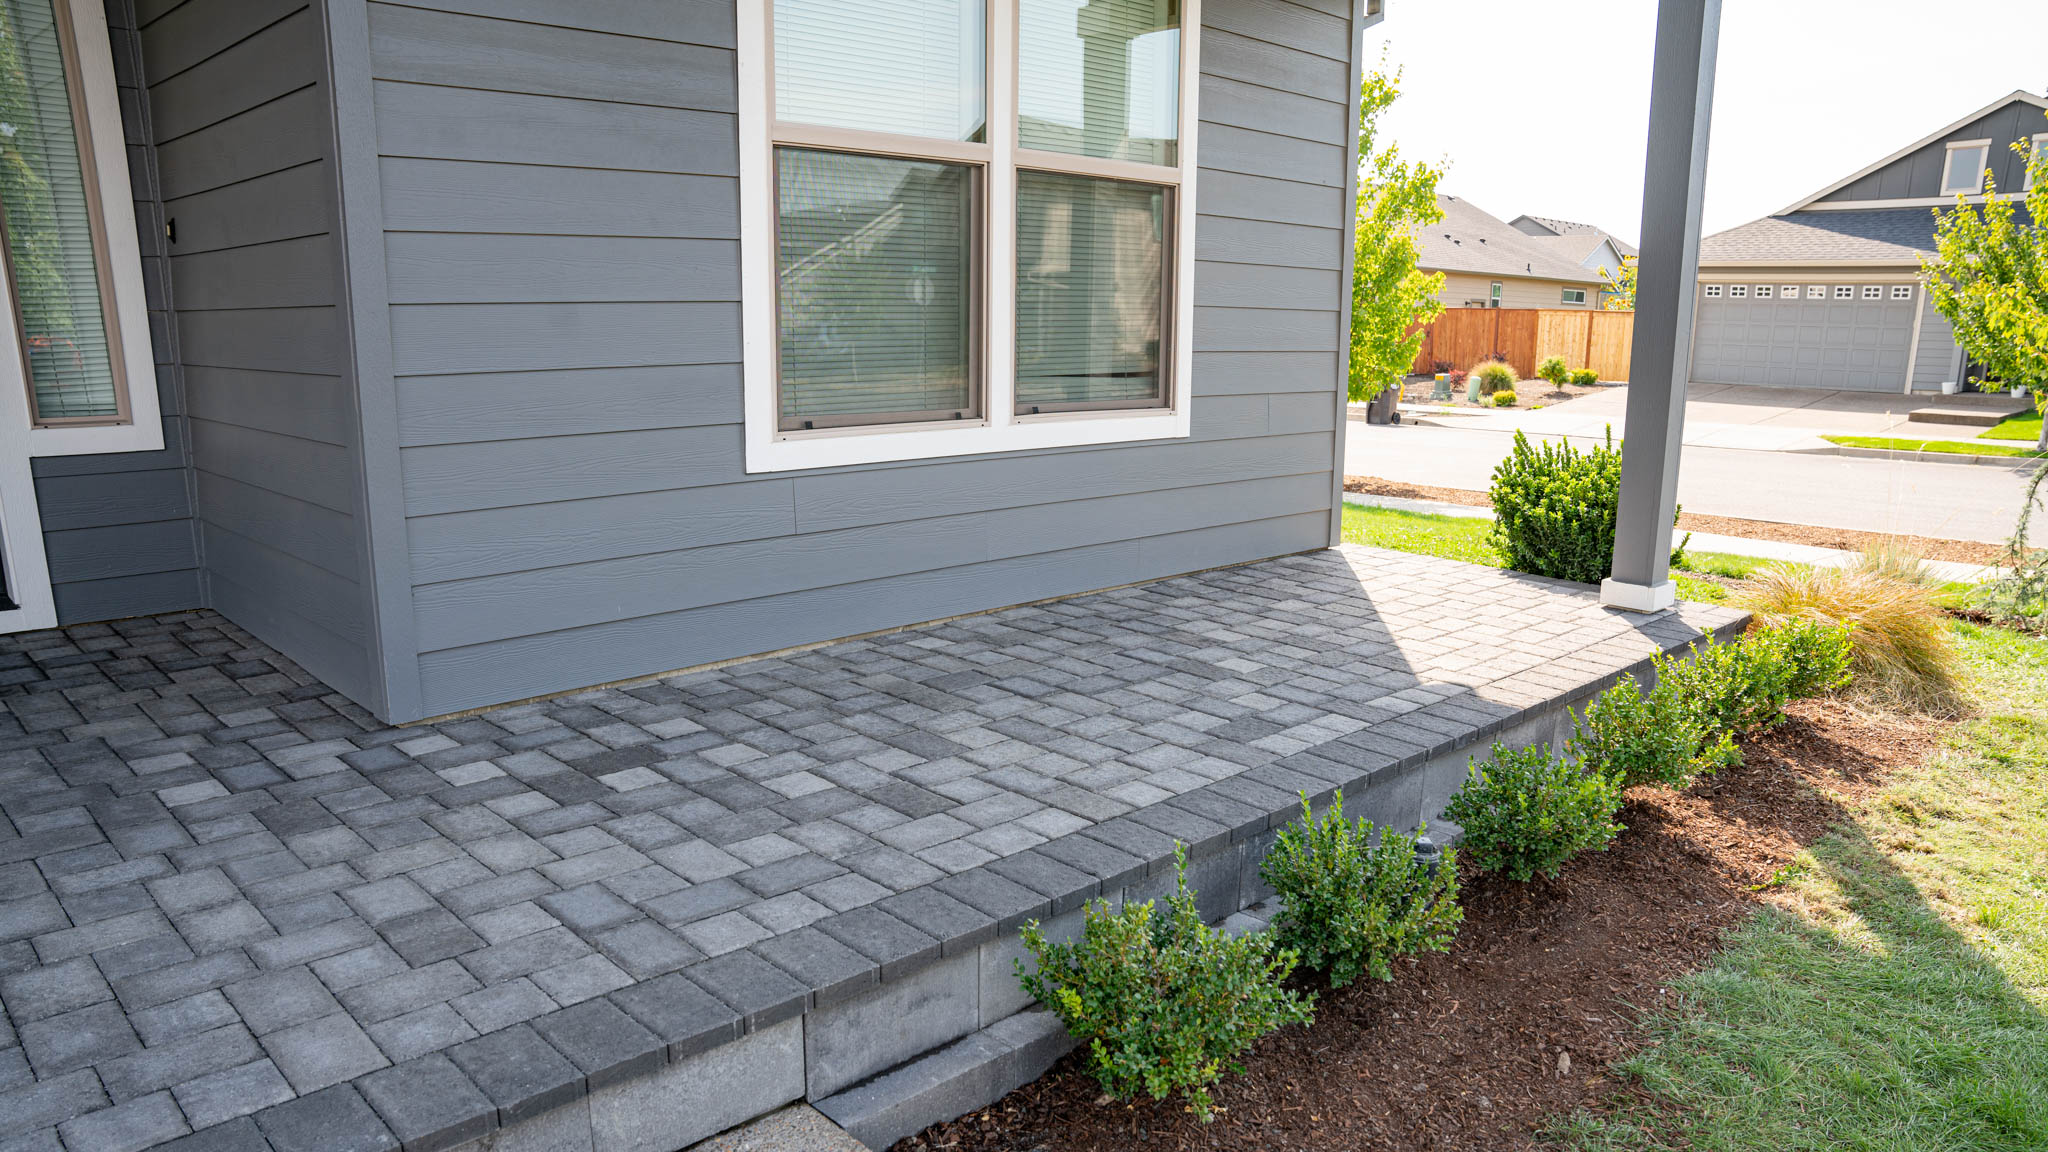
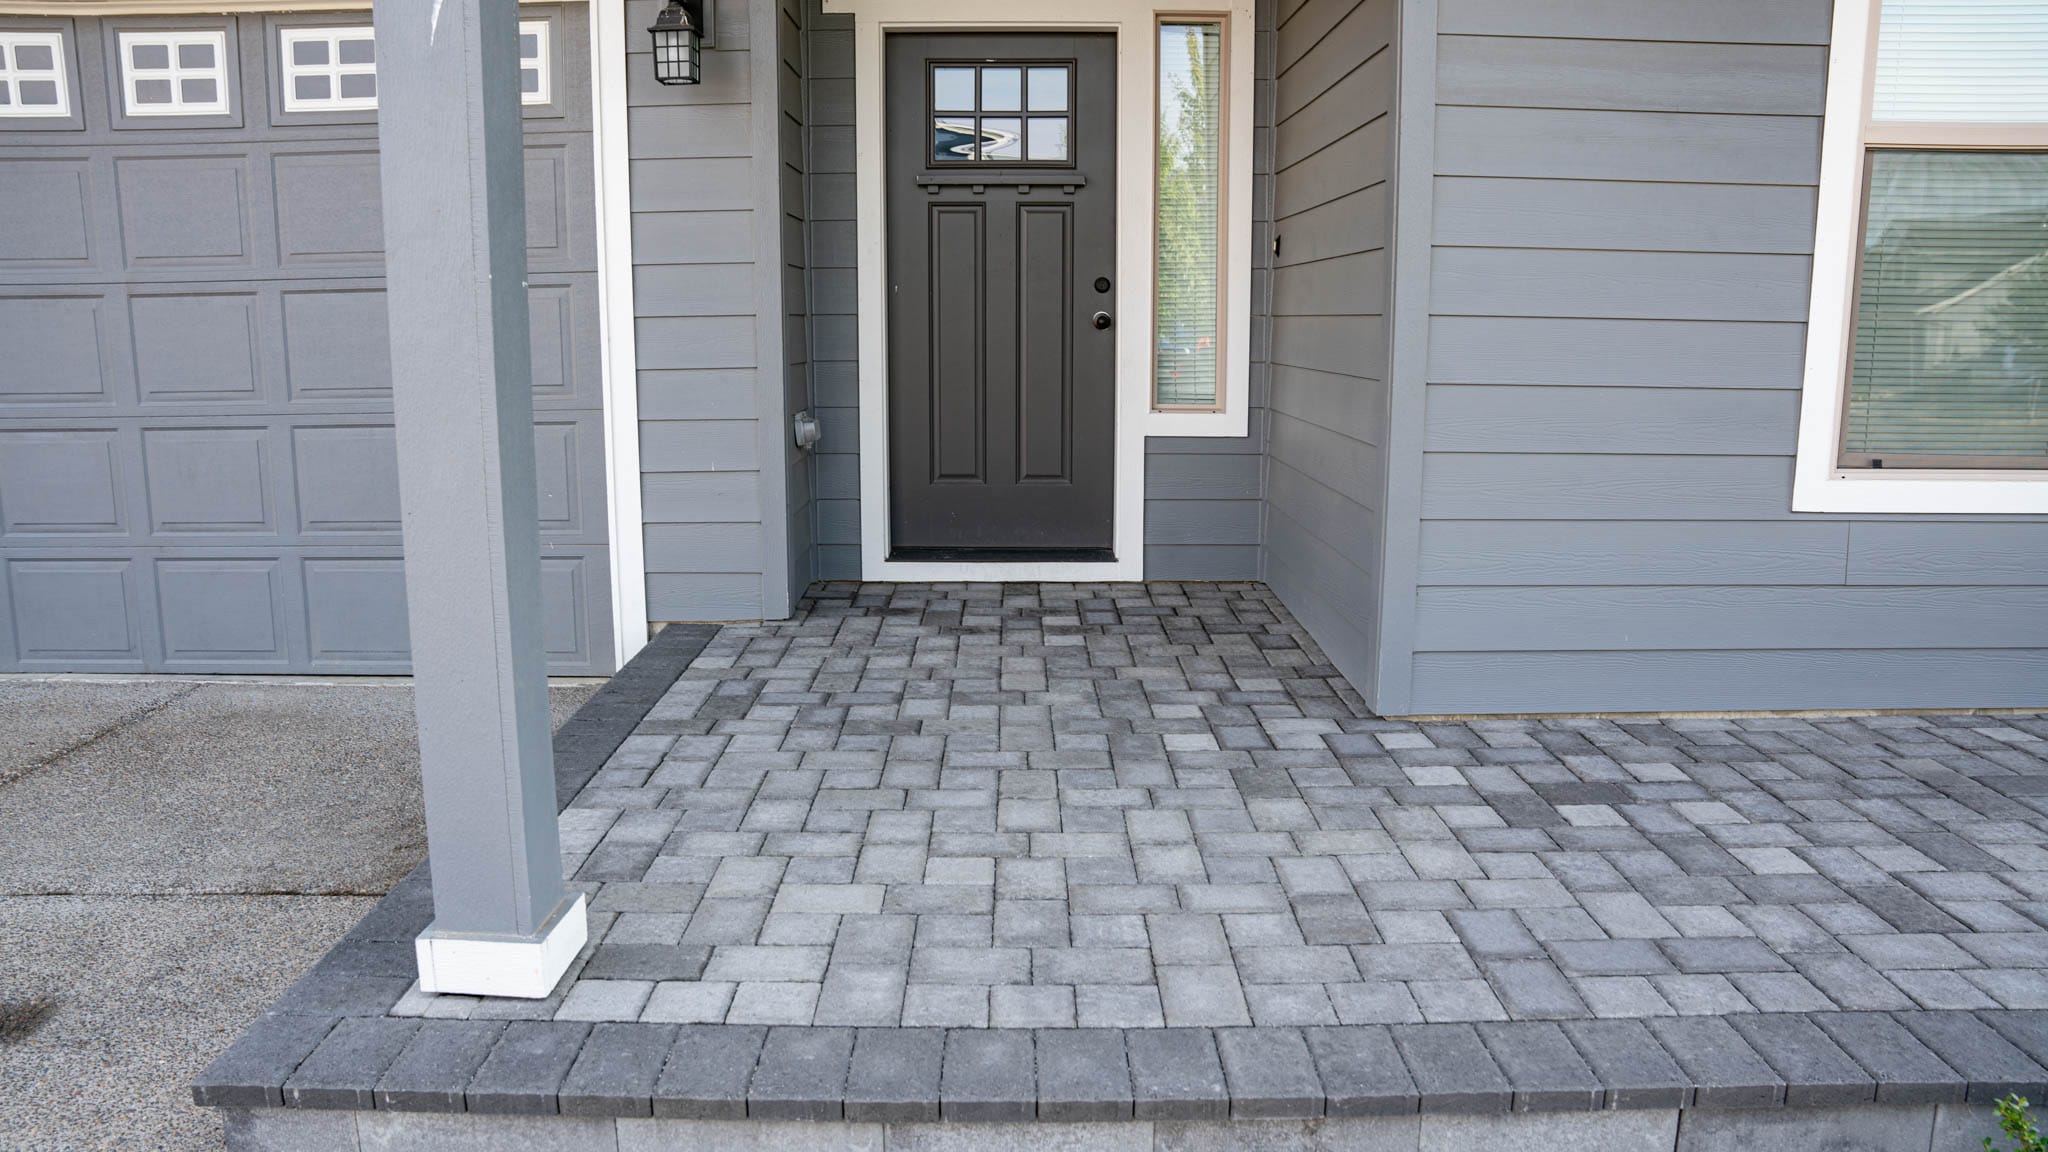
Specific to our project and design, we’re facing the front of this porch with a wall block. We covered the concrete with some Chateau Moderna wall blocks (adhered using mortar) to improve the look.
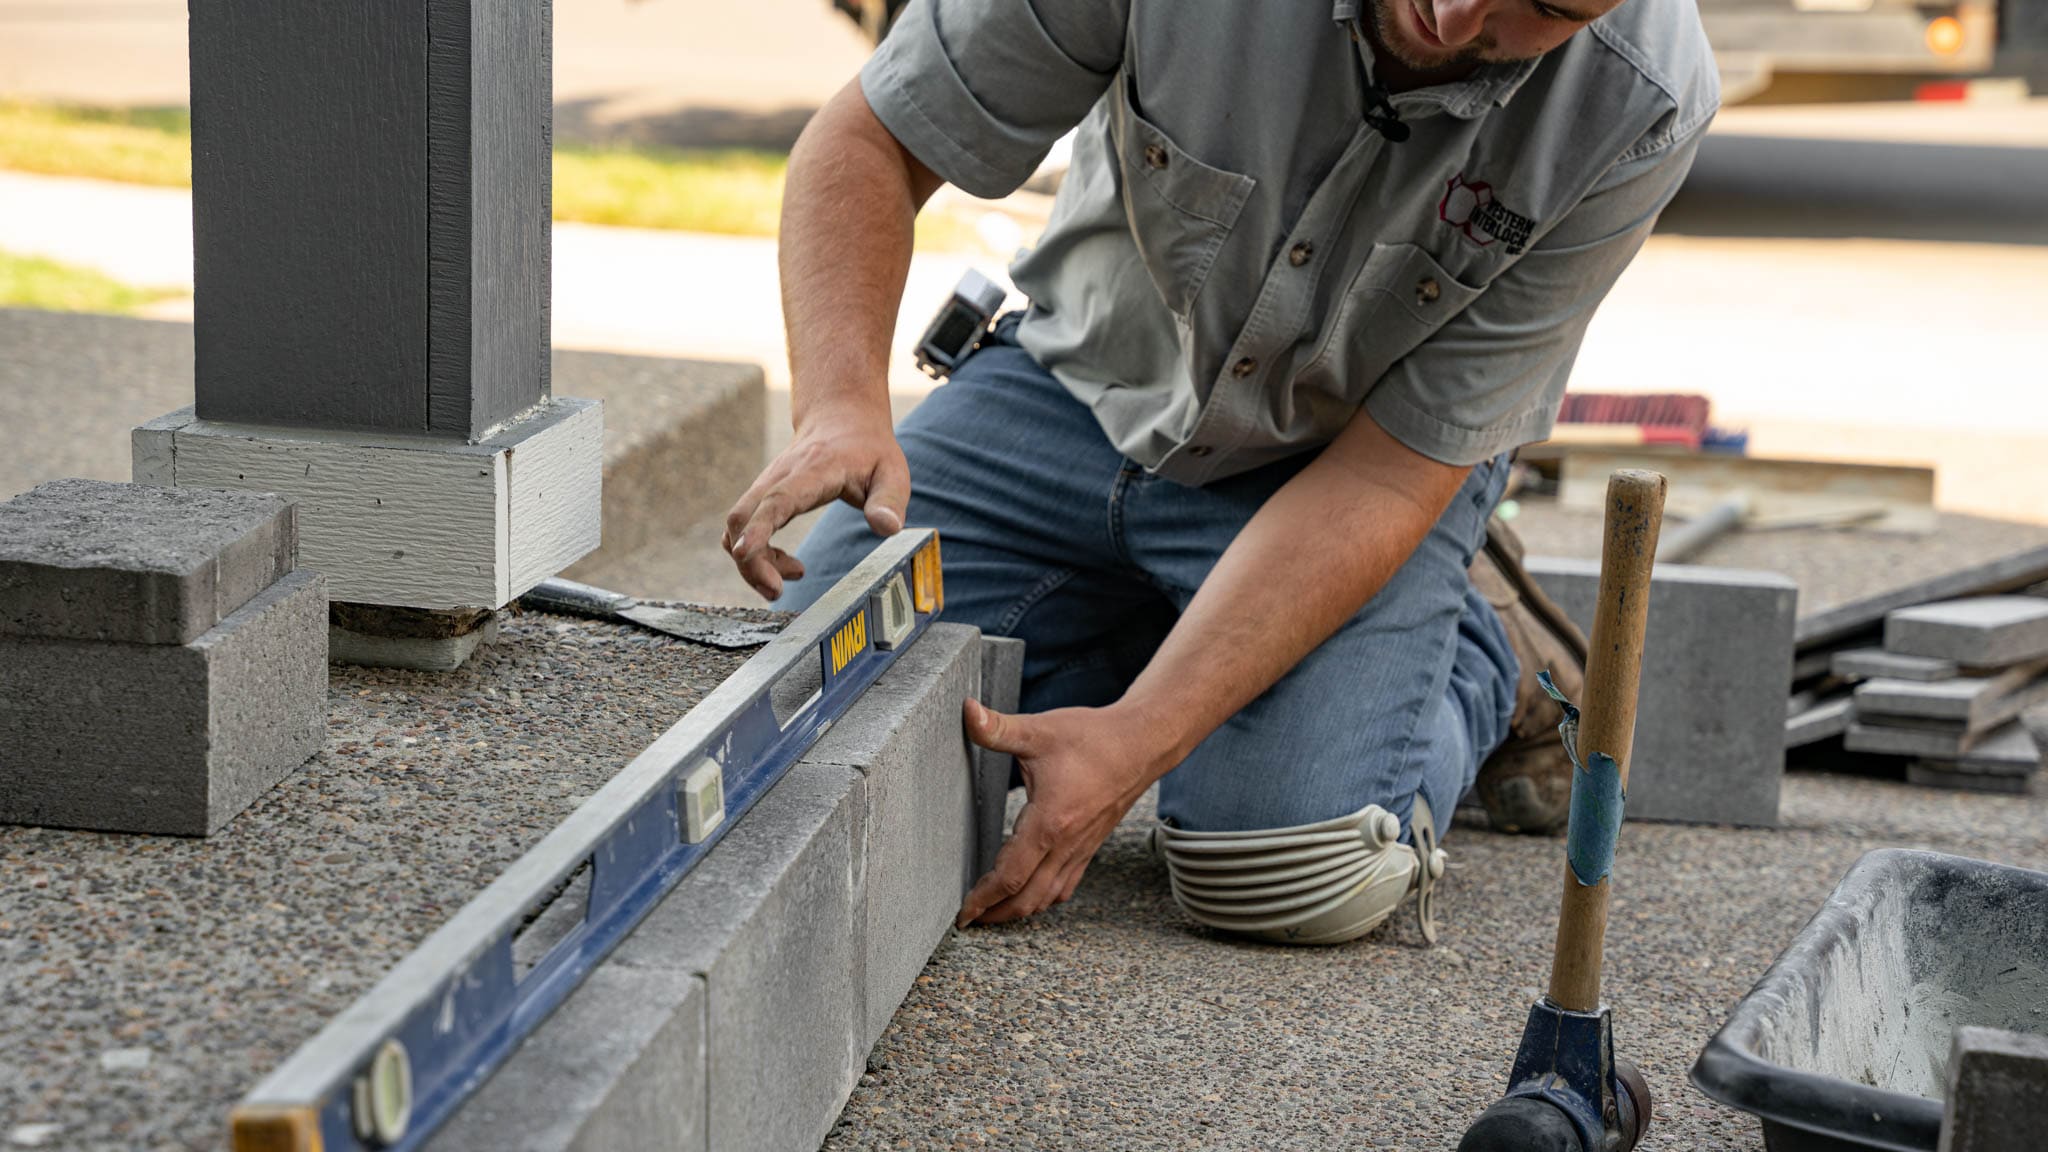
On the side, where there’s a step, we’re laying one course (or layer) upright. This is to match the same height as the ones in front of the step so it continues throughout.
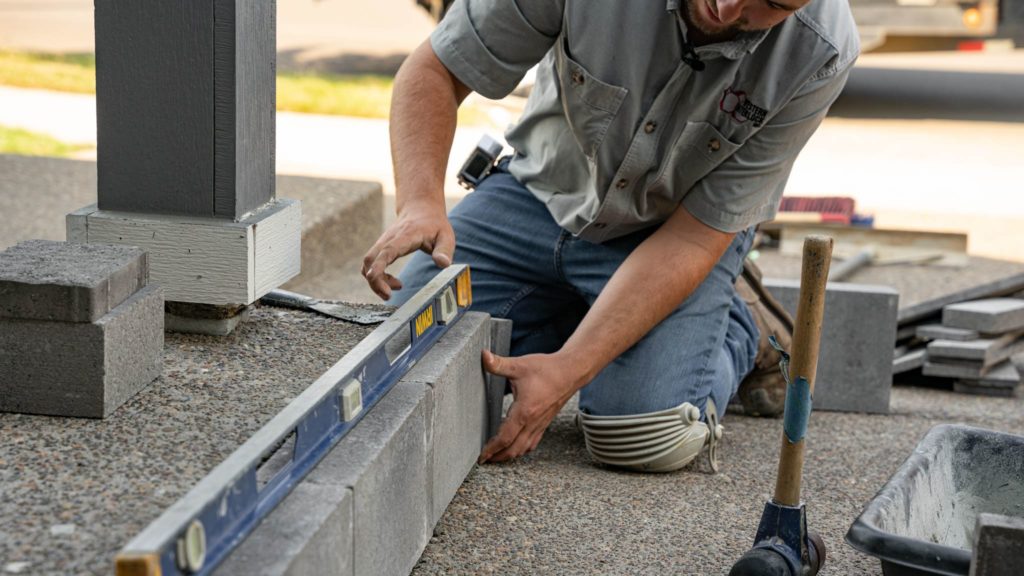
Because we’re working with a sloped driveway we want to face the perimeter of the porch. There’s an area here with a large void because of that slope. We’re building it up with mortar and then bringing our blocks up so the border sits flat and the pavers can overlay right on top.
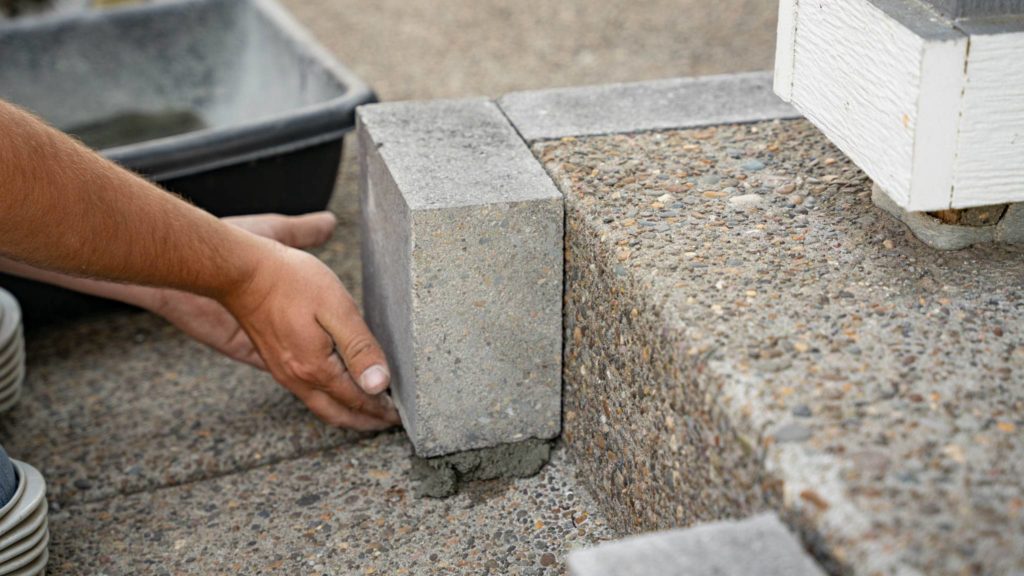
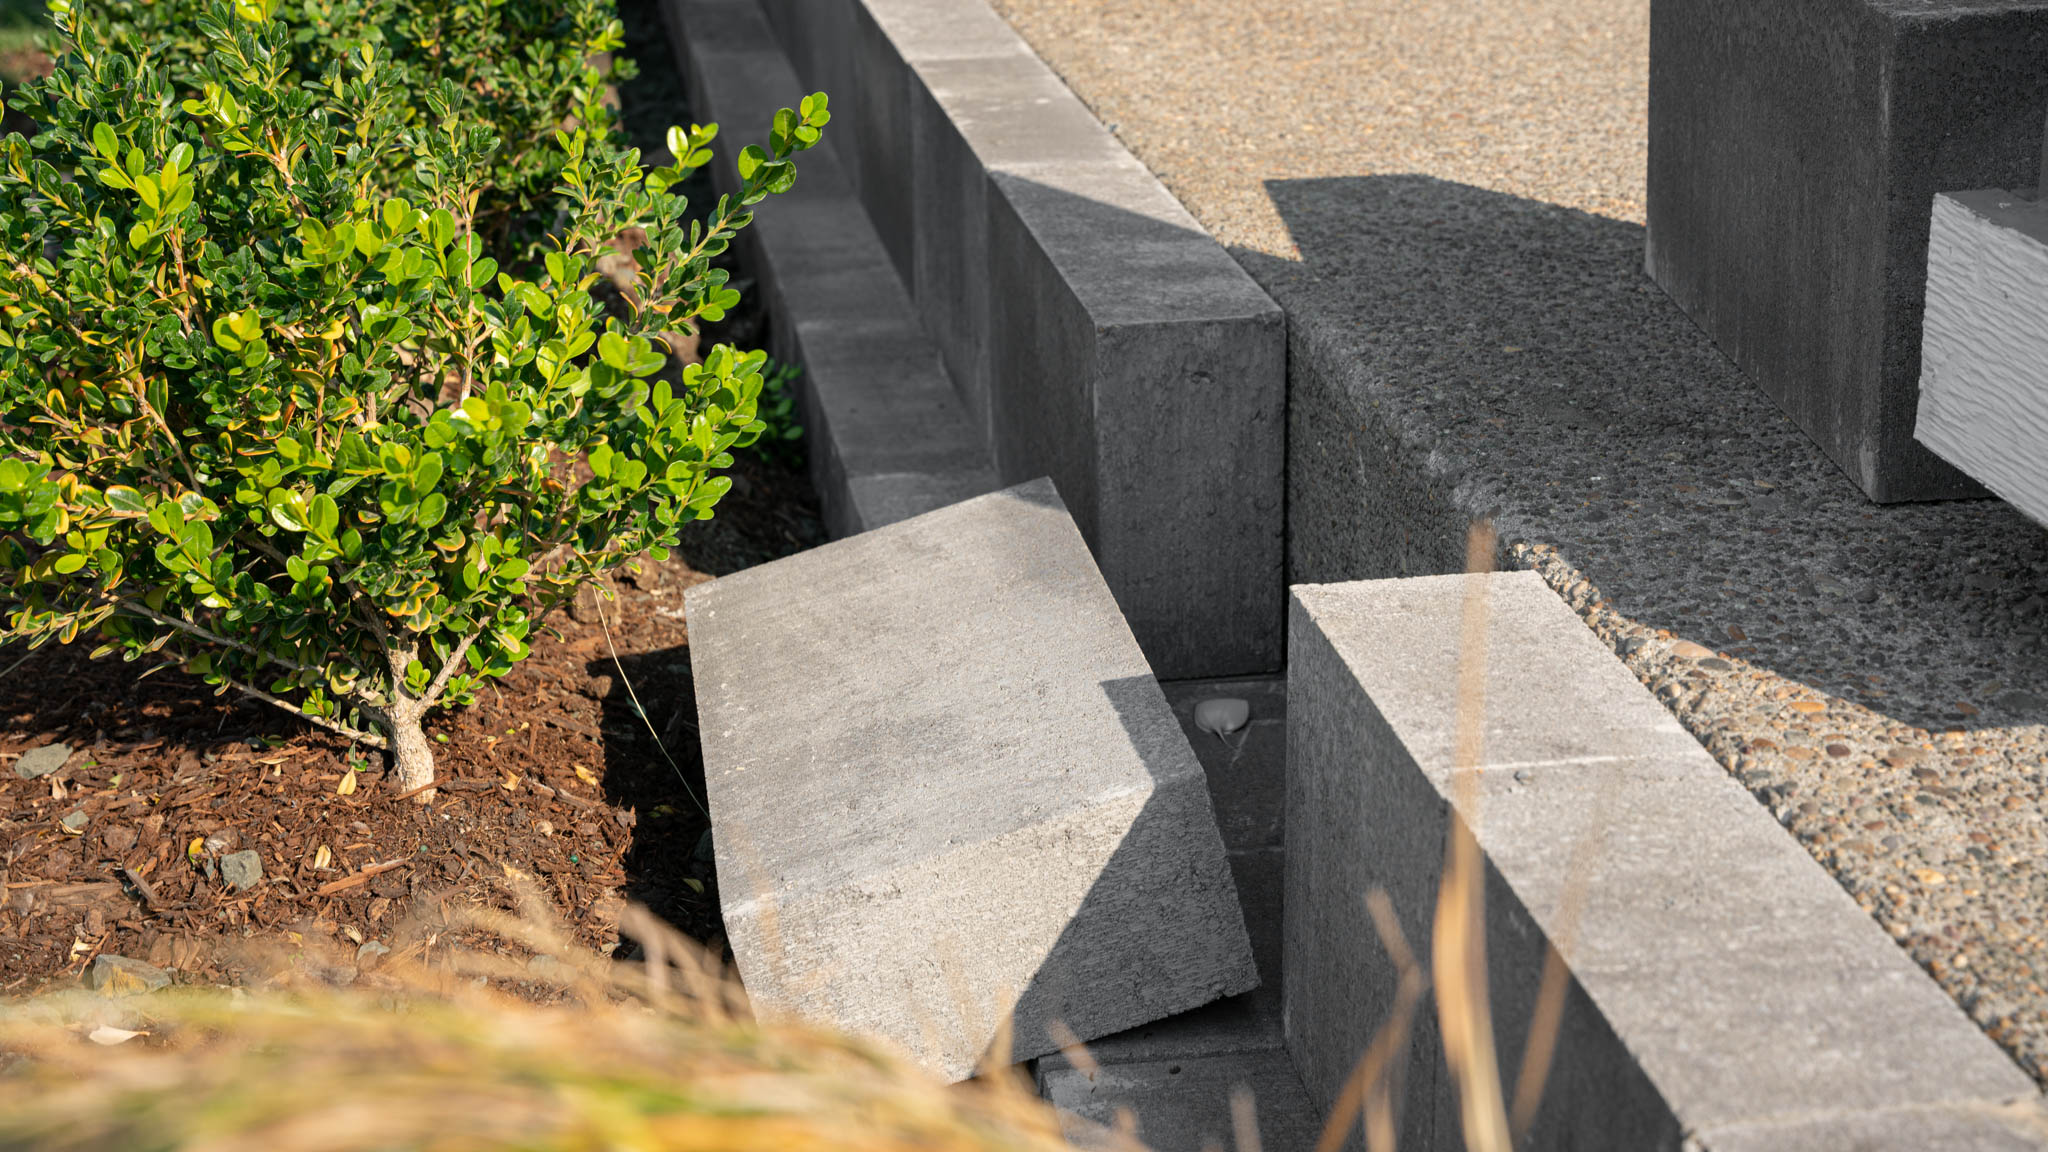
We glued and mortared that block onto the face, but continuing past that point we hit dirt. So we dug a trench and laid a proper base before placing the pavers.
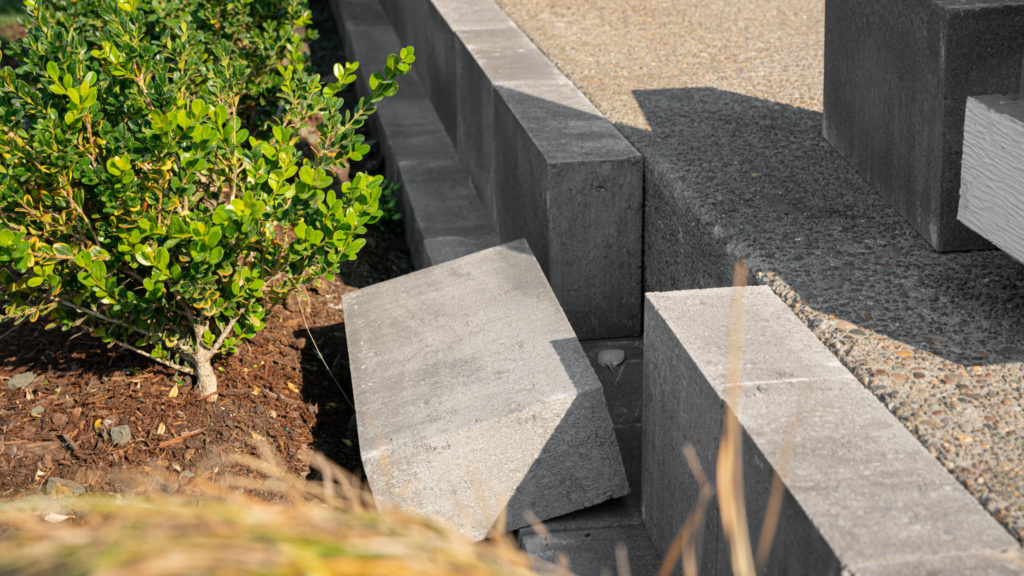
We put in at least four inches of gravel for a stable base. We laid one course flat for more stability, then the other vertical to match the height of the concrete patio.
3. Install a patio paving stone border with adhesive
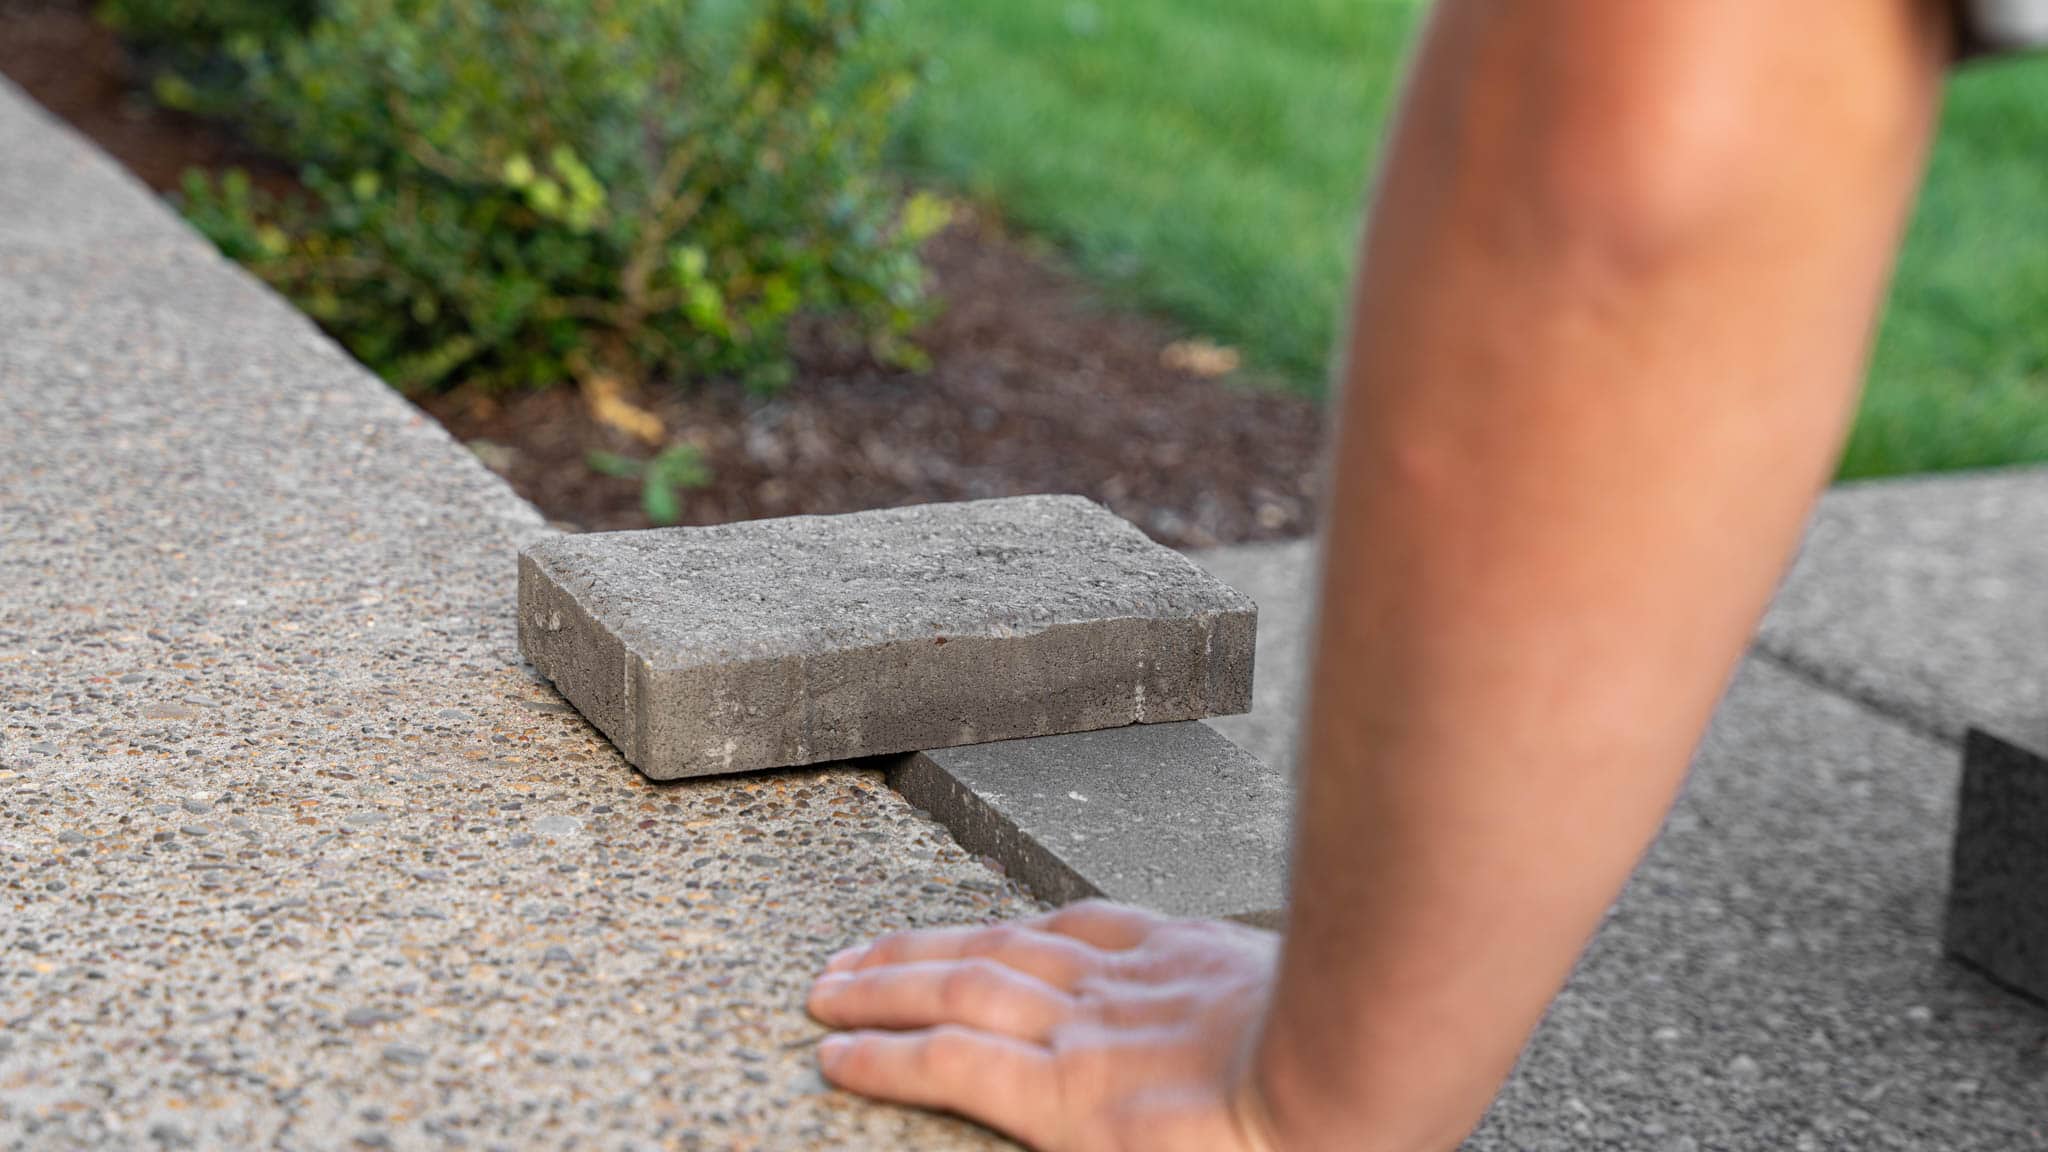
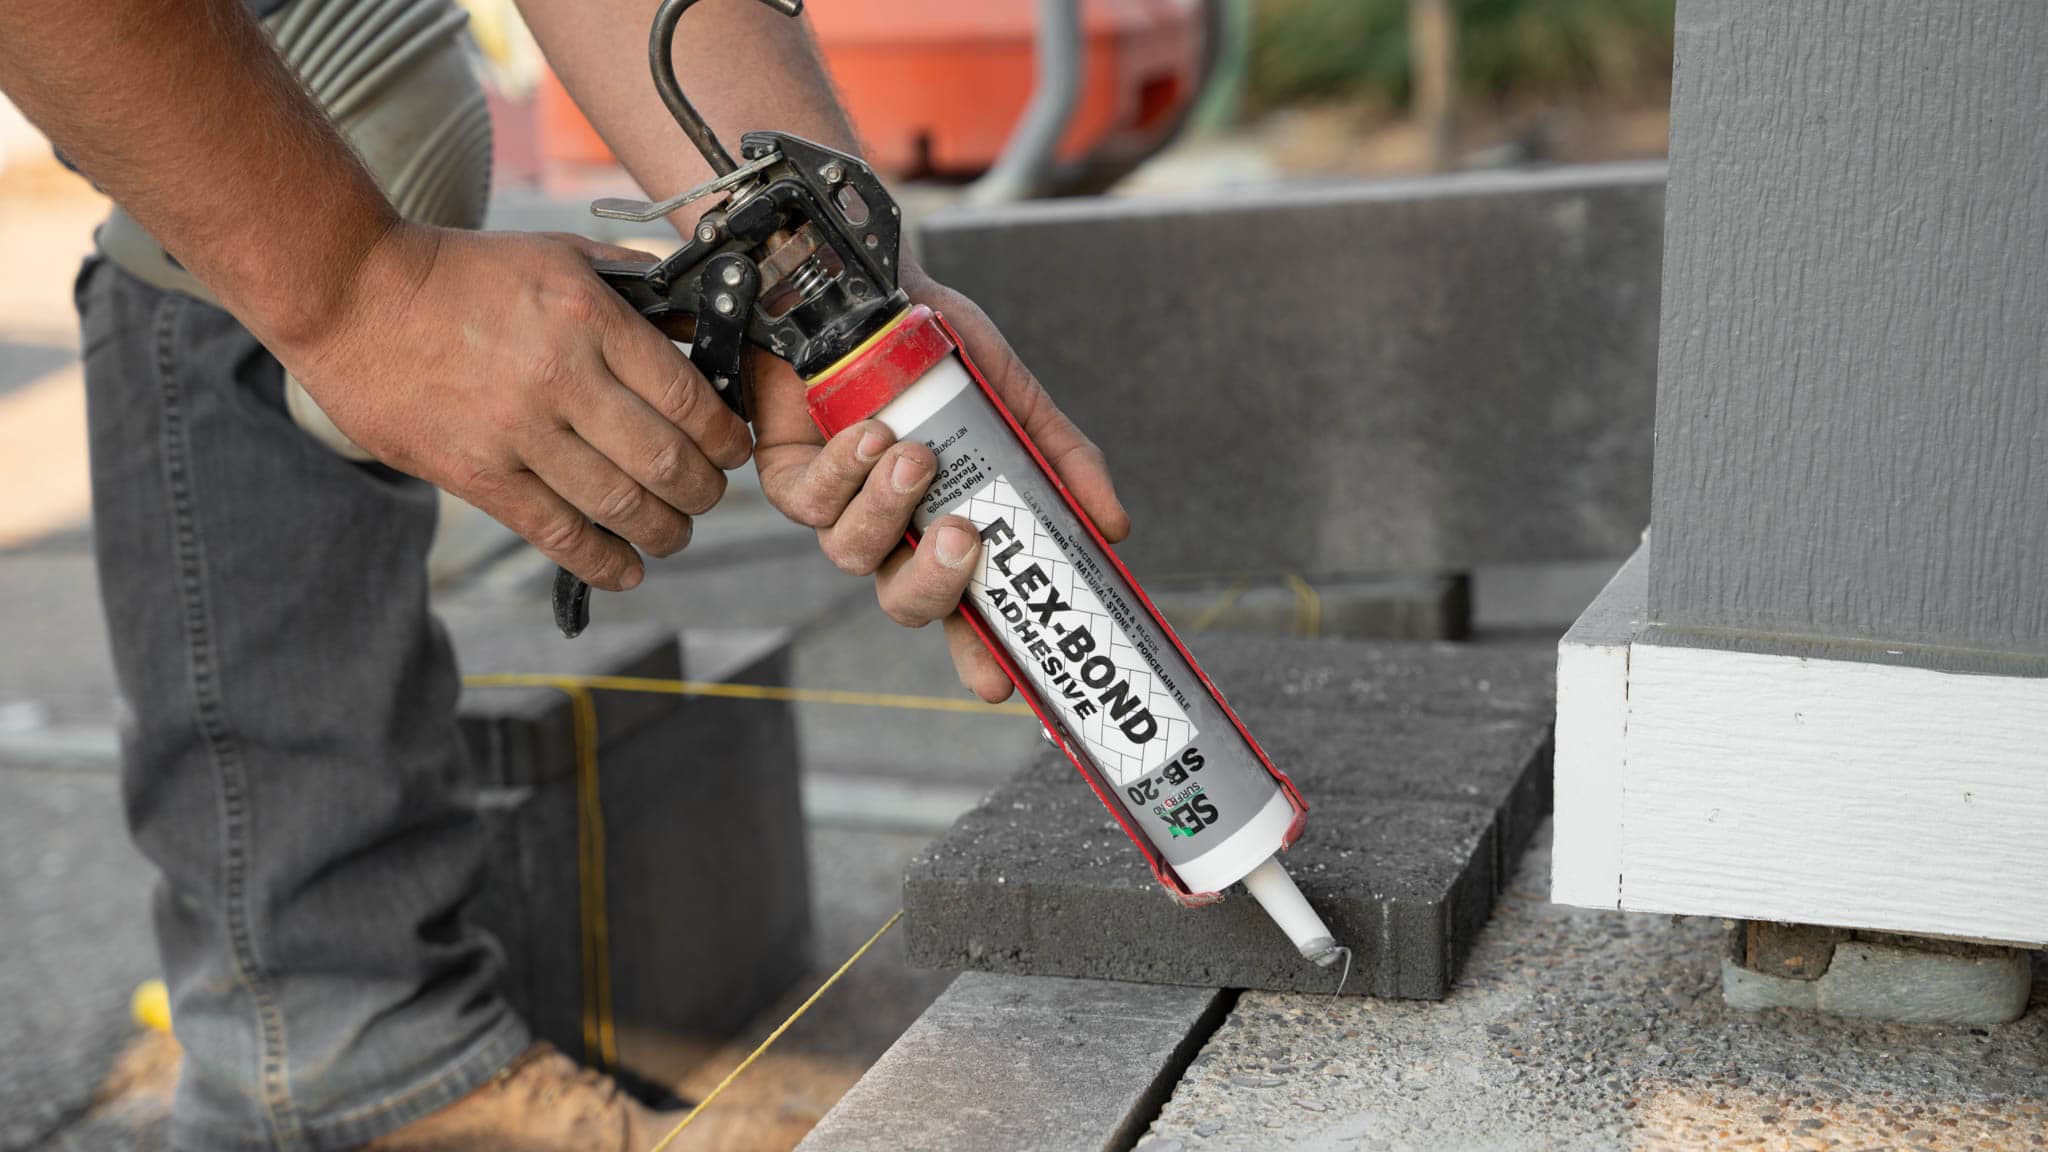
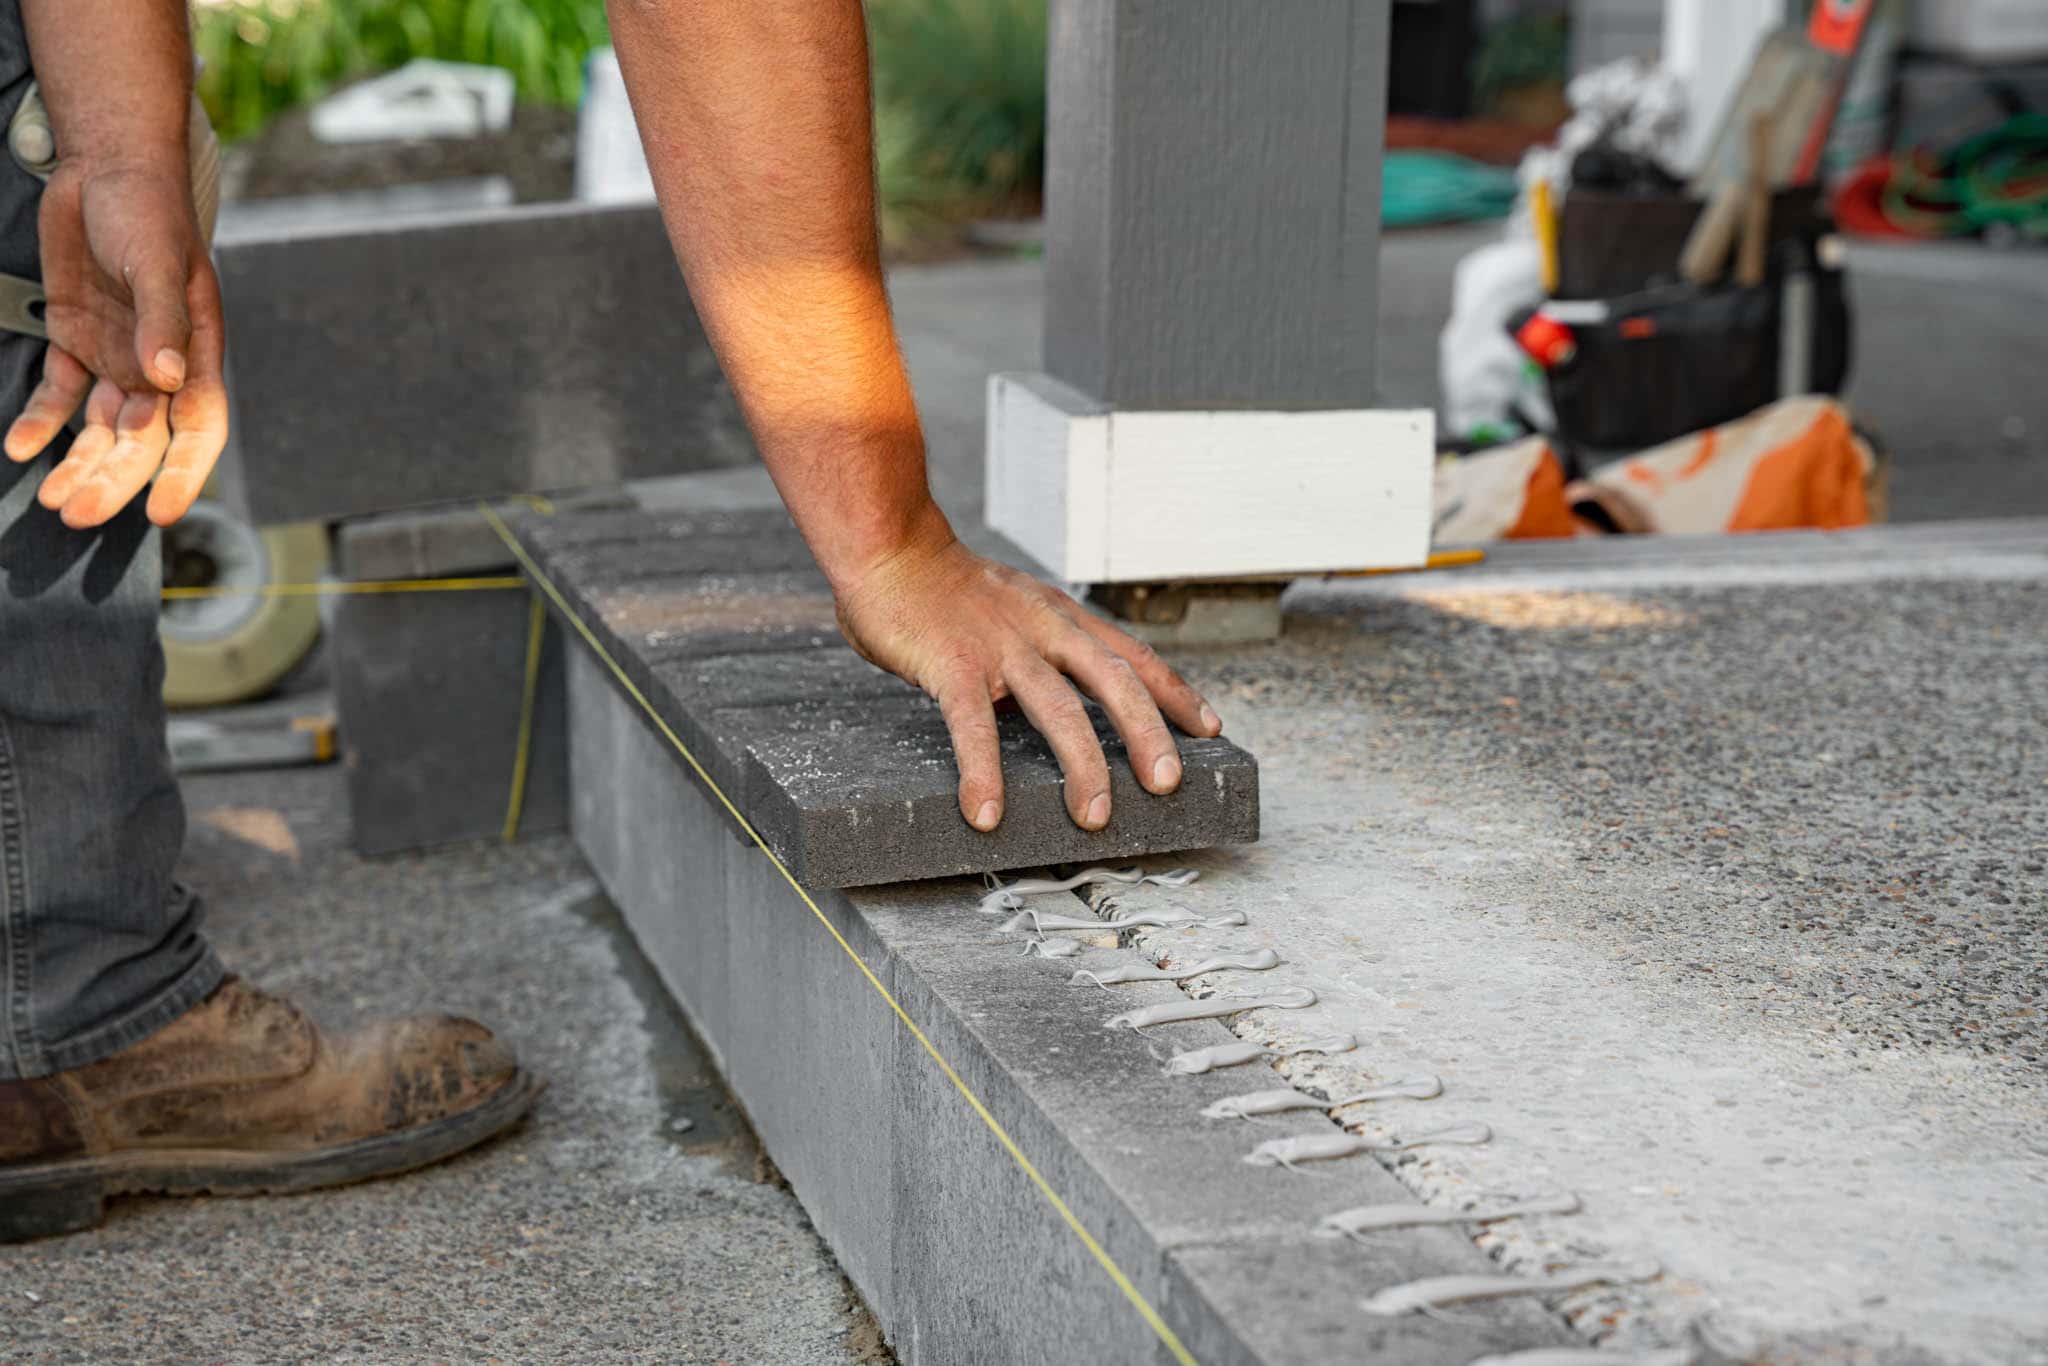
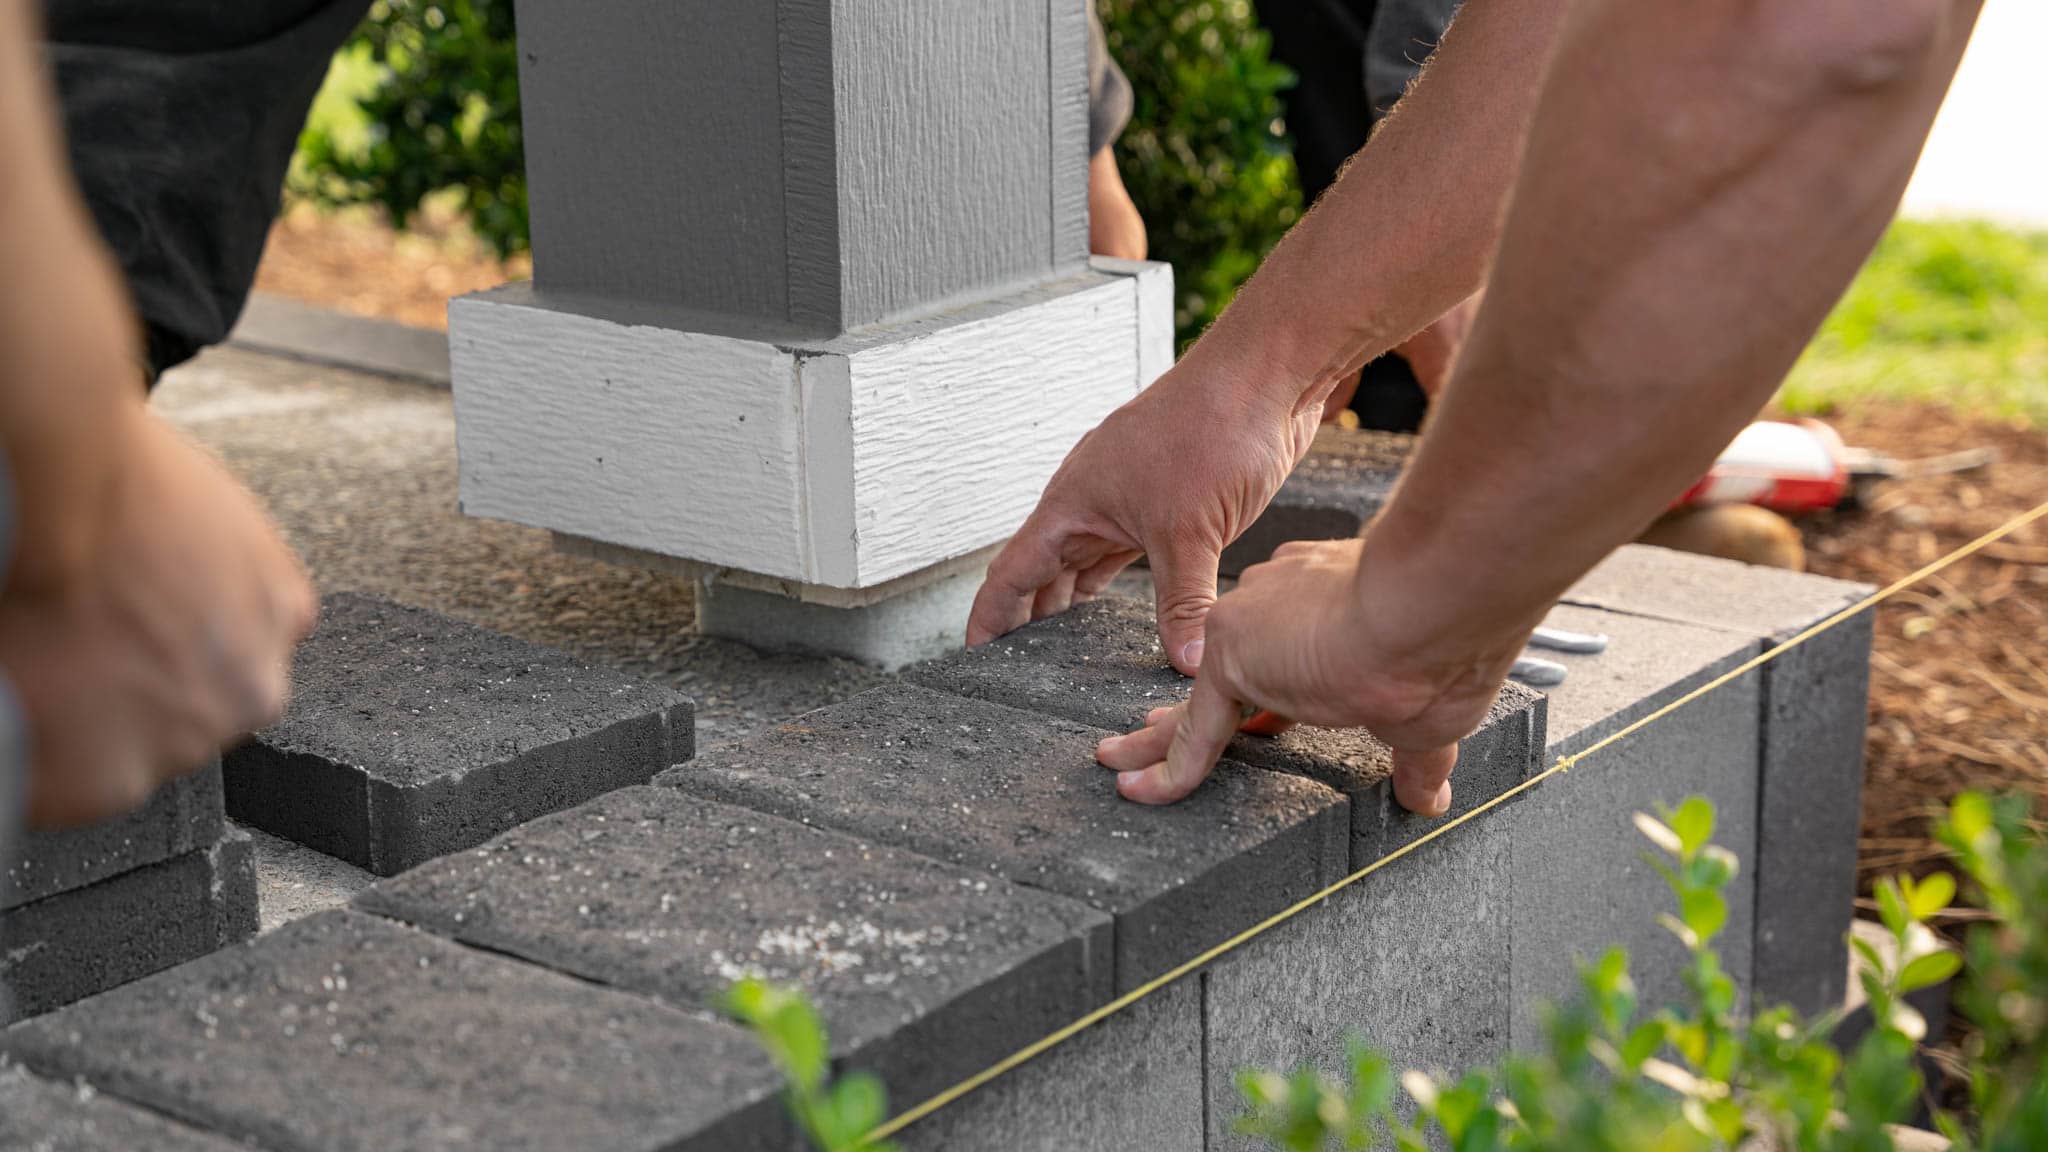
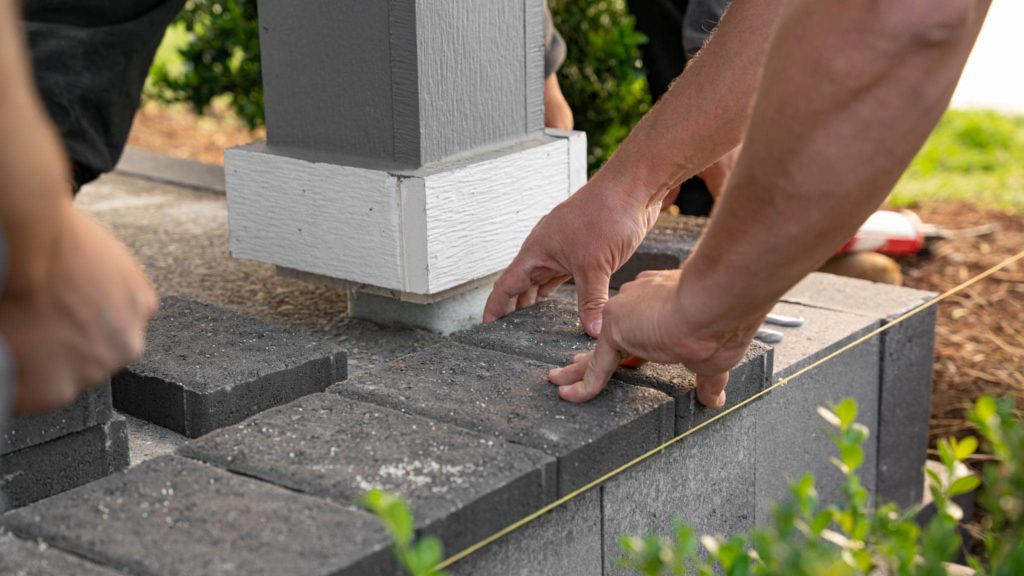
Next, you’ll want to glue your paver border to the outside perimeter of the concrete area that you’re going to overlay. Since we placed a wall block to the face of our concrete, we’re gluing the paver border to the top of that.
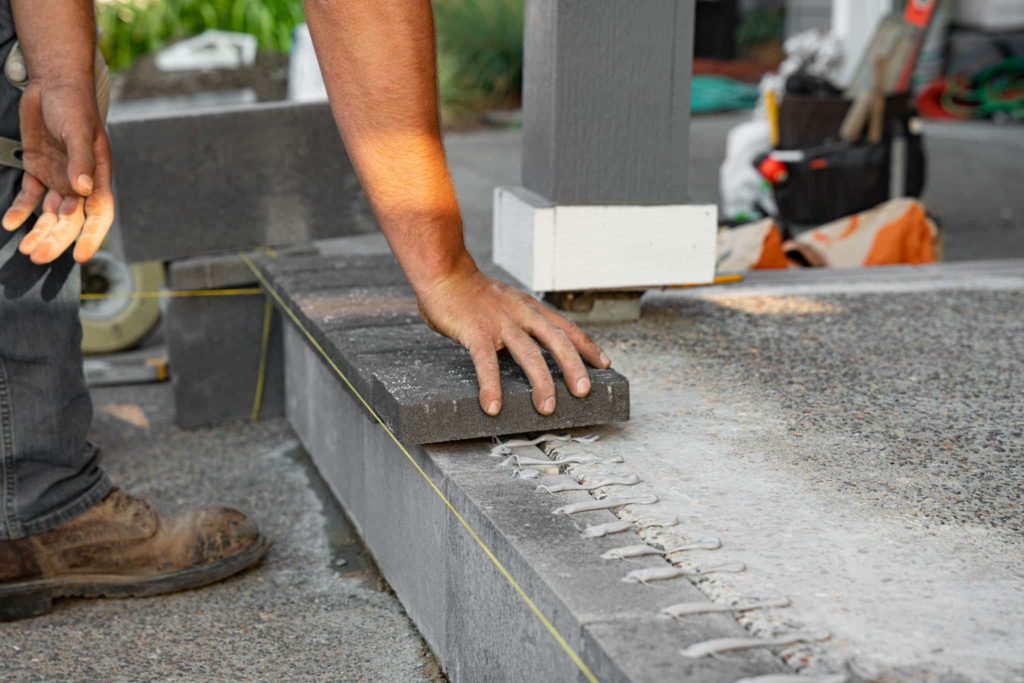
We recommend using SEK SB-20 Flex-Bond Adhesive. This is a high-strength hybrid adhesive combining the flexibility of silicone and the bond strength of polyurethane.
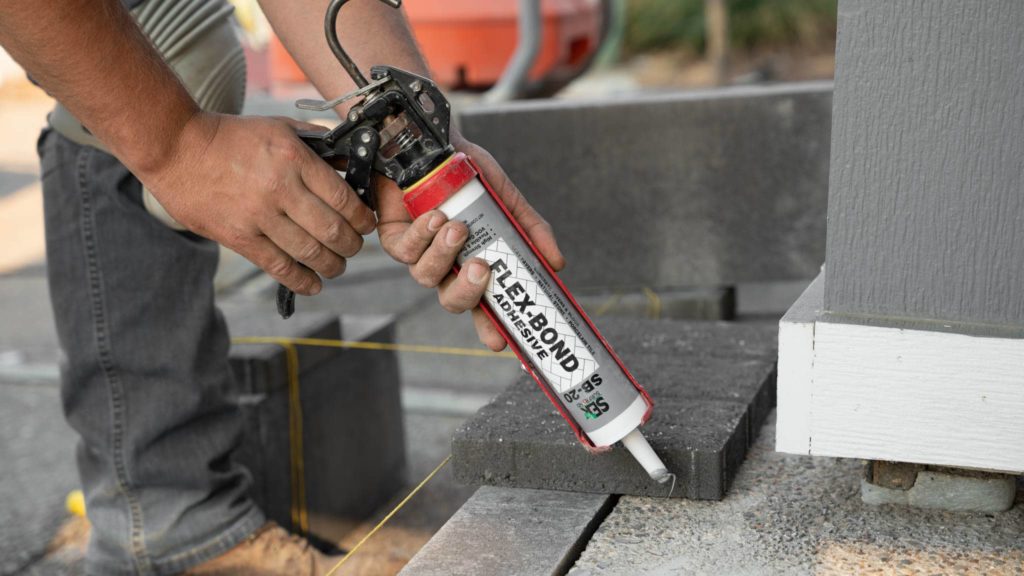
Its solvent-free formula provides superior durability to withstand the most extreme service conditions. SB-20 Flex-Bond’s high viscosity helps you level and shim coping and caps.
It applies easily with a standard caulking gun to unfrozen surfaces, wet or dry. SB-20 Flex-Bond’s moisture cure system achieves full cure in 24 hours.
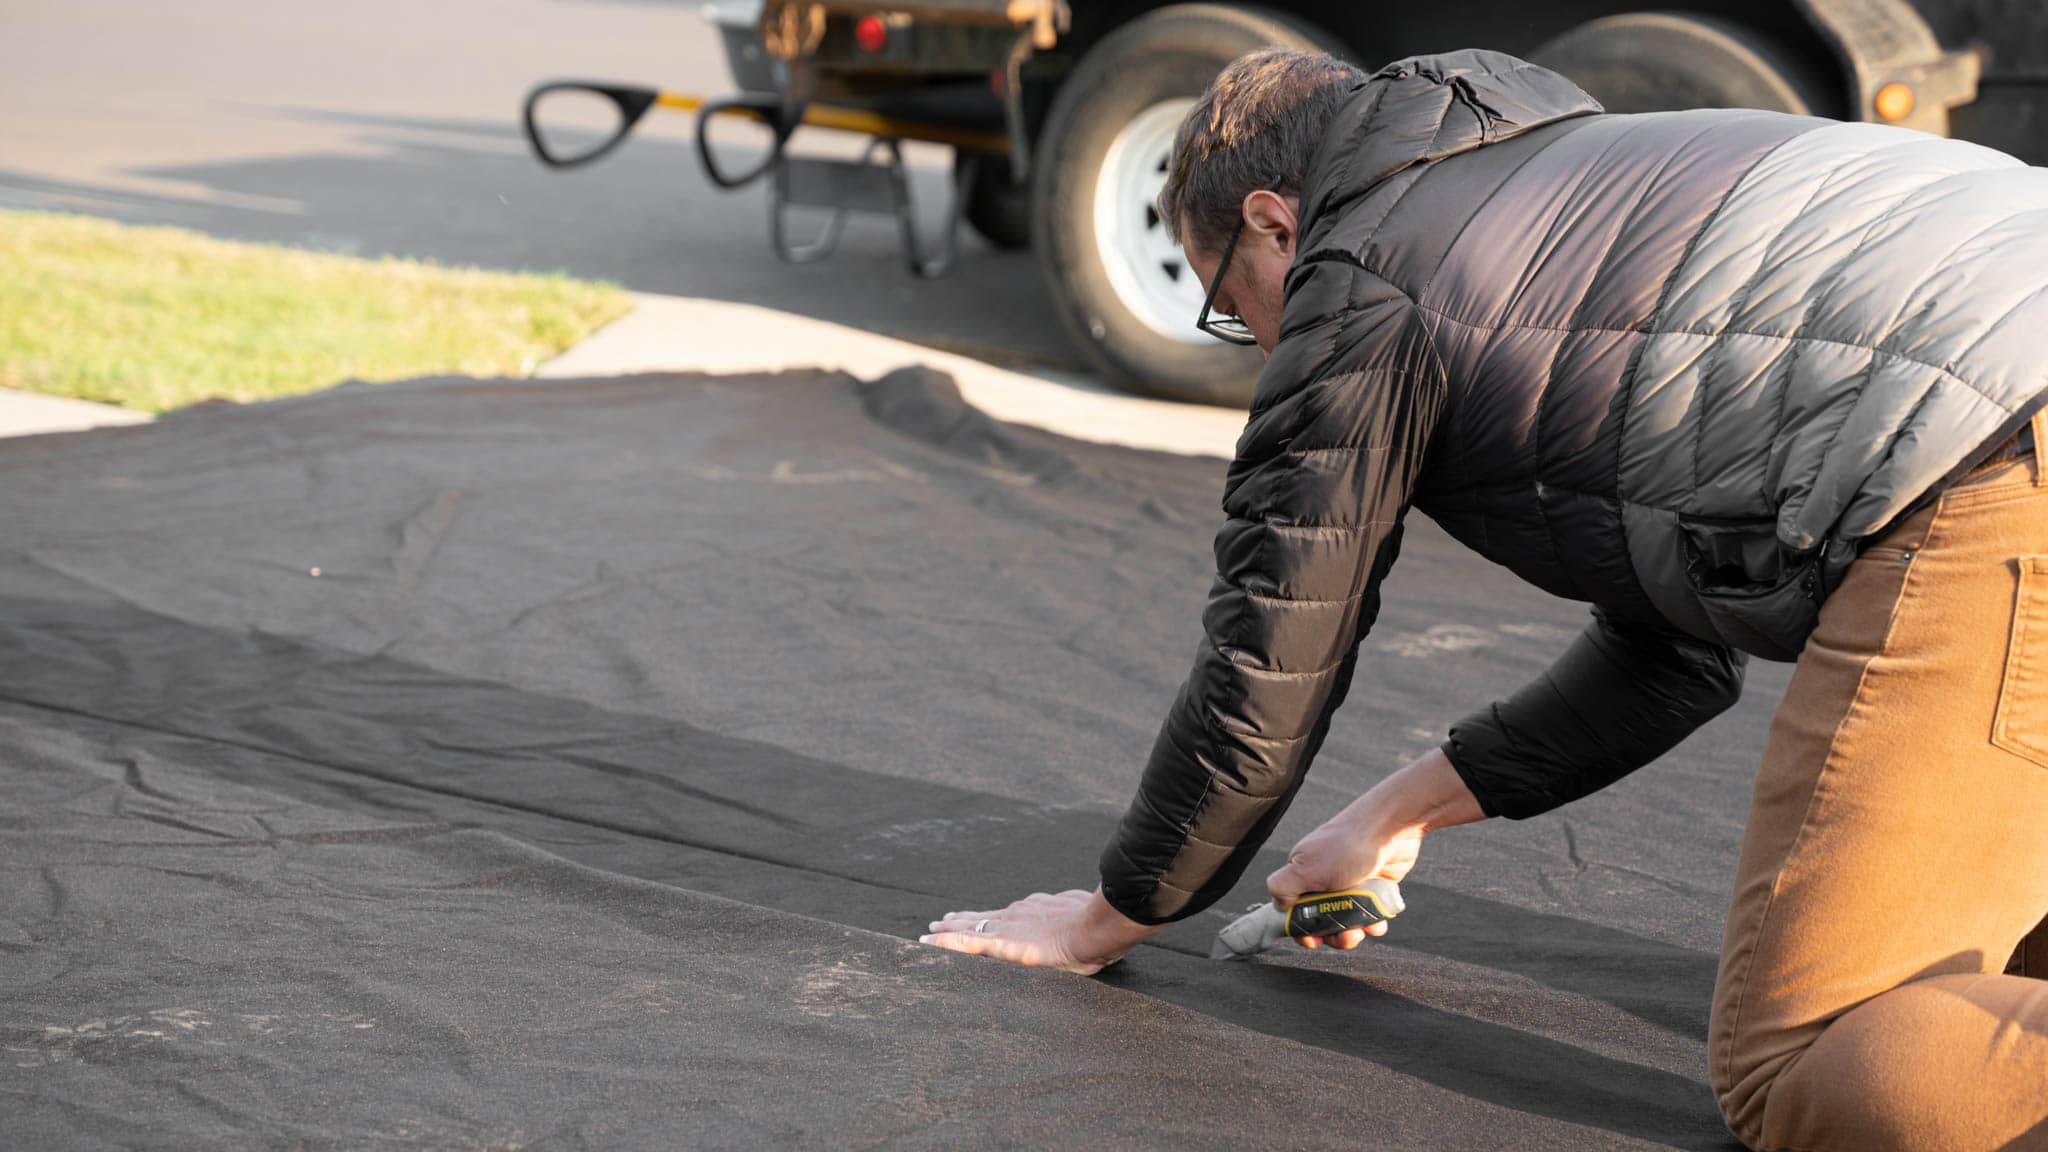
4. Lay geo filter fabric over your concrete
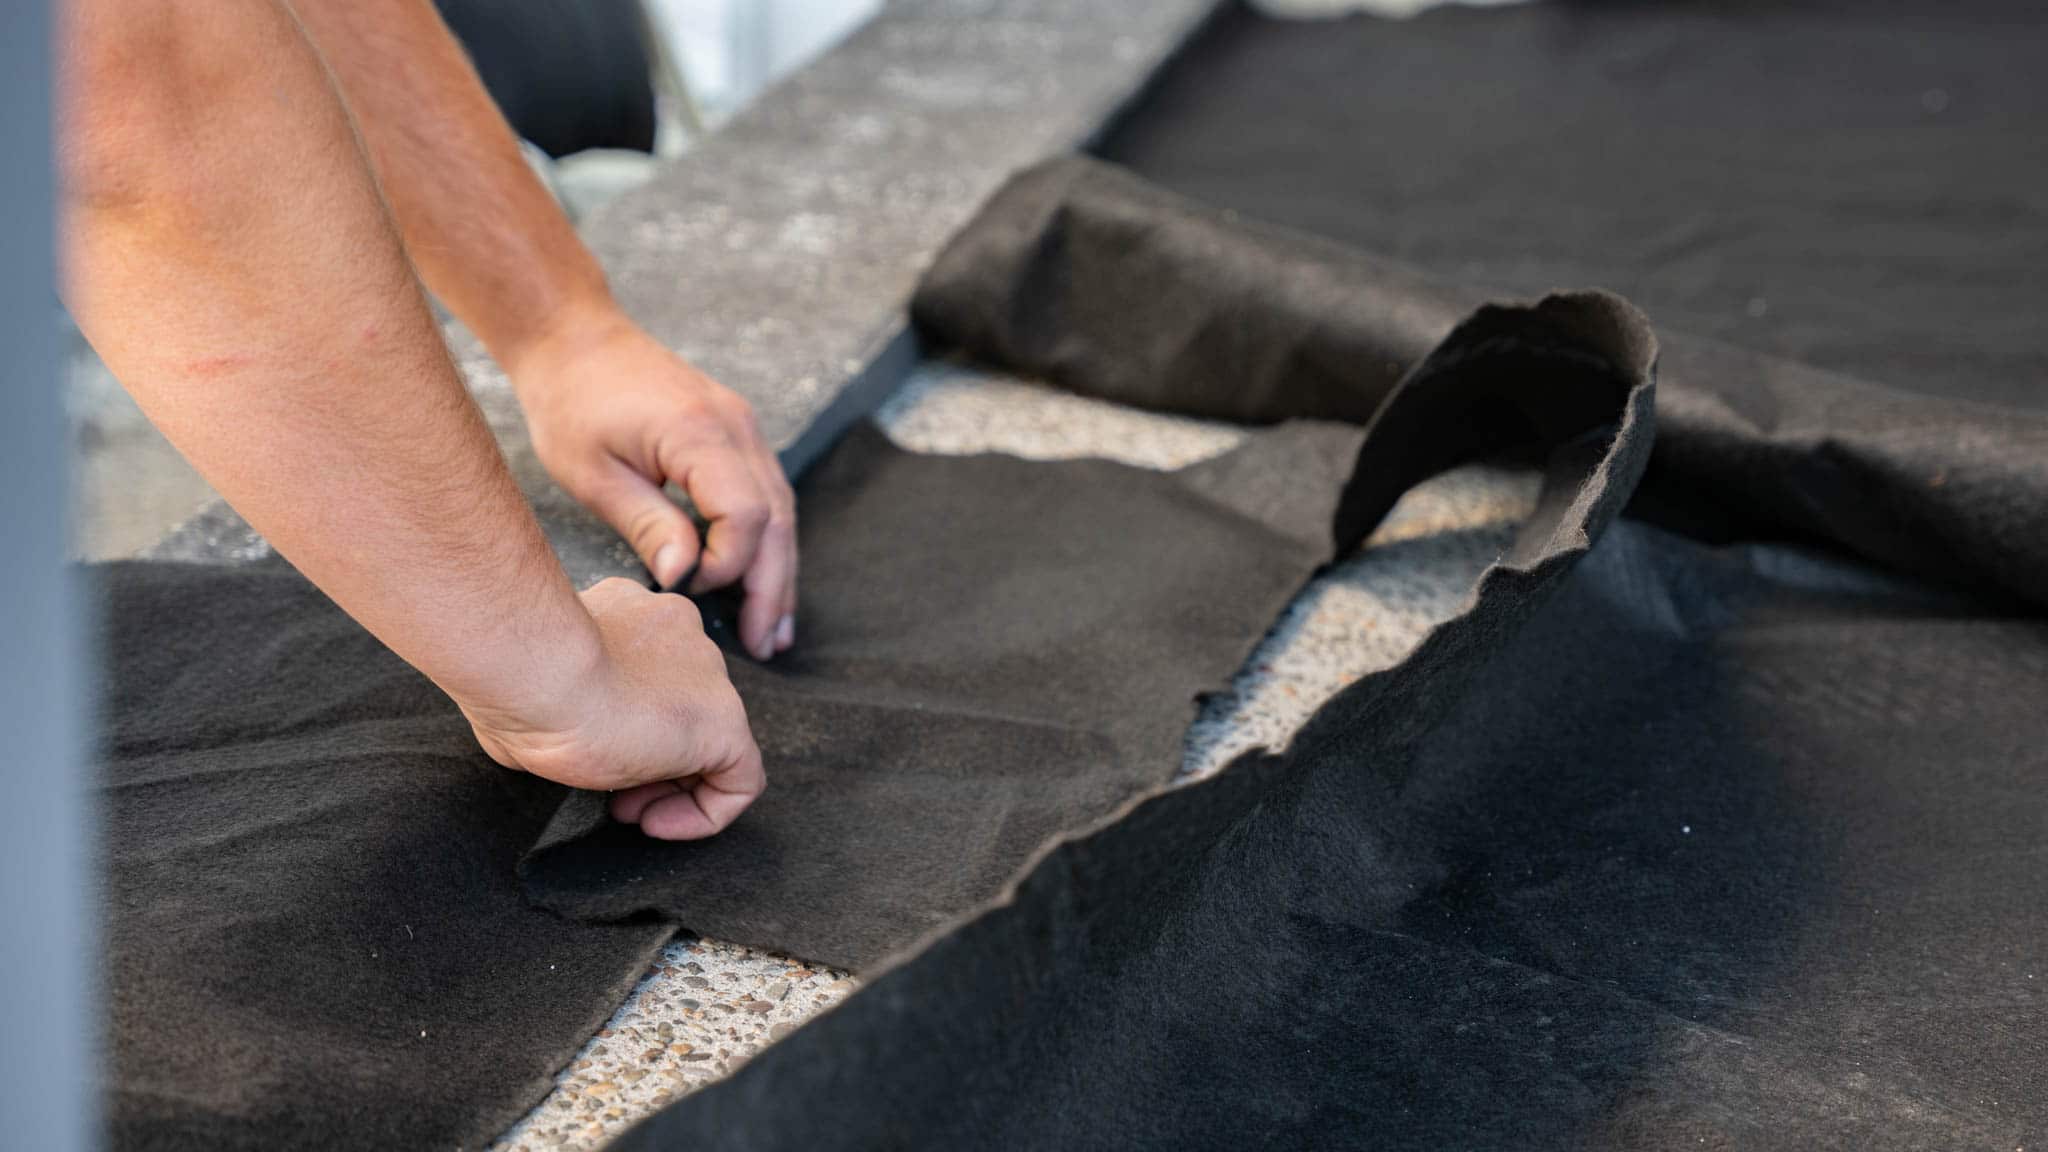
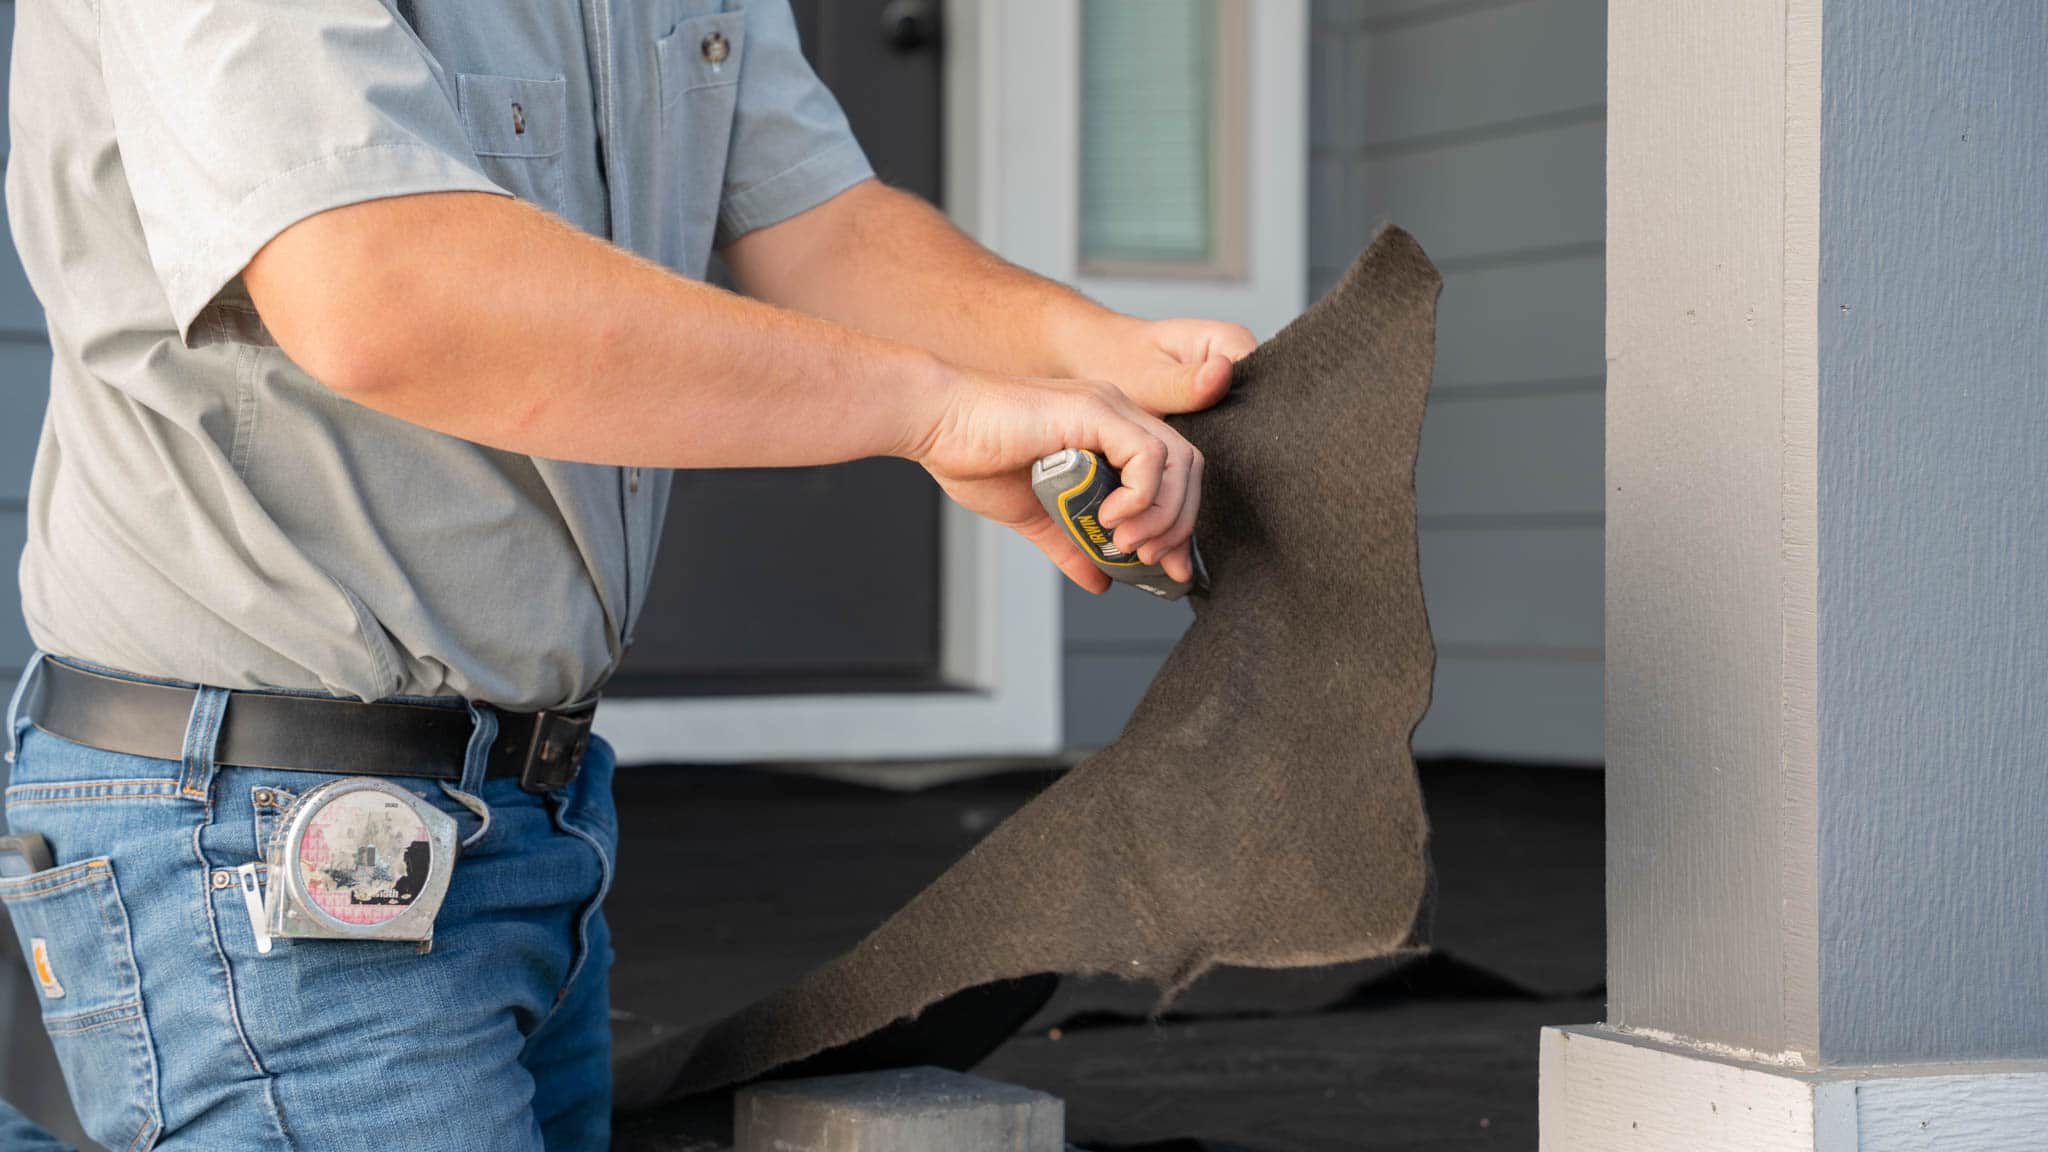
The main purpose of this geo filter is to retain any joint sand that might try to settle through the paving stones. It also helps retain any bedding sand used to split the difference of humps and bumps in the concrete.
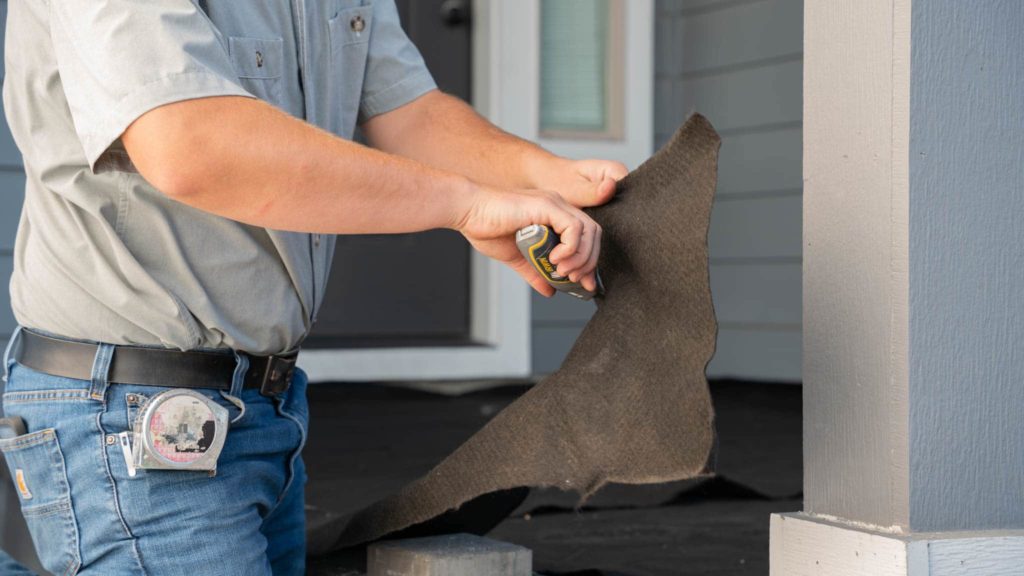
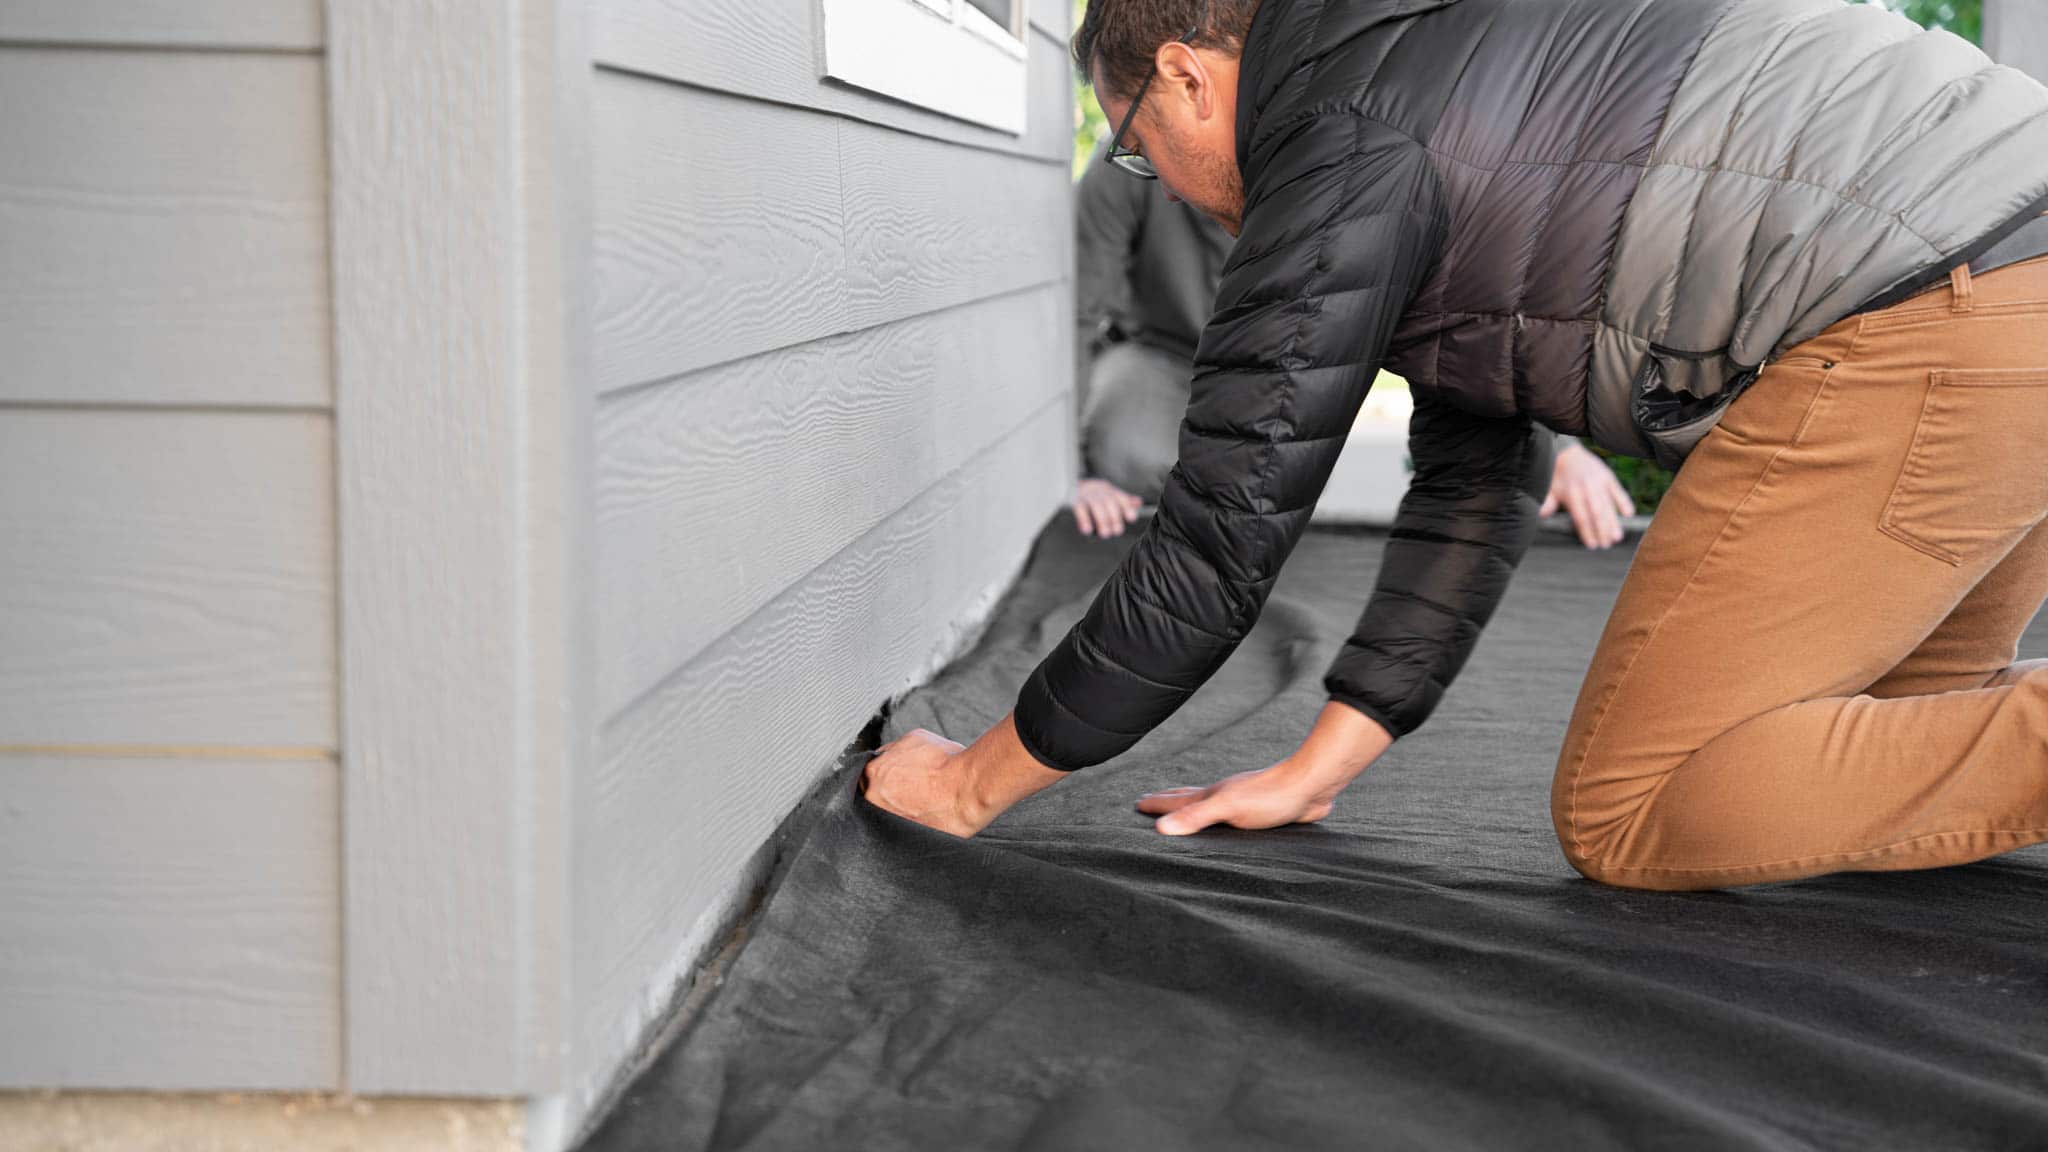
You’ll want to cut it to size, trying to keep it in one piece as much as possible. If you need to cut smaller pieces for corners or to go around posts, just leave some overlap so you don’t have any exposed concrete.
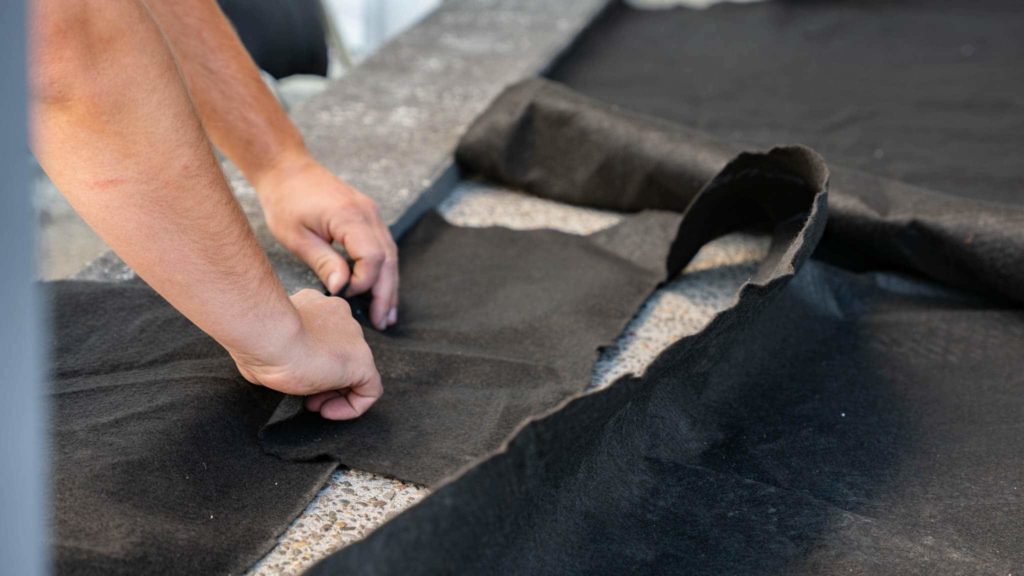
You’ll also need to make sure you run the geo fabric up the sides of your border, including next to your house, if applicable, to keep any sand from migrating below the fabric in the next step.
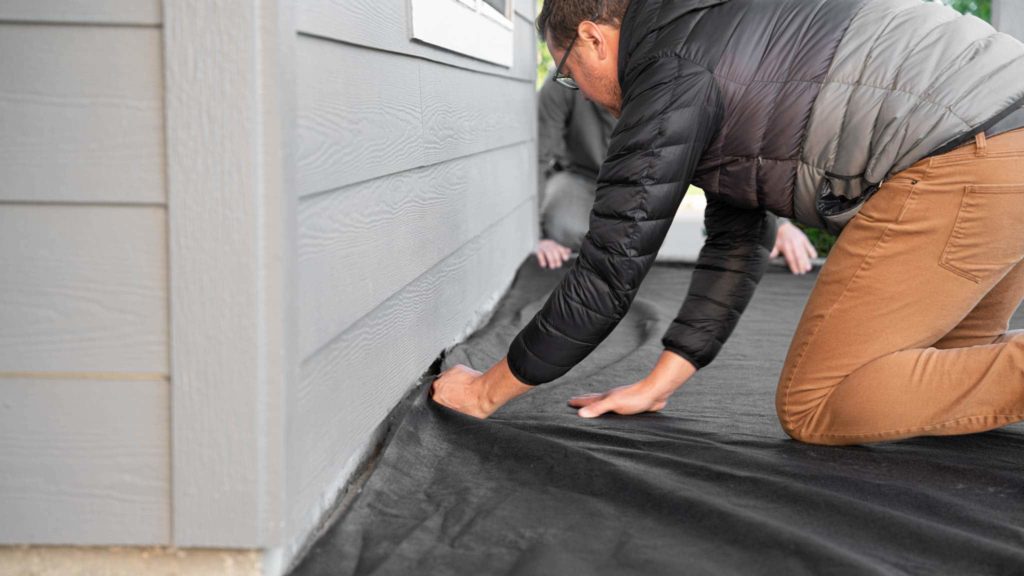
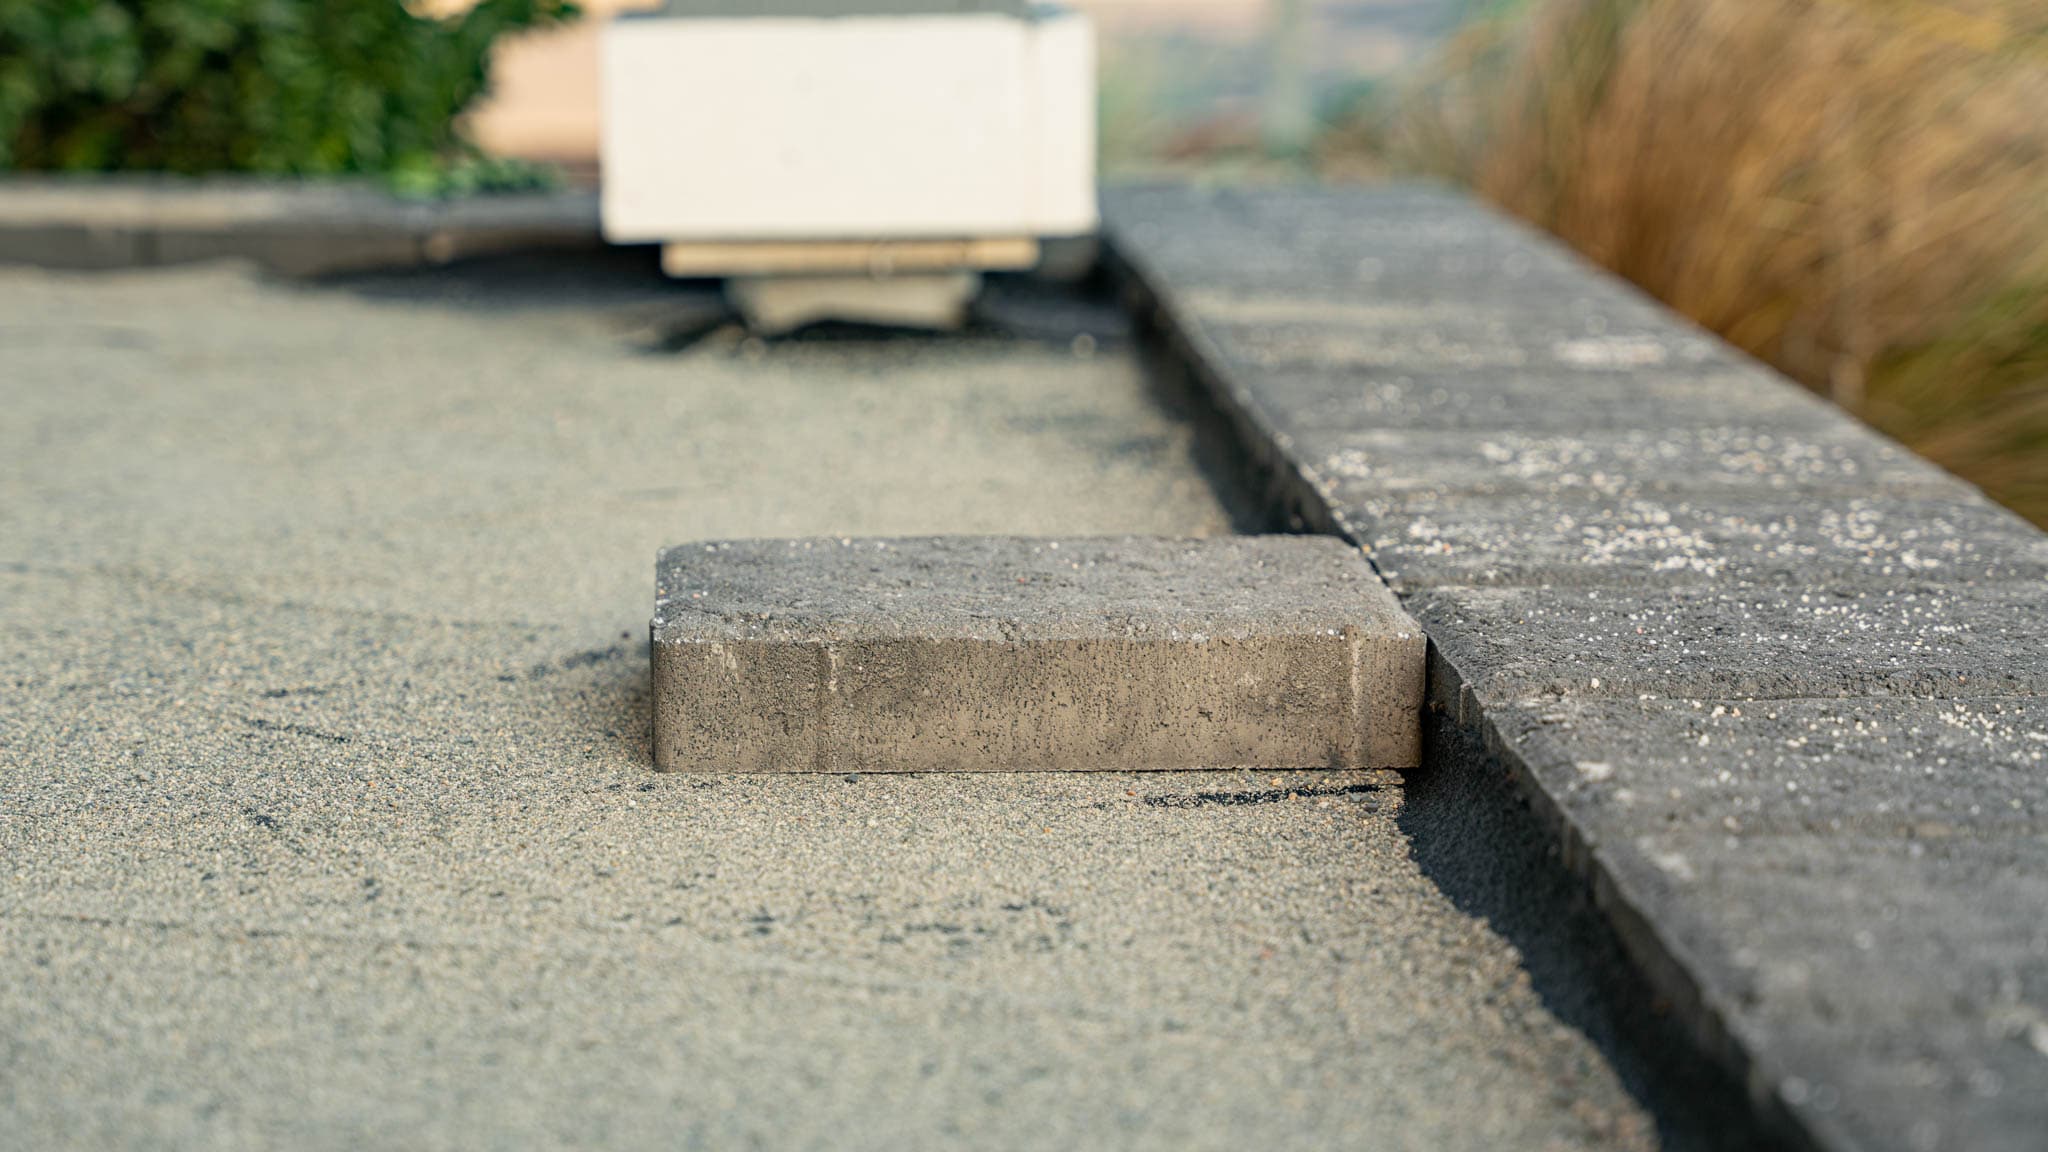
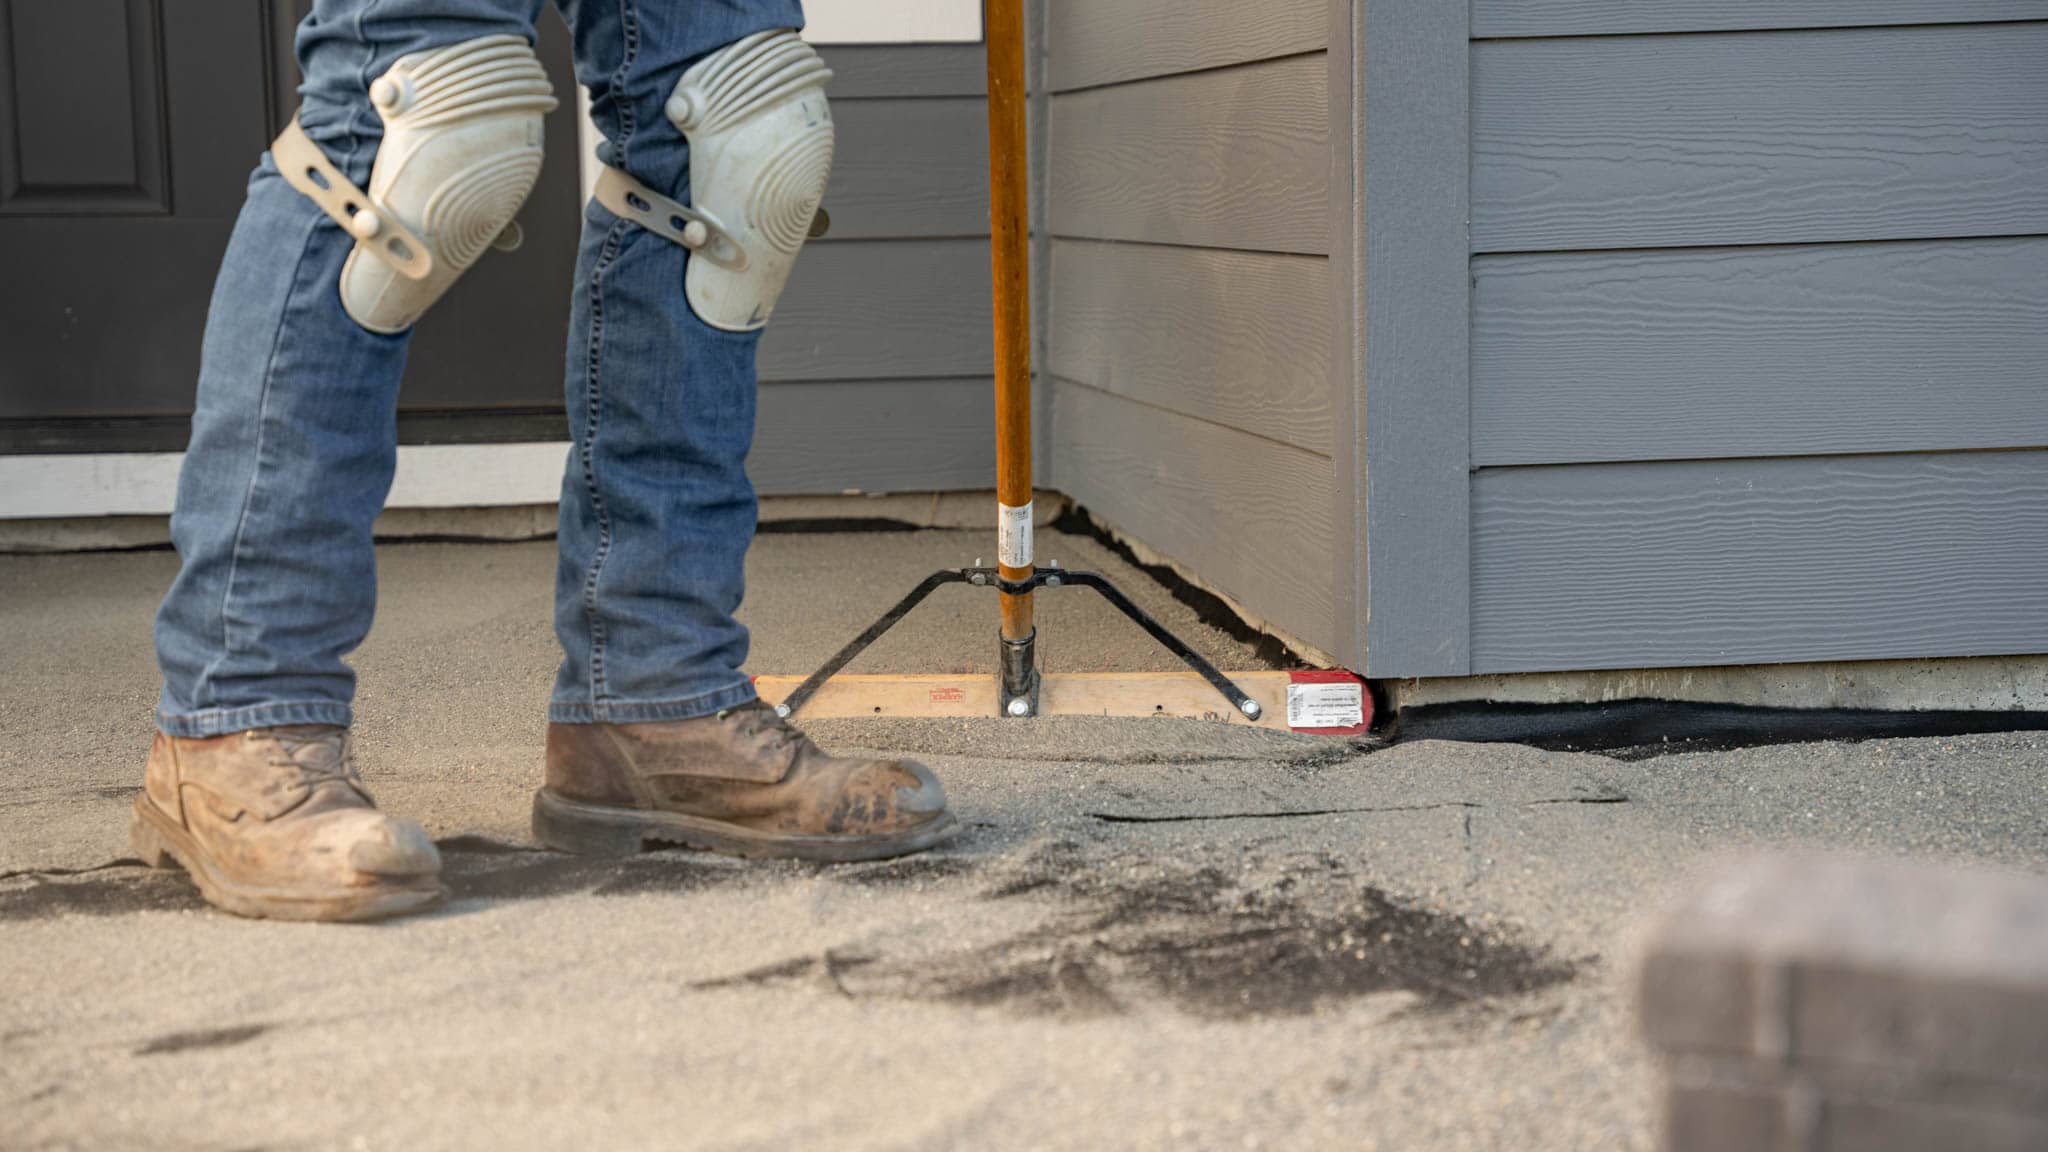
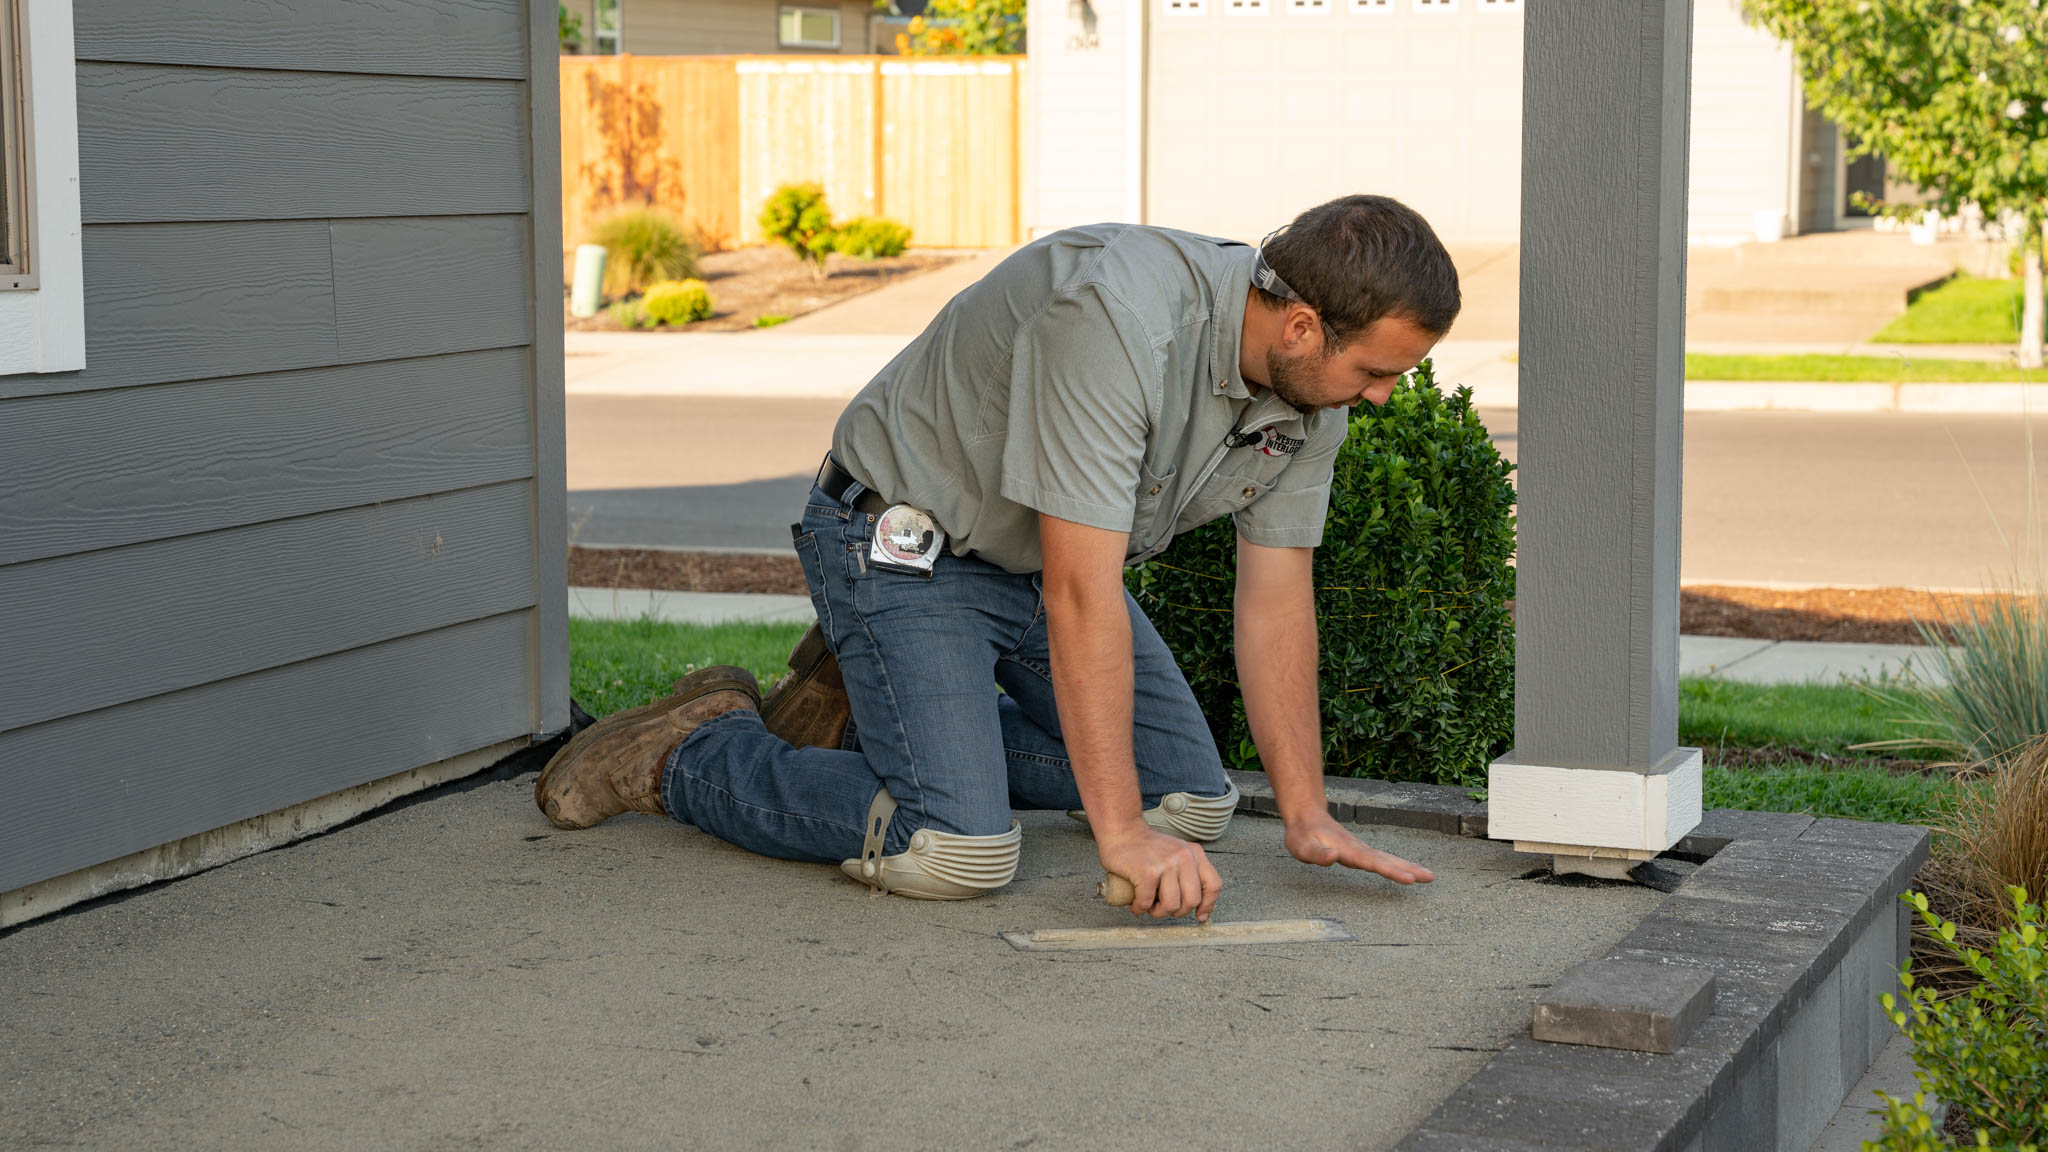
5. Spread a thin layer of sand over your filter fabric
Put a very thin layer of sand down to separate the filter fabric from your pavers. For this step, we used Basalite #1 Fine Sand. It has been screened to provide optimum filtering capacity and creates a smooth finish for various concrete applications.
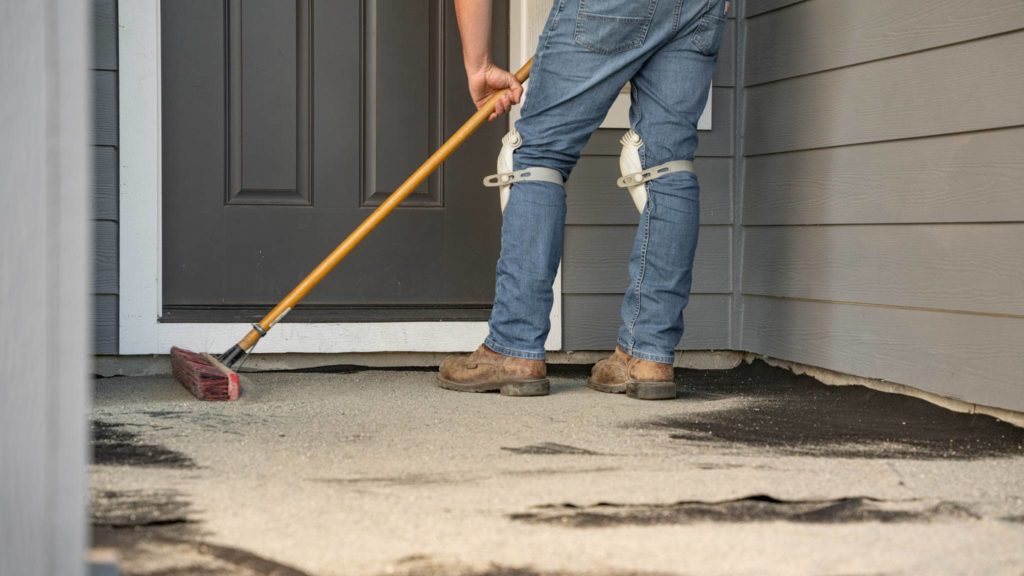
While the bedding layer is here to help bridge any imperfections in the concrete, it’s essentially in place to help reduce moisture transferred through the filter fabric, which can absorb to the paving stones and promote efflorescence.
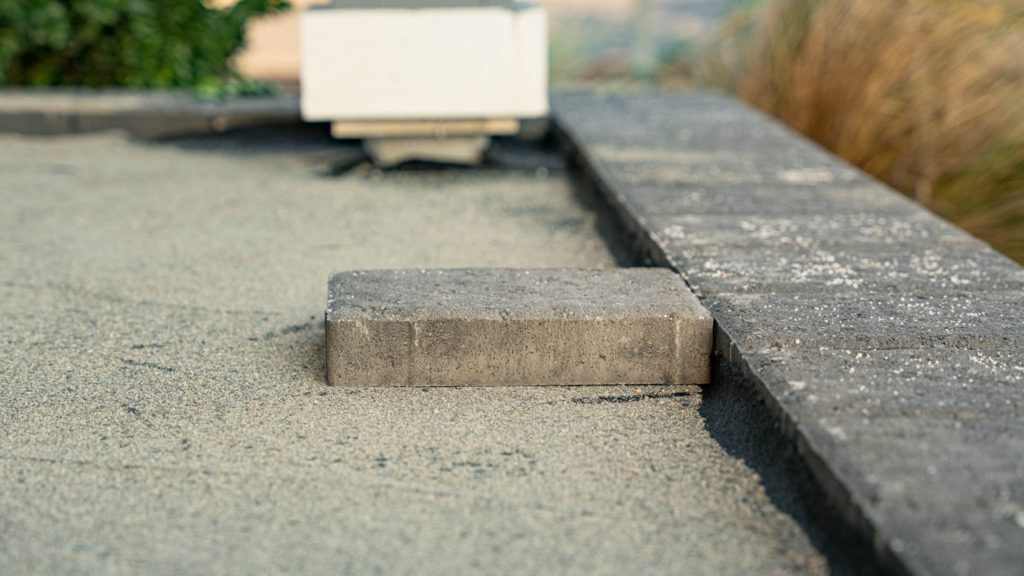
6. Lay patio paving stones or slabs over the bedding layer
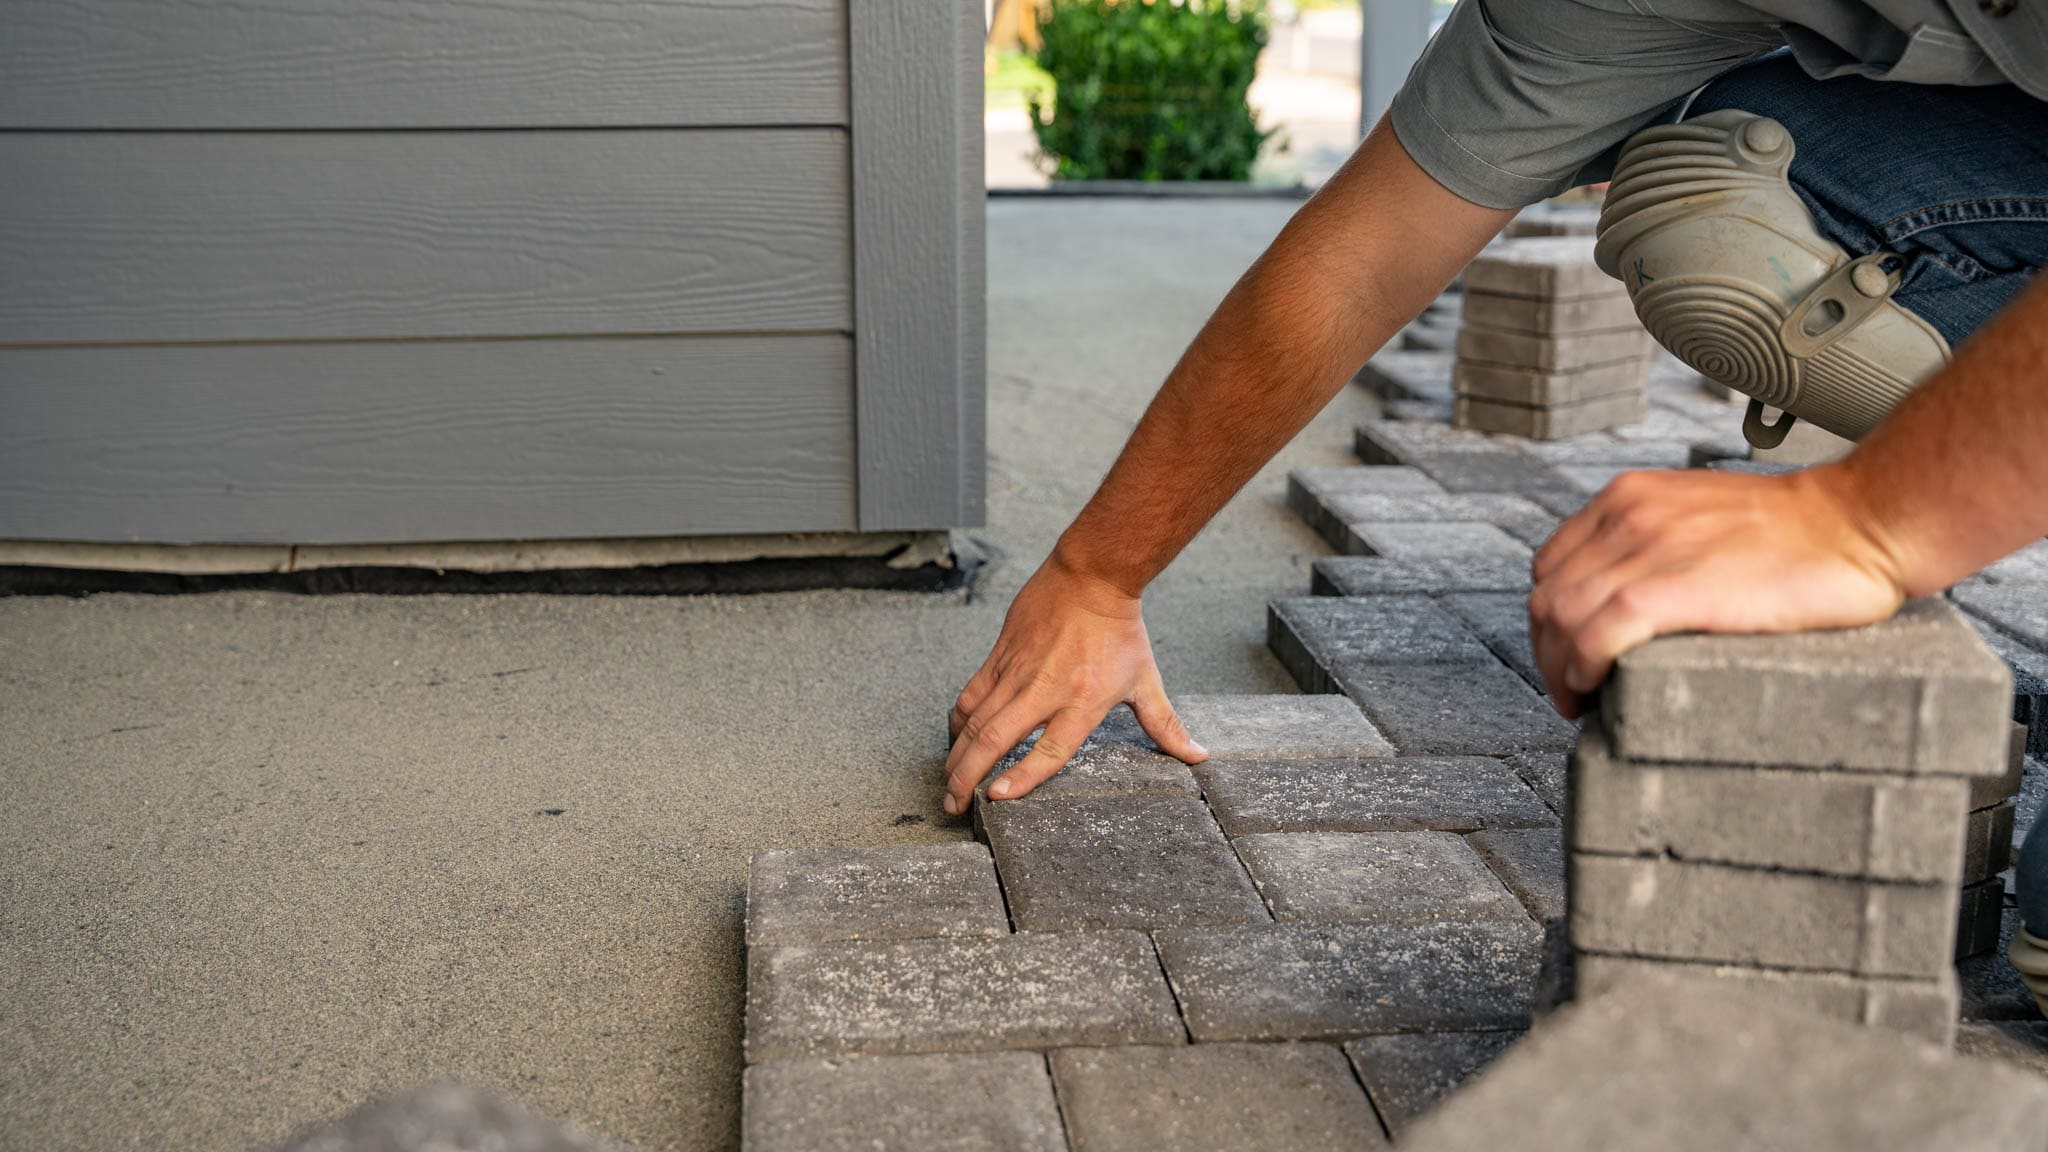
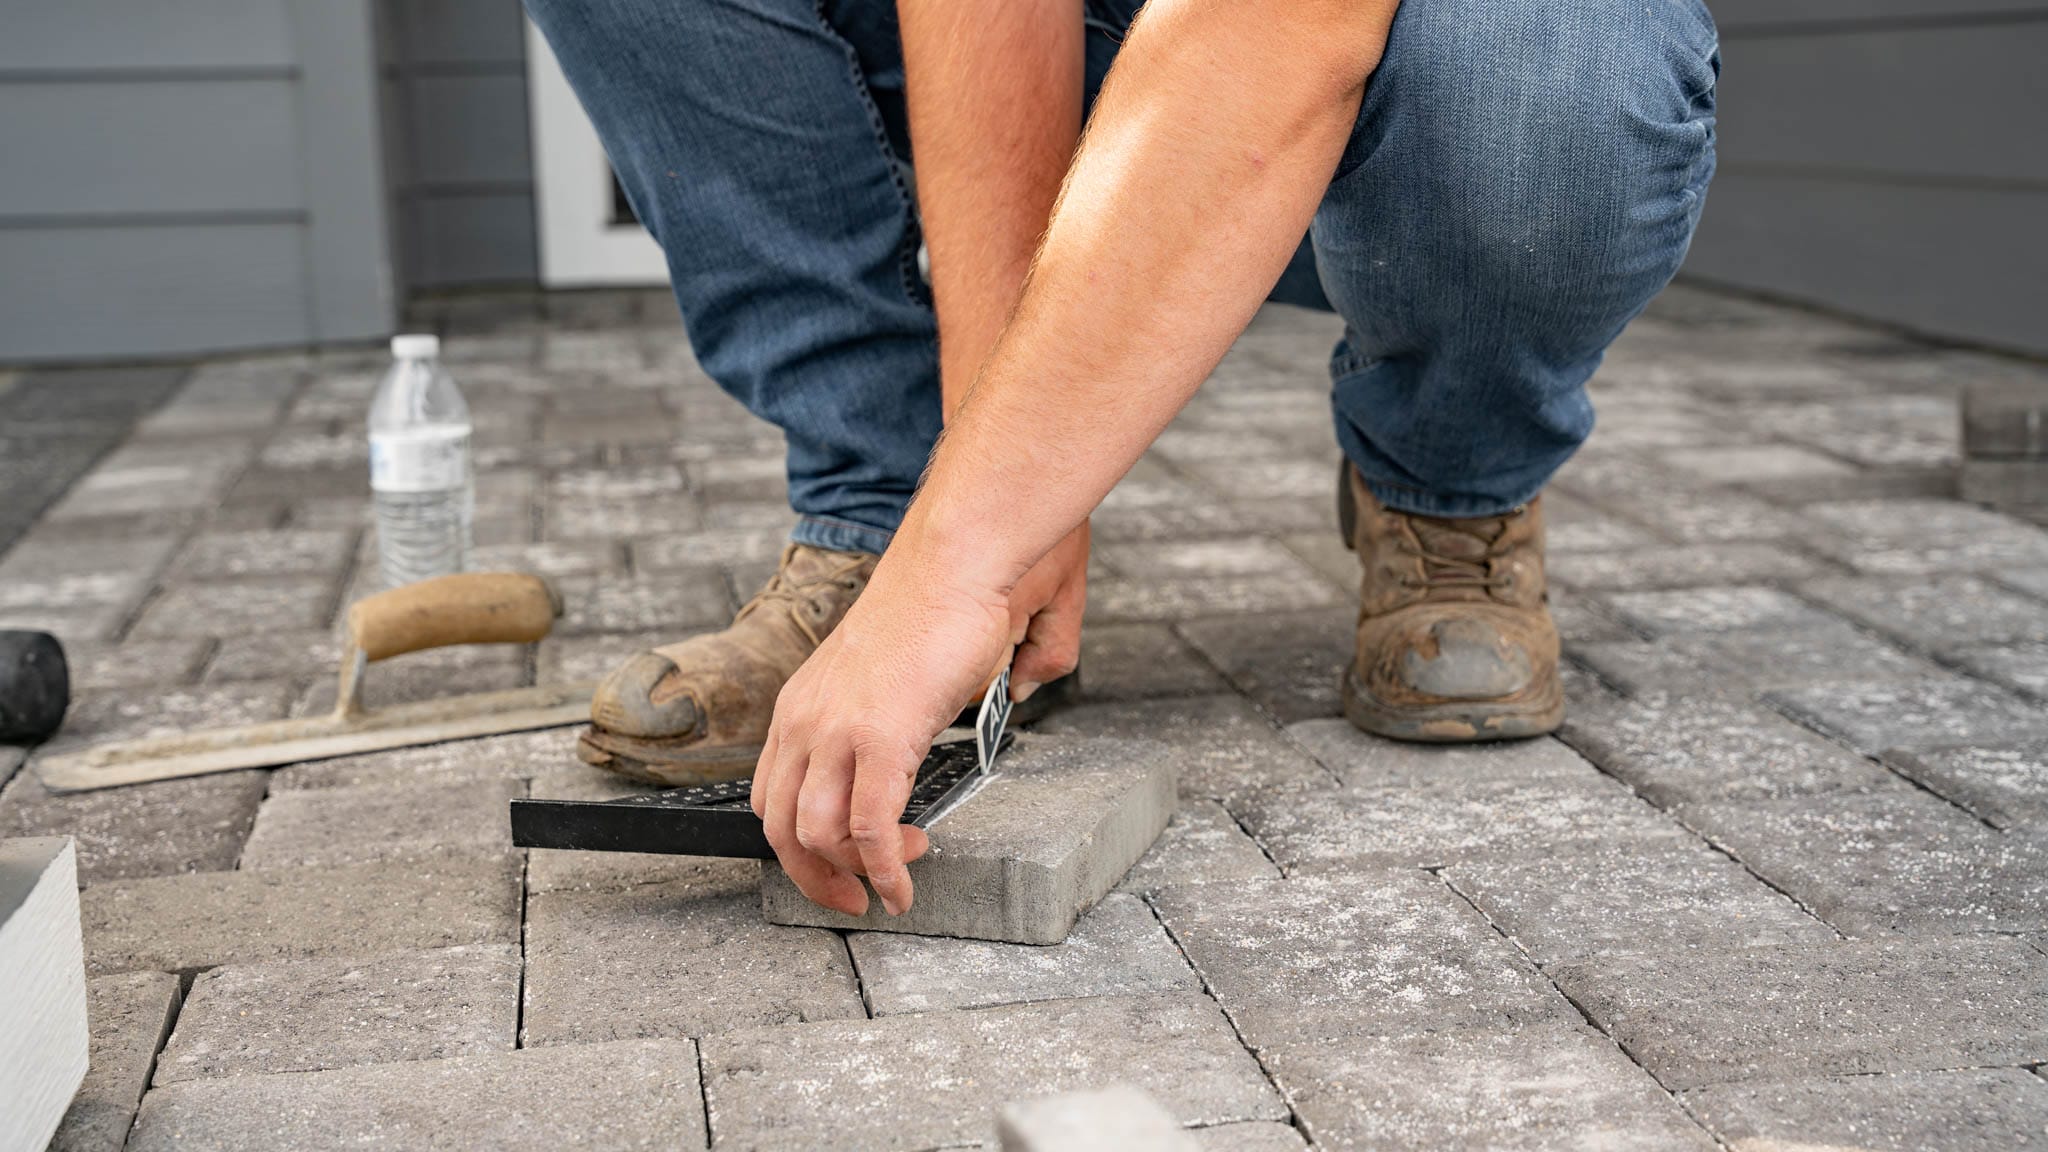
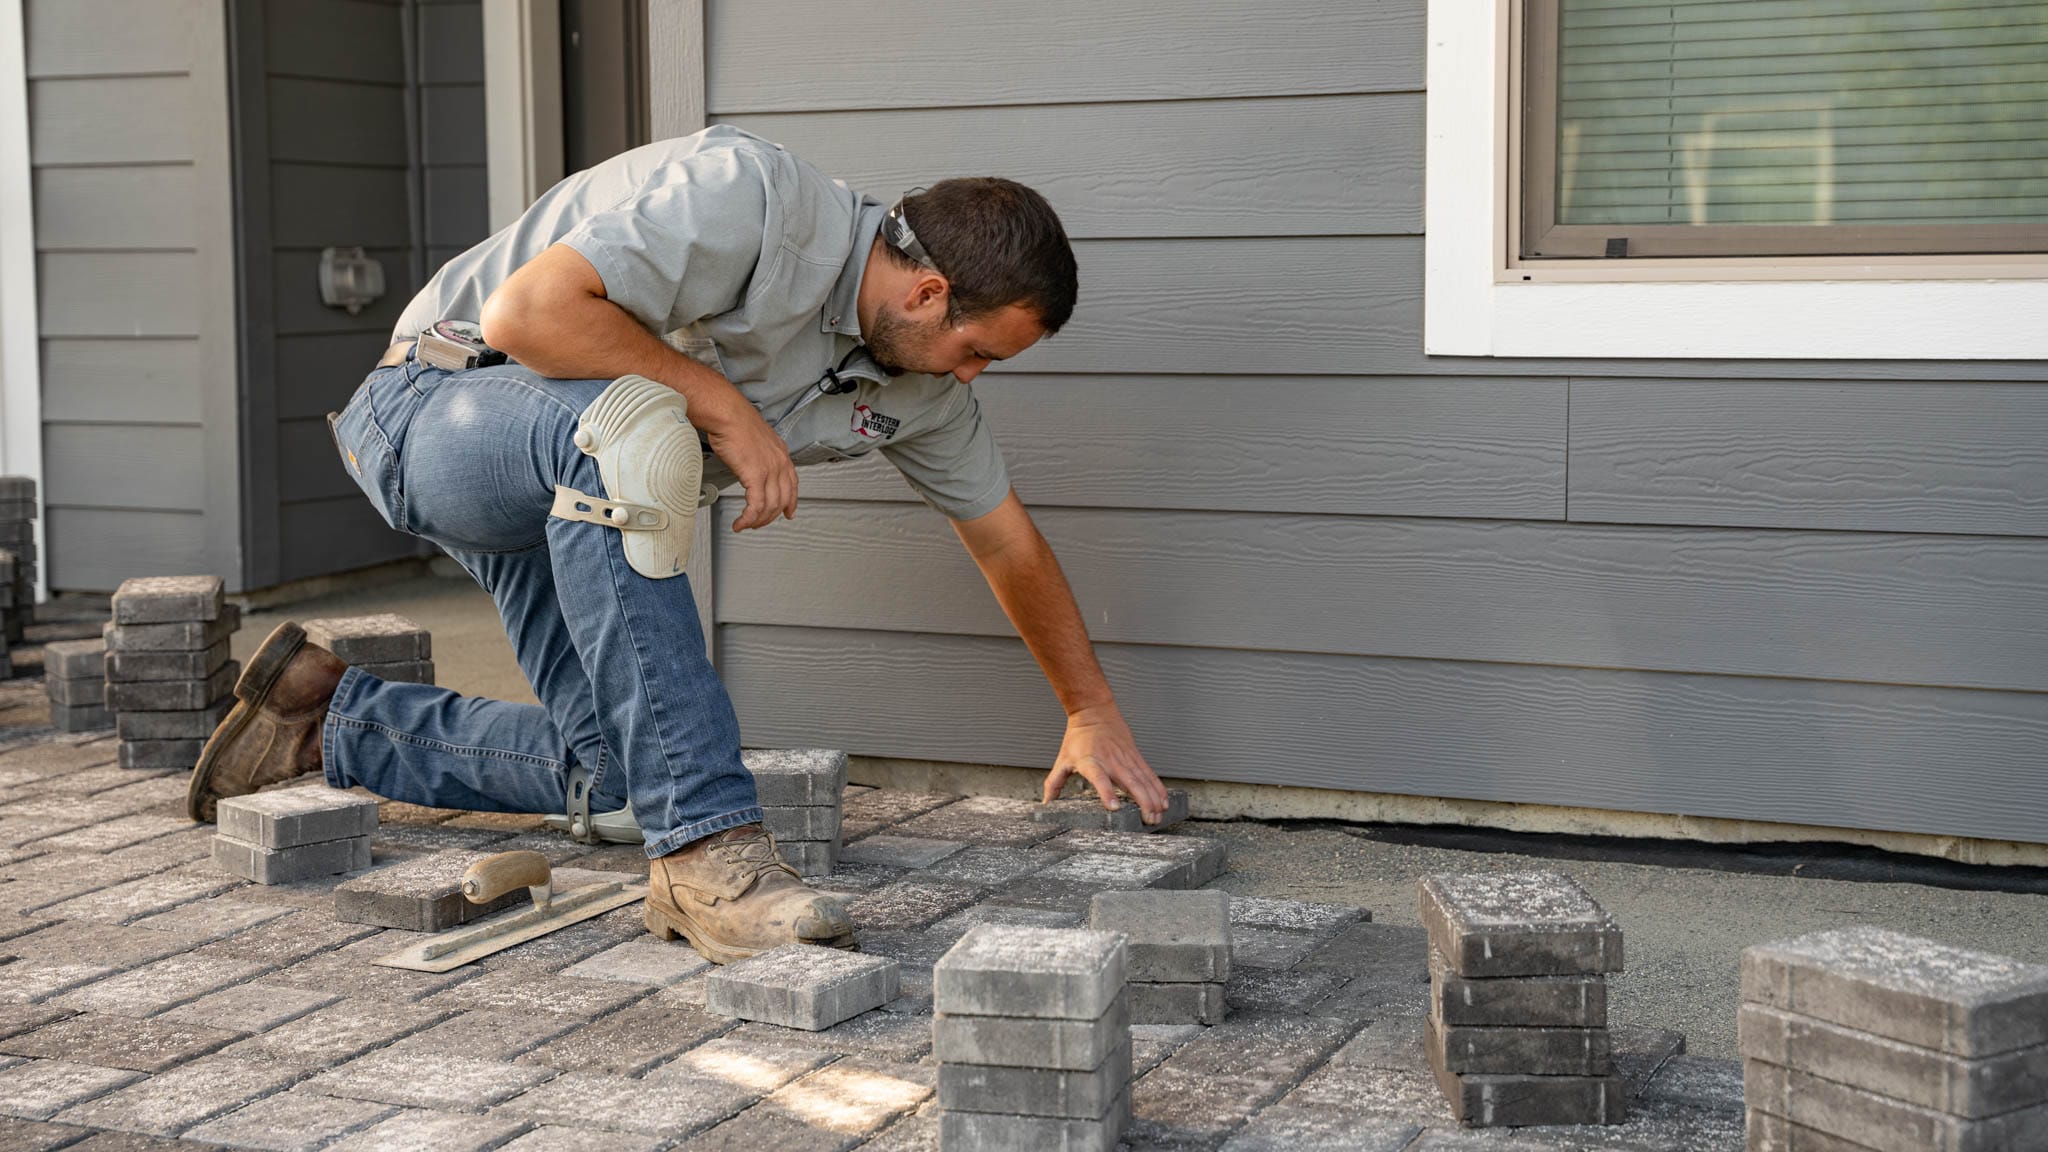
At this point, it’s time to lay your field with pavers. You’ll want to start in a corner and work your way around the border toward the middle.
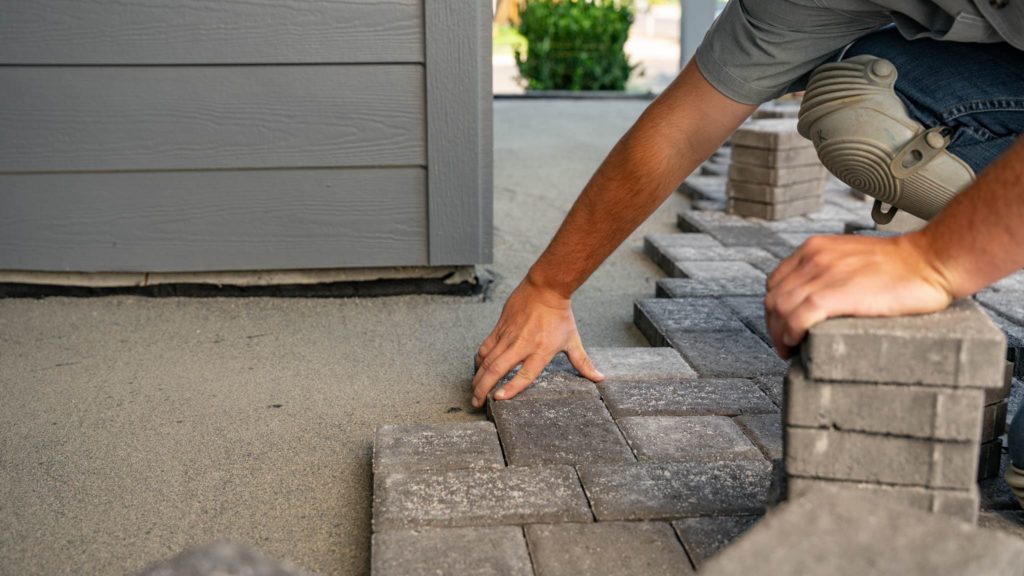
Be sure to use the Click and Drop method so you don’t bulldoze your thin layer of sand. This will result in an uneven surface.
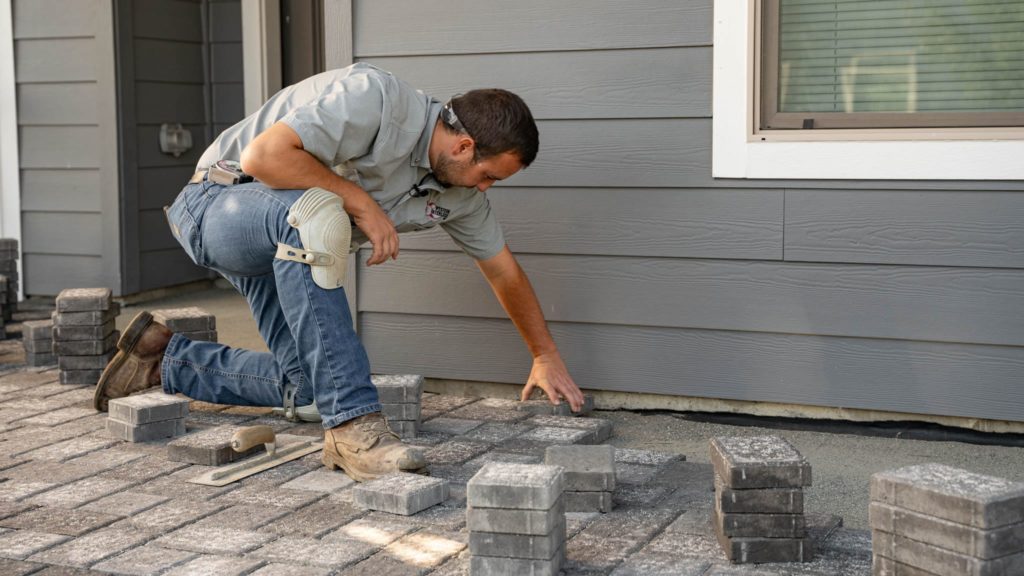
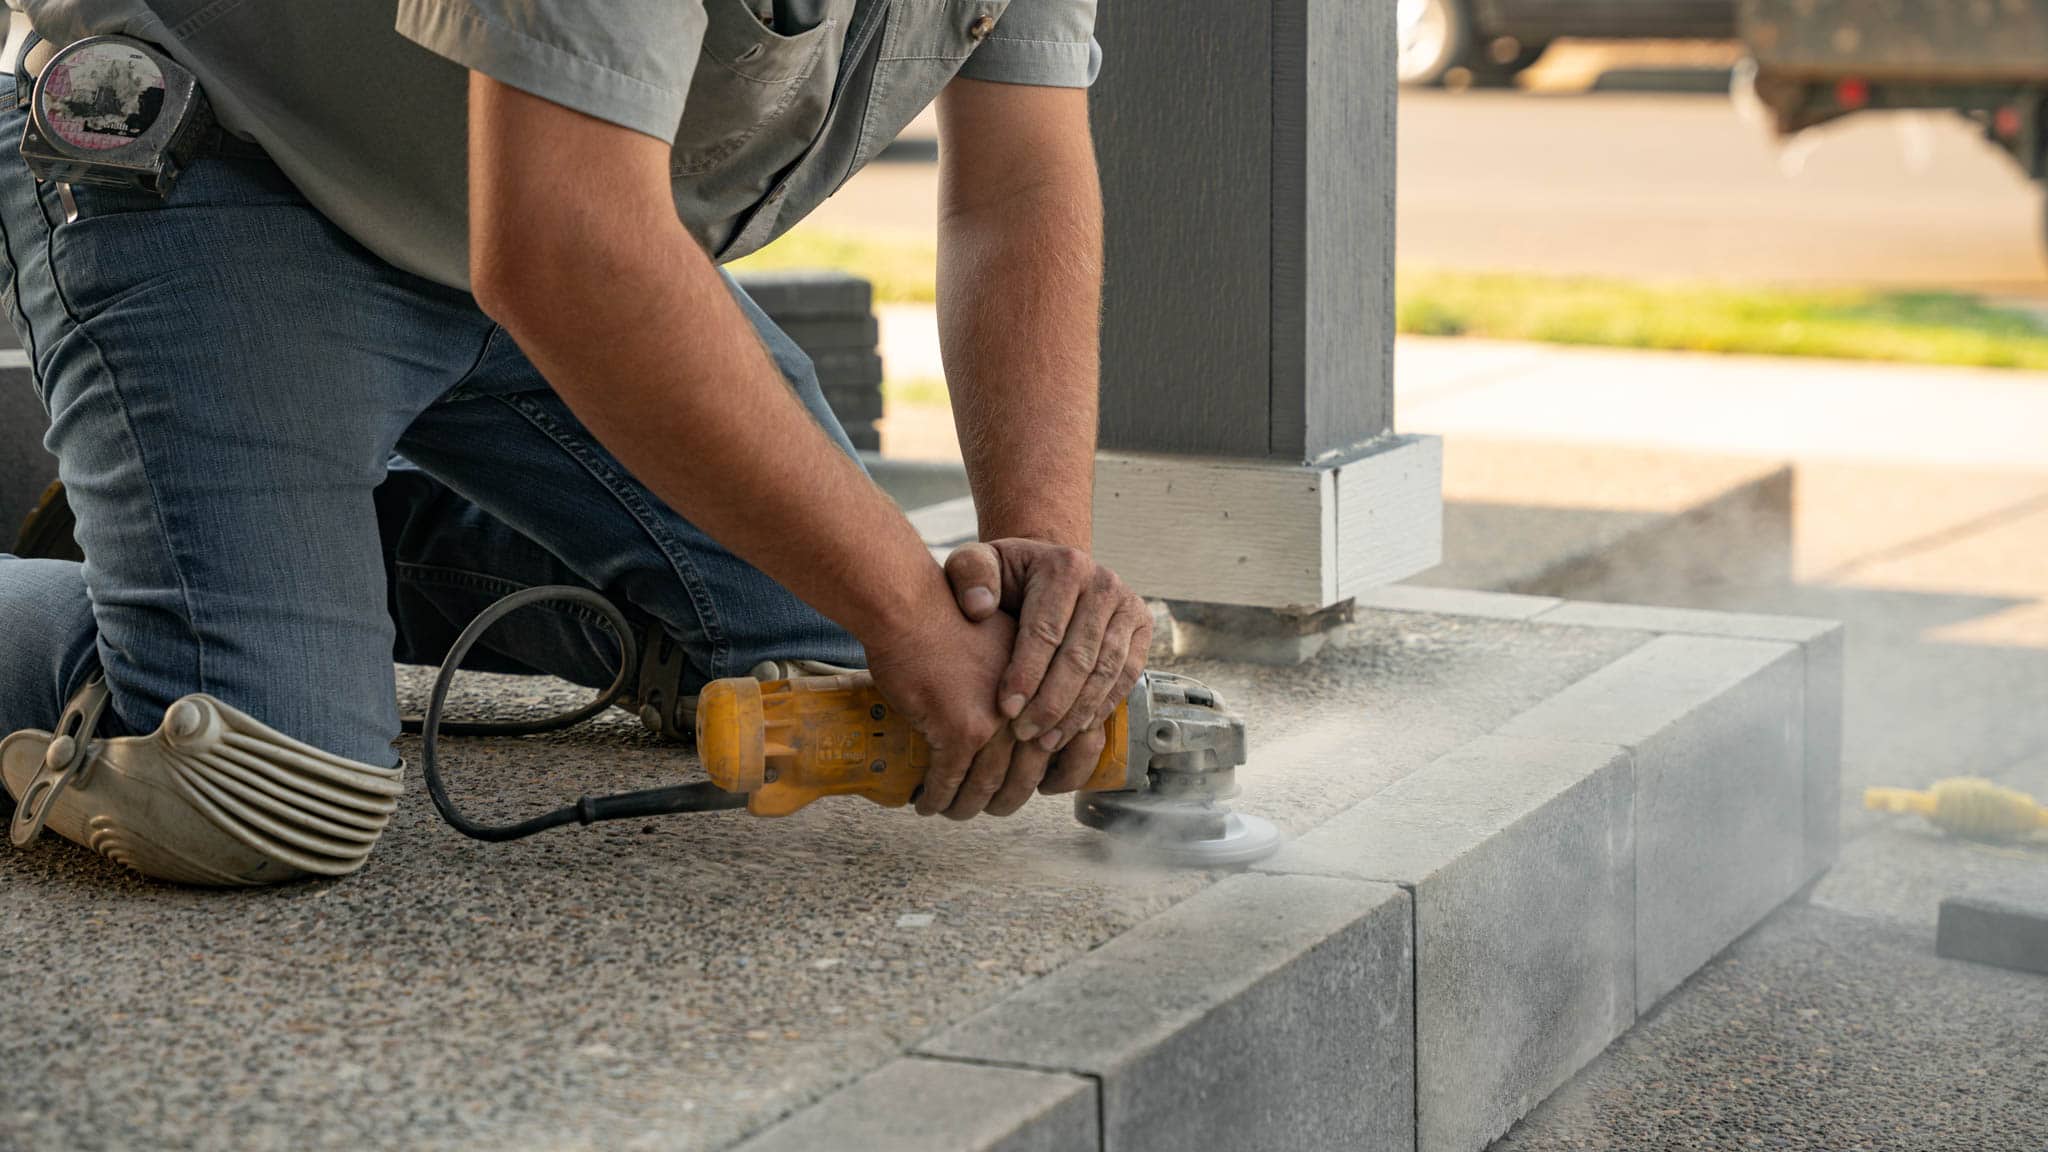
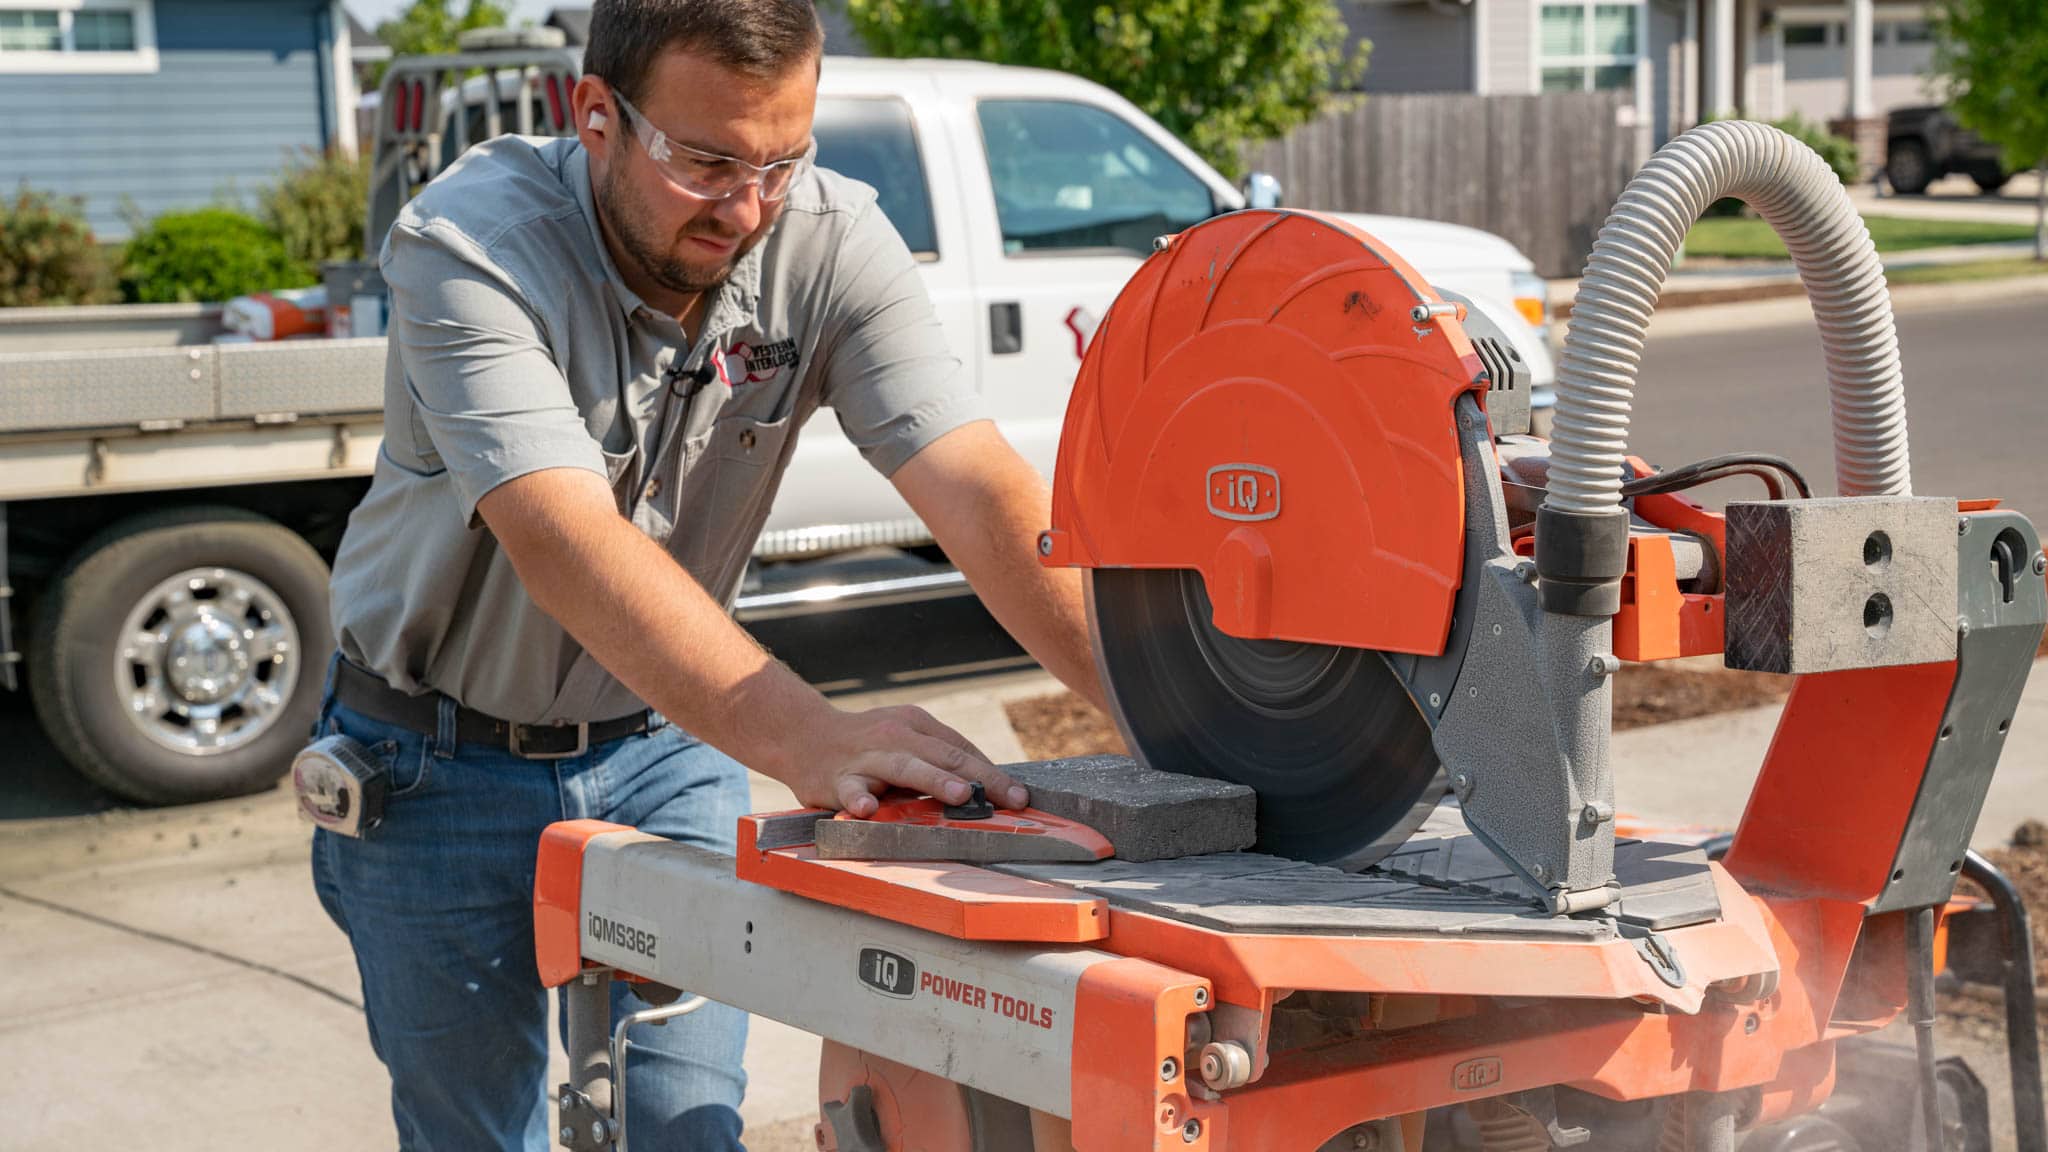
You’ll likely need to make a few cuts along any structures or posts. Refer to our tutorial 6 Ways to Cut Paving Stones to ensure you follow safe methods.
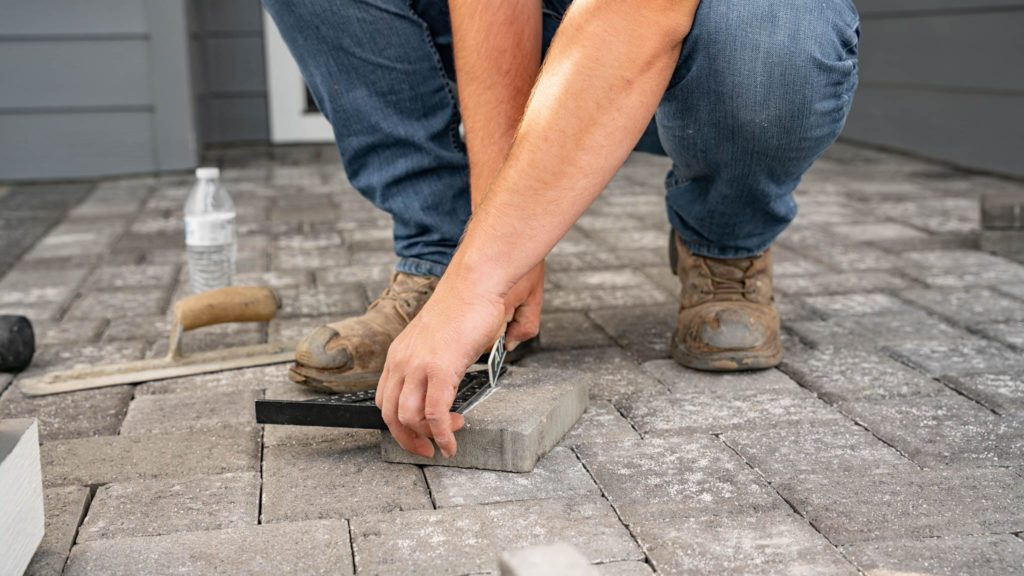
7. Sweep in your exterior joint sand
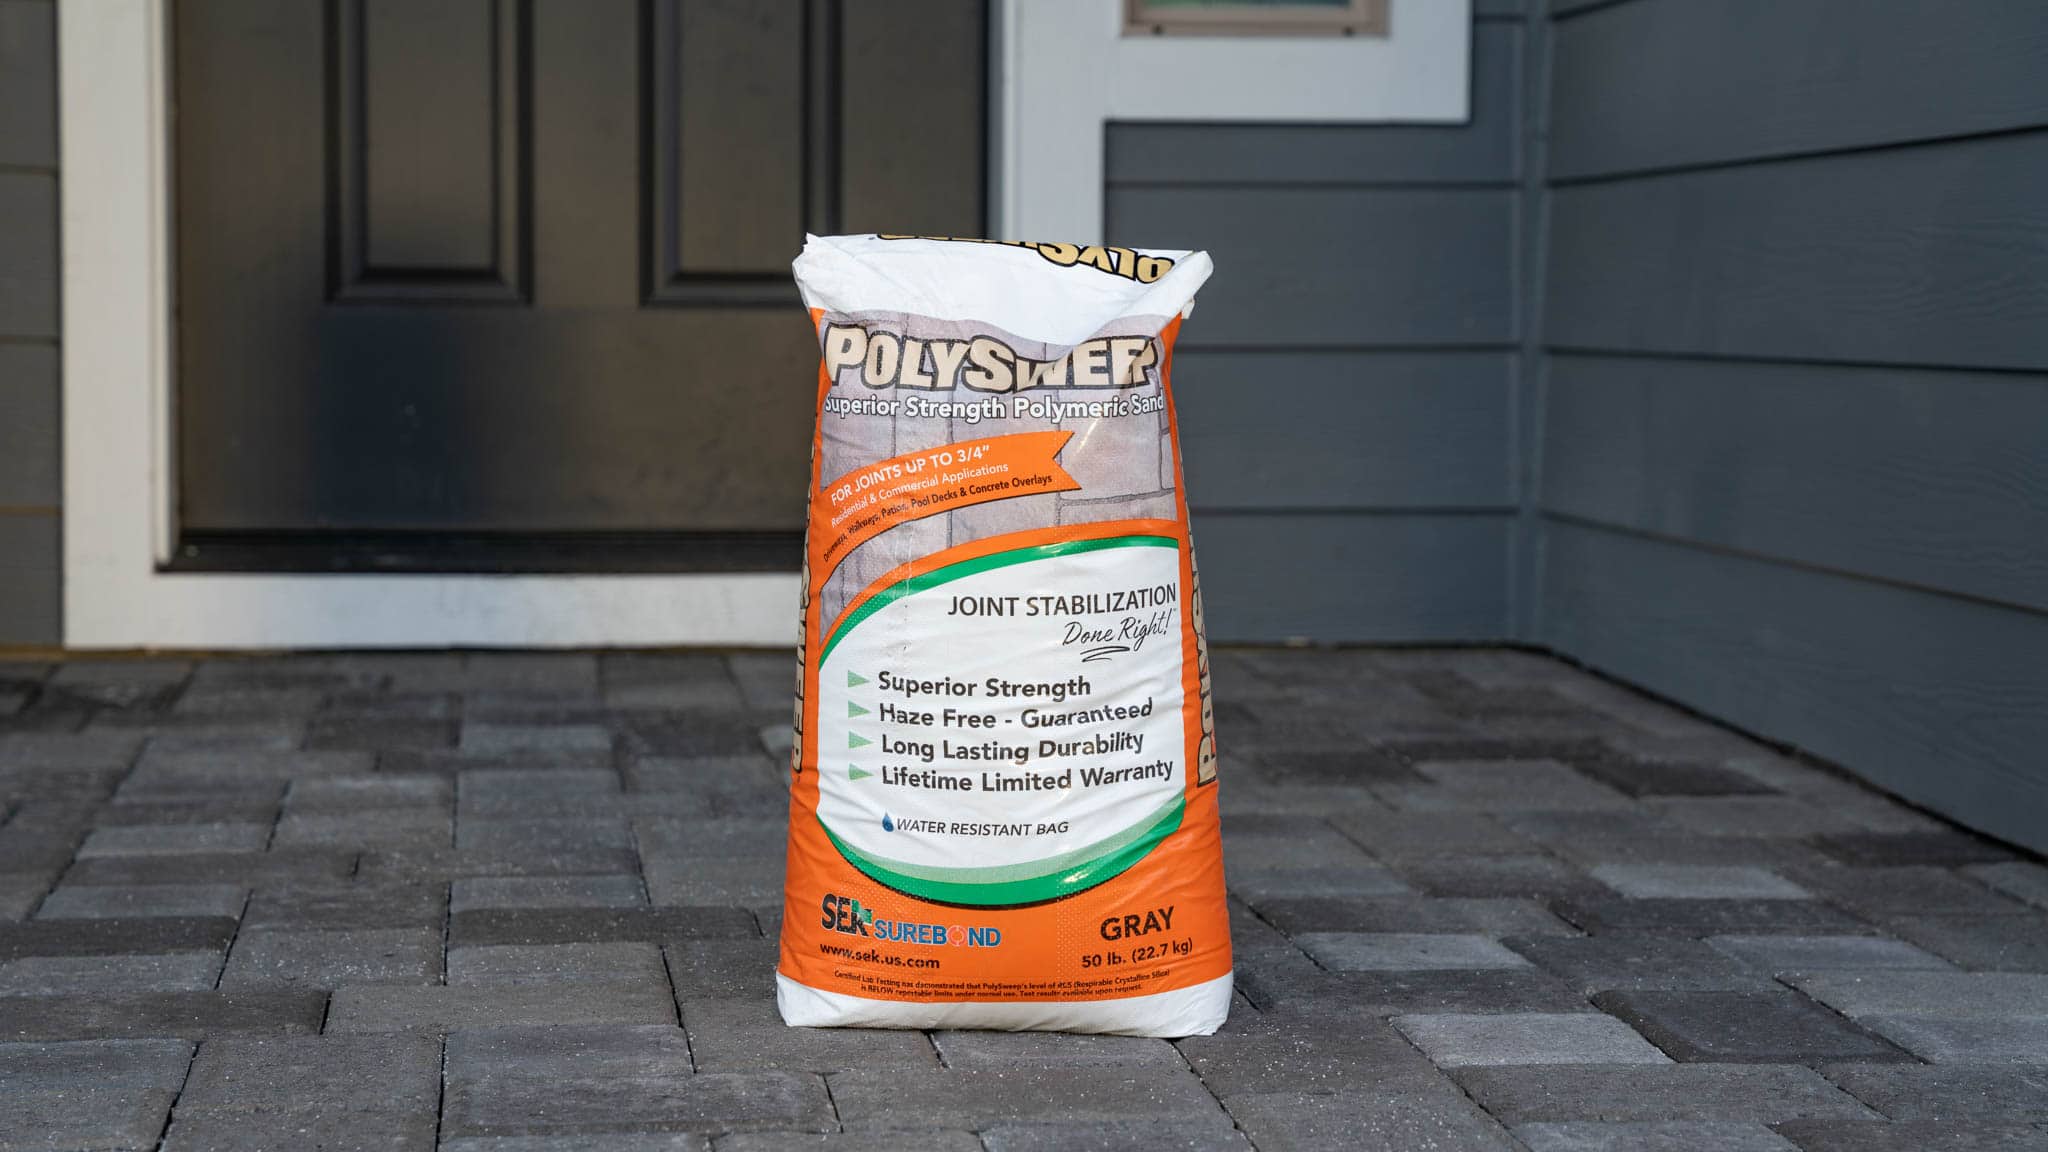
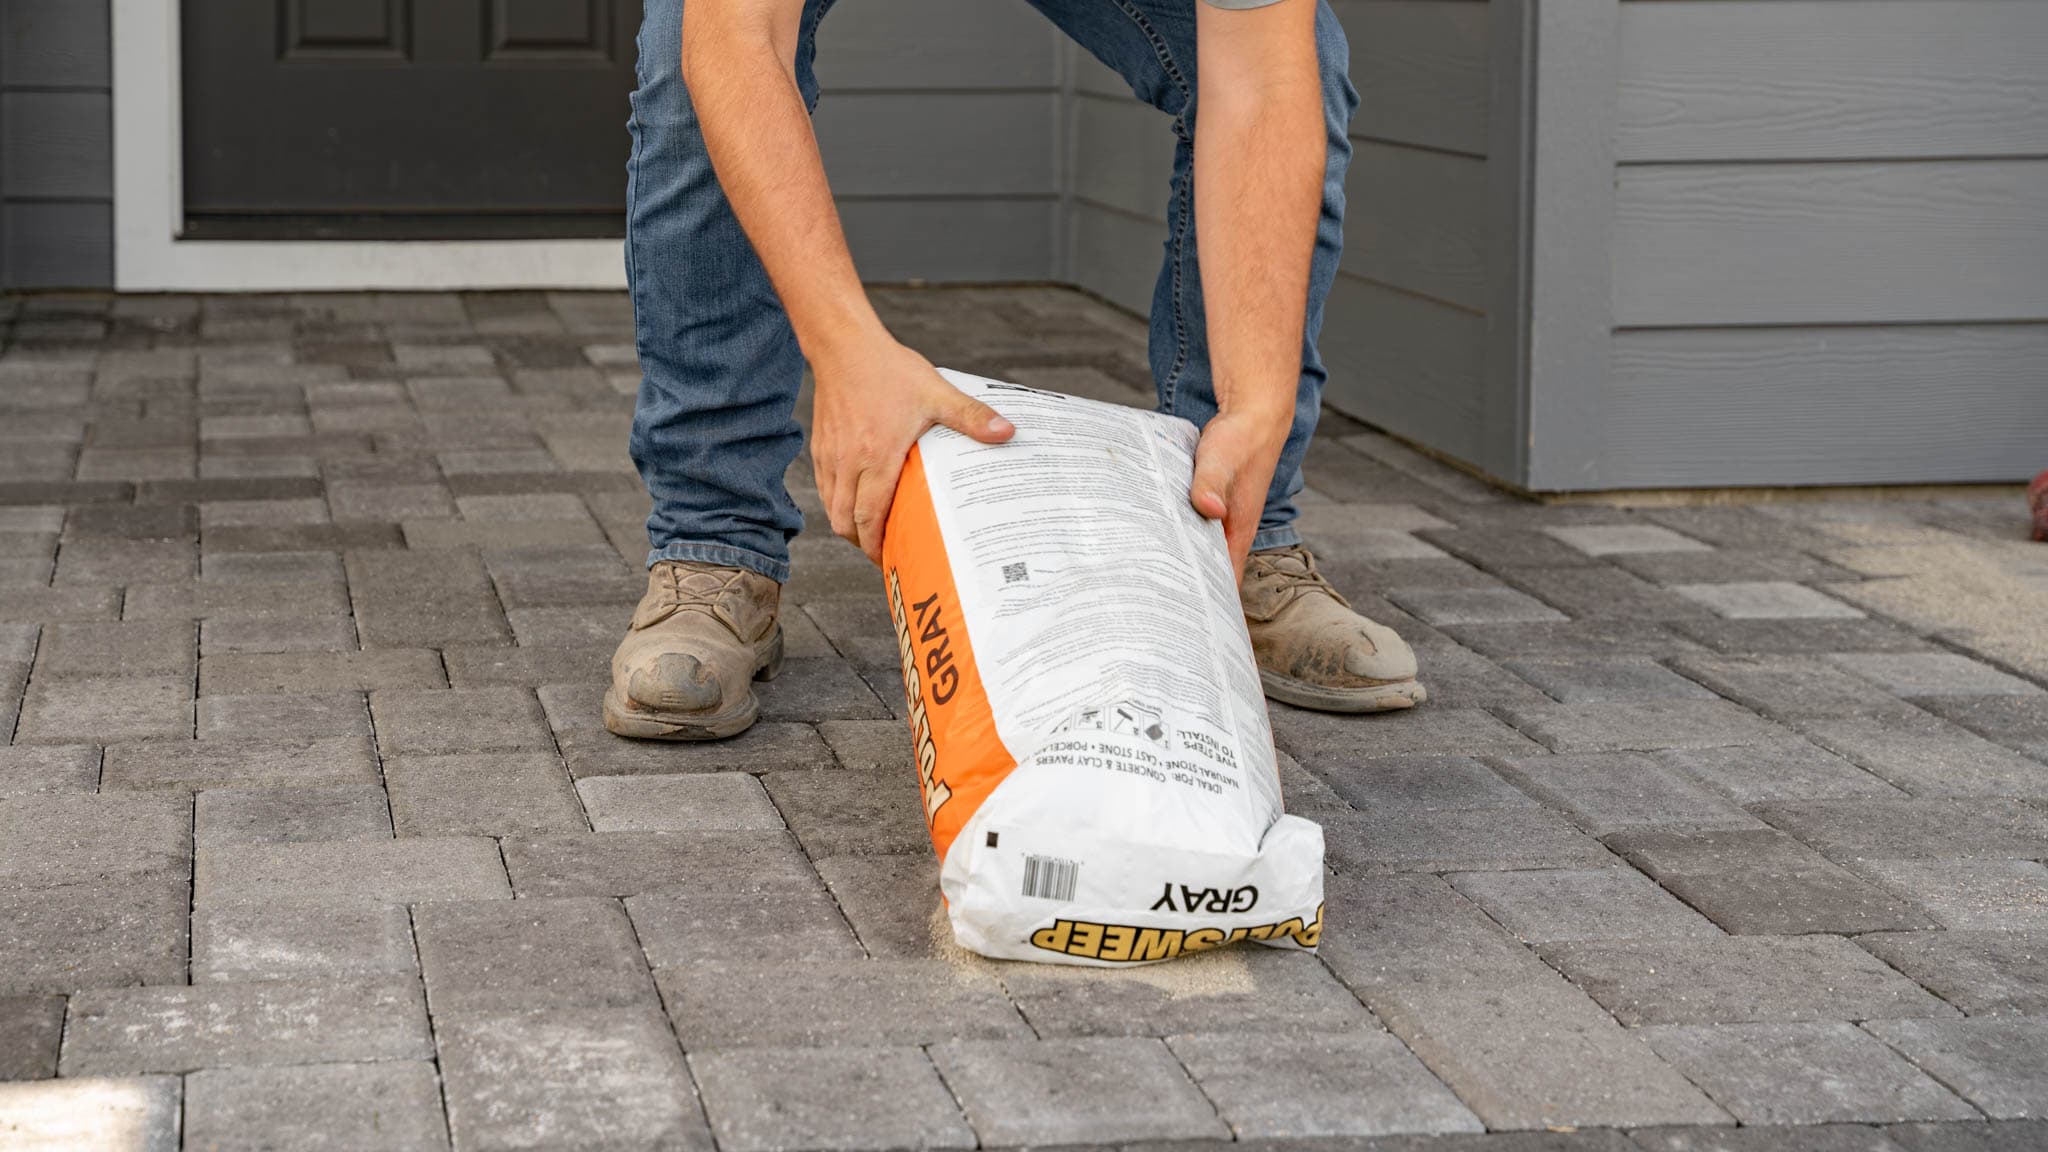
For joint sand, we use and recommend Surebond Polysweep Polymeric Joint Sand. This sand is designed specifically for pavers, natural stone, cast stone, cobblestone, concrete overlays, and pool decks.
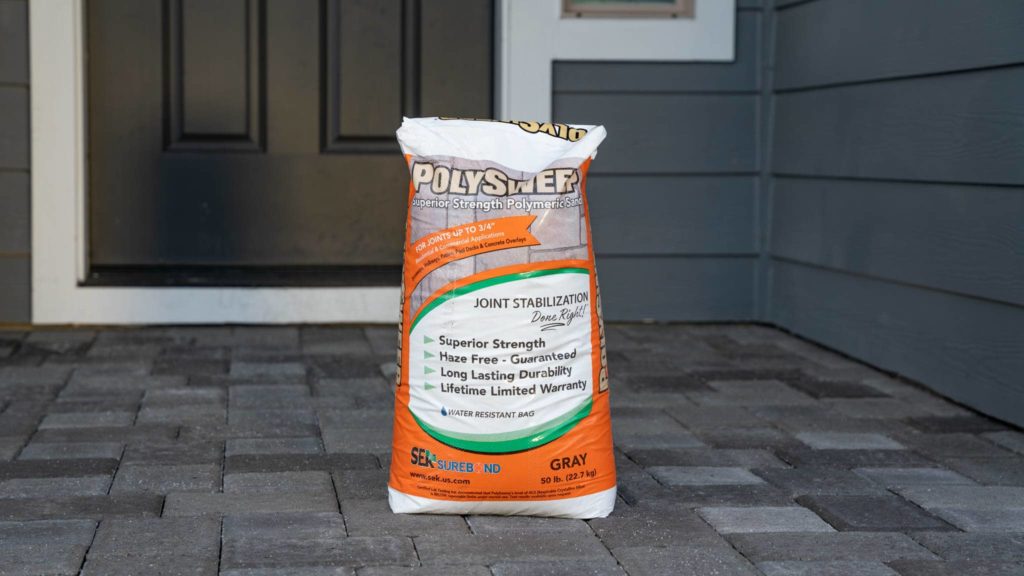
Polysweep Polymeric Sand is a blend of native sands conforming to ASTM C-144 standard, and binders to allow the joints to expand and contract with the elements such as extreme heat, extreme cold, and freeze/thaw cycles.
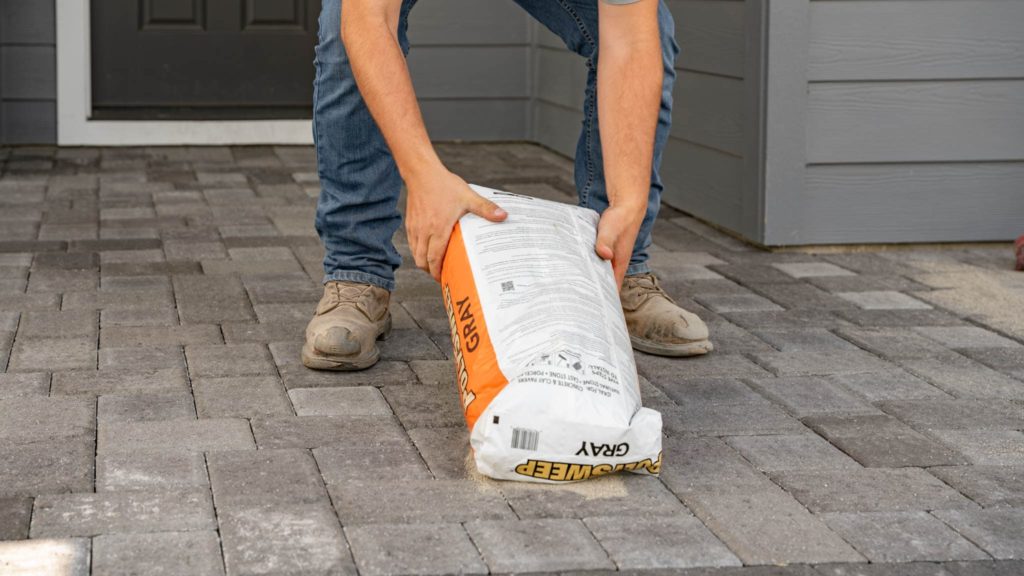
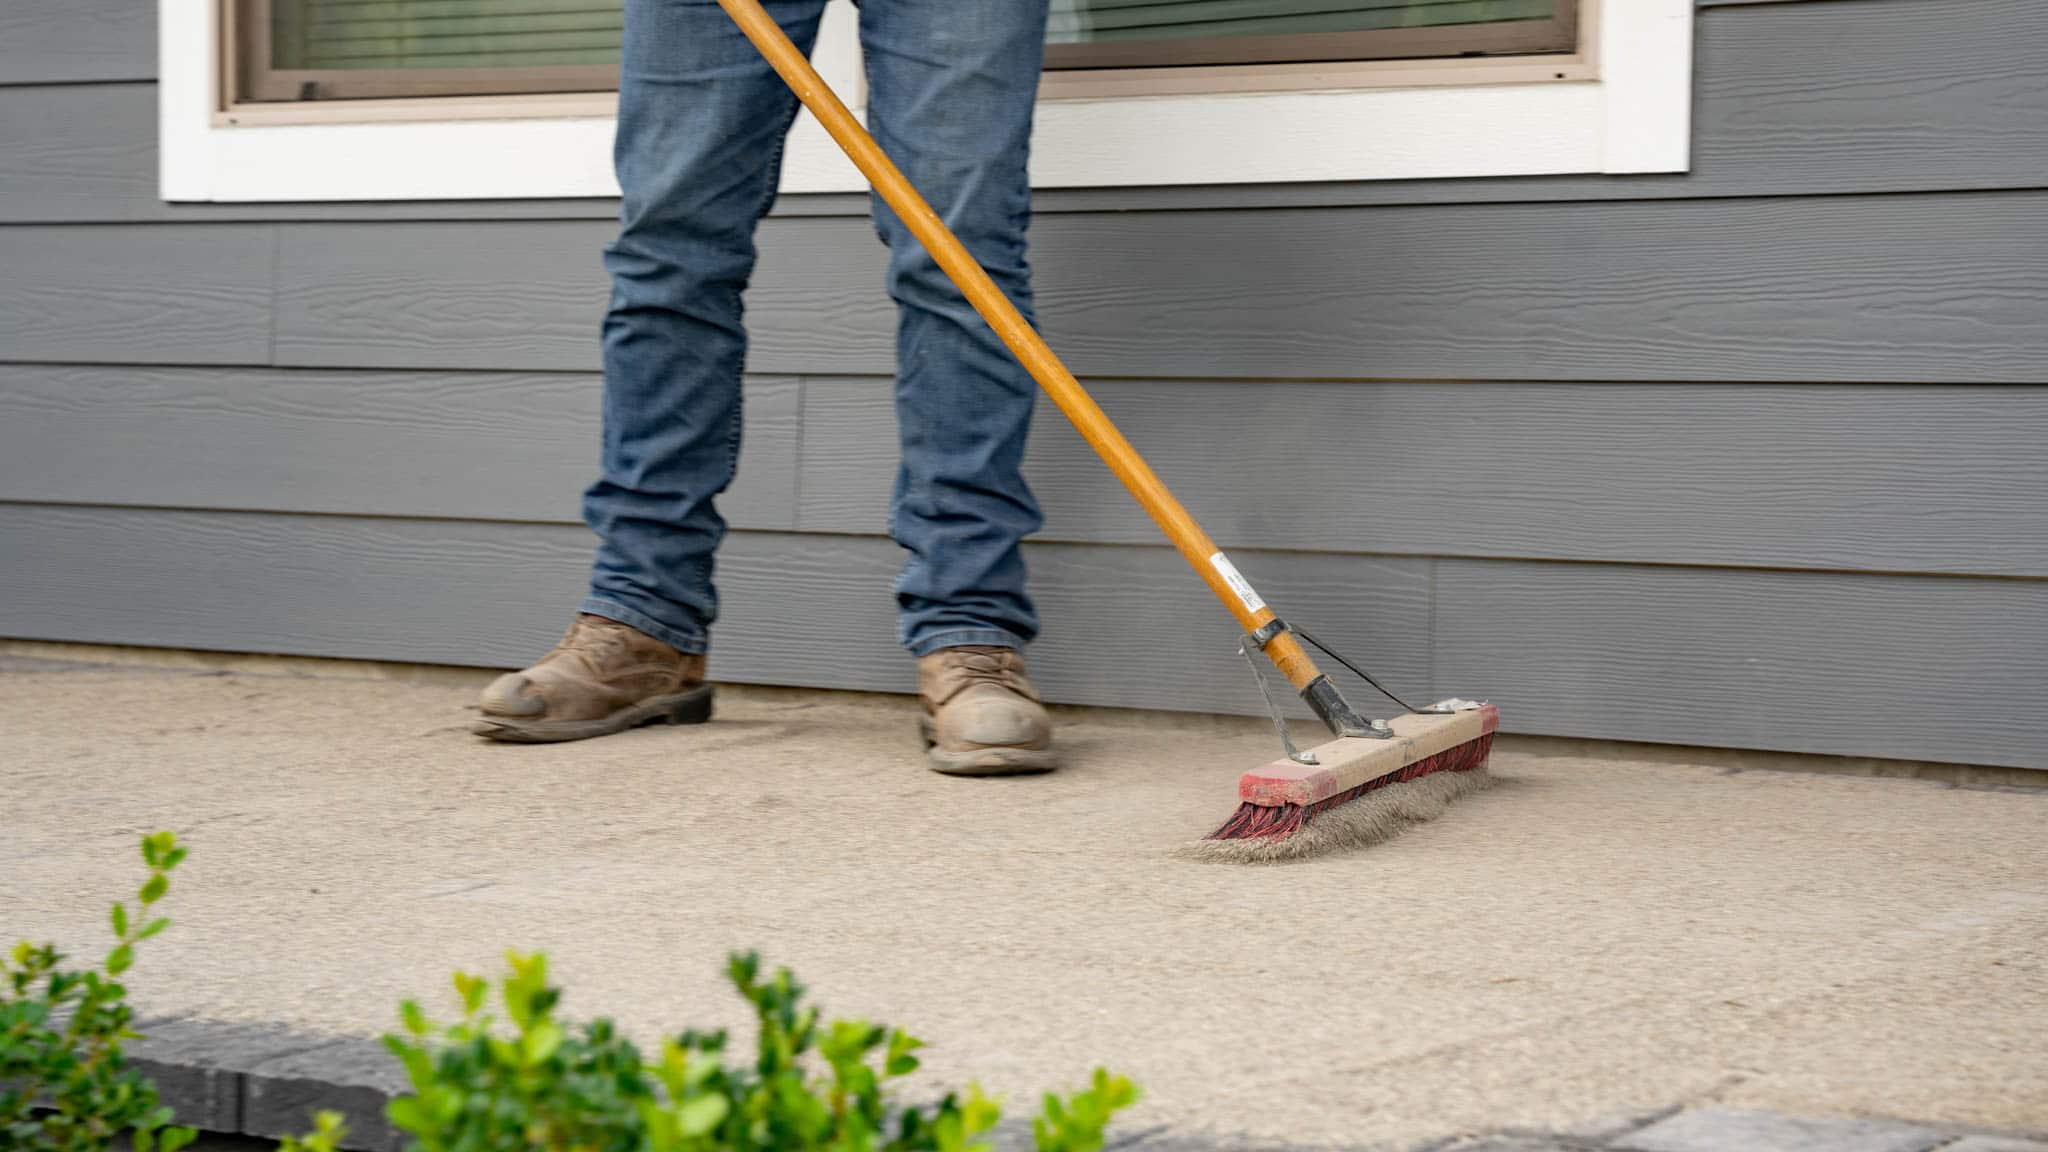
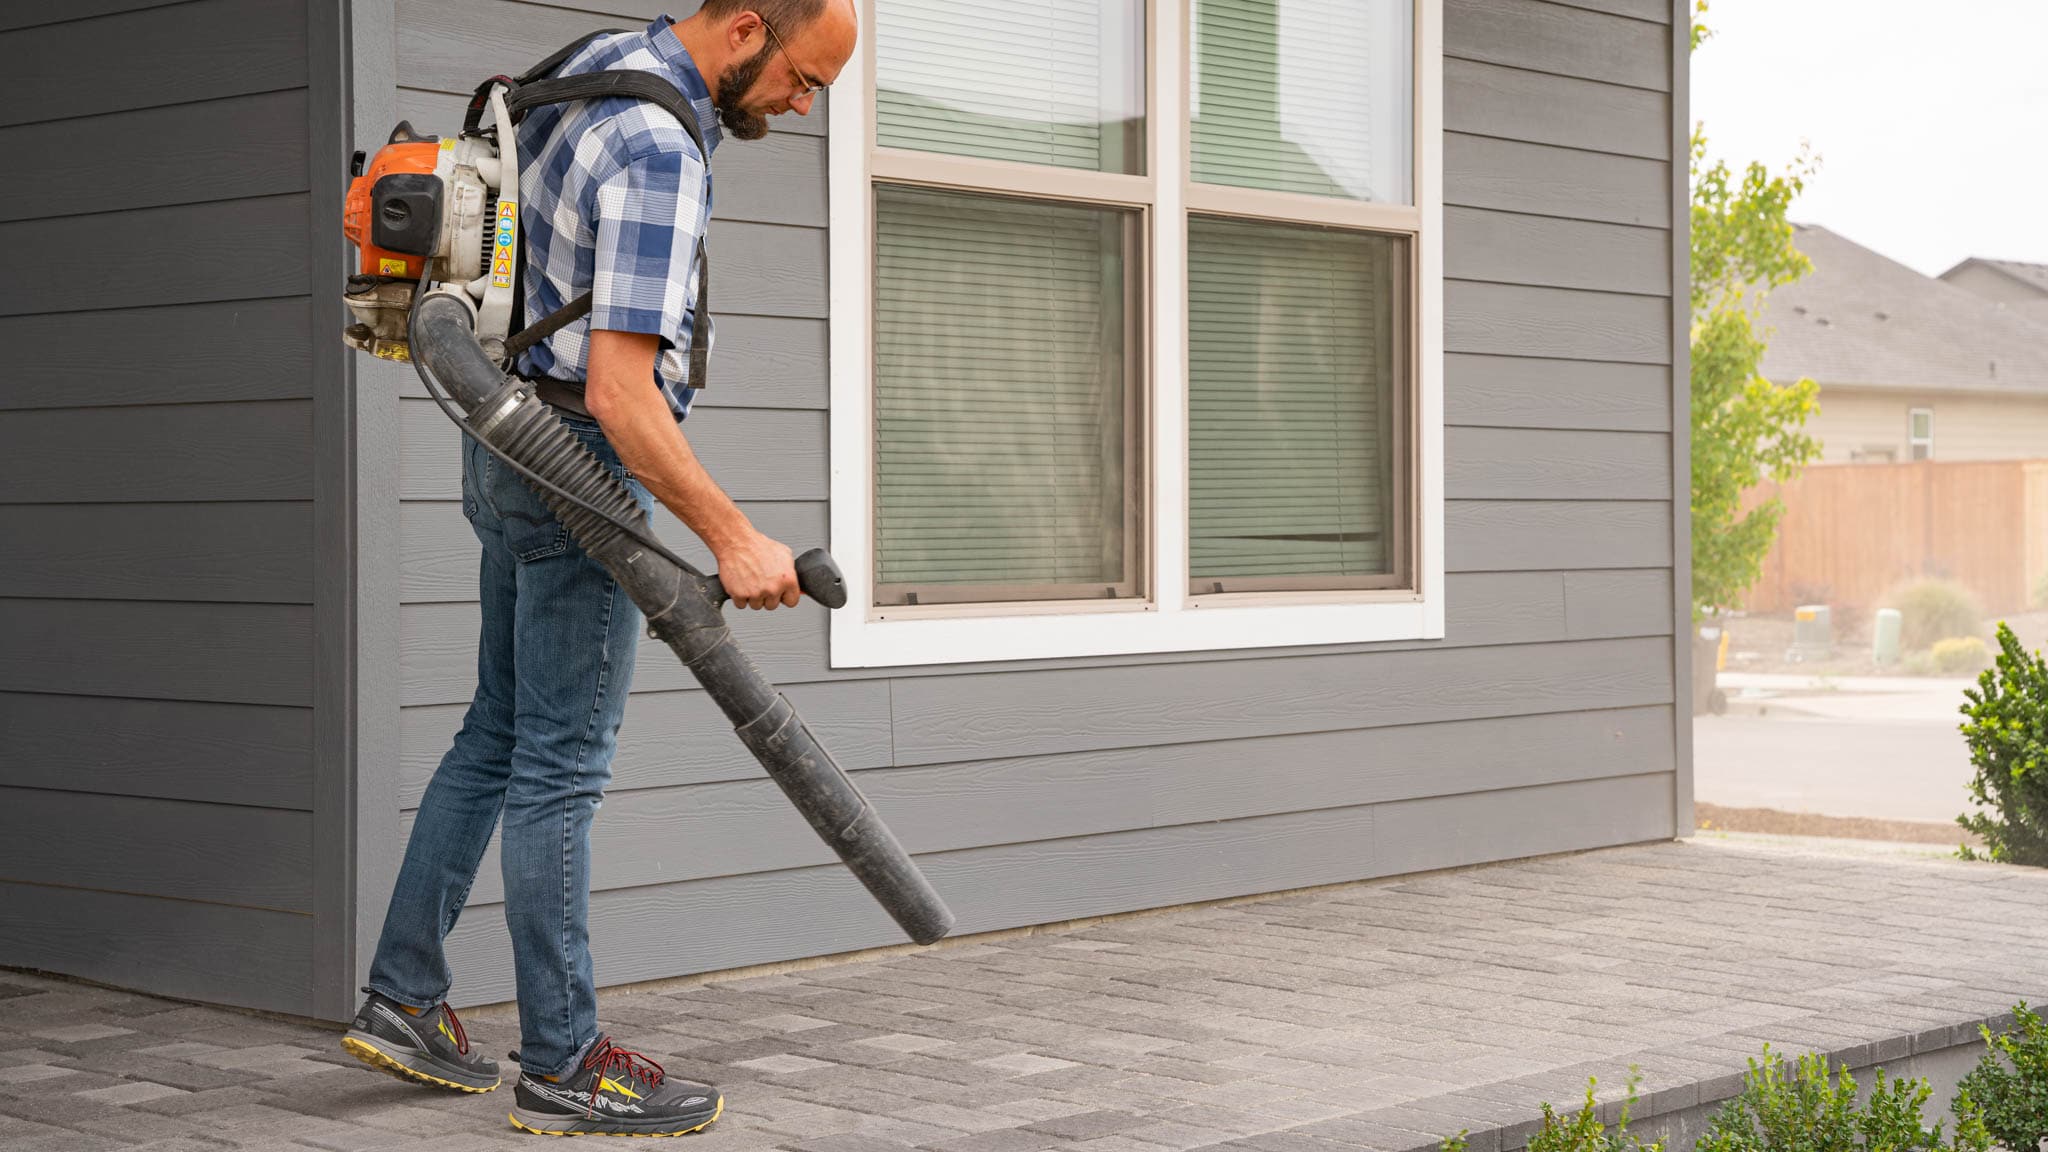
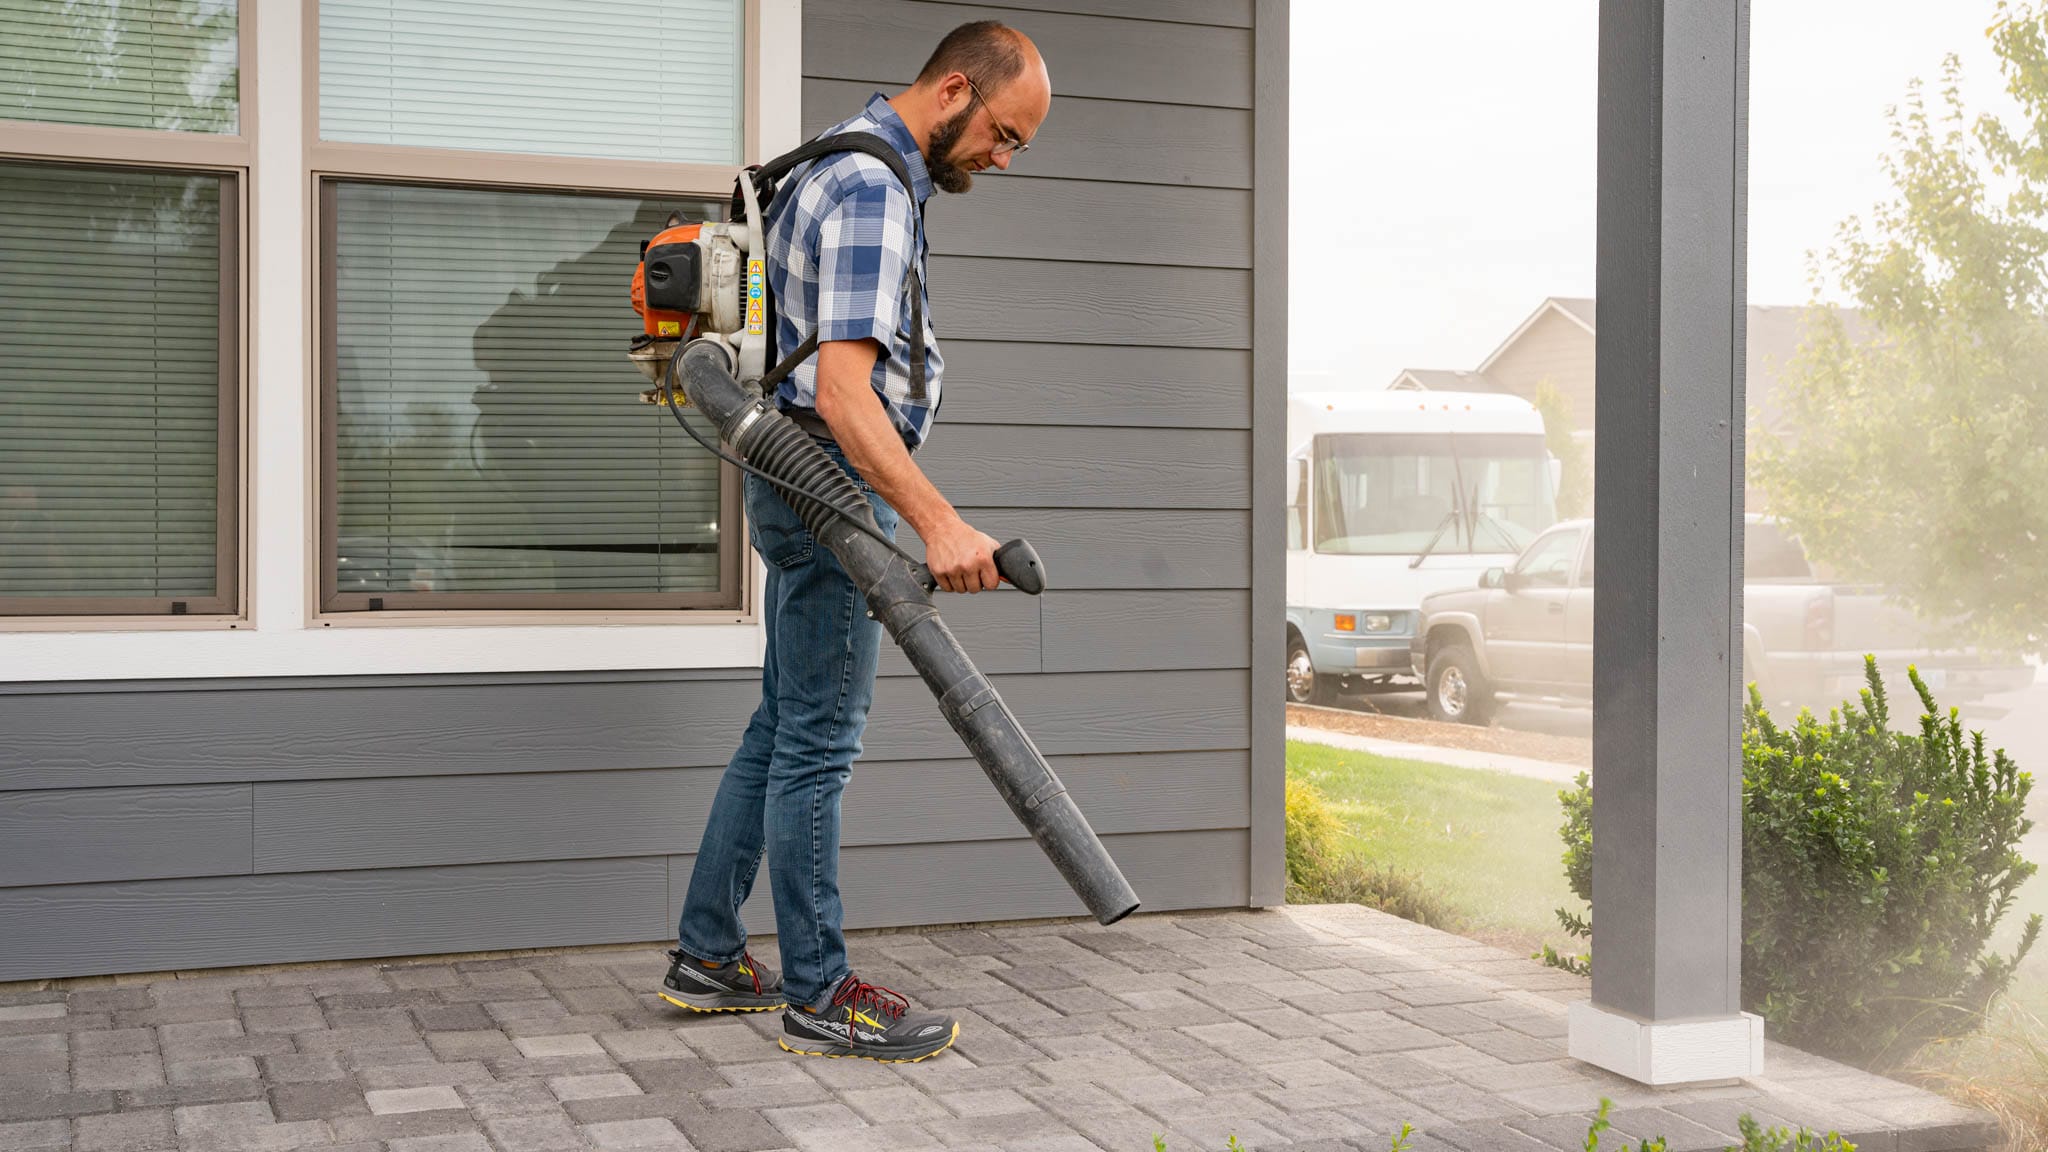
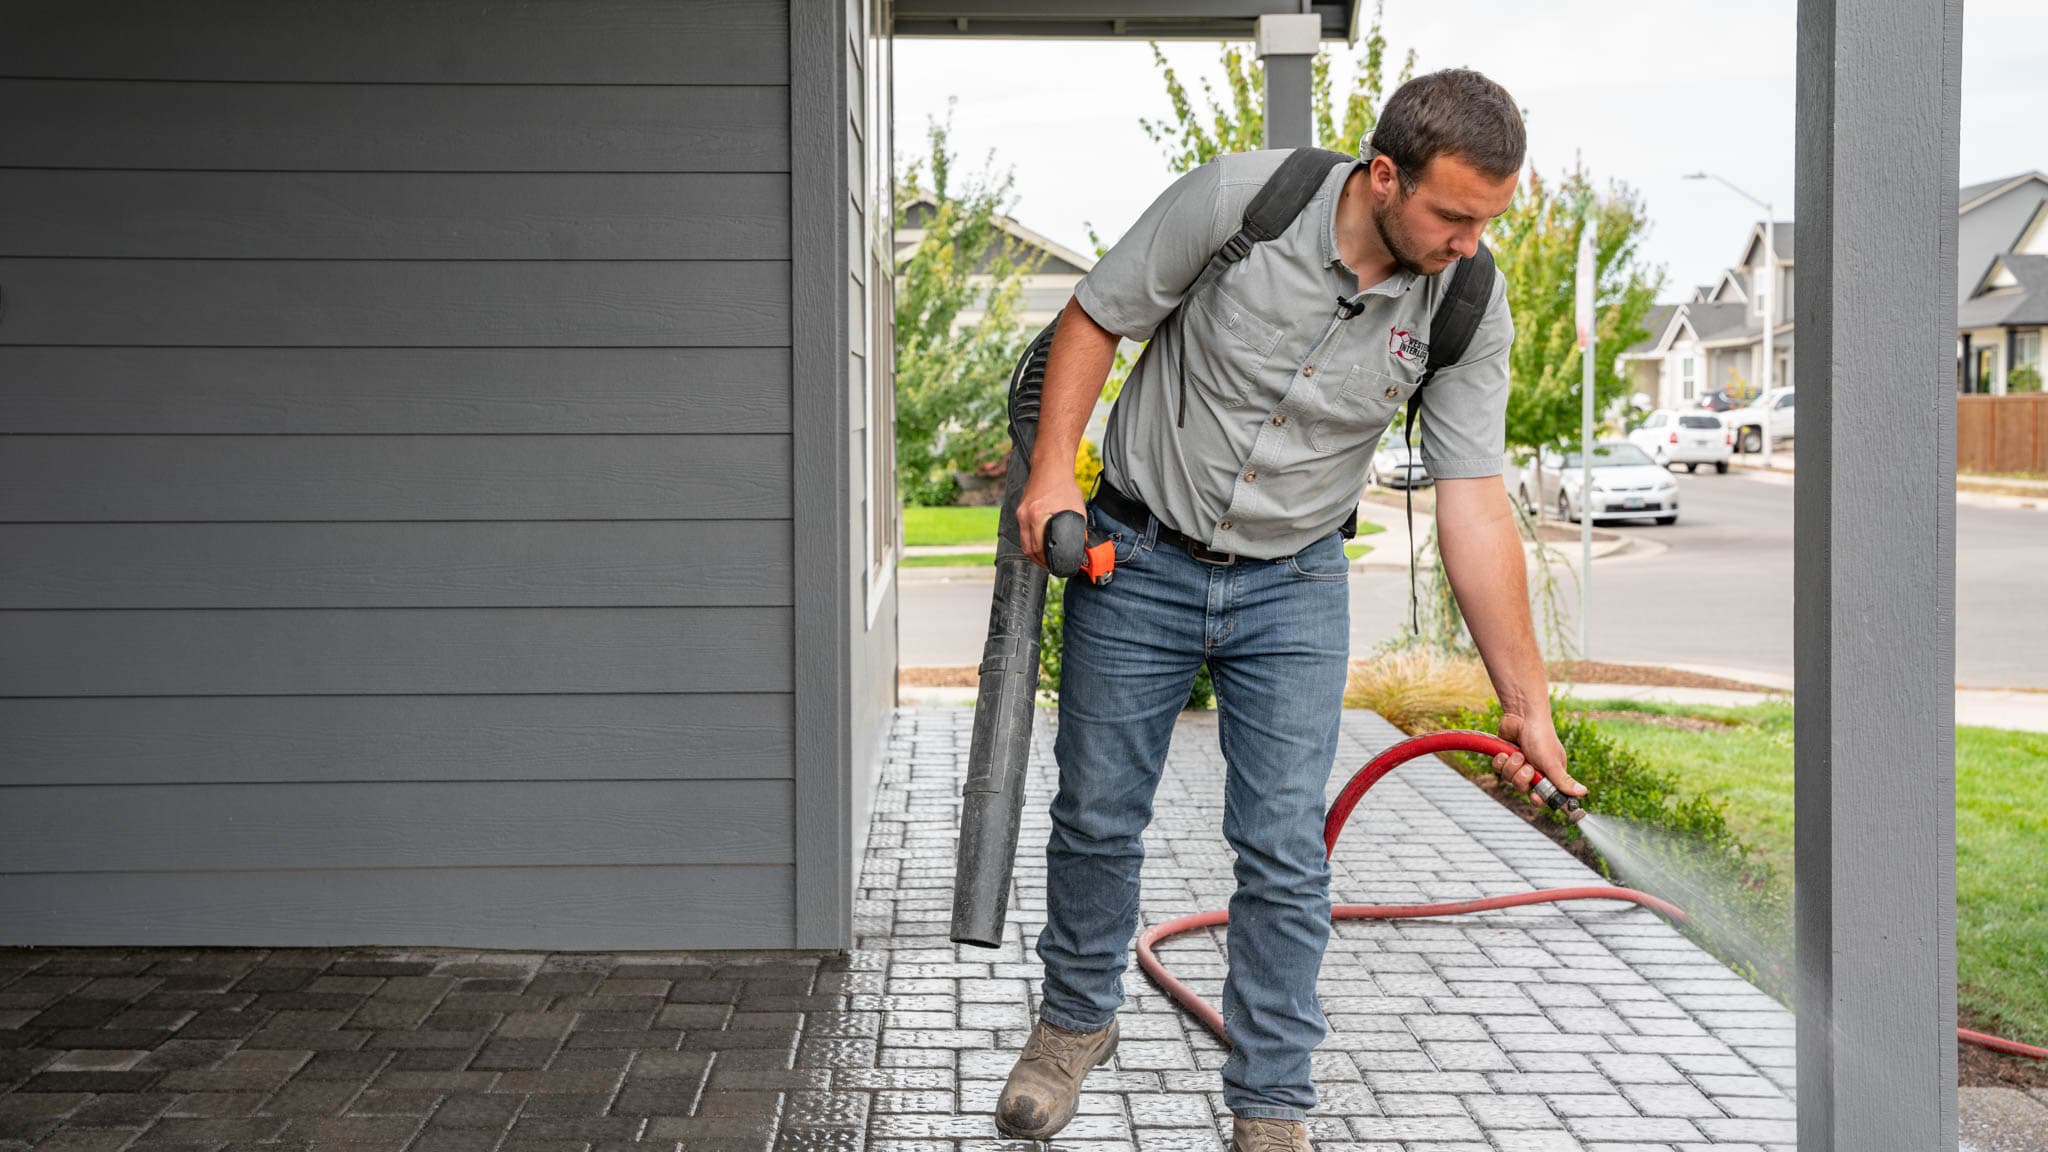
To install, you’ll spread the sand evenly over your paver patio, using a shop broom to sweep in the sand. Spread it around, back and forth, until the sand has completely filled the joints. Once the joints are full, you’ll want to blow or sweep off the excess sand and hit your paver patio with water to activate the binders.
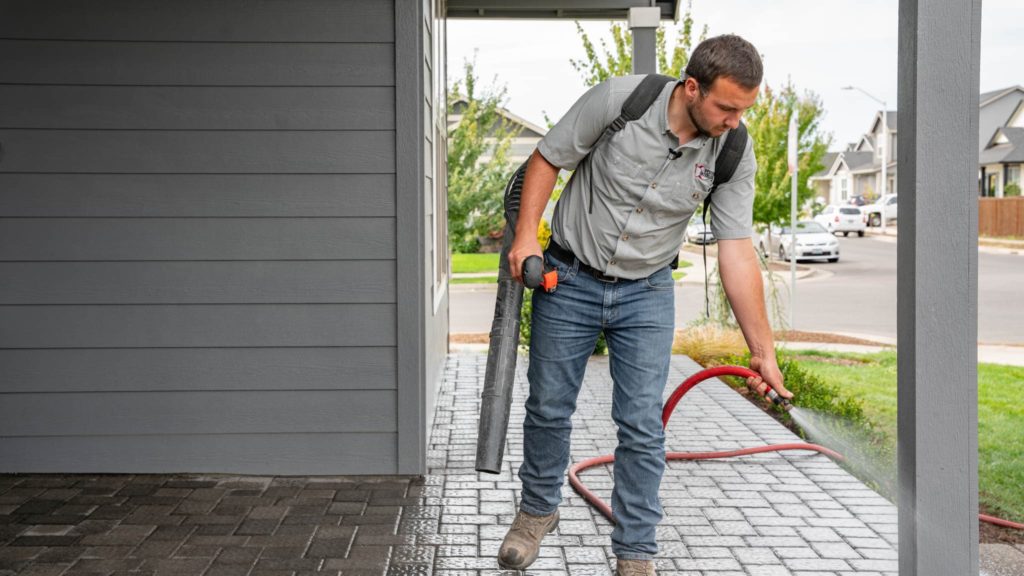
Watch or read our full tutorial on How To Use Polymeric Sand When Installing Pavers for more information.
That’s it! You’ve installed patio pavers over your existing concrete patio or slab.
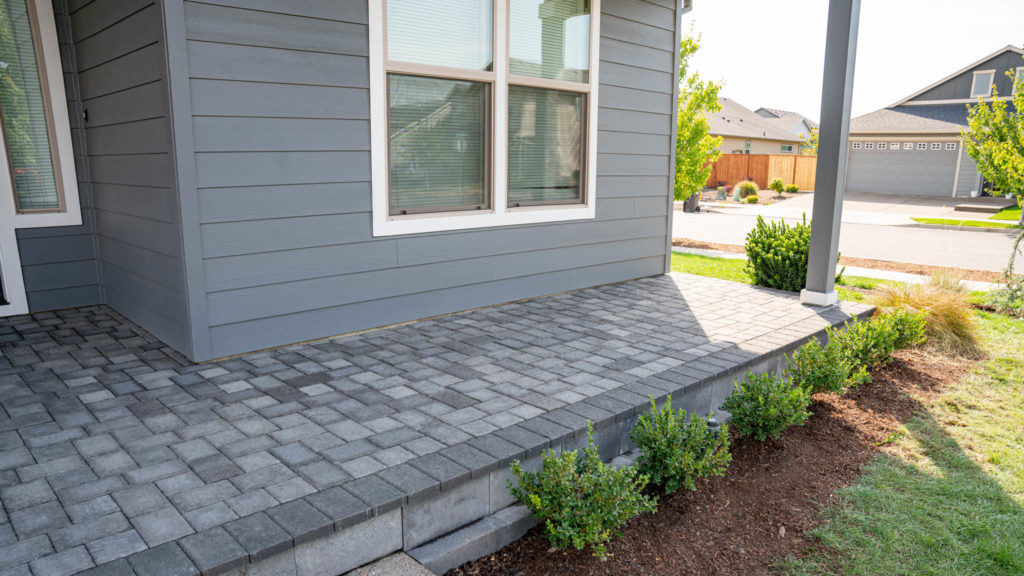
Accomplish any paver install project easily, by yourself
Here at Western Interlock, we’re on a mission to take the hard out of hardscaping. That’s why we publish DIY tips, tricks, and step-by-step how-to tutorials at DIYwithWI.com.
If you have any questions, including how to lay pavers over concrete, you can visit our paving stone display at our manufacturing facility in Rickreall, Oregon. Or, give us a call and speak with any one of our team of hardscape experts at 503-623-9084.


