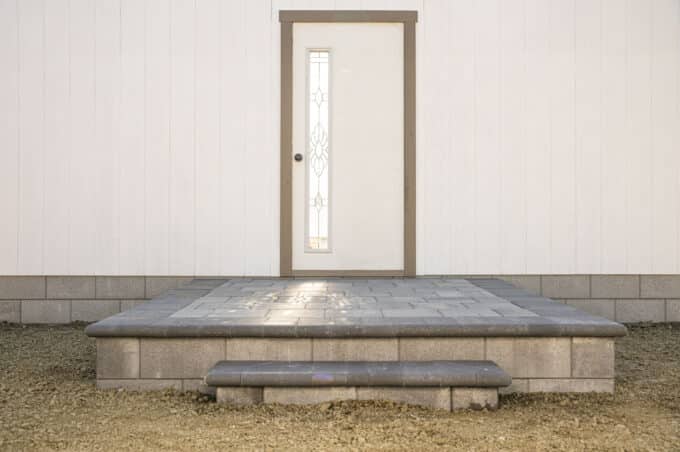
How to Build a Raised Paver Patio
Building a raised paver patio is an excellent option for homeowners who want to expand or raise their outdoor entertainment area and create a cozy, relaxing spot. In this blog […]

In this article, we will teach you everything we know about how to properly use polymeric sand to harden your hardscape.
Sweeping sand, in general, is vital to the long-term stability of your hardscape. Yet, it isn’t typically the first thing you think about when dreaming up a paver project. You may be ahead of the game, researching finishing sands before you start your project. Or you might be at the point where you’ve almost finished your project and are wondering, “How do I use the sand?” Either way, you’ve come to the right place.
Note: This tutorial provides general guidance on how to use polymeric sand. However, always read the manufacturer’s instructions on the back of the bag for proper use.
First, clear the area of any debris, weeds, etc. Make sure that the pavers are dry and that the forecast is sunny before continuing on. If you continue with wet pavers the sand will bond to the tops of the pavers.
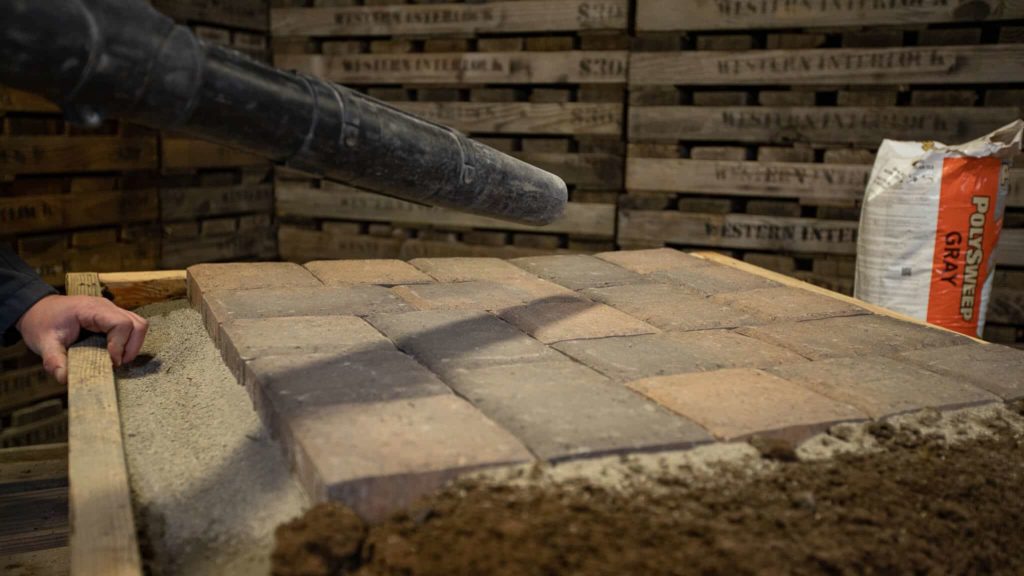
Next, pour the sand on top of the pavers. Be sure to pour enough sand to fill all of the joints between the pavers. It’s okay to pour heavy because you’ll be surprised at how much sand fits between your joints!
Pro Tip: Instead of spreading evenly, dump small piles of sand around your hardscape then work
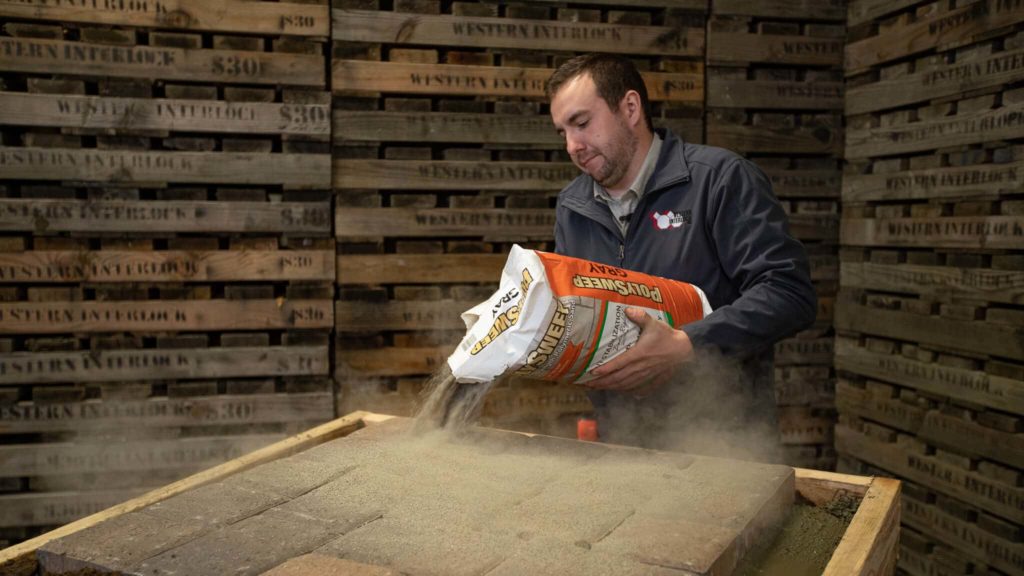
Now, sweep the sand, pushing the sand into the hardscape’s joints with a shop broom until the sand is ⅛” from the top of the joint.
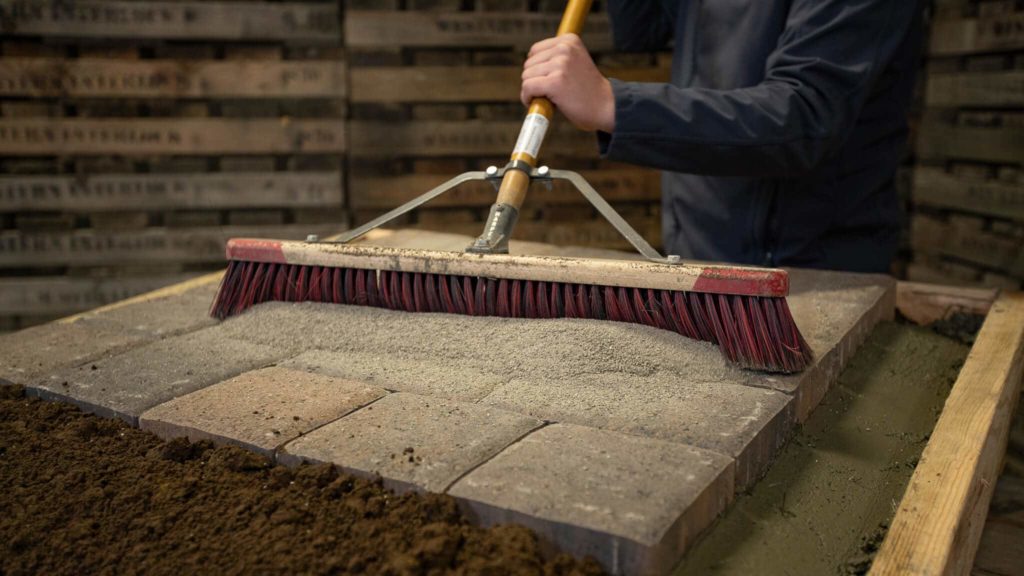
Once you think you’ve swept enough, sweep a little bit more. Your pavers will accept more sand than you think.
Pro Tip: Avoid sweeping long rows of sand across your hardscape. Use your broom to work in your piles in small areas.
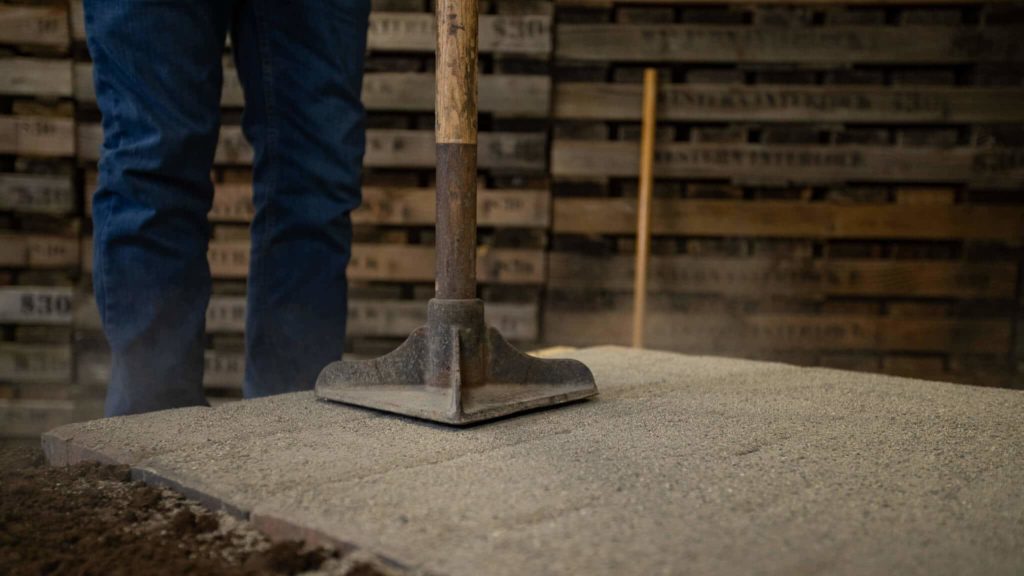
The Interlocking Concrete Pavement Institute (ICPI) recommends compacting pavers after applying Polymeric Sand. If you’re working on a small space, you can use a hand tamp like you see in the image above. If you have a large patio or driveway, we’d recommend using a plate compactor.
With full joints, clear the top of your hardscape using the broom or a leaf blower. If you use a leaf blower, just be sure not to blow any sand out of your joints. Any polymeric sand left on top of the pavers will bond to the top of the pavers as soon as you wet down your hardscape.
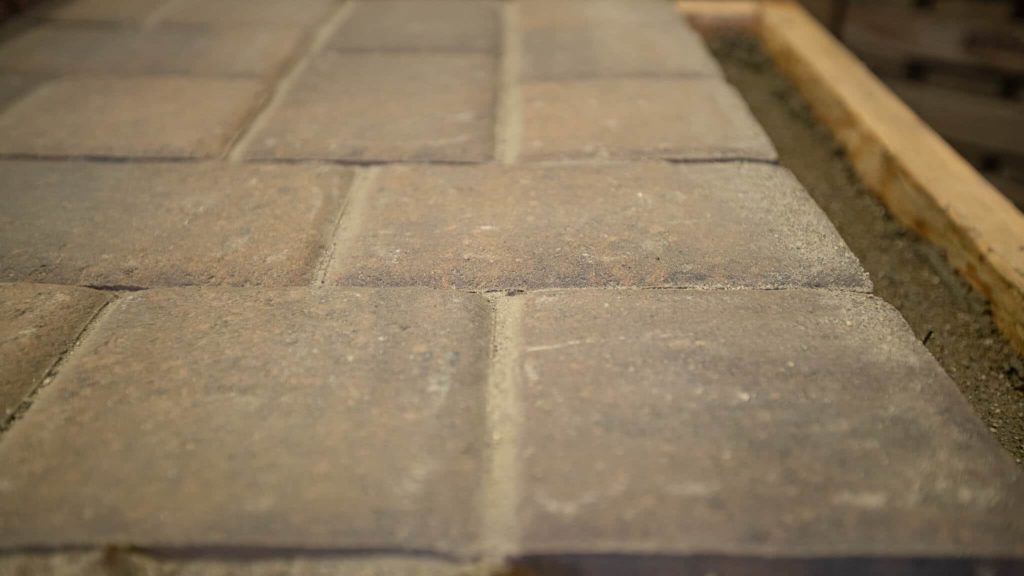
Next, grab a hose and wet down the area making sure to soak all of the joints. The water will activate the binding agent in the sand to create a bond between the sand and the pavers, helping solidify the interlock between your pavers.
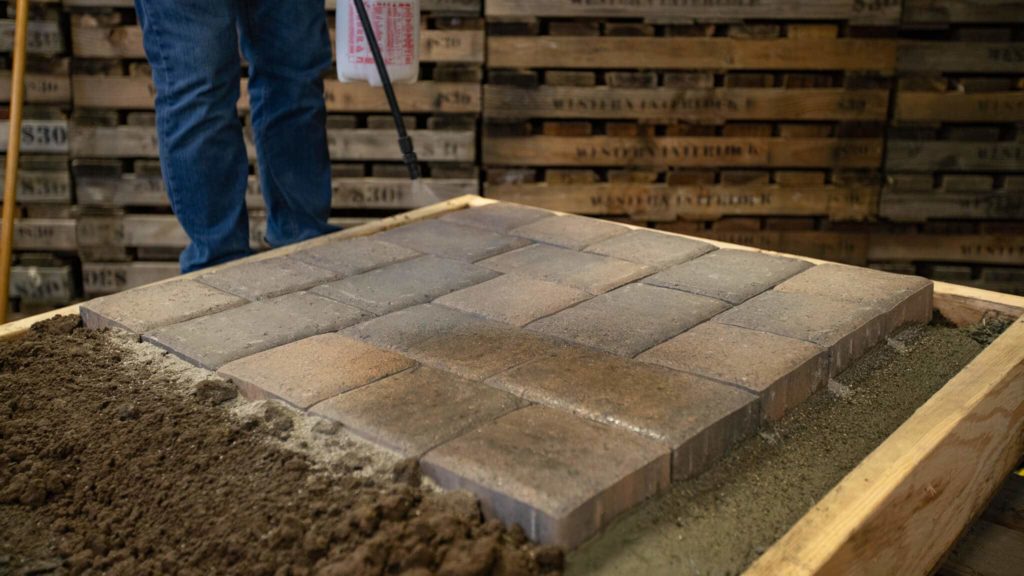
Pro Tip: Be sure to reference the manufacturer’s instructions for your specific type of Polymeric Sand. Each product is made differently and requires different treatment, especially when it comes to this step.
Now your hardscape is sturdy and ready for your enjoyment! As time passes, keep an eye on the joints between pavers. Although polymeric sand hardens and bonds with the pavers, over a ten to twenty-year period, the sand can disperse.
If this happens, you may need to re-sand your pavers. To re-sand your pavers, all you need to do is repeat the procedure we outlined in this article.
Here at Western Interlock, we’re on a mission to take the hard out of hardscaping. That’s why we publish DIY tips, tricks, and step-by-step tutorials at DIYwithWI.com.
If you have any questions, you can visit our Paving Stone Display at our Manufacturing Facility in Rickreall, OR. Or, give us a call to our team of hardscape experts at 503-623-9084.

Choosing a paver can sure feel overwhelming. You have to consider size, style, thickness, color, and more. That’s why we made a short and simple quiz that asks a few questions about what you’re looking for and, at the end, provides a recommendation, or two, you can start with.
Learn More