If you are installing landscape block in your yard or driveway, you may be wondering if there are other bonding options besides mortar. Is it possible to use adhesive? Will it last in the weather? Does regular construction adhesive work for landscape block, or is there another option?
Landscape adhesive vs. mortar: which is better?
When we think of bonding stones together, most of us instinctively think of mortar—that well-known composition of cement, fine sands, and lime. After all, mortar is what stone masons have been using for centuries!
However, for the last few decades, landscape contractors have been using adhesive instead of mortar as they build stone walls from concrete blocks. Adhesive, also known simply as glue, is easier to use than mortar. Not only do you not have to mix it when applying, but it dries in only a few hours, unlike the several days that mortar takes to dry. Adhesive can also be applied when you would least expect it to be possible, like in extreme conditions such as wet, dry, or cold weather.
Construction vs. landscape adhesive: which is right for the job?
Not all adhesive is made equal. Construction and landscape adhesives are distinctly different. Construction adhesive is made for bonding various types of materials in an indoor, out-of-the-weather environment. Landscape adhesive, on the other hand, is specifically made for bonding materials in an outdoor environment.
Choosing an adhesive for landscape projects
If you’re building a retaining wall that will live in the changing weather of rain, sun, snow, and heat, you’ll need to use a landscape adhesive. (Note that landscape adhesive can also be known as block glue, masonry glue, masonry adhesive, or landscape block adhesive.)
Best overall: SB-20 Flex-Bond
If you can find it at a local landscape dealer, SB-20 Flex-Bond is a staple in the landscape industry.
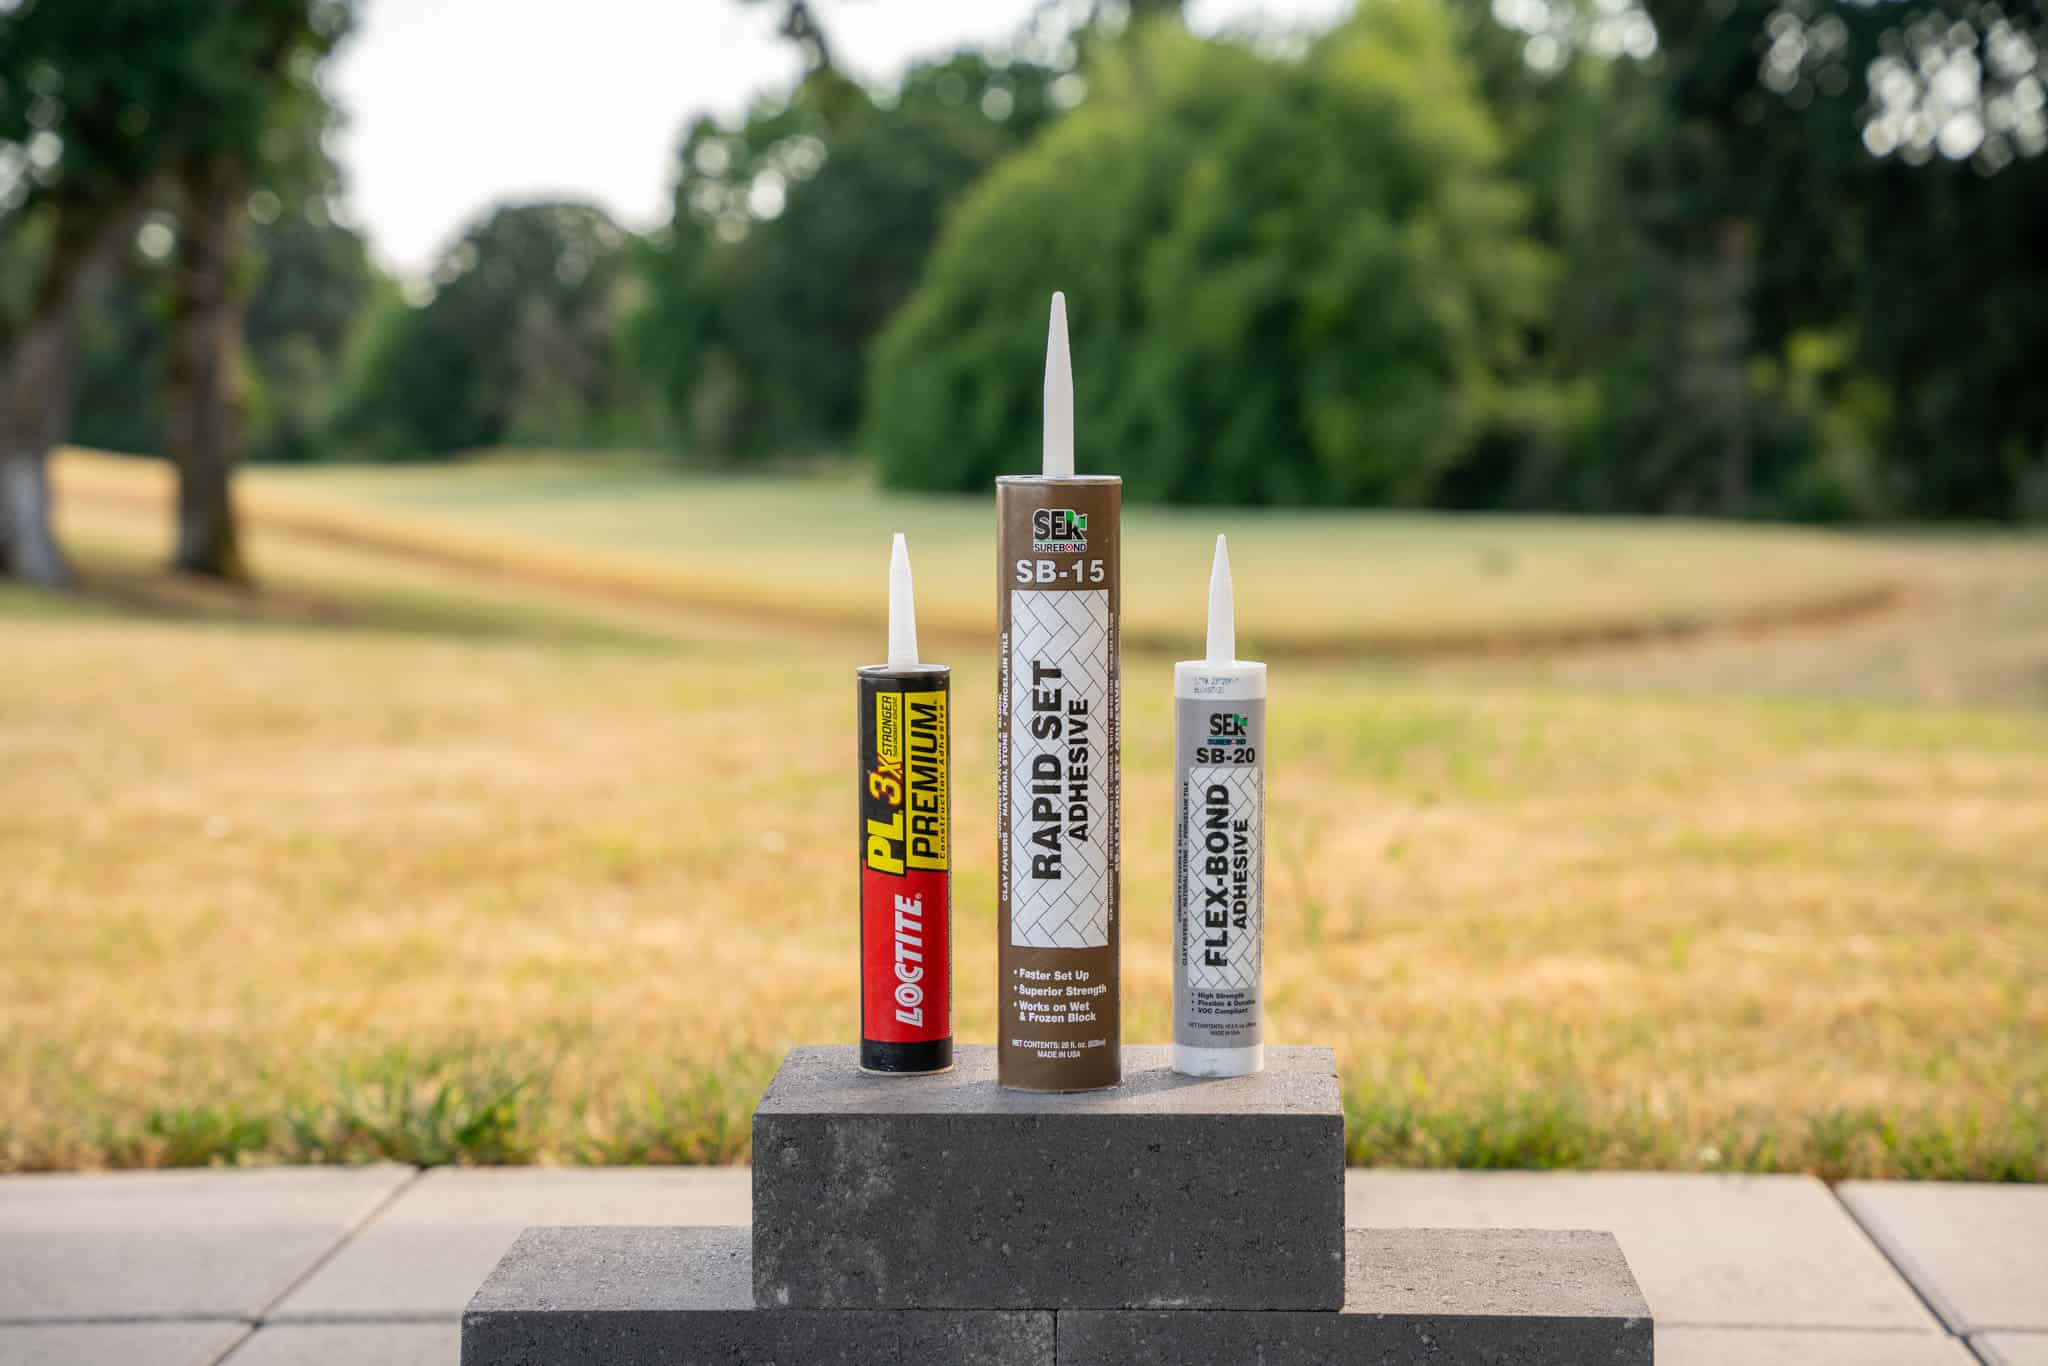
It is high in strength and VOC compliant, and it can be easily applied with a standard caulk gun to any wet or dry surfaces that are not frozen. SB-20 Flex-Bond is designed for anything that may have significant leverage, such as steps, walls, and firepits.
Quick dry: SB-15 Rapid Set
For the fastest dry, go with SB-15 Rapid Set.
This adhesive can be easily applied with a standard caulking gun as well. SB-15 Rapid Set will set up in 15 minutes, even if it is applied on wet or frozen pavers.
Most available: Loctite PL 500
The most readily available adhesive, Loctite PL 500, can be found in almost any local hardware store.
Loctite PL 500 can be applied with a standard caulking gun and is formulated specifically for outdoor landscaping projects such as cement paving stone or capstone installation. Loctite PL 500 is effective at bonding irregular surfaces and bonding gaps between surfaces.
Moist environments: SuperWET Adhesive
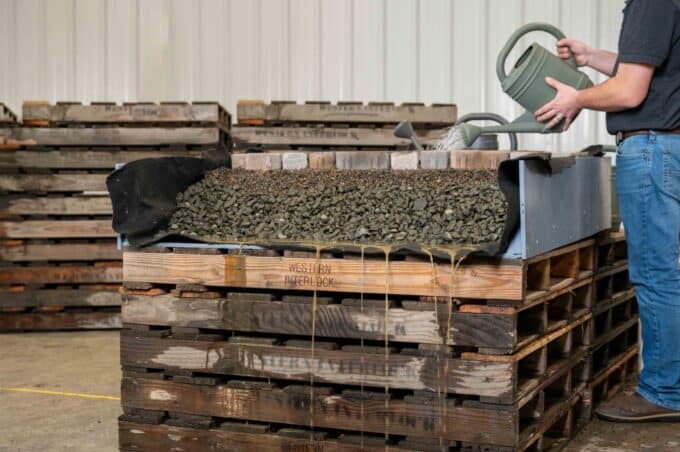
SuperWET adhesive is ideal for adhering retaining wall blocks and stair treads, especially if it is late in the season or you live in a wet area. It also is great for projects that will be subjected to heavy loads, such as stair treads or pool coping.
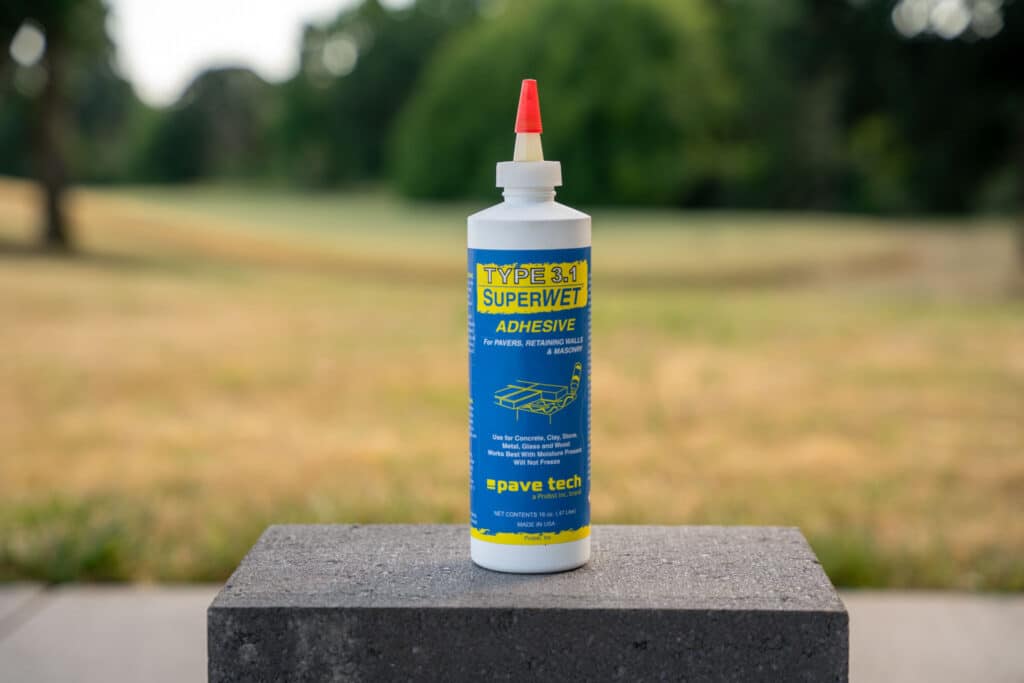
SuperWET adhesive will foam during curing and fill up to 1/4″. You should allow 24 hours of curing time before anyone walks on the surface.
How to apply landscape adhesive
1. Clean the surfaces you’re bonding
To start the landscape adhesive application process, you need to make sure the surfaces are dry and free from dust and grime.
2. Pre-fit your blocks for accuracy
Ensure your blocks or stones fit together as you’d expect because once they’re adhered, you’ll either have to leave them as-is or go through the discouraging process of removing your newly installed blocks.
3. Acquire a caulk gun to apply, if necessary
Some adhesives come in ready-to-squeeze tubes, but others require a caulk gun for application. Before you buy a caulk gun, you should check your landscape adhesive to know if your gun needs to have a particular thrust ratio. Typical caulking guns run from a low of a 3:1 thrust ratio up to a high of an 18:1 thrust ratio. Some landscape adhesives require a specific thrust ratio.
4. Apply the glue
To apply the glue, cut the tip to the desired bead size of material needed. Make sure you are careful—the tip size significantly affects the size of the stream that will come out. You’ll also need to insert a screwdriver or wire into the inside of the tube to break the inside seal.
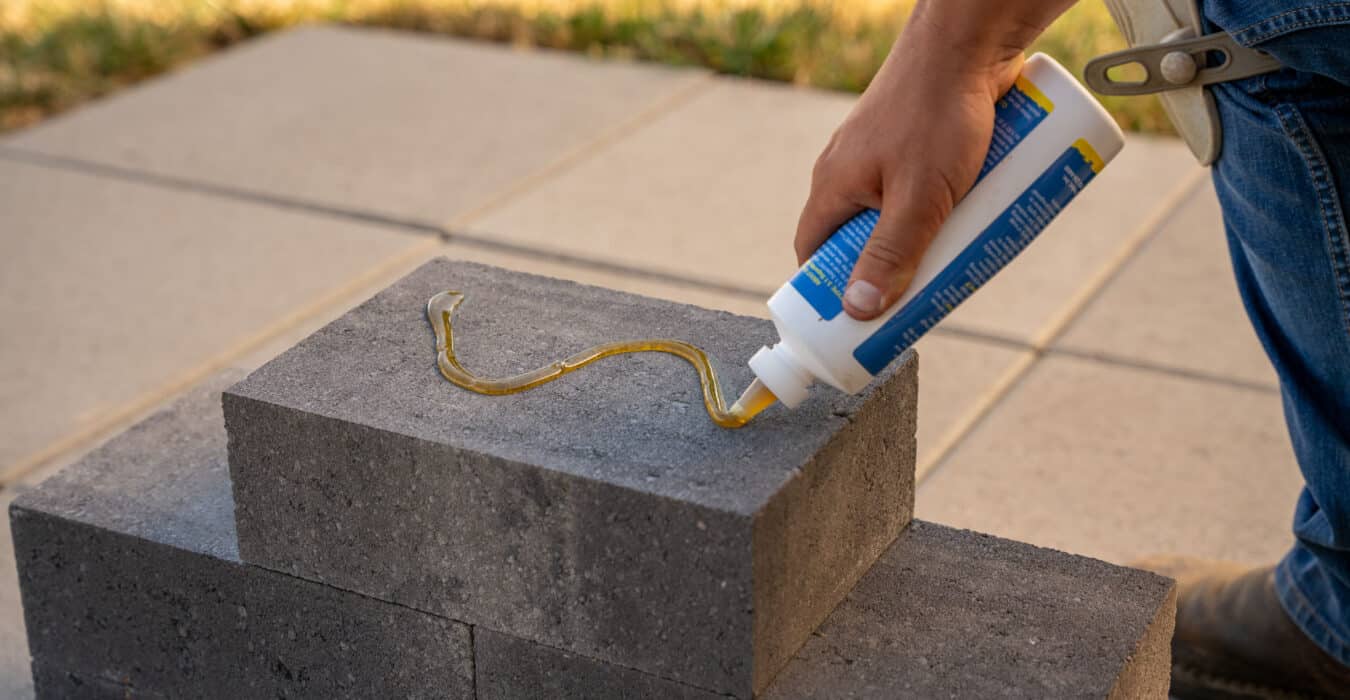
After that, simply insert the tube into a caulk gun and pull the trigger to release the adhesive. Apply it in lines, dots, or an s-pattern, depending on your material and adhesive.
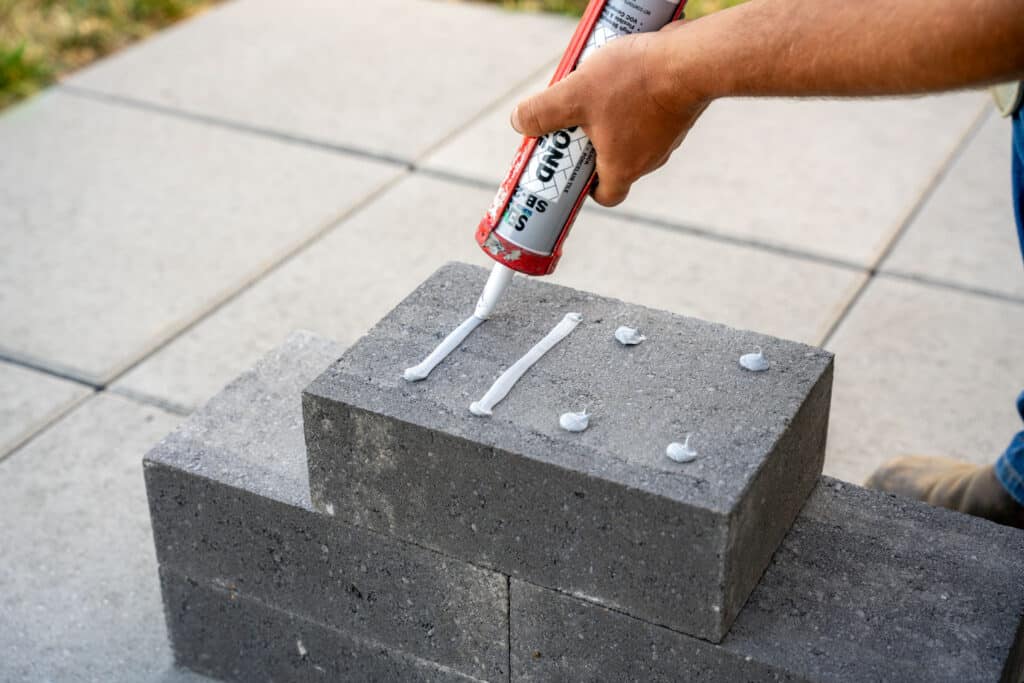
Lines ensure your pattern promotes optimal moisture drainage; adhesive dots should be no larger than a dime, and only four to six per block; and if you use the s-pattern, apply only one large S per block.
5. Fit the blocks together
Finally, press the items you are working with together to ensure they have good contact with the Polyurethane Construction Adhesive. Be firm, so each block will be sure to adhere to the ones beside it. Then, allow the adhesive to set for 24 hours without disturbance so your pavers can dry firmly and stay together for a long time.
Once you’re finished, clean up uncured glue with acetone. Cured adhesive can be scraped away with a utility knife.
Plan the perfect retaining wall
Do you need help planning your paver project? Click here to download our free Project Planning Guide and get all the details you need to install an excellent retaining wall or other landscape block project.


