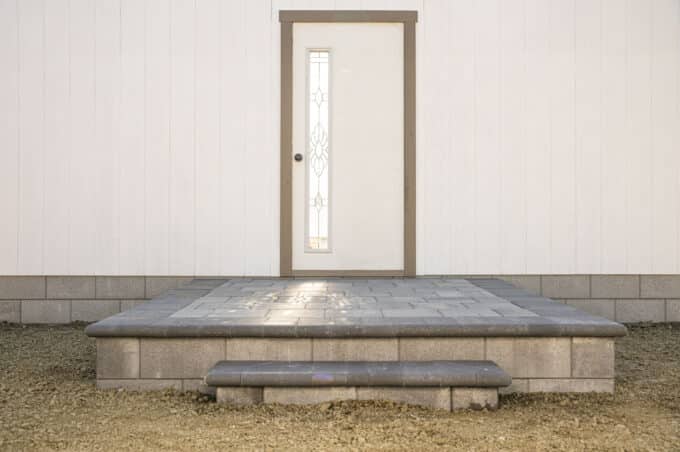
How to Build a Raised Paver Patio
Building a raised paver patio is an excellent option for homeowners who want to expand or raise their outdoor entertainment area and create a cozy, relaxing spot. In this blog […]

Are you looking for an effective solution to manage a steep slope in your yard? Many homeowners find themselves with this problem and don’t know how to address it. Retaining wall blocks may be the answer, offering practicality and versatility when planning for beautiful landscaping designs.
A retaining wall is designed to hold back soil or excess water, making it ideal for homeowners who have sloped lawns – it improves functionality and creates a stylish feature that adds value and longevity to your outdoor living space.
In this video and blog post, we will explore the steps needed to successfully construct a retaining wall with block materials: selecting quality products and determining supplies through the preparation of the site and installation of their chosen design.
Step one, like any other hardscape project, is to design. It might not be as beneficial to have a nice drawing of the front of your retaining wall as you might with a flat project—paving stone projects, for example—but getting your measurements for length and height will help you decide what type of materials you’ll need, and how much of them.
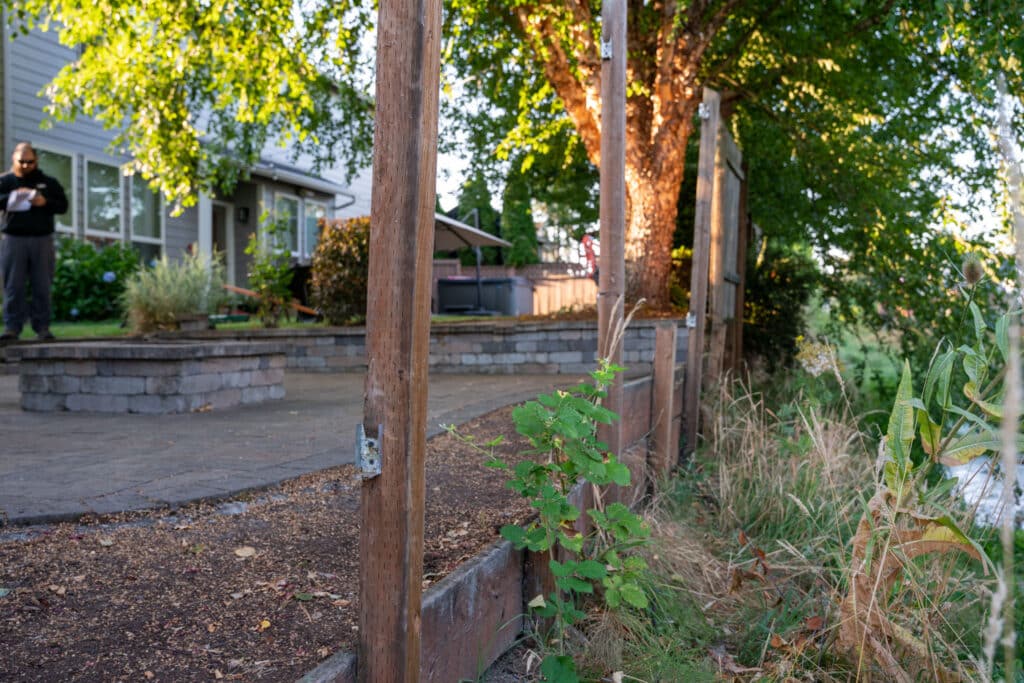
We will be using Murata™ wall for the retaining wall in this tutorial. You might consider Murata™ wall for your retaining wall because it’s an 8×16” open cell wall block, which is easy to handle, and it can accomplish smaller retaining walls as well as those with a taller height.
Step two is the layout. In this example of how to retain a slope, the homeowner has an existing, failing retaining wall that we will leave up as a reference point to illustrate the correct depth of excavation below the wall and behind the wall. Take your tape measurer at the lowest point in the wall and mark the finished height. For this project, that’s around 24”. Yours might be more or less, depending on your specific design.
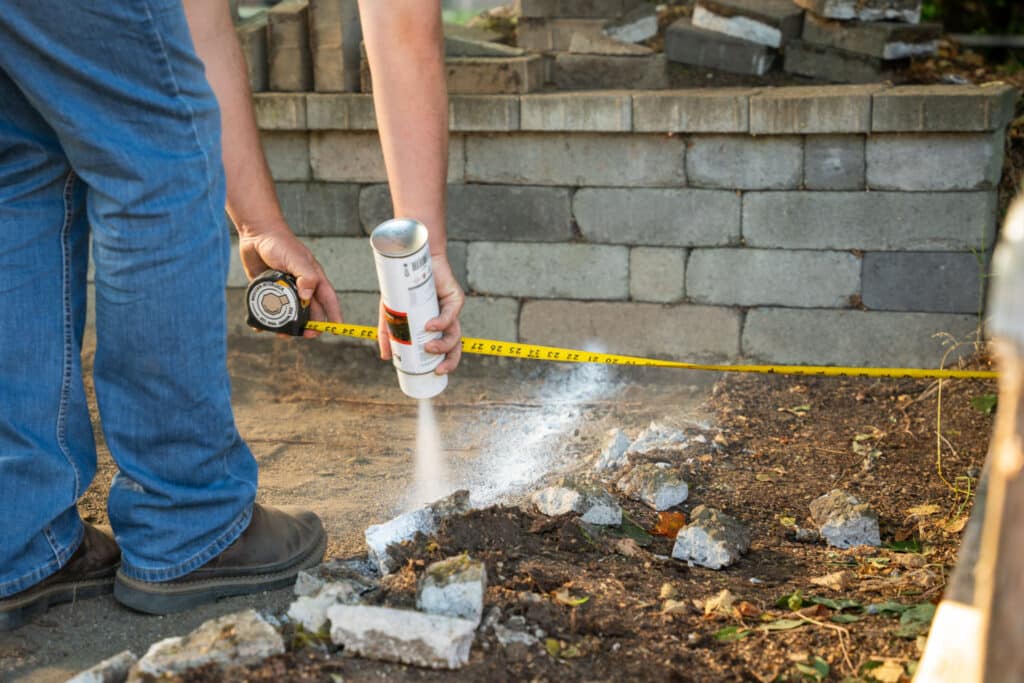
We need about 30” overall depth behind this reference line because it gives us 12” of block and about 18” of gravel backfill. You’re going to need to do something similar. Measure behind it, take some white marking paint to mark a line behind it, and then you can get on to the next step.
Don’t get too far ahead without getting it square. We will use the existing failing retaining wall as our reference for where the new wall will be. It’s not perfect, but it’ll be close enough. If you don’t have a retaining wall, which is valid for most scenarios, you can put up a square string line with your house or another structure if you have one nearby. Or, if you have an odd-angled fence line, you’ll want to use it as a reference.
In short, having some reference lines is beneficial because you don’t over-dig or under-dig. If you need additional help getting your wall square, read our tutorial: How to Square a Corner Using the 3-4-5 Method.
Step four is setting the grade. You need to find the lowest point in your wall if you have varying terrain and establish a finished wall height that works throughout your project. We know that 21” from the lowest point in our example project will give us a good height for the existing paving stone step to slope towards. Your height will vary based on your situation.
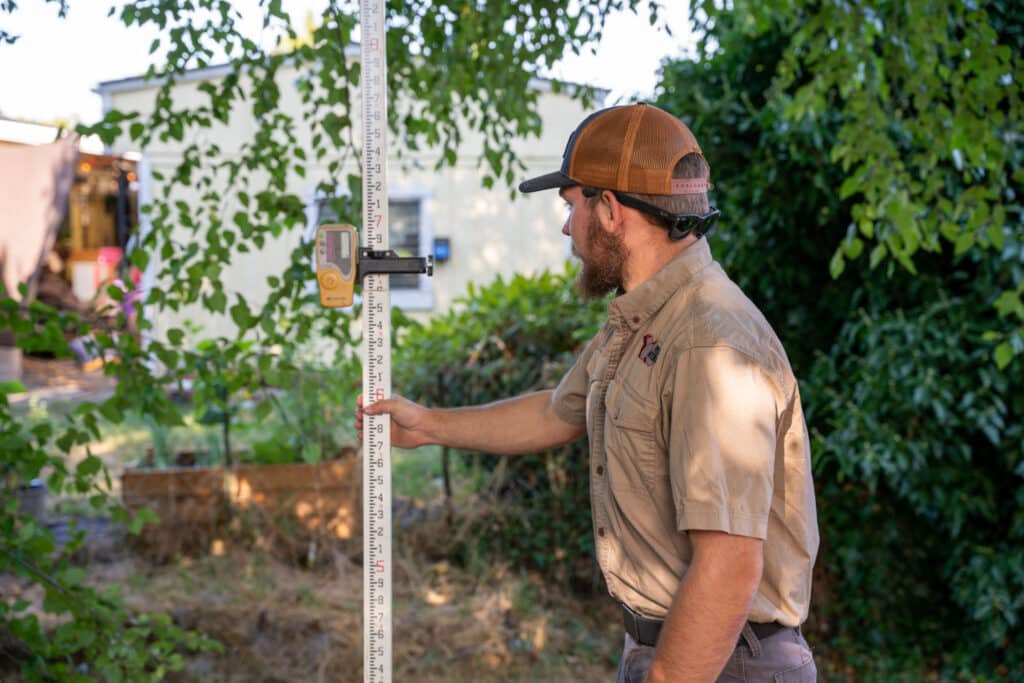
For this project, we take that 21” with our laser transit. We mark that from the ground, the lowest point. Then we add that to 12”, which is going to give us 6” of the embedded block below the soil and 6” of compacted gravel to set our base block on. It gives us about 33 more inches from the top of our surface for our entire excavation at the lowest point.
With the finished grade of your wall established, you can move on to the next step, excavating. You’ll start at the lowest end of your wall to ensure proper embedment depth of the block and gravel base at the bottom, then work your way up. For this project, we will also dig behind the wall with that white line we marked in the layout step. This is easy with a piece of equipment but is achievable by hand.
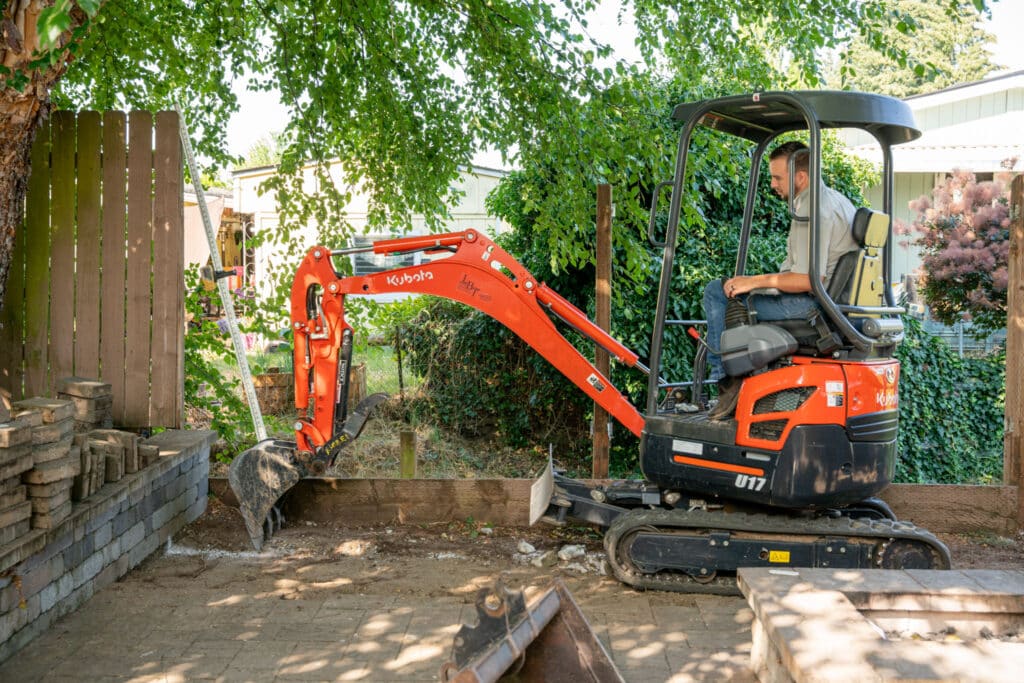
When excavating for a retaining wall, it’s always intended to be level. When working with varying or inclining terrain, sometimes you’ll be excavating too much. It’s only necessary to embed the bottom course of your wall at least 6” at your lowest point. As the terrain inclines, you may be bearing the 6” of the second course of your block. When that happens, you can increase your grade in your excavation by 8”, which is the height of a block, to reduce the amount of excavation and hopefully promote some efficiency in your project.
After removing as much loose dirt as possible from your excavation and you’re finished, you can go on to step six, and install the base material.
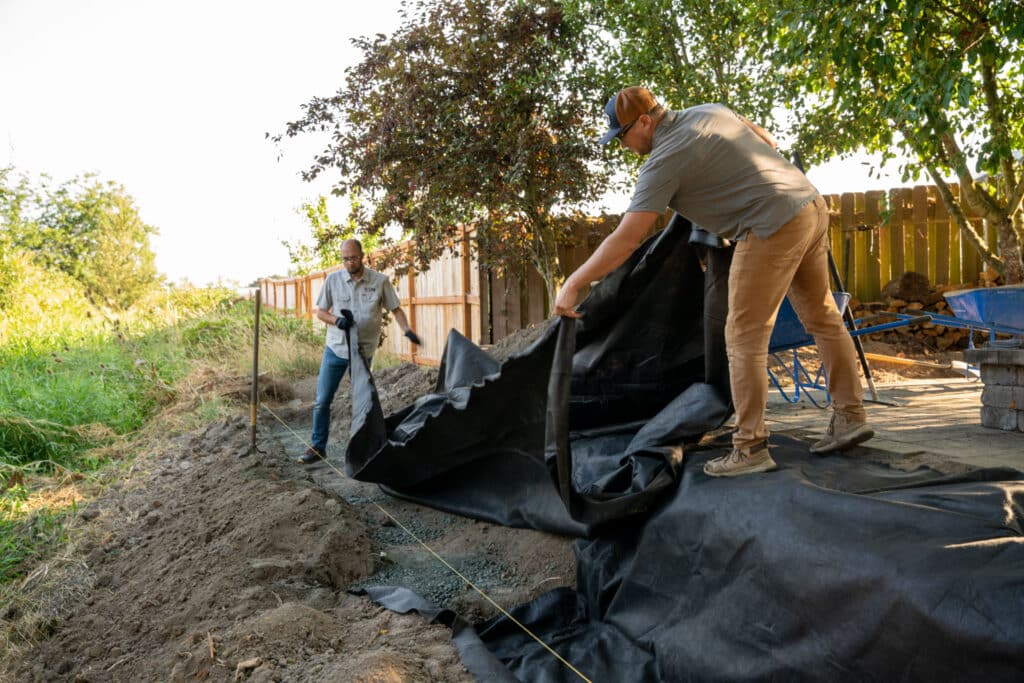
Before you start bringing your gravel, it’s super beneficial—and almost required—to insert geofilter fabric. This creates a barrier between the dirt and the gravel, for both the bottom of our block and the backfill, so that soil never migrates into your gravel and causes any contamination or expanding and contracting cycles.
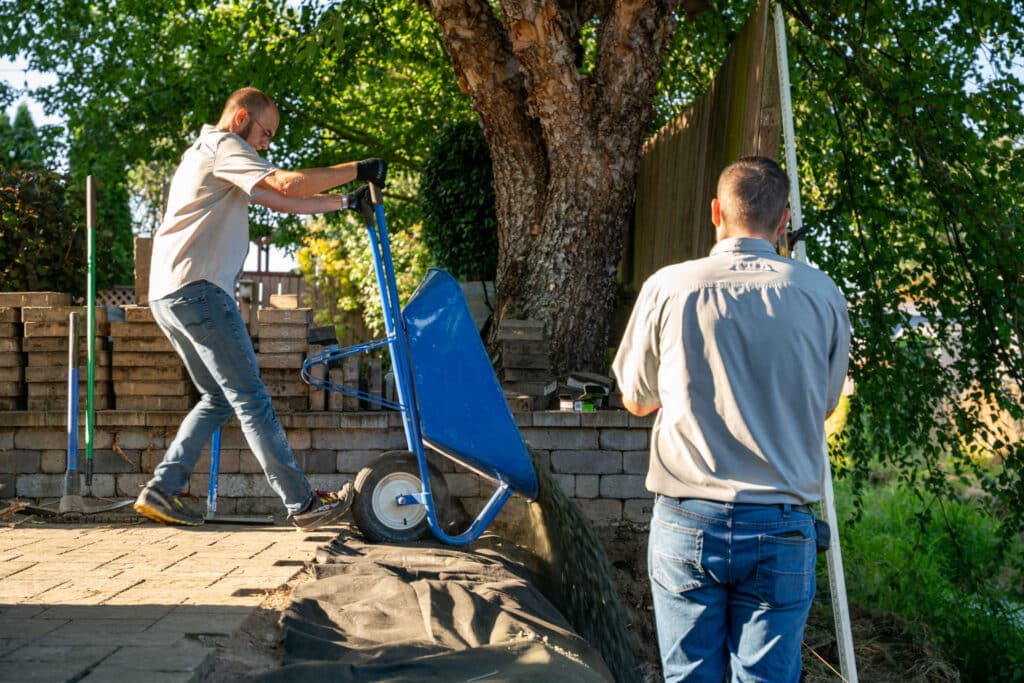
Once that filter fabric is in place, you can bring your gravel base. You’ll need at least 6” of compacted three-quarter minus gravel below the base course of your wall.
With your compacted gravel base entirely laid, you can move on to step seven, setting your base blocks. It’s a lot easier if you have a straight reference using a string line—that way, everything looks excellent and consistent.
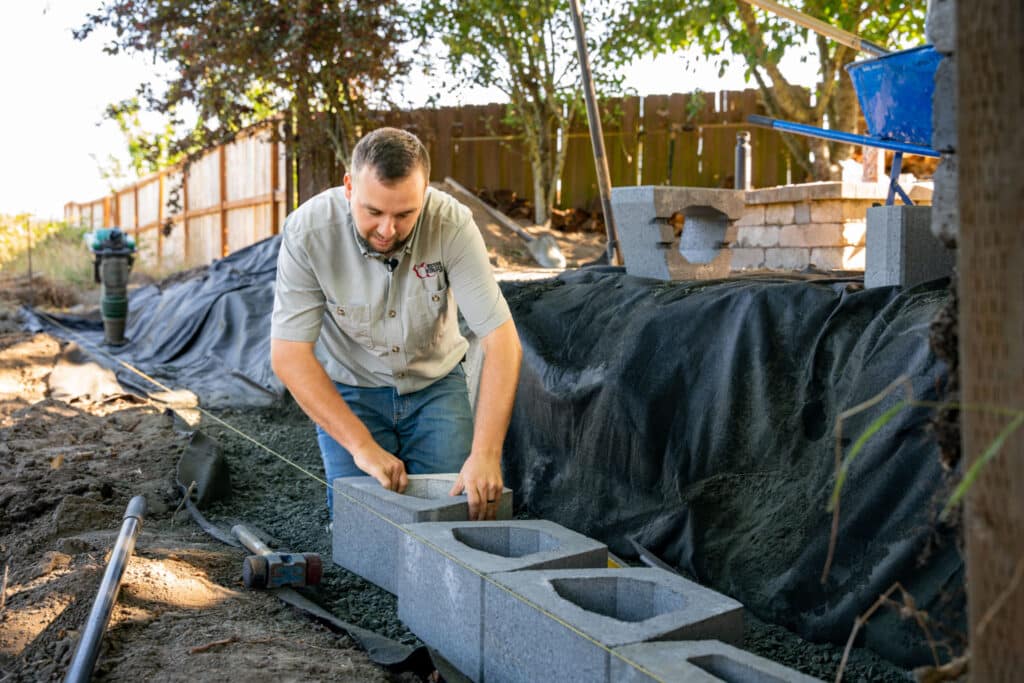
In this sample project, we also use spirit levels to set each block level in each direction. Just hit it with a hammer to persuade the bubble in the level. To maintain consistency, you can use a long level to check it with the previous blocks. After that, you have an excellent flat and straight base course for your retaining wall.
After you finish setting your base course, you can move on to step eight, filling the cells of your blocks, back-filling your wall, and stacking your subsequent courses.
Filling the cells is super easy. All you have to do is fill up to the top, then sweep off the excess. It does not need to be compacted. When back-filling the blocks, you must do 4” lifts compacted with a jumping jack tool to have lots of good compaction.
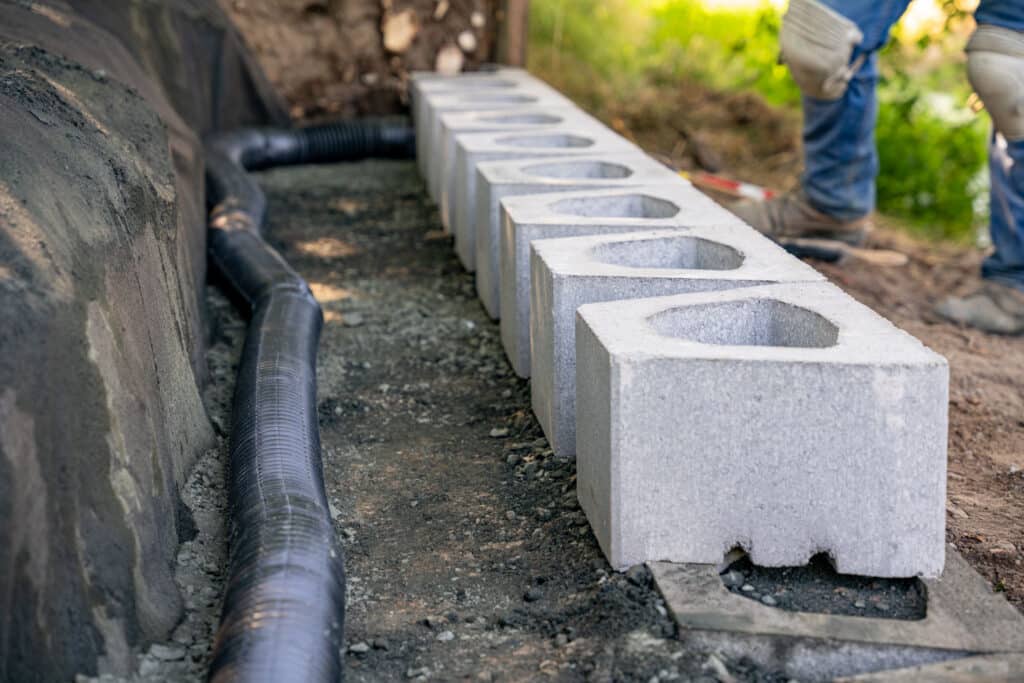
You want to make sure that you integrate a perforated pipe. It is more accessible or cleaner if you have a Wall Drain Pro. It sits perfectly with an 8” block. In our sample project, we will put that at the bottom, or the lowest point, and exit it through the blocks. Then we will have a little slope on that, at least a half of a percent, to ensure we have fallen grade so our water drains easier. After that, we can move on to the next step.
In our sample project, when our perf pipe is in place, our wall is back-filled, and the blocks’ cells are also filled; we’re ready to move on to step nine, which is capping our blocks. Western Interlock has a lot of different wall cap options. Again, the homeowner will never see the wall for this particular project. It’s going to be behind a fence. So we will go with our Plaza Stone (pewter color). It will function perfectly because all we need to do is cover up the open cells.
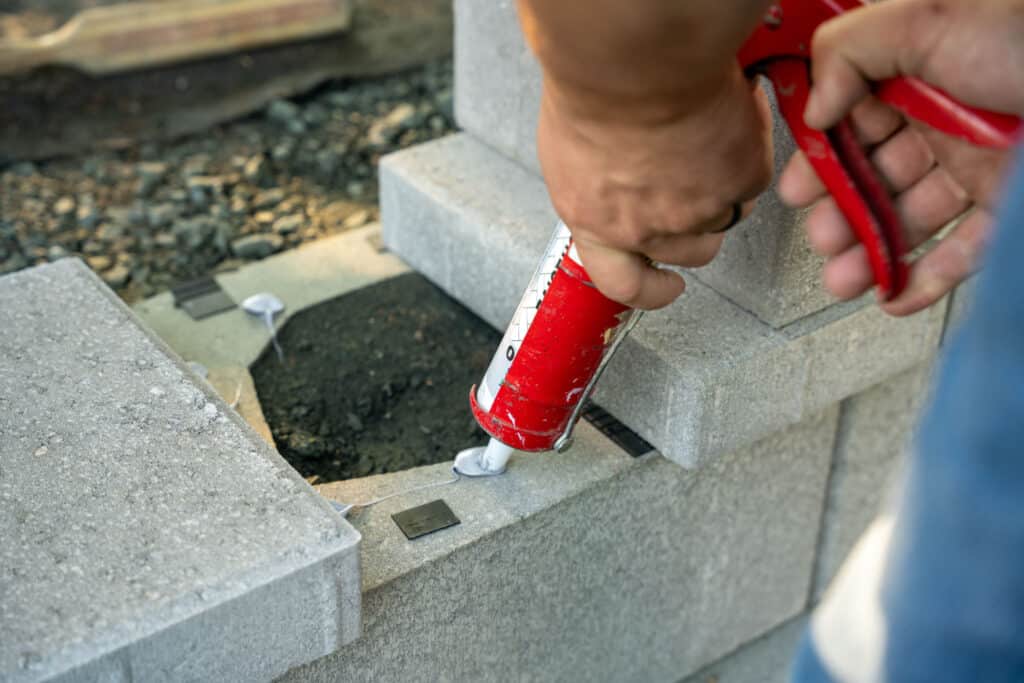
You’ll want to take a brush, clean off your blocks, and put some adhesive down. We like Surebond 20 because it’s a flexible adhesive. Take your capstone, place it where you’ve used adhesive, and move on to the next one. After that, you can finish.
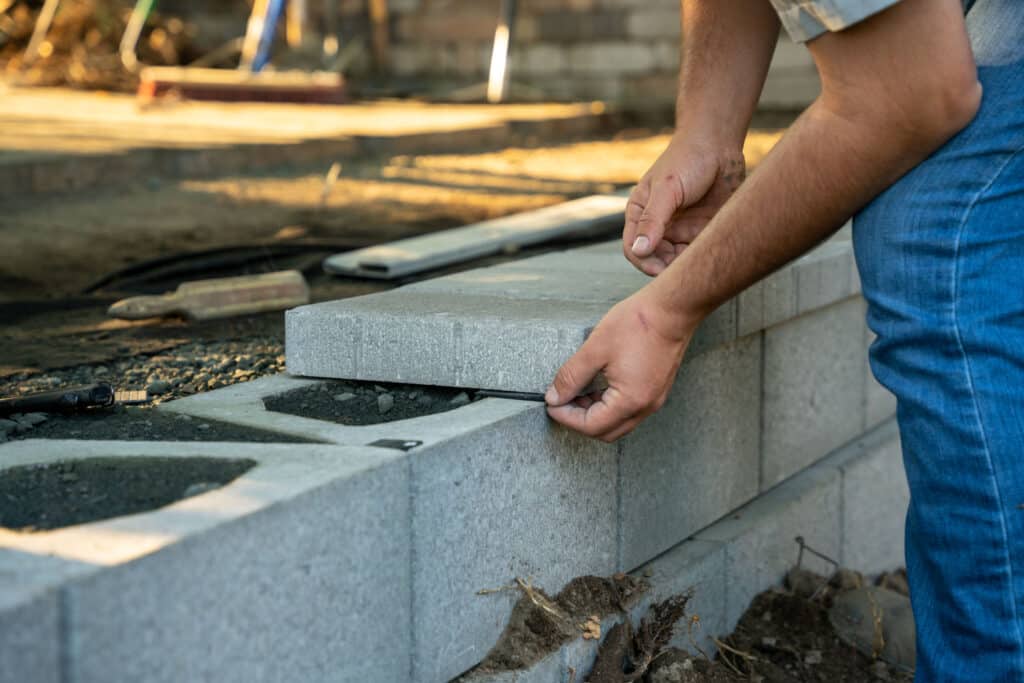
You can move on to the final step when you finish gluing all your caps on your wall. All you have to do is take your filter fabric and put it back over your gravel backfill. Wherever it wasn’t long enough, you can take a new piece. Feel free to overlap it to have a sound barrier between your gravel and dirt.
In our project, we did some landscaping, finished the paving stone patio we pulled up, and then became a finished project.
If you are ready to start your paver project, we have a guide that might help. Download our free Project Planning Guide so you can be prepared before you start your project.
Choosing a paver can sure feel overwhelming. You have to consider size, style, thickness, color, and more. That’s why we made a short and simple quiz that asks a few questions about what you’re looking for and, at the end, provides a recommendation, or two, you can start with.
Learn More