
Get our FREE Project Planning Guide
"*" indicates required fields
If you’re a homeowner in the PNW who enjoys DIY yard projects like installing hardscape, installing pavers in your yard may sound like an appealing project.
One of the most important things to do before installing pavers is to make sure the ground where you plan to place them is level. In this blog post, we’ll look at how to achieve that.
If you want to ensure a successful paver installation, download our free Project Planning Guide.
For details on the first step to leveling ground, keep reading.
Why Leveling Ground is Crucial for Paver Projects
Having a level base for your hardscape is crucial for paver quality and longevity. If the ground under your pavers is uneven, you will likely deal with frustrating problems like uneven settling, poor PNW rain drainage, and tripping hazards for your children and family. (For further details on how to prep a base, check out this article.)
Tools and Materials You'll Need
Paver Tools
Here are the main tools you’ll need to have on hand for leveling the ground in preparation for pavers:
- Work gloves
- Wheelbarrow
- Tape measure
- 24” level
- Rubber mallet
- Steel tamper or plate compactor
- Pickaxe or mattock
- Shovel
- Garden rake
- Concrete placer
- 10’ to 12’ aluminum strike board
Materials
Here are the essential materials you should have access to before you start leveling the ground:
- Marking paint (white)
- Line level
- Geo-textile
- 3/4″-0 gravel
- Washed concrete sand
- 1” square (or round) metal pipe bars or 3/4” PVC pipe
- Plastic edge restraint
Safety Precautions
As you begin the process of leveling the ground for your pavers, make sure you prioritize your safety! You should take care to use safety gear, and calling 811 to request an underground location will help make sure you won’t hit any wires or pipes.

Steps to Leveling Ground for Pavers
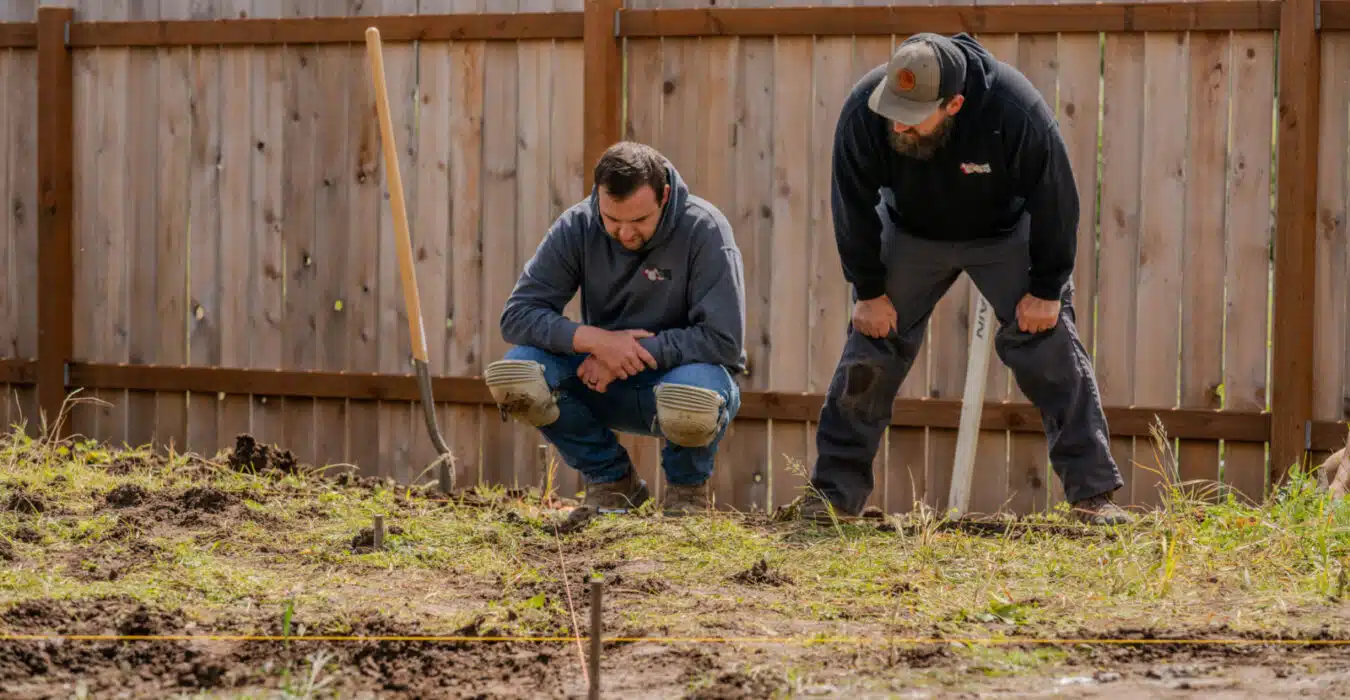
1. Mark your space and excavate the desired depth
As you begin to level the ground, evaluate it and mark the layout and boundaries of where you will install your hardscape. Clear any plants or debris from the area, and then excavate it to your desired depth.

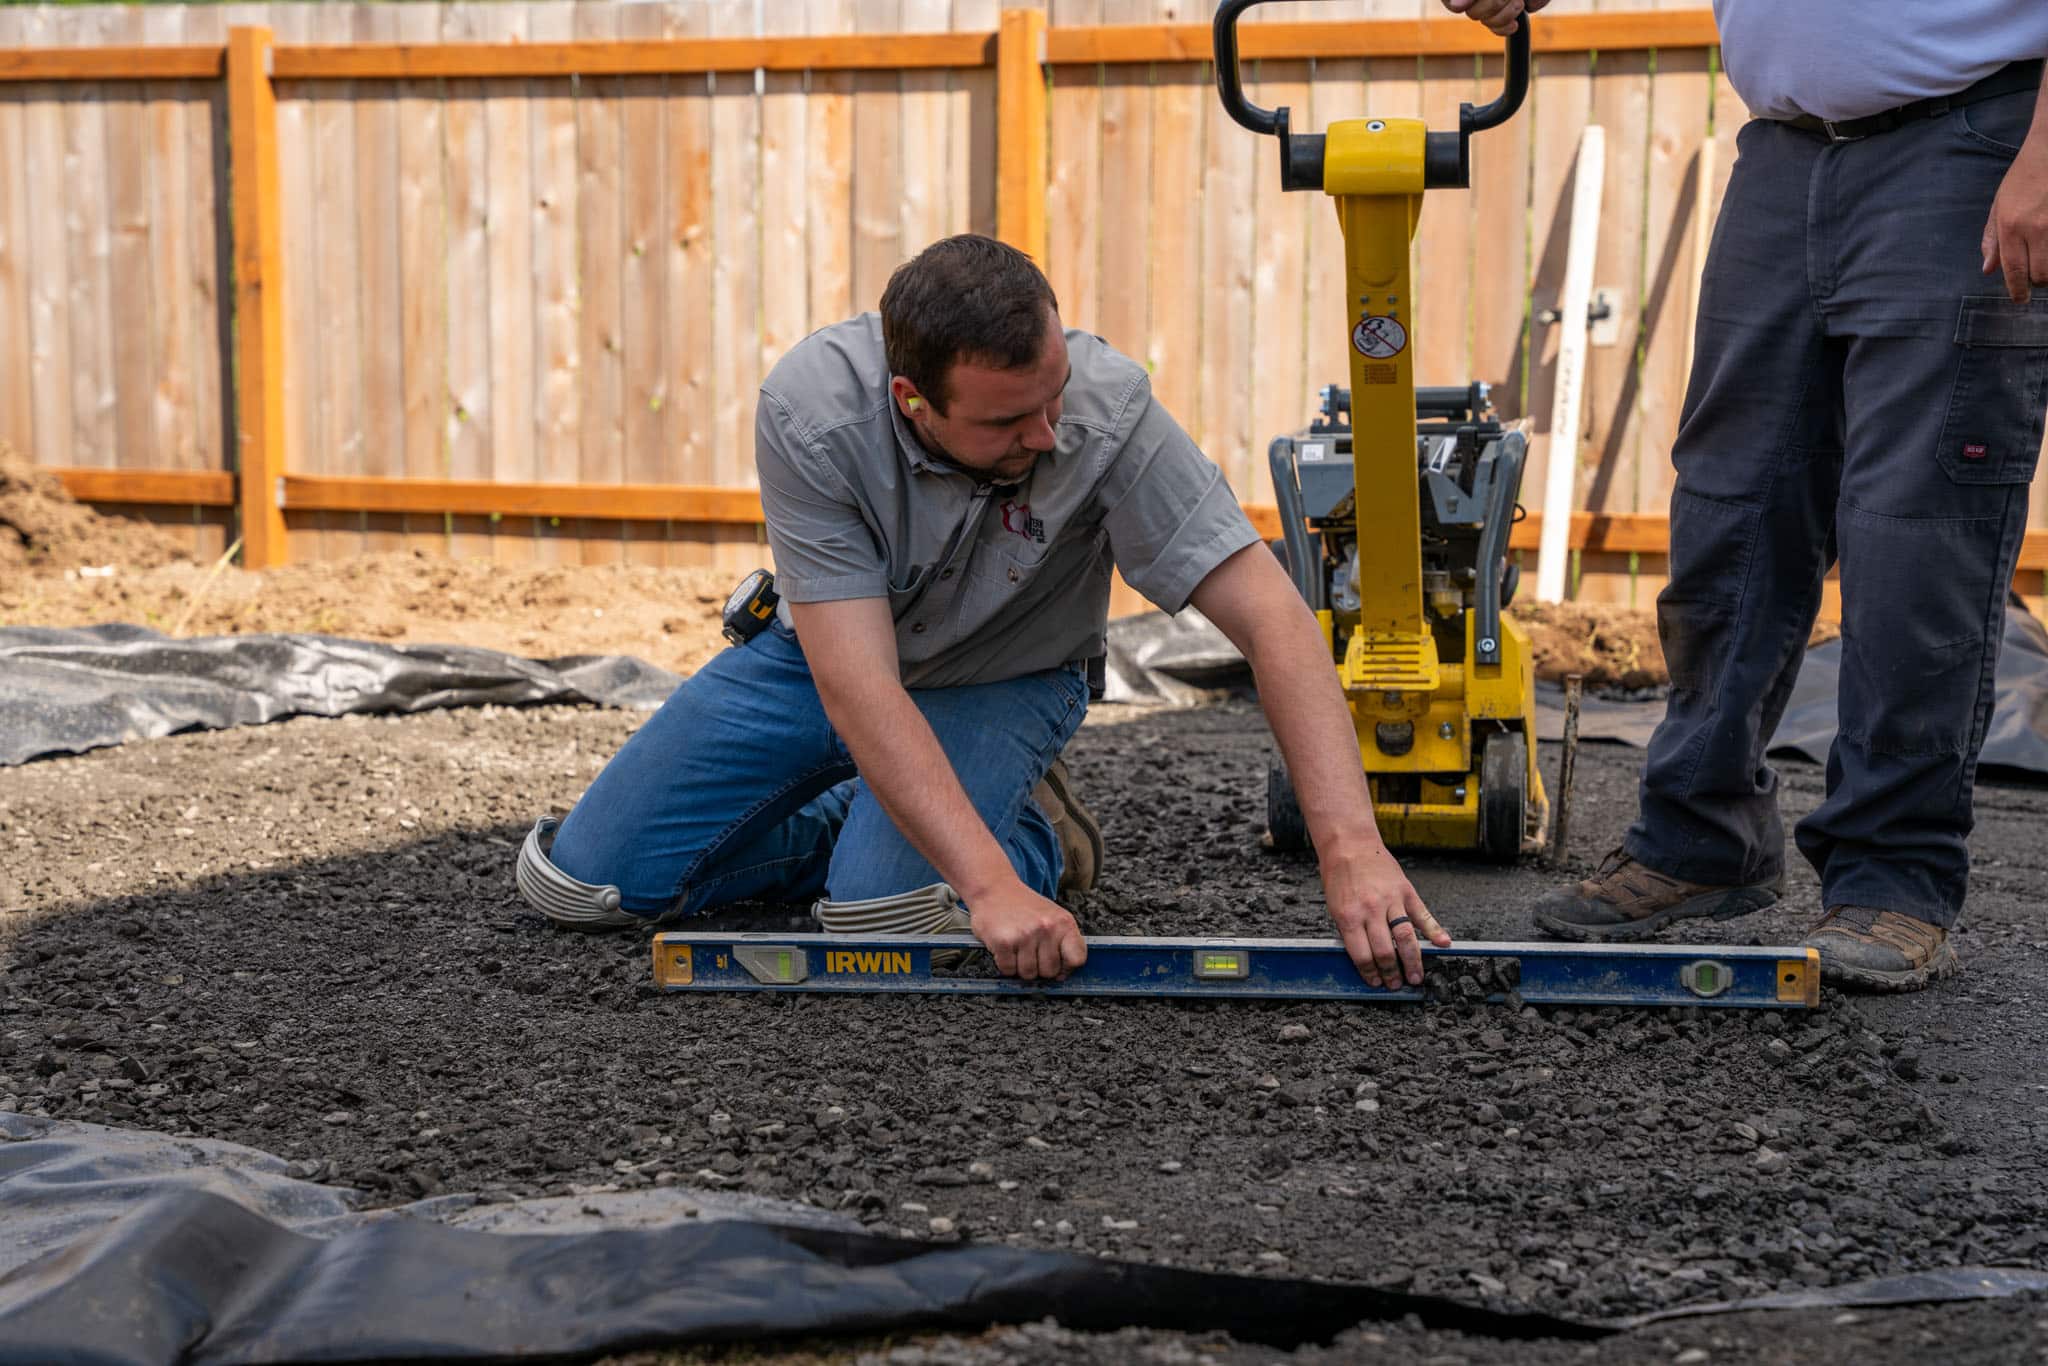
2. Compact or rake the soil to be roughly level
After excavating, compact the soil using a plate compactor. Next, add a layer of landscaping fabric and then screed and level your base material of 3/4″-0 gravel. Ensure your base layer of gravel or sand is as smooth as possible, and then compact that as well.

3. Frequently check base for level or grade
Once you’ve completed the excavation, base layer, and compaction, check and adjust your base so that it has a proper slope and can quickly drain any water.
Pro Hardscape Tips for Success
Follow the natural landscape grade
To ensure you achieve the best results when leveling the ground for pavers, make sure you follow the natural landscape grade as much as you can. The grade should be slanted away from your house, shed, or any other structures.
Compact large areas with a plate compactor
We recommend you use a plant compactor instead of a hand tamper for the most level base. If you are laying pavers for a pedestrian area, you should lay 4” of gravel base. However, if vehicles will use the hardscape, your gravel base should be 6” to 10” deep.
Only walk on your base or bed as needed
Finally, to keep your base as compact and level as possible, avoid walking on the sand once it is screeded.
Again, an uneven surface is a hazard for rough settling, poor drainage, and tripping. Make sure your base is as level as possible.
Download Our Planning Guide
If you’d like help ensuring your paver project will be successful, we recommend you review our free Project Planning Guide. It will walk you through the planning process so you can make sure you have everything you need, as well as helpful tips for a beautiful, finished hardscape.
Get our FREE Project Planning Guide
Tell us where to send it and we’ll email the backyard planning guide to you right away!
"*" indicates required fields


