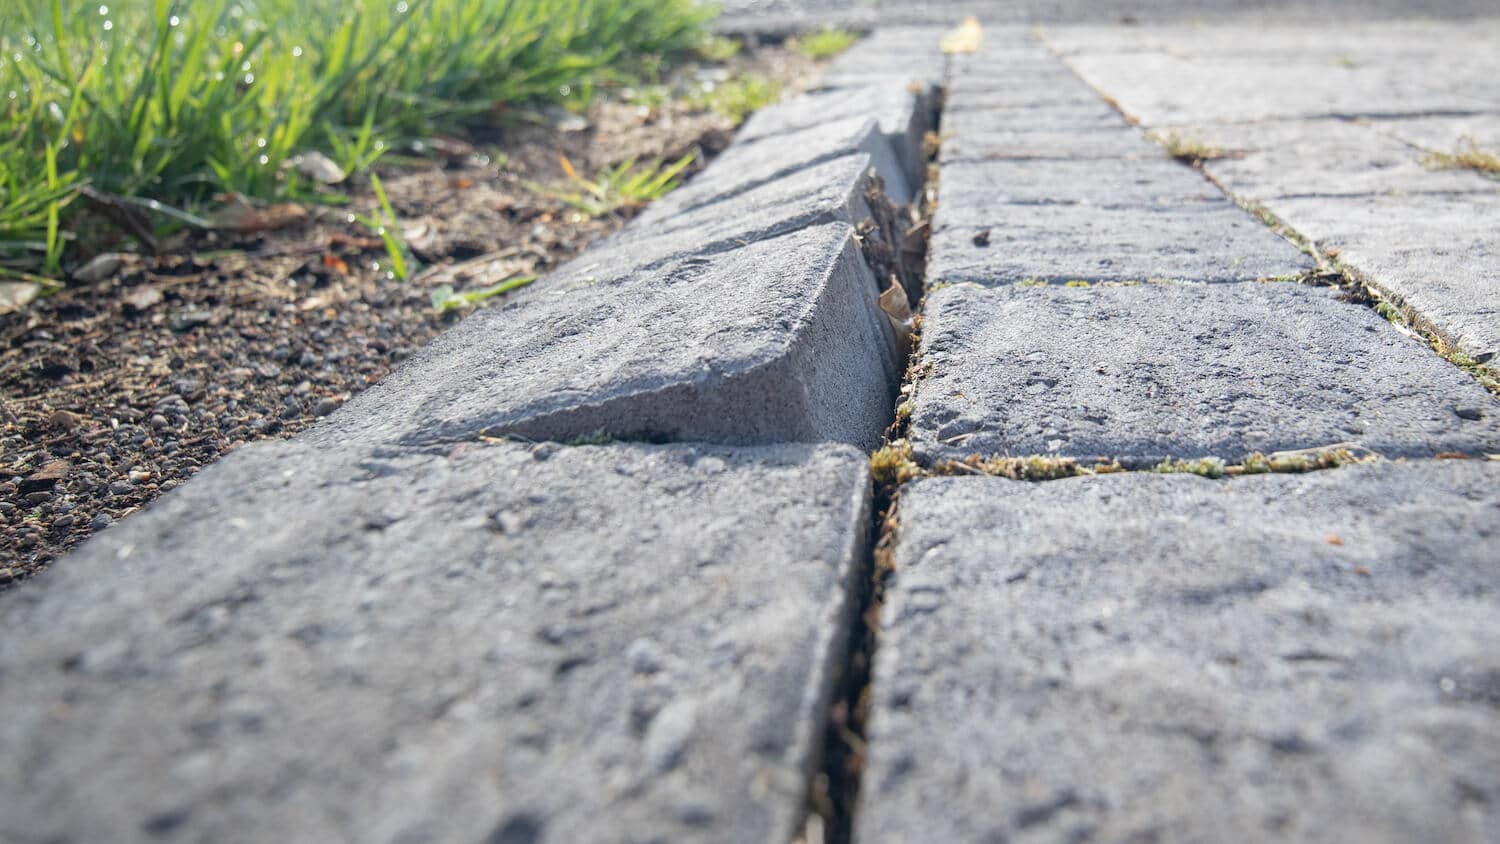
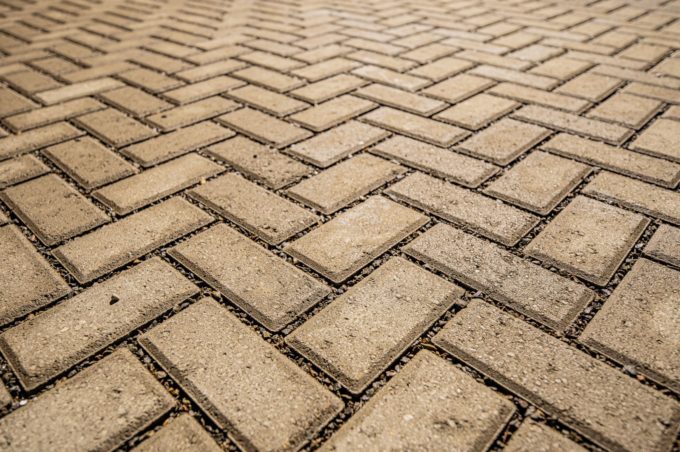
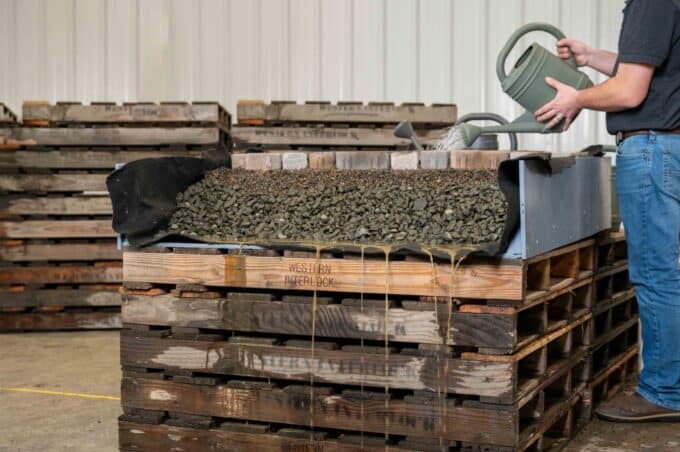
A failed edge is something that can happen to anyone’s hardscape. Some of the most common causes of a failed edge are; using too much sand in your base-layer, improperly installing edge restraint, or using the wrong edge restraint for the traffic level. In this article, we’ll explain how we fixed this failed edge, and teach you how to fix your failed edge no matter the situation.
In this example, our walkway edge failed because landscapers drove over the walkway with heavy equipment. Additionally, there was too much sand in the base layer.
To properly fix your failed edge, you’ll need a few tools. Here’s the shortlist of tools we use in this tutorial. You can pick up any of these tools at one of our Oregon or Washington sales offices, or your local hardware store.
- Trowel or flat shovel
- Hand tamper
- Broom
- Snap-edge cutters or hacksaw
Follow our eight-step process in this article and you’ll have a more stable, secure hardscape.
1. Assess the situation
First, when navigating any paving stone repair, assess the problem so that you know exactly what’s going on—and so you don’t cause a bigger issue.
In our situation, we started out by pulling up a few of our stones. We noticed that there was 2” of concrete sand, which is twice as much as you need. The excess sand likely promoted uneven settling. Also, we discovered that our edge restraint was loose and wasn’t holding tightly against the paving stones. This could’ve been caused by settling soil or heavy foot or vehicular traffic.
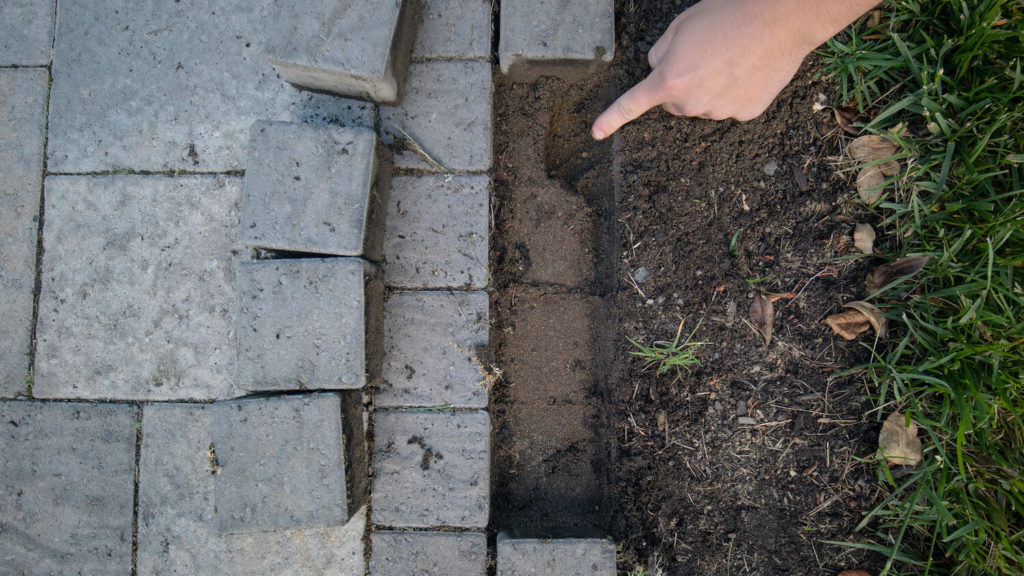
Now that you understand what you’re up against, you’ll need to remove some of your pavers and the edge restraint so you can strengthen the base.
2. Remove the Old Stones
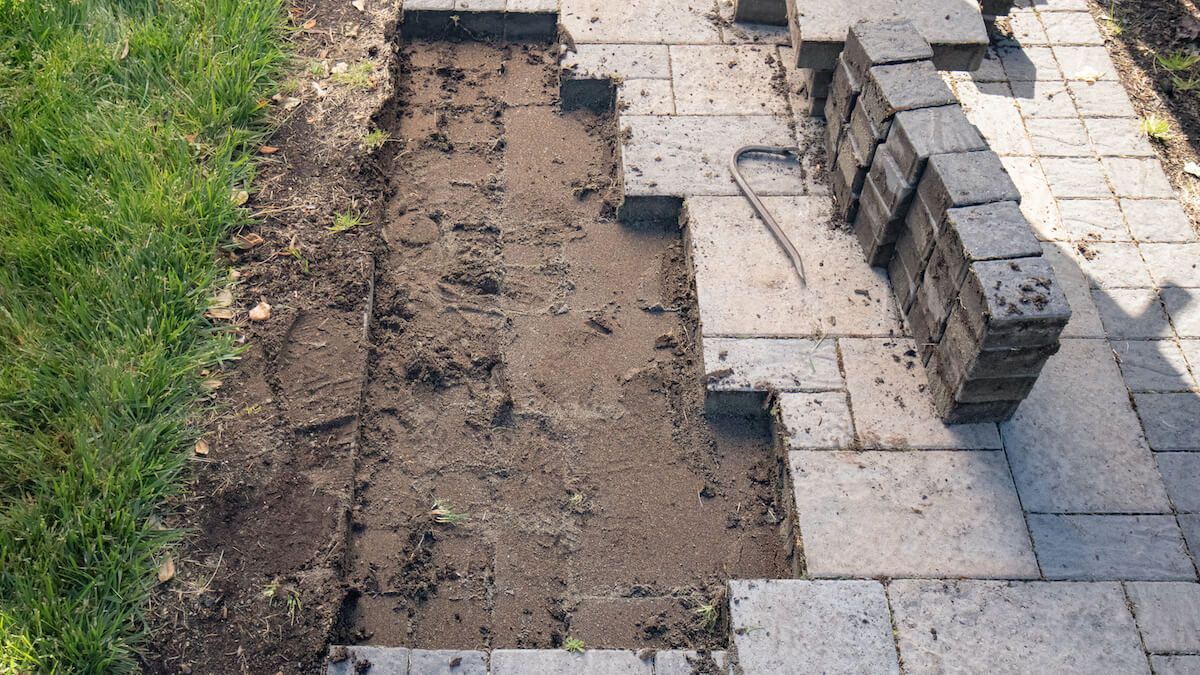
Pull up the paving stones around your problem area. A good rule of thumb is to pull up any paving stones in a 16″ radius around the problem area.
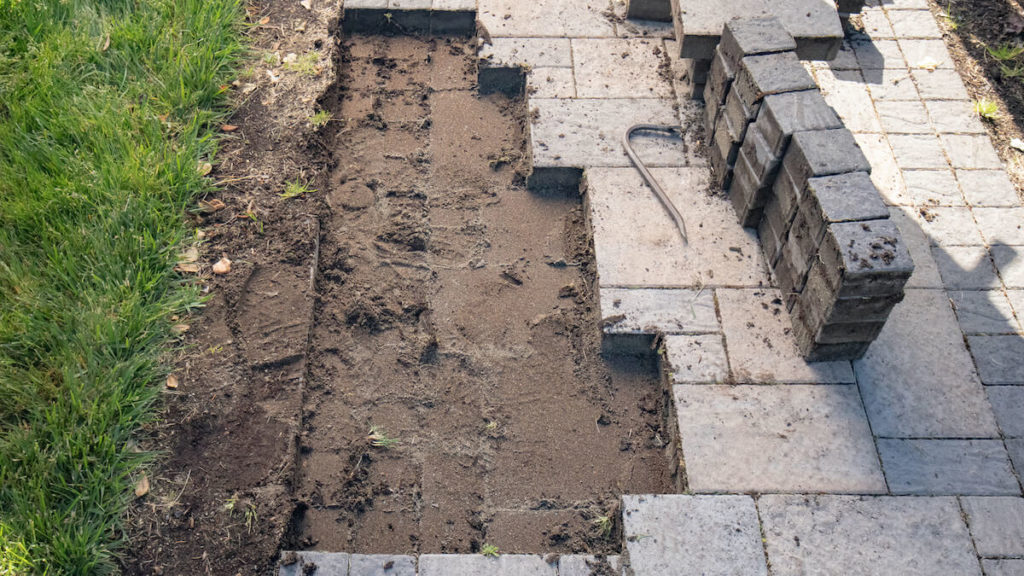
Pulling up those extra stones allows you to make sure the new base you’re installing remains consistent with the rest of the hardscape.
3. Remove the base and edge restraint
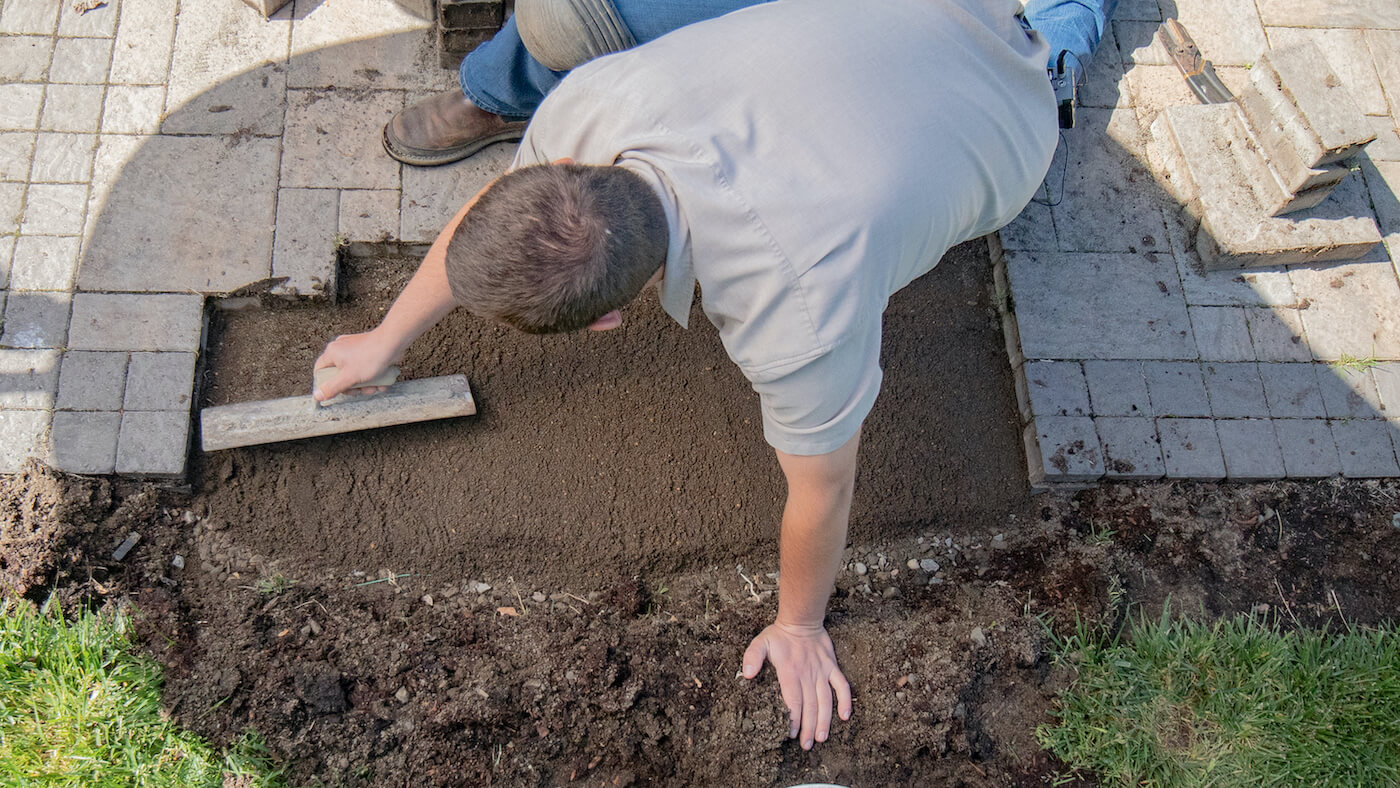
Next, remove the exposed bedding layer by using a trowel (or a flat shovel) and scrape out excess sand. Make sure to leave a 2” barrier of bedding material around the edge of your problem area so you have a point-of-reference for how thick the base should be.
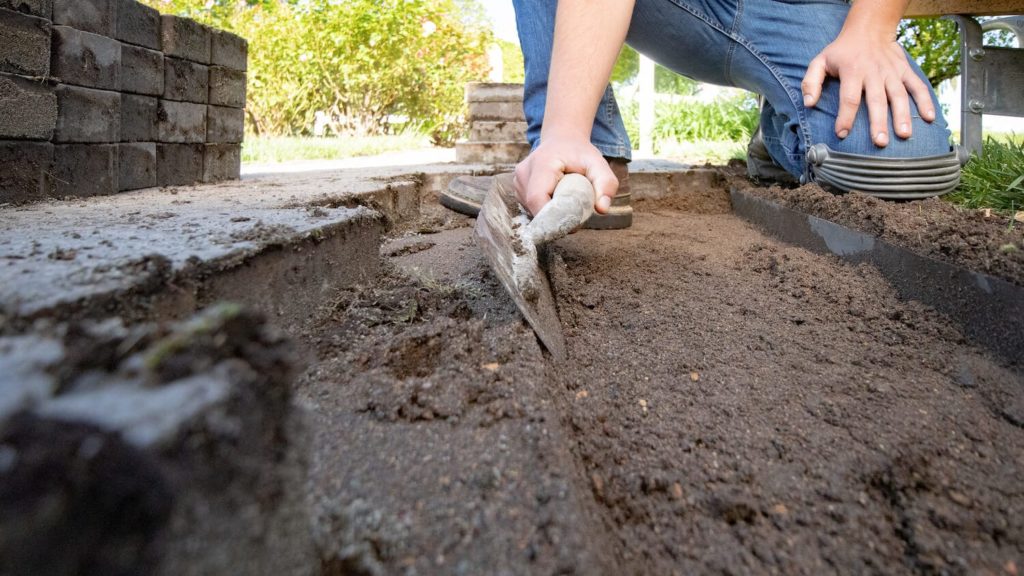
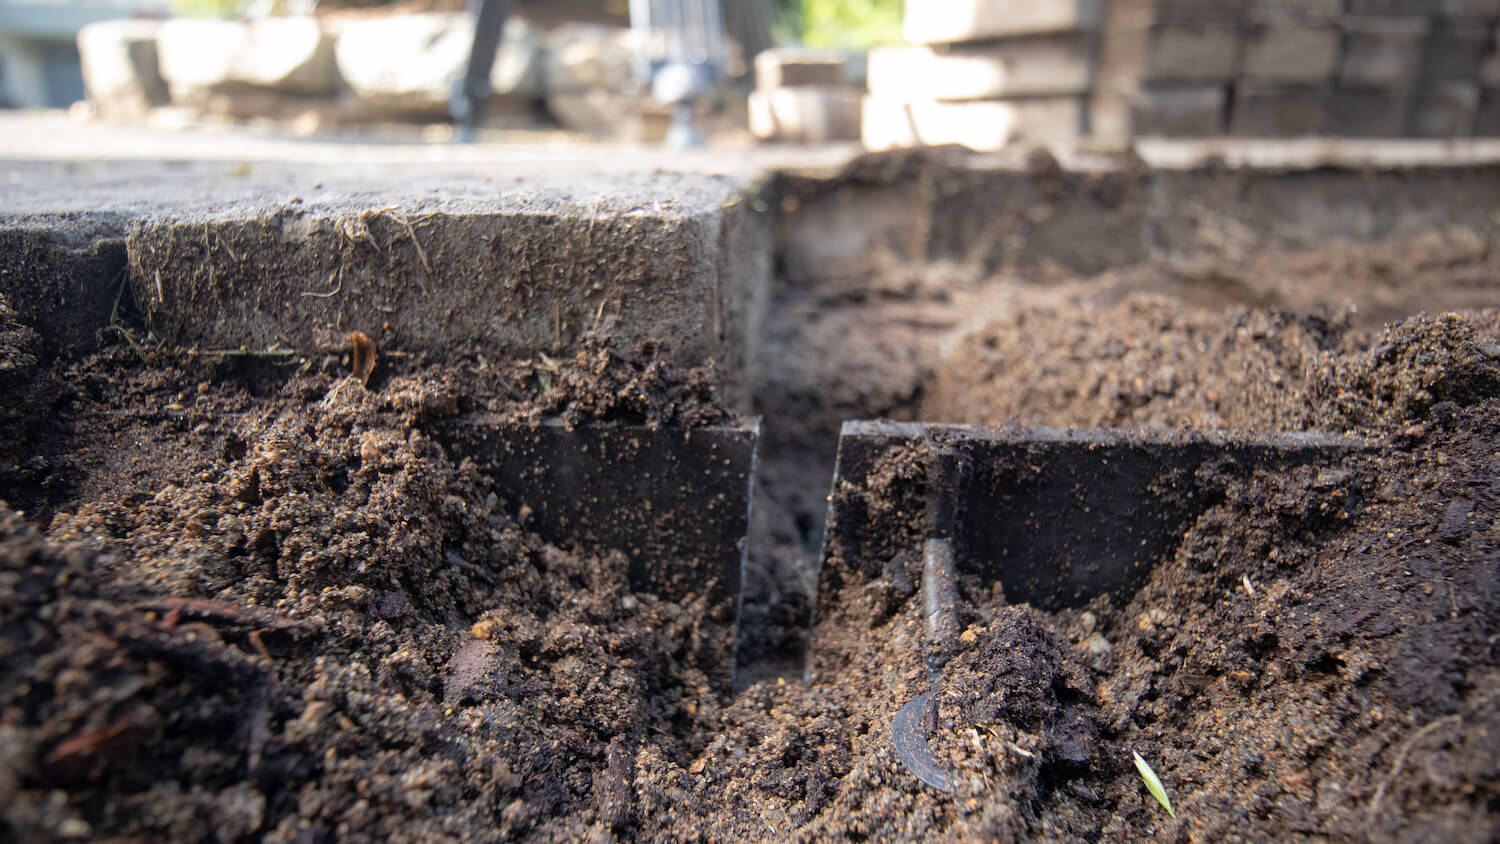
Next, remove any edge restraint around the problem area. To do this, take a pair of snap edge cutters (If you don’t have snap edge cutters, you can use a hacksaw) and cut the edge restraint at the edge of your exposed area.
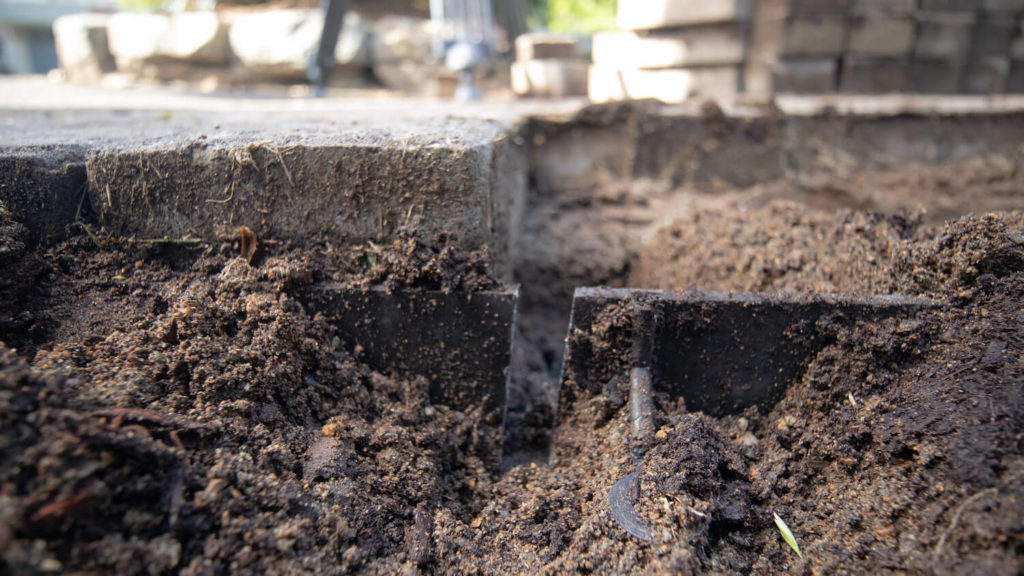
4. Adjust the base
The next step is to fix the base. If you have work that needs to be done under your base layer, such as removing a tree root, now would be the time to do so. If there is no further work under the base layer that needs to be done, you can simply remove or add gravel, as needed.
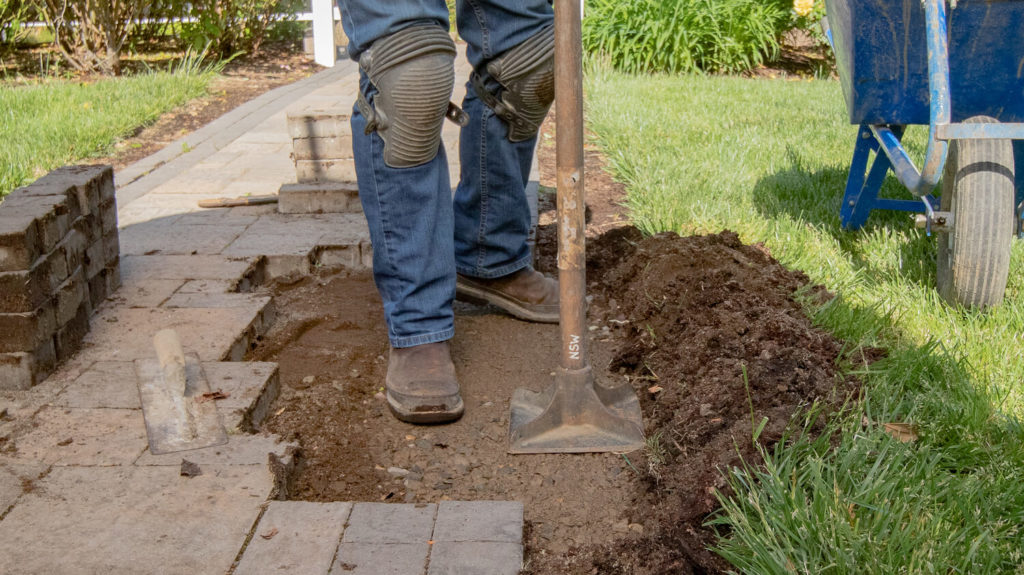
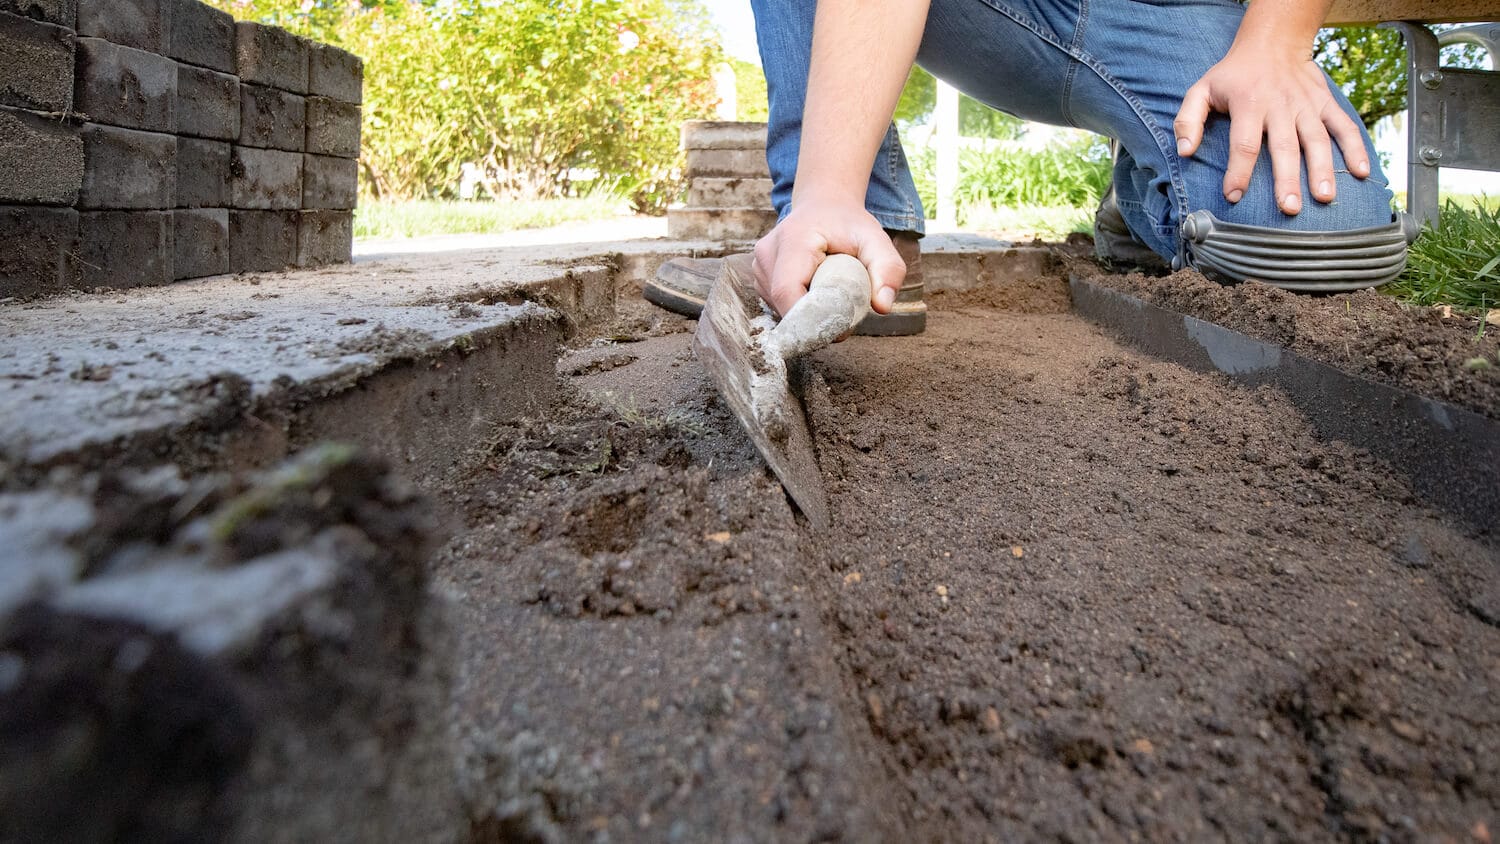
Hand tamp the base material, making sure to compact it as much as possible. Next, add concrete sand and spread it around with a trowel so that the bedding layer is level and consistently 1″ deep across the entire area.
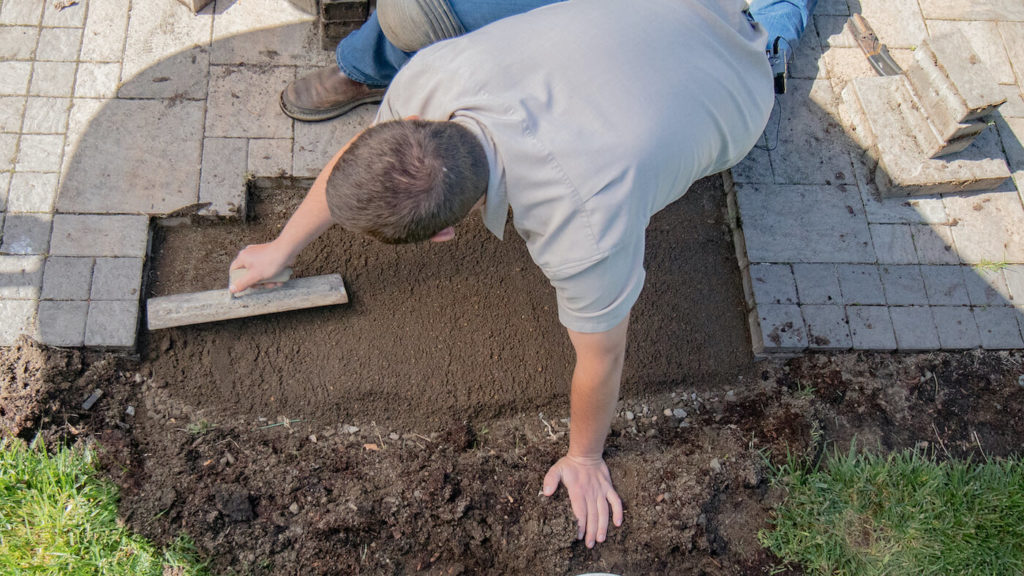
5. Re-lay the pavers
Re-lay the pavers just as you would when installing a new hardscape. Scrape away the excess sand from the outer joint lines of your problem area for clean and tight joint lines. You’ll want to knock the stones together before you lay them to loosen any debris.
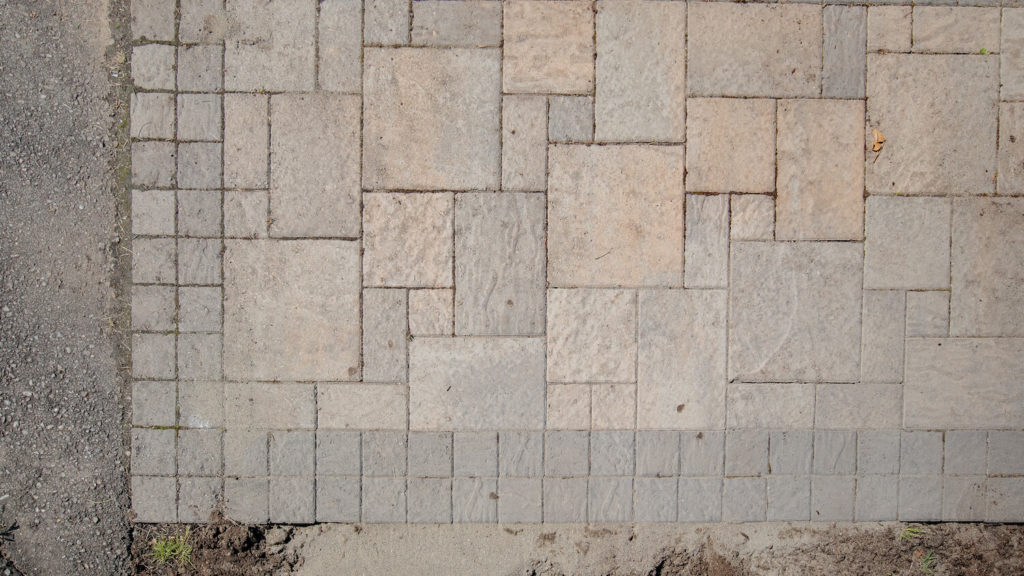
Make sure to use the click-and-drop method as found in our How to Place a Paver article.
6. Replace the edge restraint
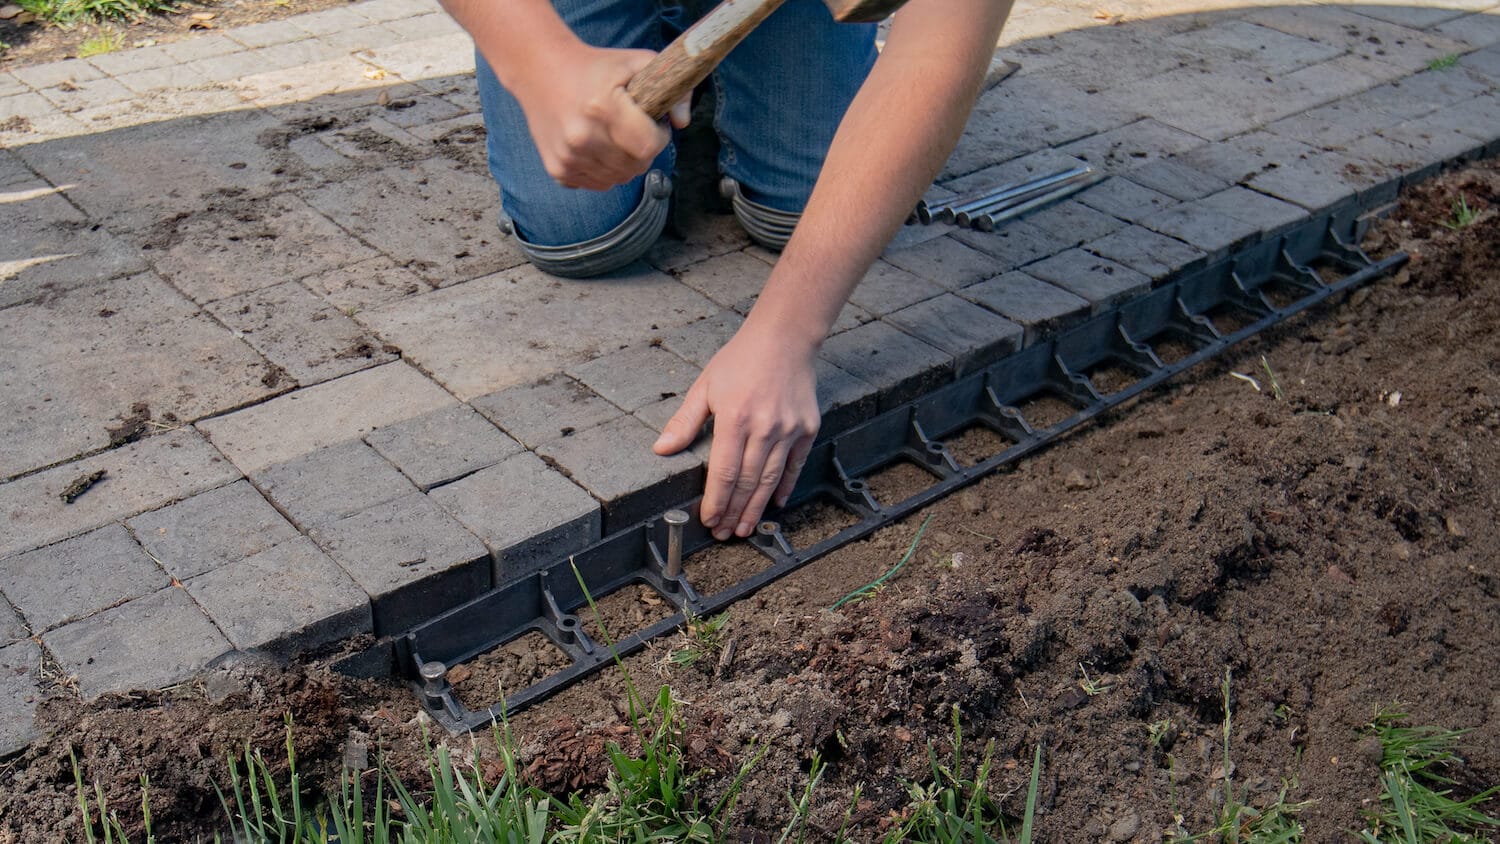
Next, install a new piece of edge restraint where the old piece was. Keep the edge restraint tight against the pavers and nail it down every second hole. Make sure to cover the edge restraint with dirt or sand when finished to prevent warping.
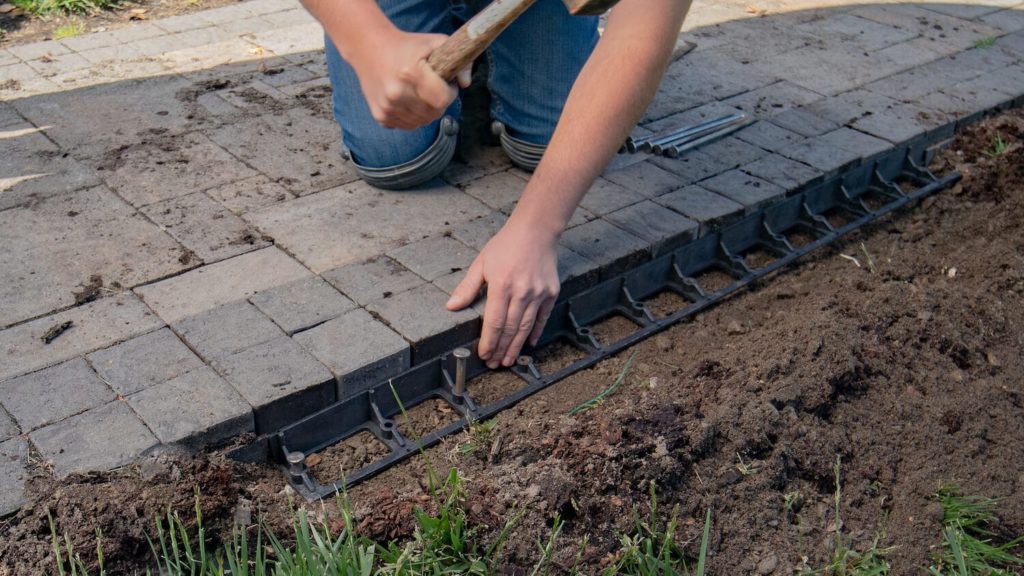
For a more detailed process of installing an edge restraint for borders, check out our tutorial on How to Install Hardscape Edge Restraint.
7. Tamp and sweep
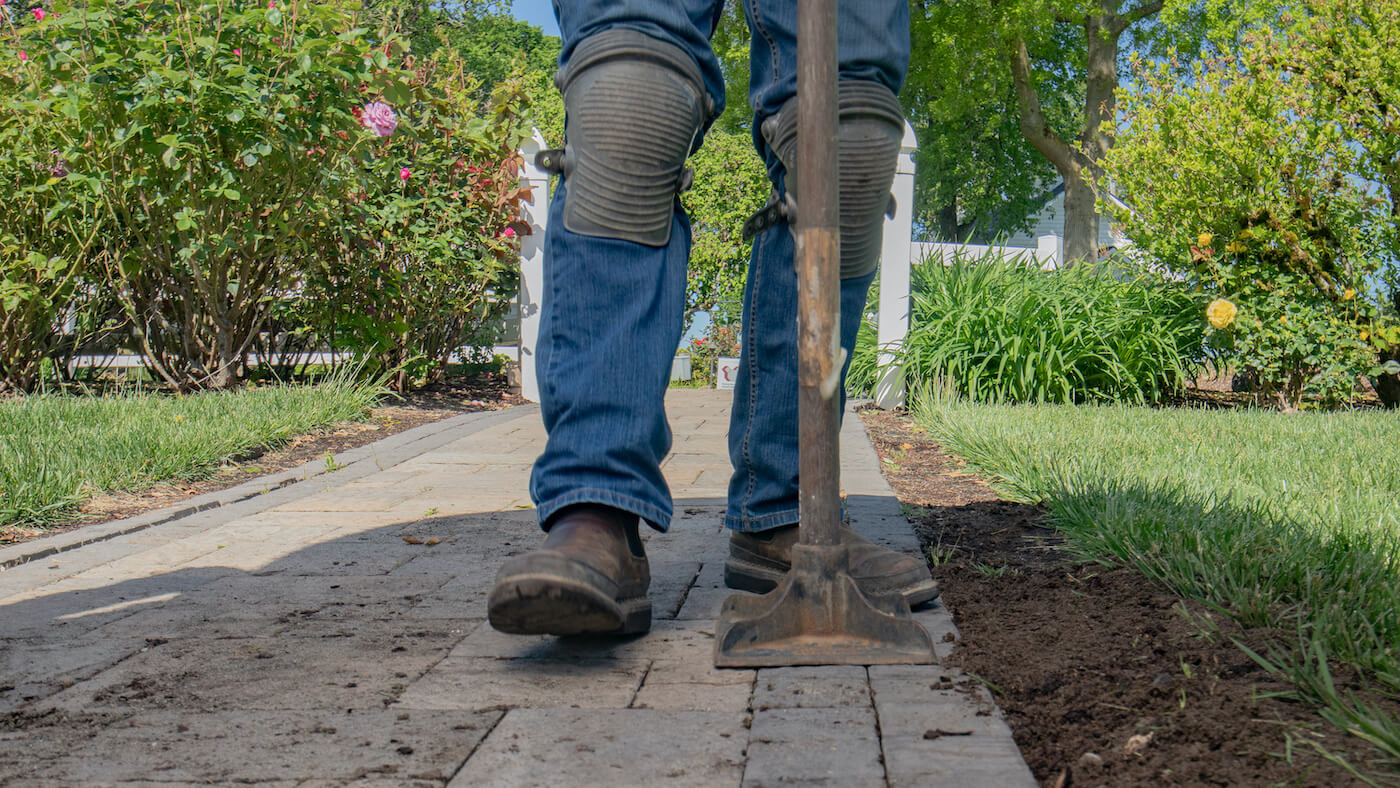
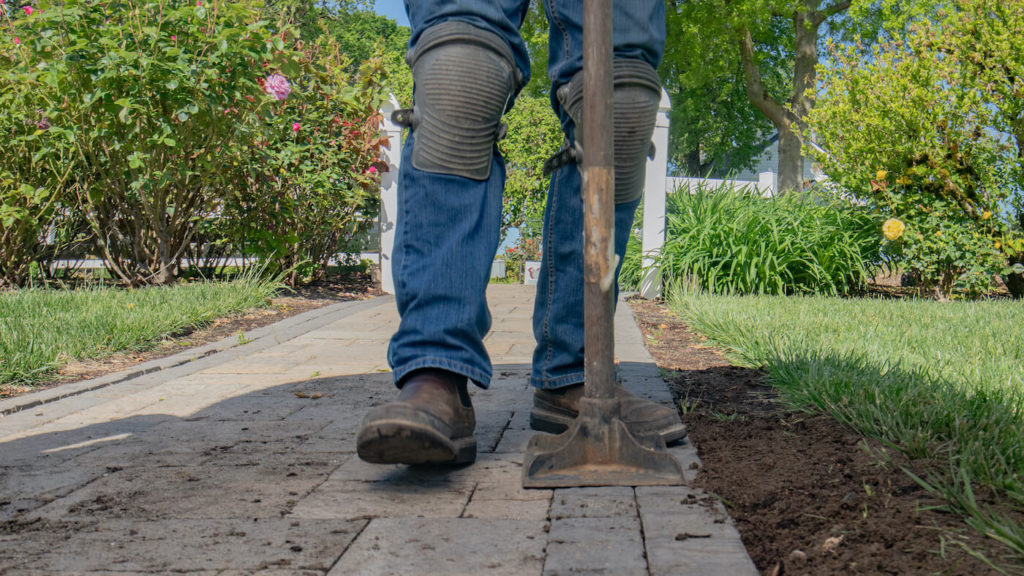
Finally, tamp the stones to ensure that they are compacted. Compacting helps level the stones and surface some of the bedding sand, improving interlock.
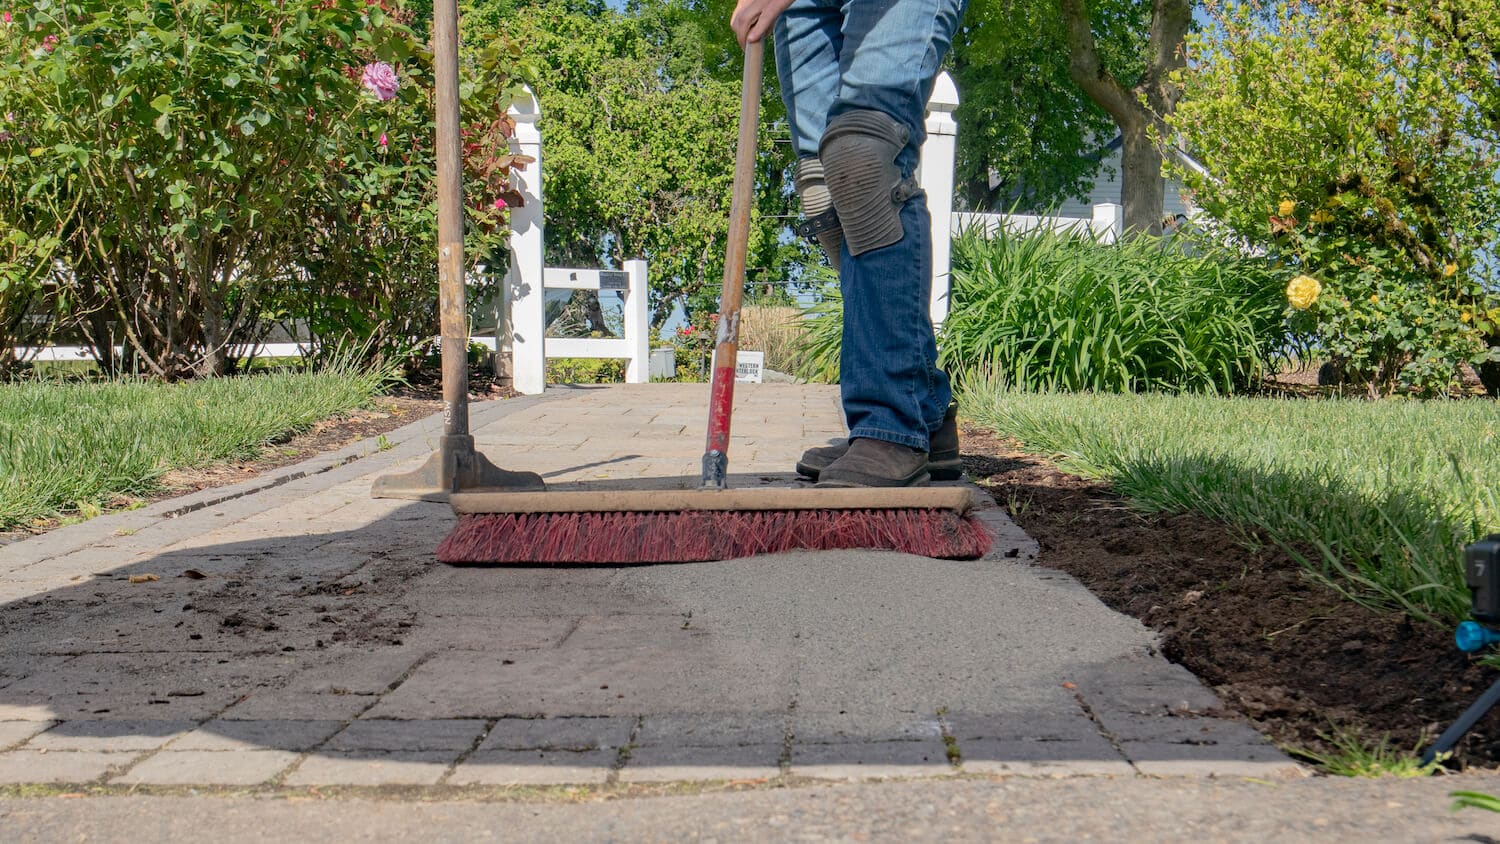
Sweep joint sand into the joints between the pavers. Do this by pouring a pile of sand on your hardscape and sweep it over the stones until your joints can’t hold any more sand. Joint sand creates a bond between the stones to further reduce the risk of unwanted movement.
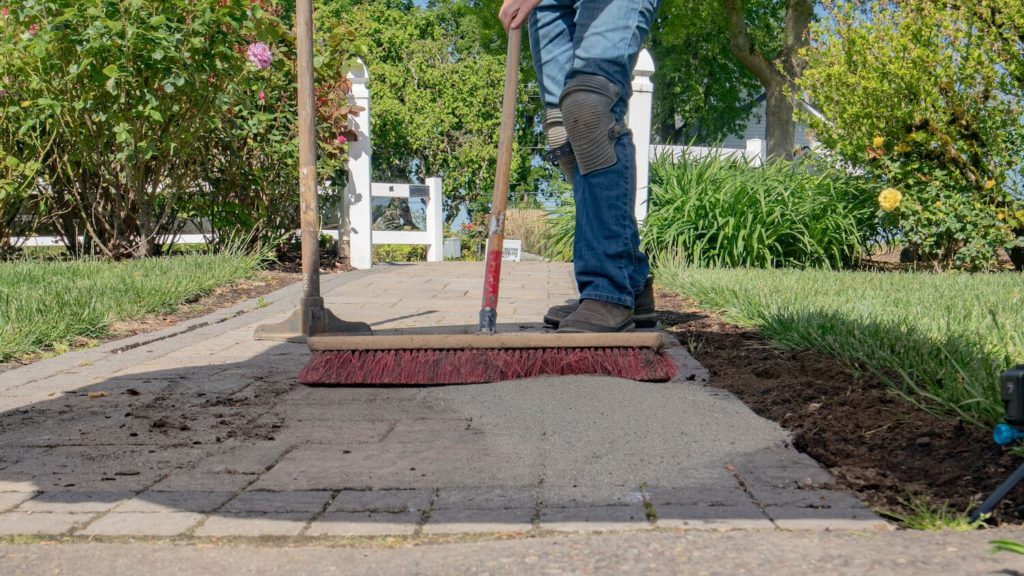
With these seven steps, your failed edge looks new again and you can get back out there and enjoy your hardscape.
Take the hard out of hardscaping
Here at Western Interlock, we’re on a mission to take the hard out of hardscaping. That’s why we publish DIY tips, tricks, and step-by-step tutorials at DIYwithWI.com.
If you have any questions, you can visit our Paving Stone Display at our Manufacturing Facility in Rickreall, OR. Or, give us a call to our team of hardscape experts at 503-623-9084.


