Consider adding stone seating benches on a paver patio to charm and style your outdoor living area. These seating benches provide an attractive accent to any backyard or landscape and offer the convenience of comfortable seating wherever needed in your outdoor space.
Building those stone seating benches can be both easy and rewarding when done the right way, and with this blog post, you’ll guide through each step of the process to make sure you get the most out of your time and effort.
Step 1: Design Your Seating Area
The first step for this project is just like any other: design. you’ve done many Rotundo Circle Systems in the past—and curb seating benches—so you’re very familiar with where you will place these benches.
You’re doing them curved because it matches the vibe of a round circle system better. You will utilize your Chateau Moderna beveled and 100mm stones, making a virtually no-cut seating bench.
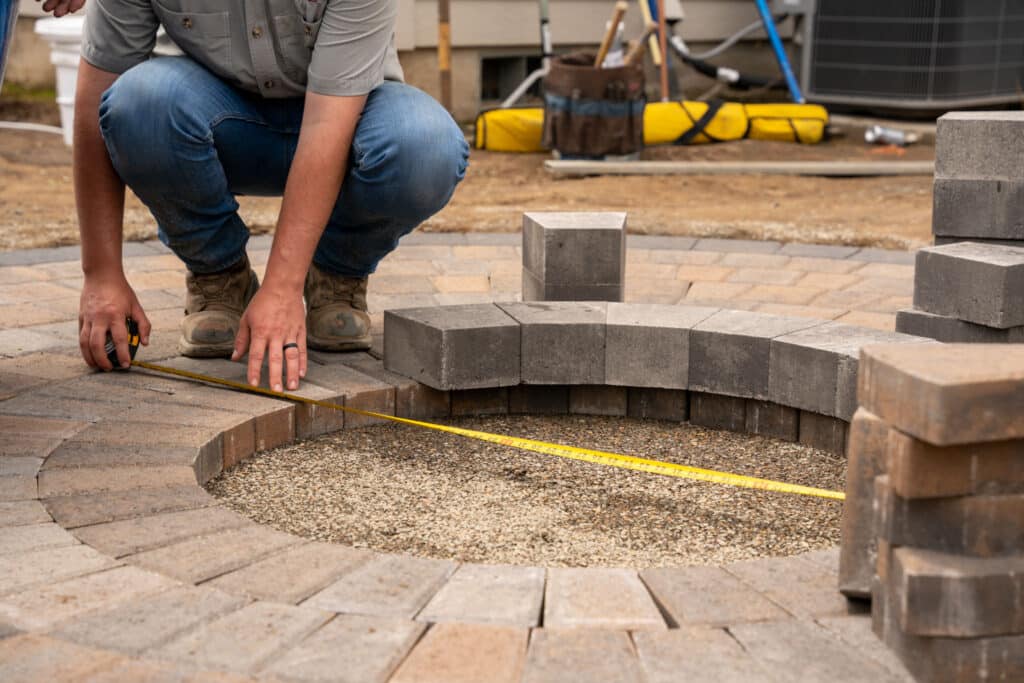
Step 2: Lay Out Your Benches
There are a couple of things you’ll want to consider when you’re putting these curved benches on top of a rotunda circle system.
First, you want to have a pleasant and consistent curve. The easiest way to do that is to match the back of your blocks with a seam within the ring of one of your curves. So take a Chateau Moderna developed and placed it on the seam. You’ll have a friendly and consistent curve if you continue stacking these blocks here.
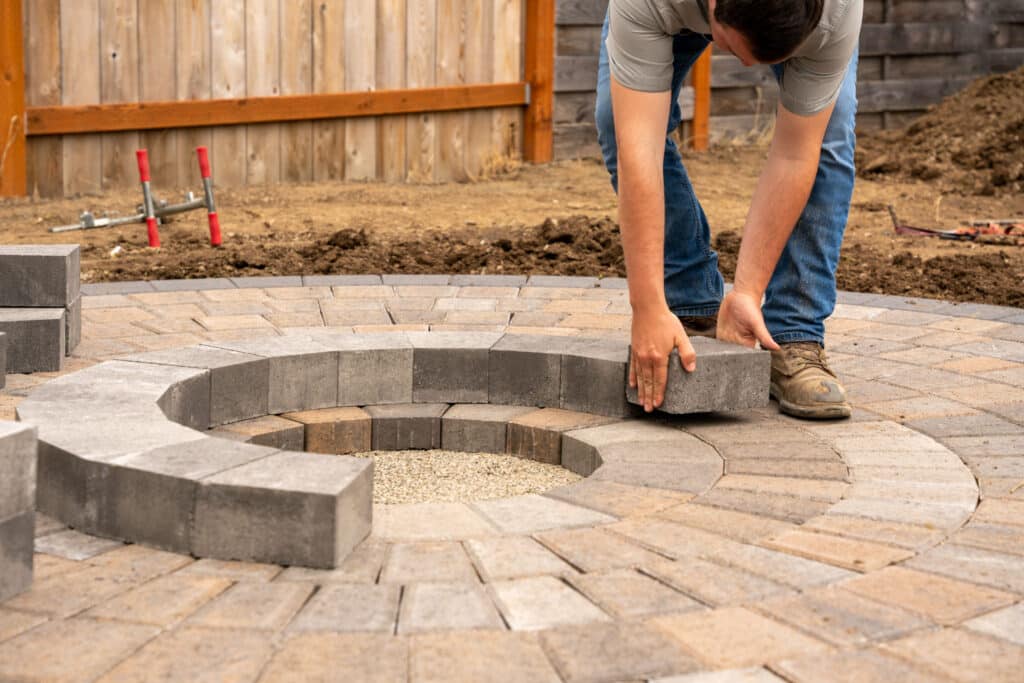
Second, consider the space between the front of your bench and your fire pits. Take your Chateau Moderna 100mm and place it in the front to cover up your gaps.
In this project, you wanted about 2’. This measures about 22.5”, which is close enough, mainly because you match that seam here. Continue laying your base course.
PRO TIP: Another thing to consider, as you, is that you want to have a gap between your benches so that drainage can roll through in between them and off of your patio.
Step 3: Prepare Your Base
Once you’re satisfied with the positioning and layout of your benches, move on to the next step, setting your base. you already have a compacted gravel base underneath this paving stone patio, and it’s suitable to handle the height of these benches.
If you’re not putting these benches on top of paving stones, you would want to install at least 4” of compact and gravel base. Since you are building on top of pavers, it makes it easy because all you have to do is lay your base course on top of them.
Step 4: Glue and Stack Each Course
After you’ve laid your base course, you can move on to the next step, gluing and stacking your subsequent courses. Remember the desired height you want to be at the end with your cap while you’re stacking because your cap isn’t as thick as your wall block.
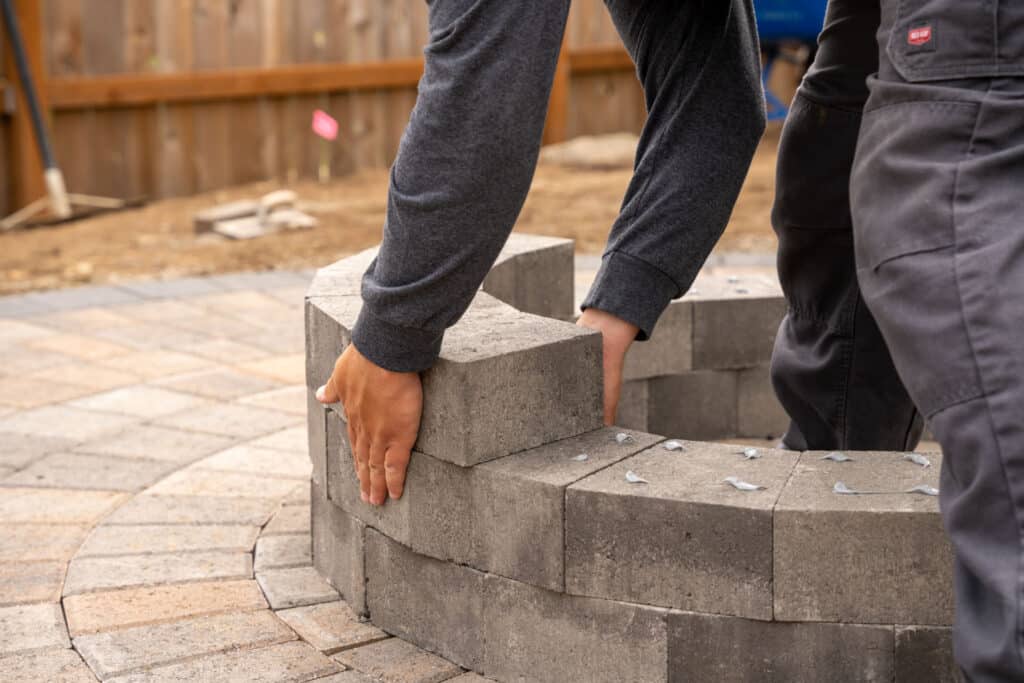
Therefore, you will check every course, or every other, as you continue stacking to ensure it’s a good height comfortable for sitting. As you mentioned earlier, you also want to make sure you use a few cuts. These are just half-beveled pieces to offset your seams. you also have half Chateau Moderna 100mm stones to make things as structurally sound as possible.
Step 5: Add Caps for Seating
Once you stack this bench three courses tall with your 3” cap on there, it’s the perfect seating height. However, you may find it more or less appropriate for your specific height.
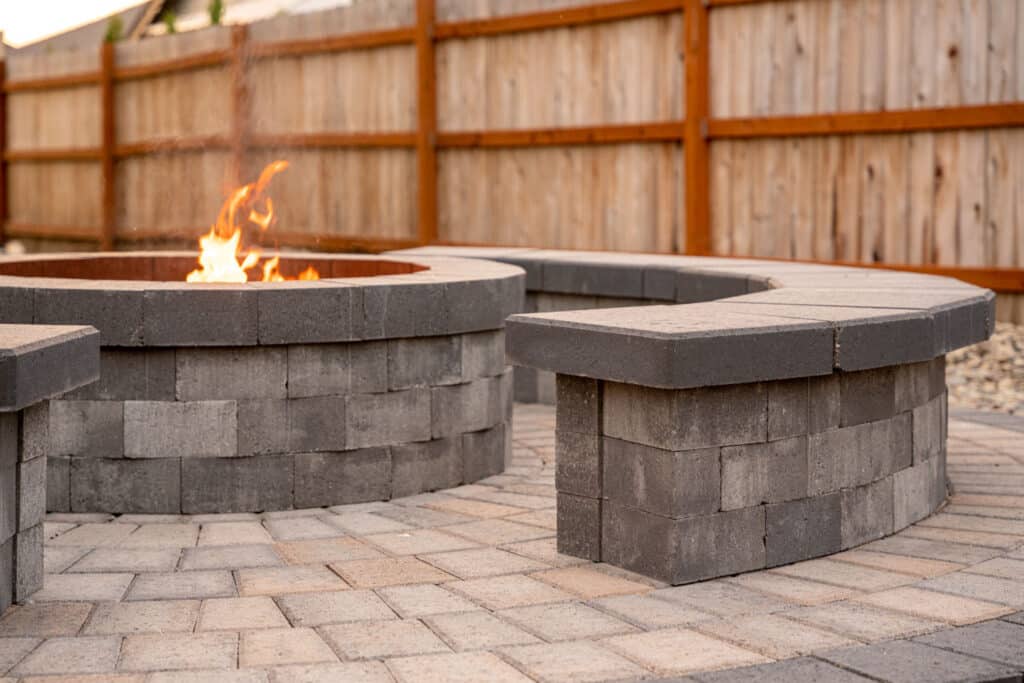
Now, all you’ve got to do is start laying and gluing these caps. Because this is a curved seating bench, there’s no way around building this without doing some cuts. If you want to learn more about how to cut a paving stone or a cap, watch our video: 6 Ways to Cut a Paving Stone.
Download the paver project planning guide
If you are ready to start your fire pit or paver project, we have a guide that might help. Download our free Project Planning Guide so you can be prepared before you start your project.


