Get our FREE Project Planning Guide
"*" indicates required fields
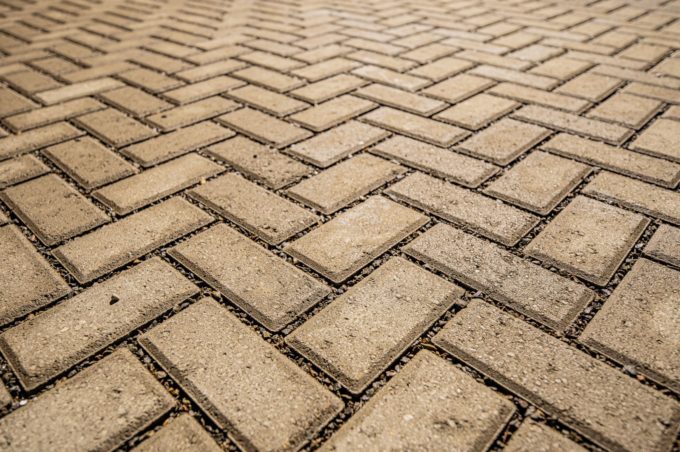
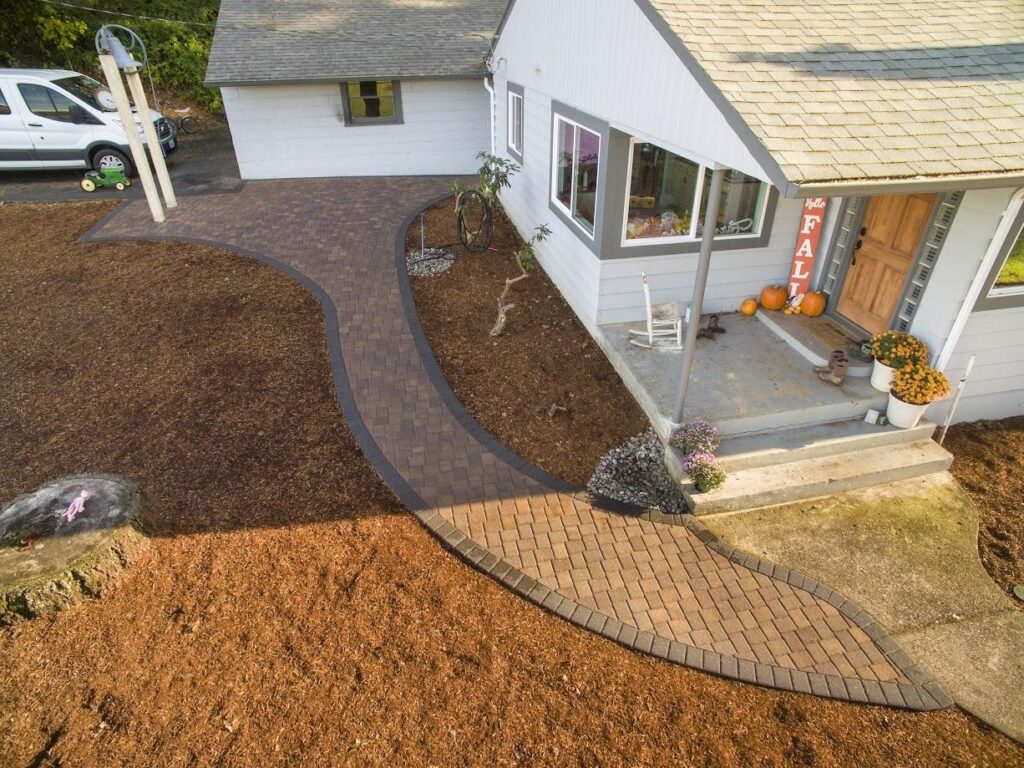
Installing pavers on a slope transforms challenging terrain into functional outdoor space. The key lies in proper edge restraint that accounts for the slope. But when it comes to securing those pavers with proper edge restraint, gravity adds a dimension that flat installations never face.
On flat ground, pavers push outward equally in all directions. Edge restraint contains these omnidirectional forces. On slopes, gravity adds constant downhill pressure to every component of the paver system. This creates cumulative force that concentrates at the downhill edge, making it the critical anchor point where success or failure is determined.
The steeper the slope, the greater these gravitational forces. When edge restraint fails on flat ground, pavers gradually spread over seasons. On a slope, failure can lead to catastrophic sliding as the entire installation surrenders to gravity. The difference between standard drainage slopes (one-eighth to one-half inch per foot) and true sloped installations (walkways descending hillsides, driveways climbing to elevated homes) lies in how significantly gravity affects installation dynamics.
With proper edge restraint techniques that respect these forces, sloped paver installations can be just as stable and long-lasting as their flat counterparts. In this article, we’ll walk through the critical factors on installation and what to look out for when installing pavers on a slope.
Key Considerations Before You Start
Several critical assessments determine your approach before beginning any sloped installation.
Measure Your Slope Accurately
In order to determine the slope grade, drive stakes at the top and bottom of your project area, stretch a level string line between them, and measure the vertical drop. Divide this by the horizontal distance to calculate slope percentage. Many smartphone apps and digital levels can also measure slope degree directly. This measurement determines what techniques you’ll need and whether professional engineering is advisable.
Assess Soil Conditions
Slopes are more prone to erosion than flat ground. Clay soils hold position when dry but become unstable when saturated. Sandy soils drain well but offer less resistance to sliding forces. Rocky soils provide stability but make excavation and staking more challenging. Understanding your soil helps you select appropriate materials and anticipate problems.
Plan Your Edge Strategy
Different edges face different challenges. The downhill edge becomes your primary anchor point, bearing the brunt of gravitational force. Side edges (perpendicular to the slope) redirect downhill force laterally and distribute loads. The uphill edge faces significantly less stress. It is critical for any installation to recognize and address these differences.
Select Appropriate Materials
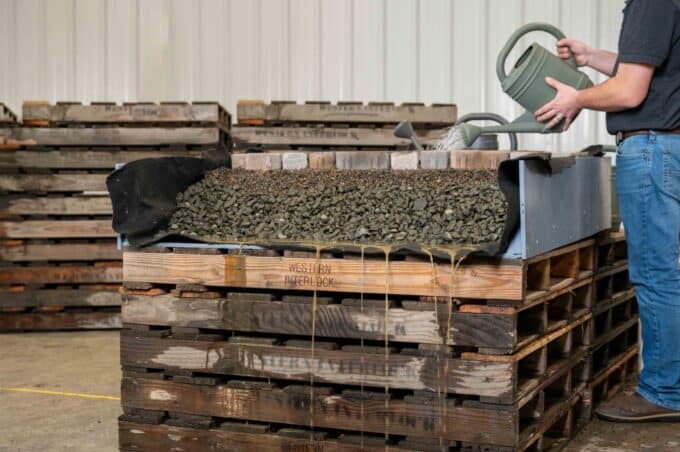
Standard three-quarter-inch-minus crushed aggregate works for base material, but geotextile fabric between subgrade and base prevents migration and provides slip resistance—increasingly important on steeper slopes. Not all edge restraint systems perform equally on slopes. Plastic restraint works on moderate slopes with sufficient stakes at close intervals. Metal systems provide superior holding power. Concrete edging offers mass and stability. For steep slopes, consider specialized solutions like deadman anchors or poured concrete edge beams.
When using plastic edging, stakes become critical. Longer stakes that penetrate deeper into undisturbed soil, potentially driven at angles to maximize resistance, are necessary. It’s important to always remember that the downhill edge restraint works harder than any other component in this situation.
When to Consider Terracing
Multiple level areas connected by steps or short retaining walls can be easier to install, more stable long-term, and more usable than continuous slopes. This depends on site conditions, intended use, and aesthetics, but it’s worth evaluating before committing. For projects with steep grade, consider terracing as a viable option.
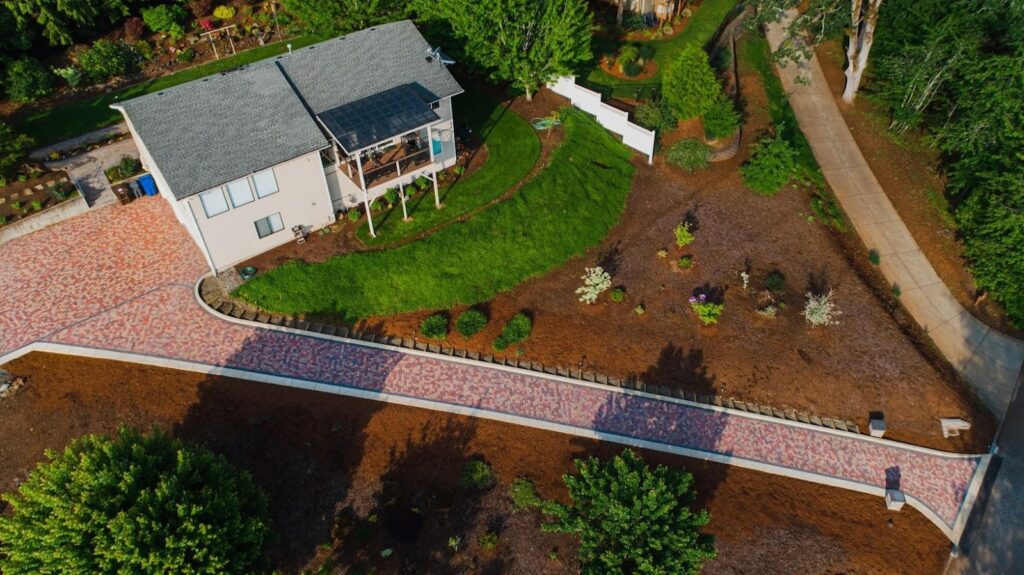
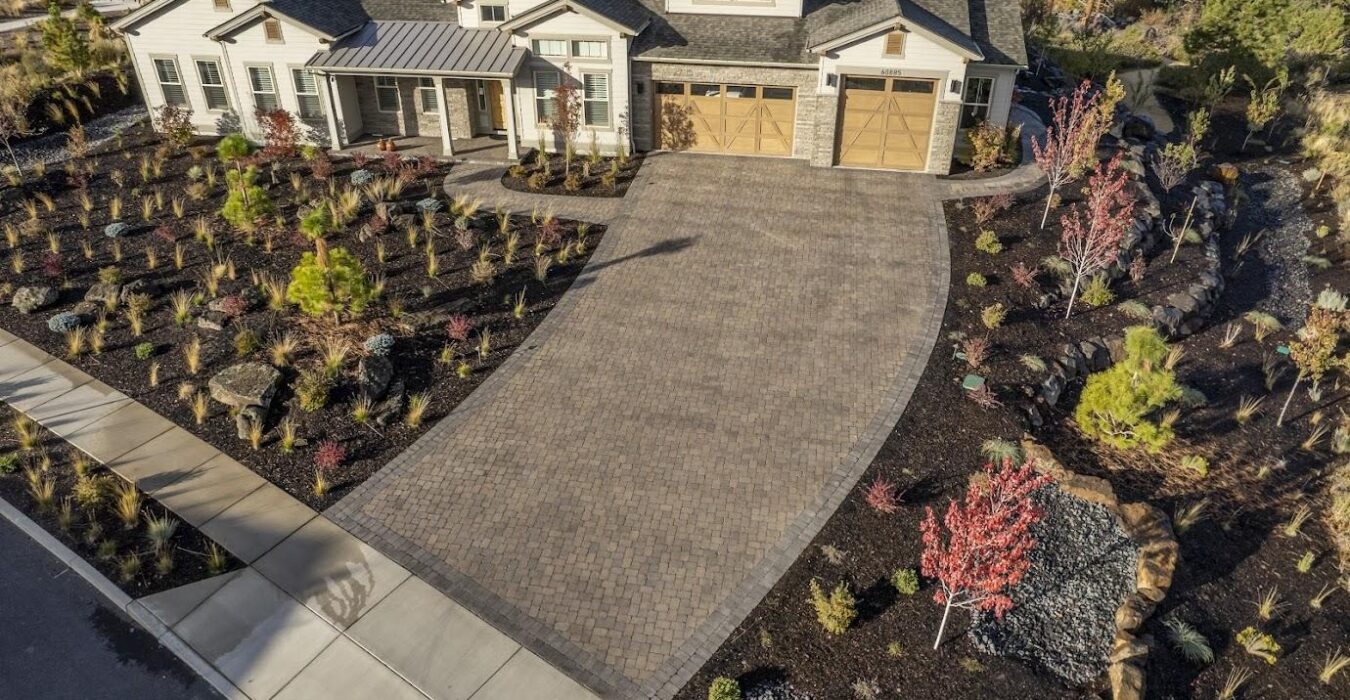
Installation Techniques for Building Pavers on a Slope
Successful edge restraint on slopes requires one fundamental principle: work from the bottom up. This applies to every phase—base preparation, sand bedding, paver installation, and edge restraint. Each level you complete provides stable support for the work above it, preventing the downhill migration that would occur working from top to bottom.
Base Preparation
Begin at the lowest point with base excavation and placement. Start your compacted gravel base from the bottom edge and work upward. Base material placed at the top of an uncompacted slope slides downhill during compaction. Compacting from the bottom up, each level provides stable support for material above it.
Slopes often require deeper base than flat installations—six to eight inches instead of four to six. Geotextile fabric between subgrade and base creates a barrier that prevents migration while allowing drainage, giving your base something to push against and reducing downhill creep.
For more information on standard base preparation, be sure to check out our article on how to prep and lay a base for pavers.
The Downhill Edge: Your Anchor Point
Install downhill edge restraint first, immediately after base preparation at the lower section. This isn’t just a perimeter—it’s the foundation preventing your entire installation from sliding.
If using a plastic edge restraint, the stakes should be longer than flat ground applications, driven deeper into undisturbed soil, and spaced more closely. Where flat installations use stakes every twelve to twenty-four inches, slopes need stakes every eight to twelve inches along the downhill edge. Each stake must penetrate past the base material into stable soil.
On steep slopes, angle stakes slightly uphill so they lean back against downhill force, increasing resistance without compromising the restraint’s ability to hold pavers in position.
For particularly steep slopes or challenging soil, standard plastic restraint may not provide adequate holding power. Concrete edge restraint, deadman anchors, or engineered solutions like poured edge beams become necessary.
Once your downhill edge is solidly installed and anchored, it becomes the reference point for all subsequent work.
For more information on common paver edging options, check out our article on the top 5 paver edging techniques!
Continuing Upward
With your downhill edge secure, spread bedding sand in sections from the secured area toward the top. Lay pavers starting at your downhill edge restraint and progressing upward. Each course helps weight and stabilize the work below it. Working from top down, unrestrained pavers would slide before you could secure them.
Maintain your chosen pattern, but expect more cuts than flat installations. Pattern interruptions matter less than structural integrity.
Side Edges
The side edges redirect downhill force laterally, preventing all stress from concentrating on the downhill edge alone. Install side restraint as you progress upward, with stakes at closer intervals than flat ground. Pay special attention to corners where downhill meets side edges—these junctions concentrate stress and require secure connections.
Common Mistakes to Avoid When Building Pavers on a Slope
Treating It Like Flat Ground
When installing your paver edge, using standard staking intervals, stake lengths, and installation sequences on slopes invites failure. Gravity demands fundamentally different approaches.
Starting from the Top
Working downward violates the principle that makes sloped installations stable. The difficulty of working upward is minor compared to repairing a failed installation that slid downhill. Be your build process moves from bottom to top to ensure all components work together to account for the slope forces.
Insufficient Downhill Anchoring
Stakes that aren’t long enough, deep enough, or spaced close enough create weak points. The downhill edge requires substantially more robust anchoring than any other edge. If you’re questioning adequacy, it needs reinforcement.
Ignoring Soil Conditions
Slopes concentrate water during rain, potentially saturating soil beneath your installation. Evaluate soil conditions before beginning and address potential problems proactively. If needed, reach out to a local source to understand your soil conditions and how they are affected in wet conditions.
When Professional Help Makes Sense
Gentle slopes under 10 percent can often be handled by DIYers who apply proper techniques. Moderate slopes from 10 to 20 percent require more experience but remain feasible with proper preparation. Slopes exceeding 20 percent warrant professional installation for most homeowners—the forces, precision required, and consequences of error all increase dramatically. Site complexity, poor soil, drainage challenges, or integration with existing structures also suggest professional help.
Respecting the Slope
Installing pavers on a slope creates stunning outdoor spaces that work with your site’s natural topography. Success requires understanding that gravity introduces directional forces demanding modified techniques. Your downhill edge must be treated as the anchor point for your entire system and working from the bottom up is essential. Stakes must be longer, more numerous, and more carefully placed and the base preparation demands extra attention.
These requirements represent more work than flat installations but aren’t impossibly complex. They simply require recognizing that slopes are different. The extra effort during installation prevents problems that would be far more difficult and expensive to address later.
Ready to plan your hardscape project with confidence? Our Project Planning Guide walks you through every step in the process, ensuring your outdoor space is built to last for generations. Download the guide today and start your project with the knowledge that every component will be handled correctly for beautiful, lasting results.
Get our FREE Project Planning Guide
Tell us where to send it and we’ll email the backyard planning guide to you right away!
"*" indicates required fields