Get our FREE Project Planning Guide
"*" indicates required fields

Overview
- Difficulty: Easy
- Est. time: 1–2 hours
Materials
- Wall blocks
- Capstones (La Lastra Large Square or Murata™ MC6060 Cappello)
- SureBond SB20 or other Flexible Construction Adhesive
Tools
- Work gloves
- Hand Broom
- Rubber mallet
- 24” level
- Carpenter’s square
- Tape measure
- Caulk gun
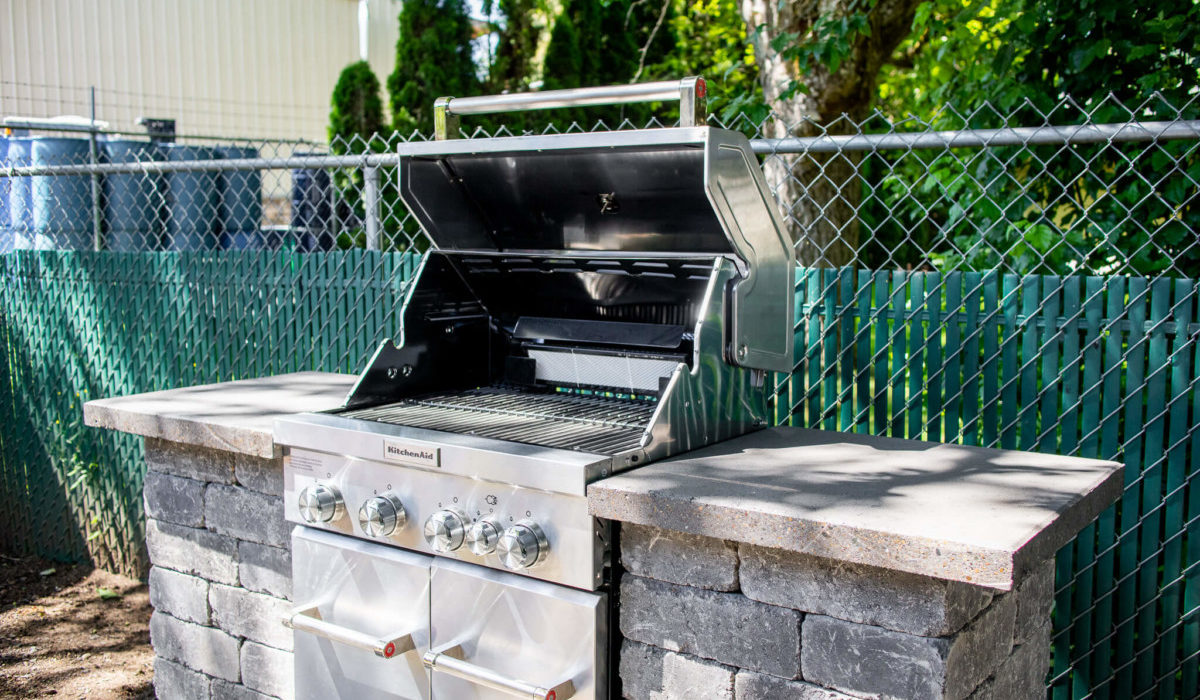
Summer’s here and grilling season has begun. Most gas grills come with wings, which provide some working space. But let’s be honest, the stock wings hardly ever look flattering and there’s never enough space to work. That’s why, in this article, we’re going to teach you how to build a basic outdoor grill surround that’s beautiful and functional.
In this example, we’ll be using Chateau Wall™ retaining wall blocks—but the principles apply to Tegula Garden Wall™ and Murata Wall™ as well. The thing about Chateau Wall™ is that it’s a pretty standard block that’s super easy to work with. Plus, it comes in five different color blends—Breitenbush Blend, Cambridge Blend (what we’re using here), Charcoal, Columbia Blend, and Sandstone Blend—so there’s quite a bit of visual variability to choose from.
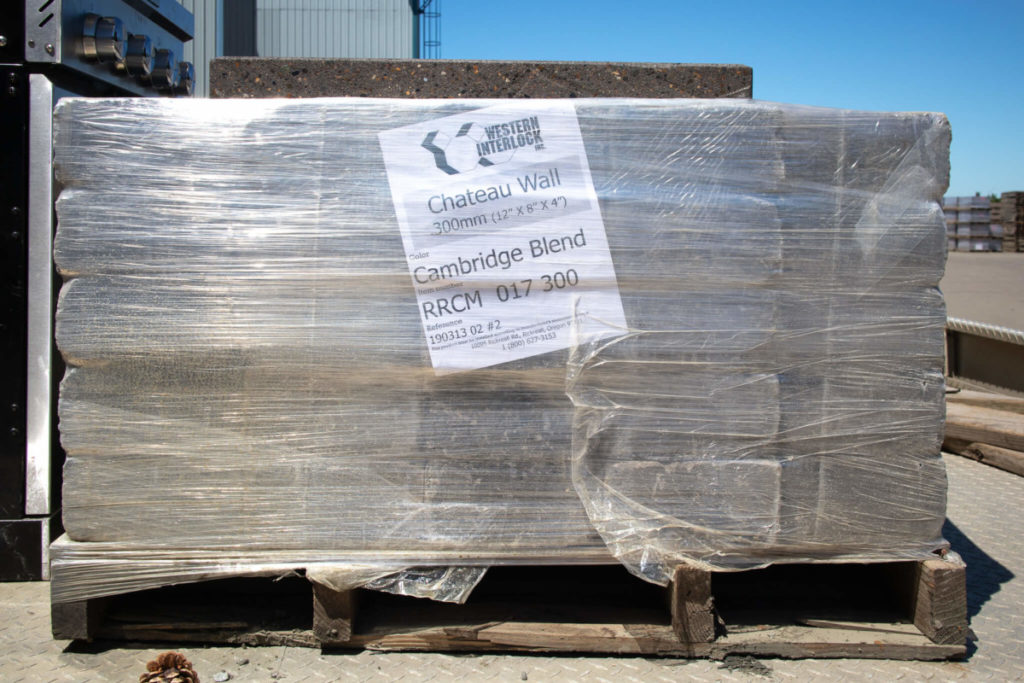
Before you start your construction project, make sure you have the proper tools and materials (see list above). Many of these tools and materials can be found at a local hardware store or online.
Pro Tip: Order your wall blocks and capstones ahead of time, so they’re delivered or ready for pickup when you want them.
Step 1: Plan a layout
First, you’ll want to determine where you’re building your grill surround. A permanent paving stone grill surround isn’t easily movable, so pick a spot your grill (and it’s surround) can park for a while.
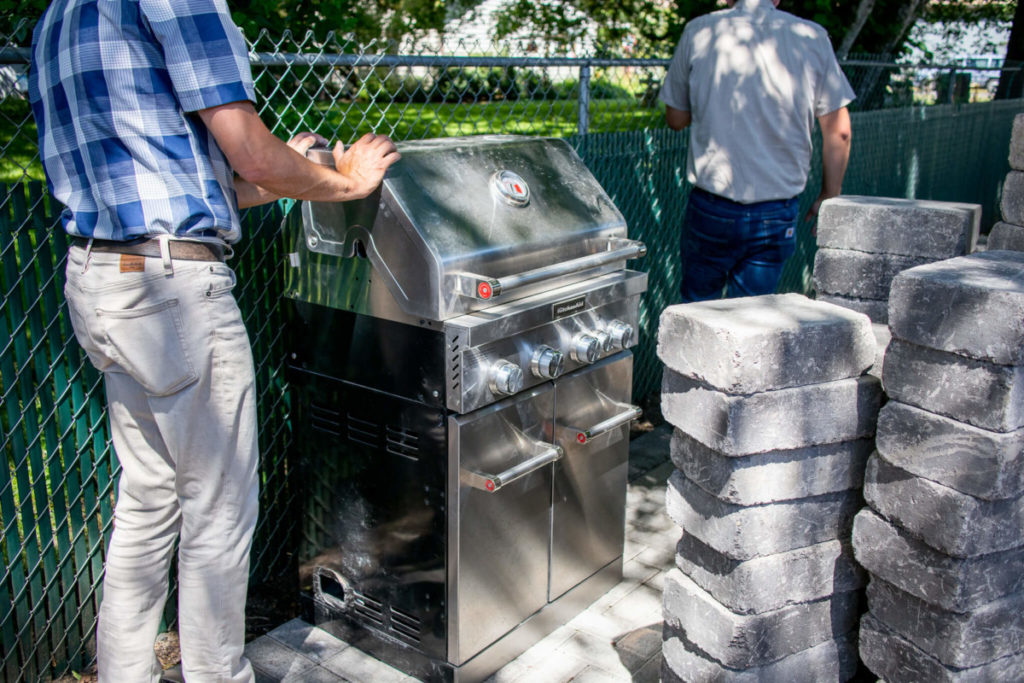
You can build your grill surround anywhere, whether that’s on existing hardscape or your lawn. For this example, we’re going to show you how to construct a grill surround on existing hardscape or a concrete patio but if you’re building on a soft surface, be sure to set a strong base.
Pro Tip: Since building a basic grill surround is as simple as building two columns on each side of your grill, read How to Build Stone Columns to learn how to construct a column anywhere.
Step 2: Build a base
The next step is to set your base course. As with any type of construction, the foundation is vital. It’s essential to make sure your base course is stable and level so your columns don’t lean or topple.
The first thing you’ll want to do when setting your base is open any storage doors on your grill and work around those. We’d hate to teach you how to construct a sturdy column, only to find out that you can’t access your propane tank or storage space!
Pro Tip: Build one column at a time for maximum efficiency.
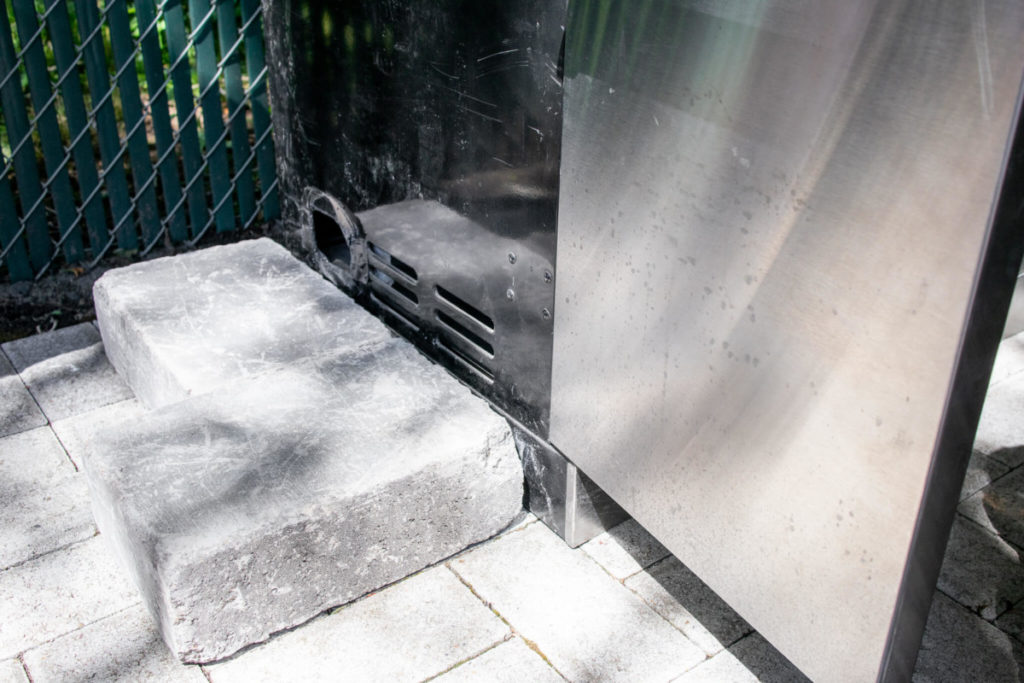
You’ll want your base course to be close to the side of your grill. It’s okay to leave ½” or so, but too large of a gap will negatively affect the visual appearance of the final product.
Ensure each corner measures a precise 90-degree angle. Use a carpenter’s square and rubber mallet to nudge blocks into place if necessary.
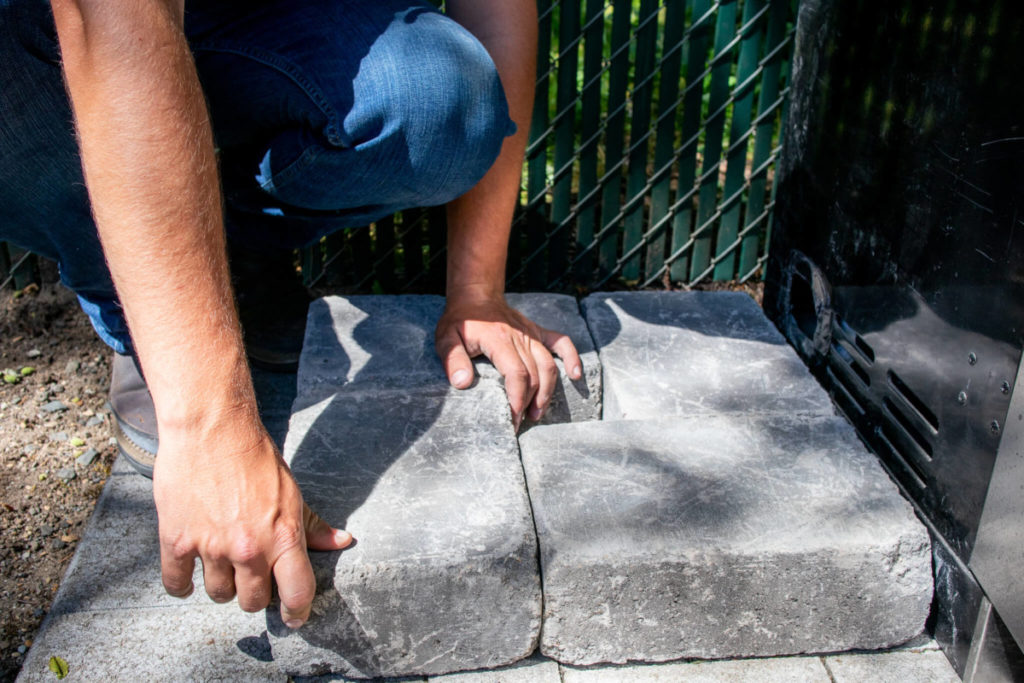
Step 3: Construct your first column
Once you’ve laid your base course, apply an adhesive (preferably SEK Flex-Bond SB-20) in beads or dots before you lay the next course.
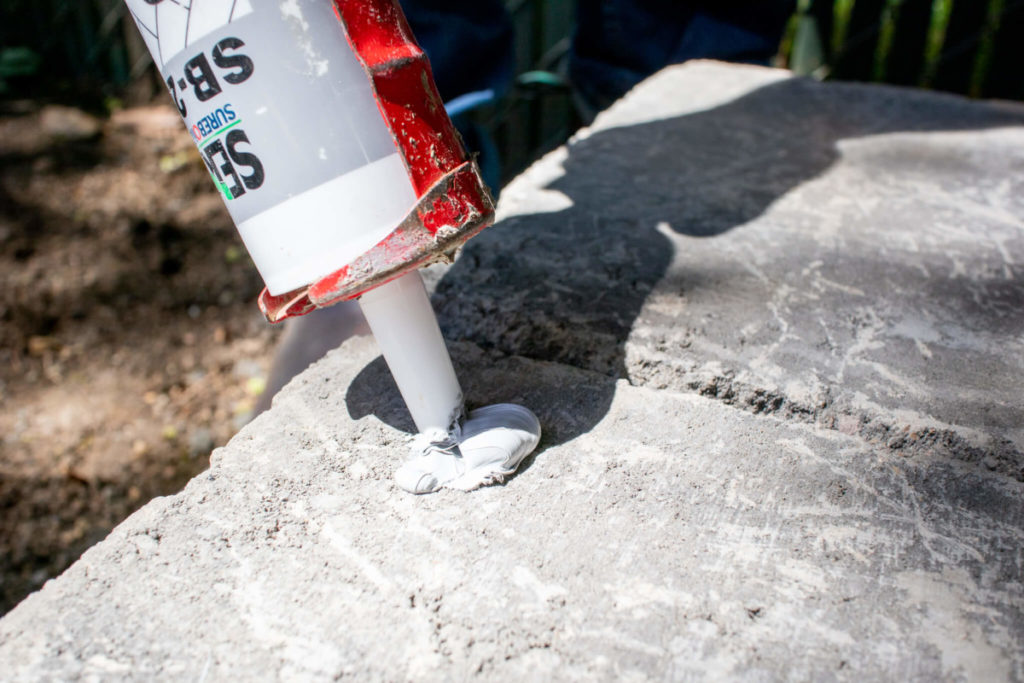
Apply the adhesive at least 2” away from the outside edge of the block to avoid glue from oozing onto the face of your column.
Continue building the first column until you’ve reached your desired height. Don’t forget to glue as you go!
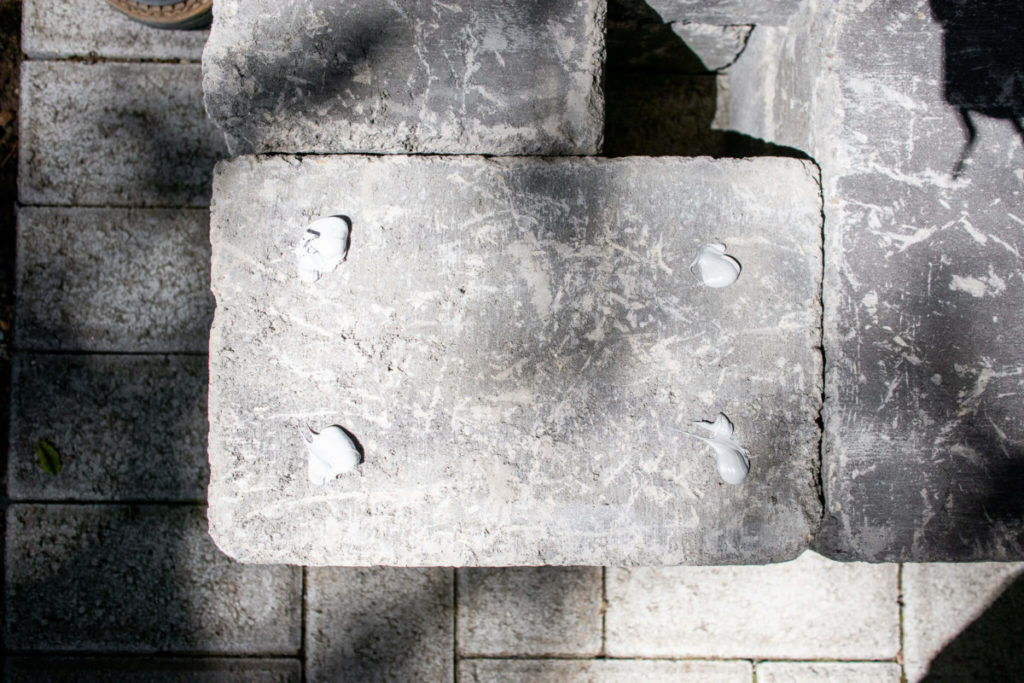
Pro Tip: As you construct your column, use a 24” level to ensure that your column is exactly vertical.
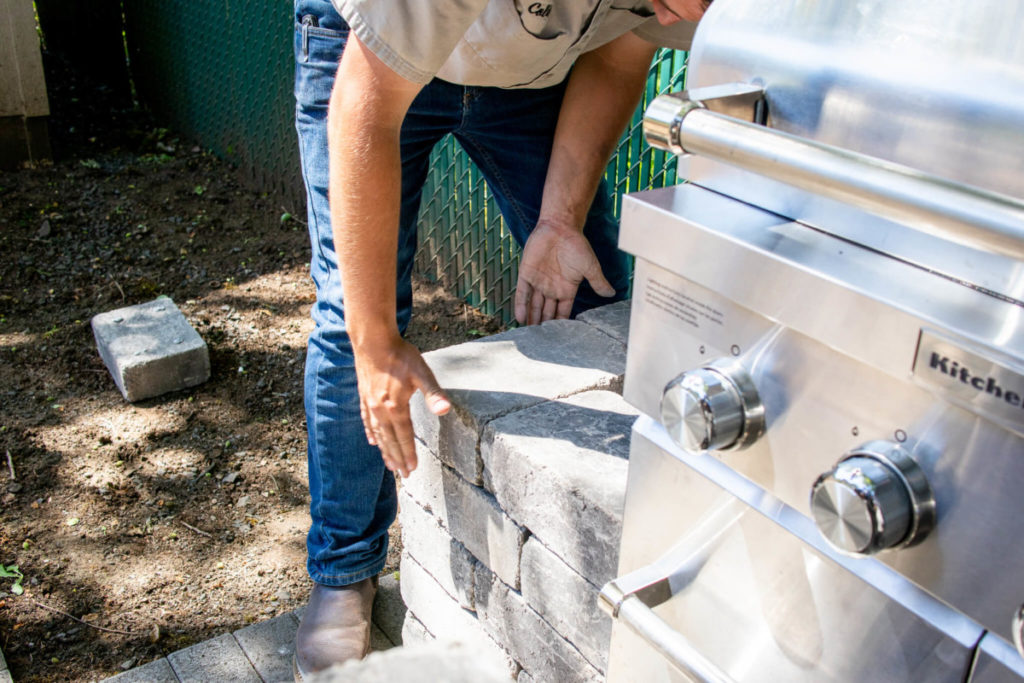
When you’ve finished constructing your column, it should look something like this. Beautiful, right?
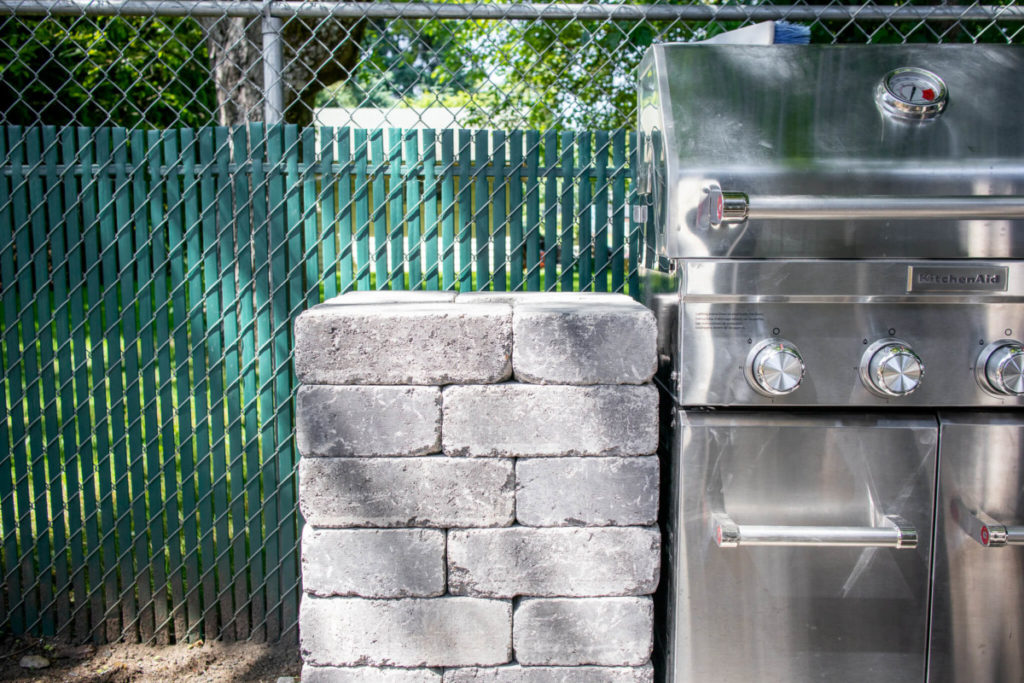
Step 4: Construct your second column
Next, before you place the cap, you’ll move to the other side of your grill and repeat steps two and three.
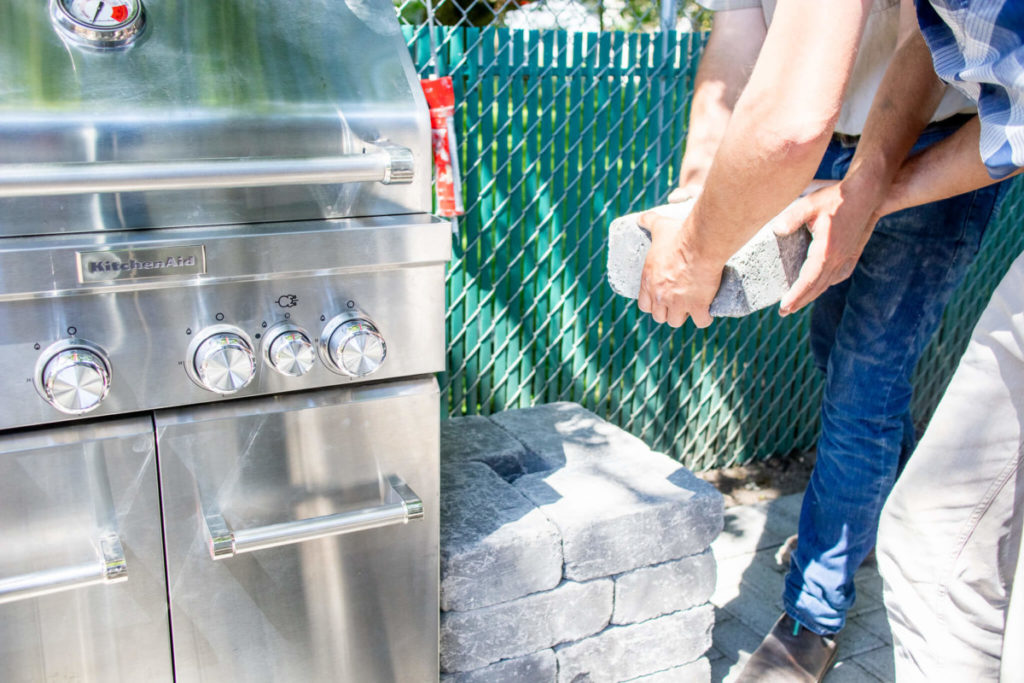
Step 5: Cap it off
Finally, you’ll add caps to both columns. Be sure to apply adhesive to the top course so your caps stay in place.
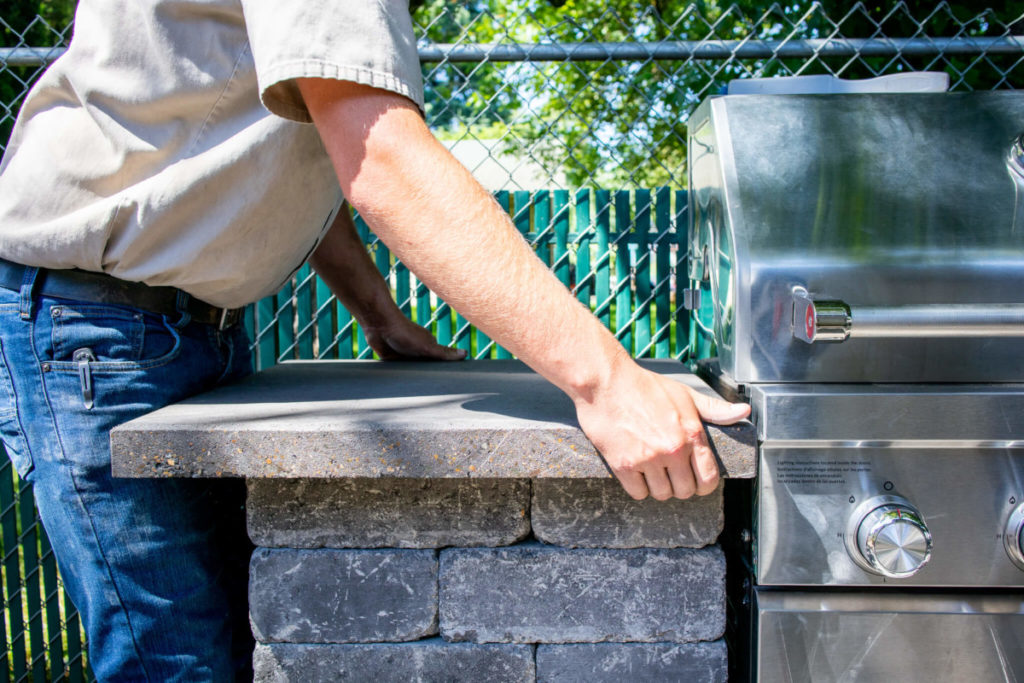
While your column may not sit against your grill, make sure your caps touch the side of your grill for maximum stability. It might be impossible to center your cap on the column, but that’s okay! Center the cap as much as possible.
It’s okay if there’s some overhang. That’s normal. Just think of it as increasing your counter space. You now have a beautiful and functional grill surround.
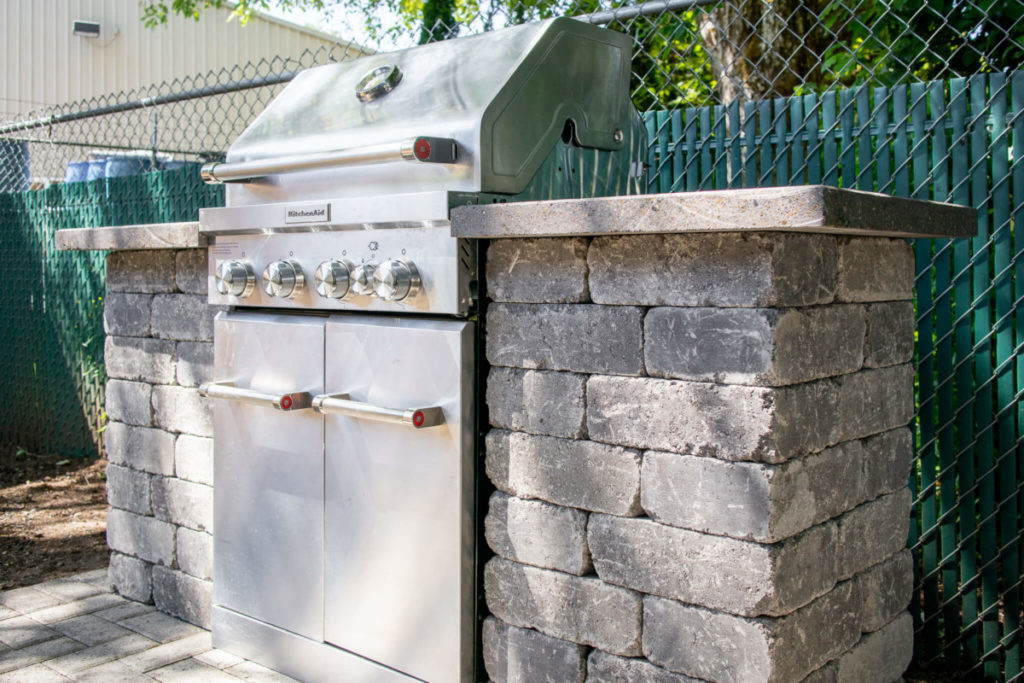
If you have additional questions, visit our FAQ page or call our installation experts at 503-623-9084. We’re happy to help.
Join us for a live DIY seminar
Here at Western Interlock, we’re on a mission to take the hard out of hardscaping. That’s why we host a live DIY seminar every month during the summer at one of our manufacturing or distribution facilities.
You see, we created DIY with Western Interlock for everyday homeowners like you and me. In each seminar, we’ll personally walk you step-by-step how to build and maintain your own hardscape. Join our next seminar for free.
Get our FREE Project Planning Guide
Tell us where to send it and we’ll email the backyard planning guide to you right away!
"*" indicates required fields


