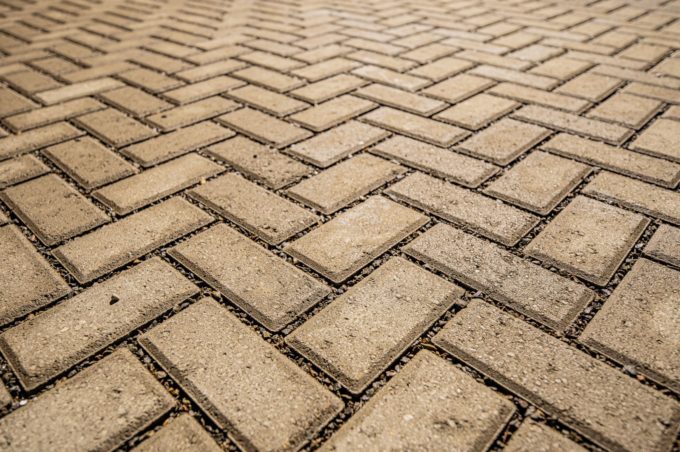
Today we will talk about establishing a finished grade for a paver project.
Step 1: Find Your Point of Reference
The first step is to find a reference point. This is the thing that will vary in every project because every project is different. Most of the time, someone’s doing something off of their backyard. They may have an existing concrete patio, a concrete step or landing, or maybe just a screen door to dirt.
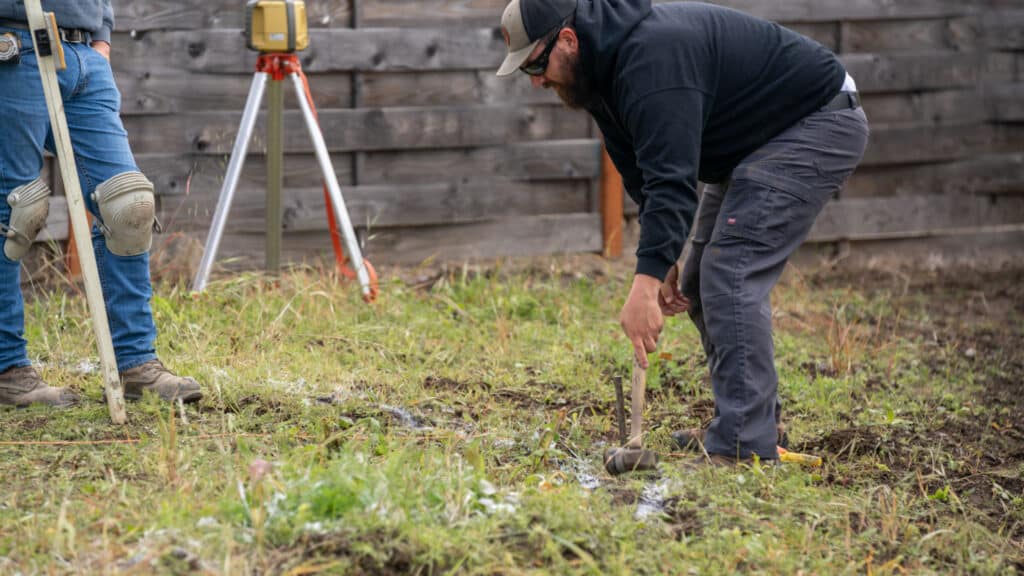
If you don’t have a reference point, you’ll need to set a string line close to where you want the top of your paving stones to be and work from there.
Suppose you’re doing a patio that’s disconnected or not near your foundation. In that case, the reference point is traditionally going to be slightly above wherever the consistent high spot is in your terrain.
Step 2: Place Your String Lines
We’ve established our reference point. Now we can move to step two, finding our high and low spots. For this particular project, our high spot is our reference point. Because we’re disconnected from our foundation, we have nothing to reference.
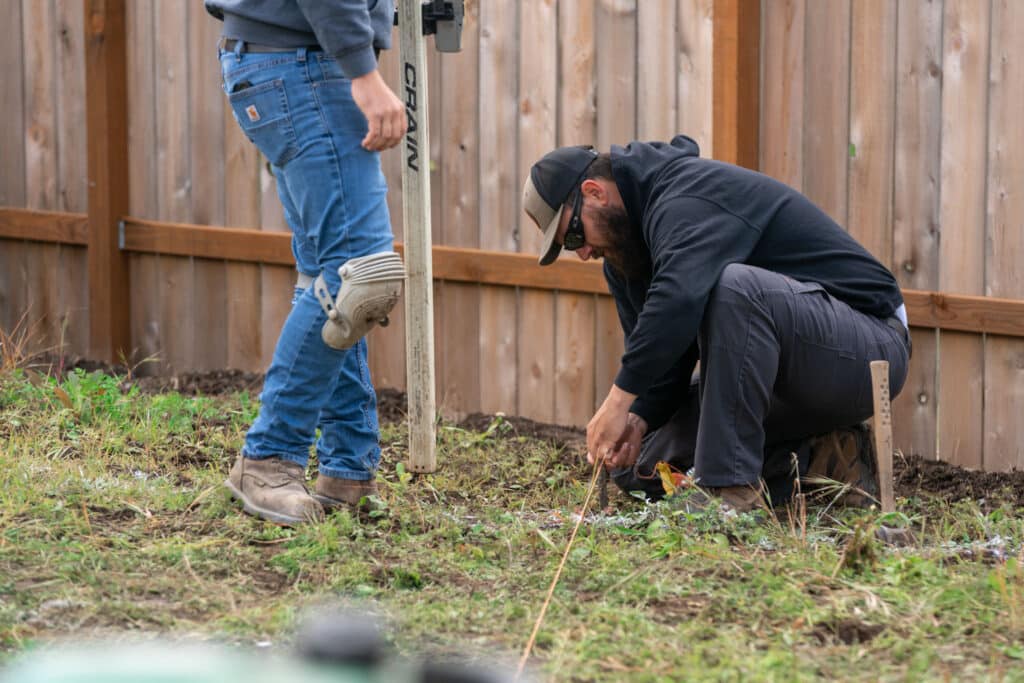
There’s a hump in the middle that we’ll scrape down, but the top edge is the project’s highest point. Use a laser transit to double-check and see what your slope is. Then, take a stake and string line and stretch it from the highest point to the lowest point, roughly with the level of where you want your paving stones to be when you’re finished with the project.
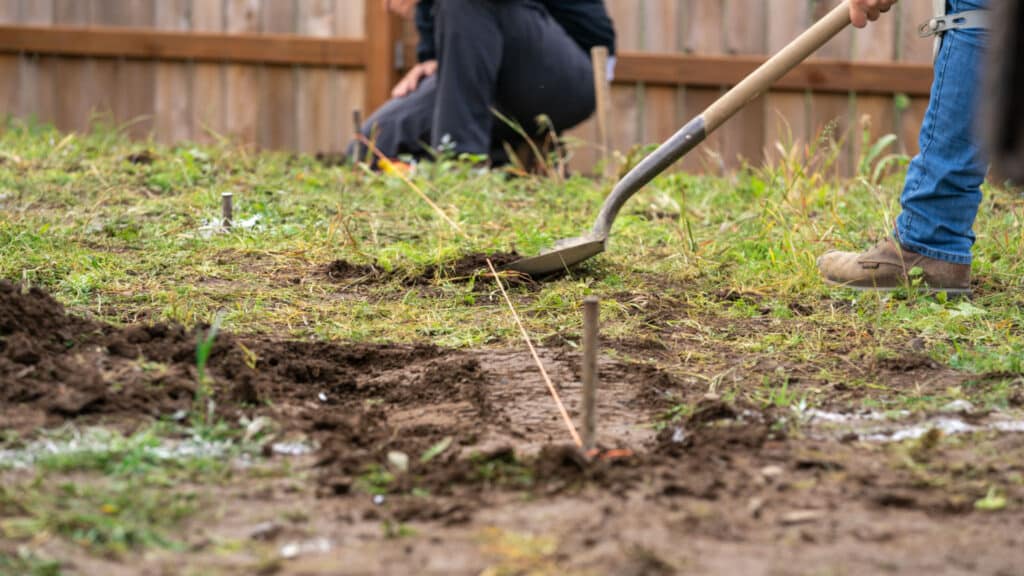
The main thing to think about is: when you’re done, you want your paving stones to be at least ½” above ground level, especially on the sloping side (the downhill side) because if you have any water running down, you don’t want any pooling if there’s not a lot of dirt there. You want it to be able to run off of your paving stones and reduce that pooling.
Step 3: Adjust for Slope
After you have your center reference line adjusted to grade, the third step is to set up additional reference lines. It’s a bit more challenging on a circular patio. Traditionally, with a square, rectangular deck, you have a running reference line crosswise at its level, and your intersecting line running away from your structure has your slope.
We have the line with our slope, but we have nothing that will be intersecting it that’s easy to follow. If you have a situation like this, set up a line towards the top of your slope. At the bottom of your slope, get those lines as close as possible to the existing line without touching it, and adjust it to level. That way, crosswise in both areas, those two lines are level with where the grade is. Then, set up two additional lines running with your slope.
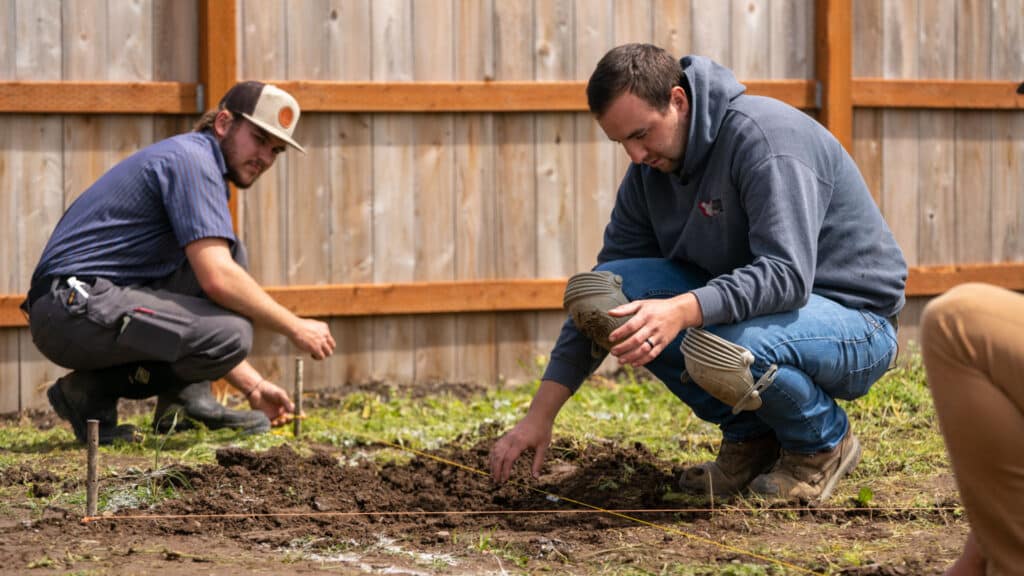
The easy goal is to set those as close as you can to those two level lines, and it will match your grade throughout the project. At that point, you can remove those crosslines if you want to. You can also keep them there because they’re still a good reference for how much to excavate and base below your project.
Occasionally, you’ll have some grass or weeds that could be in the way of the string line. To fix this, lift your string line on both ends, an equal increment of 3” to 4”, depending on what works best for your situation—so long as you utilize an equal increment on both ends.
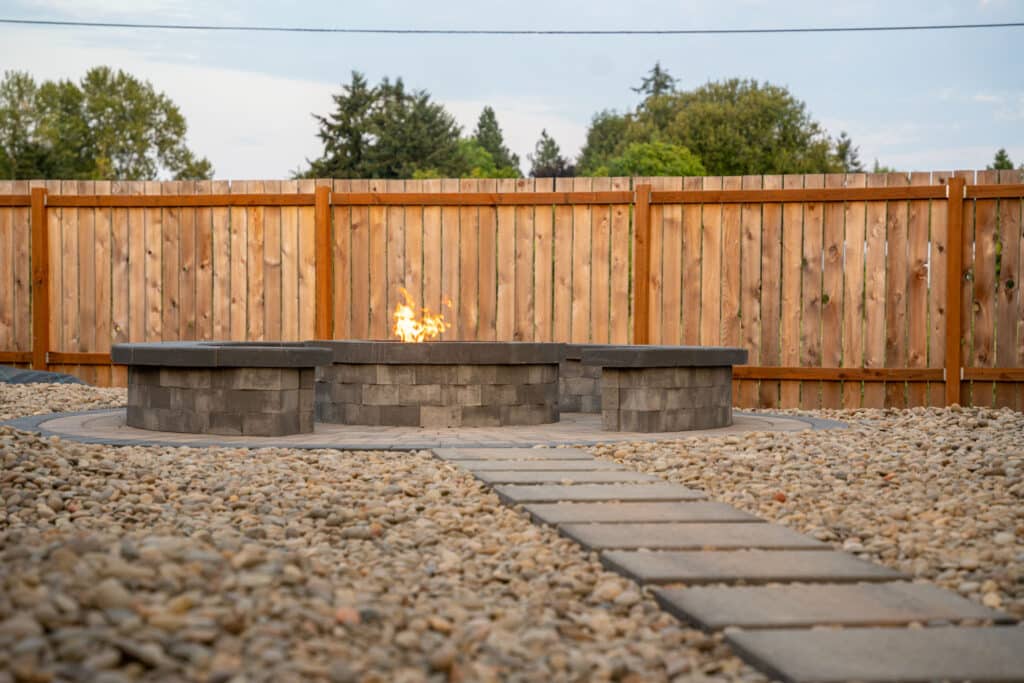
Add that increment to your depth of excavation and base materials. If you have a situation where it’s perfect, everything is above ground level, and it’s not being obstructed, then you can just run the strings as-is. More often than not, there’s a lot of grass or something like that where it could be an issue.
Another alternative is to go ahead and dig out from underneath the strings to clear those obstructions. In this example, we had weeds and some dirt because of the grade change and the variance in the yard.


