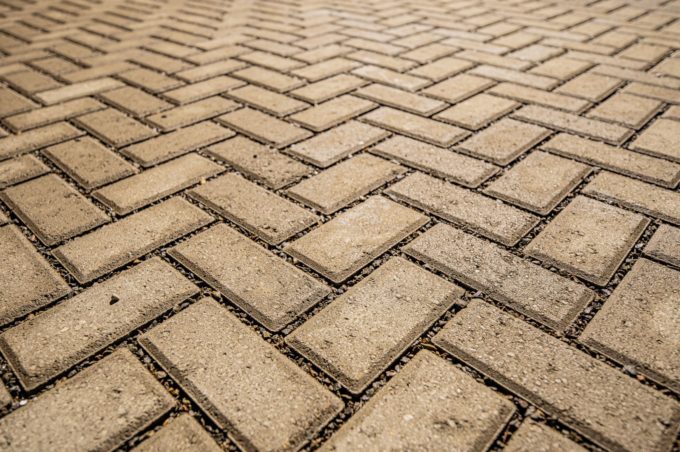
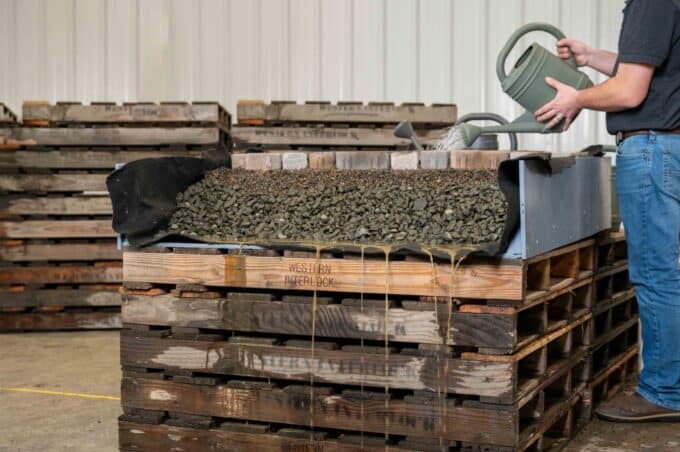
Today we will show you how to install a walkway using large surface stones.
Step 1: Design
Design is step one for any paver project. For a stepping-stone project, drawing a rough print can be pretty straightforward. It can give you a reasonable calculation for materials and stuff like that. But the central part of what you need out of the design process is the dimensions of the material itself.
So, for this particular project, the homeowner chose our La Lastra™ 18×24” in the Jamestown Blend. The difference between stepping stones and a typical paving stone walkway, where they’re modular units, is that these ones aren’t technically required edge restraint or bedding material.
All we have to do for this is dig out and excavate, put 4” of compacted gravel, and then lay these stones on top.
Step 2: Mark Your Layout
Step two is the layout. We will take some white marking paint and, based on a rough drawing we have and that natural area of this driveway here, we will mark two lines. And we’re going to go 24”, which is the width of the stone, and add 4” to each side to make a total of 32”.
The specific area here, the driveway, has a little bit of a straight edge with an angle and then a curve. So if we give ourselves that extra 4” on each side, it’ll give us some leeway when putting in our gravel base, where we can make things look nice, smooth, and transitional.
Step 3: Excavate for Your Base
We’ve marked out all the lines for our walkway, so now we can move on to step three, which is to excavate. The excavation process is going to be a lot easier for stepping stones than it is for a typical paving stone walkway. It’s typically going to be a little shallower because you don’t have any bedding material, and the specific paving stones we’re using today are a little bit thinner as well.
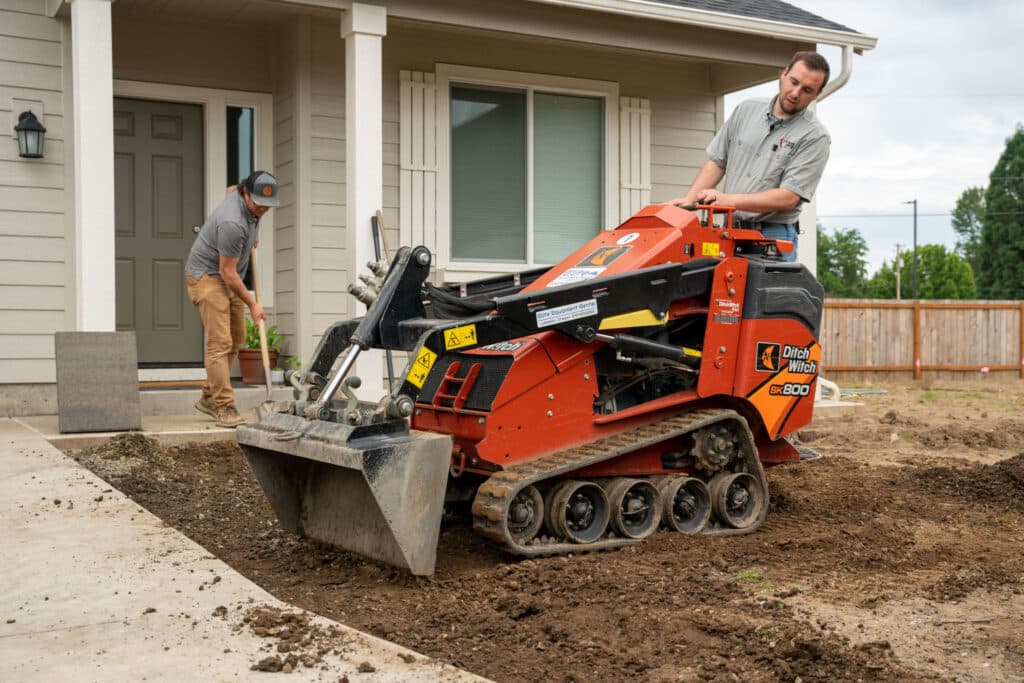
We will be digging down 6” below this concrete, which is where we want the top of our stones to be at the end of the project. That will accommodate 4” of compacted gravel and then our 2” stepping stone. Once you’ve excavated, you can move on to the next step.
Step 4: Place and Compact Your Base Material
We’ve excavated for our 6”, so now we can move on to step four, which is the gravel base. We’re going to be putting in 4” of compacted 3/4″ Minus. Since we’re using the concrete as our reference point, we want to bring it up to about 2” below that concrete to accommodate the 2” paver that we’re going to set in there after we’re all done with the base.
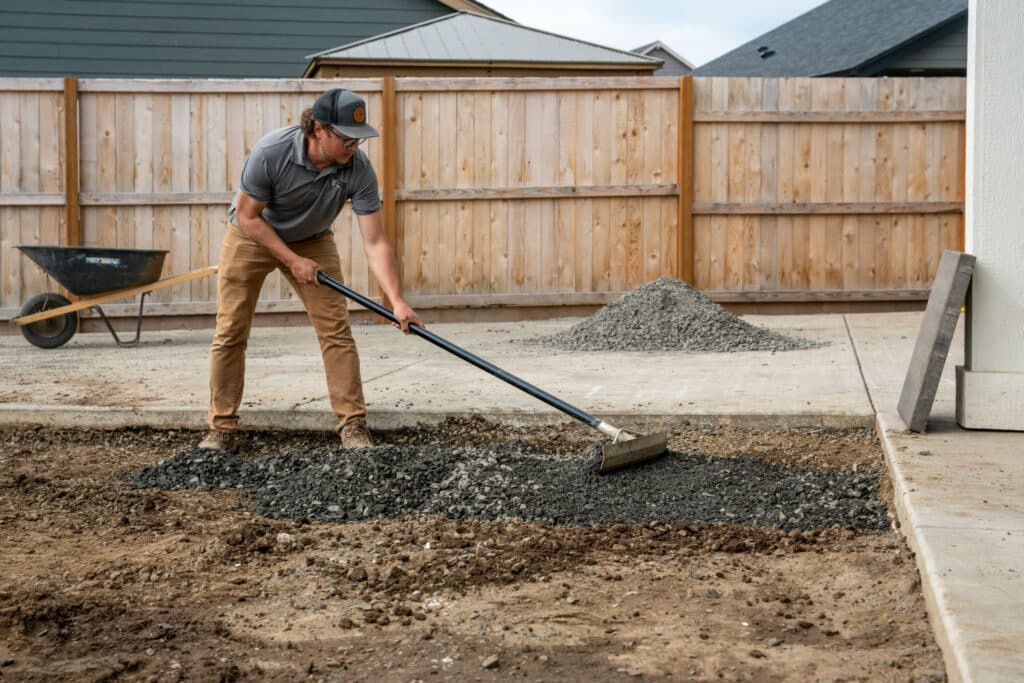
Step 5: Lay Your Stepping Stones
We’ve compacted our gravel base and added an additional inch of gravel as a fluff layer so that we can set our stones in it and give us a little play to make everything flush with our concrete.
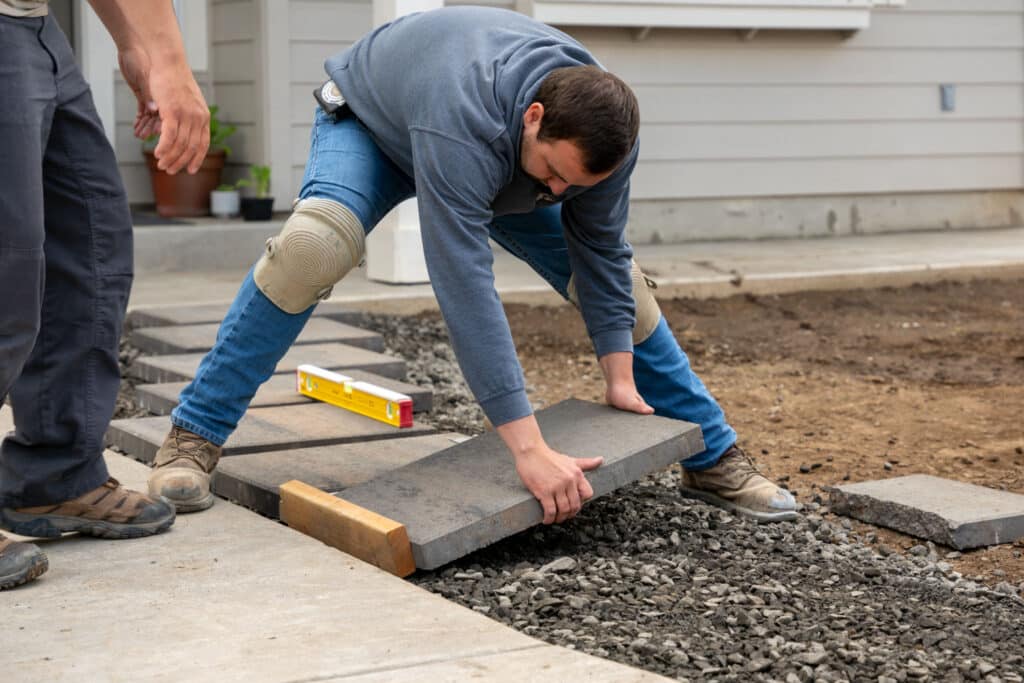
We’re starting here, up against the entrance, because we wanted it straight with our concrete. After that, we’ll make sure we space everything with a 2×4 for both the stones and up against the concrete for the driveway. We will just set these flush with the concrete using a level. It doesn’t have to be level, just flat. Just put it with your concrete and tap it where it needs to be. And again, that’ll be our reference throughout all these stepping stones with our driveway to make everything look consistent.
Step 6: Add Landscaping Material
After laying and setting all of your stepping stones, the last thing you have to do is find some filling material. You can use bark dust, maybe some round rock, or tamp in dirt and plant grass seed. No matter what you use, you’re left with a lovely functional walkway.


