If you want to know how to build a stone planter for flowers, you’ll likely want a shallower bed, around 6” or so. However, if you’re making a stone planter for vegetables, you want a depth of at least 12″ because the bulbs or seeds need room to spread their roots.
For this example, we’ll be using Tegula Garden Wall™ retaining wall blocks with the Columbia Blend, but the principles apply to Chateau Wall™ as well. Both are beautiful blocks and would do well as a stone planter. We build the planter four courses high, which is about 24” tall. It felt the most natural for the space we were working with and the fruits and veggies we were going to plant.
Now, let’s get on with it. Here are five simple steps for how to build beautiful a stone planter.
Note: Visit DIYwithWI.com to learn how to build a stone fire pit, grill surround, circular patio, and many more inspiring DIY hardscape projects.
Step 1: Lay a gravel base
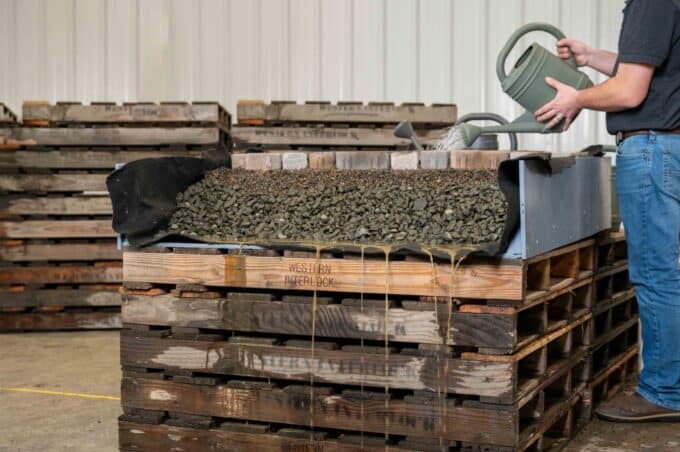
You want a stable and level planter box. Achieving those results starts with the base. If you’re placing your planter in an existing dirt patch, such as in your garden, mark out your planter and use a rake to spread a 2” layer of ¾” minus gravel. That’s what we did for this example.
However, if you’re placing your planter in the grass, we’d recommend that you remove about 4” of dirt or sod and backfill with a 3” layer of ¾” minus gravel. This process ensures that you have a sturdy planter that won’t topple, crumble, or lean.
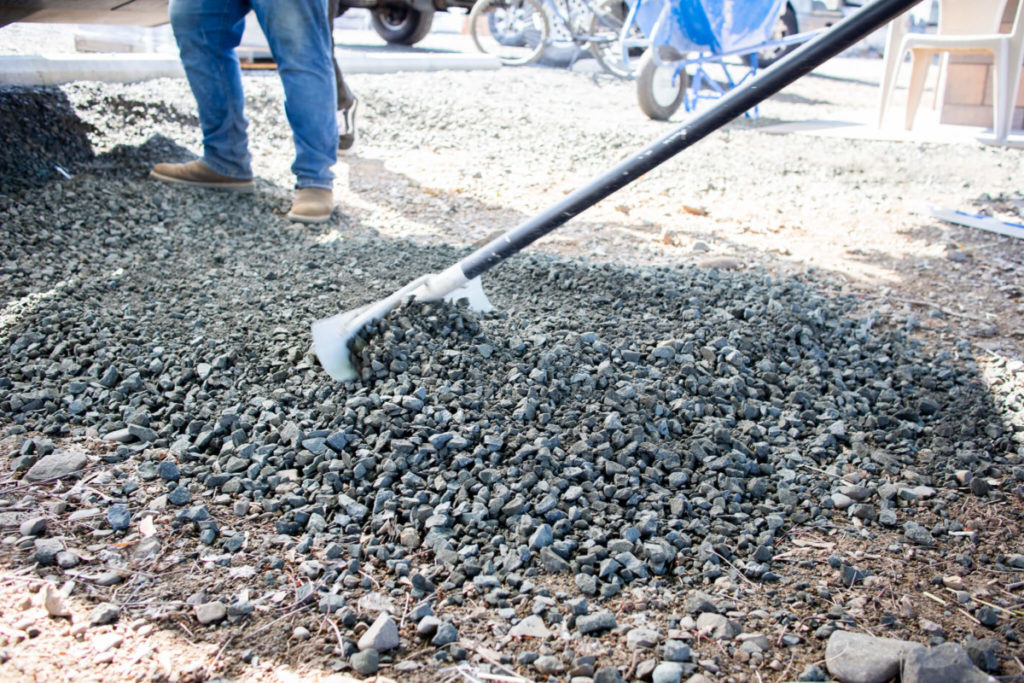
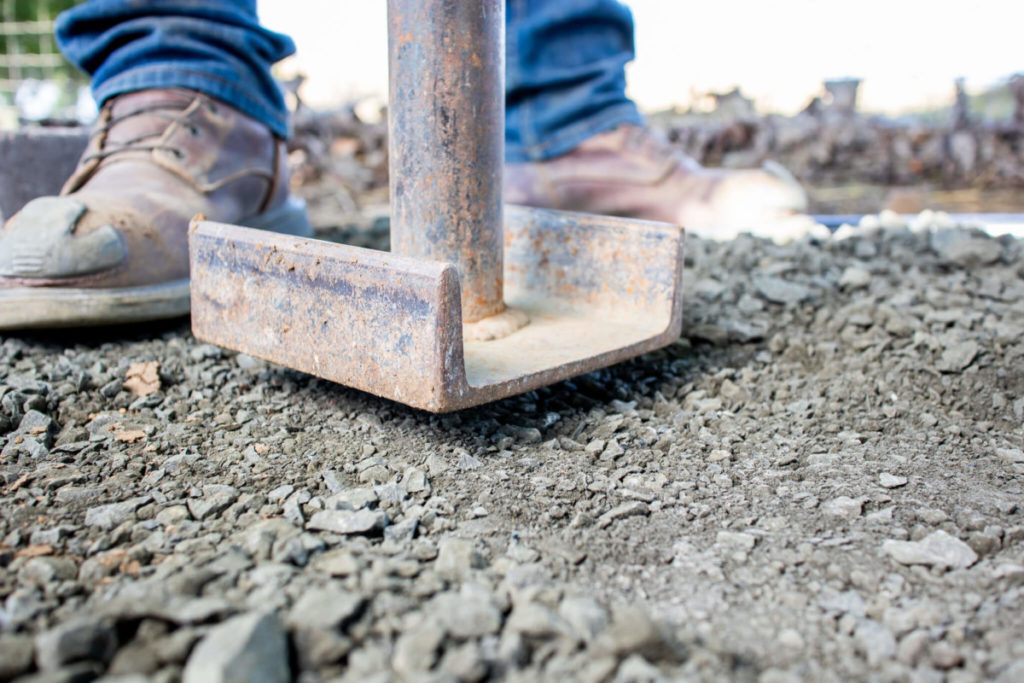
Once you’ve laid your gravel base, use a hand tamper to flatten the gravel until it’s firm.
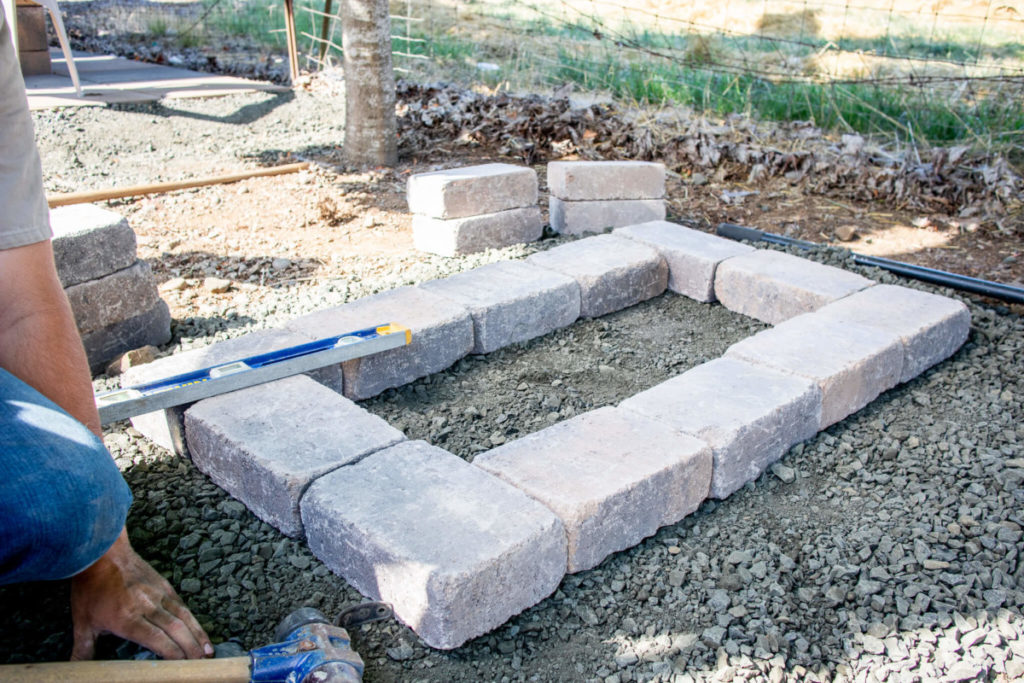
Step 2: Arrange your planter
Mise en place. That’s a French kitchen phrase for “everything in its place.” Spread out your stones in the size of the planter you’re looking for, ensuring that each block is in its proper place.
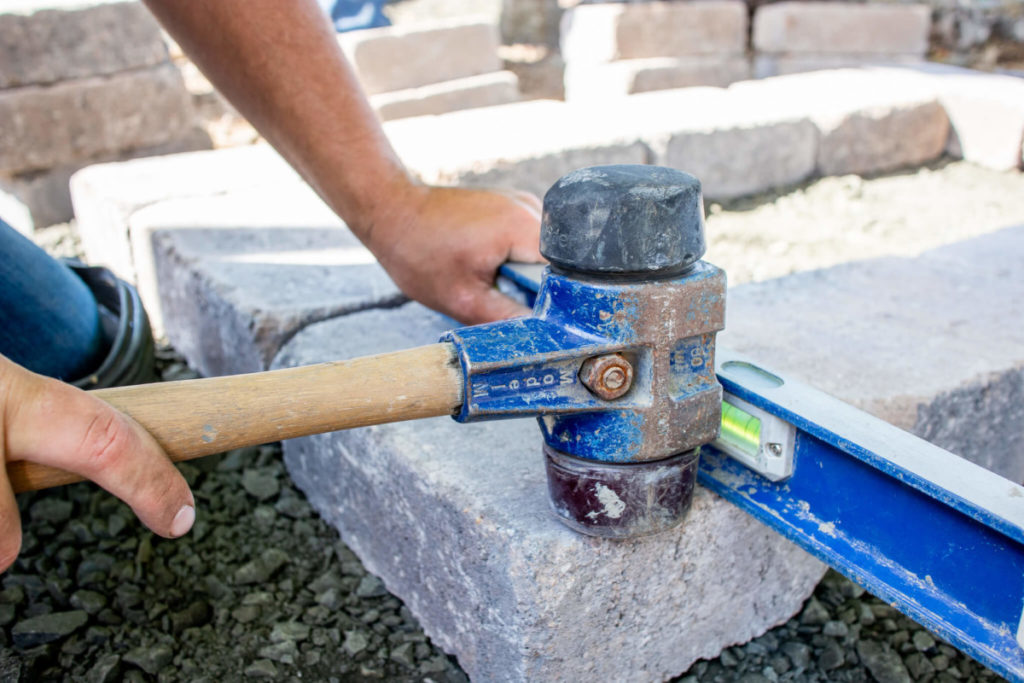
Step 3: Stabilize the first course
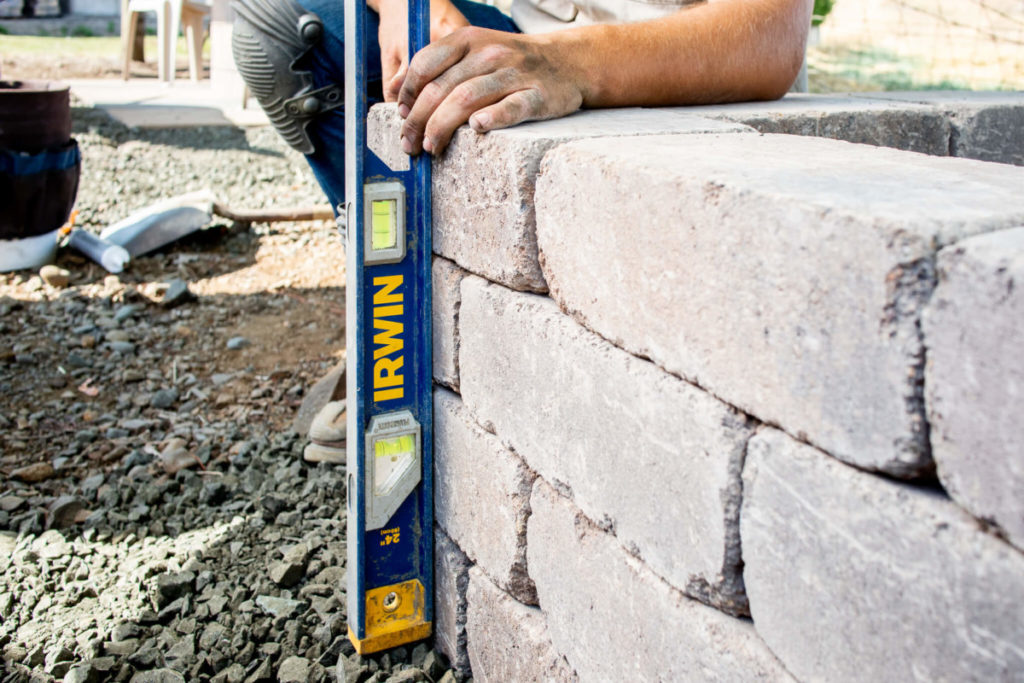
Use a level and rubber mallet to ensure that each stone is completely level before moving on. Be sure to check from top-to-bottom and side-to-side.
Step 4: Glue, stack, repeat
Now it’s time for fun. Glue and stack. Glue and stack. For the glue, we recommend a flexible exterior-grade construction adhesive like Sure Bond. It’s a caulk specifically made for concrete paving stones.
Give each stone a proper brushing, then use your adhesive gun to apply six globs, about the size of a dime, on each stone.
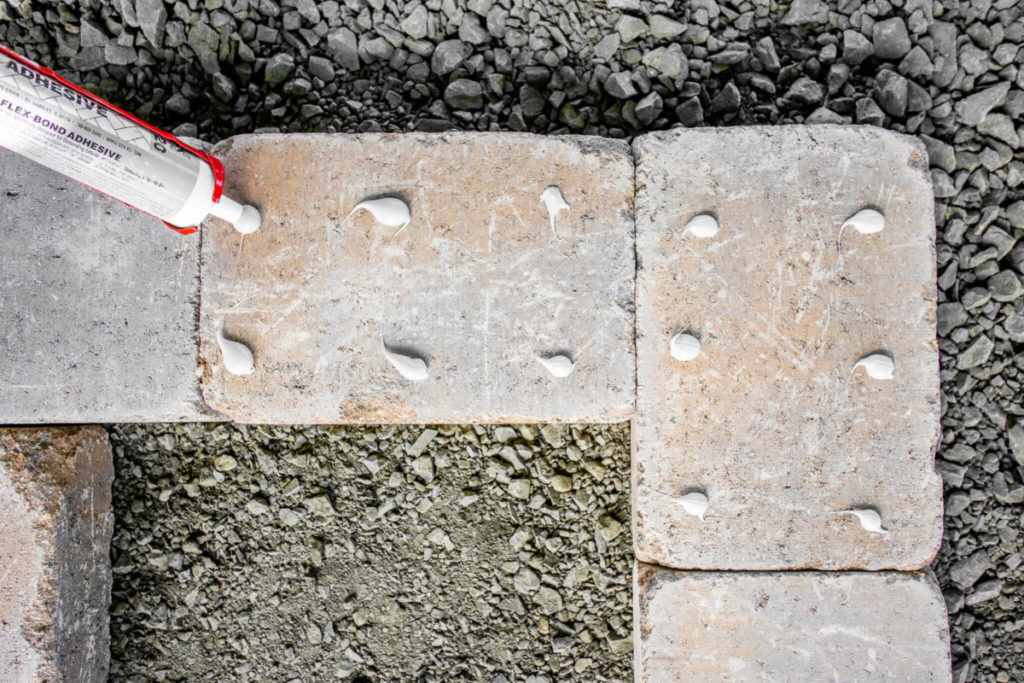
Glue the entire course then place your blocks. Be sure to alternate blocks on each course to offset the seams. This will not only help your planter look beautiful, but it’ll help lock each course in place.
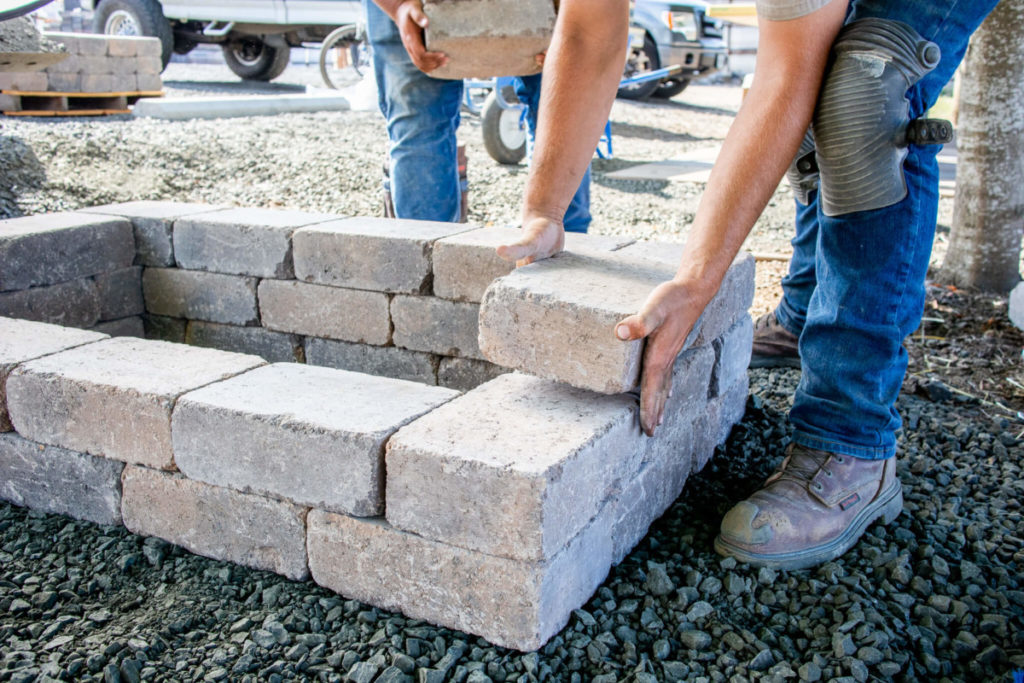
As you finish stacking each course, use your 24” level to double-check that you’re building a perfectly vertical stone planter. If you’re leaning at all, use a rubber mallet to nudge the stones until each side is vertical.
Step 5: Fill with gravel and dirt
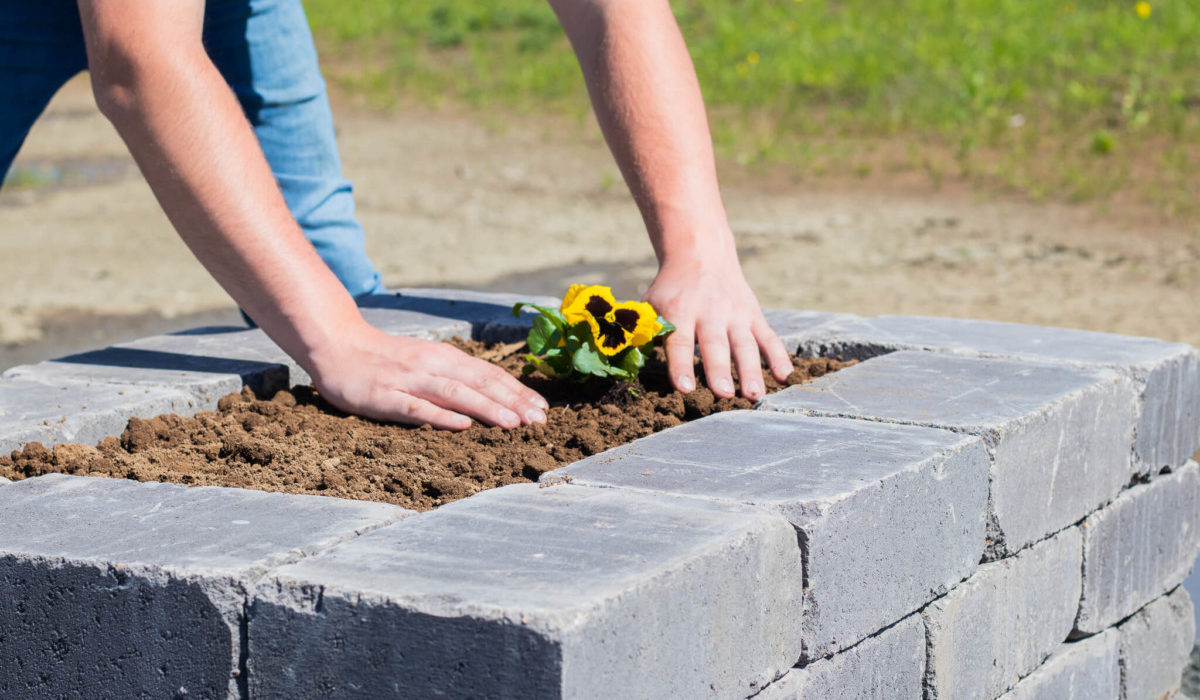
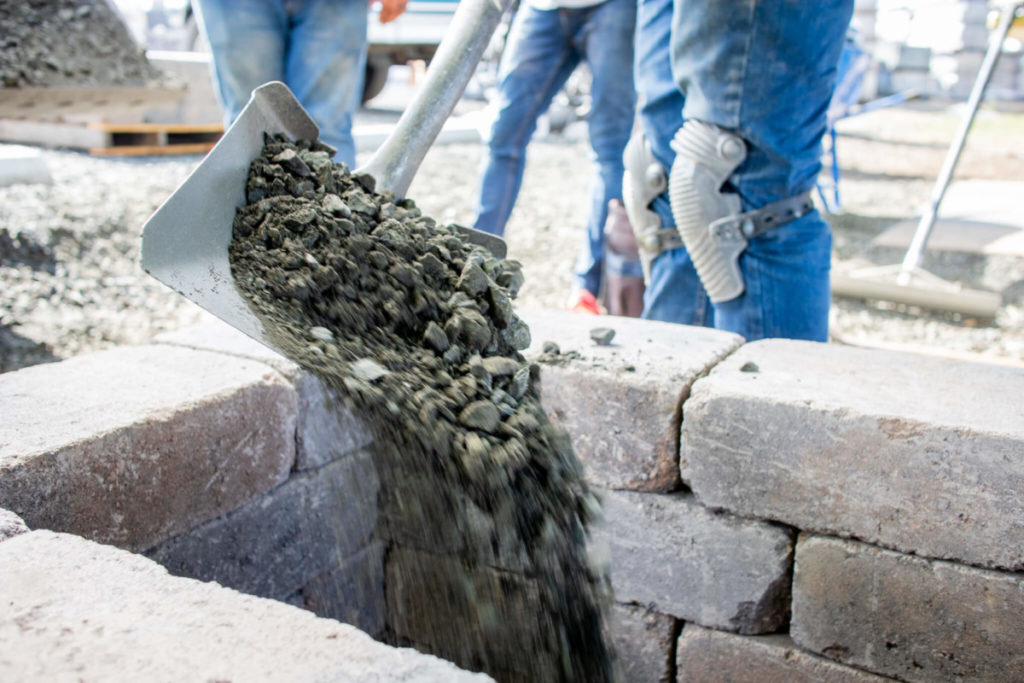
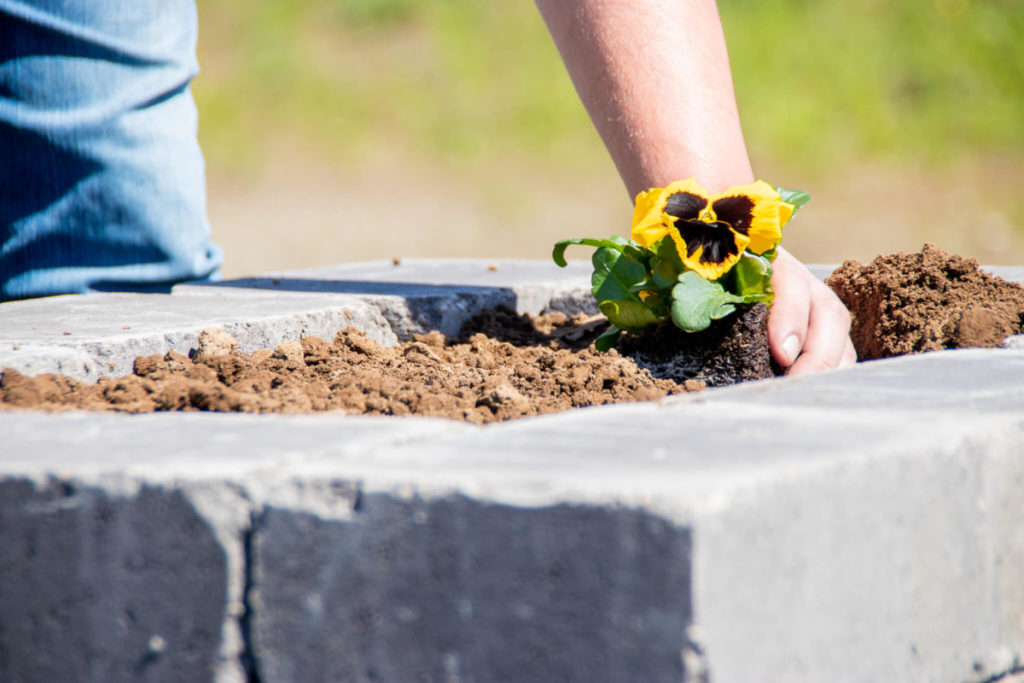
Lastly, fill your brand new stone planter with nutrient-rich garden soil. If you built a tall planter and want to avoid having to fill the entire thing with soil, you can always shovel in a little extra gravel at the bottom to raise the height of your bed to a more manageable level.
That’s it! The project is complete. You’ve built a beautiful stone planter for your fruits, vegetables, and flowers.
Learn How To Build A Stone Planter: Conclusion
We’re on a mission to take the hard out of hardscaping. That’s why we host a live DIY seminar every month during the summer at one of our manufacturing or distribution facilities.
You see, we created DIY with Western Interlock for everyday homeowners like you and me. In each seminar, we’ll personally walk you step-by-step how to build and maintain your hardscape. Join our next seminar for free or visit DIYwithWI.com for hardscape tips, tricks, and step-by-step tutorials.


