In this article, we will look at the main tools you will need to be able to complete almost any DIY paver project.
For each tool listed, you’ll find two options: budget and pro. The budget tools will get the job done. However, as you’ll see when you watch our DIY video tutorials, we use the pro version—a simple way to increase efficiency and improve results.
1. Personal protection
Before anything else, you’ll want to consider tools that will protect you on the job.
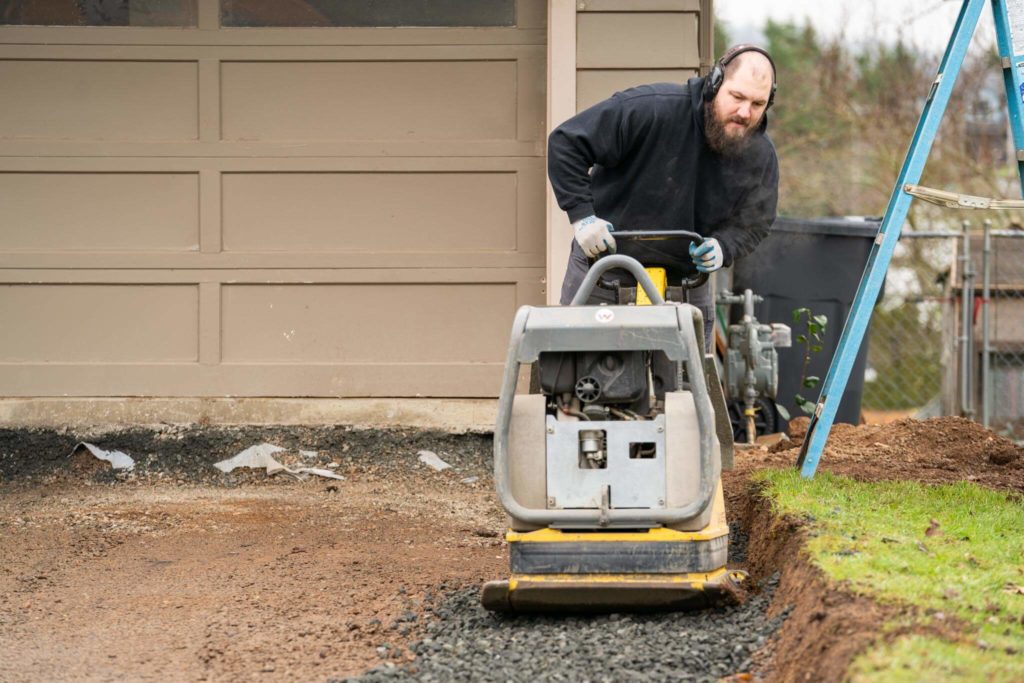
Gloves
If you have ever handled pavers, you know they often have edges that are a little sharp. Pavers can also be heavy! Good gloves will protect your hands from injury.
Safety glasses
If you plan to do any soldering, you will need safety glasses to keep your eyes protected from tiny flying particles.
Ear protection
The final personal protection you should ensure you have is ear protection. Pick up a good pair of ear plugs at your local hardware store or put earbuds in and listen to something at a normal volume. Either will protect your hearing as you use the soldering machine or perform other activities that can cause unexpected, high-volume sound.
2. Shovel
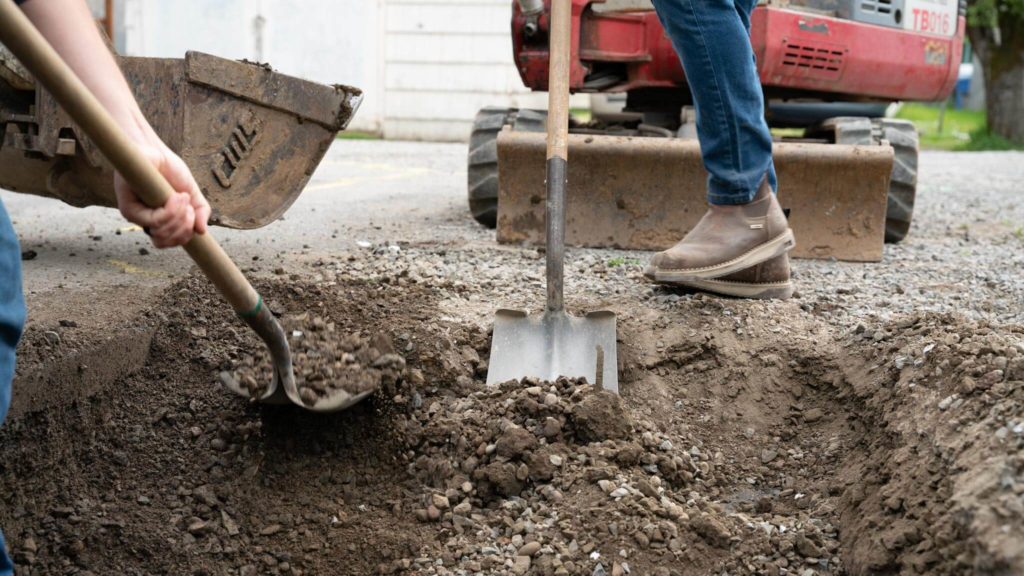
It is imperative that you have an appropriate shovel that will work well for digging your paver base.
Budget
If you only have a garden spade, that will work. Digging with a spade will definitely be time consuming, but it can be done.
Pro
A flat shovel is ideal for digging your paver base. This will be much more time efficient, and less back-breaking, than using a garden spade.
3. Rake
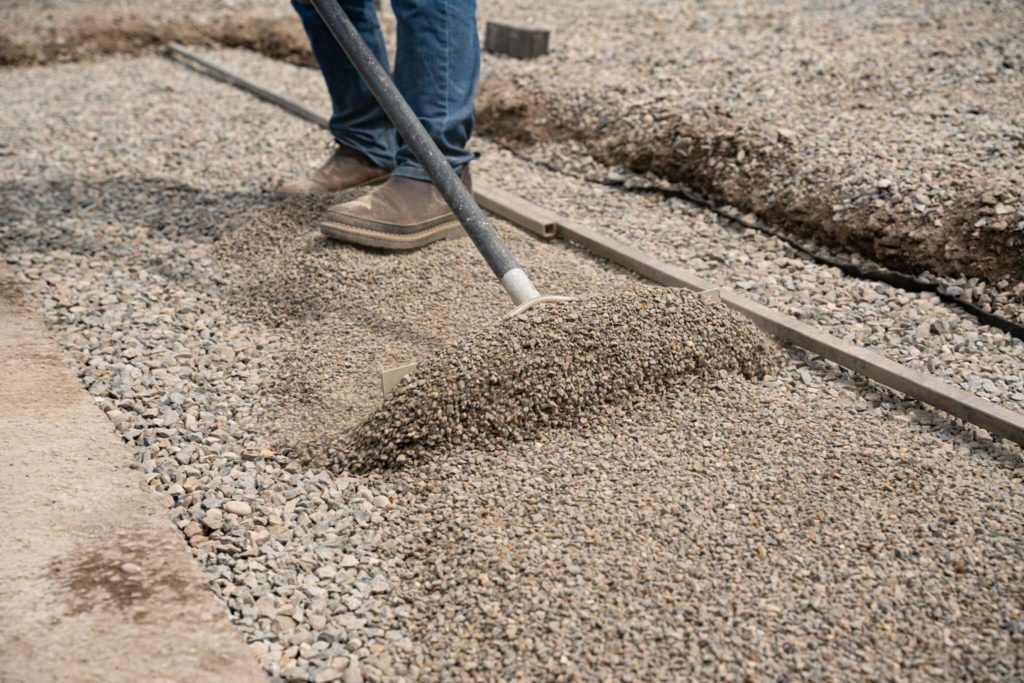
The third main tool you will need is a good rake to evenly spread the gravel throughout your paver base.
Budget
If you want to stick with using the tools you already have in your garage, you can use a regular metal bow rake to spread the gravel in your base.
Pro
If you have more budget flexibility, upgrade to an aluminum landscape rake or concrete placer. These rakes are wider, more sturdy, and will save you time and effort.
4. Wheelbarrow
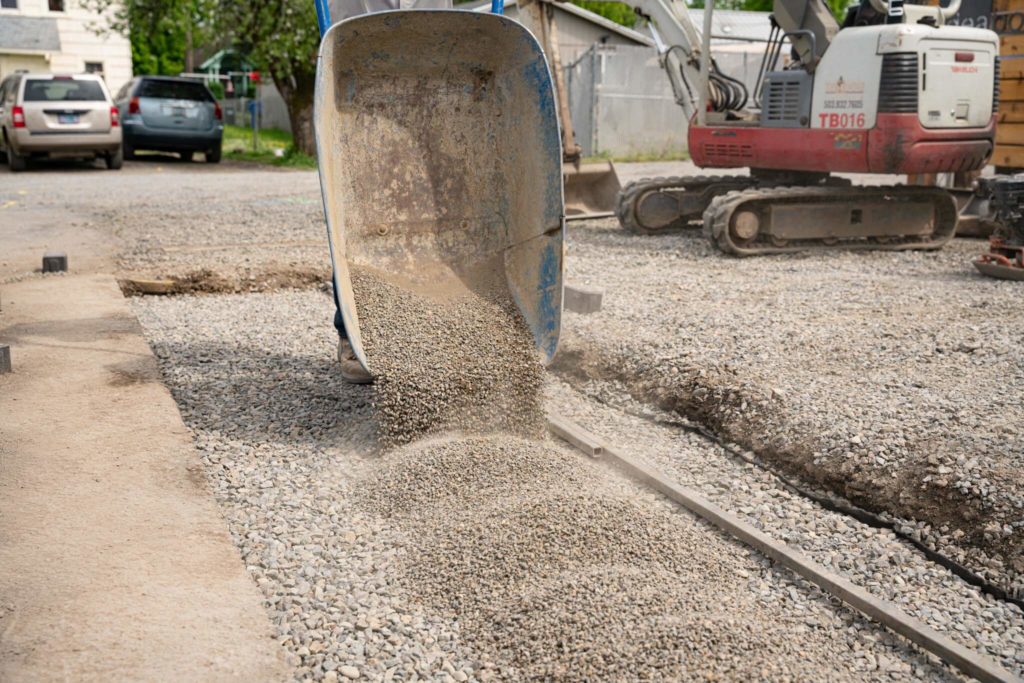
It is difficult to lift very many pavers at a time, so using a wheelbarrow is a necessity for any DIY paver project.
Budget
A regular, 6 cu plastic wheelbarrow will get the job done if that is what you have. Because it is plastic, you won’t want to max out the weight of each load you attempt to haul, but you could easily make it work.
Pro
The ideal wheelbarrow? Try investing in a Wellmade Miller Contractor Wheelbarrow. These wheelbarrows are made from steel and can haul more weight per load than your average plastic wheelbarrow.
5. Rubber mallet
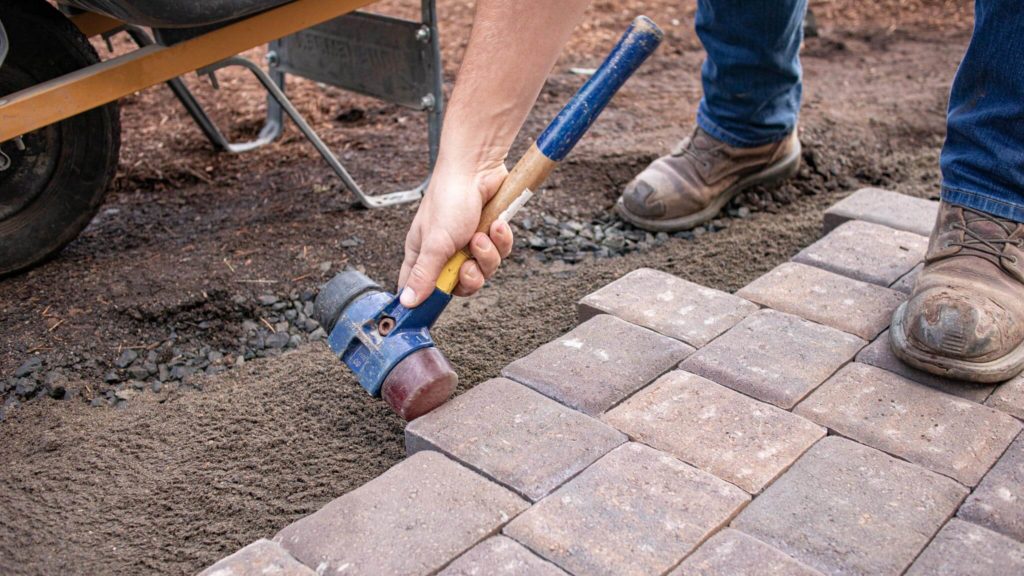
You can’t do without a rubber mallet when installing pavers. This tool will be used to even out the pavers and make sure they are aligned with one another.
Budget
The budget-friendly option is a standard 16 oz rubber mallet. You can usually find one for less than $10 from your local hardware store, and it will prove satisfactory, particularly for smaller hardscaping projects.
Pro
If you are working on a larger paver DIY project, or are simply intentional about having the best tools possible for your project, try a high-quality 28 oz plastic face and rubber face mallet. This mallet is exactly what it sounds like—a metal head with one plastic face and one rubber face, making it painless to make uneven pavers fit cleanly together.
6. Level
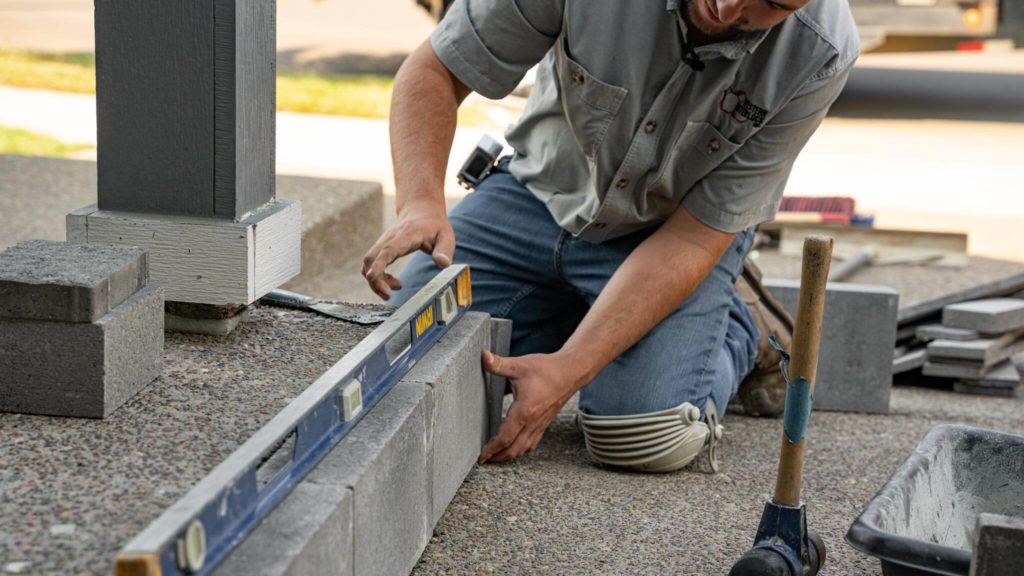
To end up with a smooth patio or paver walkway, make sure you have the appropriate tools for leveling the stones!
String line, line level, measuring tape
You will need all three of these basic leveling tools to ensure your pavers end up even and smooth. There are not really budget or pro versions of these tools—whatever basics you have should be effective.
7. Screed board
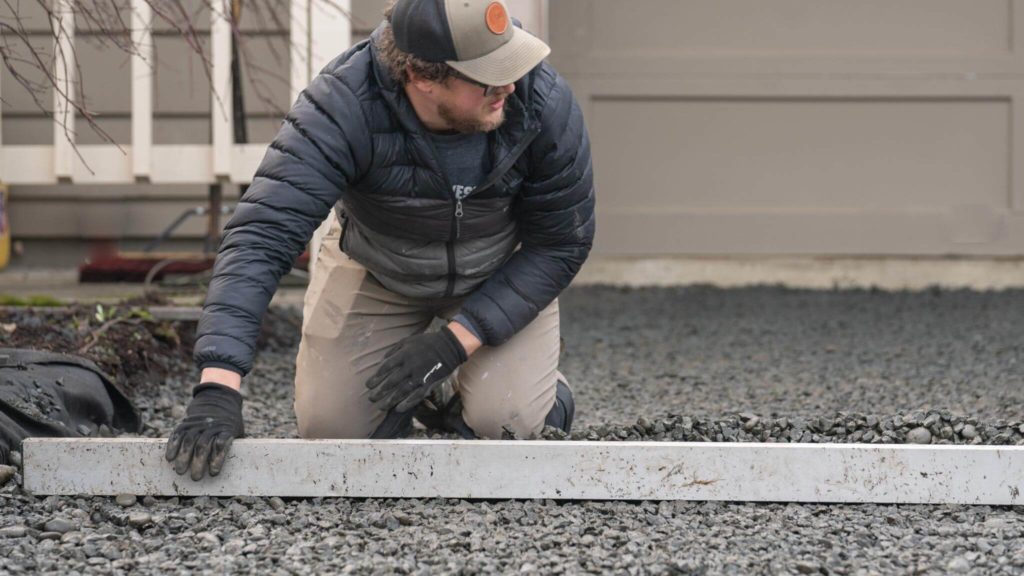
A screed board is necessary to smooth out the sand or gravel that acts as the bedding for your pavers.
Budget
To keep costs down, you can purchase a 2×4 wood board from your local Home Depot or Lowe’s. These wooden boards will do the job for you, but possibly not as quickly or effectively as an aluminum board will.
Pro
If you have the funds, invest in an aluminum paver screed. These are lightweight and easy to handle, and can also be purchased at Home Depot or Lowe’s.
8. Screed rails
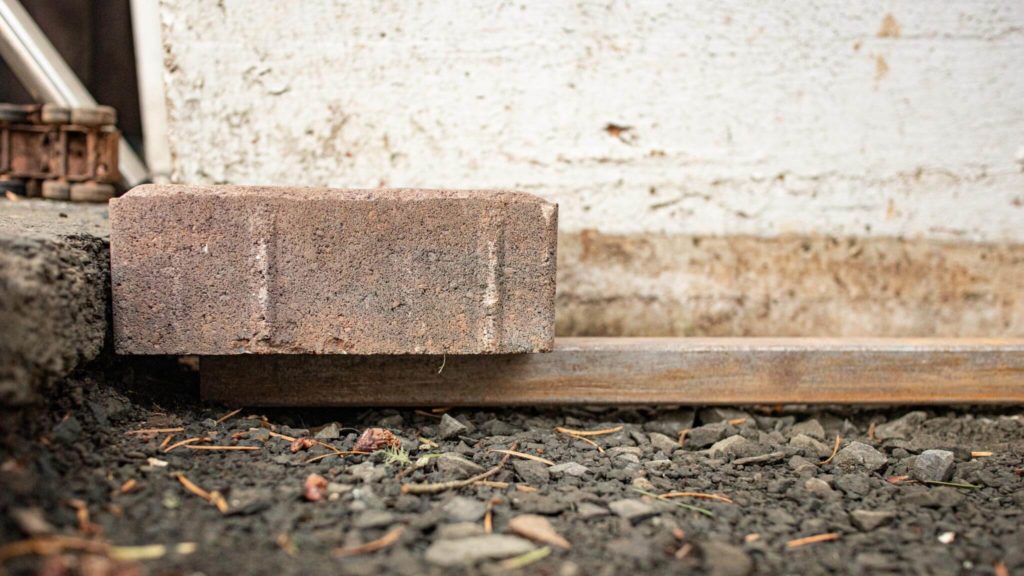
Screed rails can be made from many different things, but these are necessary for helping guide the leveling tools and/or establish the depth of the area in which you are installing your pavers.
Budget
For budget projects, try using standard 2” PVC pipe for your screed rails. If you don’t have any left over from installing a sprinkler system, they are easy and inexpensive to buy from your hardware store.
Pro
If you want to use the best screed rails available, find some 2” aluminum square tubing. This will be a cleaner and more straightforward rail for what you need—and will also be less prone to rolling away, like PVC pipe tends to do.
Download our Project Planning Guide
Now that you have all the tools you will need to install pavers, download our Project Planning Guide to get the final information you need to get started.


