
Get our FREE Project Planning Guide
"*" indicates required fields
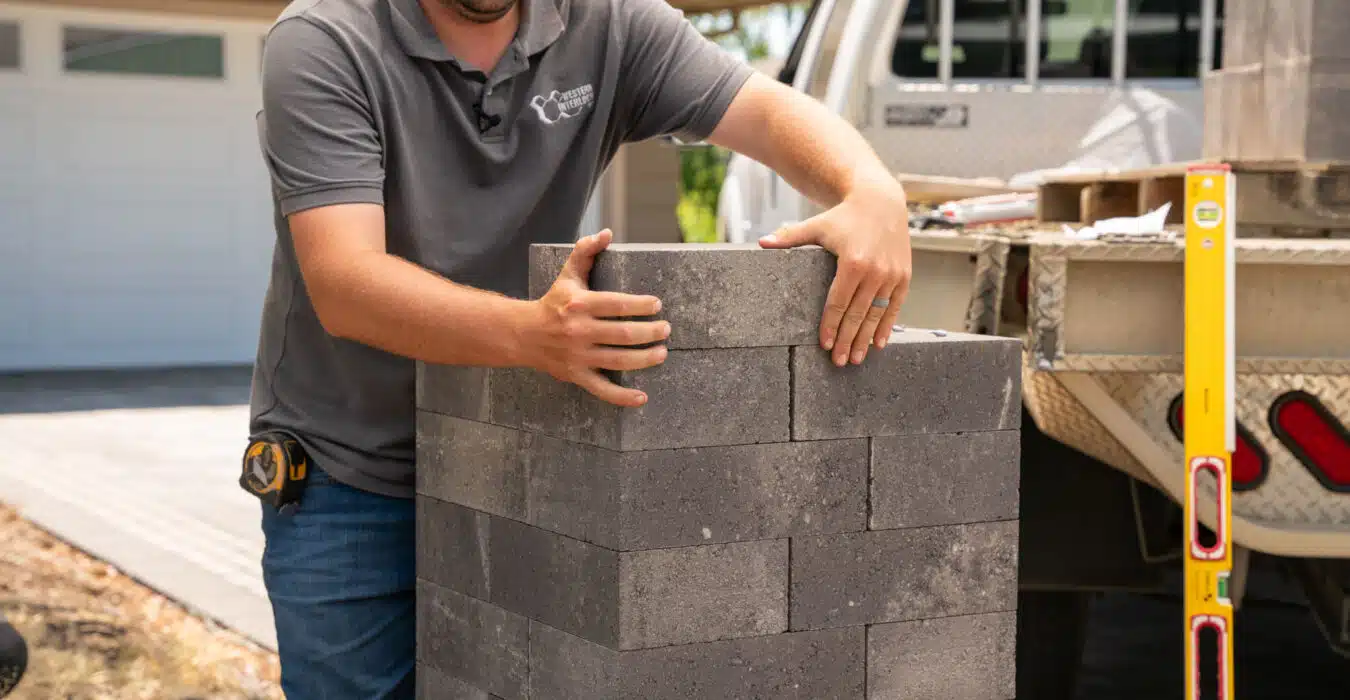
Landscape or garden pillars have a unique and sought-after ability to dress up an outdoor environment. Whether modern, rustic, or another style, garden columns are one of the most elegant finishing touches in the hardscape world.
In this article, you’ll find answers to 10 of the most common questions about building a DIY garden block pillar.
1. What materials do I need to build a DIY column with concrete blocks?
You do not need a lot of materials to build a column.
You need your concrete blocks, such as our Chateau Wall blocks, our Tegula Garden Wall blocks, or Gradino Step blocks. You will also need capstones to complement and finish the columns, such as our Murata Capello or Versa-cap stones. Ensure you also have the project’s landscape adhesive and 3/4”-0 road base gravel.
2. How do I determine my column’s appropriate size and dimensions?
You must decide where your column is placed to determine the correct dimensions.
Then, use a measuring tape to mark the space and white marking paint to pinpoint the exact dimensions of the column where it will touch the ground. You should place your base blocks before you dig the base to ensure they are right. Stone columns are usually in a 24” by 24” hole that is 6” deep.
3. What type of concrete blocks should I use, and what are the best practices for laying them?
We have several blocks we recommend for columns, as mentioned above.
You also could try our Chateau Diviso block or Chateau Moderna block. Make sure you also use a capstone to finish it off.

The base of the column is significant as you build. Remove 6” of the topsoil and fill it in with 5” of level, compact gravel. You should bury the first layer to stabilize the column as each stone is placed. Use landscape adhesive to join the stones and finish them with a capstone.
4. Do I need additional reinforcement for the column, such as rebar or concrete fill?
Although you can fill your column with concrete, all you need is the block and adhesive. The buried first layer provides an incredible amount of stability.
5. What tools are required for the construction process?
In addition to your blocks and adhesive, ensure you have prepared essential DIY tools, including a shovel, level, mallet, tamper, wheelbarrow, and work gloves.
6. How do I ensure the column is level and plumb during the building process?
You should use a 24” or 48” bubble level and check each block vertically and horizontally. You can also check the column every five minutes as it dries to ensure it is as perfect as possible.

7. Should I use mortar or an adhesive to secure the concrete blocks together?
Landscape adhesive is a must for building garden columns! Use the high-strength SEK Flex-Bond SB-20. It dries in 20 minutes and is flexible and durable.

8. How do I finish the surface of the column for a polished appearance?
Depending on your preferred style, you should seal your column with a glossy or semi-gloss paver sealer. Sealer also keeps your column stable, especially if you use a water-based acrylic seal such as SB-7700 Joint Stabilizing Antifungal Sealer.
9. What are the potential challenges and pitfalls I should watch out for during construction?
Be aware of the four main pitfalls you should look out for and avoid.
Do not dig a shallow base or forget to bury your first block course. Your column will turn out to be unstable. Also, remember to use adhesive and level every block after you lay it so you don’t end up with a crooked or teetering column.
10. Do I need to know any safety considerations while building the DIY column with concrete blocks?
Before you begin building, call 811 to check and see where your underground utilities are located. Make sure you use gloves and get help with the heavy blocks. Also, avoid getting the sticky adhesive on your skin.
Plan your paver installation
Do you need help planning your paver project? Download our free Project Planning Guide now and get all the details you need to install your beautiful new garden column or other beautiful hardscape.
Get our FREE Project Planning Guide
Tell us where to send it and we’ll email the backyard planning guide to you right away!
"*" indicates required fields


