Get our FREE Project Planning Guide
"*" indicates required fields
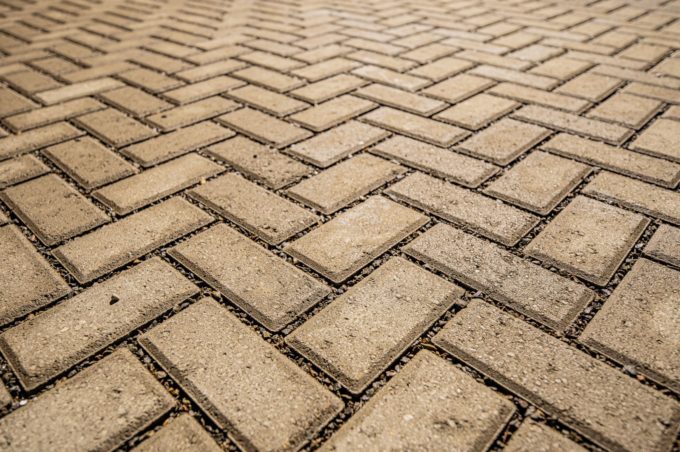
You’ve planned your paver project, selected your materials, and you’re ready to create that beautiful driveway, patio, or walkway you’ve been dreaming about. But when it comes to your paver edge, should you tackle it yourself or call in the professionals?
It’s a decision that can make or break your project, literally. Paver edging isn’t just a finishing detail; it’s the structural foundation that prevents your pavers from shifting, spreading, and creating costly problems down the road. Get it wrong, and you could be looking at repairs within a few years instead of enjoying decades of beautiful hardscaping.
In this guide, we’ll help you honestly assess your skills, project complexity, and budget to make the right choice. Whether you’re a confident DIYer or someone who knows when to call for backup, we’ll show you how to ensure your paver edge gets done right.
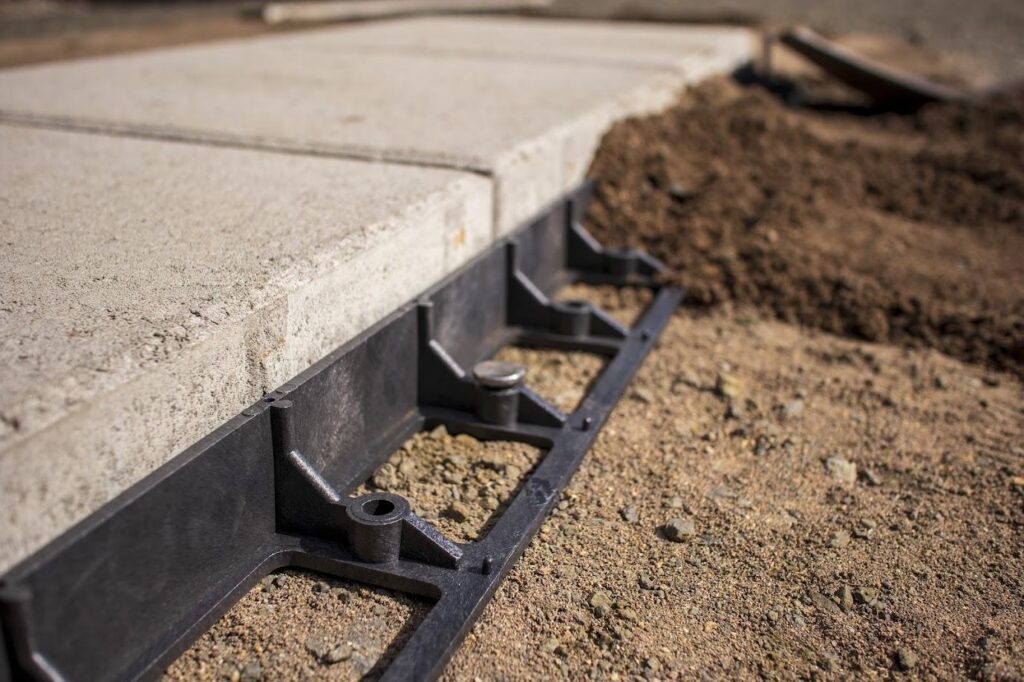
Understanding Paver Edging: Why It Matters
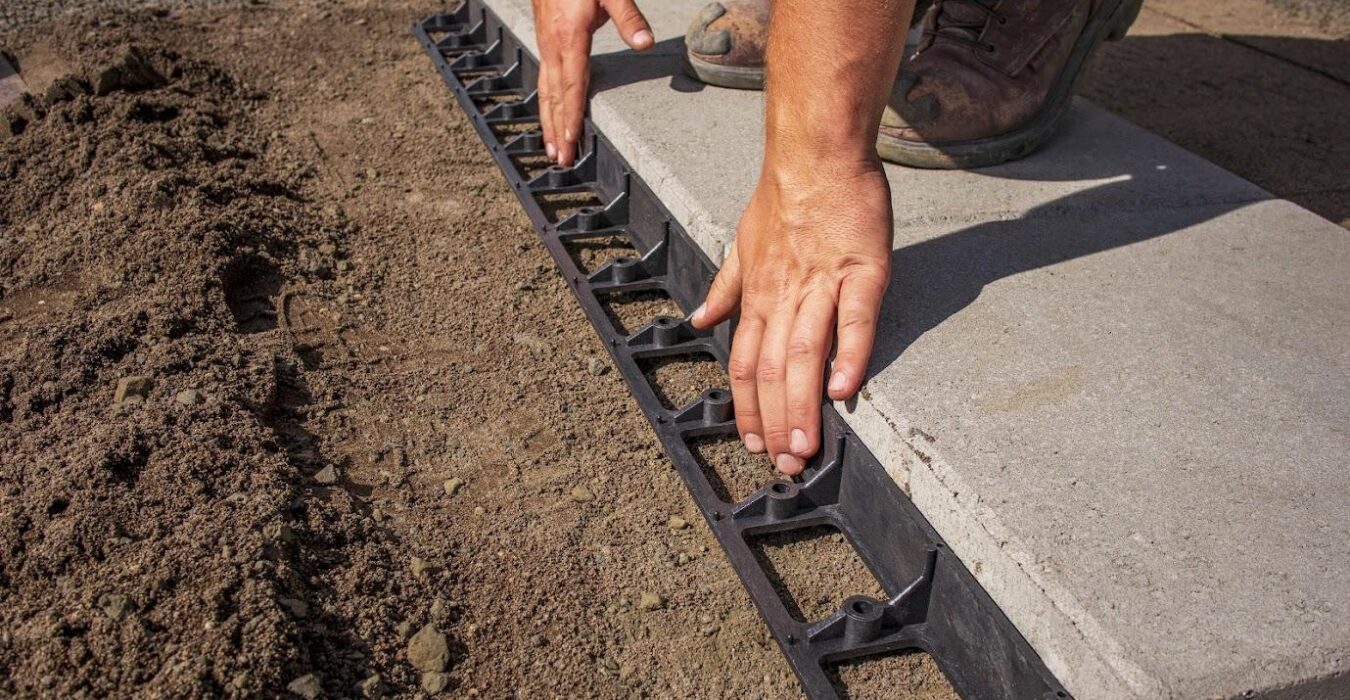
Before diving into the DIY versus professional decision, it’s important to understand what paver edging actually does. Think of it as the invisible foundation that keeps your entire paver installation stable and looking professional for decades.
Without proper edging, pavers naturally want to spread outward under traffic, weather, and ground movement. This “paver creep” starts small but becomes a major structural problem over time. Proper edging contains these horizontal forces, keeping your installation tight and preventing gaps from forming.
The paver edging also protects the sand base that supports your pavers. When base materials wash out during heavy rains, pavers become unsupported and prone to settling unevenly. Quality edging creates a barrier that maintains this critical foundation while allowing proper drainage.
Most importantly, a proper paver edge extends the life of your entire project. A well-edged paver installation can last decades with minimal maintenance, while projects without adequate edging often require expensive repairs within just a few years.
The Case for DIY Paver Edging
For many homeowners, installing a paver edge yourself offers compelling advantages beyond just saving money on labor costs.
Cost Savings and Control
Professional installation can add hundreds or thousands of dollars to your project. When you’re already investing significantly in pavers and base materials, handling the edging yourself helps keep your project within budget. You also control material selection, timing, and quality standards. You can shop for better prices, work at your own pace, and take extra care with details that rushed contractors might overlook.
Personal Satisfaction and Learning
Successfully installing paver edging gives you valuable skills and confidence for future hardscaping projects. You’ll understand exactly how your installation works, making future maintenance and repairs easier. The learning experience also helps you evaluate contractors more effectively for future projects that do require professional help.
Best DIY Scenarios
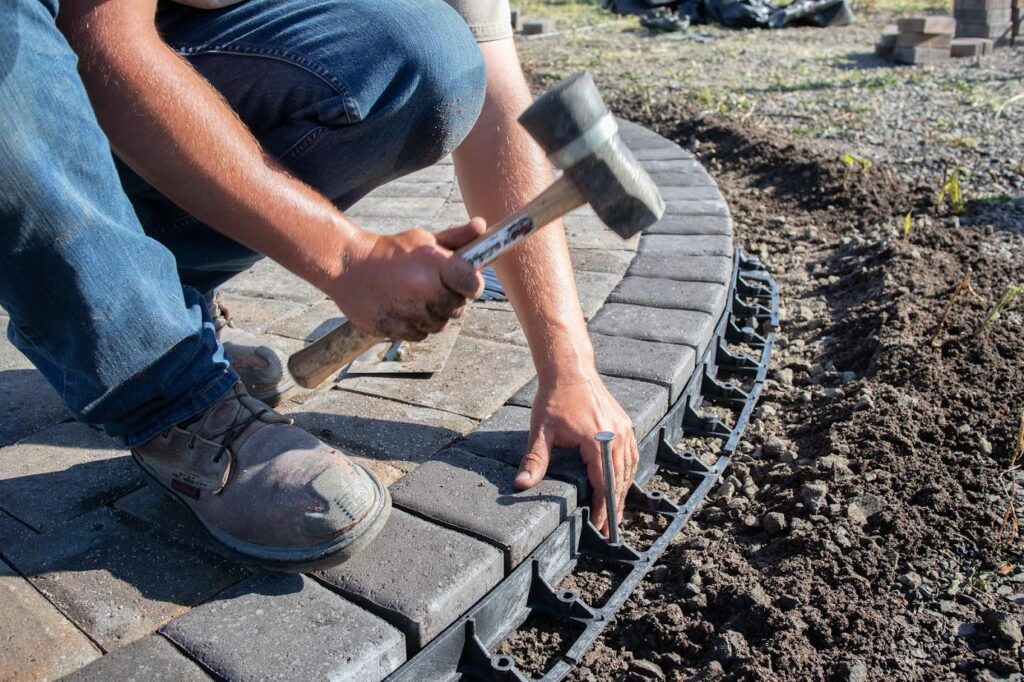
Installing a paver edge works well as a DIY project for smaller applications like garden paths, small patios, or simple walkways with mostly straight edges and 90-degree corners. Projects using plastic edging or basic concrete systems are more DIY-friendly than complex installations requiring specialized tools.
When to Call the Professionals
While DIY installation can be rewarding, certain situations strongly favor professional installation for both quality and safety reasons.
Technical Expertise and Tools
Professional installers bring years of experience solving problems that DIYers might not recognize, from drainage issues to soil complications. They understand how different edging systems work with various paver types and can recommend the best solution for your specific application.
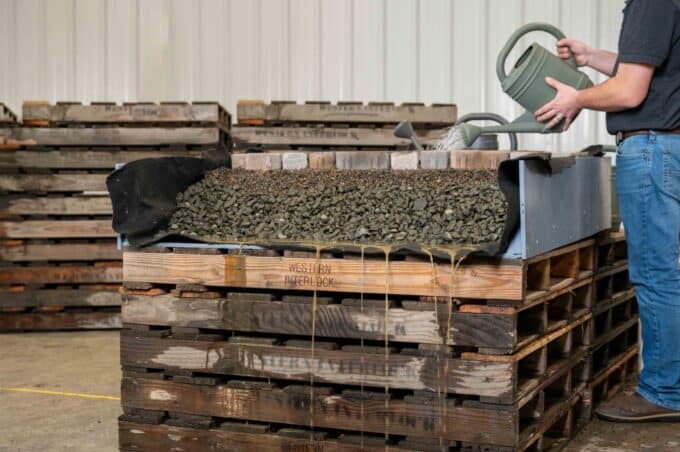
Many installations require specialized tools that most homeowners don’t own. Tools like professional-grade concrete mixers, compaction equipment, and cutting tools. The cost of purchasing or renting these tools can quickly eat into DIY savings, especially for one-time projects.
Quality Assurance and Time Efficiency
Professional installations typically include warranties that protect your investment and insurance that protects you from liability. Experienced contractors can complete installations in hours that might take DIYers entire weekends, making the time savings worth the additional cost for busy homeowners.
Best Professional Scenarios
Driveway projects almost always benefit from professional installation due to the loads involved and consequences of failure. Large or complex projects with elevation changes, curves, or existing hardscaping integration require experience and problem-solving skills that come from years of practice. Projects involving concrete edging systems, poured curbs, or complex drainage integration have little margin for error and require specific techniques for long-term success. Tight timelines also favor professional installation.

Cost Analysis: Making the Numbers Work
Understanding true cost comparison requires looking beyond just material and labor costs.
DIY vs. Professional Costs
DIY costs include materials ($2-10 per linear foot), tools ($100-500 for typical projects), and your time. Professional installation typically costs $8-20 per linear foot including materials, labor, site preparation, warranty, and cleanup.
Don’t forget to value your time realistically. If professional installation takes 8 hours but DIY takes you 20 hours over multiple weekends, factor that time investment into your decision.
Risk Assessment
DIY projects carry risk of mistakes requiring expensive corrections. Improperly installed edging might fail within a few years, requiring complete reinstallation. Professional installation eliminates this risk and often includes warranties that protect your investment, giving you peace of mind that can be worth the additional cost for expensive paver installations.
The main professional risk is contractor selection. Research carefully and verify experience with edging installations. Get detailed written estimates and ensure clear communication about materials, techniques, and final appearance.
Making Your Decision: A Framework for Success
Several key factors should influence your DIY versus professional decision.
Project Complexity: Simple, straight-line installations with basic materials favor DIY. Complex curves, elevation changes, or integration with existing hardscaping favor professionals. Consider failure consequences—decorative path edging failure is inconvenient, but driveway failure could damage vehicles.
Skills and Experience: Assess your construction experience realistically. If you’ve completed similar projects, paver edging might be within your capabilities. Physical demands matter too—installation involves digging, lifting, and working in awkward positions.
Time and Budget: DIY typically takes much longer than professional work. Compare total costs including materials, tools, and time value. Professional installation with warranties might cost more upfront but provide better long-term value.
Your Edging Decision Made Simple
The choice between DIY and professional paver edging installation depends on your specific situation, skills, and project requirements. There’s no universally right answer, but honest self-assessment usually points toward the best choice.
For simple projects with basic materials and forgiving applications, DIY installation can be rewarding and cost-effective. For complex projects, challenging site conditions, or critical applications like driveways, professional installation often provides better long-term value.
Remember that paver edging is the foundation of your entire paver investment. Whether you install it yourself or hire professionals, ensure it’s done right the first time. Proper edging protects your investment and ensures decades of beautiful, functional hardscaping.
No matter what you choose, Western Interlock is here to help you with every step of the way. Because when it comes to hardscaping, we’re here to help you take the hard out of hardscaping.
Get started today: Download our Project Planning Guide for detailed edging specifications and installation tips, or connect with our team to discuss your project needs.
Get our FREE Project Planning Guide
Tell us where to send it and we’ll email the backyard planning guide to you right away!
"*" indicates required fields