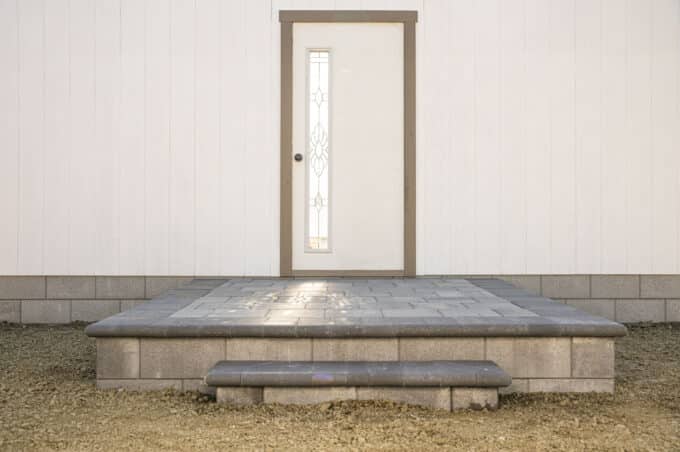
How to Build a Raised Paver Patio
Building a raised paver patio is an excellent option for homeowners who want to expand or raise their outdoor entertainment area and create a cozy, relaxing spot. In this blog […]

Screeding your bedding sand is a crucial part of any paving stone project, and the nice feature is that you only need a few essential tools.
The first and most important thing is 1” outside diameter tubing. It’s beneficial for it to be metal so that it’s heavy. In our example, we are using 1” outer diameter square tubing.
You could also use some 1” outside diameter round tubing. What you don’t want to use is PVC pipe. It’s lightweight and moves around a lot when pulling your board across. It’s also super flexible, so it follows the contours in your gravel, whereas something metal would bridge those imperfections and make for a more consistent project.
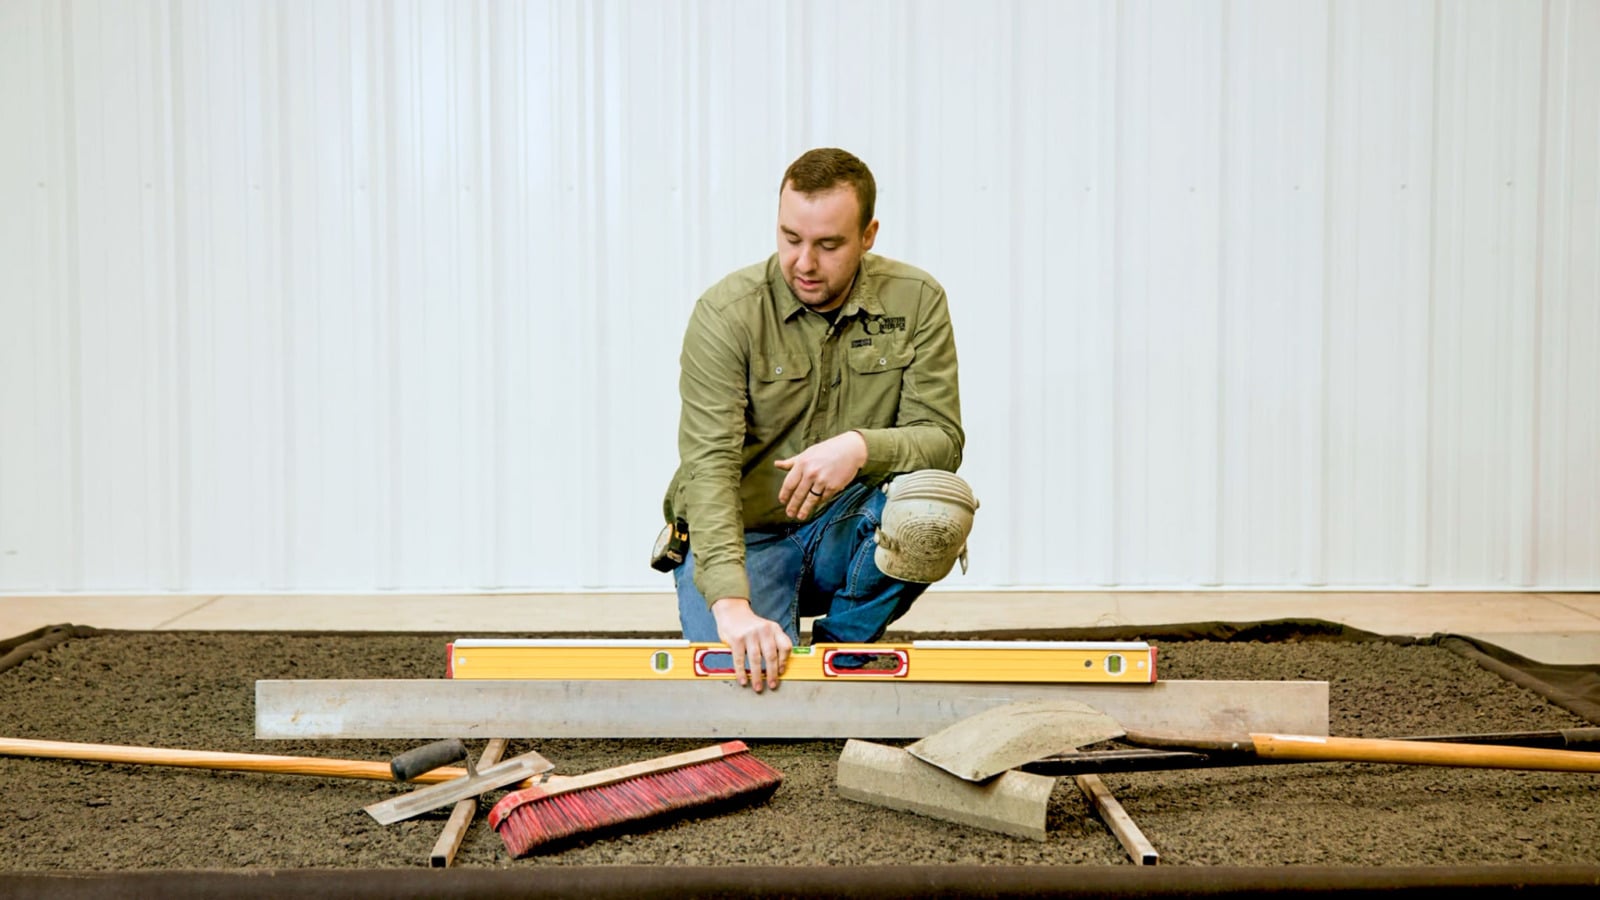
The next thing is a spirit level. You’ll use it to double-check your rails before you screed your sand and your boards if you have a more expansive, broader area than the length of your level. You can also use it to check for the slope and the slope direction you need.
After that, you need a screed board. A good, flat two-by-four will work just fine. We use an aluminum screed board so that we know it’s perfectly balanced to give it that good consistency.
Other than those, you need a few essential hand tools like a shovel, a broom, and a trowel to fill your voids. Having a flat rake around is also beneficial if you have one. It just makes moving around fine aggregates like sand much more manageable.
Before discussing how to screed the bedding layer, consider the materials you’ll commonly see and what we recommend you use. The most common is ASTM C33 or washed river sand.
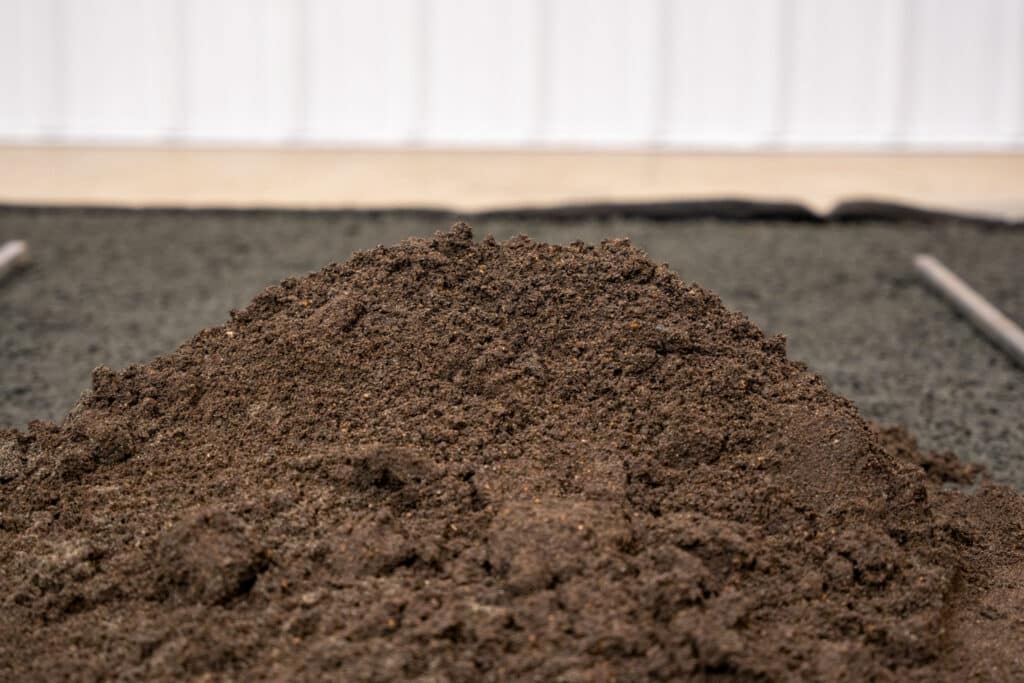
This is fine sand ranging up to 1/4″ pebbles and is commonly screeded moist. One thing we see sometimes that we don’t recommend is fine, dry sand. We often use this to fill our paver joints because it’s super fine and fills them up quickly. However, because it doesn’t have those 1/4″ pebbles in there as washed river sand does, it doesn’t screed well, whether dry or wet.
One thing you can also use as a substitute, especially if you’re in a wet climate, like here in the Pacific Northwest, is a 1/4″ crushed, washed aggregate.
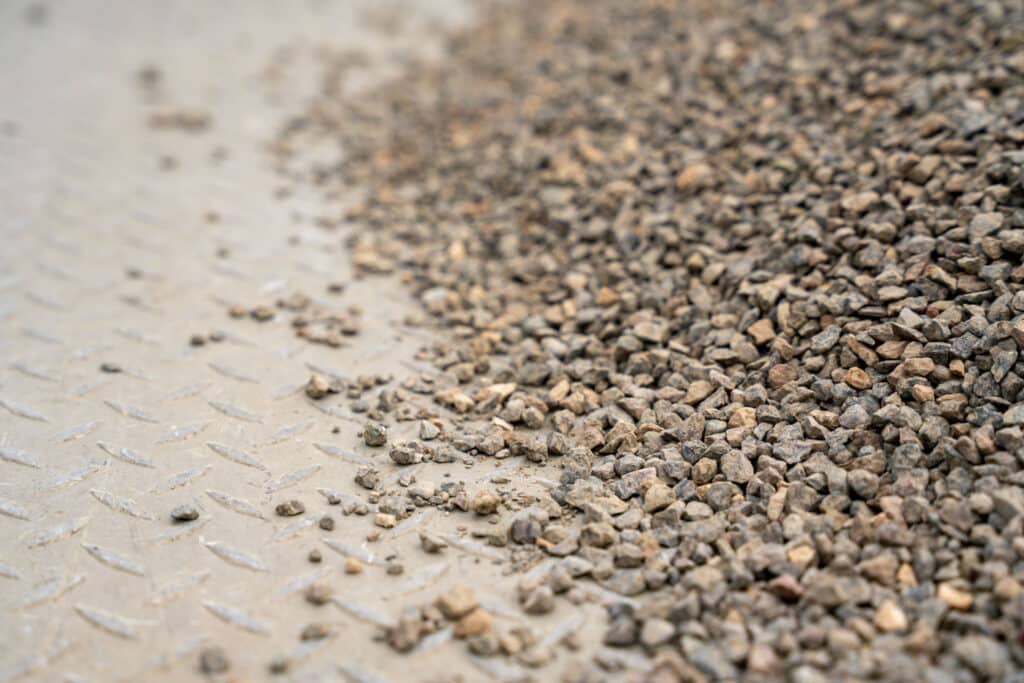
This retains no moisture as opposed to the washed river sand, and it also doesn’t get baked dry in the sun in the summertime as washed river sand does. You can still utilize washed river sand on a sunny day; you want to ensure that when you screed it out moist, you cover it up with your paving stones as fast as possible to retain that moisture.
Before screeding your bedding material, you want to ensure your base is perfectly flat and consistent. To learn more about paving stone base construction, watch our video, “How to Prep and Lay a Paver Base.”
When it looks good, you can move to the first step, which is positioning your screed rails. We’re using 1” outside metal square tubing and will be laying that with the direction of the slope of our project. Widthwise, you want to be level and consistent throughout, but we will lay the rails in the position of our pitch to make it a little bit easier to screed.
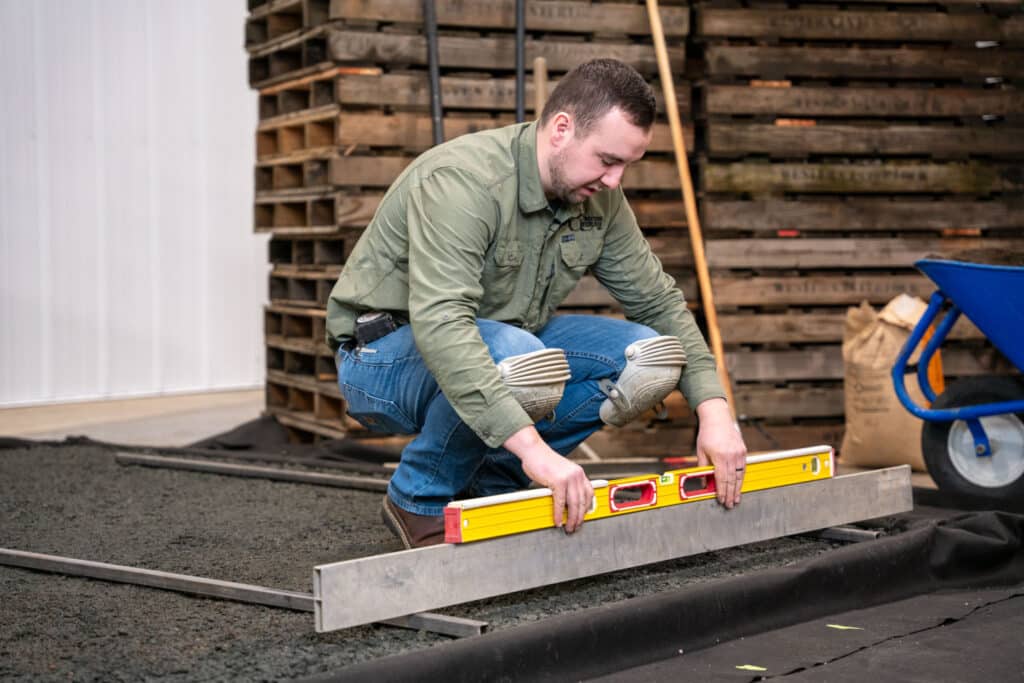
Once your rails are there, you’ll want to check for any humps and bumps; anything within 1/4″ is tolerable, whether a low spot or a high spot. You can knock your rails down for the high spots and build some material underneath the rail for your low spots.
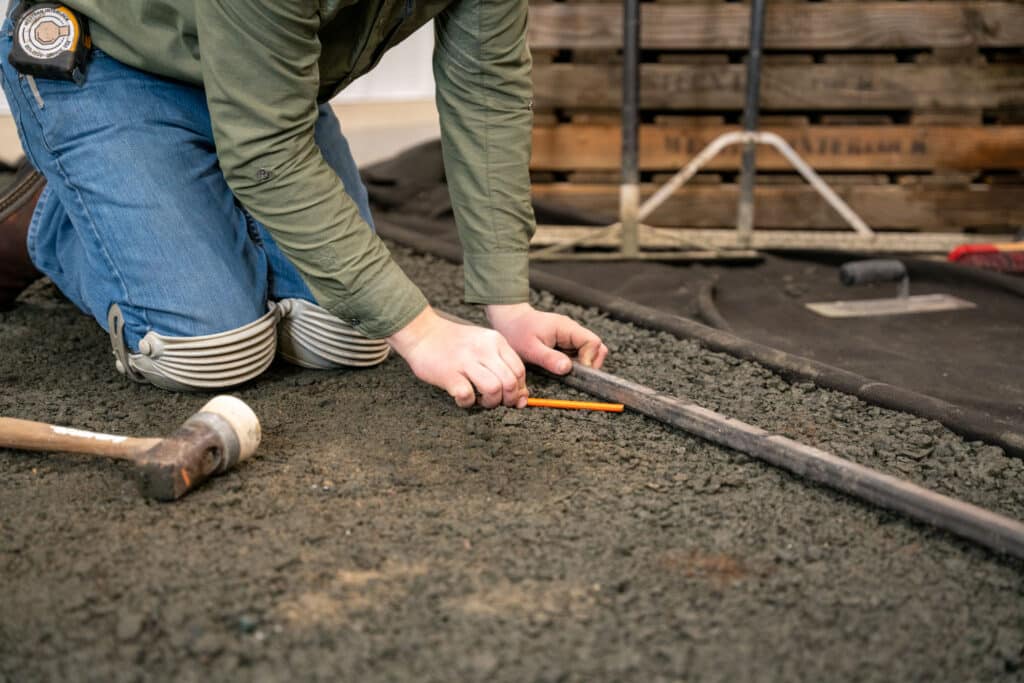
If it’s anything more significant than 3/8″, whether high or low, you want to either rake that down or add more 3/4″ of whatever your aggregate base material is to build that up. With those positioned and leveled widthwise and sloping in the direction of your slope, you can go ahead and place your sand and start dragging that across with your screed board.
After you’ve positioned your rails, you can move to the next step, placing and spreading your bedding material. In our example, we have about a 100-square-foot area and will be screeding half with the washed river sand and half with the 1/4″ crushed clean aggregate to show the differences in how they screed.
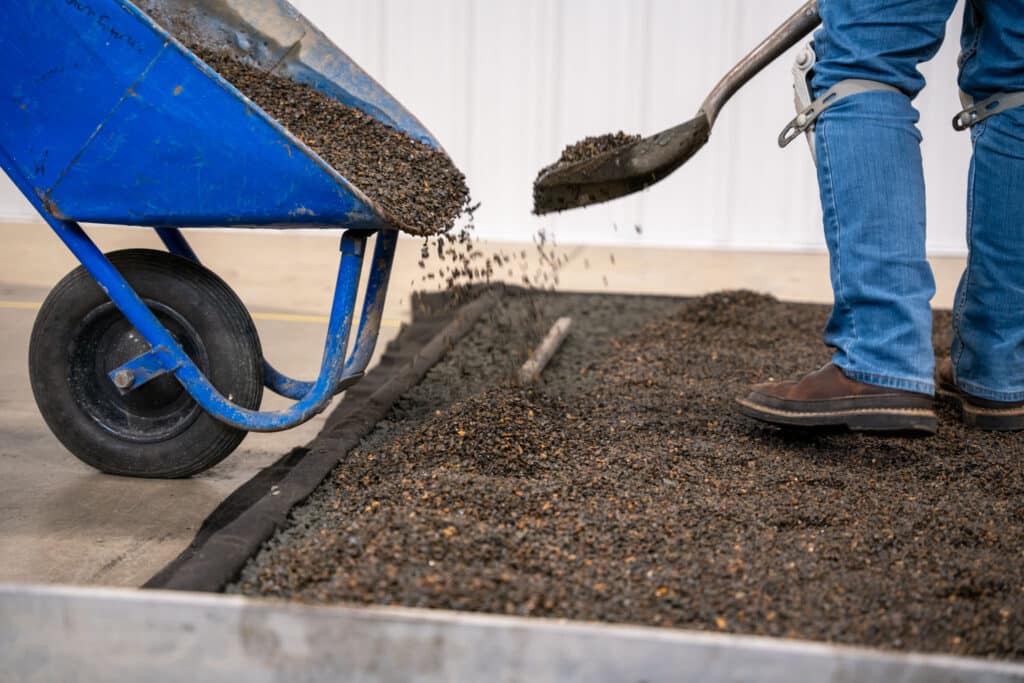
When your sand has been all spread out, you can start screeding. You can use a perfectly flat or straight two-by-four for this process. In our example, since we screed a lot of bedding material, we’re using a nice, flat aluminum board. It’s up to you whether it makes sense to justify the purchase.
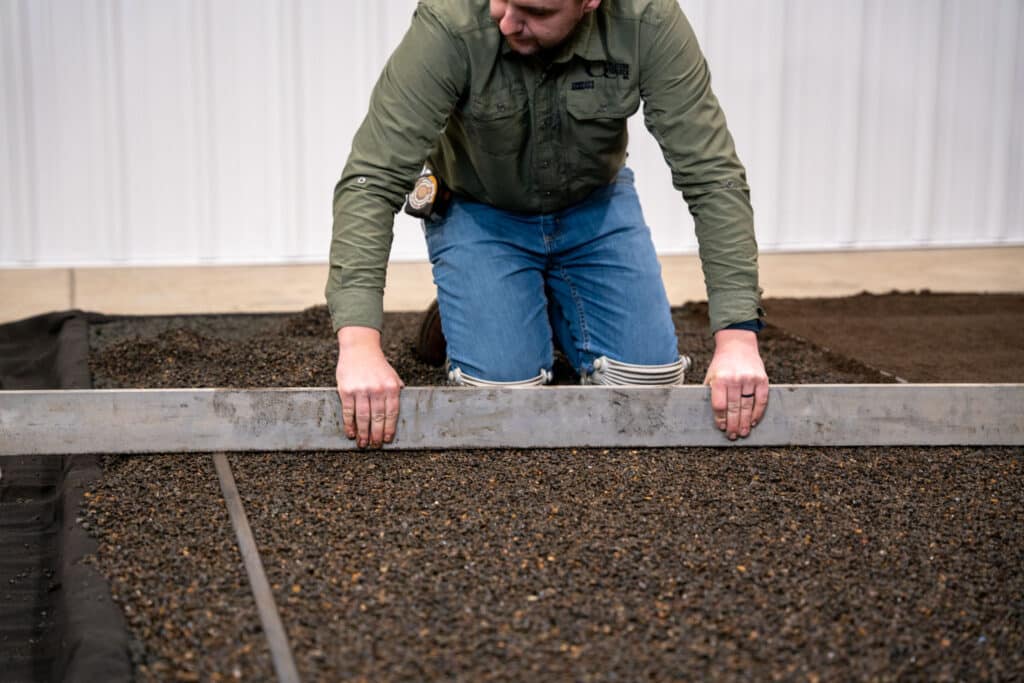
This part of the process is relatively simple. You pull it toward you because that’s the easiest and most natural way. As you drag, occasionally, you may encounter a rock from your base aggregate. If that happens, pluck the rock out as soon as you notice it because it can make long voids. Fill the void, however long or extensive it is, then take your board, top it off, and continue. When you finish the section, you can take one rail out, leapfrog it over to the other, and start screeding your next section of bedding material.
When you finish screeding your first section, you’ll move to the next step, repositioning your rails. Instead of just taking both screed rails out and forcing them to a new area to screed the next section, in our example, we will reuse the middle rail, which we know is already perfectly consistent with our gravel base.
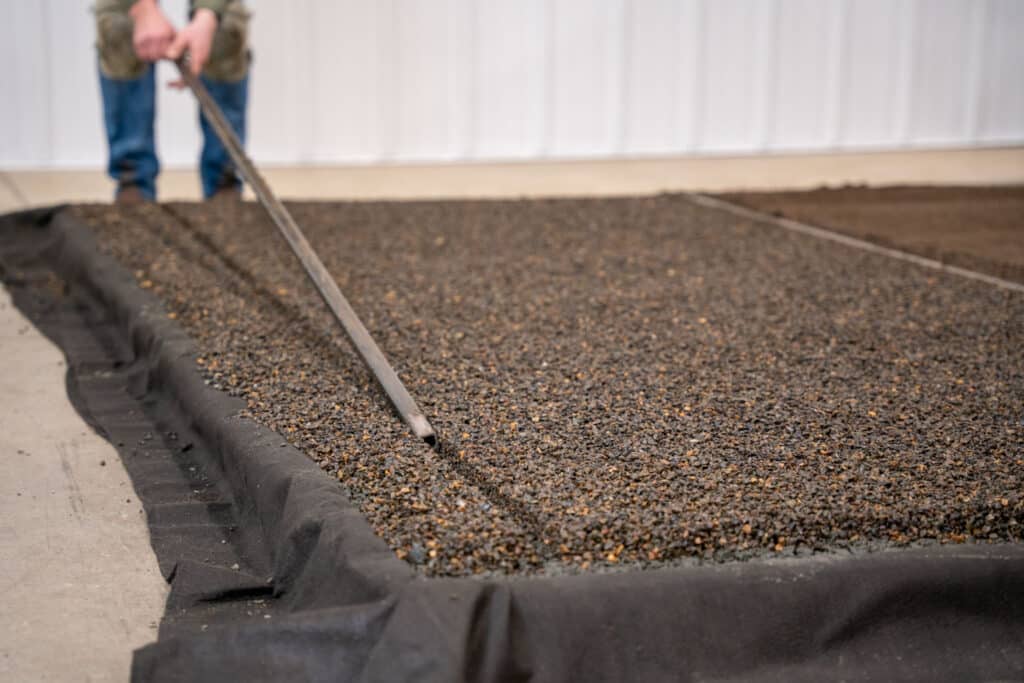
It will make it much easier to take this first rail out, leapfrog it over to the next area, double-check it for grade with our level and screed board, and then screed the next section.
After screeding the two sections in our example, we’re ready for the last step, filling the voids created from our screed rails. When you do this, you first need to pull your screed rails away, then toss in some loose aggregate or sand, whichever one you used as your bedding material for the project. Then top it off with a trowel or something like a flat broom that can reach farther away.
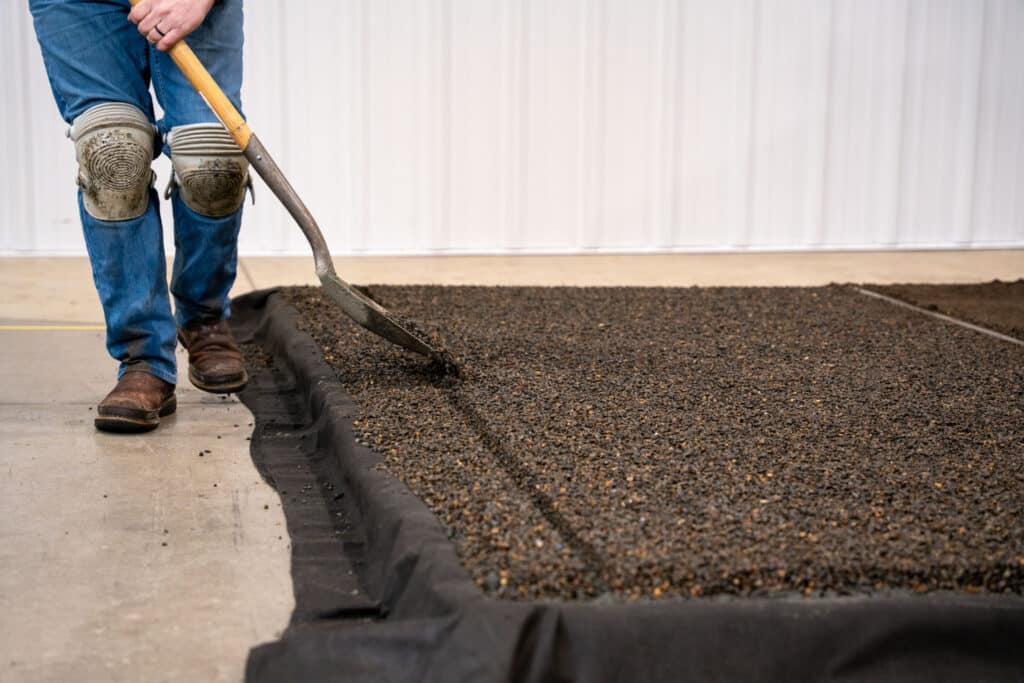
Regardless of your method, you want to ensure you refrain from walking on your bedding as much as possible. If you have to step out onto your bedding, try walking on these voids from the screed rails because you’ll have to fix that area anyway.
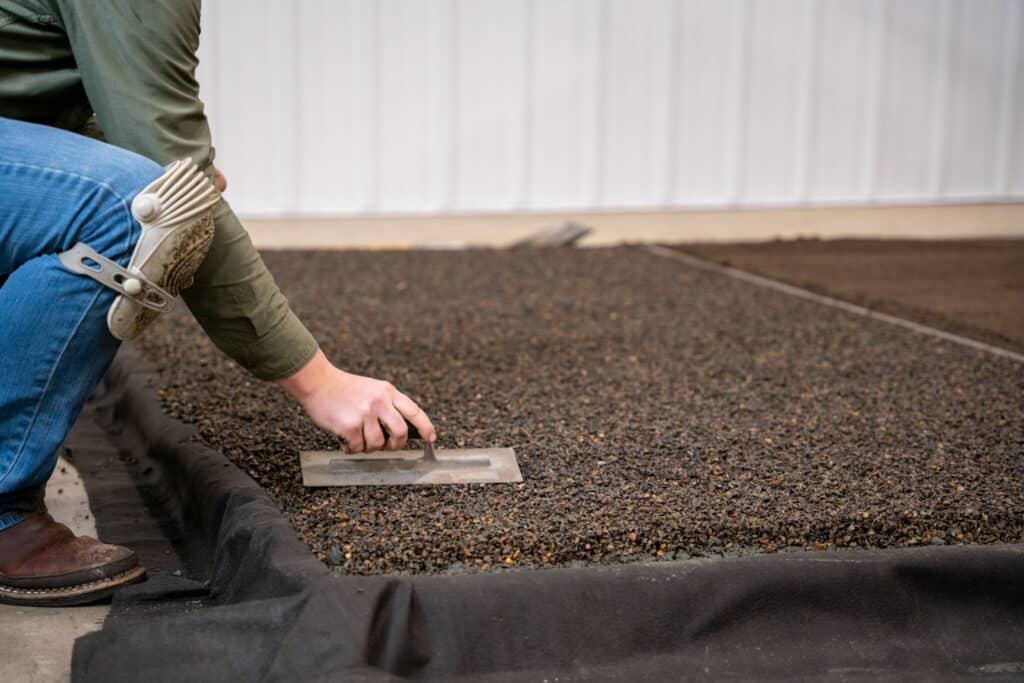
Whether you’re using washed river sand or 1/4″ crushed clean aggregate as your bedding, if you follow our steps, you’ll be left with a nice consistent bedding layer to lay whatever paving stone you want on top of it.

Choosing a paver can sure feel overwhelming. You have to consider size, style, thickness, color, and more. That’s why we made a short and simple quiz that asks a few questions about what you’re looking for and, at the end, provides a recommendation, or two, you can start with.
Learn More