
Get our FREE Project Planning Guide
"*" indicates required fields
This article examines common paver sealing mistakes, as well as tips for how to fix some mishaps you may make.
Common Paver Sealing Mistakes #1: Moisture On or Under Your Pavers
One of the most common paver sealing mistakes people make when sealing paving stones is not accounting for hidden moisture. Your pavers may look dry, but the joint material or bedding material underneath them may not be. When you apply your sealer and that’s the case, whether the sealer is water- or solvent-based, when it comes into contact with moisture, it actually has a counter-reaction; it doesn’t fully bond to the stone. Everything will look great when it’s dry, but in the wintertime when it’s wet, or any time when your sprinklers are on it, you’ll see cloudy, foggy spots where the sealer worked and where it didn’t.

To help ensure that your paving stones are fully dry, you can do what’s called the greenhouse method. You take masking tape and plastic sheeting, create a square on the surface area, maybe in multiple spots if you want to. Tape down all four edges. And if no condensation accumulates on the plastic sheeting, then you are safe to seal your pavers.
Common Sealing Mistakes #2: High Air or Surface Temperature
The optimal time of year for sealing is during the summer months when you have nice, dry weather. You’ll want to be cautious though, because if your paving stones exceed a surface temperature of 90 degrees fahrenheit, your sealer may not work properly when you’re installing it. Note that even if the air temperature outside isn’t exceeding 90 degrees (it may be only 75), your paving stones, when exposed to full sunlight, can definitely exceed that.
You’ll want to touch your paving stones, and if they feel cool, you’ll be safe to seal. If they feel a little warm, use a digital thermometer to help ensure that they are not beyond 90 degrees. You’ll also want to make sure you have a buffer period of about two hours after the application process where they won’t exceed 90 degrees so that all the sealer can absorb into the material and function properly.

Common Sealing Mistakes #3: Over- or Under-Applying the Sealer
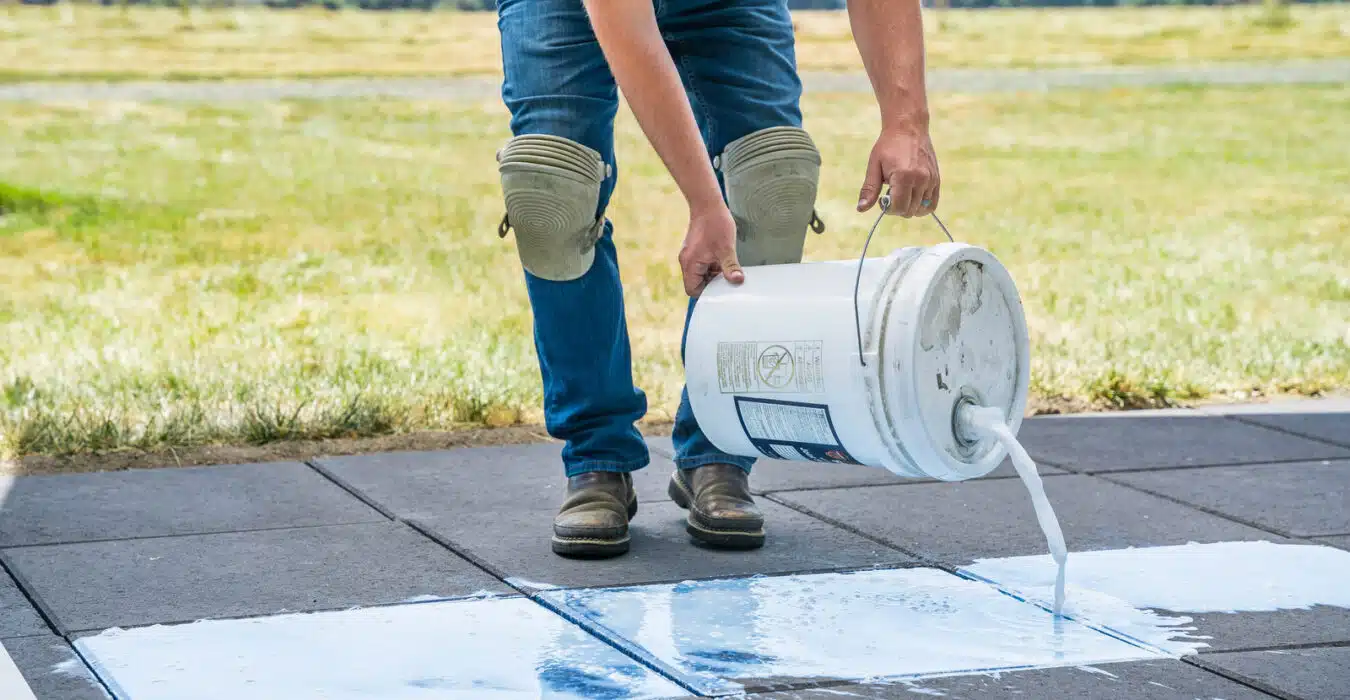
When sealing paving stones for the first time, it could be difficult to establish the proper amount of sealer. From an application standpoint, what you don’t want to do is take a one or five gallon bucket and dump your sealer on and then try to back roll or squeegee off the excess. You’ll get lots of splashes, splatters, pooling, and just way too many inconsistencies across your project.
What you’ll want to do instead is spray it on with a sprayer. You can use a typical garden sprayer from a big box store or a hardware store and get lots of uses out of a water-based sealer. But if you’re using a solvent-based sealer, which may be commonly used where you live, you’re probably only going to get one use out of it because it eats through the gaskets.
What we do at Western Interlock is what’s called a flood coat. The flood coat will tell you how much you’re going to need and how absorbent your material is. If it’s super absorbent, you’re going to need two coats. If it’s not very absorbent, you will only need one.
When you spray it, you basically let it pool up. As soon as it starts to pool up, just move on to the next area. If that pooling stays for a long time, make sure you remove it with a foam squeegee or a roller cover.
If you need a second coat, when you go back for the mist spray, make sure you have a roller or squeegee ready to remove all the excess sealer. This will improve consistency and make sure you don’t use too much product. On the opposite end, it’s also possible to under-seal your paving stones. When this happens, it’s just not going to perform the same or hold color as well, so do watch out for things like that.
Remember to use a flood coat because it’s going to tell you how much product you need. If you have a lot of pooling during the first coat, remove the excess sealer. You won’t need another coat. If you don’t have a lot of pooling, you’re going to need a second coat of sealer on your pavers.

Common Sealing Mistakes #4: Failing to Remove Excess Sealer
If you applied a solvent-based sealer and have some of the issues we’ve covered, whether it’s moisture trapped into your stone, or you over-applied your sealer, xylene may help you fix those paver sealing mistakes.
Now, when you apply sealer on a moist surface and you have cloudy spots where the sealer did and did not attach, you can take some xylene, spray it on, and roll it to make the sealer malleable again. It’ll open up the sealer to let the moisture that’s trapped in there escape. Make sure you first do a test patch with this and make sure it has good looking results. Then you can do your entire project. You want everything to look consistent. If you over-applied the sealer, whether the surface was hot and it all dried on the top, or you just put too many coats on, again, you’ll want to test a patch with the xylene just by spraying it on a small area and rolling it. If it looks good, you can do the entire project with that same process. If it doesn’t look any better because there’s just too much sealer on there, you’re going to have to move to a stripping agent like SEK Surebond SureStrip to entirely remove all of your sealer and start fresh.
Note that if you used a water-based sealer and you have similar issues, especially with moisture—maybe you have some fogging or inconsistencies going on—the only thing you can do is strip off the sealer. You can’t use xylene on a water-based sealer. It has virtually no effect. It will not look right.
So again, if you have moist spots, you’re going to have to strip the sealer off, let it become a raw paver again, and reapply the sealer under proper conditions. If you over-applied your sealer—maybe the surface was hot or you just put too many coats on, which is actually easier to do with water-based sealer than solvent-based sealer—again, if you want it to look better, you’re going to have to strip off all the sealer with a stripping agent.
We like SEK Surebond SureStrip. It works really well on their products, but if you can’t find it in your area, you may want to look into something like a heavy duty paint stripper to get similar results. Just make sure you do a small test patch on one edge of your patio or walkway to get the results you want, and then you can move on to stripping the entire project.
If you have a project coming up or you want to learn more about projects you can do by yourself, look around this website or check out our Western Interlock YouTube channel.
Get our FREE Project Planning Guide
Tell us where to send it and we’ll email the backyard planning guide to you right away!
"*" indicates required fields


