Get our FREE Project Planning Guide
"*" indicates required fields
Assess the sand loss
Before you simply dump more sand into your paver joints, make sure you examine them to make sure there are no major problems that will result in future sand loss.
It isn’t unusual to have some sand loss—especially if your pavers have a steep natural grade. Wherever moisture gets in and creates a run, you will inevitably lose a little bit of sand from your paver joints. In those situations, you just need to top off the sand and move on.
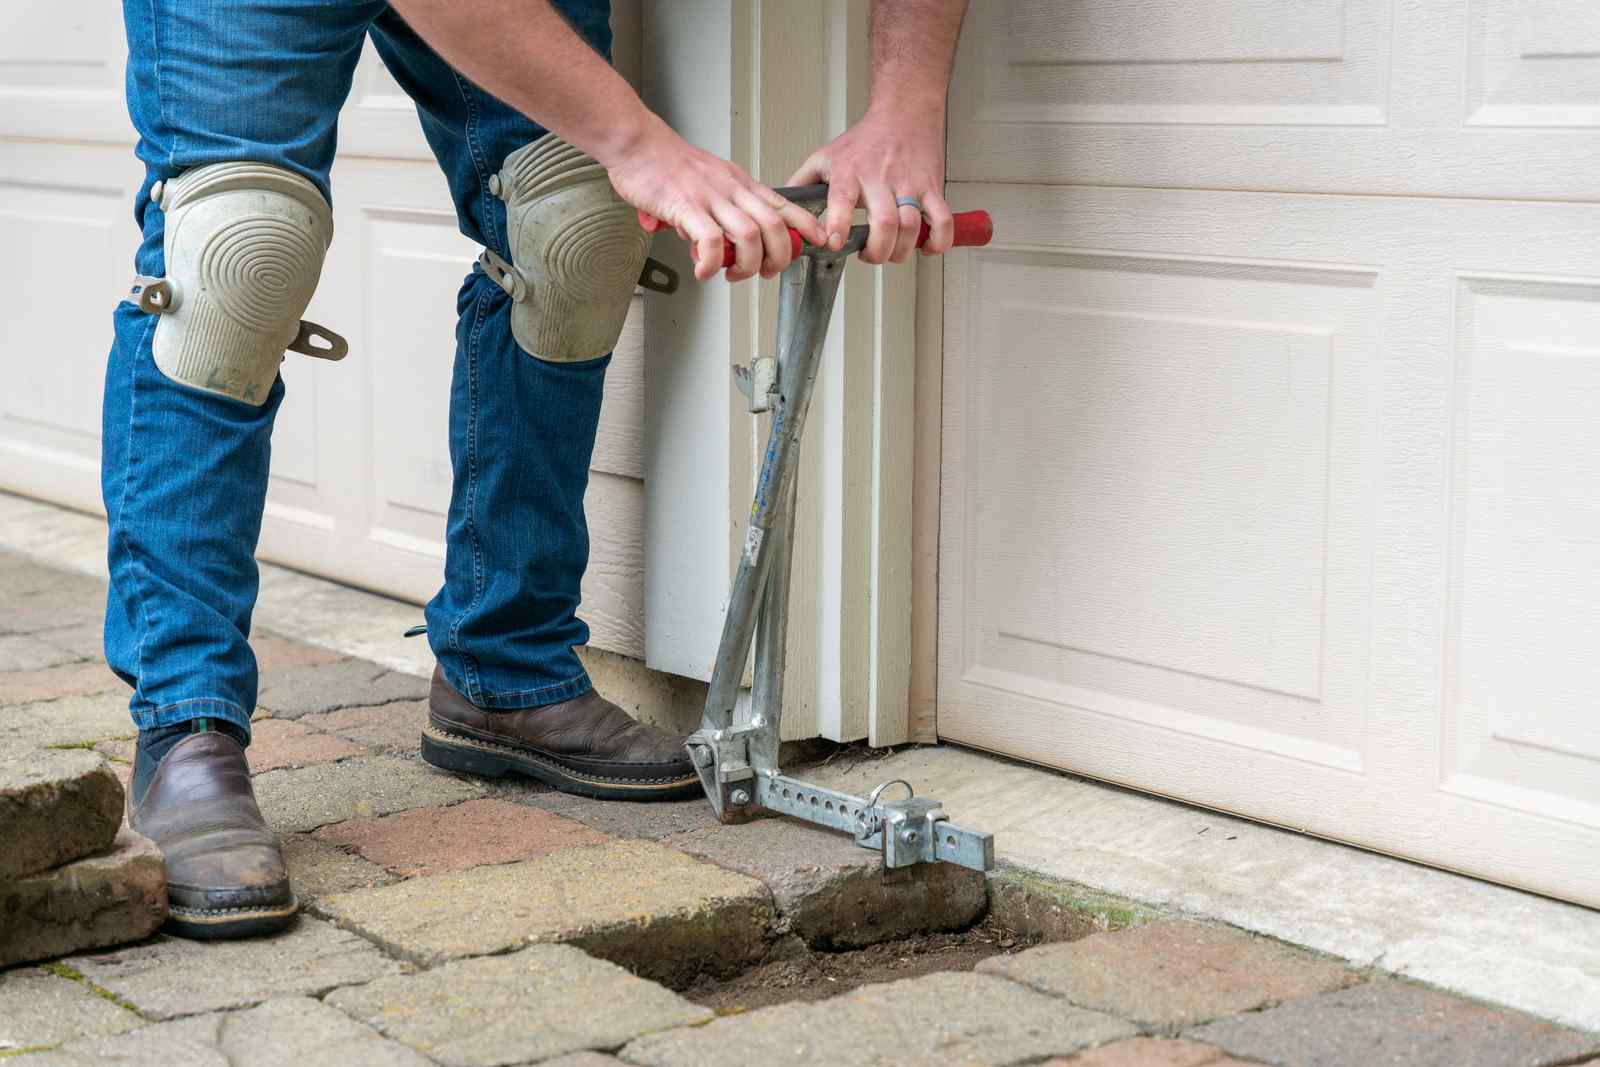
However, if you have an area with low spots or poor drainage, you will want to take the time to try and pick up those paving stones. Then, put down new bedding material and make the area flat again. Make sure that it has the proper grade so that the sand doesn’t disappear again in another year.
Resolve the issue
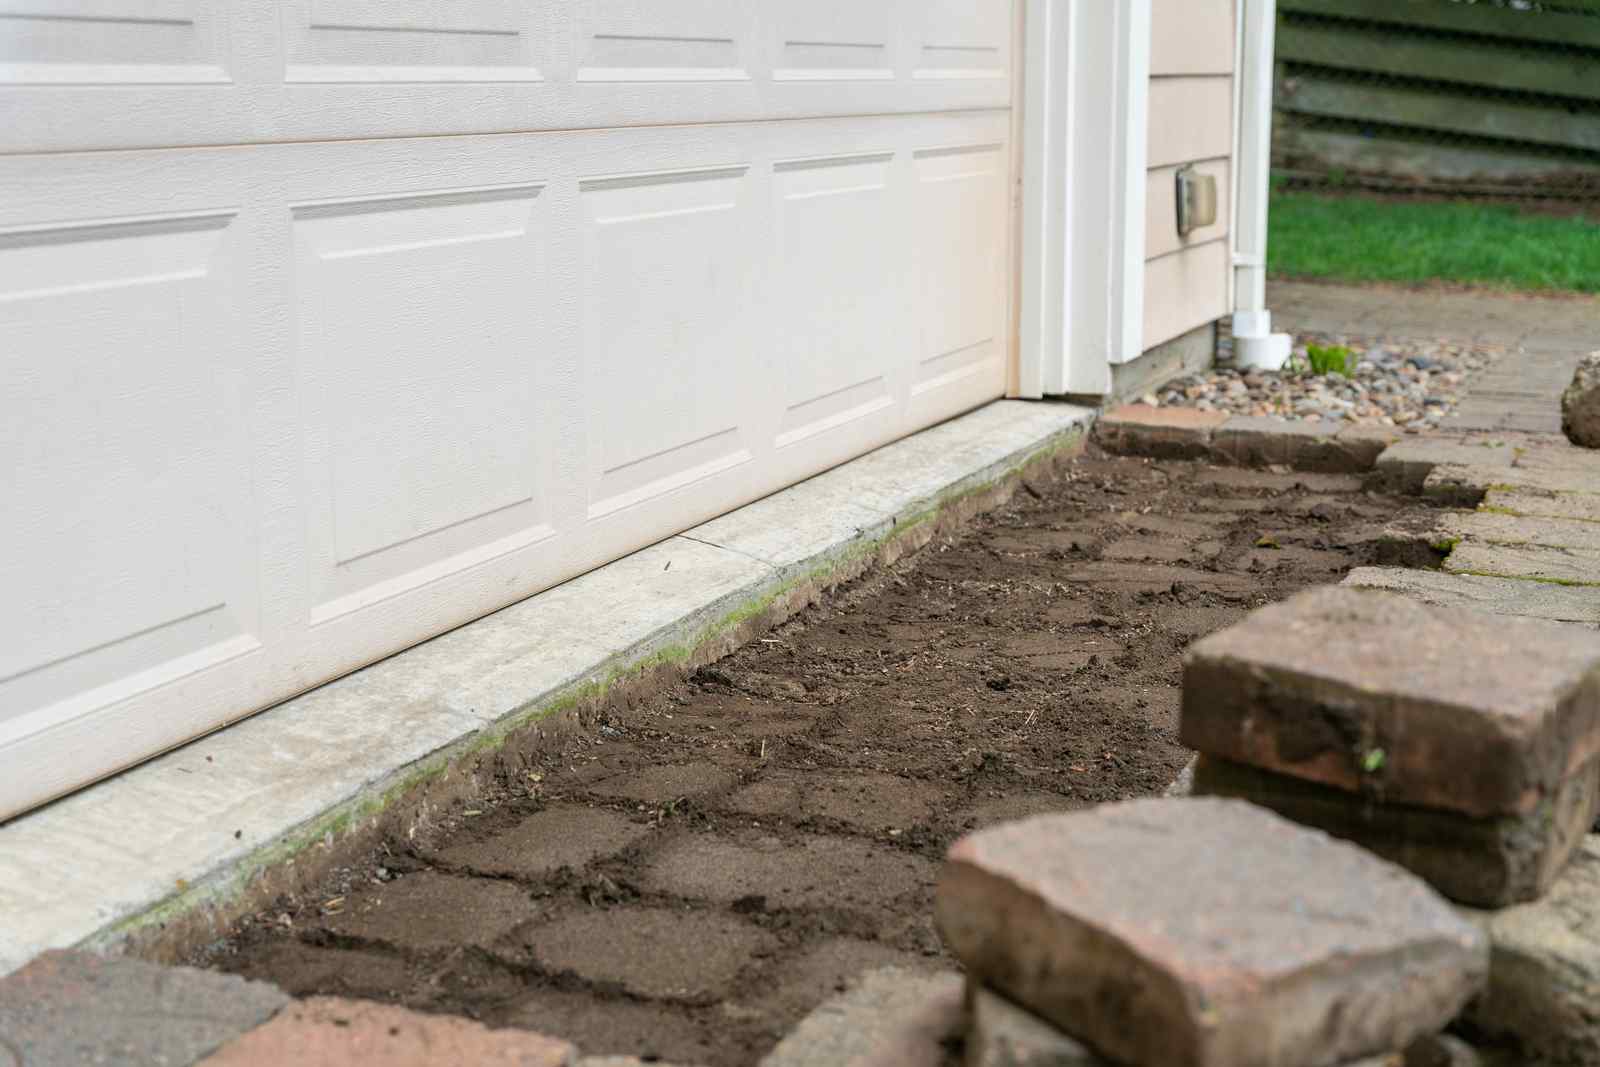
Picture a driveway where the pavers are installed against the garage floor slab. This is very common! It is also common for the garage floor slab to cause some settling in the pavers and to receive a large amount of moisture since the gutter is likely to be directly in line with the driveway (and likely to clog).
In this example, it is common for pooling water from the gutter to wash away the joint sand.
So, how can you fix this example area? The best option is to pull up the paving stones, replace the bedding material, re-lay the paving stones, and then add the joint sand on top.
Top off the joint sand
Once you have replaced the bedding material underneath the pavers, you can move on to the joint sand. We recommend you use a fine, dry bagged sand. This type of sand will easily and quickly smooth into the joints.
Once you have filled the joints with paving sand, use a hand tamper (or a compactor, if it is in a large area) to compact the sand in the joints. This will prevent as much sand loss in the future.
Once the joint sand is completely inside each joint, double-check to see if it is at the proper depth, at least ⅛ inch below the top of the pavers.
Finally, use a blower to remove excess sand and complete the repair project.
On-going maintenance
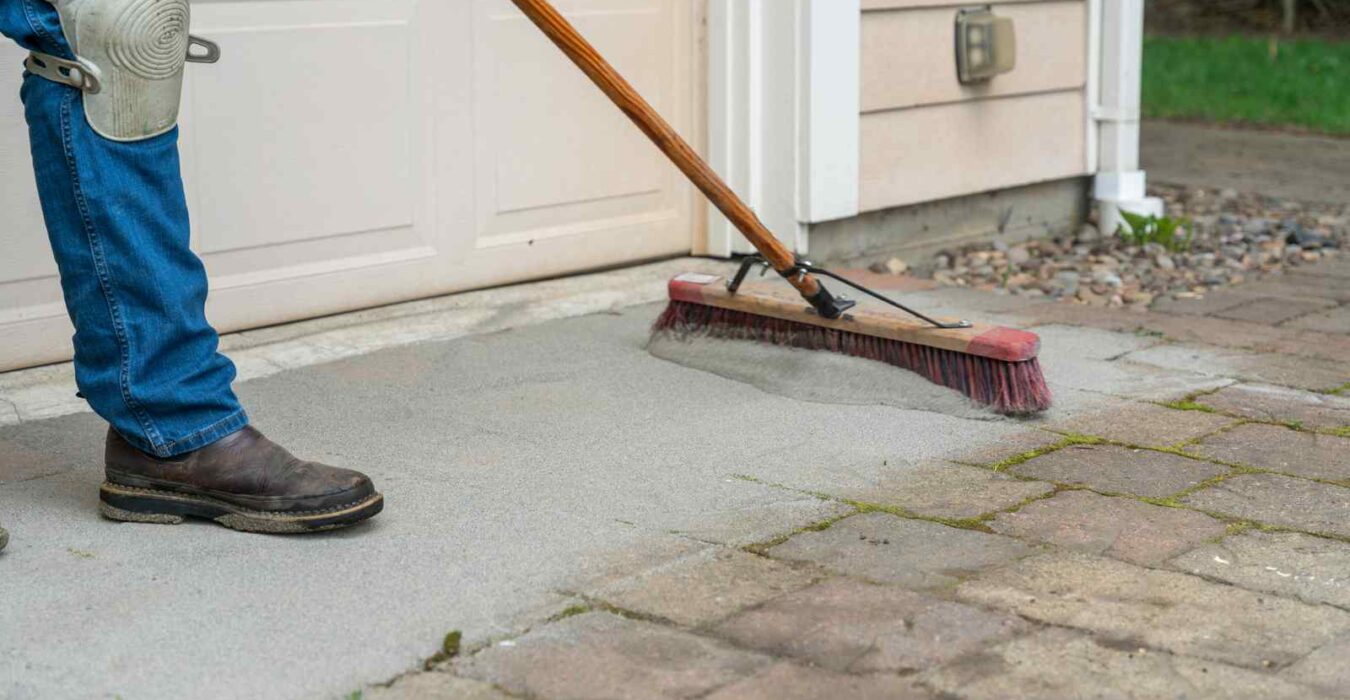
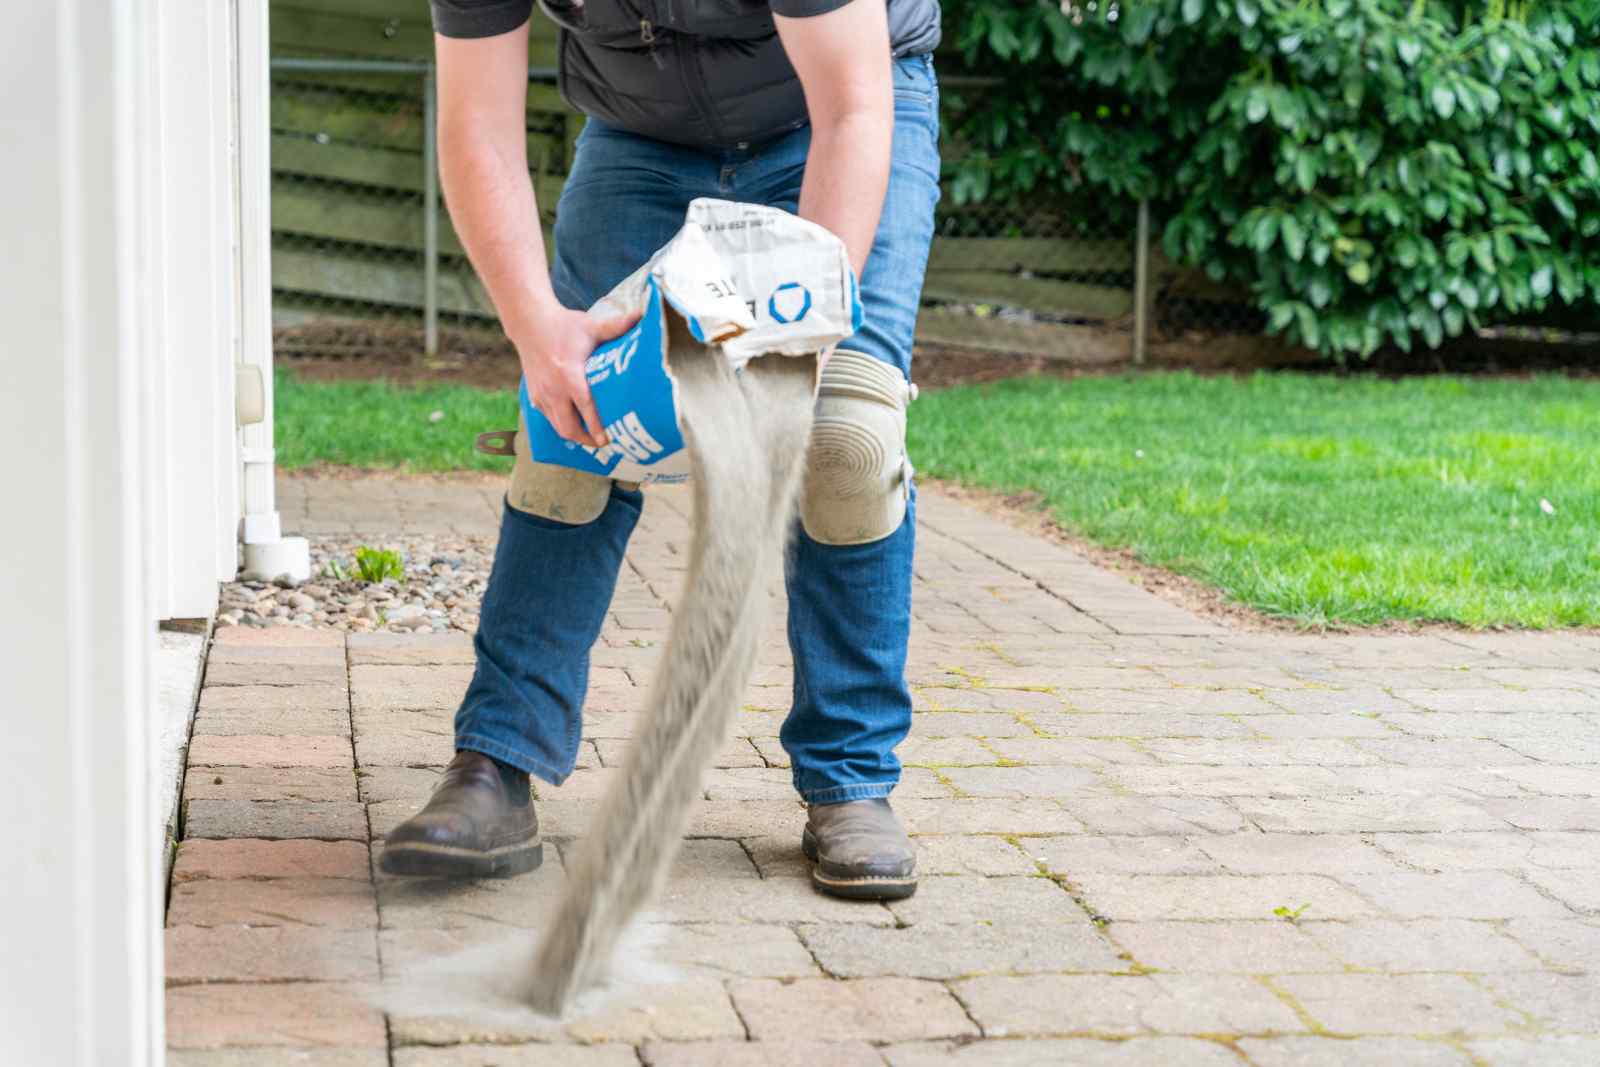
If the example area is properly fixed or if you have an area that only experienced minimal sand loss, the process for replacing joint sand is not quite as complicated. In these cases, just take a bag of fresh, fine, dry joint sand and fill those joints until they overflow a bit. You should then take a hand tamper to make sure the sand wiggles down into each joint so you have less sand loss later.
Finally, use a blower to get rid of any excess sand and get back to enjoying your hardscape.
Explore additional resources
Maintaining your joint sand is one of the most important things you can do if you want to ensure your pavers last for a long time. If you want more help maintaining your pavers, check out our DIY with WI page for access to tutorials, guides, and more. If you’re ready to get started installing your hardscape, click here to check out our paving stone selection and install the patio or driveway of your dreams.
Get our FREE Project Planning Guide
Tell us where to send it and we’ll email the backyard planning guide to you right away!
"*" indicates required fields


