Get our FREE Project Planning Guide
"*" indicates required fields
To properly accomplish this task, you’ll need a few tools. Here’s the shortlist of tools we use in this tutorial. You can pick up any of these tools at one of our Oregon or Washington sales offices, or your local hardware store.
- Paver Puller, Putty Knives, or a Screwdriver
- Hacksaw
- Trowell
- Hand Compacter
- Broom
1. Assess the problem
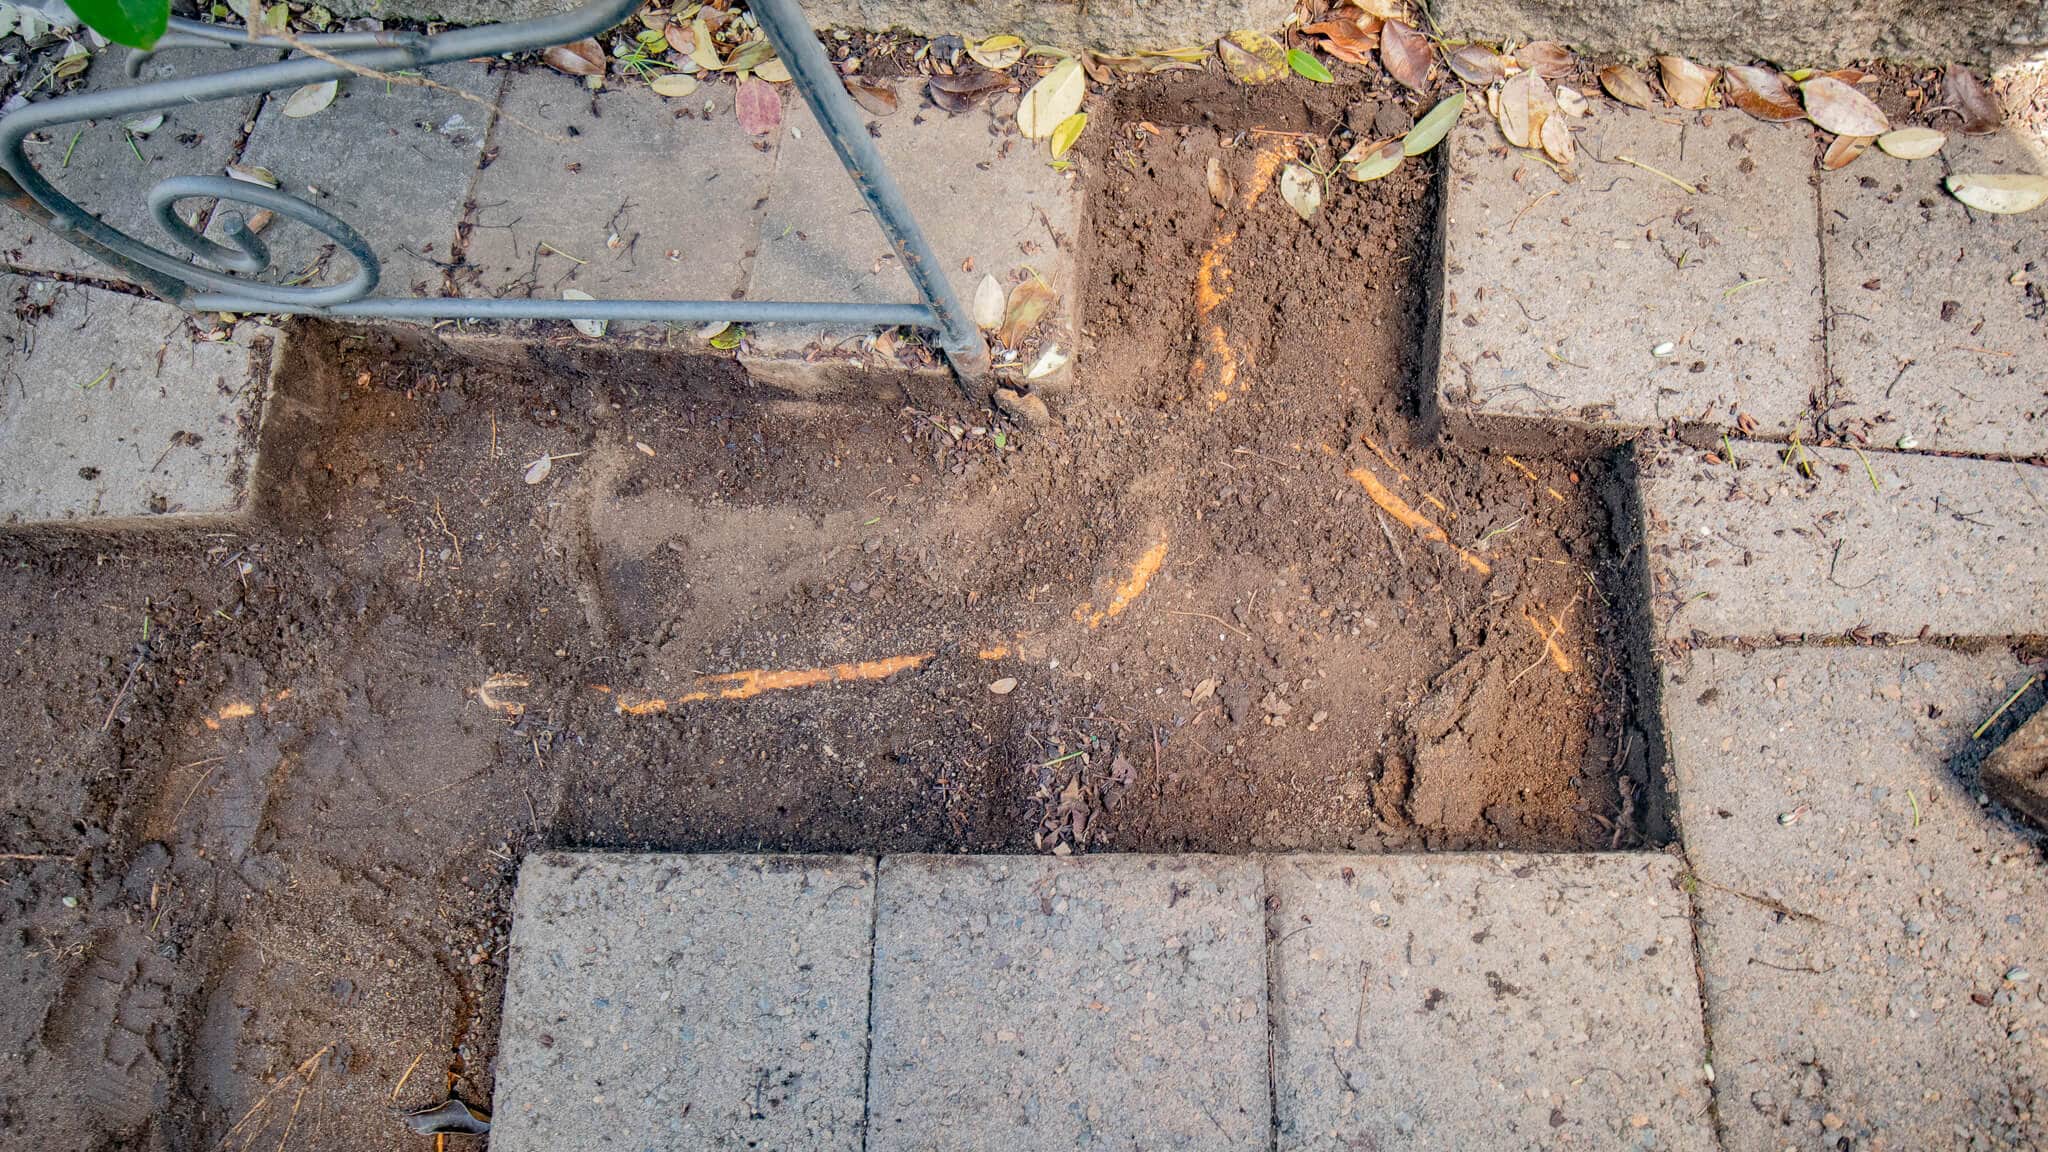
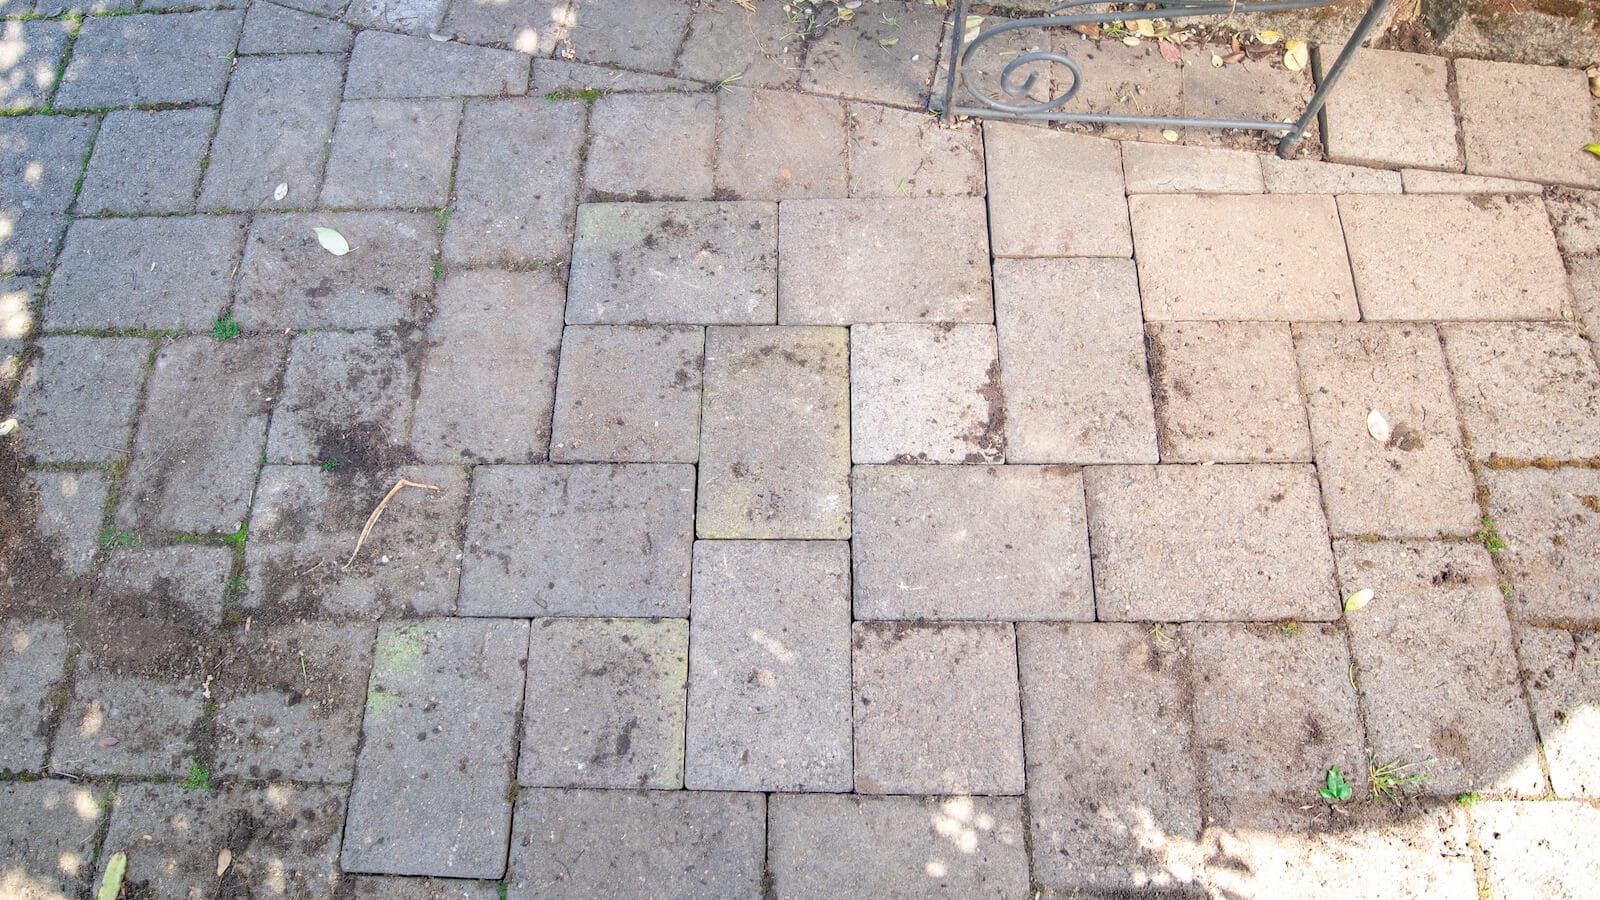
The first step as with any hardscape issue is to assess the problem. In this situation, we have a tree close-by and its roots have gone through the sand in the bedding layer.
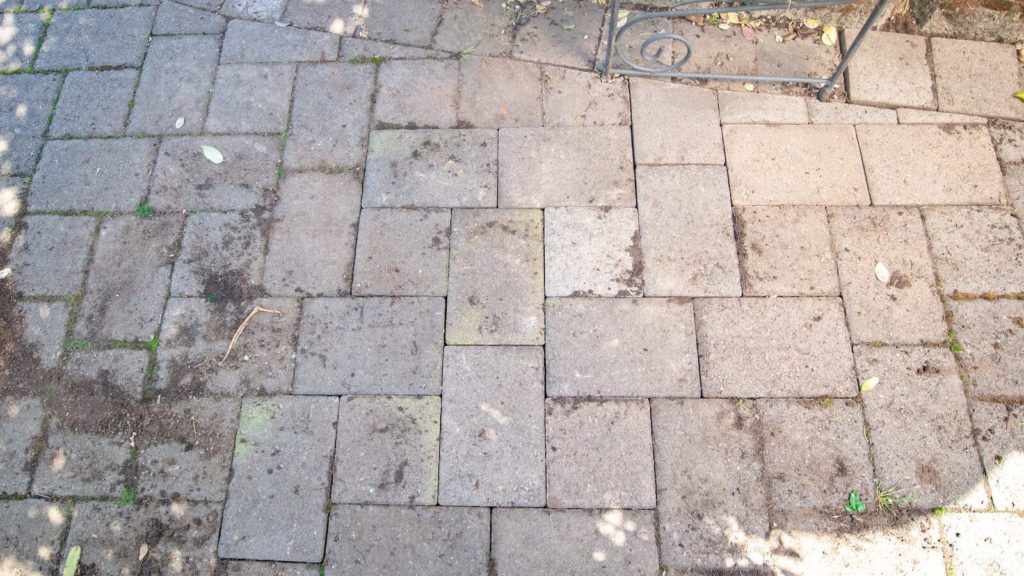
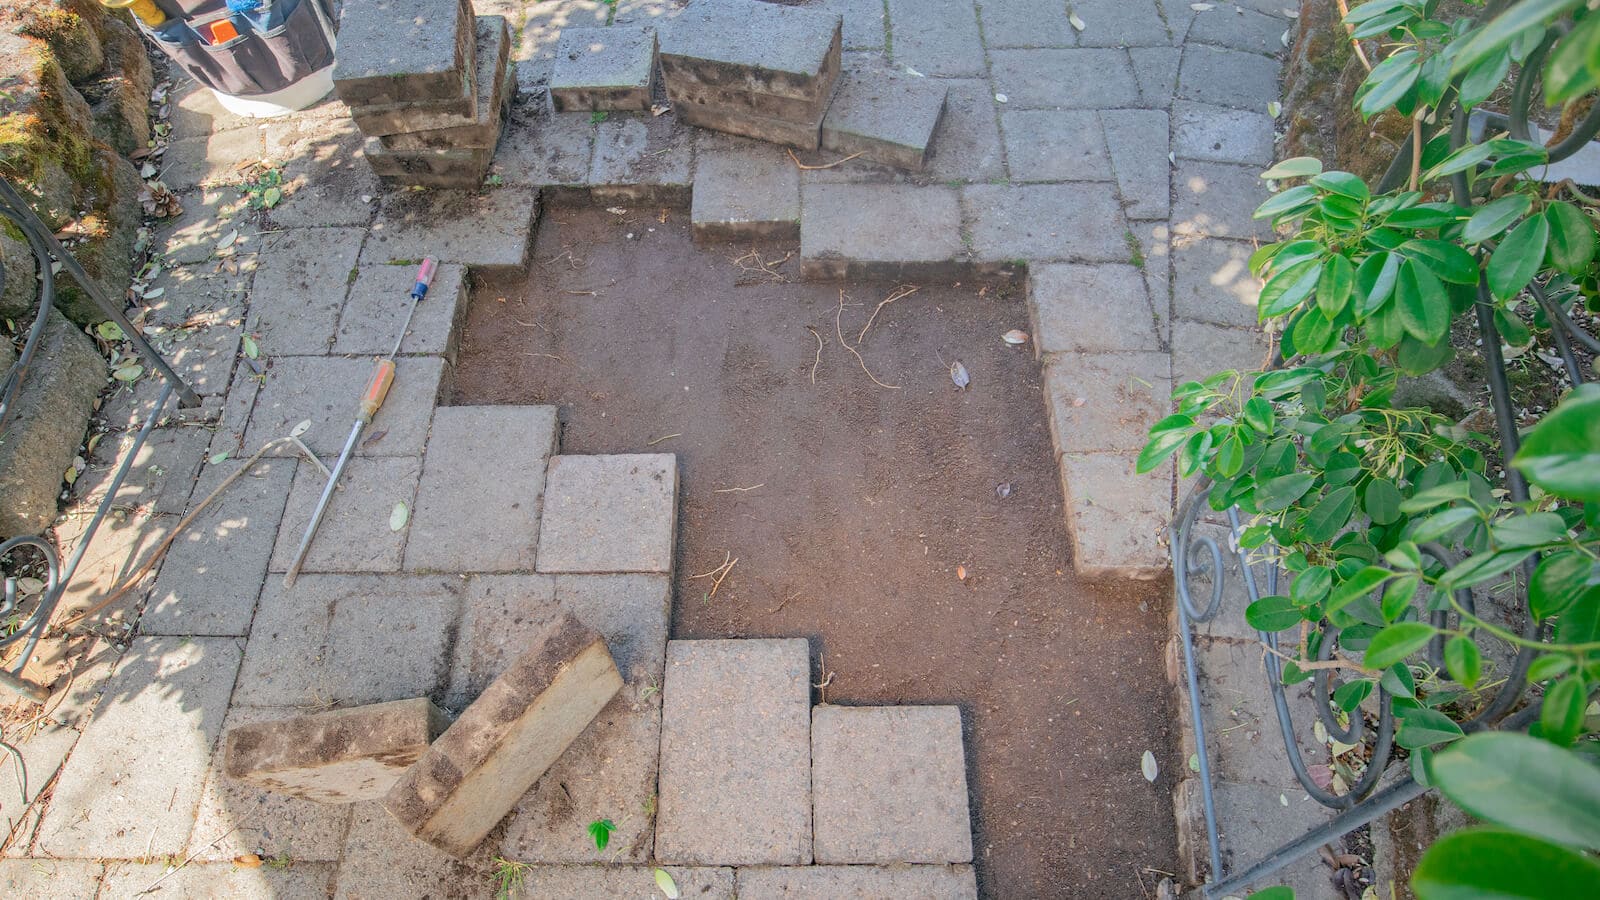
As you can see in the image below, the pavers aren’t smooth and level as they should be. Some of the pavers are raised and have lost their interlock—leaving them loose and hazardous. Furthermore, if we continue to let the roots grow like this, they will continue to lift more pavers.
2. Pull up your paving stones
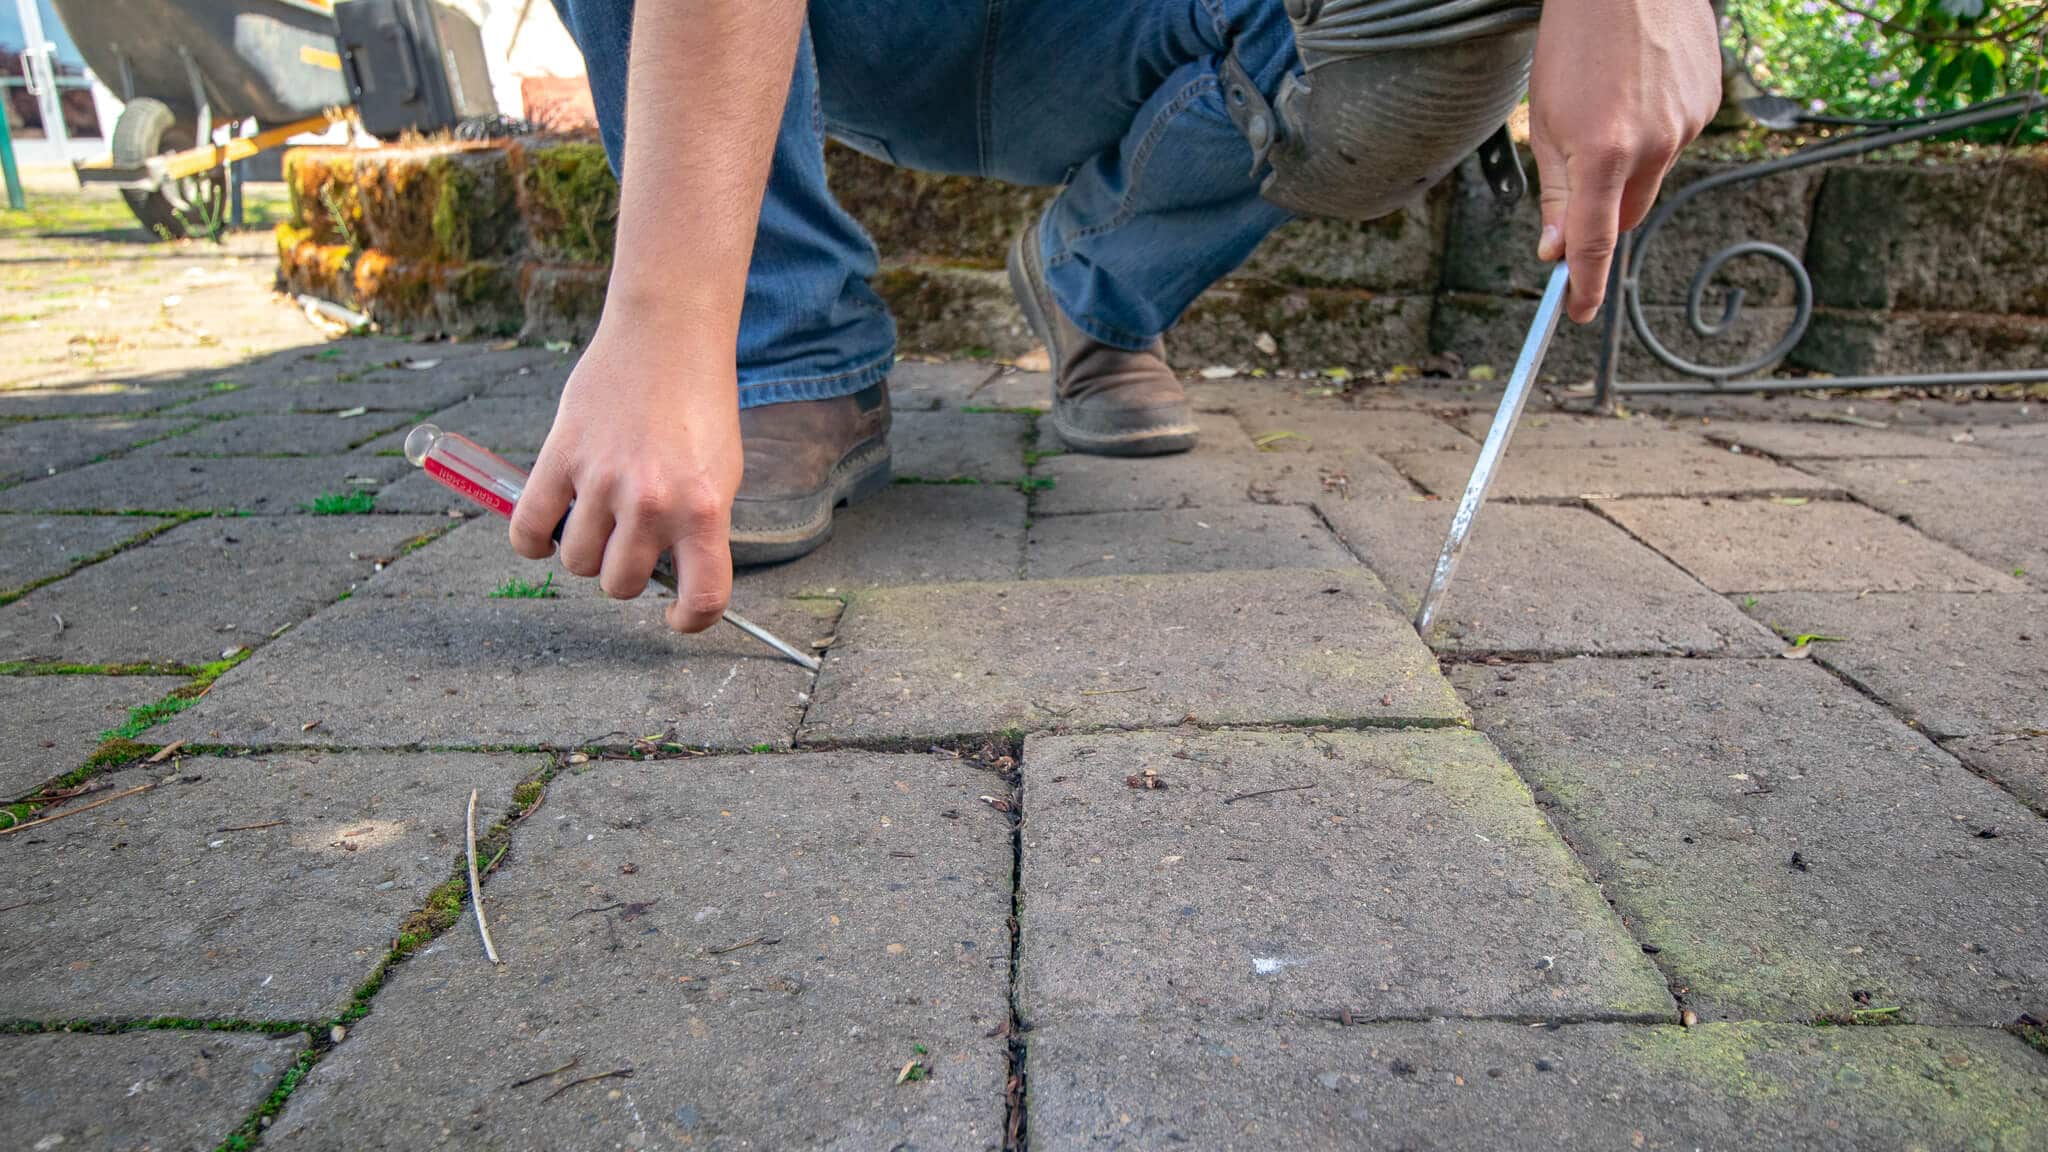
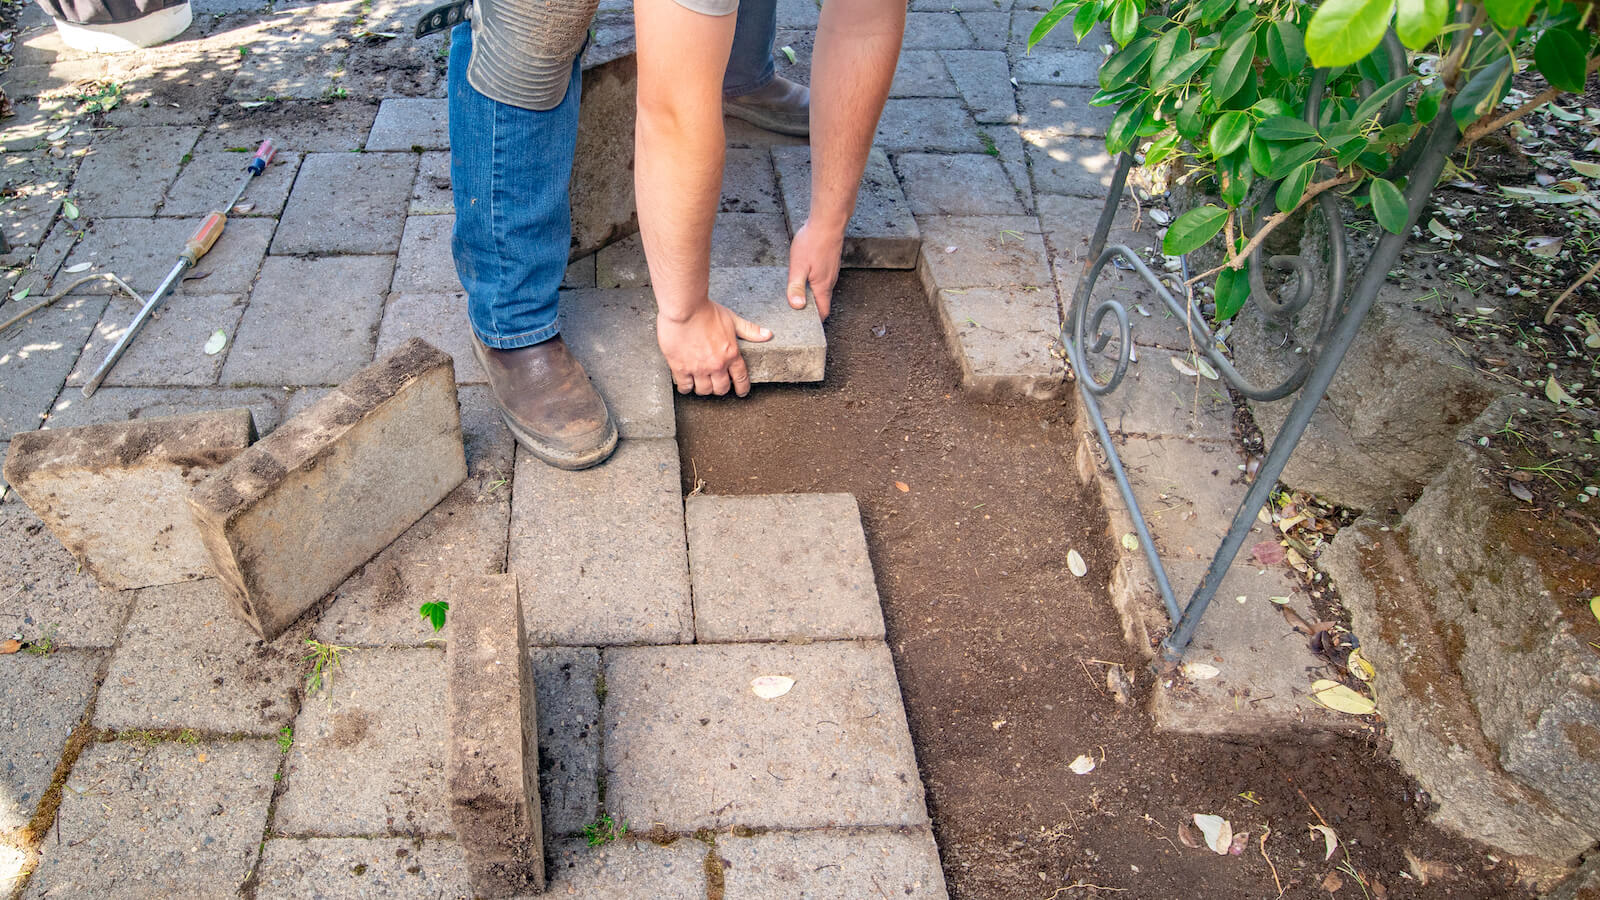
Now, pull up your paving stones. There’s a variety of different ways you can do this and we discuss all of them in our tutorial on How to Remove and Replace a Paver. We used a couple of flat-head screwdrivers for this project.
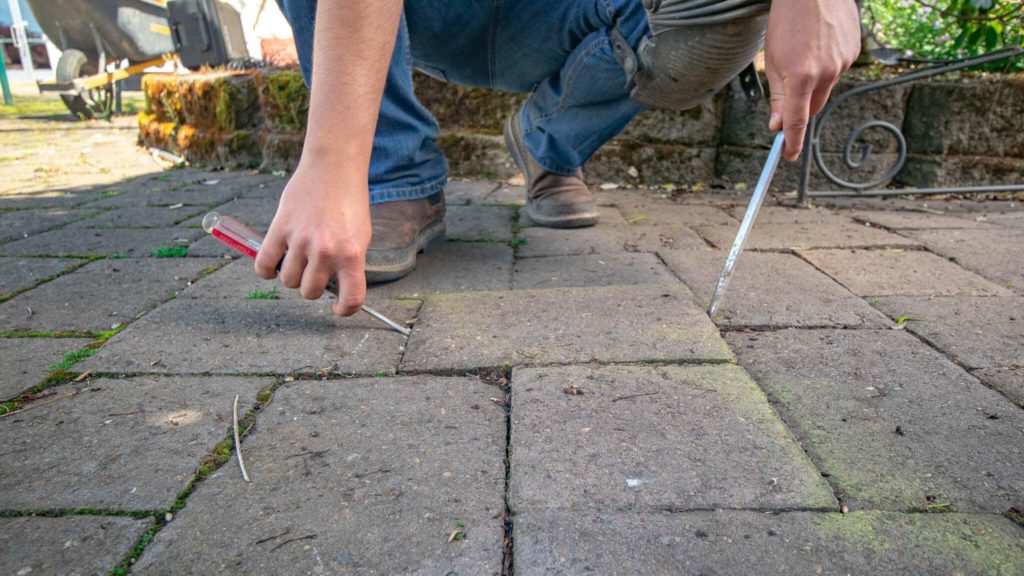
Use your screwdrivers to remove your first paving stone, then remove all stones within 16” of the area affected by the root system.
3. Remove the roots
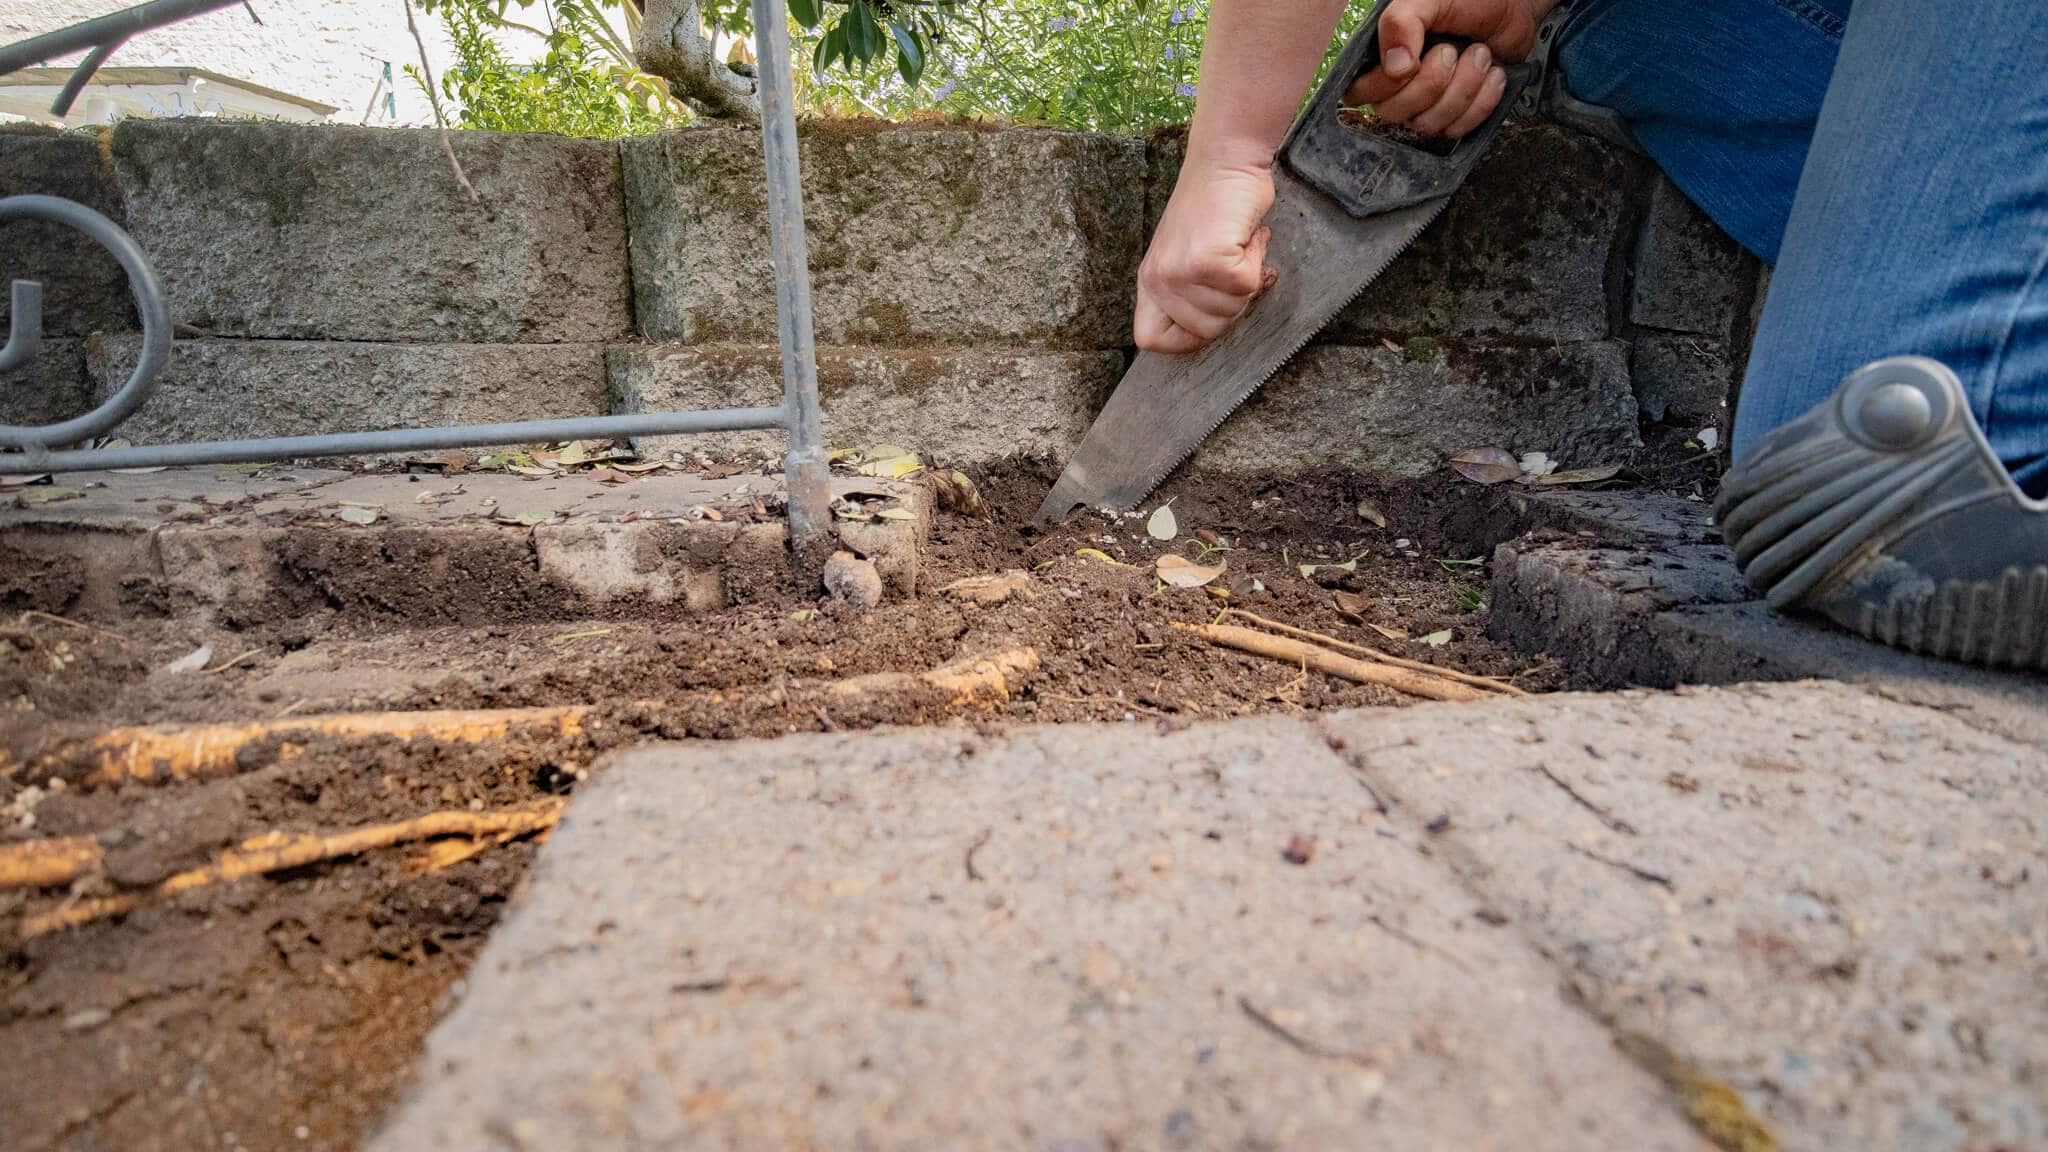
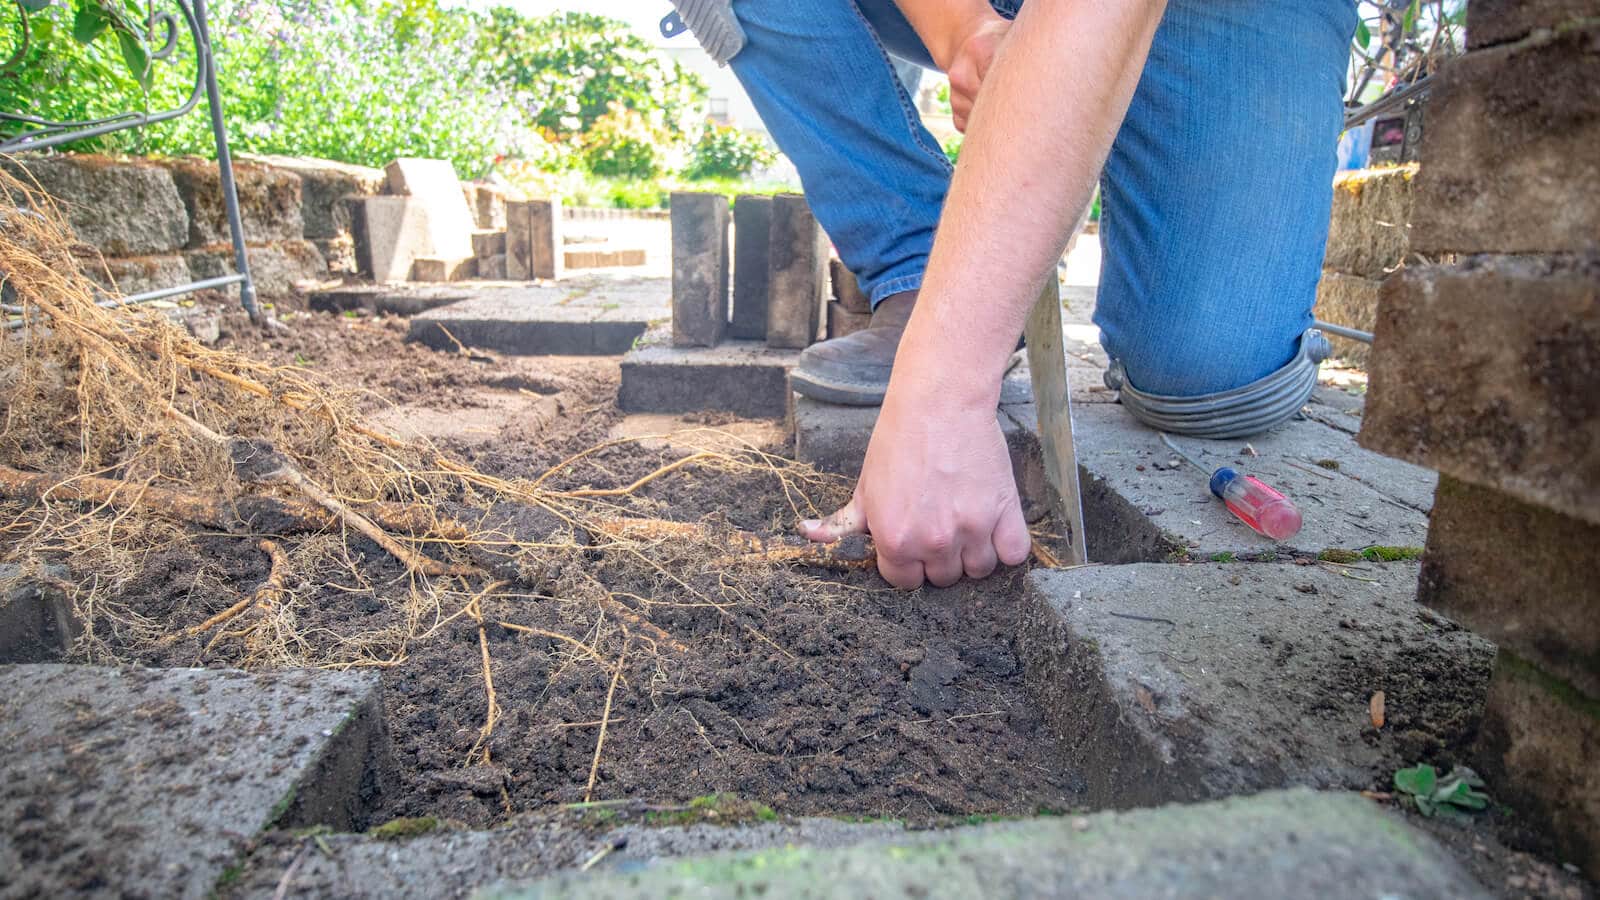
Next, remove the roots. Use pruners, a hacksaw or hatchet to cut the roots as far back as you can. You may need to cut in multiple spots around the problem area depending on the path of the root system.
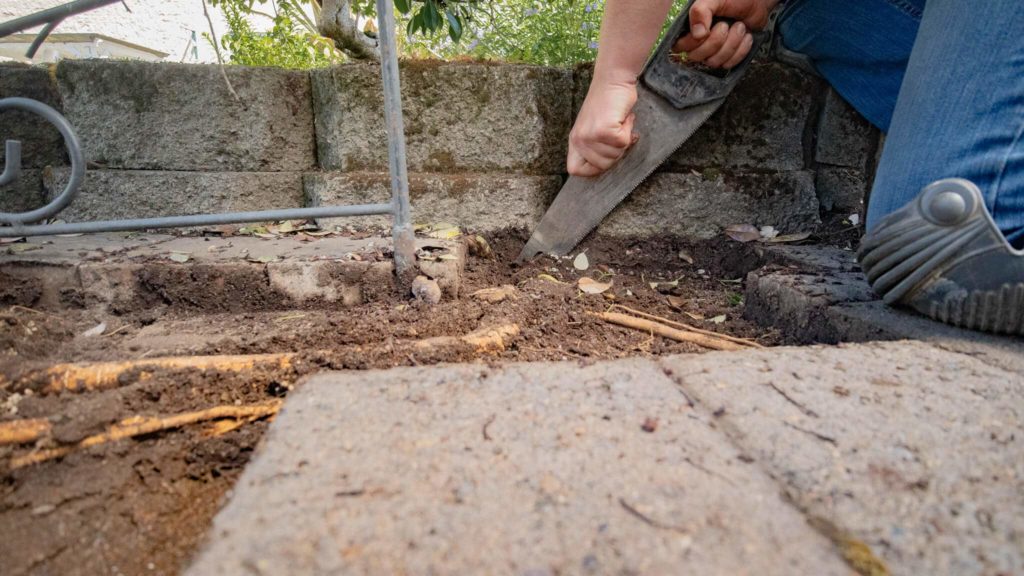
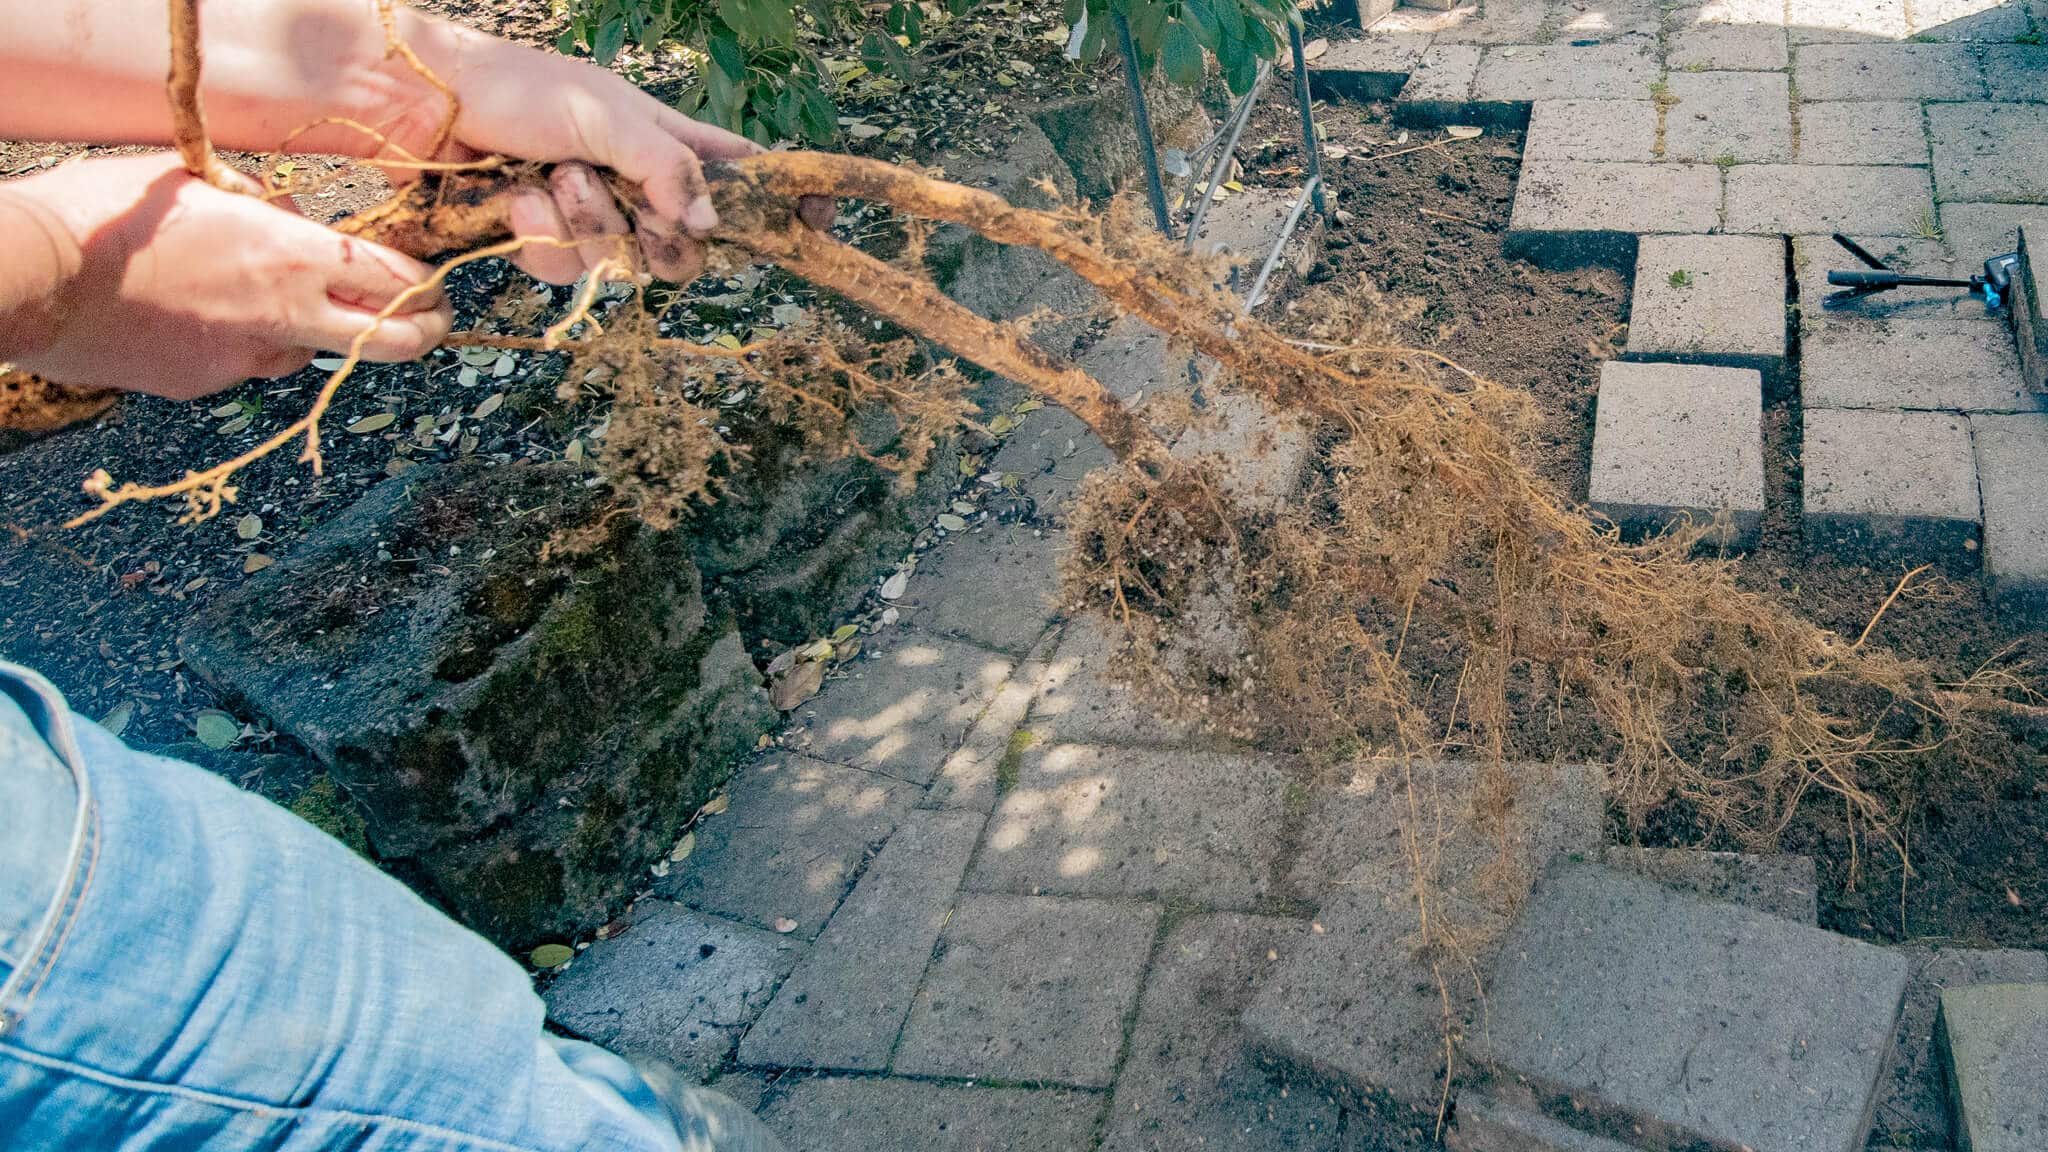
Since our tree was on the other side of a low retaining wall, we made one cut perpendicular to the retaining wall. Once you’ve cut the root, pull it out of the sand so that there is no root system left.
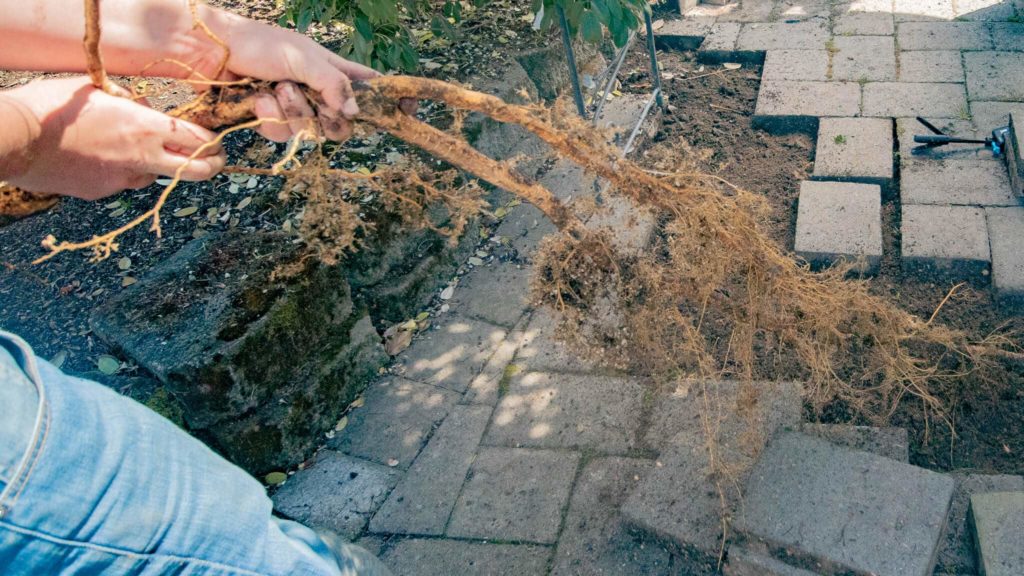
Our roots came out easily. However, that’s not always the case. If you discover that some of your roots are still hiding under pavers, be sure to remove those so that you can firm up your base for maximum stability.
4. Level the sand and replace pavers
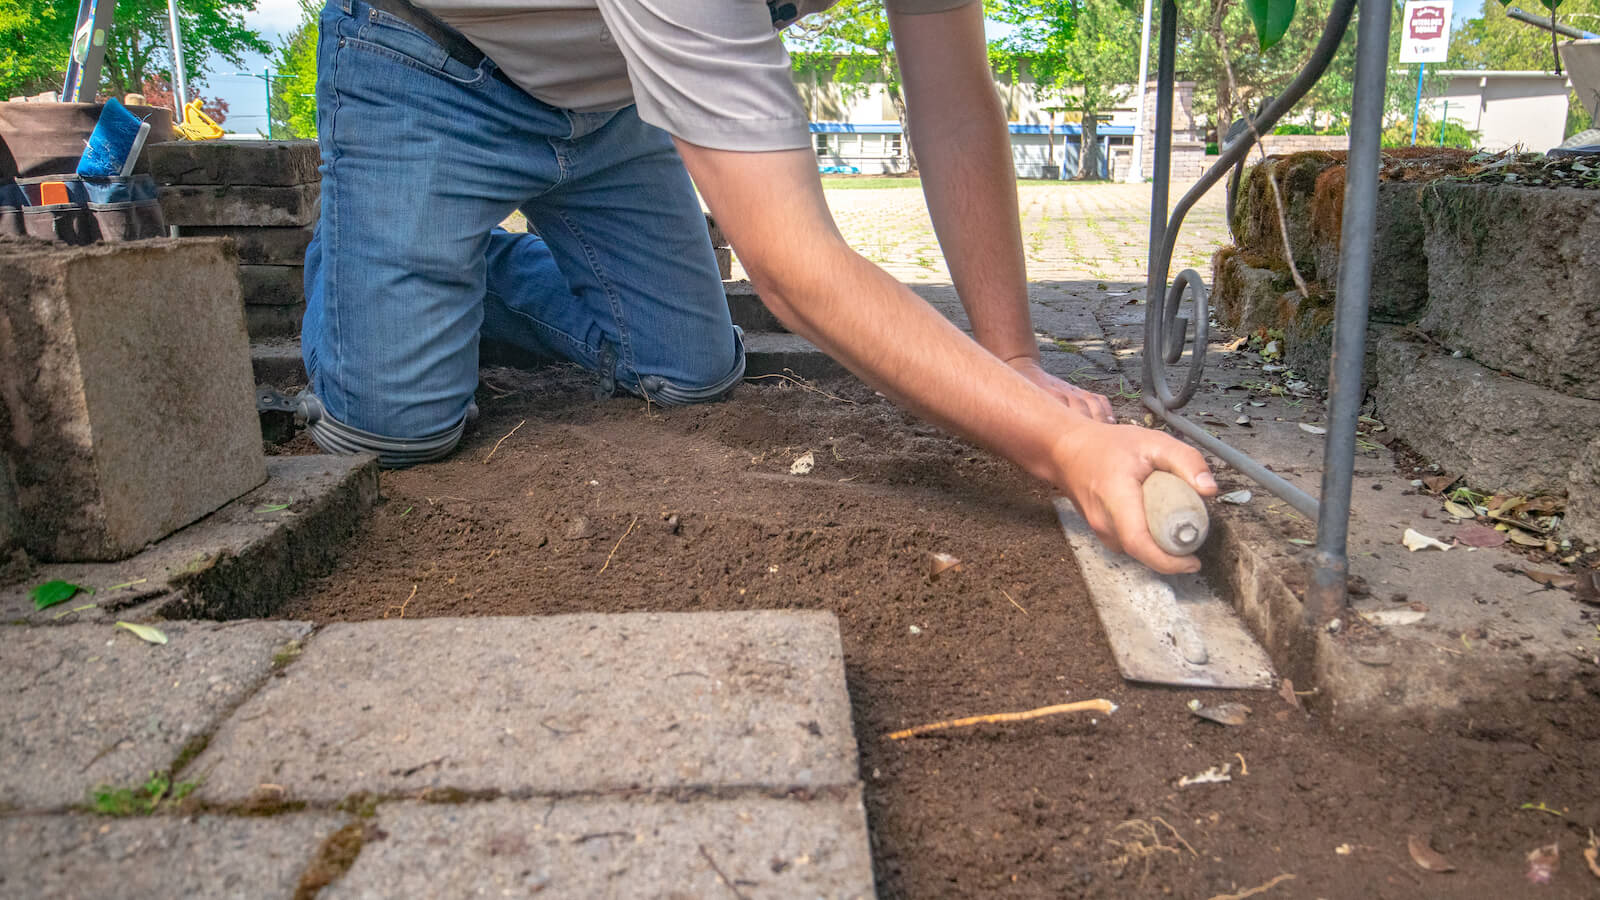
Re-trowel the sand until it is smooth and matches the grade around the edges of the problem area. Unless the root system disrupted the gravel layer of your base, there’s no need to replace or refill any gravel.
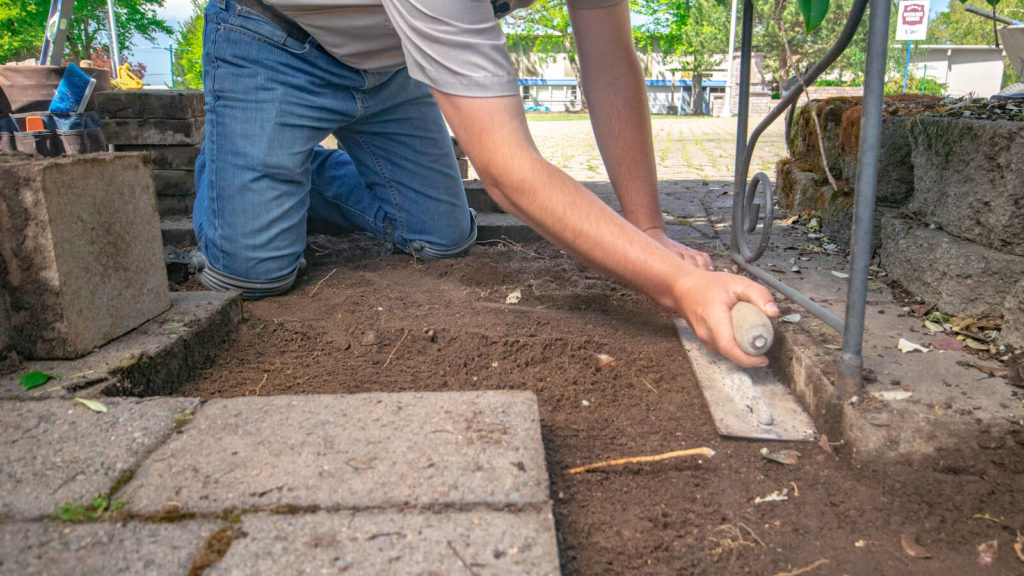
Sand is fine, breathable, and retains water, which makes it the perfect type of material for tree roots to spread out in. After you’ve leveled your sand, re-lay your paving stones using the click-and-drop method.
5. Sweep-in new joint sand and compact your pavers
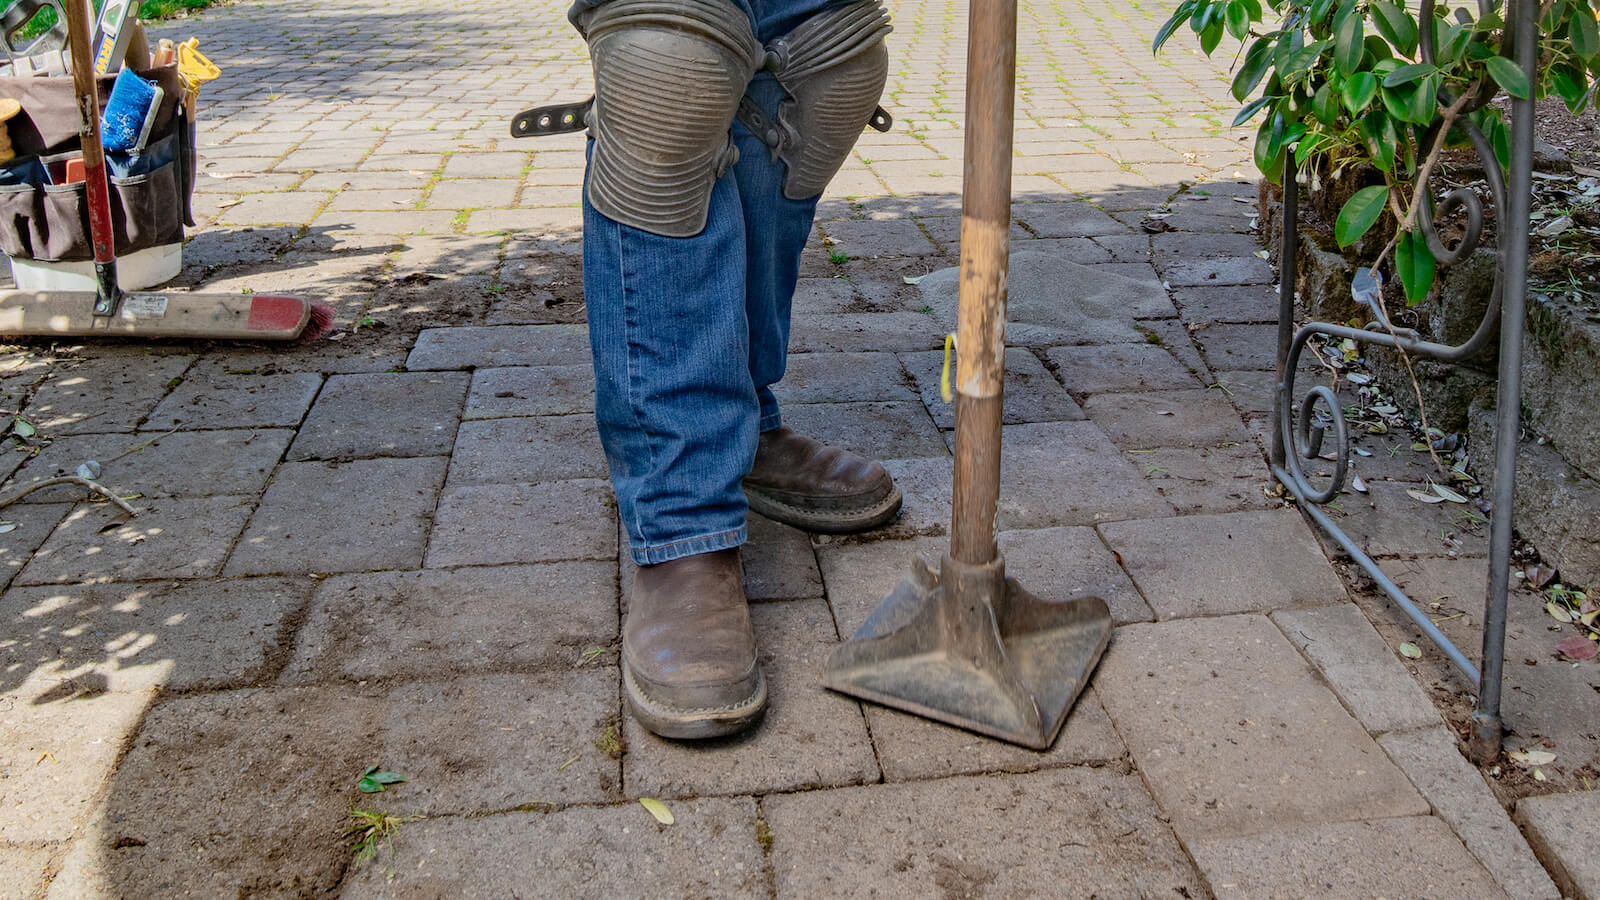
Finally, you will need to do a preliminary compaction of the stones using a hand tamper. Compacting the stones will help them create a tight bond with the bedding layer, restoring their interlock.
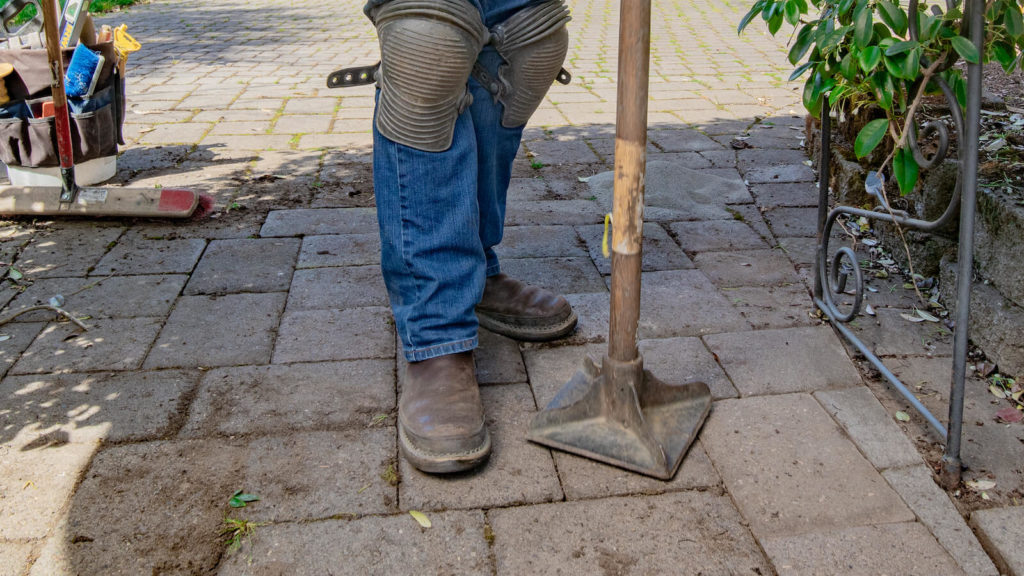
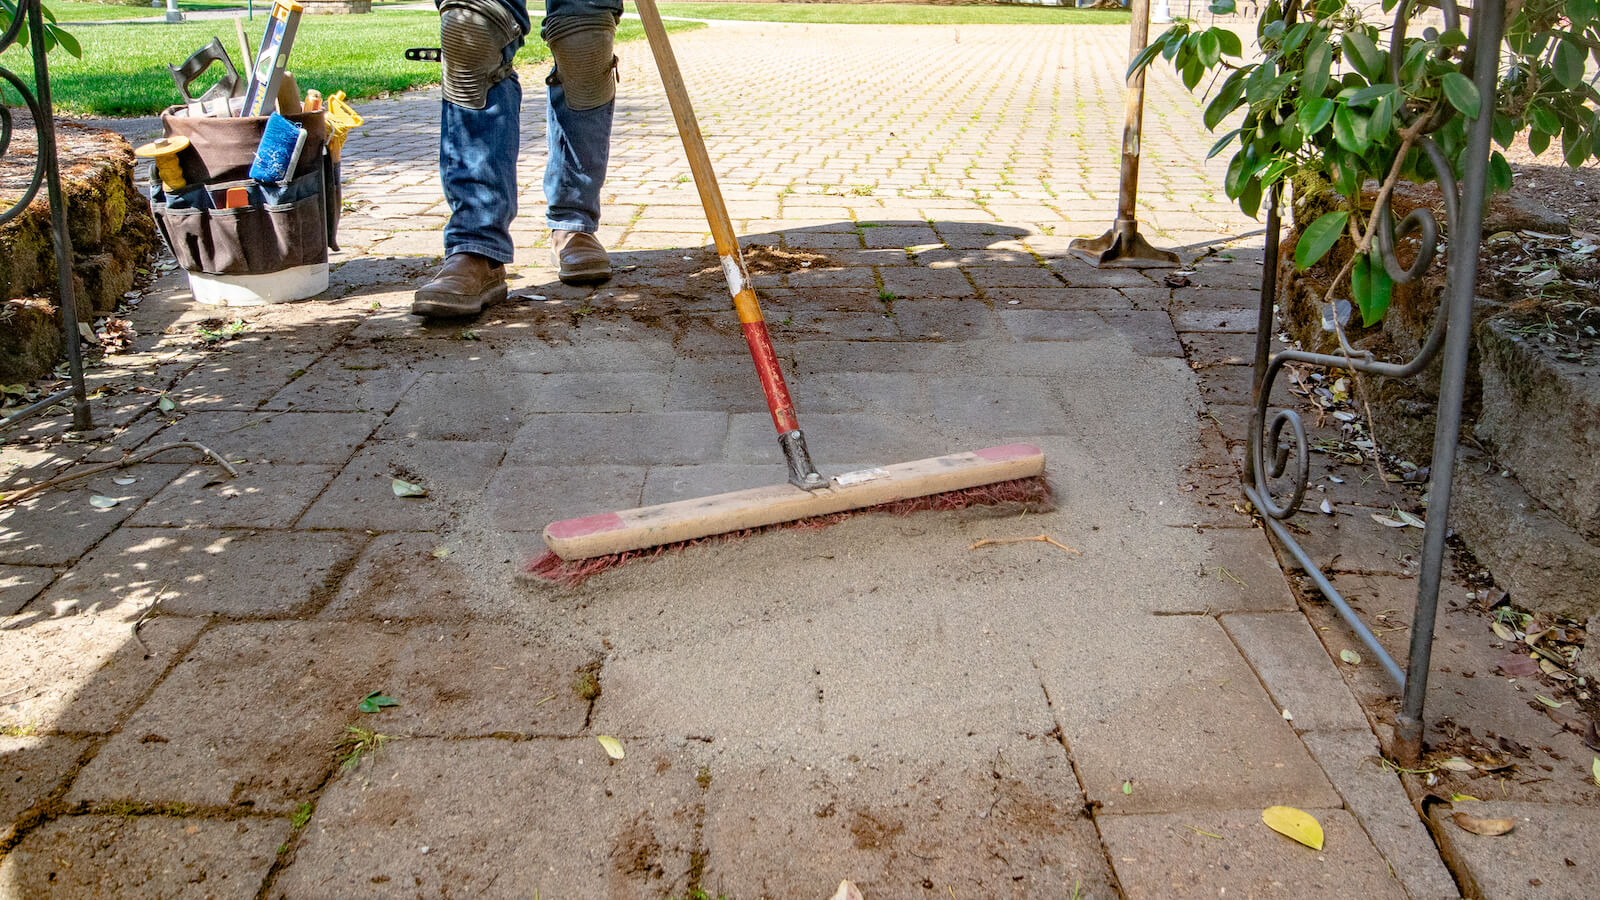
Sweep joint sand into the joints between the pavers. Do this by pouring a pile of sand on your hardscape and sweep it over the stones until your joints will hold no more sand. You’ll be surprised at how much sand falls into those joints! Sweep up any remaining sand and discard it.
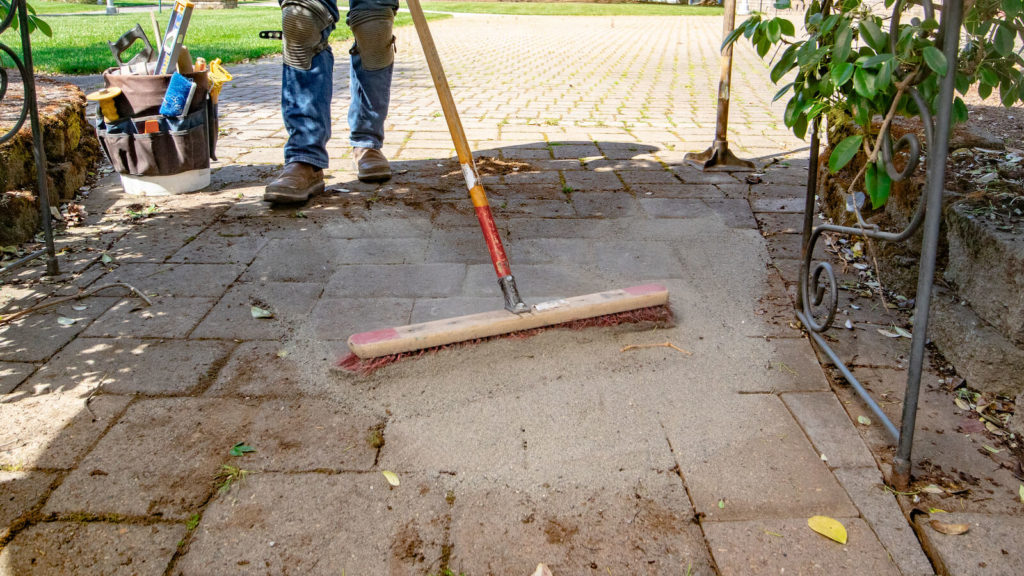
Now that you’ve removed your root, you can enjoy your hardscape with peace of mind, knowing that the pavers will stay flat and hazard-free.
Take the hard out of hardscaping
Here at Western Interlock, we’re on a mission to take the hard out of hardscaping. That’s why we publish DIY tips, tricks, and step-by-step tutorials at DIYwithWI.com.
If you have any questions, you can visit our Paving Stone Display at our Manufacturing Facility in Rickreall, OR. Or, give us a call to our team of hardscape experts at 503-623-9084.
Get our FREE Project Planning Guide
Tell us where to send it and we’ll email the backyard planning guide to you right away!
"*" indicates required fields

