
Get our FREE Project Planning Guide
"*" indicates required fields
What if we told you that the difference between pavers that look stunning after five years and those that look worn and stained comes down to just a few minutes of care each week? Most homeowners think paver maintenance requires expensive treatments or professional services, but the truth is much simpler.
Your paver stone investment deserves protection, and keeping them looking like new doesn’t require professional expertise or costly equipment. With the right knowledge and a systematic approach, you can maintain beautiful pavers that enhance your outdoor space for decades—often with nothing more than basic tools you already own.
This complete guide reveals everything you need to know, from simple daily habits that prevent problems to advanced restoration techniques that can bring neglected pavers back to life. Whether you’re a seasoned DIY homeowner or a weekend warrior, you’ll discover practical solutions that protect your investment and keep your outdoor spaces looking their absolute best.
How to Maintain Your Pavers: The Progressive Maintenance Approach
The Progressive Maintenance Philosophy
The key to successful paver maintenance is following a progressive approach: start simple and escalate gradually. This philosophy protects both your pavers and your budget while building your confidence as you tackle increasingly challenging maintenance tasks.
Here’s why this approach works:
- Prevents unnecessary damage from harsh treatments on simple stains
- Saves time and money by using the least intensive method that works
- Builds your skills gradually, so you’re prepared for more complex challenges
- Protects your investment by avoiding over-treatment that can damage pavers
Most maintenance challenges can be resolved with basic cleaning methods. Reserve advanced techniques for situations that truly require them, and don’t hesitate to consult professionals when a problem exceeds your comfort level or equipment capabilities.
Essential Paver Maintenance Schedule: Your Year-Round Care Plan
Successful paver maintenance isn’t about dramatic weekend projects—it’s about consistent, simple habits that prevent problems before they start. Here’s your complete maintenance schedule, broken down by frequency and time investment.
Daily/Weekly Maintenance (5 minutes)
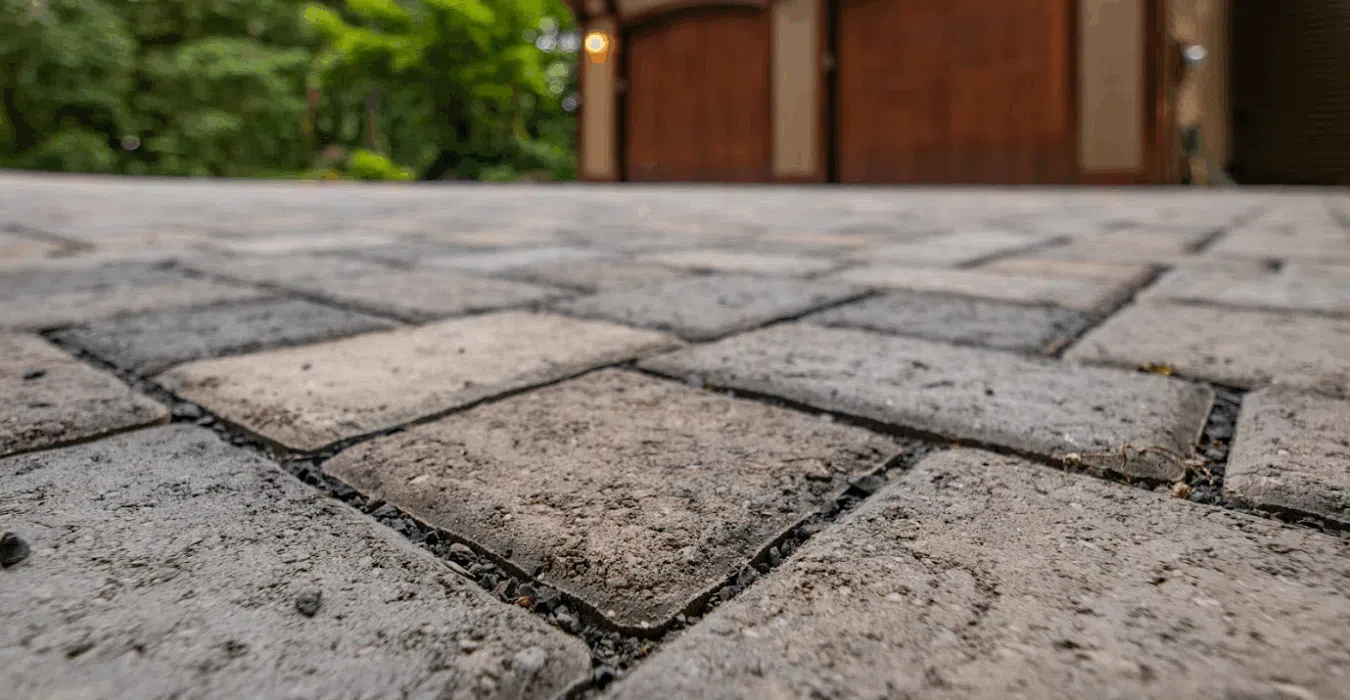
Sweeping and Debris Removal The most important maintenance habit costs nothing and takes just minutes. Use a leaf blower, broom, or shop vacuum to remove leaves, dirt, and debris before they can stain your pavers. This is especially critical in fall when tannin-rich leaves can quickly create permanent stains.
Quick Response to Spills When accidents happen—oil from a car, food from outdoor dining, or pet waste—immediate action prevents permanent staining. Blot liquids (don’t wipe, which spreads the stain) and rinse with clean water. For oil spills, sprinkle sand or cat litter to absorb the liquid before cleaning.
Visual Inspection As you go about your daily routine, take a moment to notice your pavers. Are weeds starting to grow in the joints? Is water pooling in certain areas? Catching problems early prevents them from becoming expensive repairs.
Monthly Maintenance (30 minutes)
Deep Cleaning Once a month, give your pavers a thorough cleaning with a coarse-bristle broom and water. This removes accumulated dirt and grime that regular sweeping might miss. Pay special attention to high-traffic areas and spots near trees or plants where organic debris tends to collect.
Weed and Vegetation Management Remove weeds growing between pavers by hand-pulling small infestations or using targeted weed killer for larger areas. The key is consistency—addressing weeds monthly prevents them from establishing deep root systems that can damage your hardscape.
Joint Sand Inspection Check the sand between your pavers for washout or settling. Joint sand that’s too low allows weeds to establish and can lead to paver movement. Add sand as needed to maintain proper joint fill.
Seasonal Maintenance (Spring Focus)
Comprehensive Spring Cleaning After winter weather, give your pavers a thorough spring cleaning using a paver-specific cleaner or mild bleach solution. This removes accumulated organic matter, salt residue, and prepares your pavers for the outdoor living season ahead.
Moss and Algae Prevention Spring’s increased moisture creates ideal conditions for moss and algae growth. Apply preventive treatments to problem areas and improve drainage where water tends to pool. Consider anti-fungal sealer in areas prone to biological growth.
Sealer Inspection and Touch-ups If your pavers are sealed, spring is the perfect time to inspect the sealer condition. Look for areas where water no longer beads on the surface—these spots may need sealer reapplication to maintain protection.
Long-Term Maintenance (Every 3-4 years)
Paver Sealing Every 3-4 years, consider resealing your pavers to maintain protection against stains, weather, and biological growth. Sealing not only protects your investment but also enhances the color and appearance of your pavers while making routine cleaning easier.
For detailed sealing guidance, including product selection and application techniques, watch our comprehensive video guide: How to Seal Paving Stones.
Deep Restoration Over time, even well-maintained pavers may need more intensive restoration. This might include pressure washing, acid treatments for stubborn stains, or individual paver replacement. Plan for this deeper maintenance every few years to keep your hardscape looking its best.
System Evaluation Don’t forget about the supporting elements of your hardscape. Check edge restraints for stability, evaluate drainage patterns, and assess the base condition. Address any structural issues before they affect your paver surface.
Common Maintenance Challenges: Solutions That Work
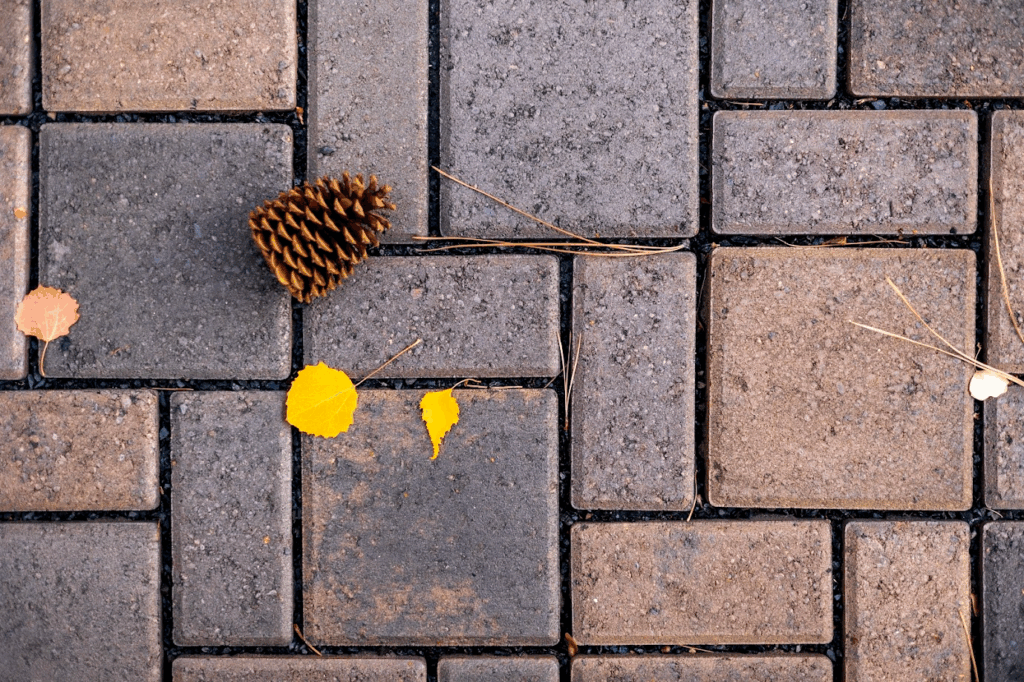
Organic Stains (Leaves, Tree Sap, Natural Debris)
Organic stains are among the most common challenges paver owners face, especially in the Pacific Northwest where falling leaves and tree debris are year-round concerns.
Understanding the Challenge Tannins from leaves and organic matter create molecular bonds with the cement in your pavers. This isn’t just surface discoloration but a chemical bond that requires specific treatment approaches to breakdown and remove.
Progressive Treatment Solutions:
Level 1 – Bleach Treatment: Start with a 4:1 ratio of water to bleach. Apply the solution to stained areas, allow it to sit for 10-15 minutes, then rinse thoroughly with clean water. For stubborn stains, you can increase the bleach concentration, but always test in an inconspicuous area first.
Level 2 – Hot Water Treatment: If bleach treatment isn’t sufficient, move to hot water pressure washing. Water heated to 220°F or higher helps break the molecular bonds that hold organic stains. The combination of heat and pressure provides superior cleaning power for organic matter.
Level 3 – Boiling Water Method: For the most stubborn organic stains, carefully apply boiling water directly to the affected area. The extreme heat helps break down the tannin bonds, making removal much easier. Always use caution when working with boiling water.
Tree Sap Removal:
Tree sap requires a different approach since it’s not water-soluble:
- Remove Bulk Material: Use a plastic putty knife to gently scrape away as much sap as possible without scratching the paver surface.
- Solvent Treatment: Apply acetone-based solvent (nail polish remover works well) to a cotton ball or shop rag. Gently work at the remaining sap layer until it dissolves. The solvent will evaporate harmlessly from the concrete.
- Heavy-Duty Option: For particularly tough sap stains, xylene provides more aggressive solvent action. Use the same cotton ball application method with proper ventilation. When working with chemicals, always wear proper PPE to keep yourself safe and protected.
For detailed demonstration of organic stain removal techniques, including safety tips and product recommendations, watch our step-by-step guide: Cleaning Pavers from Leaves, Needles, Tree Pitch.
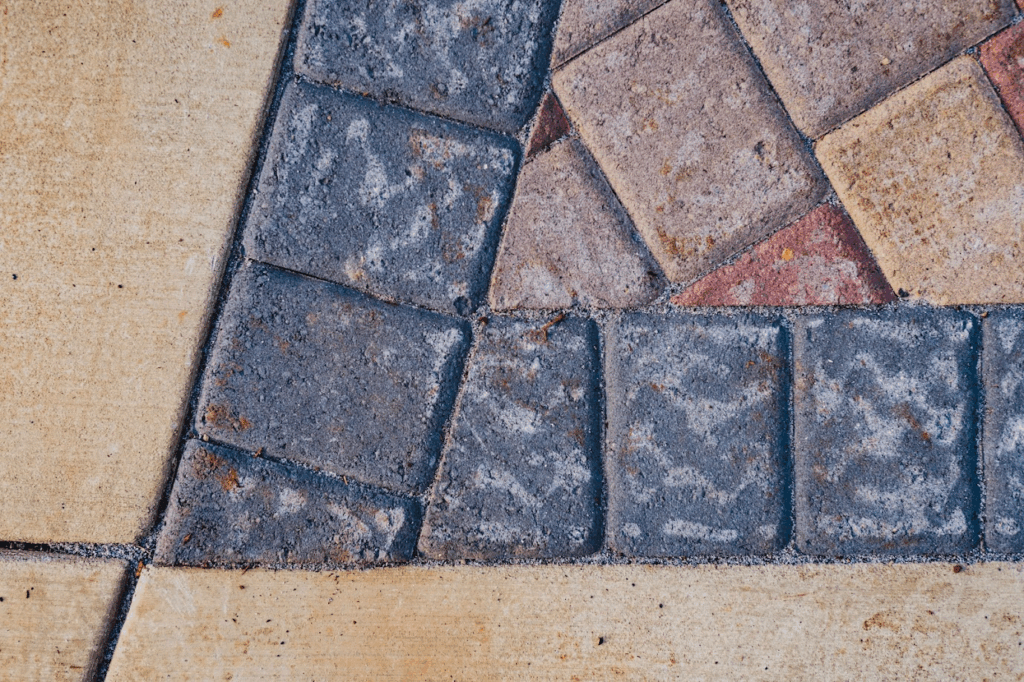
Common Surface Stains (Dirt, Mud, Rust)
Everyday stains from dirt, mud, and rust respond well to progressive treatment approaches that start gentle and escalate as needed.
The Progressive Treatment Approach:
Level 1 – Mechanical Cleaning: Begin with simple mechanical cleaning: leaf blower for loose debris, stiff broom for embedded dirt, and garden hose for rinsing. This basic approach removes most surface-level staining without chemicals or special equipment.
Level 2 – Agitation Cleaning: When mechanical cleaning isn’t enough, add agitation with brushes and scrubbing. A stiff-bristled brush helps work cleaning solutions into the paver surface and joints, loosening embedded material that simple rinsing can’t remove.
Level 3 – Chemical Treatment: For persistent stains, use concrete-specific detergents like Surebond SureClean. These products are formulated specifically for concrete surfaces and provide effective cleaning without damaging your pavers. Apply according to manufacturer directions and allow adequate dwell time.
Level 4 – Heat and Pressure: Combine heat with pressure washing for maximum cleaning power. Hot water helps dissolve stains while pressure removes embedded material. Always follow proper pressure washing techniques to avoid surface damage.
Level 5 – Specialized Treatments: For specific challenges like rust stains, specialized products like Surebond Stain Rust Buster (SRB) provide targeted treatment. These acid-based cleaners require proper safety equipment and careful application but can remove even stubborn iron oxide stains.
Rust Stain Specifics: Rust stains are particularly challenging because iron oxide creates molecular bonds with cement similar to organic tannins. High-iron soil common in our region can create rust-like staining even without actual metal corrosion. Heat treatment helps break these molecular bonds, making removal more effective.
Biological Growth (Moss, Weeds, Algae)
The Pacific Northwest’s moist climate creates ideal conditions for biological growth on hardscape surfaces. Here’s how to manage these common challenges effectively.
Weed Management
- Small infestations: Hand-pull when soil is moist for easier removal and complete root extraction
- Large areas: Apply targeted weed killer, then remove dead vegetation after treatment
- Prevention: Anti-fungal sealers create hostile conditions for weed germination, while maintaining full joint sand prevents seeds from establishing
Moss Removal (Progressive Approach)
- Light coverage: Mechanical removal with screwdriver or scraping tool (avoid surface scratching)
- Moderate coverage: 50/50 bleach and water solution, allow 24 hours, then rinse with pressure hose
- Heavy coverage: Pressure washer with surface attachment for efficient, even cleaning
Algae Control Algae thrives in consistently moist, shaded areas. Treatment follows similar principles to moss removal, but prevention through improved drainage and increased sunlight exposure is most effective.
For complete guidance on managing biological growth, including specific techniques for each challenge, watch our comprehensive tutorial: How to Clean Pavers: Remove Moss & Weeds, Kill Algae, Control Pests & Remove Oil.
Oil and Grease Stains
Oil and grease stains require immediate action and specialized treatment products for best results.
Immediate Response Protocol – When oil or grease spills occur:
- Don’t spread the stain by wiping—instead, blot with absorbent material
- Contain the spill using sand, cat litter, or specialized absorbent products
- Begin treatment immediately—the longer oil sits, the deeper it penetrates
Treatment Process – Use specialized products like Surebond Oil Extractor for effective removal:
- Apply the product generously to the stained area
- Allow 10 minutes dwell time, keeping the area moist (reapply if drying occurs)
- Rinse thoroughly with clean water
- Repeat if traces remain
The key to success is maintaining moisture during treatment and allowing adequate time for the product to work.

Professional-Grade Maintenance Tools and Products
Essential Tool Kit
- Leaf blower for regular debris removal
- Stiff-bristled broom for mechanical cleaning
- Garden hose with spray nozzle for rinsing and light cleaning
- Plastic scrapers for removing stuck-on materials without surface damage
- Nylon brushes for agitation cleaning
- Cotton balls and shop rags for chemical applications
Advanced Equipment
- Pressure washer with adjustable pressure settings and surface attachment
- Hot water capability (minimum 220°F) for organic stain treatment
- Proper PPE including safety glasses, gloves, and respiratory protection
Specialized Products
- Surebond SureClean: General-purpose detergent formulated for concrete products
- Surebond SRB (Stain Rust Buster): Acid-based cleaner for rust and mineral stains
- Surebond Oil Extractor: Specialized product for oil and grease removal
- Bleach solutions: Various concentrations for organic stain treatment
Sealing: Your Long-Term Protection Strategy
Understanding Sealer Types
Sealing your pavers provides long-term protection and can significantly reduce maintenance requirements. However, choosing the right sealer for your specific needs and conditions is crucial for success.
- Invisible Penetrating Sealer (SB-4400) This matte finish sealer provides protection while maintaining the natural appearance of your pavers. It’s ideal for homeowners who want protection without changing the visual character of their hardscape.
- Antifungal Sealer (SB-7700) Particularly valuable in the Pacific Northwest, antifungal sealers help prevent moss, mildew, and algae growth. This water-based sealer offers protection while reducing biological growth challenges common in high-moisture environments.
- Wet Look Sealer (SB-9000) For enhanced appearance with maximum protection, wet look sealers provide a glossy finish that enhances paver colors while offering superior stain resistance. This solvent-based sealer is ideal for high-use areas or when enhanced appearance is a priority.
- Joint Stabilizing Sealer (SB-8700) This gloss finish sealer provides maximum protection while also stabilizing joint sand. It’s particularly effective for areas with heavy traffic or where joint sand stability is a concern.
Application Guidelines
New Installation Considerations: Wait 30-60 days after installation before applying sealer to allow pavers to fully cure and any efflorescence to naturally occur and be cleaned away.
Reapplication Schedule: Plan to reapply sealer every 3-4 years, though this may vary based on traffic levels, weather exposure, and sealer type. Monitor water beading on the surface—when water no longer beads, resealing may be needed.
Application Best Practices: Apply sealer during appropriate weather conditions (50-80°F, moderate humidity, no rain expected for 24-48 hours). Clean pavers thoroughly before sealing and apply in thin, even coats following manufacturer’s instructions.
Troubleshooting: When Routine Maintenance Isn’t Enough
Recognizing Repair Needs
Sometimes routine maintenance reveals problems that require more than cleaning to resolve properly.
Settlement and Base Issues: If cleaning reveals uneven surfaces, persistent pooling water, or pavers that rock when walked on, you may have base settlement issues that require structural repair. These problems won’t resolve with surface maintenance and need proper diagnosis and repair.
Individual Paver Damage: Cracked, chipped, or severely stained individual pavers can often be replaced without rebuilding entire areas. This targeted repair approach is cost-effective and maintains the overall integrity of your hardscape.
Joint System Failure: When joint sand consistently washes out despite replacement, or when polymeric sand fails across large areas, comprehensive joint restoration may be needed.
Prevention vs. Restoration Costs
Regular maintenance costs a fraction of restoration or replacement expenses. A few hours of seasonal maintenance can prevent thousands of dollars in repair costs while maintaining your property value and outdoor enjoyment.
Address maintenance issues promptly—small problems become expensive repairs when ignored. When problems exceed your comfort level or available time, professional consultation can provide cost-effective solutions.
For comprehensive guidance on specific repair scenarios, explore our detailed repair articles covering tree root damage solutions and fixing sinking pavers.
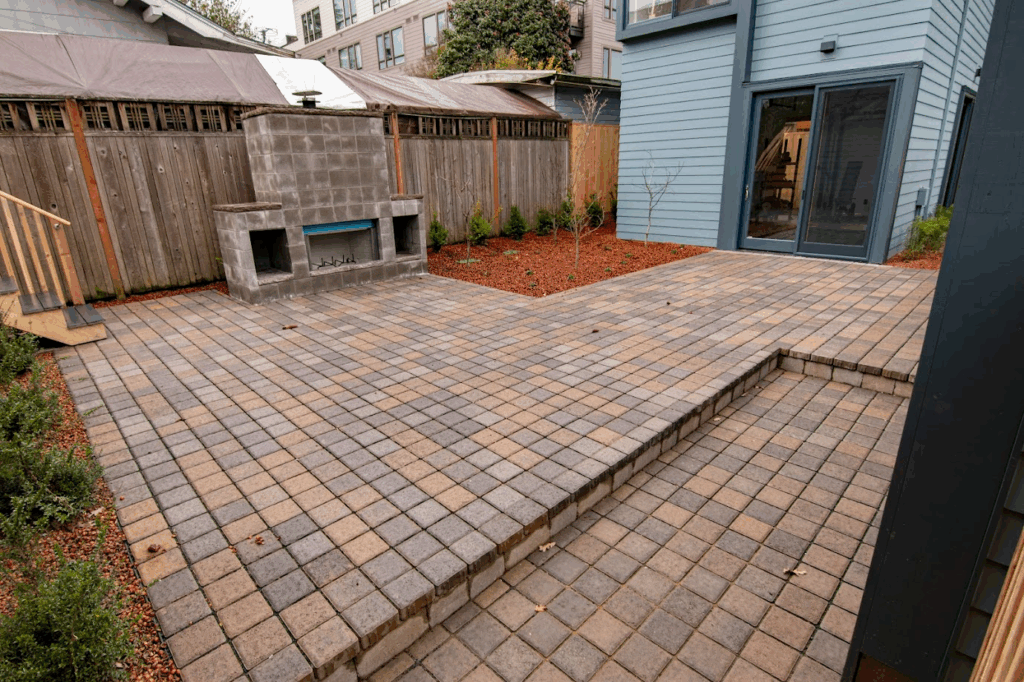
Protecting Your Outdoor Investment
Your paver stones represent a significant investment in your property and outdoor lifestyle. With proper maintenance, they can provide decades of beauty and functionality while enhancing your property value and outdoor enjoyment.
The key to successful paver maintenance is consistency and early intervention. By following the progressive maintenance approach outlined in this guide—starting with simple daily habits and escalating to more intensive treatments only when needed—you’ll keep your pavers looking like new while building confidence in your ability to handle any maintenance challenge.
Remember these essential principles:
- Prevention is always easier than restoration
- Early intervention saves time and money
- Progressive treatment protects both pavers and budget
- Consistency in simple habits prevents major problems
You now have the knowledge and tools needed to maintain beautiful pavers that will enhance your outdoor space for years to come. Start with the basic maintenance schedule, address problems promptly when they arise, and don’t hesitate to seek professional guidance when challenges exceed your comfort level.
Your outdoor investment deserves protection, and with this comprehensive maintenance approach, you’re well-equipped to provide it. Take pride in your beautiful hardscape and enjoy the outdoor living space you’ve created. You can rest easy knowing that proper maintenance will keep it looking spectacular for decades to come.
Now that you understand how to maintain and care for your paver project, download our free Project Planning Guide to get started on your next hardscape project!
Get our FREE Project Planning Guide
Tell us where to send it and we’ll email the backyard planning guide to you right away!
"*" indicates required fields


