Get our FREE Project Planning Guide
"*" indicates required fields
When you’ve got a DIY paver or slab project and want to learn the best techniques for laying them, this article is for you.
Prepare Your Base
Before laying paver stones or slabs, you’ll want to consider the base prep involved so that you can effectively lay those pavers and slabs.
The first thing you’ll want to do is establish some square string lines. This will help when you excavate your paver project, but it’ll also help when you’re laying whatever pattern you choose with a modular paving stone.

After you have your string lines up and your excavation is done, you’ll bring in your gravel base. This is where you’ll spend a lot of time, making sure your gravel base has the proper slope and is perfectly flat, so that when you bring in your bedding material, it will also be perfectly flat. Usingmodular screed rails will help. Each of these steps will factor into one another, and you’ll end up with a perfect product that’s ready to lay paving stones or slabs effectively and efficiently.
Common Mistakes
Before looking at the right ways to lay paving stones, let’s examine a few of the wrong ways to lay them. The first is known as bulldozing. Instead of aligning your pavers perfectly with your other stones, you jam it in the bedding and then try to tuck it up against the other stones, and that shoves bedding between your joints. It doesn’t look good and it doesn’t work.
A similar, common mistake is dropping the paver. It can disrupt the bedding not only for the stone you’re trying to lay but the stones around it, making little humps and bumps as you try and lay. Another common mistake is to not lay them tightly enough, and you end up creating a larger sand joint. When you try to adjust it later, there’s bedding between your stones and it doesn’t look right.
The last, most common mistake is laying for what we call a pinching point. It happens in a variety of different ways, in a variety of patterns. Basically, if you lay some stones a little bit ahead of yourself and you come back to an open spot, trying to jam in a stone later than you should have, you can move your field around. It’ll create ununiformed joint lines and more humps and bumps that just don’t look aesthetically pleasing.

Laying Small Pavers
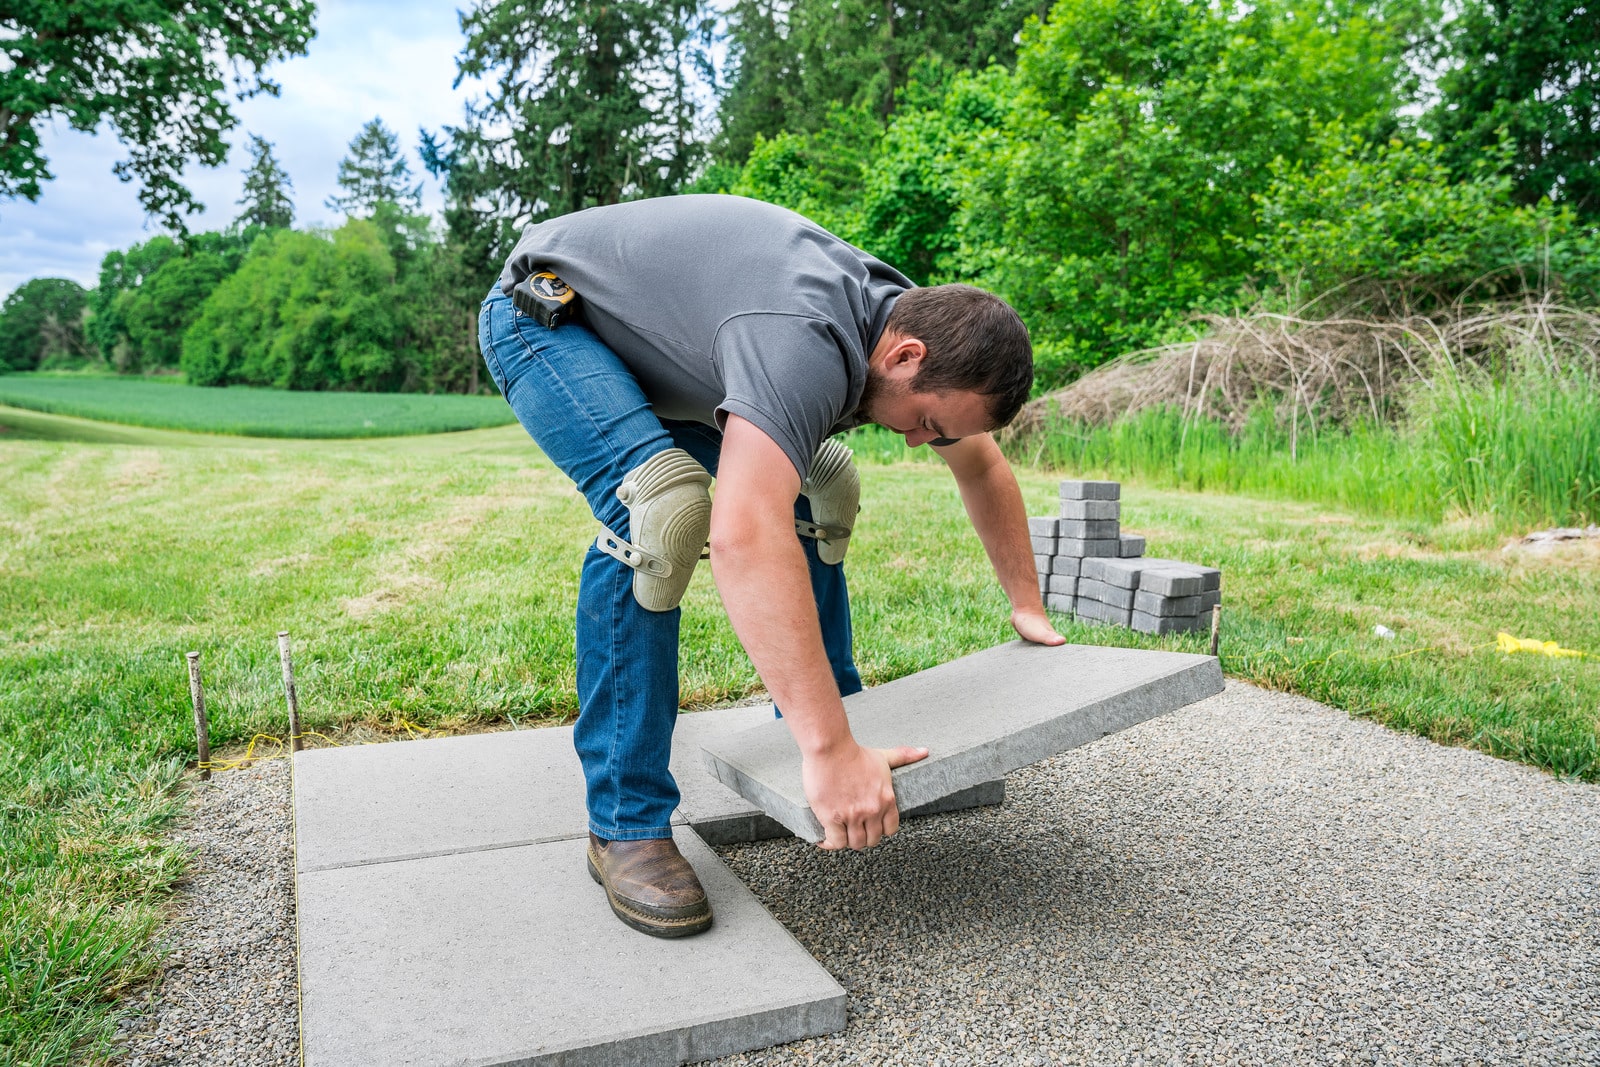
Now that you have in mind the wrong ways to lay pavers, here are a couple of techniques that will help you avoid problems and lay your patio more efficiently and effectively. One is what we call the click-and-drop method. You’ll take your paver, line it in a quarter of your existing field, and just slide it down. You’re not going to drop it, throw it, or bulldoze it. That’s going to keep all of your uniform joint lines perfect and straight throughout your whole project.
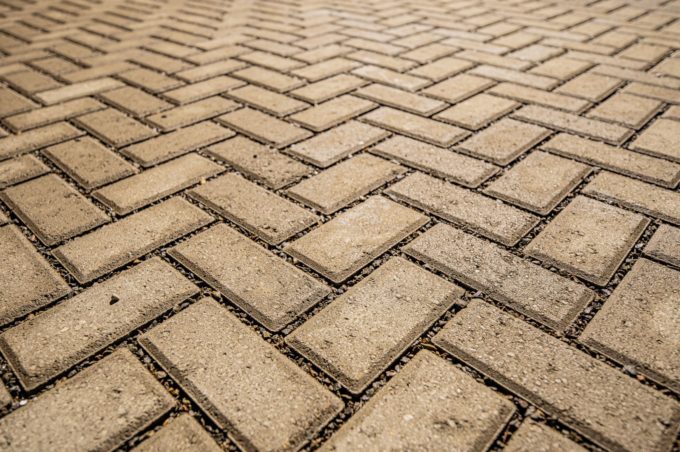
Another helpful trick is to try and lay your patio (or field, or pattern) at about a 45-degree angle. This is the most natural way to maintain square and straight the entire time. So, with a running bond pattern, it’s really easy—you’ll start at one end and work your way down the 45-degree angle, placing each paver in, corner to corner.
These techniques seem simple, but they’ll really help you lay a patio much more efficiently, and it’ll look better in the end.

Laying Large Slabs
Most paving stones are manageable by the average person. They’re usually not very heavy even when you get into the slabs. What we’re going to focus on now is our larger format slabs called La Lastra, which are like other manufacturers’ concrete interlocking slabs. These are significantly heavier than most paving stones. They are about 95 pounds apiece.
Before you pick your material, you’ll want to ensure that you can manage it because the same techniques described above will apply. You’ll want to use the click-and-drop method where you tuck the stone into the corners and gently set it down to create uniform joint lines, making everything easily fit in place. The last thing you want to do is handle a large slab multiple times when it weighs so much. So make sure you check with your manufacturer or distributor to see if you can manage the material that you want to use.
If you want to learn more about DIY projects, read more articles, and watch videos, please look around our website. And if you have a project coming up, make sure you download our Project Planning Guide.
Get our FREE Project Planning Guide
Tell us where to send it and we’ll email the backyard planning guide to you right away!
"*" indicates required fields


