Do you want to lay a walkway over a bumpy landscape? How can you do that? In this blog post we are looking at a project study from one of our customers who opted to DIY their unconventional walkway. This walkway was particularly unique because it needed to be over ground with a natural slope.
How do you lay pavers on ground with a natural slope? As you will see, working with a slope requires you to use some artistic eye and “wing it” a little bit to end up with a result that goes well with the landscape.
Working with rough terrain and natural slope
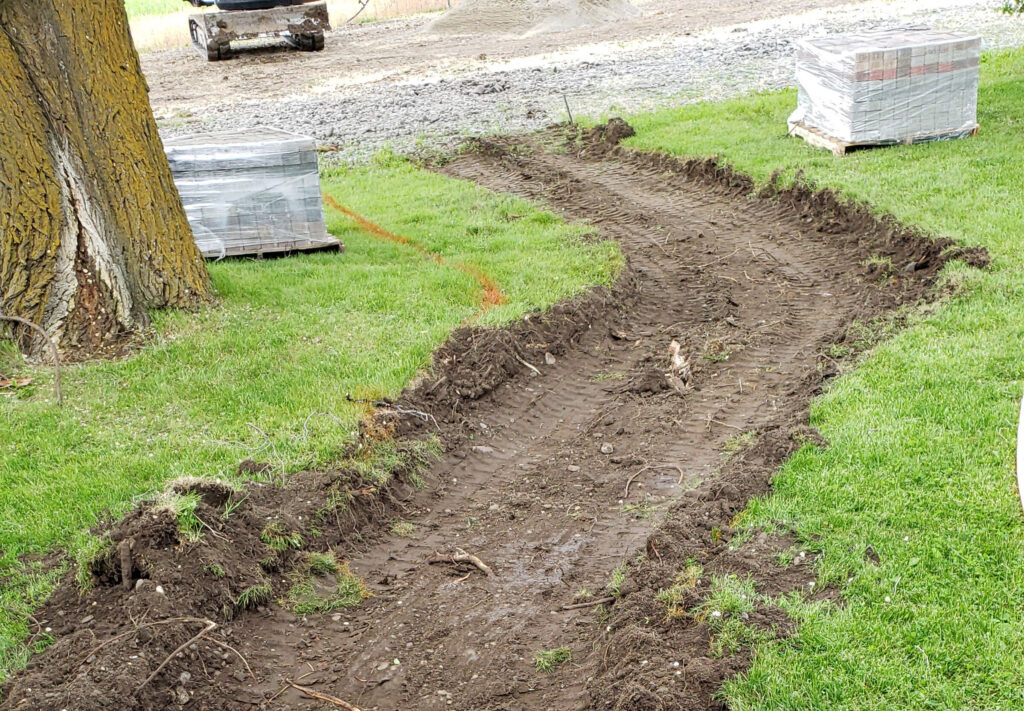
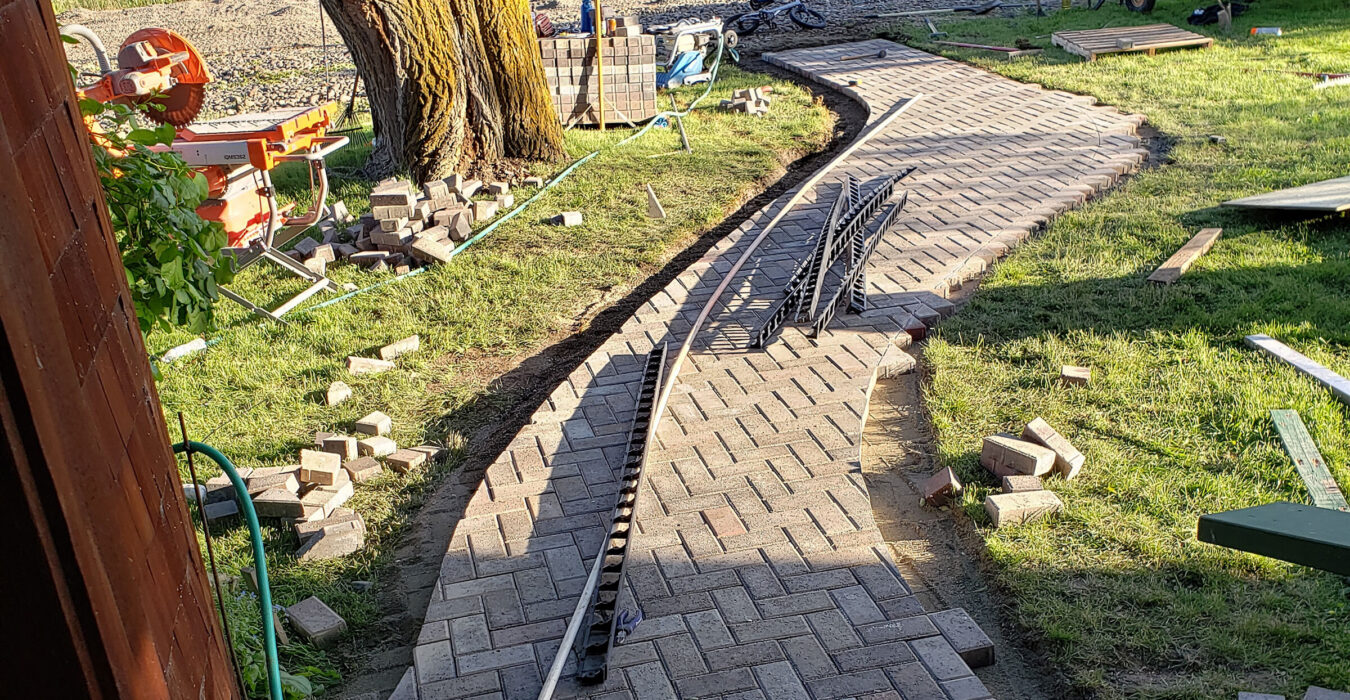
In this case study, our DIY customer needed to put in a walkway to make their front door more obviously accessible to guests. The problem, of course, was that the natural path to their front door had a bit of undulation, as well as a tree in the way of a straight walkway. Our customer originally tried using string lines (as you typically would) to mark out the path, but it wasn’t working with the landscape. A contractor friend suggested that instead of measuring, our customer simply “paint” a path on the landscape. This required using some artistic judgement to see what looked nice with the existing terrain, and some PVC pipe to form organic curves where needed.
Laying the pavers as usual
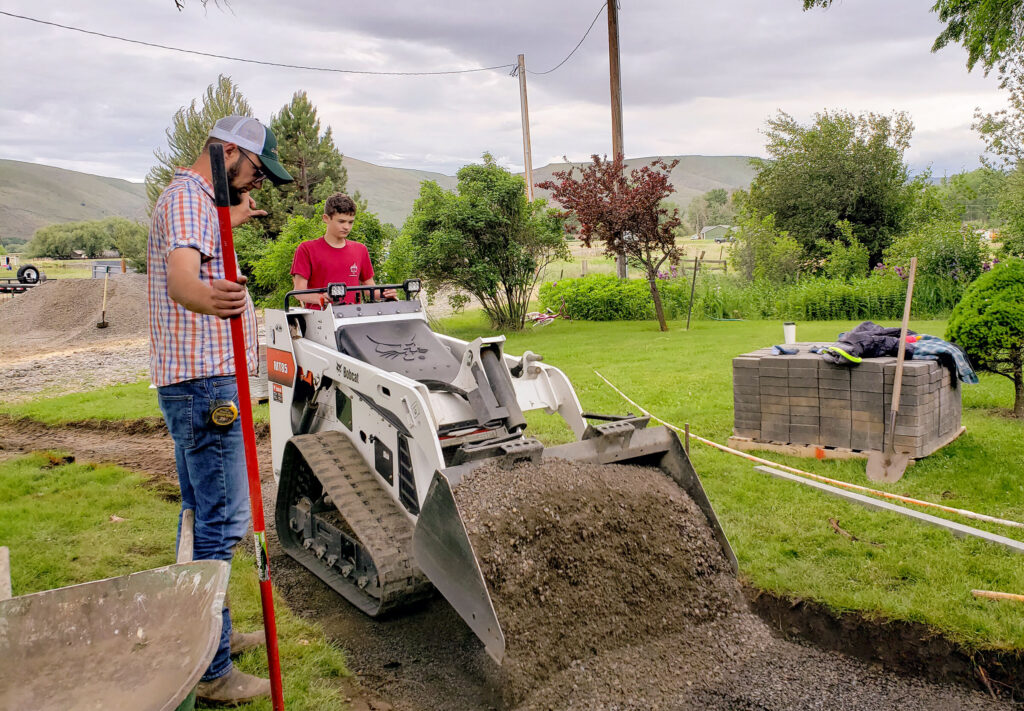
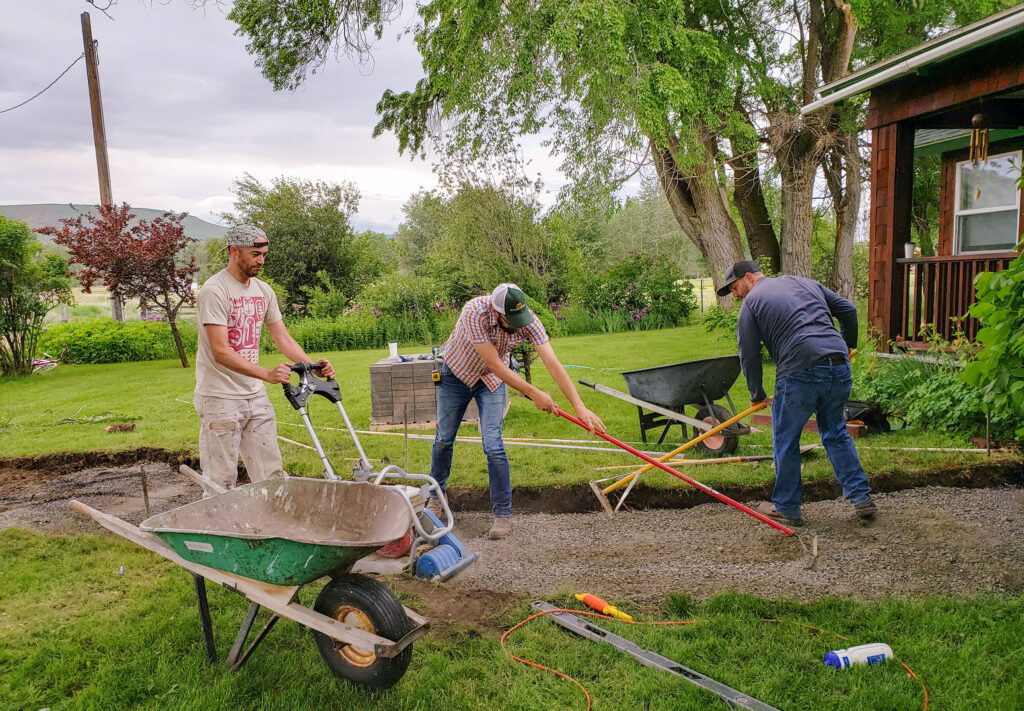
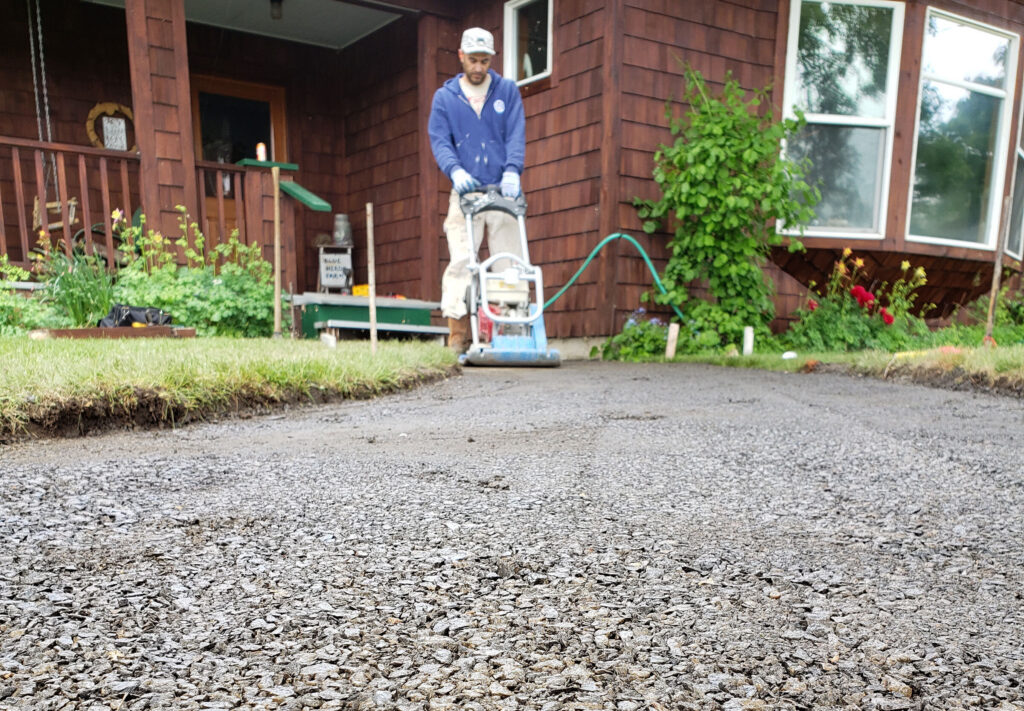
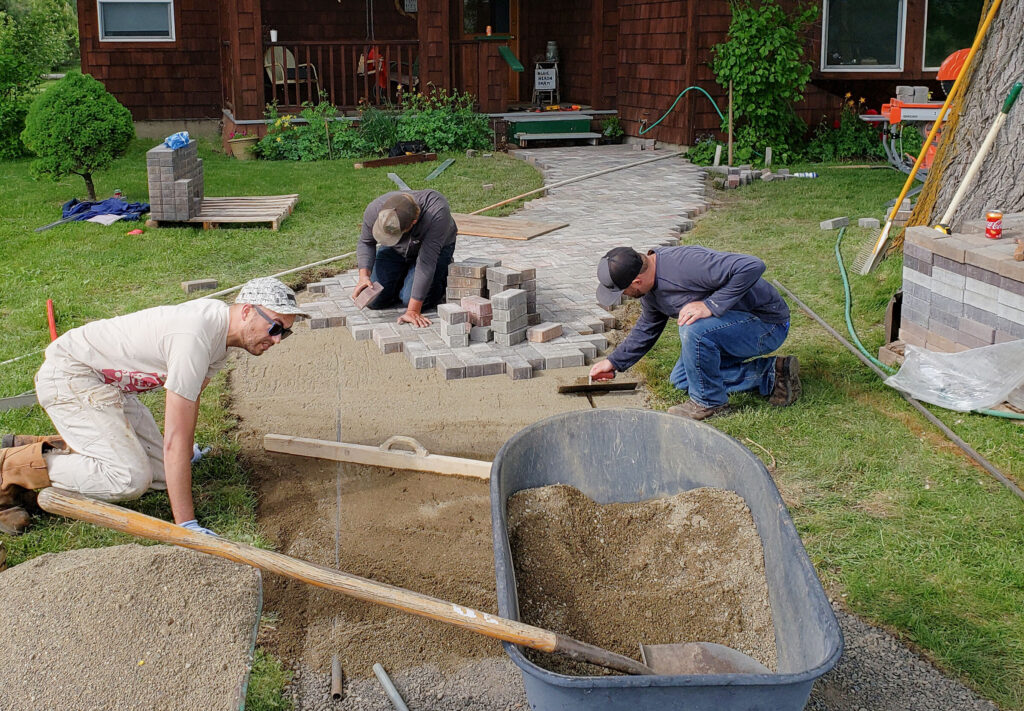
Once the pathway was marked out, our customer began the typical process for laying pavers. They began with excavation, bringing in some equipment to speed up the process. Once it was excavated, they continued with the standard installation process. First they installed and compacted the gravel base. Next they added bedding and began to lay their pavers, making sure that the top of the pavers were ½” above the surrounding soil. They cut edges, added edge restraint, swept in joint sand, and did final compaction, as is typical for any paver installation.
Takeaway: what should you do differently when installing a sloped walkway?
As you can see in this example, instead of trying to manipulate the existing landscape or wildly changing it to fit a pathway, this customer worked with the landscape that was there already. They didn’t stress too much about having perfect lines and measurements, but instead used some artistic license to make the walkway go with the property.
Where needed, they filled in alongside the pavers with extra soil, feathering it out to blend with the surrounding landscape so that the pavers did not end up higher than ½” above the area. They also tried to ensure that the walkway was sloping always toward the nearby driveway to prevent any low spots that would create puddling.
Know you may need to break measurement rules
If you are installing a pathway on ground that is less than smooth, know that you may have to break some rules to make it work with the area. As long as you follow the other normal processes for quality installation, (solid base, compaction, edge restraint, joint sand), you will have a pathway that lasts, even if it does seem unconventional.
Check out our DIY with WI blogs
If you’re looking for more help with your DIY paver projects, check out our blog. Click here for more expert insight into how you can lay hardscape without needing to hire a professional.