
Get our FREE Project Planning Guide
"*" indicates required fields
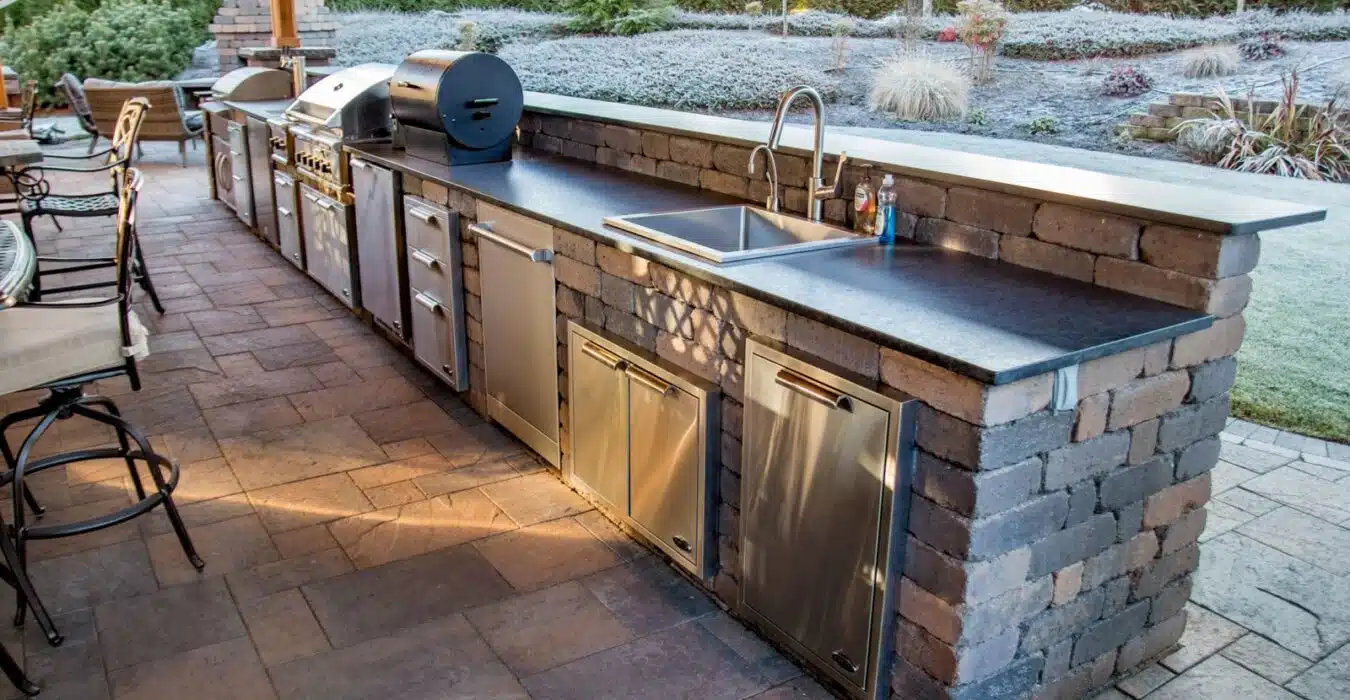
Have you ever wondered how to upgrade your outdoor kitchen? Pavers are a fantastic way to bring functional quality to an outdoor kitchen.
In this blog post, we are looking at how you can integrate pavers into your outdoor kitchen design.
Three things you can add to your outdoor kitchen include a grill, mini fridge, and cabinet. Let’s look at the steps you need to take to include these three items in your new outdoor kitchen using pavers.
Step #1: Design
As you are planning pavers for your outdoor kitchen, there are several things you need to consider. One of the first things to think about is all the measurements, including the measurements of any appliances you want to add.
Step #2: Lay Out the Base Course
Once you have confirmed all the necessary measurements, lay out the first layer of pavers. You should always lay only one course to start in order to test the fit of each appliance. Make sure that it looks perfect before you continue stacking the courses of blocks. No one wants to have to tear down stacks of blocks to repair an incorrect fit.

Step #3: Stack and Glue Additional Courses
There are many different elements to keep in mind and test as you stack and glue additional courses of blocks. Once you have laid the second layer of pavers, start making the opening for your cabinet. You may have to cut the sides of the wall to create the perfect opening width.
As you go along, you may want to create some vents to add extra ventilation to your propane or natural gas grill. You will also want to include an angle iron to act as a solid bridge for the top of your cabinet opening and the top of your mini fridge. Insert the angle iron, and continue to stack and glue your final courses of blocks.
Step #4: Install Appliances
Once the pavers are completely installed, you can begin to insert your new appliances. For the cabinet, you only need to use the screw holes in the sides of the cabinet. Use a concrete drill bit to drill into the block and insert a concrete fastener to make sure the cabinet is solid and secure. For the mini fridge, simply slide it into the fridge opening and run the power cord through a notched block into a power supply. Finally, for the grill, you only need to put it in its indicated place after turning the blocks directly behind it sideways to be a backrest.

Step #5: Install Counters
The final step to complete your outdoor paver kitchen is to add some capstones to serve as outdoor counter space. Our Murata Capello 28-inch capstones are the perfect size; you will only need to use one full piece instead of having to cobble together a variety of sizes. If you have an oddly sized counter area, cut one or two capstones to make an easy and complete fit.
Explore Additional Resources
An outdoor paver kitchen with a fridge, cabinet, and grill is the ideal addition to any outdoor space. If you are ready to get started with the installation process, you can click here to check out our selection of products. Check out our DIY with WI page for access to tutorials, guides, and more. Our team will be happy to assist you with any questions or personalized advice you need for your paver kitchen or any other part of your hardscaping needs.
Get our FREE Project Planning Guide
Tell us where to send it and we’ll email the backyard planning guide to you right away!
"*" indicates required fields


