
Get our FREE Project Planning Guide
"*" indicates required fields
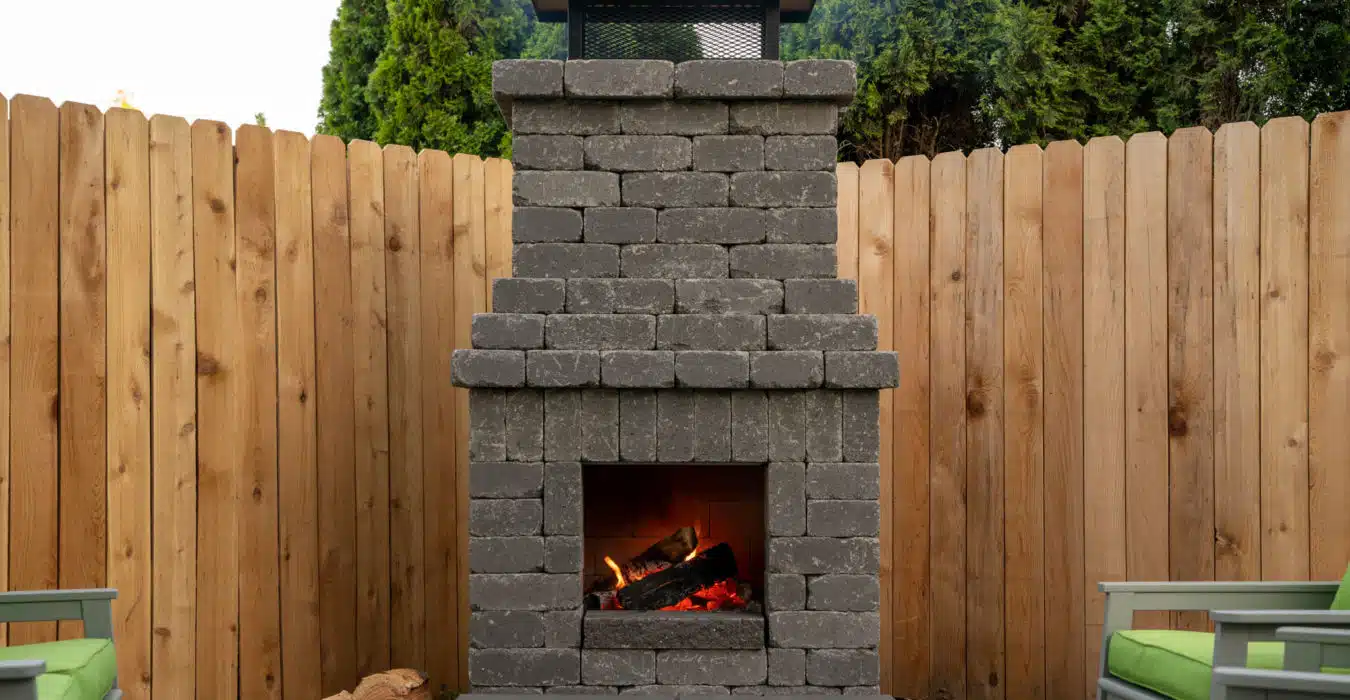
We’re coming into the season of fireplaces. As the nights get longer and frost starts to visit, most of us are excited to think about evenings around the campfire, gathered around the outdoor fireplace with hot drinks and good conversations. Campfires are one of the best parts of the autumn months!
If you are a fan of outdoor fireplaces but haven’t yet installed one, this blog post is for you. This article will go through the basic process of installing firebrick in your outdoor stone fireplace.
What is a firebrick?
First things first—what is this material used in outdoor fireplaces?
Firebrick is a mineral aggregate composed of hydrous silicates of aluminum fired in a kiln until it is partly vitrified. In plain English, firebrick is a ceramic block for lining furnaces, kilns, fireboxes, and fireplaces.
Firebricks are formed by the same dry-press, stiff-mud, soft-mud casting, and hot-pressing processes used to manufacture building bricks. If you’re building a fireplace, a firebrick is essential.
How do you install firebrick?
1. Select your design
The first thing to do as you start building a fireplace is to determine what design you want to use as you lay your firebrick. There are various options to consider that will affect the final aesthetic of your fireplace.
- Rectangles: Firebrick laid in a rectangular shape and pattern is one of the most common pattern options. You can install these in a traditional brick style or staggered like a modern tile backsplash.
- Running bond: Running bond is the brick-laying pattern in which bricks are staggered by ½” from the brick above each one. This is a basic pattern commonly seen in traditional brick buildings.
- Stack bond: The stack bond firebrick pattern is straight and modern rows of firebricks create clean lines no matter how you look at them.
- Herringbone: Herringbone pattern fireplaces are created by laying firebricks at a 45-degree angle, almost making little arrows in a large pattern. It is a more whimsical way of laying firebricks.
- Basketweave: A basketweave pattern is created by laying two bricks horizontally and then two bricks vertically in blocks until you have a pattern reminiscent of a hand-woven basket.
Colors
Once you have selected the pattern you want to use for your firebrick, you need to choose which color you prefer for your fireplace.
You should note that it is naturally white or buff because of the chemical composition of the firebrick. However, stains can be mixed into the brick as it is being manufactured, tinting the final product to a different color.
The most common colors for firebrick are the natural white or buff colors, and then the traditional variations of red that we often think of as classically “brick” colors.
2. Purchase your firebrick
Once you have selected the color and pattern you prefer for your outdoor fireplace, you need to purchase the firebrick you will use.
It is necessary to note that firebrick must comply with ASTM standards C1261 and C27 and should meet or exceed the requirements of local, national, and international building codes regarding fireplace and chimney construction.
A compliant firebrick lining is a minimum of 1 ¼” (ASTM C1261), but you should research to ensure you know any fireplace codes local to your area.
3. Prepare your adhesive
To guarantee the fireplace’s longevity and efficacy, it is imperative to use mortar compatible with your manufacturer’s specifications. Refractory Mortar is widely recommended for this purpose; follow the instructions on its package while mixing it into a paste. High Heat construction adhesives such as Liquid Nails’ Fuze are also viable if desired.

4. Add a skim coat
Once you’ve mixed your mortar, you’ll need to add a skim coat of mortar to the back wall of the firebox. Doing this removes any air gaps and provides a layer of heat protection. Trowel mortar directly onto the back wall and smooth into an even layer, approximately 1 ⁄ 16” thick. Let the mortar cure for 24 hours before you begin laying the firebrick.

5. Lay the bottom
After your mortar cures, it’s time to lay the firebrick. Start by arranging a single row of bricks according to your design. Ensure that each brick is correctly aligned with its neighbor and that there are no empty gaps between them. Utilize a level during installation to guarantee all rows are even throughout the process.
It is critical to leave a ½” expansion gap between the side walls of your fireplace. This will allow the firebrick to adapt when it’s subjected to temperature fluctuations, preventing any cracks from forming while in use. Neglecting this precautionary step will likely lead to damage and decreased performance over time.

6. Line the back wall
Once the bottom layer has been laid, you can begin lining the back wall. Start from the base of the fireplace and work your way up. Apply a skim coat of mortar to each brick with a trowel, then press it firmly into place before continuing to the next one. Ensure each brick is aligned and leveled with its neighbor and the bottom layer.

7. Line the side walls
Keep building your firebrick wall upwards until you reach the desired height. As previously mentioned, make sure to leave a ½” expansion gap between the side walls of your fireplace when installing each new row.

8. Cleanup & Cure
When you are finished, use a toothbrush and a bucket of water to remove any excess mortar from the brick. Allow the entire fireplace to dry for at least 48 hours before using it.
10. Fire
Once your firebrick is installed and dried, you should enjoy a clean, burning fire in your outdoor fireplace for many years!

Download the Paver Project Planning Guide
If you are ready to start installing your outdoor fireplace, check out our free Project Planning Guide. It will walk you through each step of the planning process so you can get started with confidence.
Get our FREE Project Planning Guide
Tell us where to send it and we’ll email the backyard planning guide to you right away!
"*" indicates required fields


