
Get our FREE Project Planning Guide
"*" indicates required fields
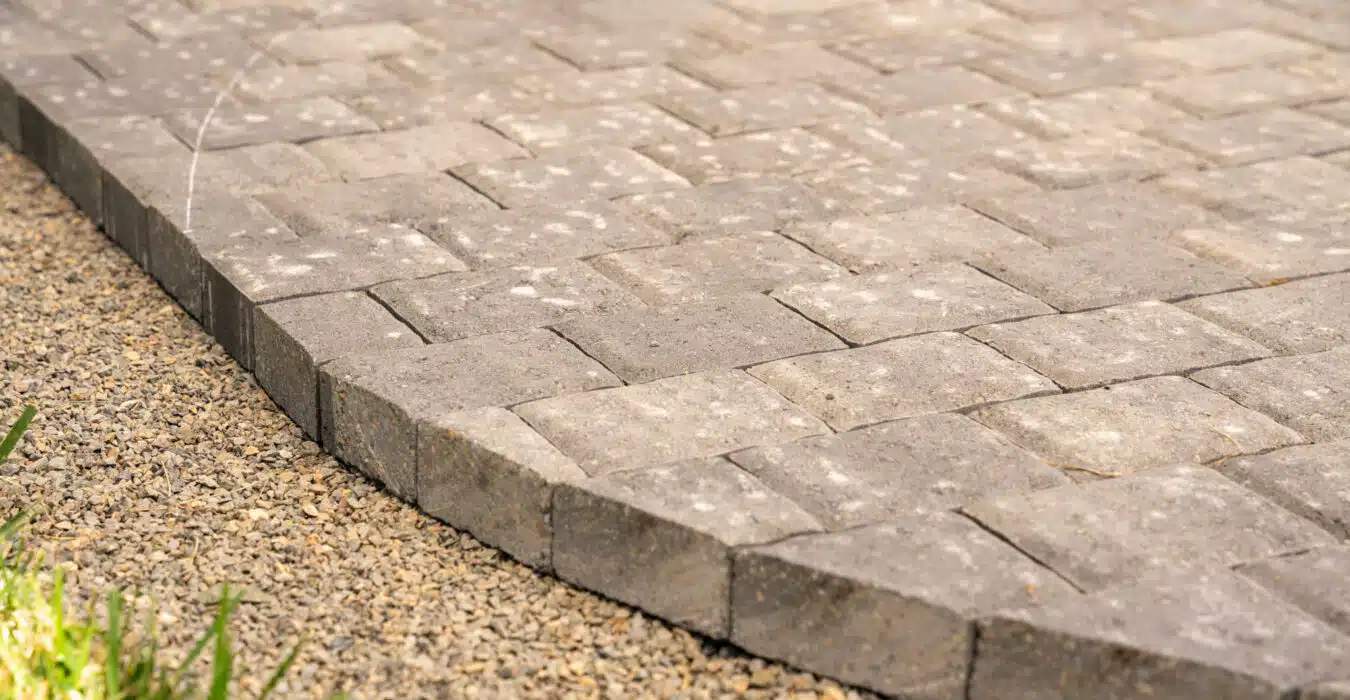
If you’re determined to craft a professional-looking curved paving stone walkway at your home, you’ve probably found yourself in a challenging yet rewarding project.
Laying a curved paver path adds a touch of elegance and uniqueness to your outdoor space, but it also raises some questions and concerns.
In this article, we’ll guide you through the essential steps of cutting a curve into your paver project, helping you overcome the hurdles that often come with it. Whether you’re just starting your paving journey or retrofitting a curve into an existing project, we’ve got you covered.
Recommended Tools
Before diving into the art of cutting curves, gathering the right landscape tools for the job is crucial.

Here’s a list of the paver essentials:
- Paver Marker: You’ll need something to mark your curve. In our example, we use a paver and a felt marker, but you can also use a carpenter’s pencil or a crayon.
- ½” PVC Conduit: This handy tool helps you mark your curve while ensuring it’s gradual and consistent.
- Tape Measure: For precision, primarily if you aim for a specific radius like 4′ or 3′.
- Saw or Paver Splitter: The saw you’ll need depends on what’s available in your area and the number of cuts required. Check out our video, “6 Ways to Cut a Paving Stone,” for more insights.
The saws vary depending on what you have available in your area and how many cuts you need to make. Watch our video, 6 Ways to Cut a Paving Stone, to learn more.
Materials to Consider
If you’re still in the planning phase of your project, contemplating using smaller, modular pavers can make cutting individual pieces and creating graceful curves much more manageable.
However, if you’ve already started with larger materials, don’t worry; you can still achieve fantastic results using the methods we outline.
Methods for Cutting
1. Outside curve
These are excellent for adding uniqueness to your square or rectangular patio.

To create one:
- Determine your desired curve tightness (e.g., 3′ or 36″).
- Measure from the corner and mark each side.
- Use your PVC conduit to create a curve between the marks.
- Connect the dots by marking the curve.
- Proceed to cut the pavers along the marked curve.
2. Inside curve
Our other example, an inside curve, is traditionally more challenging as it’s harder to angle your blade to get that tight radius.

While traditionally more challenging, you can conquer inside curves as well:
- Measure 36” away from the corner on either side.
- Make those two marks.
- Connect the dots with your conduit.
It’s essential to bend in the opposite direction, making more of a U shape. Then, you’ll mark it, cut it with your saw, and be left with a gradual curve.
When you’ve completed cutting your inside or outside curve, it’s ready for restraint and the rest of your project.
3. Add a border
One thing to consider, especially if yours is a vehicular application, is putting in a border stone to retain all the smaller, cut pieces along your edge. It makes a more robust system.
You could do a soldier or sailor border with a rectangle or a square. Just be aware that if it’s a very tight radius, you might have some gaps in those stones, and you might have to bevel your stones to make a tighter gap, then install your edge restraint.
You’ve learned to cut curves and can now confidently continue your project.
Plan Your Next Paving Stone Home Project
Are you ready to get started laying and cutting stones in your yard? Download our free Project Planning Guide so we can walk you through planning your paver borders.
Get our FREE Project Planning Guide
Tell us where to send it and we’ll email the backyard planning guide to you right away!
"*" indicates required fields


