This article goes into the steps you’ll want to take in order to build a beautiful stone column. We built one ourselves so we could catch and communicate any nuances with you. Ready? Let’s go!
1. Plan a Layout
The first step in building a column is the same as any other hardscape project: design. The design aspect is relatively simple for building a column. You just need to pick your placement for the column, as well as a width and overall height, and determine whether there’s any extra function to it. If you’re tying walls into it, or maybe attaching a gate to it, you’ll want to consider all contributing factors to the type of column you want to build.
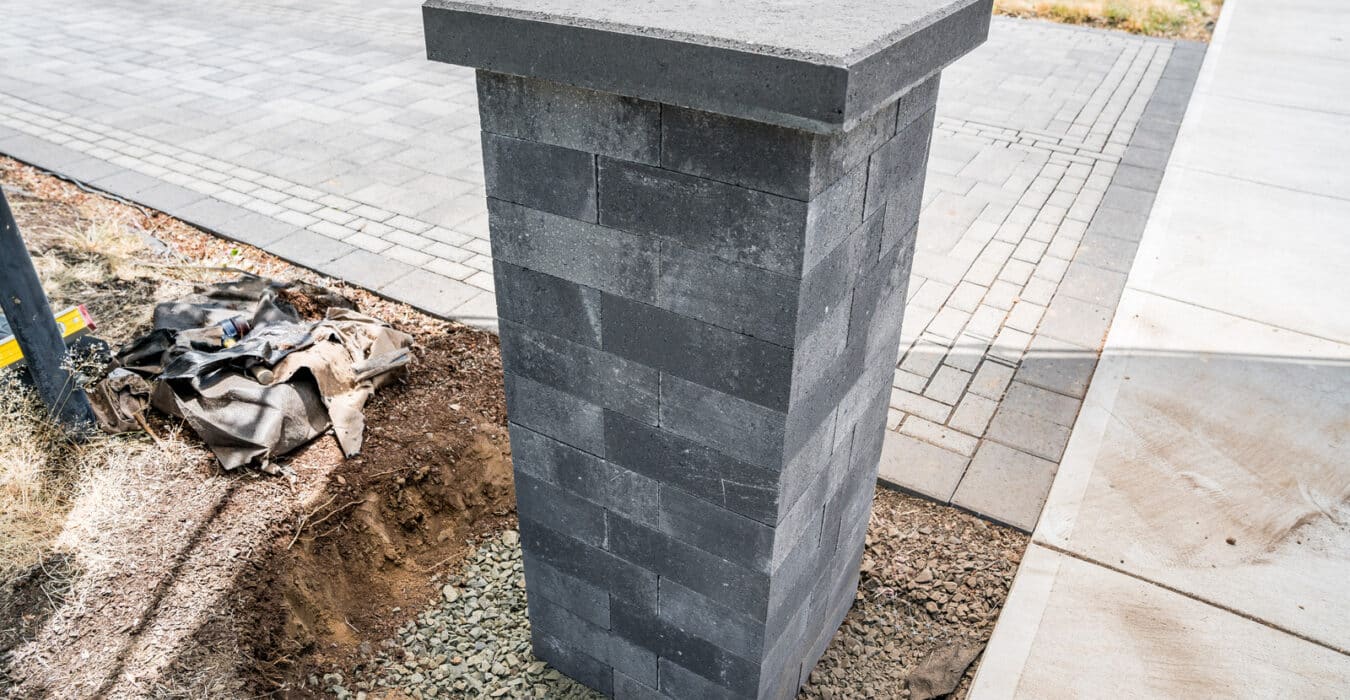
For our column example, we’re building a 20” outside diameter column and we want to achieve about a 48” overall height with our Chateau Moderna 300 millimeter, which is basically an 8” by 12” block. Using four blocks per course, we’ll create a 20” outside diameter and then build it up to our desired height.
2. Prepare the Foundation
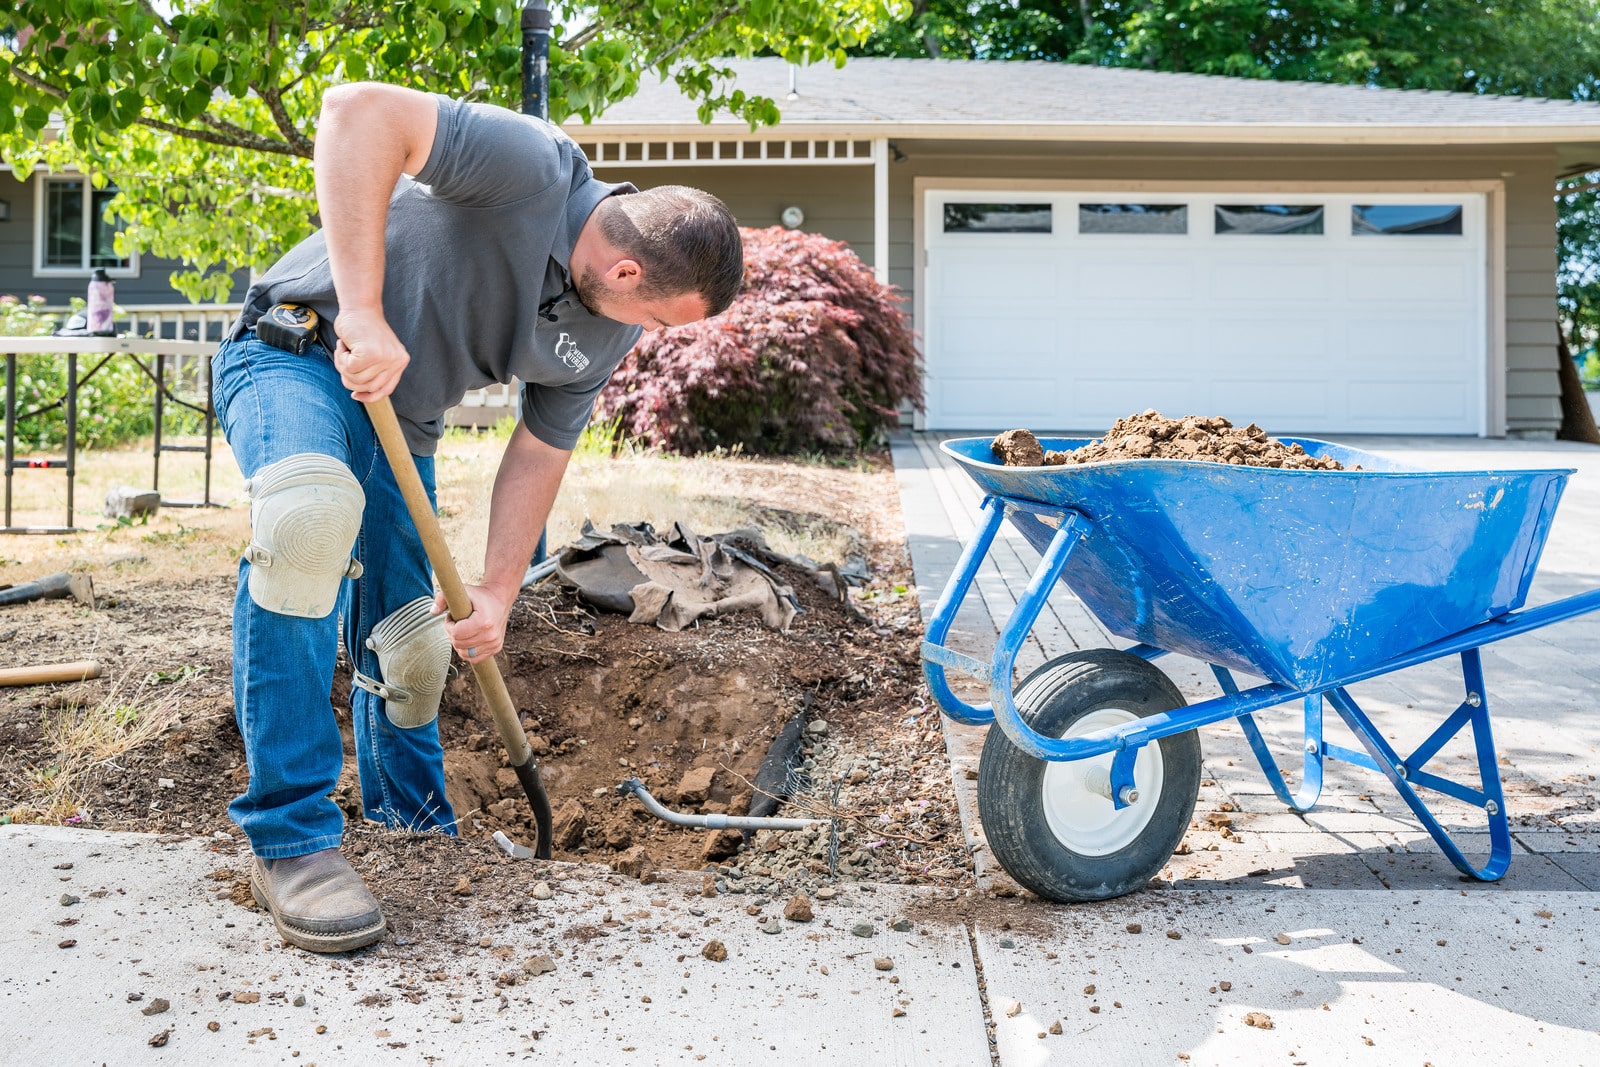
Our design calls for a 20” column to be about 12” away from both surrounding absolute edges. We have a driveway and sidewalk we’re working with, so all we have to do is measure. You can make a mark with some white marking paint to outline the area. But because we traditionally want gravel past the edge of our column, or any hardscape project, we’re actually going to dig about 6” away from both driveway and sidewalk edges to have gravel all the way around. We are digging for a 20” column, but with 6” wrapped around it, we’re going to have about a 32” by 32” square completely padded with gravel for our column to sit on top of.
3. Excavate Your Base
With our layout in mind, we can move on to the next step, which is excavation. In our example project, we are going to dig out about 12” below grade so that we have 6” of embedment of that column and 6” of compounded gravel below that to have a nice firm base for it to sit on.
In our situation, we have a slight hillside to work with, making it a little challenging to establish the grade to get our 12” . But once we start digging around and moving dirt, we’ll have a nice reference to measure. Don’t be afraid to work with the challenges posed in your specific area, but do try to honor the measurements required to build a successful column.
4. Build Your Base
When we finished our excavation, we ensured that we were 12” below grade, and we removed all loose dirt to reduce the chance of settling later on. After you’ve done the same, you can move on to step four, which is the gravel base.
In our example, we’re going to be doing a total of about 6” of 3/4″-0 crushed gravel. We’re just going to make sure that we hand tamp that in 2” lifts to ensure proper compaction. If we could do it with a larger piece of compaction equipment, we would, but it won’t fit.
Through our process, we will be plumbing it loosely with conduit. That way, if the homeowner ever wants to add lights to this column later on, they can very easily. If you’re not doing lighting now or ever, just continue without plumbing for conduit.
5. Set the Base Course
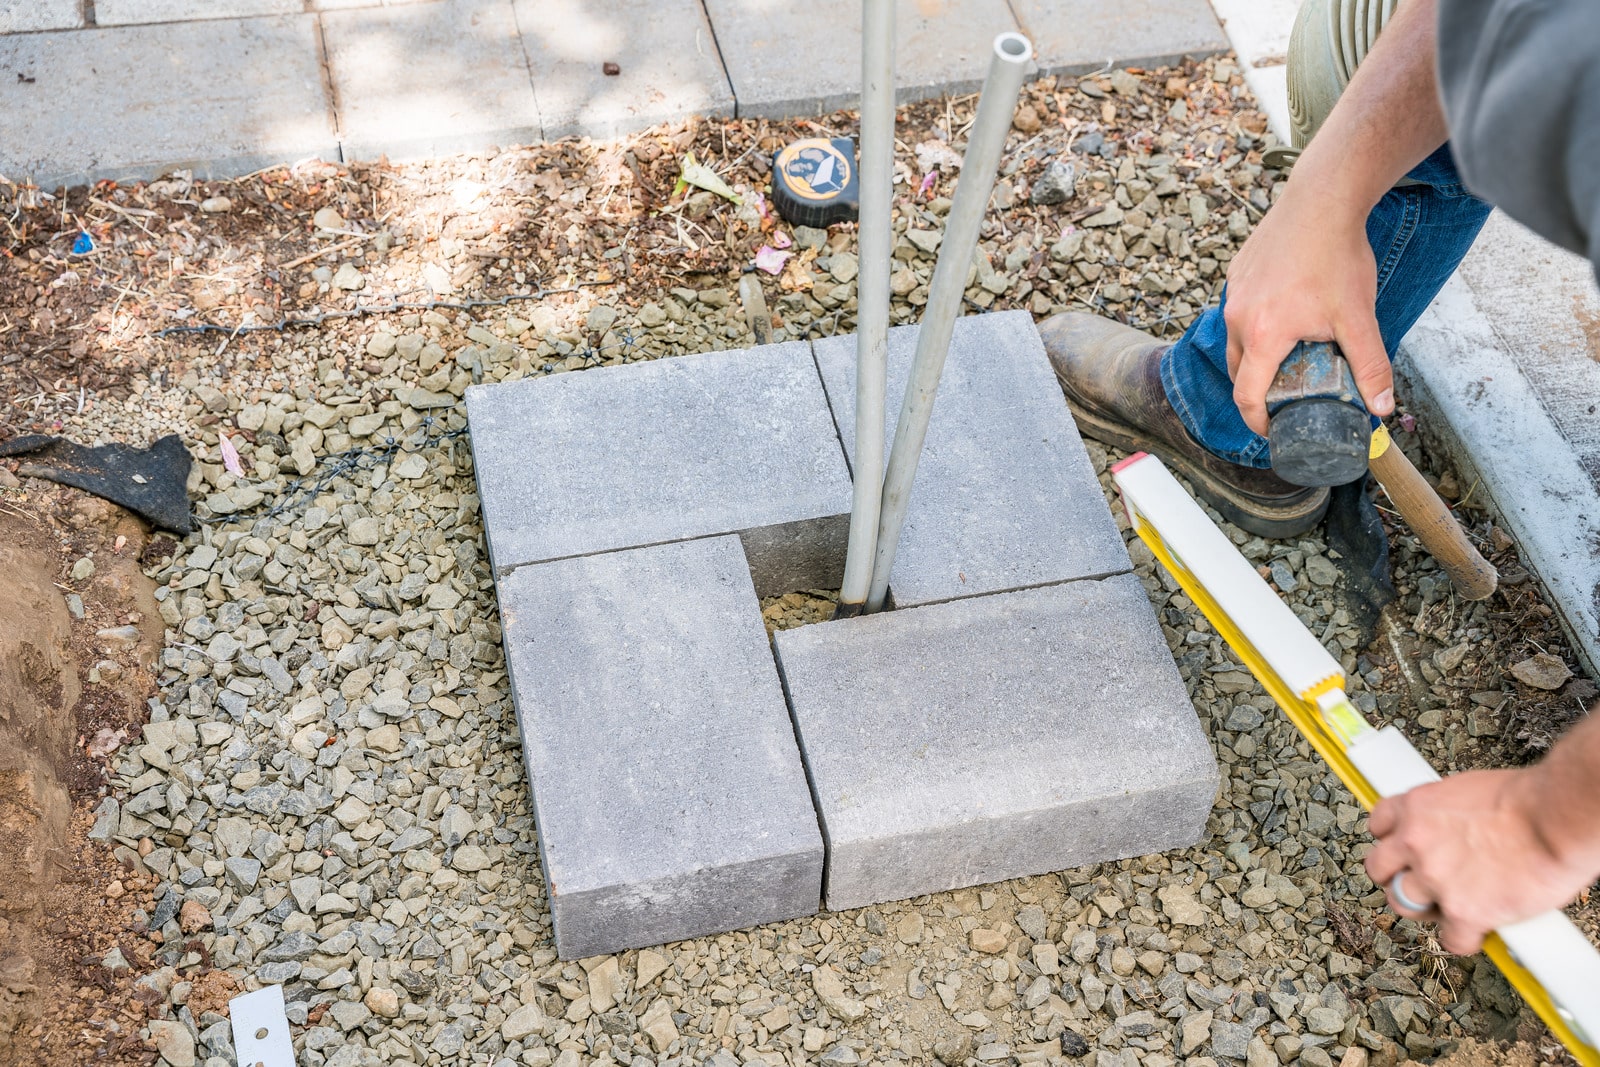
After we finished bringing in our gravel base, we made sure everything was tight and compact. After you’ve done the same, you can move on to step five, which is setting your base course of block. This is arguably the most important course because you have to set each block individually, perfectly level, in order to make sure each course is level after that.
In our example, all we’re going to do is take our mallet and our level, set the block in each direction, level both ways, and then continue in a clockwise or counterclockwise fashion. This creates a square outside diameter and a small square in the middle. After you’re finished with that, you can continue gluing and stacking your subsequent courses.
6. Build Additional Courses
With your base course set and level, you can move on to the next step, which is gluing and stacking your subsequent courses. In our example, we’re looking for about a 48” overall height, including our capstone, so we’re going to stack block until we get close to that, and add our cap later on.
The main thing you want to think about is which type of adhesive to use. We like to use Surebond 20. It’s a flexible adhesive. If you’re in a freeze/thaw climate and you want that flexibility so things don’t separate when you have freeze/thaw, it works great. You only really need a few dime-sized dollops in the corners of your block. You don’t need a lot of glue.
With free standing columns, you want to make sure you offset your pattern every course with the four base blocks, to create as much interlock as possible for structurability. Additionally, it is most aesthetically pleasing when you make sure your sides are level, up and down, and square all around, to make it look neat and tidy.

7. Add a Cap Stone
After stacking your subsequent courses, all you have to do is put your post cap on, if your design calls for it. You don’t need a lot of glue because the post cap, at least in our example, weighs about 145 pounds. Just make sure you put the glue in the same orientation as you did for the rest of the column to allow drainage and breathability to reduce moisture issues.
8. Finish with Landscaping
Now that we’ve glued and placed our cap, the only thing we have to do to finish our column is cover the bottom end that we exposed with some landscape material. Whether it’s dirt we dug out or some bark dust to pretty it up, this will make it completely finished.
If you want to learn about more projects you could do by yourself in the hardscaping world, look around our website some more or visit our Western Interlock YouTube channel.


