Get our FREE Project Planning Guide
"*" indicates required fields
In this article, we’ll teach you how to prepare yourself and your property for hardscape installation. Whether you’re planning to do-it-yourself or are having a contractor install your hardscape for you, the more prepared you are, the smoother the installation process will be.
We’re assuming that, if you‘re reading this article, you’ve already selected your hardscape and are planning installation. However, if you’re still considering your hardscape options, you might want to read 10 Common Questions Most People Ask Before Buying Hardscape.
Note: For every hardscape project, it’s crucial to figure out what’s below the dirt by calling 811. Nobody wants a busted pipe or severed electrical cables. In other words, before every project, get your locate done by calling 811.
We’d recommend pairing the concepts in this article with our Installation Guides, so you’re as ready as possible fo your project. That said, let’s dig into three ways to be prepared to install hardscape, so the entire process goes smoothly.
Materials and tools
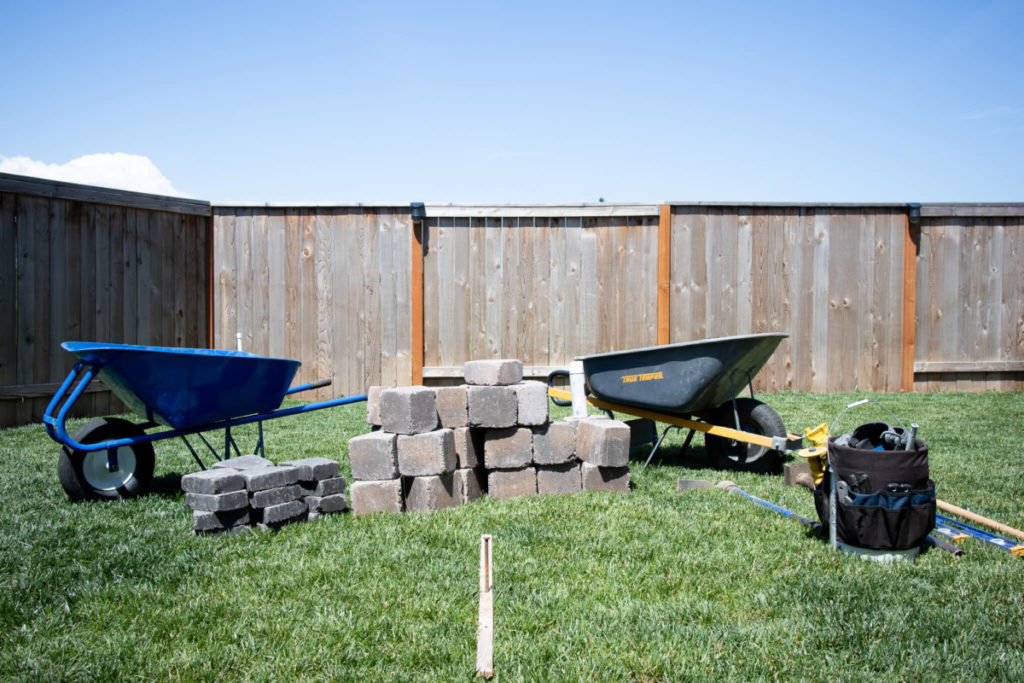
Most hardscape projects are 80% the same. Therefore, there’s a shortlist of tools and materials that you’ll need regardless if you’re building a retaining wall, circle patio, grill surround, fire pit, or another hardscape project.
Note: If you’ve hired a contractor to install your hardscape for you, you can move to the next point of preparation as it’s more applicable to your situation.
Standard work gear
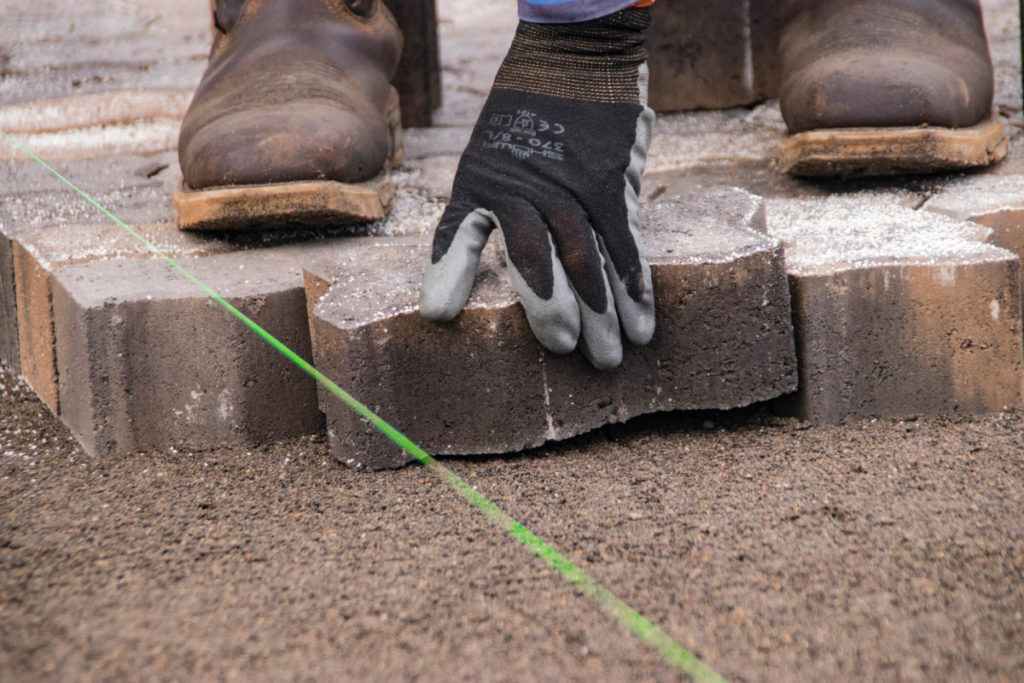
Installing hardscape is dirty work. You spend your entire time handling dirt, sand, gravel, and concrete paving stones. That’s why we’d recommend that as DIYer, you invest in some standard work gear. Consider picking up a pair of comfortable work gloves, knee pads, safety glasses, and earplugs.
Measuring, marking, and leveling
You’ll also want a few measuring and leveling tools to help you ensure your hardscape project doesn’t sway like waves of the sea or slope like the leaning tower of Pisa.
We recommend a simple tape measure and white marking paint to measure and mark out your area before you start digging or laying stones. Also, have both a torpedo level and 24” level on-hand for leveling each block or stone and multiple at one time. You might find a string level to be helpful, especially if you’re setting the grade or base course for a retaining wall.
Digging, spreading, and scraping
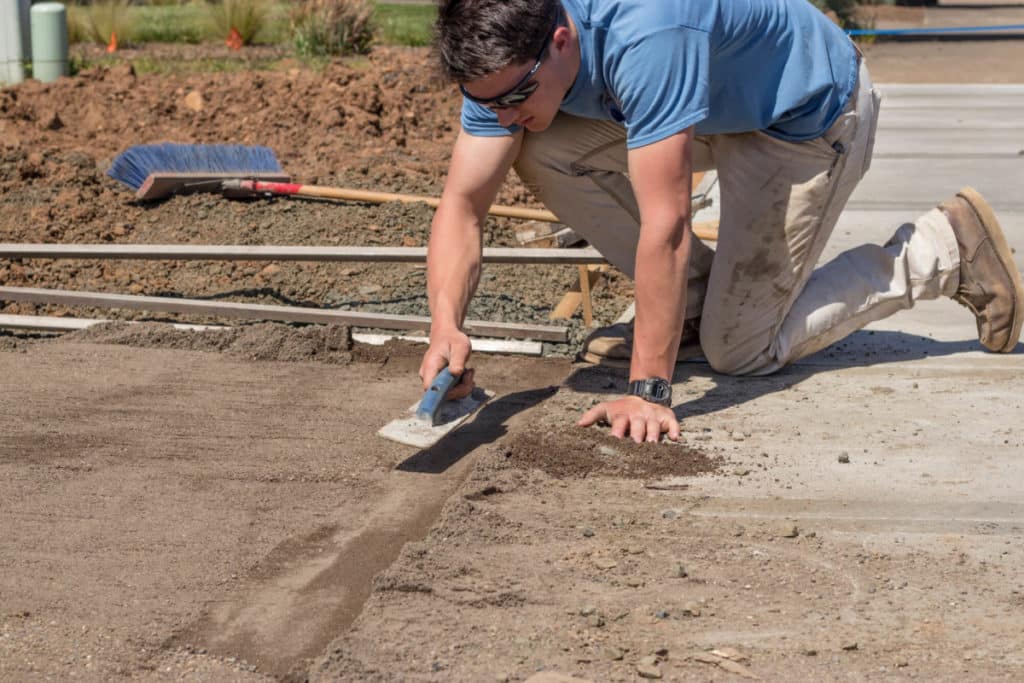
No matter what kind of hardscape project you’ve undertaken, you’ll have to dig, spread, and scrape. For small projects, all you’ll need is a pickaxe and shovel for digging out your base and a concrete placer for spreading. We also recommend keeping a trowel handy for those cases when you need to do any minor scraping.
For large projects, we recommend using a walk-behind front-end loader or small tractor with front-end loading capability for digging out your base and dumping gravel or sand.
Compacting
A firm base is the foundation of every hardscape project. Therefore, you must use the right tools for compacting. For smaller hardscape projects like fire pits or short walkways, you can get away with a hand tamper.
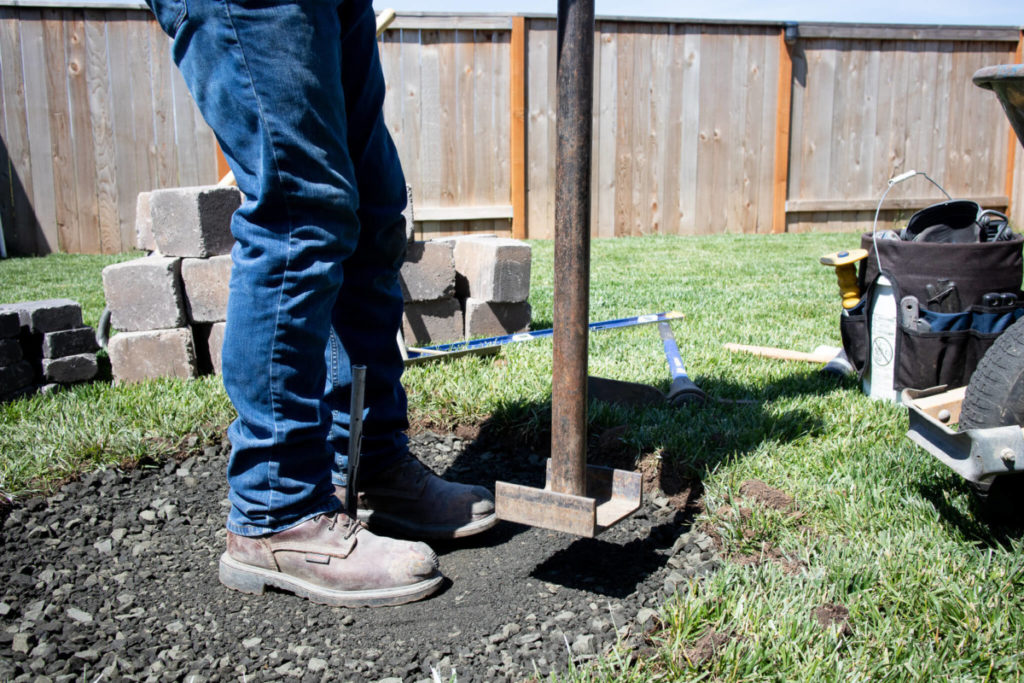
For everything else, you’ll want to rent or purchase a gas plate compactor. You can find one at a store like Harbor Freight for under $600. There are various sizes of plate compactors ranging from small to large, so ensure you’re choosing the right one for the scale of your job.
Preparing for material delivery
Once you’re ready to go, you’ll need to prepare your property or landscape for the project. First things first, let’s discuss how to deal with delivery and where you should place your materials for easy access.
Arrange a drop site
Unless your hardscape order fits on one pallet and can be hauled on the flatbed of a truck, you’ll likely need the assistance of a 48-foot flatbed semi-truck with a carry-on forklift.
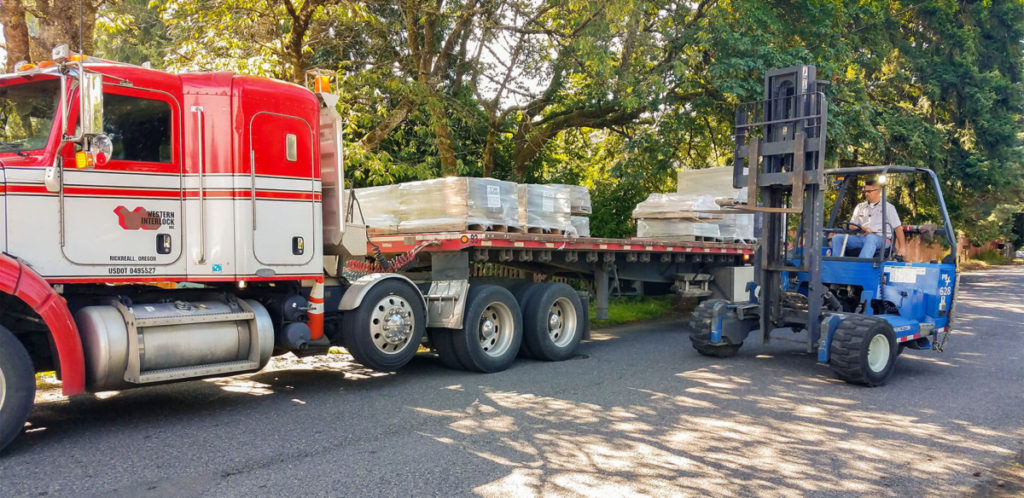
Before we deliver, we’ll always verify that we can access the drop site. We’ll need enough room to turn a large truck around along with 15 feet vertical clearance above any trees or carports. You can help make the delivery as smooth as possible by identifying a drop site and making sure it’s clean and clear for our drivers.
Where to place paver pallets
Once we’ve delivered your pallets, you’ll need somewhere to store them until you’re ready to start your project. Even if you’re planning to start right away, placing your paver pallets is a strategic activity.
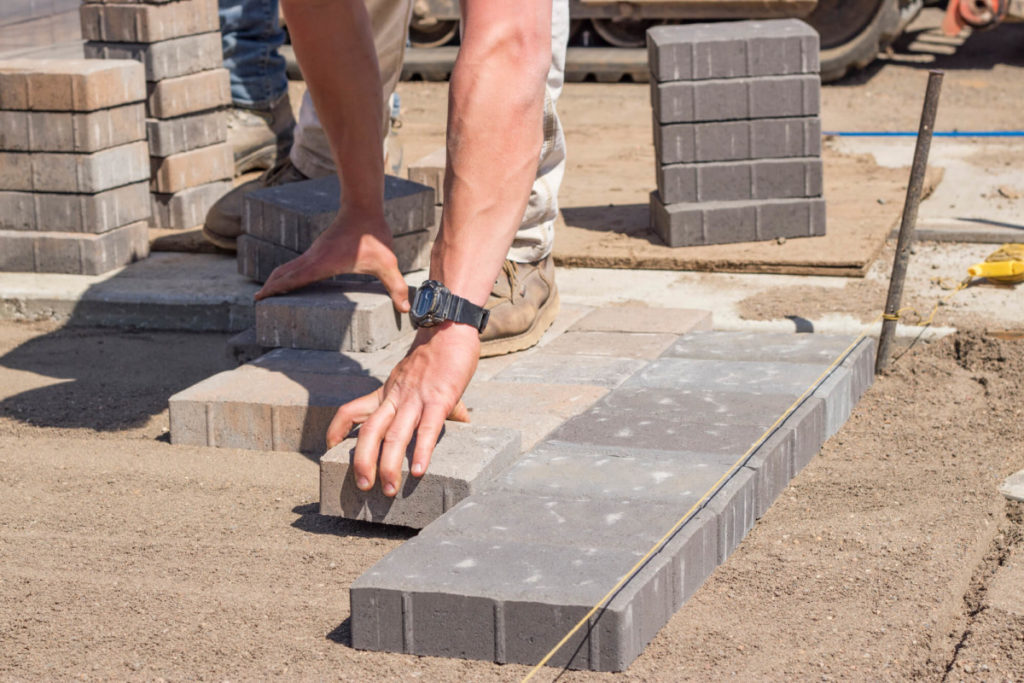
It’s common to think that you want to place them as far as possible from the entry point or walkway of your project. However, the best way to install hardscape is to start as far away as possible and work toward your entrance or exit. In other words, place your pallets as close to the entry as possible because then you won’t have to move them later.
What to do once the project is complete
Once your project is complete, you’ll likely have extra paving stones and material like gravel and sand. Don’t let it overwhelm you. Here’s how you can deal with both quickly and easily.
How to return extra pavers
If no one has told you already, we’re super relaxed about returns. If you have extra unused pavers, we’ll take them all back and return 100% of your money. It’s industry standard to charge a restocking fee for any returned stones. However, since we know how challenging it is to order the precise amount of stones for a project, we don’t charge any extra fees.
Note: If you need any help with your return, call our team at 503-623-9084 and we’ll do whatever we can to help.
How to dispose of extra gravel or sand
If you have a large amount of material, it might make sense to rent a roll-off dumpster. You’ll have to load it up yourself, but this option offers guaranteed, scheduled disposal of your rocks or gravel. If you have a small amount of material, you can load up a pickup bed or small trailer and dump the rocks yourself at a local landfill or transfer station.
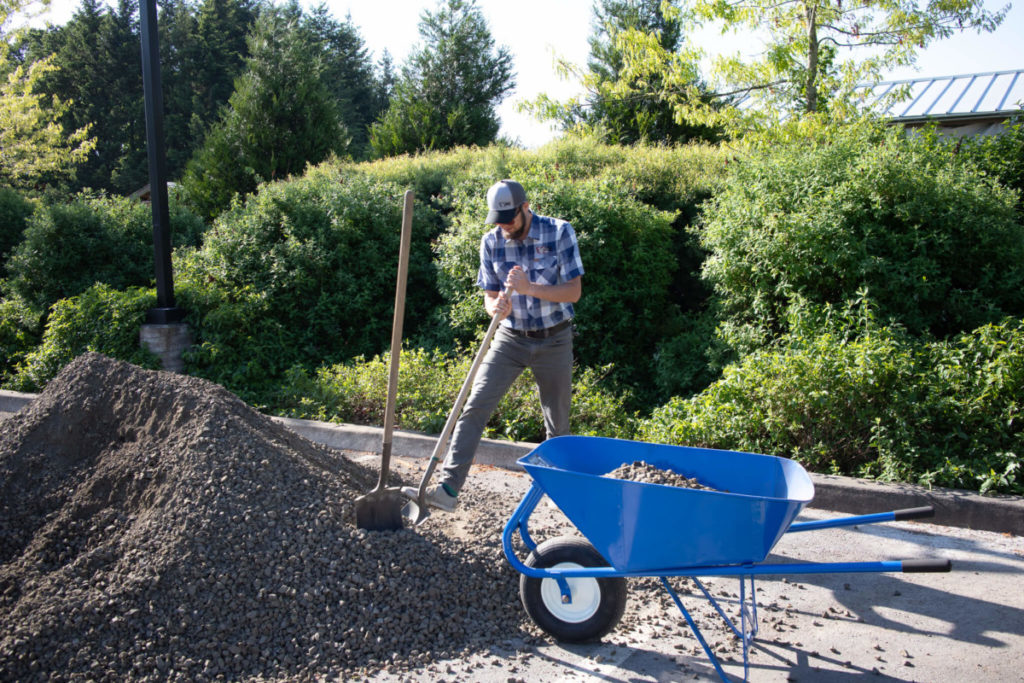
If you want to get creative, you can post an ad on Craiglist. Often, landscapers, contractors, and other DIYers are looking to repurpose your unwanted materials for their projects. Remember, one person’s trash is another person’s treasure.
Lastly, if you want to get the extra material out of your sight, you can hire a junk removal company. Before you book, make sure to confirm that they take heavy debris, such as rocks and concrete.
We’re here for you
If you still have questions about how to prepare for hardscape delivery or installation, talk to your sales representative or call our team of hardscape experts at 503-623-9084. We’re here for you.
Get our FREE Project Planning Guide
Tell us where to send it and we’ll email the backyard planning guide to you right away!
"*" indicates required fields


