Get our FREE Project Planning Guide
"*" indicates required fields
When working on your hardscape project, it’s essential to know about some crucial geo products you can utilize that will leave you happy with your project for a long, long time.
Overview of geotextiles
Various geo products are out there, ranging from a woven or nonwoven textile to a uniaxial or biaxial grid. Each can provide strength and longevity to your hardscape.
Nonwoven geotextile fabric
Filter fabric may look like your traditional landscape fabric or weed barrier, but it’s an engineered polypropylene, nonwoven material. It can be used under paving stones or behind a retaining wall. Its primary function is to keep dirt from migrating into your gravel.
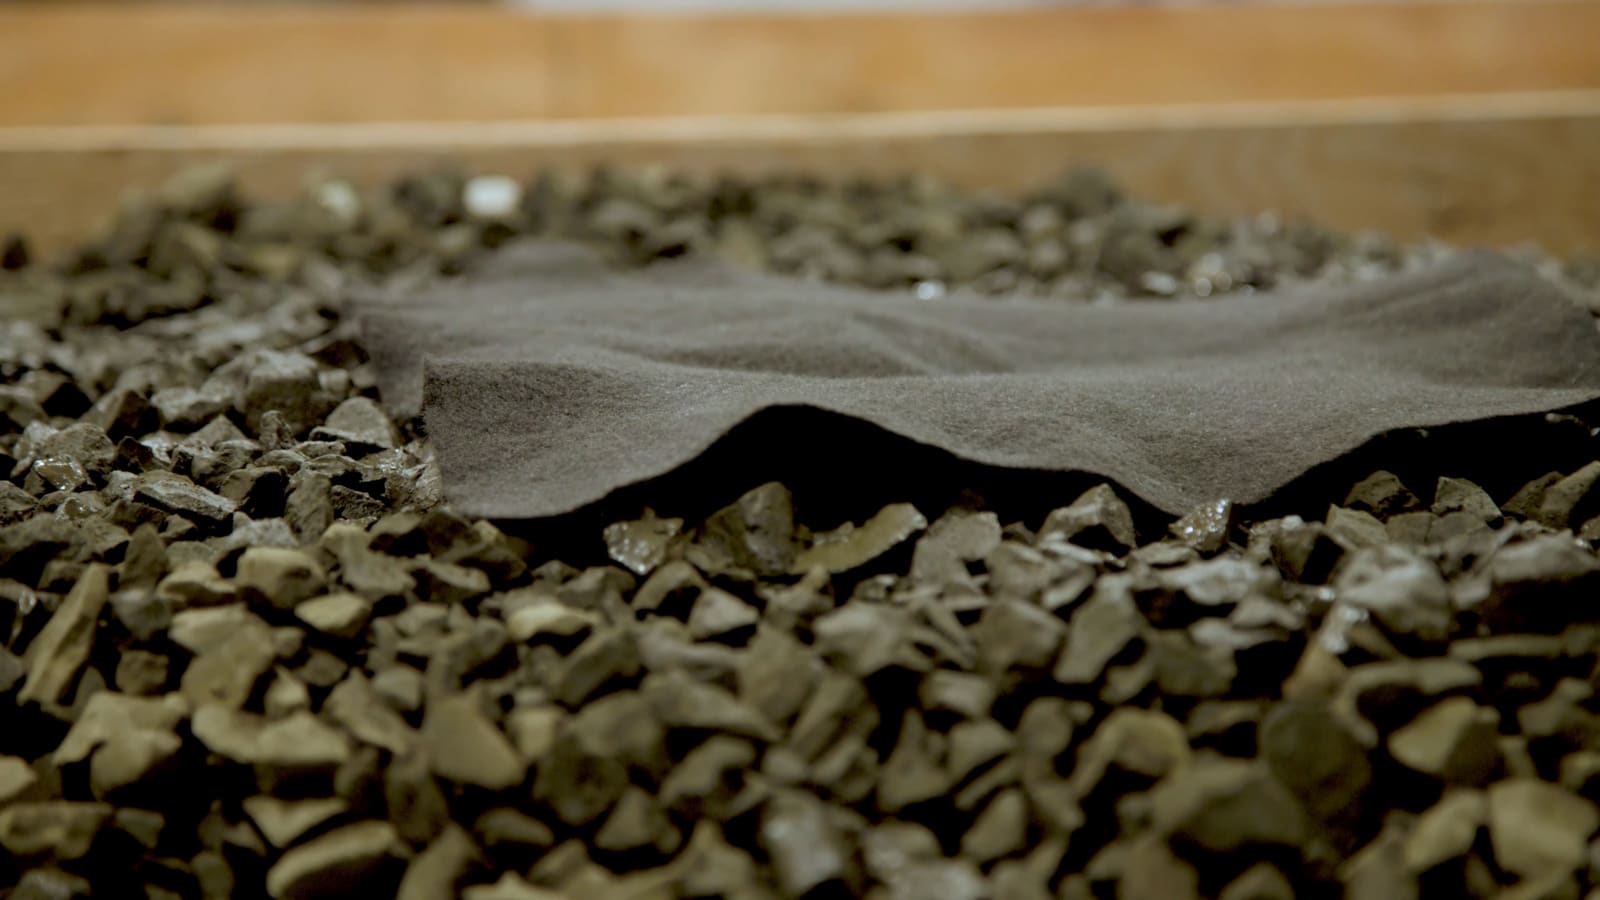
Because dirt in your rock can promote settling—especially behind a retaining wall—it can change your surcharge load and encourage failure. It doesn’t have quite the same tensile strength as a woven geotextile, so if you don’t need that tensile strength and need permeability, this is the product for you.
Woven geotextile fabric
A woven geotextile is the most common fabric we see today. Its primary function is like the filtered fabric—keeping dirt from migrating into your gravel and promoting settling.
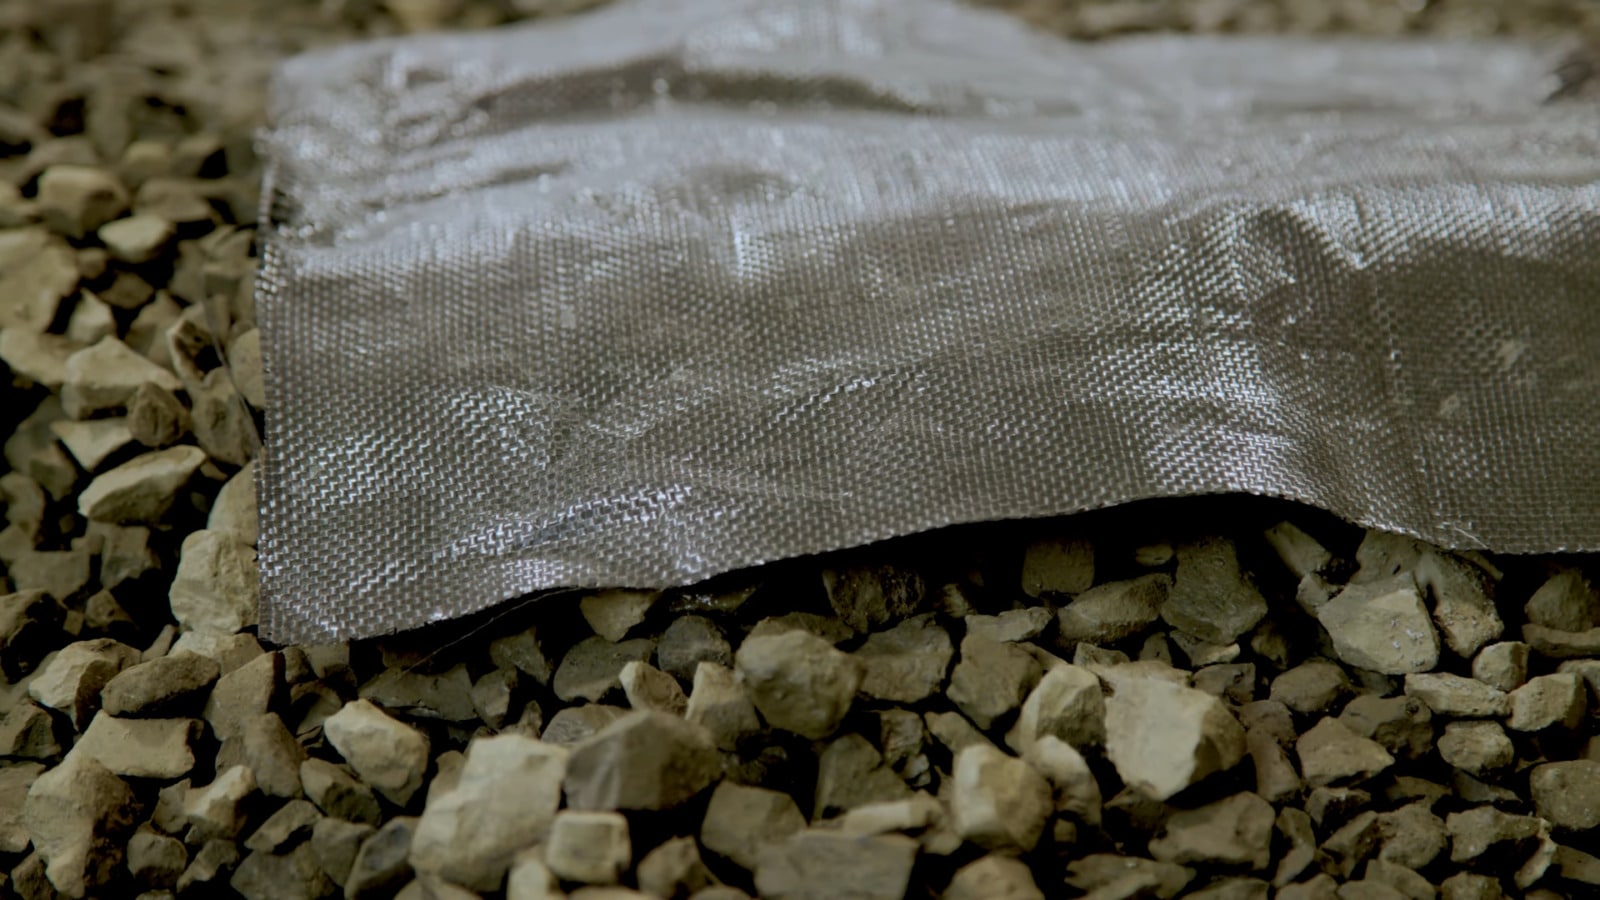
The tradeoff between geo filter and this is that it has such high tensile strength and is so tightly woven that it has no permeability. But that’s precisely the benefit of a pavement system involving paving stones, asphalt, or concrete; it has enough tensile strength to create some bridge ability in any settling or voids that could be created over time.
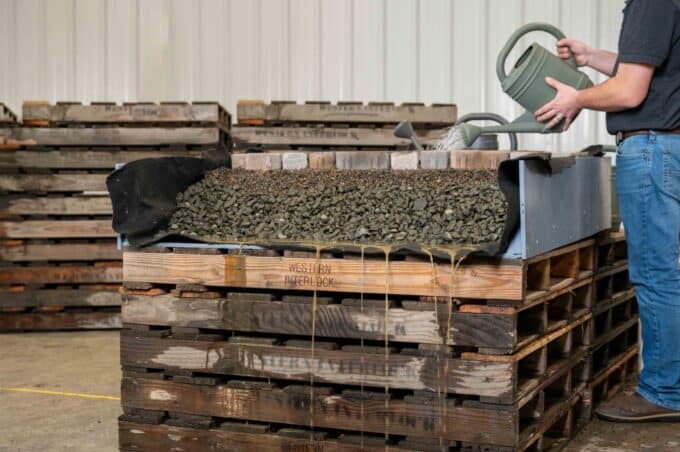
We constructed a demonstration table to show the benefits of utilizing a woven geotextile fabric underneath the base construction of your paving stone or any pavement project. We have a wooden box, and we have a removable drawer. What we did was fill the entire box with compacted gravel and then lay a course of stones over the top of it.
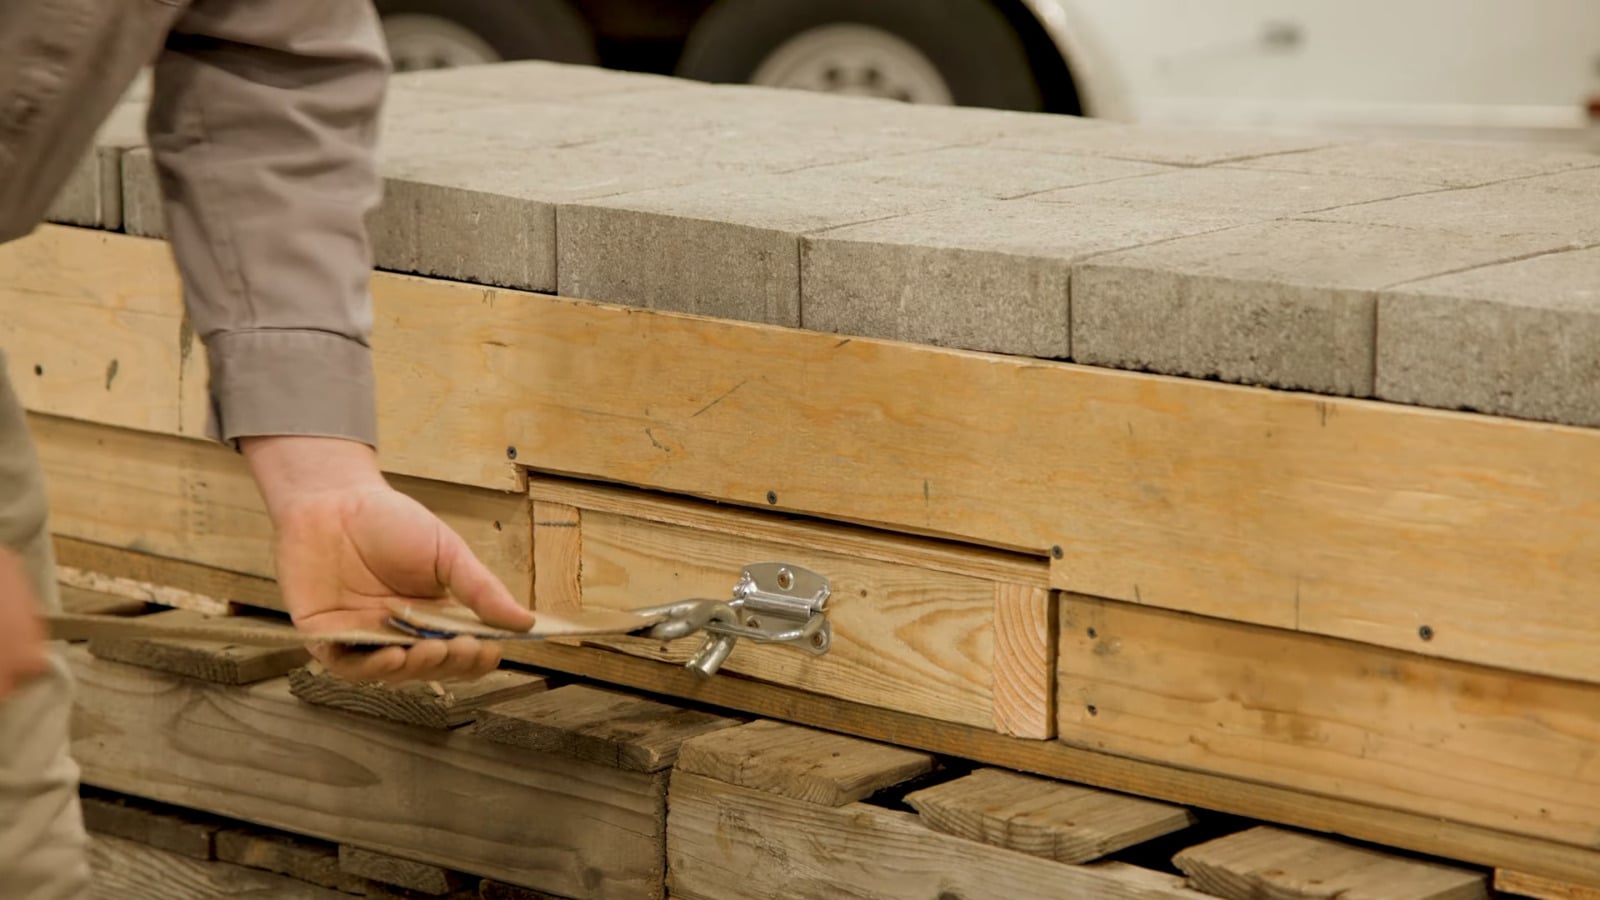
We removed the removable drawer to show what would happen to the gravel base and the pavement on top if a void was created below the base construction. We then replicated that test utilizing a piece of geotextile (the woven polypropylene kind) to show how much tensile strength and bridge ability you get when a void is created underneath a base construction with that fabric versus without.
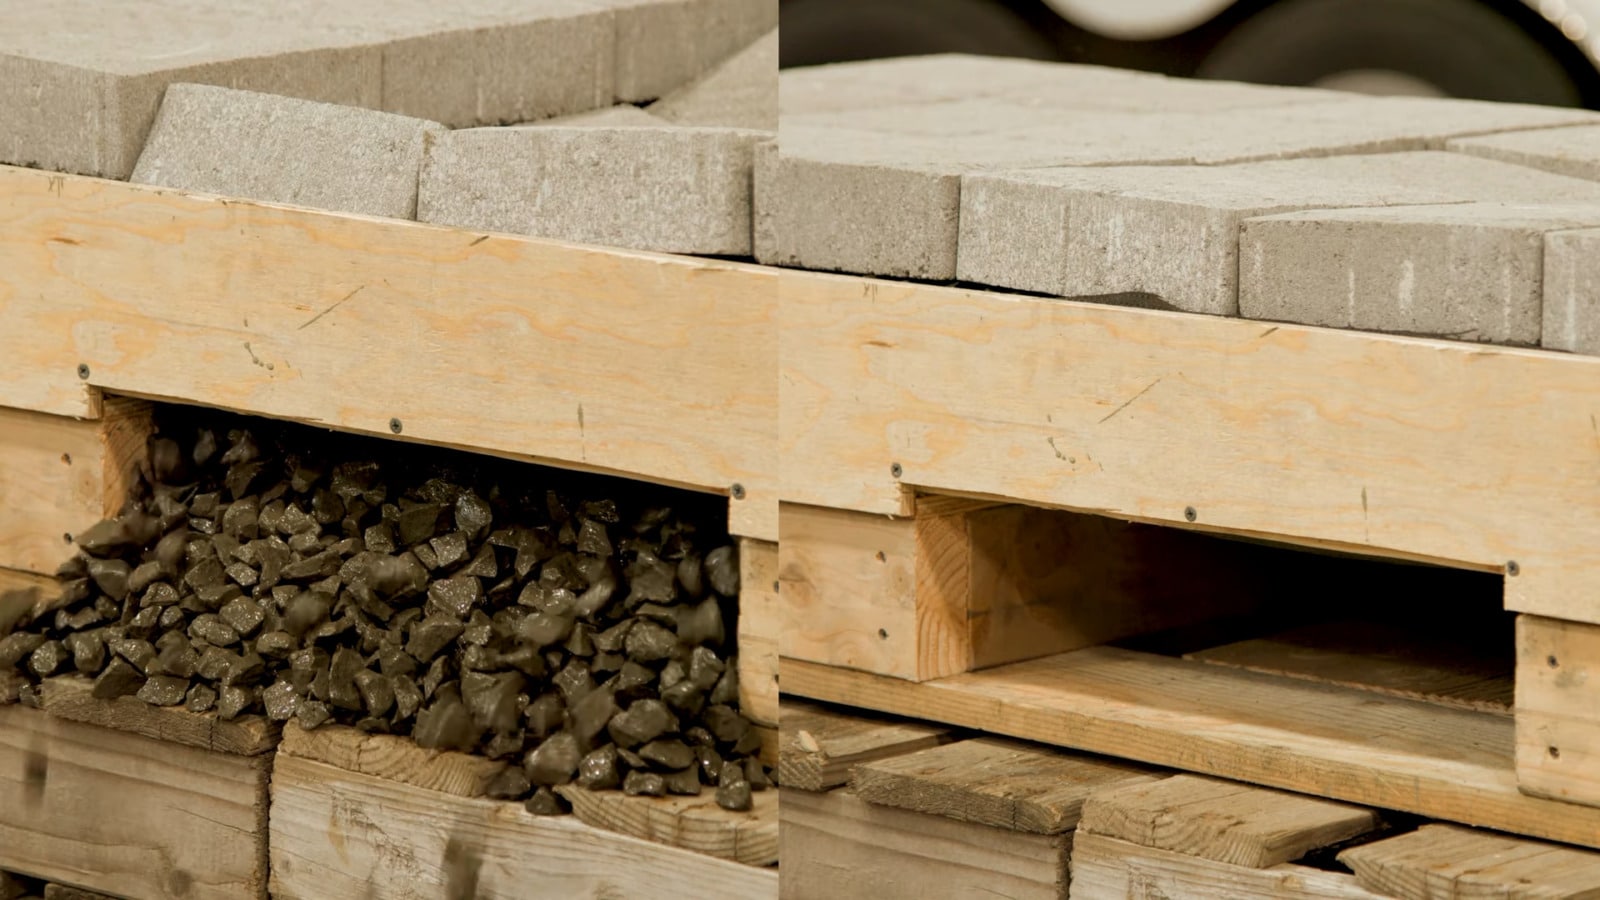
After we pulled the drawer out of our demonstration table, the pavers did settle a bit. Not all of our gravel base construction fell into that void, and it wasn’t the most accurate reference to how a paving stone system would work when properly installed. Nobody will ever have a void this big and wide just quickly and drastically happen, like in the demonstration. Other contributing factors would also help it, like joint material, edge, or strain. The bedding material would help that, too.
While it isn’t the best, most accurate reference, it does help to know that there is enough tensile strength out of this geotextile that if any smaller voids happen, there would be much more bridge ability and stability so you can get in there, and still have functional pavement on top.
Uniaxial geogrid
You may want to look into a uniaxial geogrid if constructing a segmental retaining wall. If you use a Stratagrid 350, you’ll see that some ribbons are more expansive and even more expansive on the edges. It has a lot of strength in just one direction, making it a uniaxial grid.
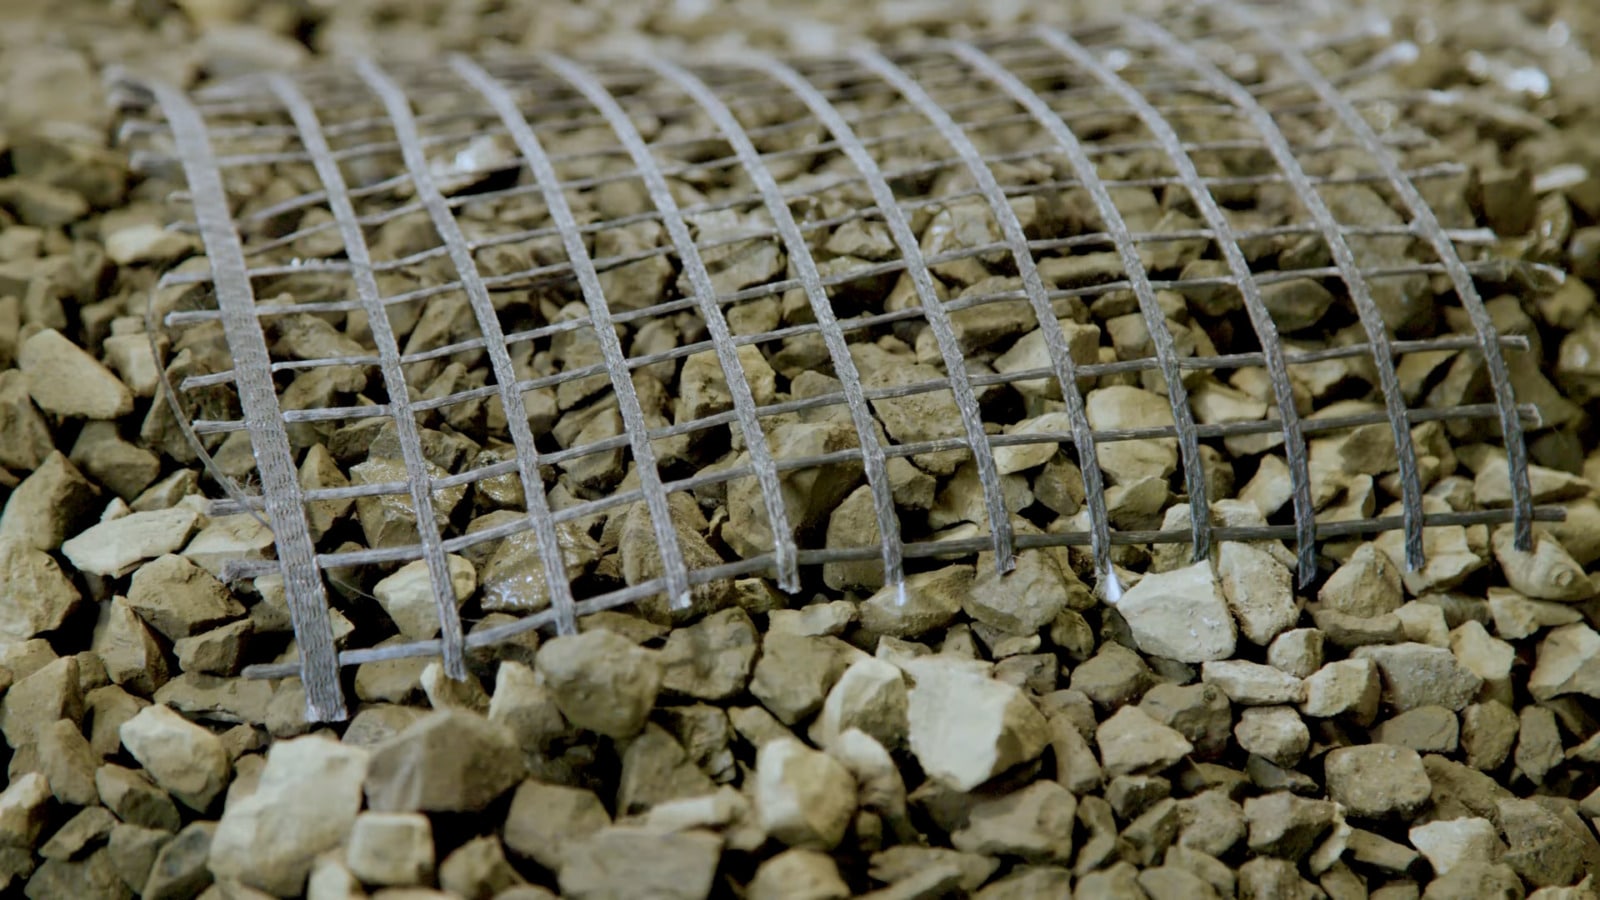
If you’re constructing a retaining wall, this goes in between your courses of block, creating an anchor into your gravel backfill and your dirt behind the wall, which keeps it from eventually rotating forward and failing. Utilizing some unidirectional geogrid with retaining wall projects is highly recommended if not required.
As an example of orienting a unidirectional geogrid within a retaining wall, we made a replica of a small Murata wall. With our Stratagrid 350 in place, the extra wide ribbons on the ends were apparent.
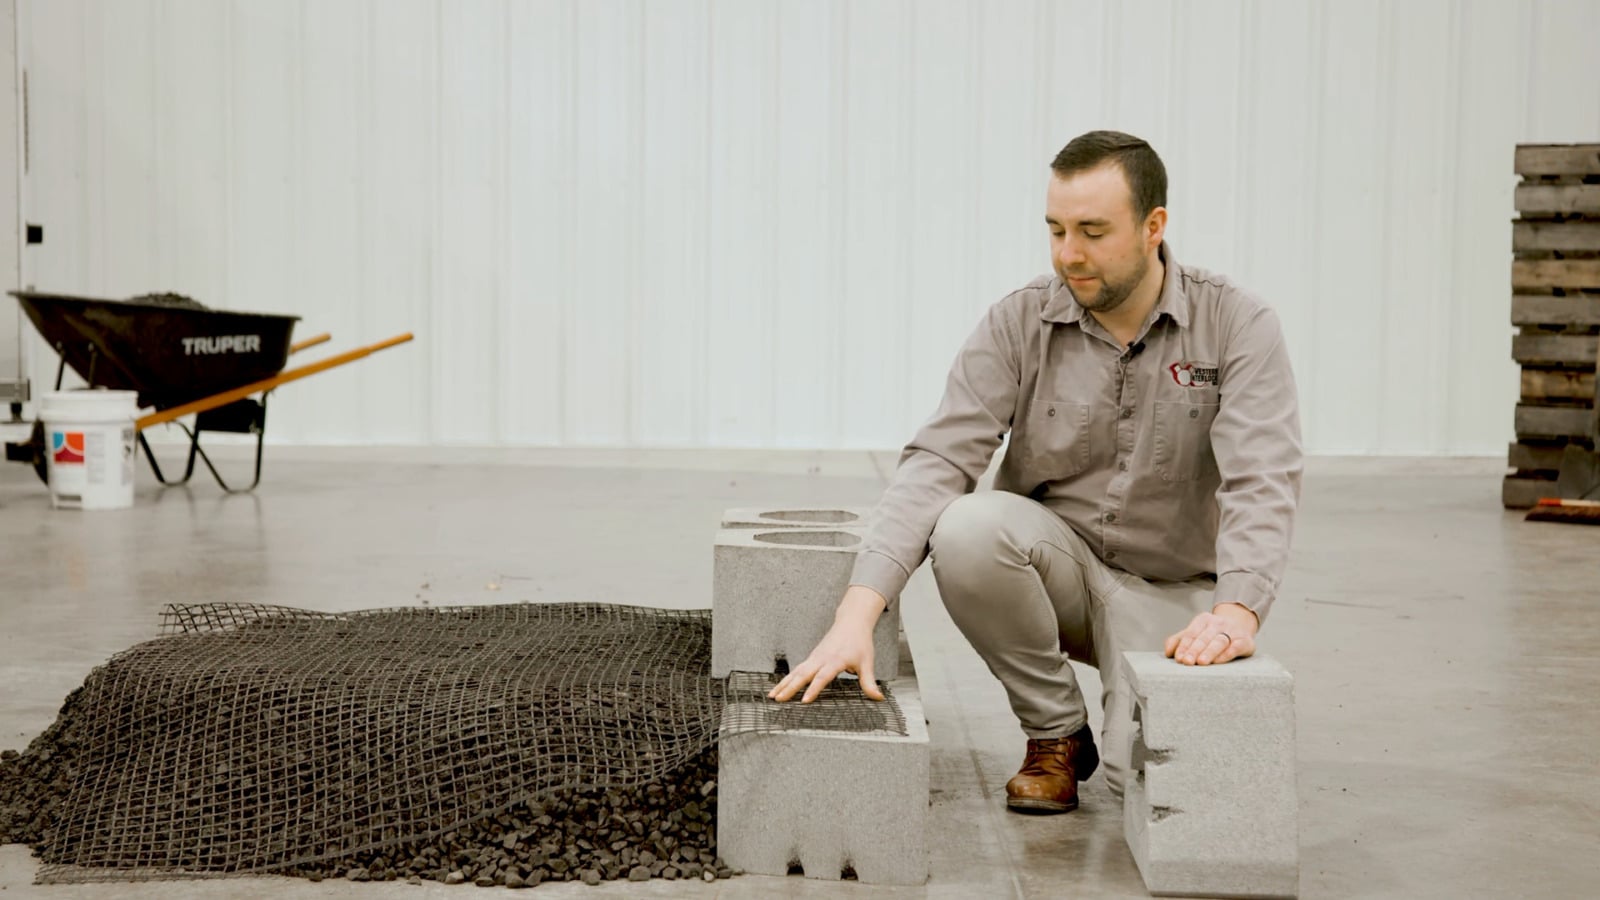
We typically sell 6’ wide rolls. What you don’t want to do is cut 2’ off that roll and roll it behind your wall. It is manufactured in the direction of the strength so that you will roll it out in 4’ strips or beyond, depending on the height of your retaining wall. You’ll cut that and lay them next to each other, side by side.
With your grid in place, you’ll have your blocks with open cells and gravel locking that in place. Then you’ll have compact gravel behind. This grid helps contribute to anchoring a robust system.
Biaxial geogrid
Another common geogrid you’ll want to consider utilizing is biaxial. Instead of having a high tensile strength in one direction like the uniaxial geogrid, this has an even tensile strength in both directions. Because of this, it has a broader range of applications. It can still be utilized in the base construction of a segmental retaining wall, but it doesn’t have the same tensile strength as the uniaxial. This is commonly used in aggregate stabilization underneath paving stones, concrete, or asphalt. It doesn’t matter which because if you have a gravel base, you can insert this in between layers. It will help promote longevity by providing stabilization in both directions.
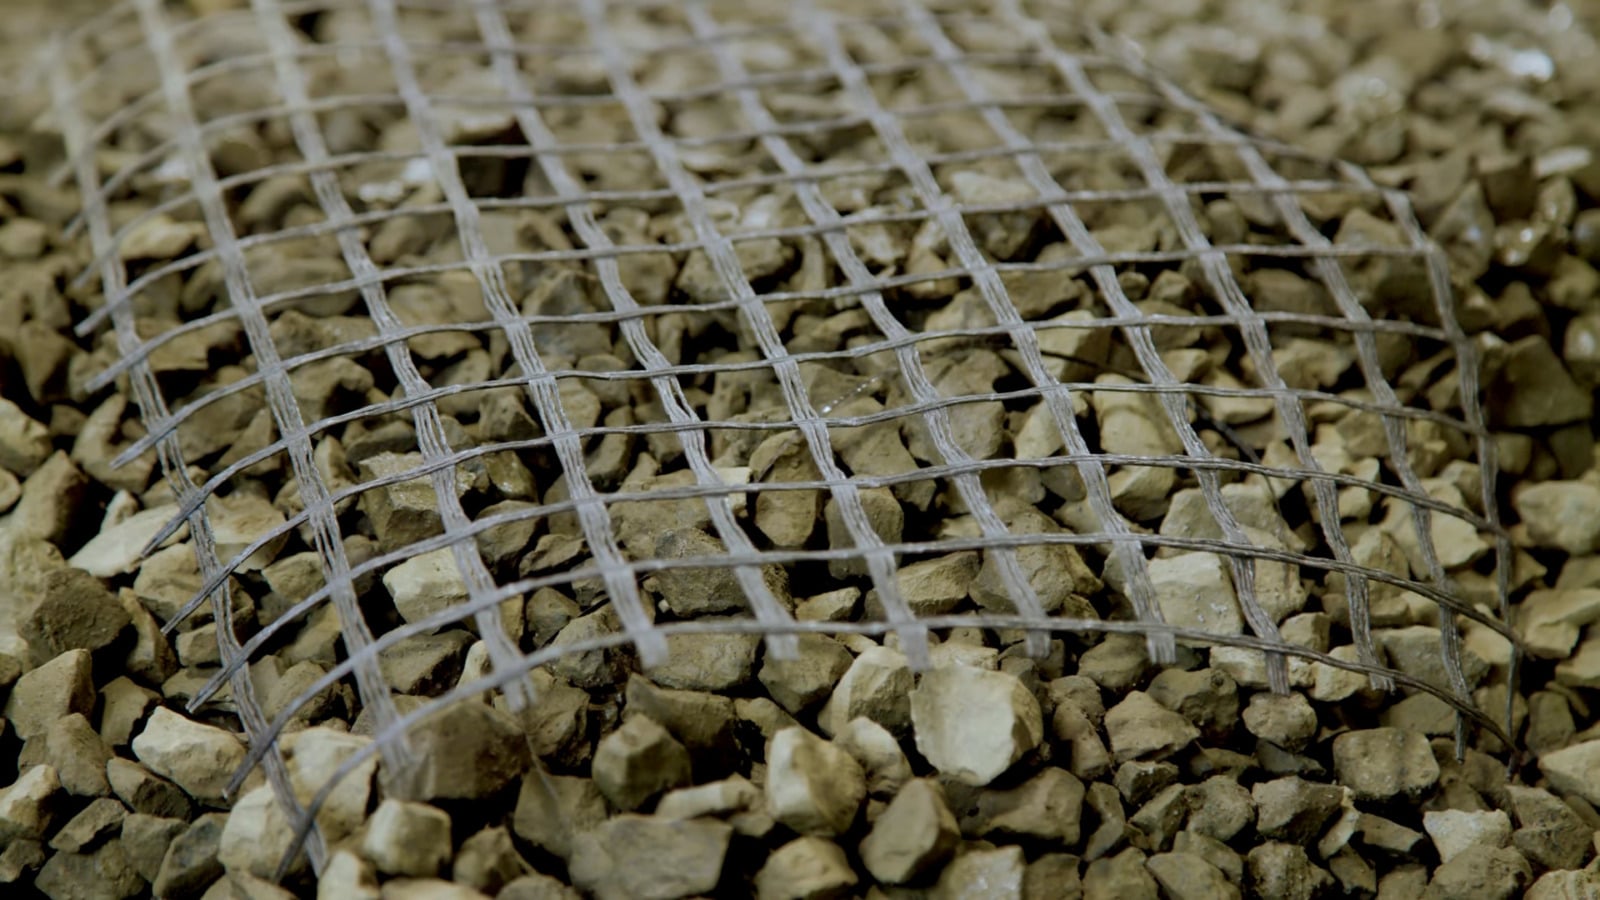
Biaxial geogrid is also commonly used for an edge restraint system in the paving stone world. If you’re using a concrete product, you’ll see this laid underneath the bedding material toward the project’s edges. Workers will cut away the bedding material and put their concrete troweled edge on top, helping make a bridge effect about 2’ or so into the border stone to promote longevity. It’s also sometimes used in column construction. It can be put between your block layers, and whatever aggregate or backflow you put inside the column can be stabilized with this product. No matter what kind of product you have, there may be a use for a biaxial geogrid.
We constructed a demonstration to show just how well a few pieces of geogrid can stabilize a gravel-based construction project. We have two boxes. One will be filled and compacted with 3/4″ crushed clean stone with no geogrid.
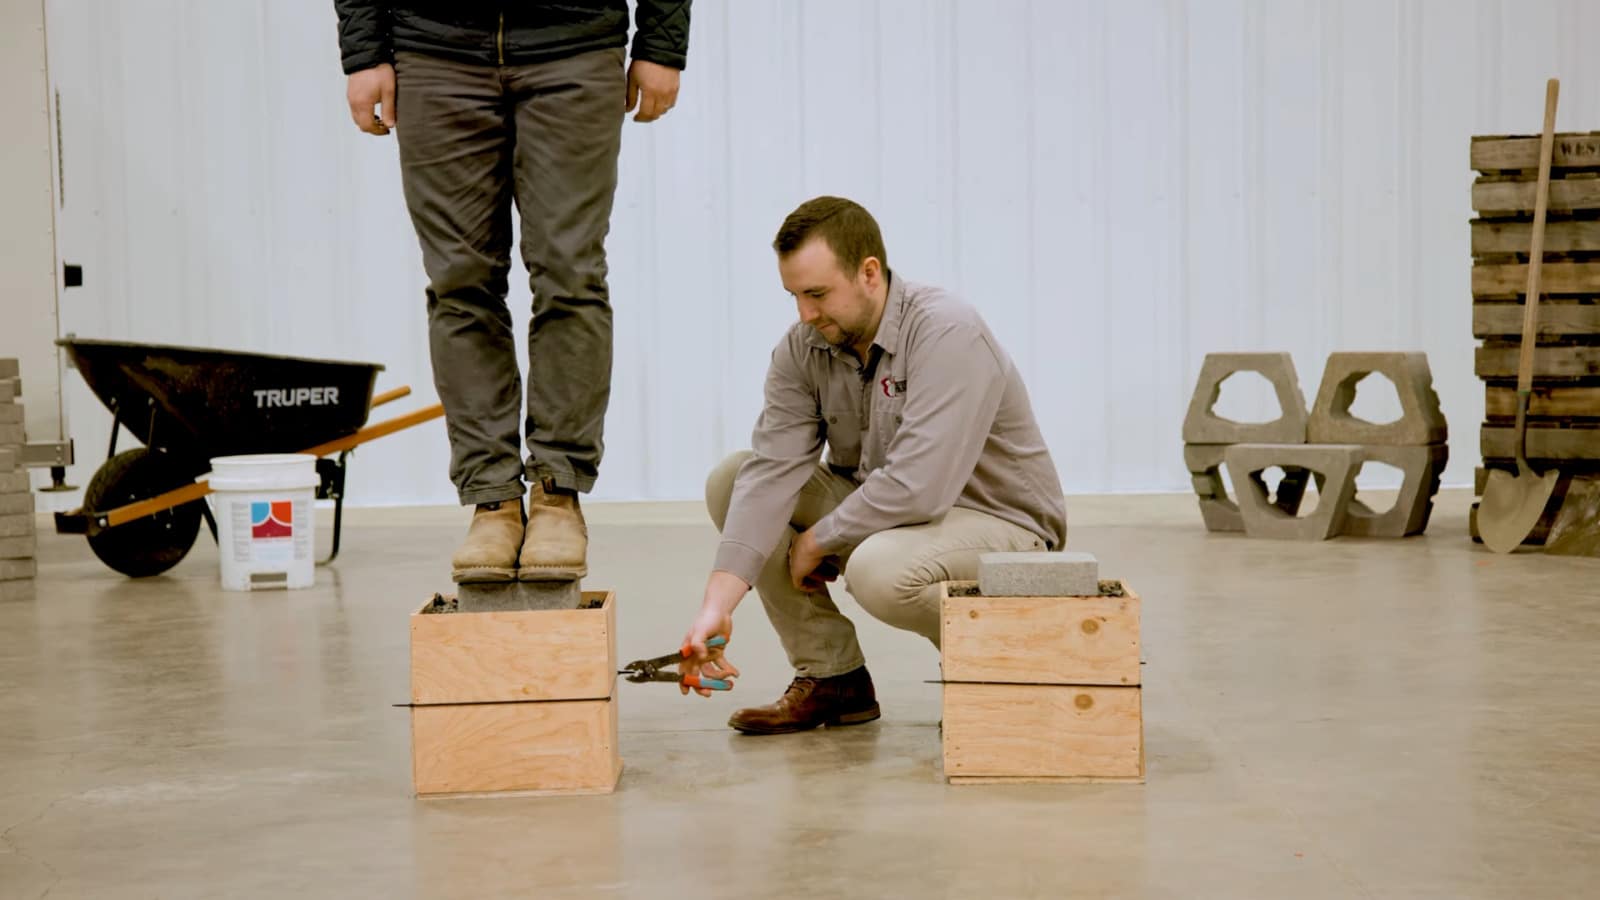
The other box will also be filled and packed with 3/4″ crushed clean stone, and we will put four pieces of geogrid throughout it. When we release these boxes with someone standing on the gravel on top of a paver, you’ll see the difference in how they perform from a stabilization standpoint.
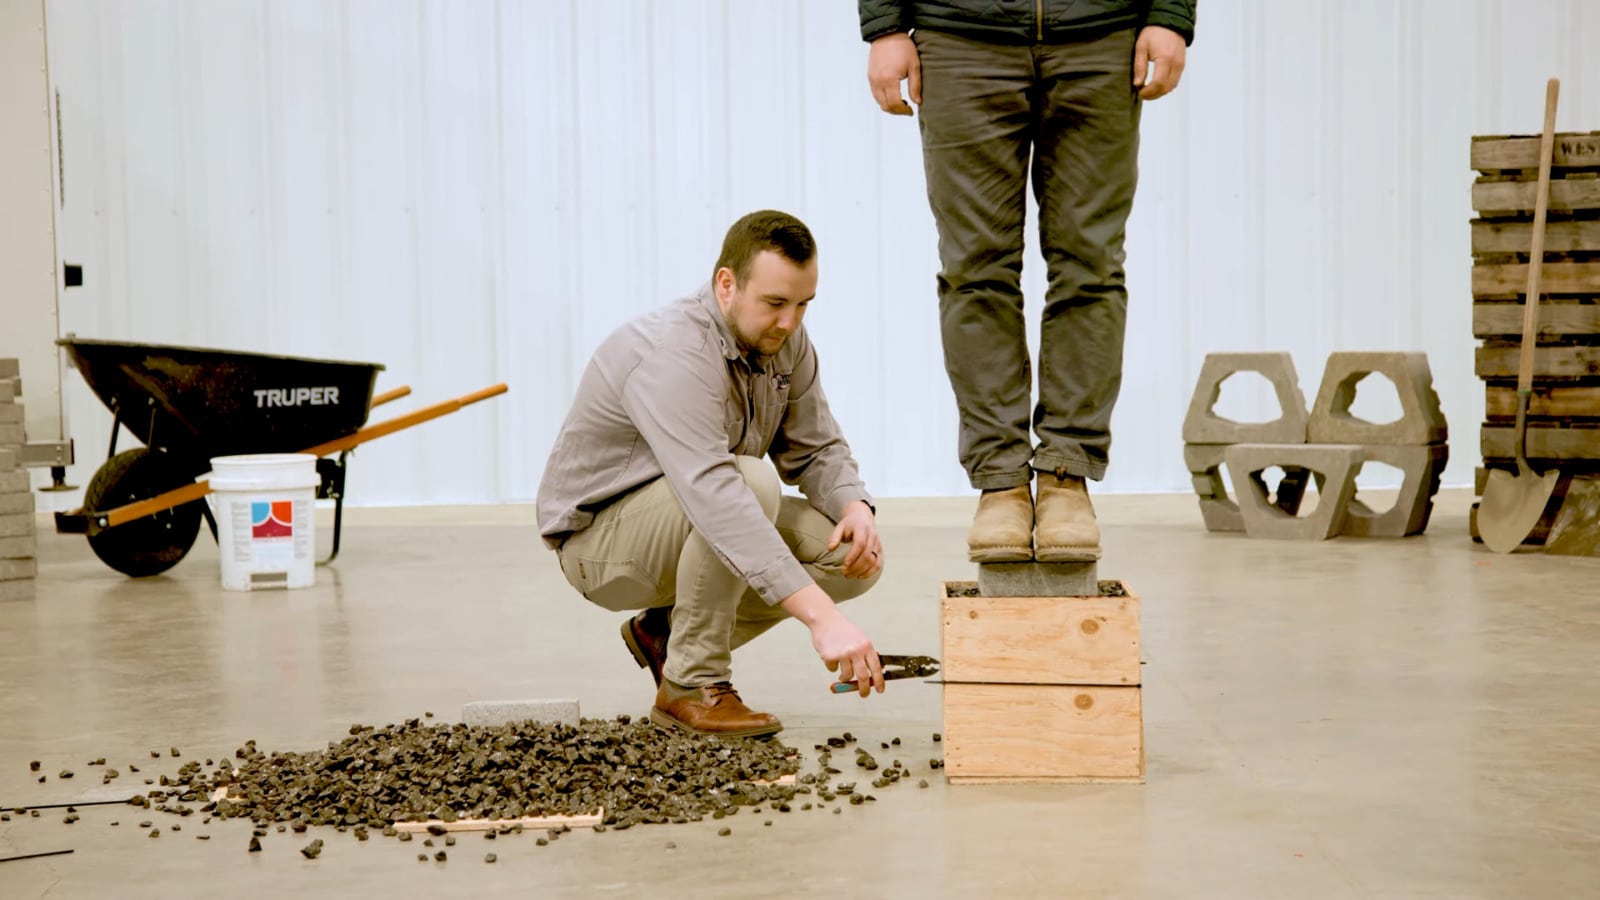
With our two boxes, it’s easy to see that the box without any geogrid reinforcement ultimately settled and sluffed off to the floor. And the side with the four geogrid layers stays upstanding, even when the person gets off it. It was the same person for both demonstrations; there was no weight change.
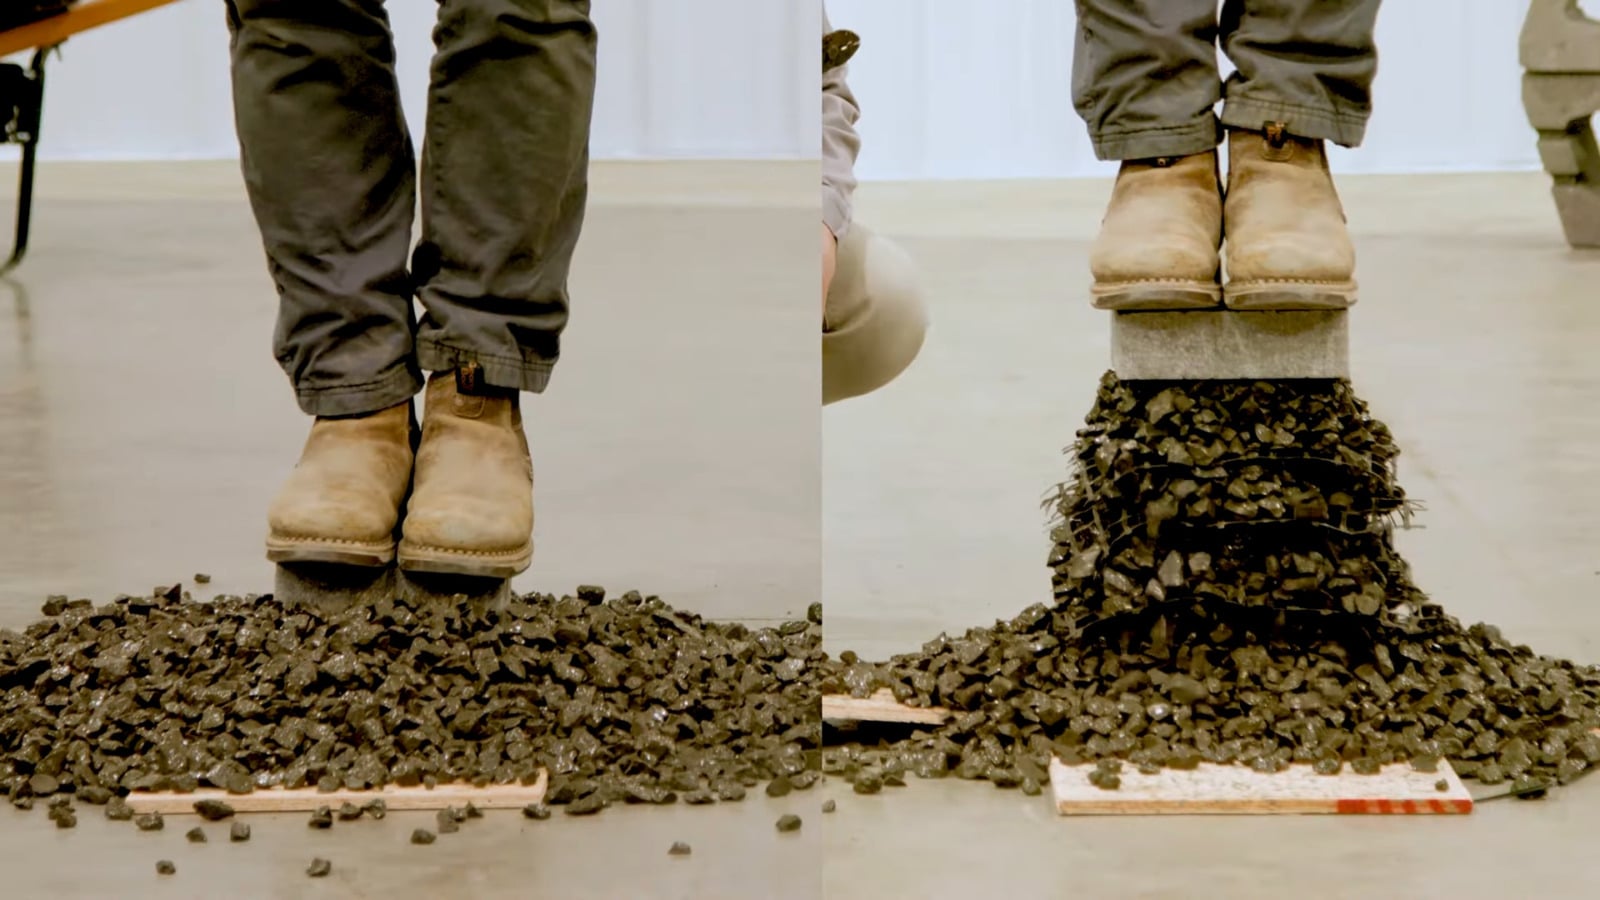
Using four layers of geogrid reinforcement may not be crucial for your paving stone project. At least one layer would be good, though. Our test helps show how it can help with the longevity and structure of your project.
Summary of geotextile use in hardscape
Many geo products are available for you to utilize in your hardscape project. They’re all inexpensive and serve basically as a cheap insurance policy. It’s one of those scenarios where it’s better to have it and not need it rather than need it and not have it. Because they’re inexpensive, especially when factoring in the total cost of a project, they’re easily attainable. If you want to learn more about hardscape projects and how to do them yourself, please look around more on our website.
Plan the perfect curved patio or walkway
Do you need help planning your paver project? Click here to download our free Project Planning Guide and get all the details you need to install a beautiful curved patio or walkway.
Get our FREE Project Planning Guide
Tell us where to send it and we’ll email the backyard planning guide to you right away!
"*" indicates required fields


