
Get our FREE Project Planning Guide
"*" indicates required fields
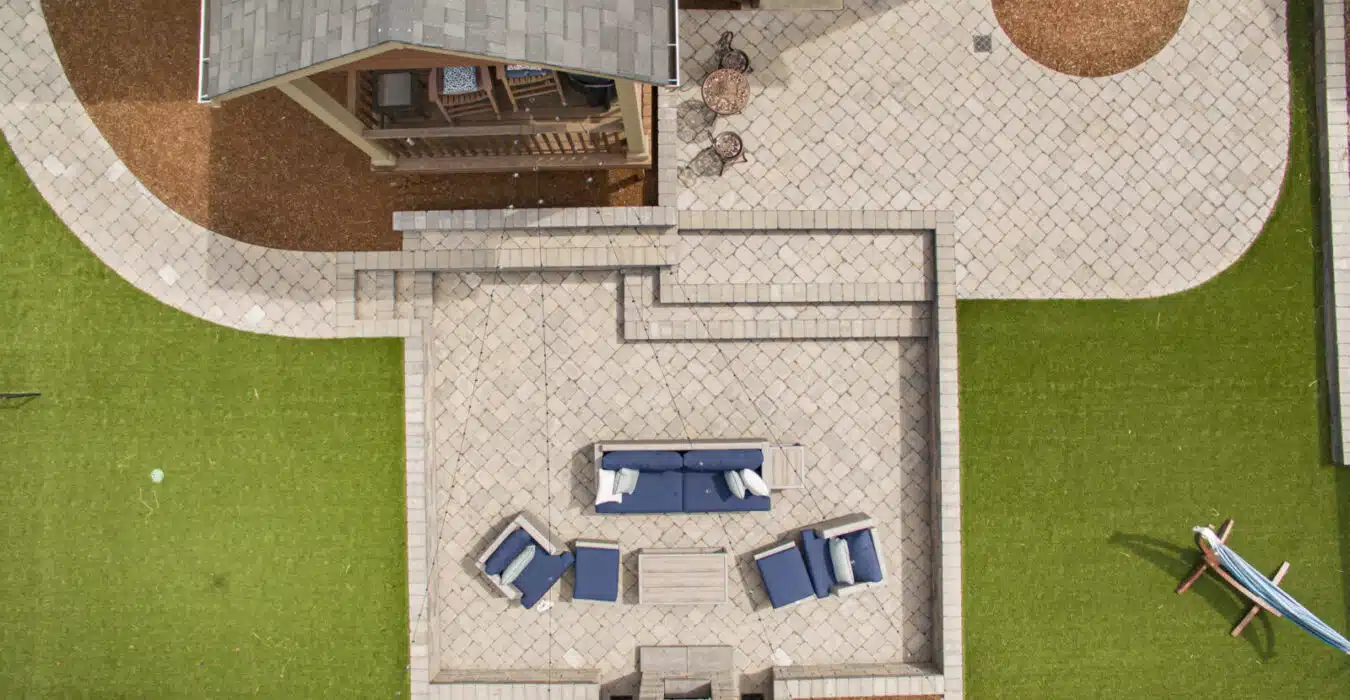
In this article, we’ll explain if you should install paver edging before or after laying pavers and walk through the logic, benefits, and best edging options to help your project last for years to come.
What Is Paver Edging and Why Does It Matter
Paver edging is a structural restraint system that holds your paving stones in place. It prevents pavers from shifting over time, defines clean edges for walkways or patios, and contributes to the overall longevity and visual appeal of your project.
There are a few common types of edging used in DIY projects:
- Plastic Edge Restraint: Easy to install, flexible, and available at most hardware stores.
- Modified Concrete (Perma-Edge): A fiber-reinforced, low-profile concrete edge restraint designed for strength, flexibility, and resistance to freeze-thaw cycles. Ideal for permeable or hybrid base systems.
- Traditional Concrete: Troweled-in-place or pre-formed, offering strong, long-lasting support.
Regardless of method, the goal is to lock in your paver project so it stays solid and beautiful through weather, wear, and time.
Paver Edging Before or After Laying Pavers? The Order of Operations
To get the best results, paver edging must happen at the right point in the installation process. Here’s a quick outline of the steps necessary to complete your hardscape project:
- Excavate
- Add and compact your base.
- Screed the bedding layer.
- Lay the pavers.
- Install paver edging.
- Sweep in joint sand.
- Compact the pavers.
Notice that edging comes after laying your pavers. That’s because edging’s primary job is to hold your completed layout in place, not define it ahead of time.

Why Installing Edging First Causes Problems
Putting in edging before your pavers might sound efficient, but it introduces several complications:
- Misalignment risks: If your layout changes slightly while installing pavers, early edging can lock you into a flawed pattern.
- Gaps and instability: Pavers may not sit flush or evenly if the edge constraint limits your flexibility.
- Aesthetic issues: Creating smooth curves, custom angles, or tight seams becomes harder.
- Extra rework: We’ve seen projects where “edging-first” installs had to be redone entirely due to shifting or unsightly gaps.
Edging is not a starting point; it’s the frame that locks in a job well done.
The Benefits of Installing Edging After Laying Your Pavers
When you install edging after laying your pavers, you unlock a host of advantages:
- Precision: You can perfect the layout first, then install edging that follows your exact border.
- Flexibility: Adjust curves and contours as needed without being boxed in.
- Tighter seams: With everything in place, edging helps compress the pattern for a snug, finished look.
- Professional polish: The final result is cleaner, more secure, and more likely to stand the test of time.
Our Top 3 Recommended Edging Options for DIYers
Here at Western Interlock, we’ve worked with every edging system. For most DIY projects, these three edge restraints stand out and would be our recommendation for your next paver project:

1. Snap Edge (Plastic Edging)
Pros:
- Lightweight and easy to cut
- Made from recycled plastic
- Simple to install with 10” spikes
Cons:
- Not ideal for open-graded or hybrid base systems (spikes won’t hold well)
- Can expand on hot days requiring cover if installing in high heat
Best For: Standard residential patios and walkways with a traditional base.
Check out our video on: How to Install Snap Edge

2. Concrete Edge Restraint (Troweled Concrete)
Pros:
- Readily available at most stores
- Durable when installed at a 45° angle up the paver edge
- Simple tools required
Cons:
- Can crack in freeze-thaw climates
- Requires more effort and time than snap-in systems
Best For: Homeowners looking for a traditional, long-lasting solution.

3. Perma Edge (Modified Concrete)
Pros:
- Designed to handle freeze-thaw with added fibers and air chambers
- Ideal for permeable or hybrid base systems
- Low profile—easy to conceal
Cons:
- May be harder to find locally
- Slightly higher cost
Best For: High-end DIY projects or climates with extreme temperature swings.
Check out our video on: How to Install Perma-Edge Paver Edging
Plan Your Project with Confidence
By placing your edging after laying your pavers, you set your project up for structural integrity and a beautiful finish. Choosing the proper edging—whether Snap Edge, concrete, or Perma Edge ensures long-term success.
Ready to Start Your Project?
Download our Project Planning Guide to map out your project step-by-step.
Check out our video on 5 Ways to Retain a Paver Edge
Get our FREE Project Planning Guide
Tell us where to send it and we’ll email the backyard planning guide to you right away!
"*" indicates required fields


