Install Permeable Pavers Yourself – Pros, Cons, & How to Choose the Right Path
A well-designed permeable paver system does more than upgrade your outdoor space. It naturally manages rainwater runoff, reduces erosion, protects local waterways, and supports the long-term health of your property, all while creating a beautiful setting for life’s most important moments. . And if you’re wondering if you can installing permeable pavers yourself, you’re not alone.
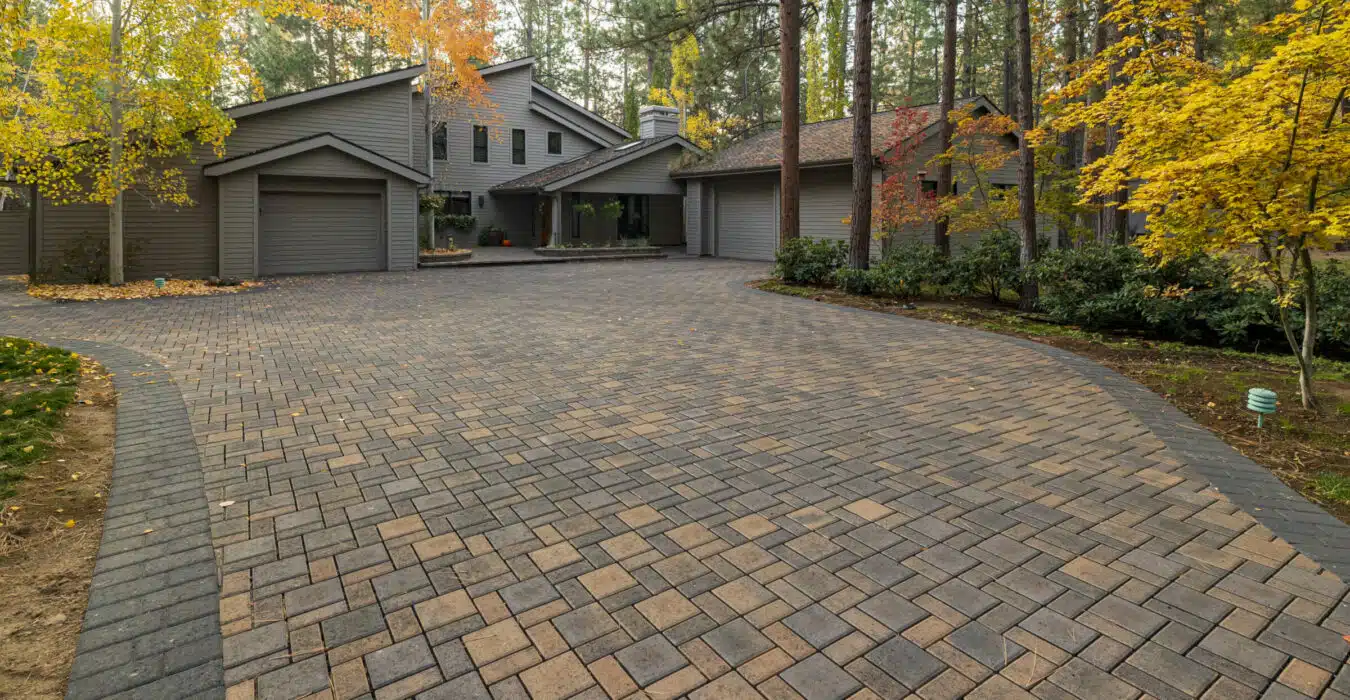
Whether you’re building a new driveway, patio, or walkway, permeable pavers combine timeless beauty with practical, eco-friendly performance. Many homeowners successfully DIY their projects and find it a rewarding experience.
With a little preparation, you can set the stage for a beautiful, lasting result. Let’s review the pros and cons and discuss how to know if DIY is the right fit for you.
Why Choose a Permeable Paver System?
There are plenty of reasons to choose a permeable paver system. Here are a few you’ll appreciate right away:
- Reduces puddles and standing water
- Helps protect against erosion and drainage issues
- Supports local stormwater management regulations
- Creates a more eco-friendly outdoor space
- Adds long-term value to your property
Beyond the practical benefits, permeable pavers create beautiful, welcoming spaces perfect for gathering family, celebrating with friends, and building memories that last a lifetime.
Should You Install Permeable Pavers Yourself?
Taking on a DIY project can be incredibly rewarding. Here’s what’s excellent about installing your permeable pavers—and a few things to prepare for. The sense of accomplishment you’ll feel after completing your project will be a source of pride and satisfaction.
The Pros of DIY Installation
- Save on labor costs: Installing permeable pavers can significantly reduce total project costs, especially for larger areas.
- Complete control over the design: Choose your favorite styles, colors, and layout patterns without compromise.
- Learn a valuable skill: Gaining hands-on hardscape experience can serve you well for future projects.
- Personal satisfaction: Few things are as rewarding as creating a beautiful, lasting space with your own two hands

The Cons of DIY Installation
- Physical labor and time commitment: Excavating, hauling gravel, and precise leveling are demanding and often more time-consuming than expected.
- Special tools are needed: To achieve professional results, you may need to rent equipment like a plate compactor, screed rails, or marking tools.
- Precision matters: Proper compaction and leveling are critical. Minor errors can affect drainage and long-term performance.
- Fixing mistakes can be costly: Re-excavating or re-leveling sections later can double the effort.
Install Permeable Pavers Yourself? How to Choose Your Path
Do you want to DIY or hire a contractor? You don’t have to guess.
If you’re excited about hands-on work, confident with home improvement projects, and willing to invest the time, DIY can be an enriching experience.
If you’d rather focus on design and let an experienced team handle the heavy lifting, hiring a contractor ensures professional-grade results and peace of mind.
Need help deciding?
We created the Project Planning Guide — a free resource designed to help you weigh your options, plan your project, and confidently move forward. This guide includes step-by-step instructions, tips for avoiding common pitfalls, and a checklist of necessary tools and materials.
How Difficult Is It, Really?
Installing permeable pavers might sound complicated, but if you’re comfortable with basic DIY projects and ready to roll up your sleeves, you have this. Careful preparation, attention to detail, and steady work are the keys to success.
And remember—you’re not alone. Our detailed installation guides and videos walk you through every step so that you can build something beautiful and lasting with confidence.

DIY Permeable Paver Tools Checklist
Before you get started, here’s a simple tool checklist to make your project go smoothly. (Most of these can be rented if you don’t already have them.)
- Marking paint and string lines for layout
- Shovel and wheelbarrow for excavation and material handling
- Plate compactor for compacting gravel and pavers
- Screed rails or a notched board for leveling bedding material
- Rubber mallet for fine-tuning paver placement
- Push broom for sweeping aggregate into joints
- Tape measure and a level for accurate measurements
You’re Building Something That Lasts
Taking the leap to build your own outdoor space is an incredible achievement—and one you’ll enjoy for years to come. Whether you’re gathering family on a new patio, welcoming friends to a backyard BBQ, or simply building a space where future memories will unfold, you’re investing in something truly lasting.
At Western Interlock, we’re honored to help you create beautiful spaces where faith, family, and friendship thrive.
We’re here to support you every step of the way. Whether you need materials, resources, or just a bit of encouragement, we’re always ready to help.

Ready to Start Your Project?
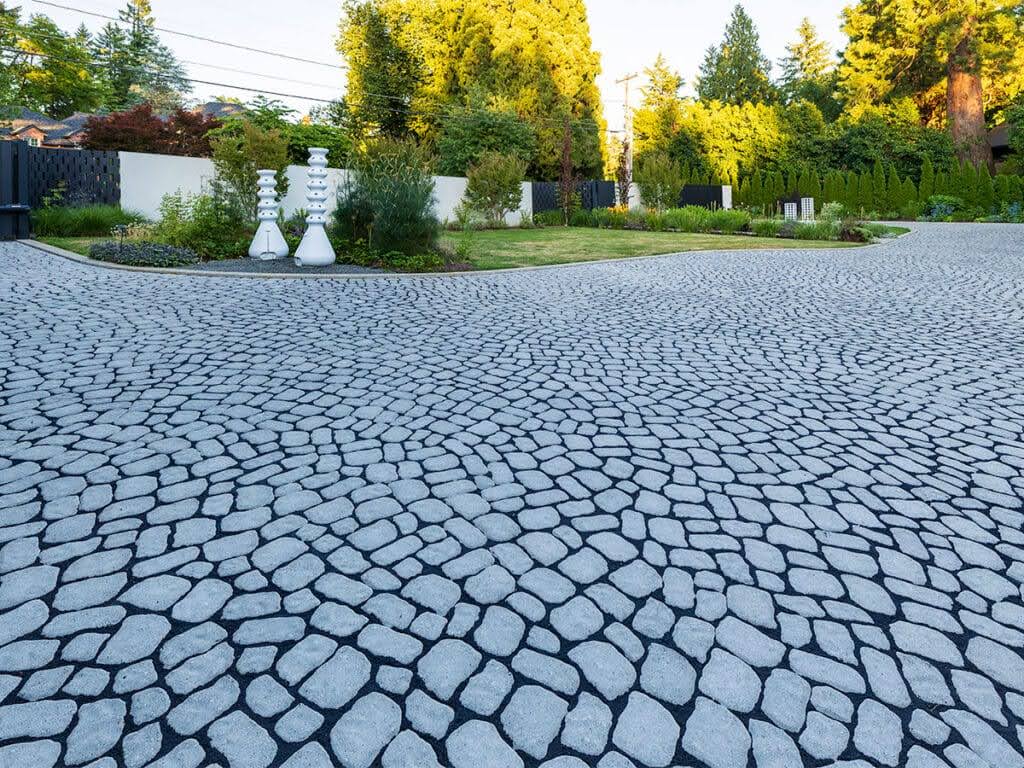
- Explore our selection of beautiful, eco-friendly Permeable Pavers designed to perform and inspire.
- Check out our video on How to Install Permeable Pavers
- Download our Project Planning Guide to map out your project step-by-step.