Get our FREE Project Planning Guide
"*" indicates required fields
Are you looking to ensure you have all the tools you may need for any hardscaping project? In this article, you can find a list of every item you may need to start a DIY paver project.
Small tools
Let’s start with the small tools. They are the main ones you will want to have on hand, as well as a tool bag that is big enough to hold all of them.
Tape measure
To lay a lovely hardscape, you will need to have accurate measurements. Make sure you have a tape measure that stretches to at least thirty-five feet.
Finishing trowel
You will need a flat finishing trowel to smooth the base and any paver sand you finish with. Ideally, the trowel should be 3×12”, or as close to those dimensions as possible.
Putty knife
You’ll also need a putty knife for small finishing jobs that your trowel cannot reach. You may need the agility of this smaller tool to adjust or remove a paver.
Screwdrivers
Ensure that you have two flat-headed screwdrivers at a minimum of 8”. You may also need this smaller tool to adjust or remove a paver.
Hammer
You will need a double-faced hammer for pounding in the spikes and using the chisel. It should be a minimum of three pounds to ensure it will do an adequate job for both spikes and chisel.
Paver mallet
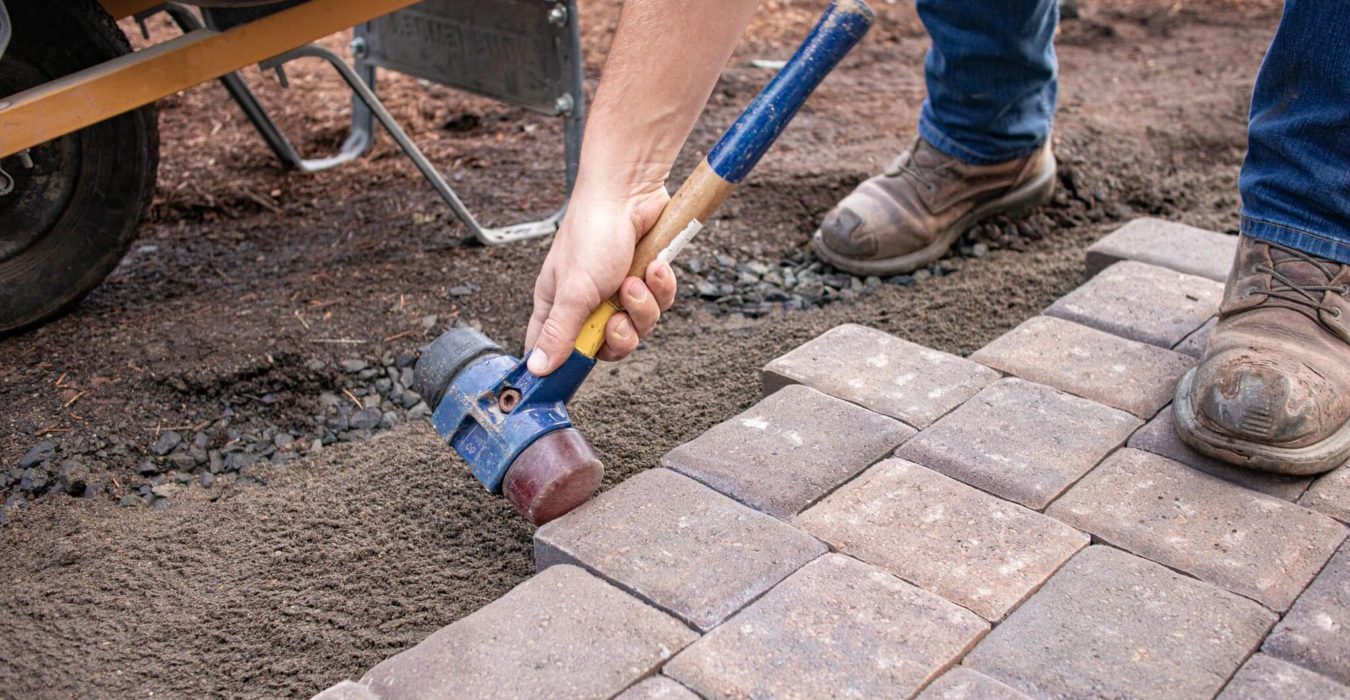
It would be best to have a paver mallet or dead blow hammer in your tool bag to ensure the pavers are level and solidly in their places.
Masonry chisel
A masonry chisel is necessary in case you need to cut pavers. Ideally, it would help if you had a brick set chisel that is 3-4”.
String line
Add a string line to your tool bag to ensure your pavers are straight. You can also use a braided fluorescent mason’s line.
String line level
Along with the string line, ensure you have a string line level so even your large new patio or paved area can be as even as possible.
Standard levels
You will also need a standard torpedo level set for the smaller areas. Get a set that has 24” and 48” levels in it.
Knee pads
Installing pavers involves crawling around on the ground on your hands and knees. One or two sets of knee pads can make all the difference in your comfort through your project!
Paver markers
Your tool bag should have some paver markers to mark where you need to chisel or the size you need your pavers to be.
Marking paint
Marking paint is a necessity for knowing the pattern for laying your pavers. Make sure you use only white to signify it’s only for marking.
Caulking gun
Have a reliable caulking gun on hand, and make sure it has a puncture pin attached to open up the tubes of caulk.
Utility knife
Get a retractable utility knife with extra blades for opening bags of sand and being the general go-to small tool.
General tools
Now that you already have your small tool bag ready let’s move on to the general tools. These are a bit larger, but you will use them frequently while laying pavers.
Rake
Laying a good paver base means you need some excellent rakes to smooth out your gravel or sand. Make sure you have a 30” landscape rake or lute base rakes for this purpose.
Transfer shovels
You’ll need to scoop the aggregate as you build your base and bed. Have three accessible flat shovels for this.
Round point shovel
If you want a good foundation for your hardscape, you have to dig it out a little! Stock a few spades for digging the base.
Pickaxe
You will need one or two picks or mattocks for prying, chopping, or digging up stubborn hardpan.
Sledgehammer
You will need to pound in stakes and possibly break up old concrete or pavers in the area you are installing the new hardscape. Make sure you have a sledgehammer that is a minimum of ten pounds.
Stakes
It is essential to mark the area where you are laying pavers accurately! Have at least eight ¾” grade stakes 24-30” long.
PVC conduit
One of the more unexpected things you will need: is a PVC conduit pipe. Use ½” pieces of conduit for making curves. You will likely need at least eight pieces of this as well.
2×4’s
To screed your sand or bedding material, you should have ab eight foot long 2×4”. Make sure it is straight.
Hand tamper
To ensure everything in your base is packed and level, ensure you have a good hand tamper. 10×10” is ideal but 8×8” will do. This tool can make all the difference in how compact and solid your paver base will be.
Pry bar
A pry bar will be handy if you are tearing up an existing hardscape before laying the new one. However, you could also use it to make sure your pavers are wedged in tightly and create an even pattern.
Push brooms
When you’re ready to finish, bring out the push brooms! You will use them to push sand between the edges of the pavers, sweep off the hardscape when done, and bring out the clean surface of the completed pavers.
Professional tools
This next section includes three tools that are specific to paver installation.
Paver adjuster
Similar to the small pry bar, you could use a paver adjuster. It will help ensure that every paver is aligned and positioned correctly in the hardscape.
Paver puller
What happens if you mess up and need to take out a paver? Hopefully, you will not need to use one, but if you make a mistake, it will be a lifesaver! Meet your friend, the paver puller.
Paver splitter
A paver or wall splitter is a heftier tool, but if you need to split individual paving stones, a paver splitter will make a huge difference for you. If you don’t want to make the larger investment of buying one for yourself, paver splitters are often available for rent from places like Home Depot.
Paver tool wish list
Finally, let’s look at some paver tools you can add to your wish list! These are not necessary for your paver project, but they would make the job even easier.
Sand pull
Sand pulls allow you to screed sand while you are standing instead of needing to get down on your hands and knees. We recommend the 24” sand pull by Pavetech.
Screed board
As you are smoothing out sand, you will find that a screed board is a necessity for making sure your base is even. An aluminum screed board is ideal– and make sure stretches over eight to ten feet.
Paver cart
Of course, it is possible to transport pavers with just a wheelbarrow. Still, a paver cart makes moving them much more manageable. It also makes it possible to move pavers smoothly off the pallet instead of the tedious one or two at a time.
Download the project planning guide
If you are ready to start your paver project, download our Project Planning Guide to get all the details you need to start!
Get our FREE Project Planning Guide
Tell us where to send it and we’ll email the backyard planning guide to you right away!
"*" indicates required fields


