Get our FREE Project Planning Guide
"*" indicates required fields

Overview
- Difficulty: 2
- Cost: 4
- Est. time: 3–4 hours
Materials
- Wall blocks
- Capstones
- Landscape fabric
- ¾” minus gravel
- Flexible Exterior Grade Construction Adhesive
- Landscape stakes
- Marking paint (white)
Tools
- Work gloves
- Wheelbarrow
- Pickaxe
- Shovel
- Garden rake
- Broom
- Tamper
- Rubber mallet
- Line level
- 24-inch level
- Carpenter’s square
- Tape measure
- Caulk gun
So you want to build a block column. In this article, we’re going to teach you a few column construction basics, as well as walk you through our five-step process for how to build a perfect stone column.
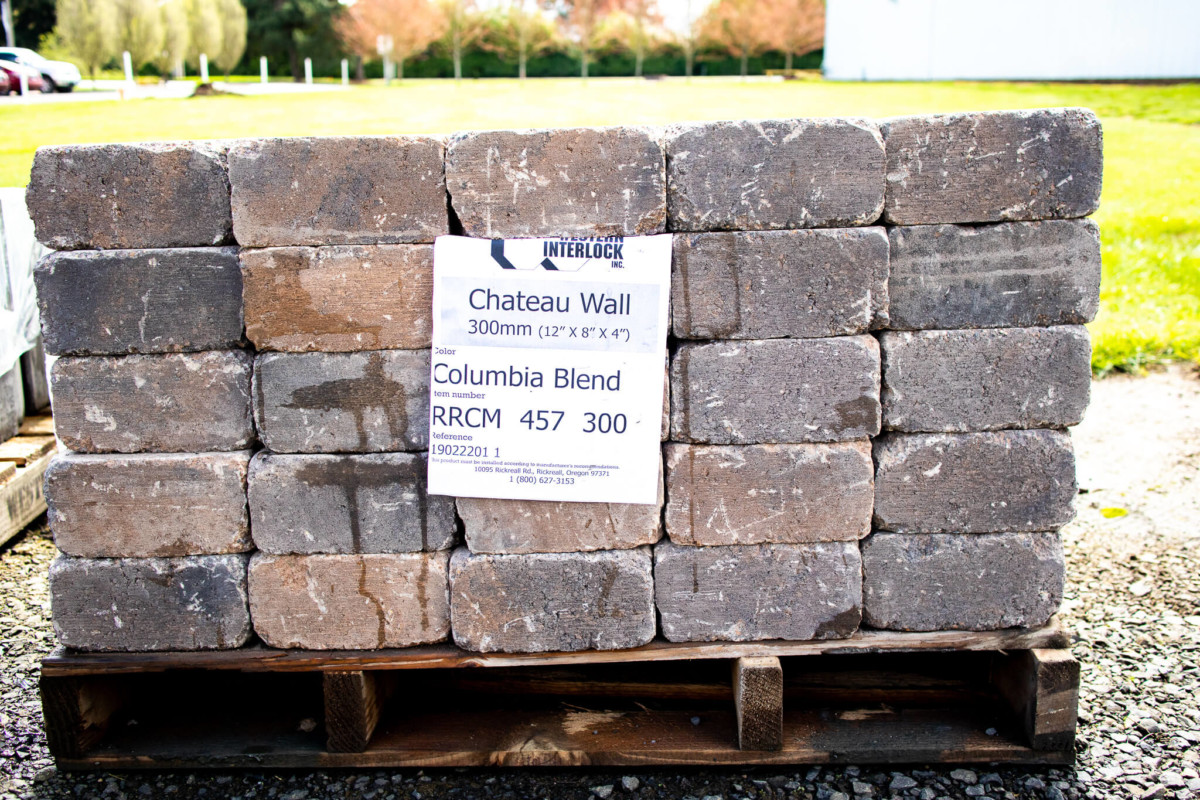
For this example, we’ll be using Chateau Wall™ retaining wall blocks but the principles apply to Tegula Garden Wall™ and Murata Wall™ as well. With their versatile modular sizing and glue-together construction, Chateau Wall™ retaining wall blocks are the DIYer’s dream.
Each individual block is uniquely manufactured to give it a hand-hewn old world look that fits in with the natural Northwest landscape. In this article, we’re featuring the 300mm Columbia Blend. There are four sizes and five colors for the Chateau Wall™ retaining wall blocks—so if you like this style, I’m sure you’ll find one that fits what you’re looking for.
Before you start your retaining wall or column construction project, make sure you have the proper tools and materials (see list above). Many of these tools and materials can be found at a local hardware store or on online.
Order your wall blocks and capstones ahead of time so they’re delivered or ready for pickup when you want them. Also, be sure to check out our many retaining wall block options. Once you’ve done this, it’s time to get started.
Common Question: One question we get regarding materials is, “how many stones do I need?” The answer depends on the scope of your project. Once you have the desired height of your wall and column (including the embedment) we’ll help you calculate how many stones you will need. When you’re ready for this step, give us a call at 503-623-9084.
Step 1: Plan a layout
Before you can set a single block, you’ll need to plan a layout for your entire retaining wall project, including columns. For the brevity of this article, we’ll focus on the exact steps for creating a strong stone column.
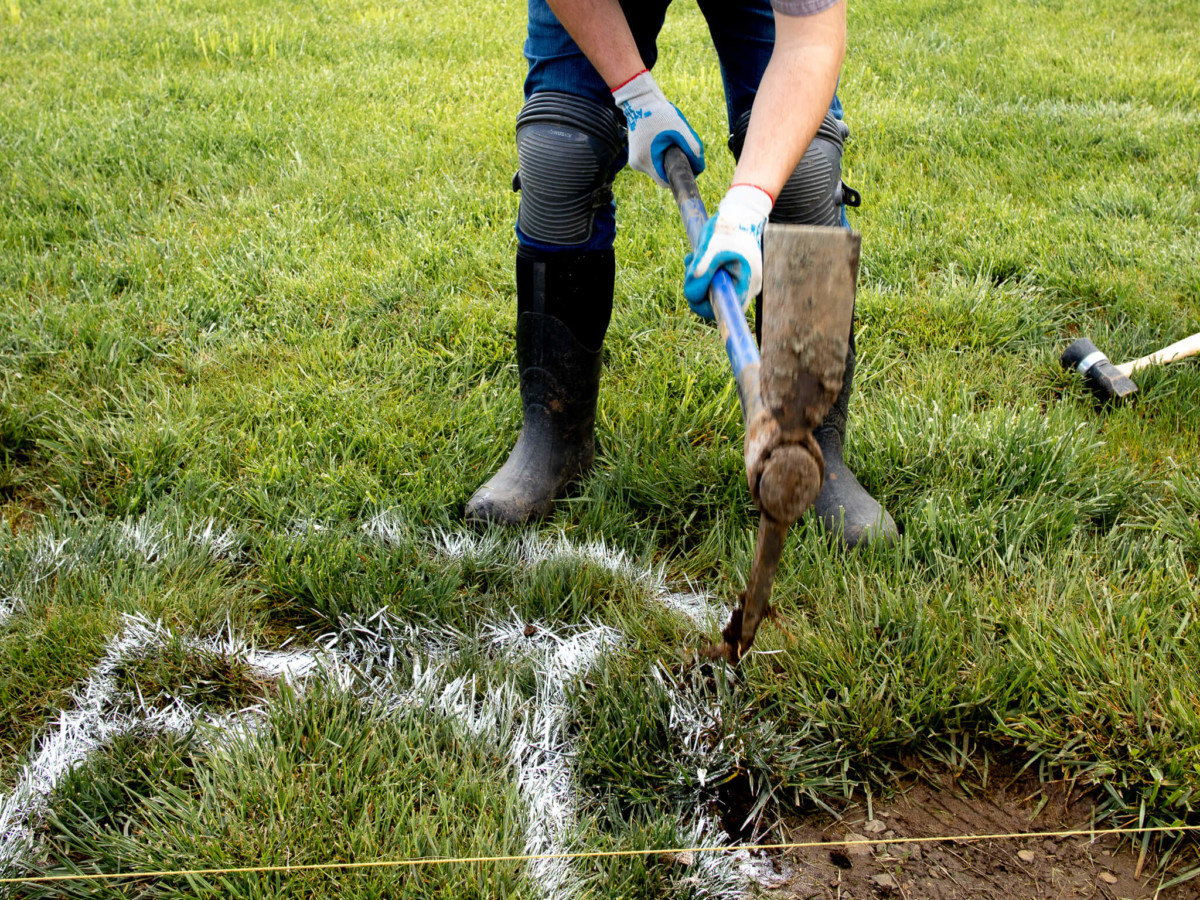
Using a tape measure and white marking paint and outline your column. First, mark the size of the column and then add another marking about four-to-six inches past the edges of your column to ensure a firm foundation.

If you have columns that are going to be in line with one another you will want to set up a string line to use as a reference for level, straight, and square. Once your layout is marked, you can prepare the foundation. This all starts with digging.
Step 2: Prepare the foundation
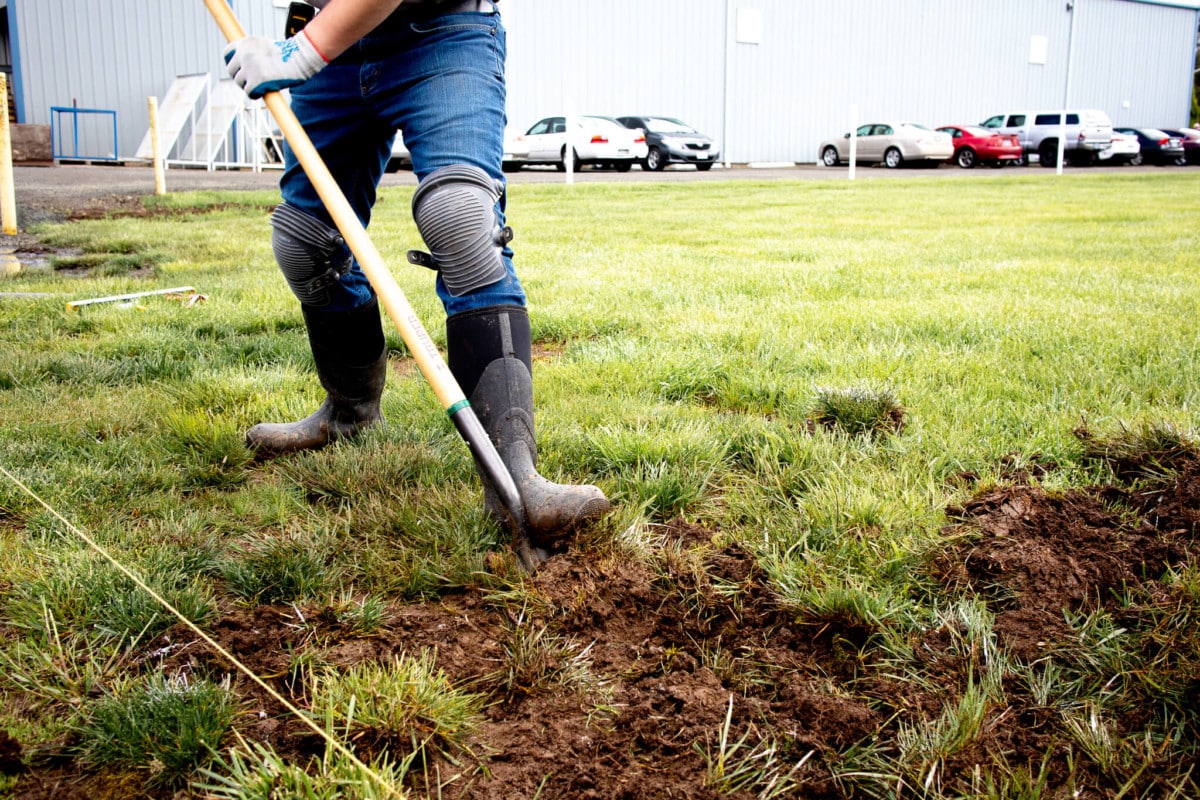
Any of our hardscape contractors would recommend that you start your digging with a pick mattock. You can use the sharp end to outline your area and the flat side to lift the sod or topsoil.
Note: Before any digging or excavation, call 811 to check for underground utilities.
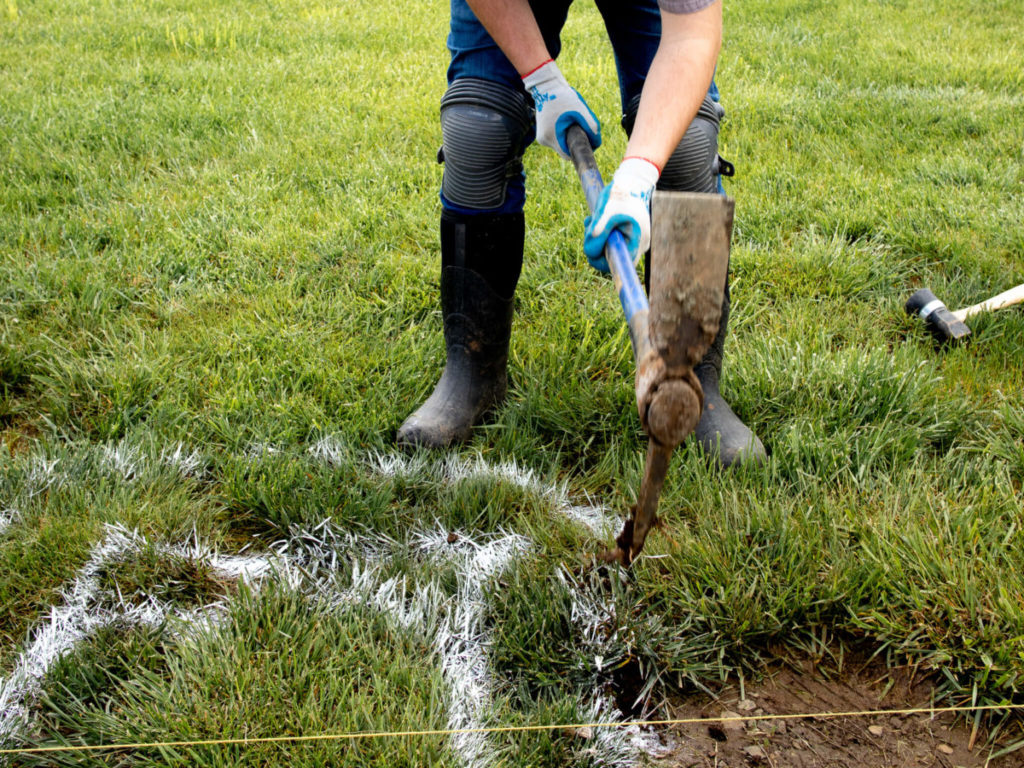
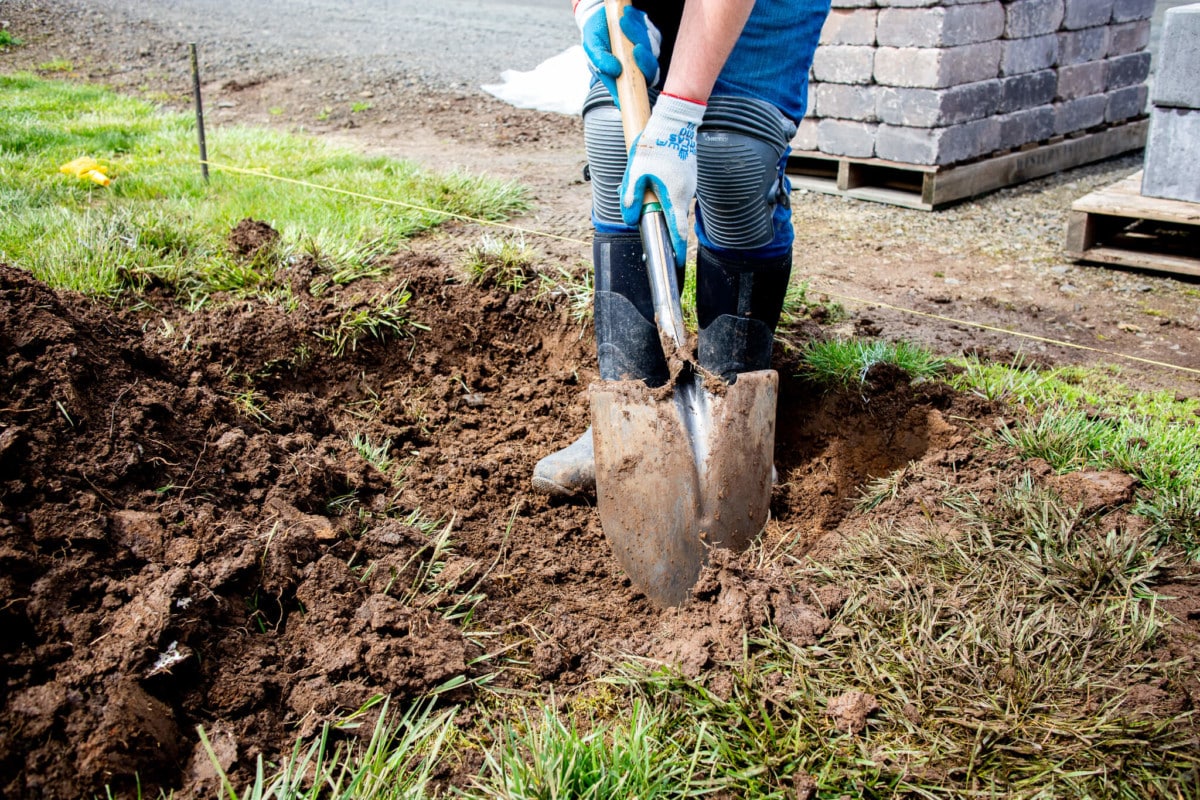
Once the ground is lifted, it’s much easier to dig out the majority of the soil using a shovel.
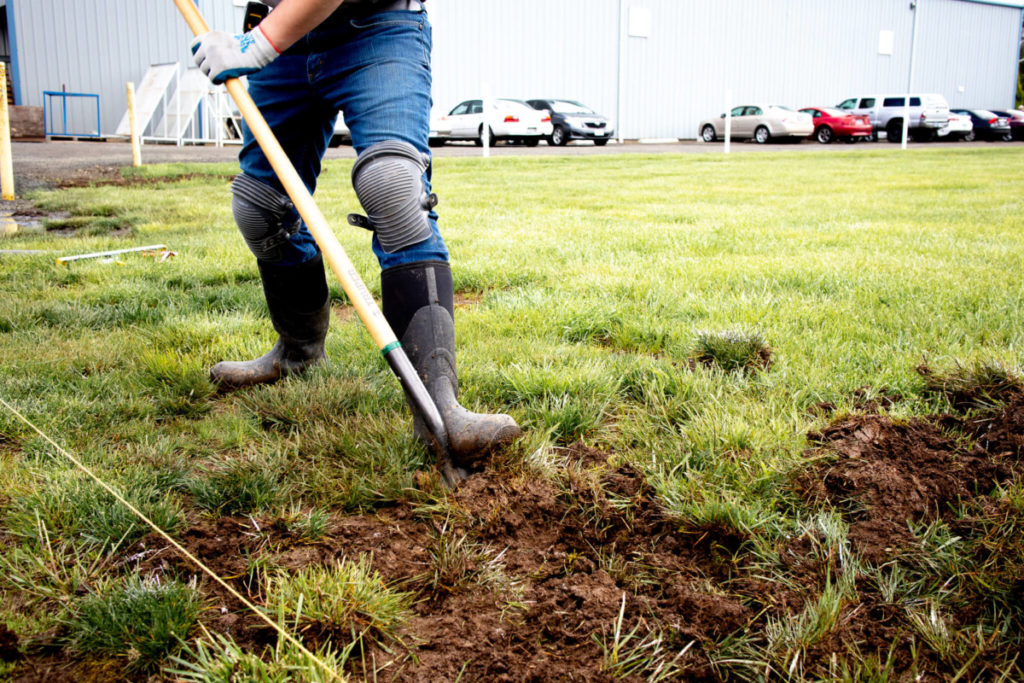
Dig out your outermost marked area about 8 to 10 inches deep. While the depth of your excavation is dependent on your desired overall height and the depth of your embedment, plan for at least 6 inches of compacted ¾” minus gravel and some breathing room.
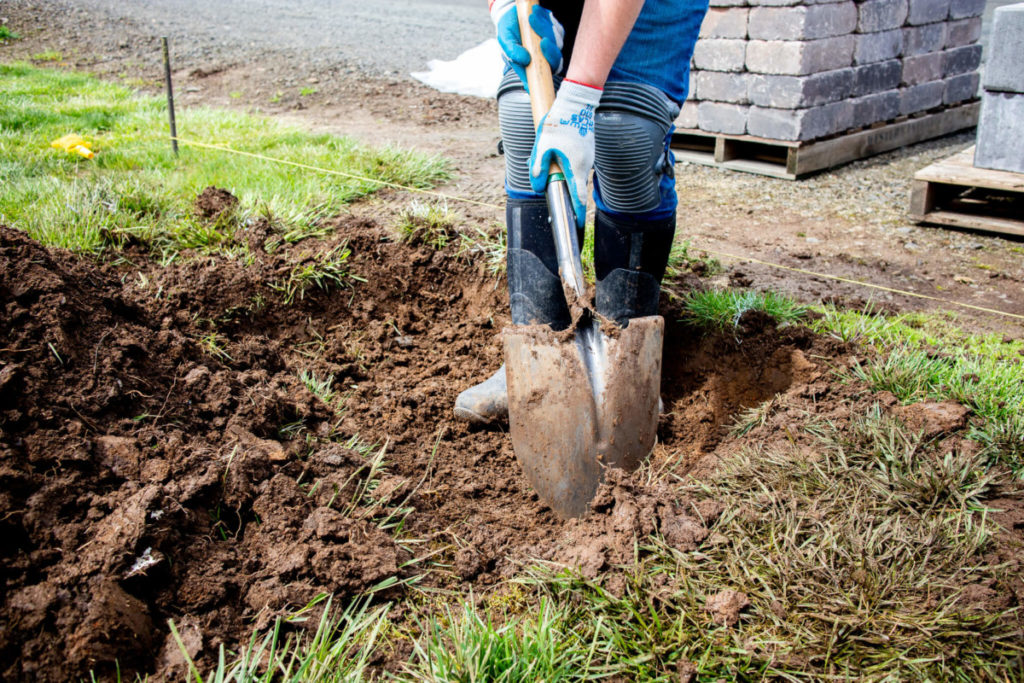
If you suffer from perfectionism like 30% of the population, you might be tempted to completely level the soil before adding gravel. We’re perfectionists as well, but there’s no need to do any extra work. Since you’ll be tamping the gravel and leveling each block, you can leave the soil as is.
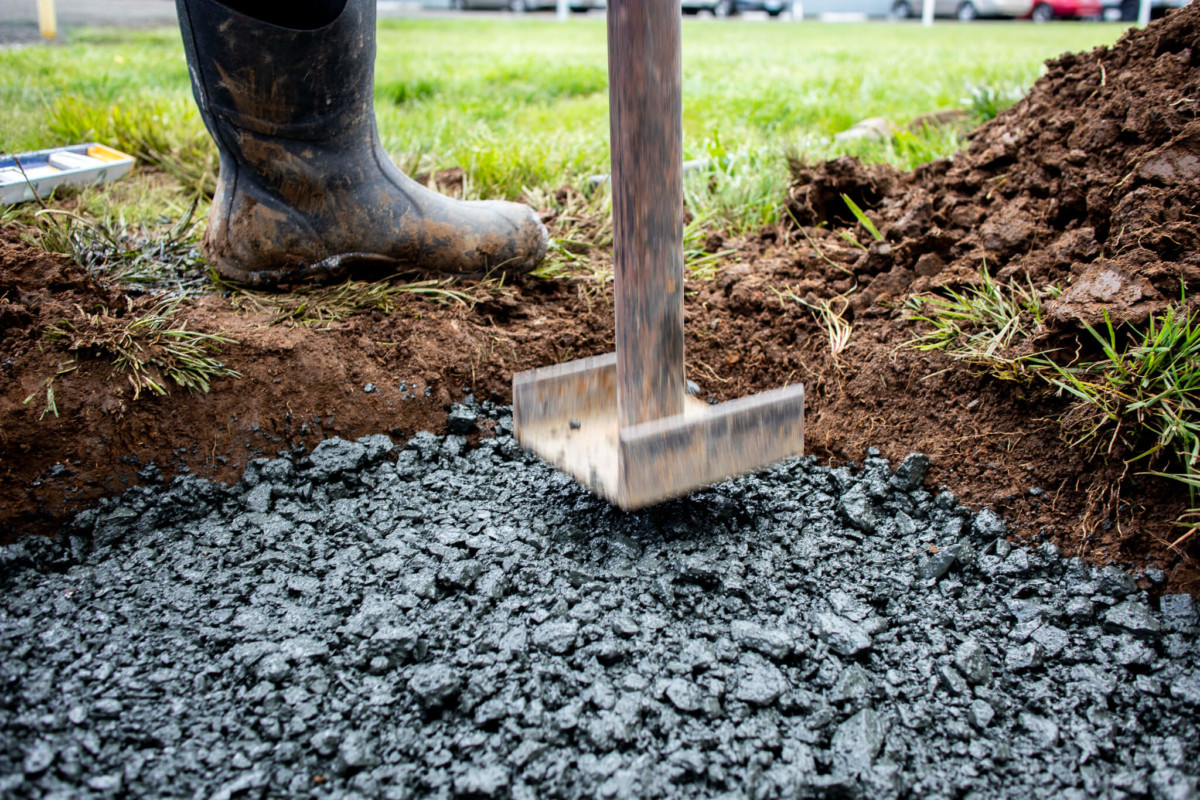
After your area is excavated, bring in the gravel and use your hand tamper in a maximum of 3” lifts for best compaction.
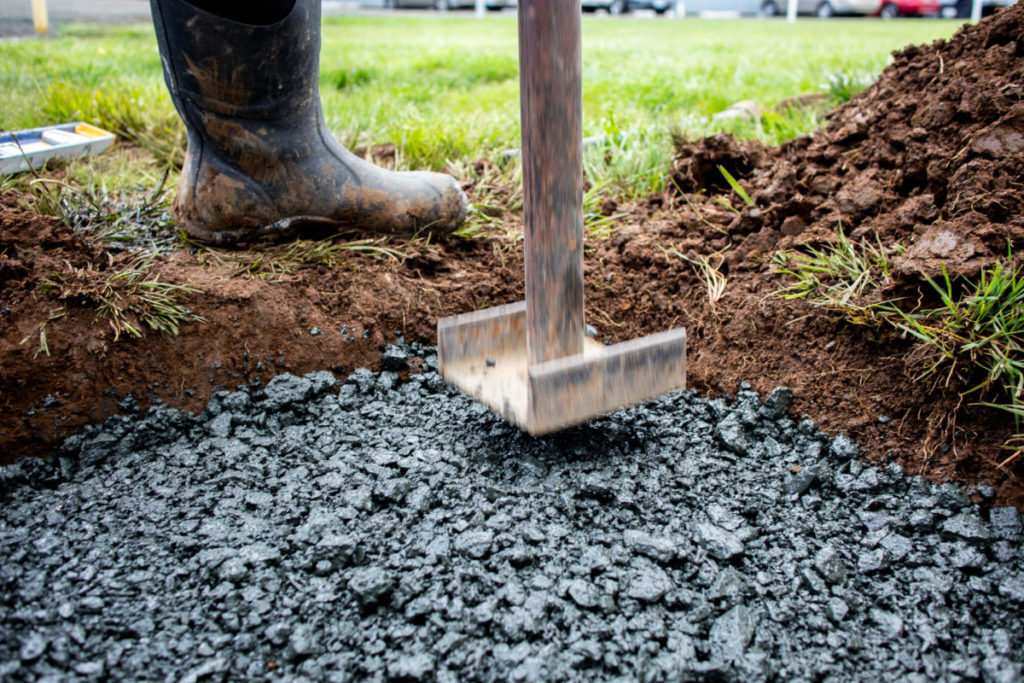
After your foundation is set, you’ll build the block base. The base course sets the stage for the rest of your column so it’s important to get it right.
Step 3: Build a base
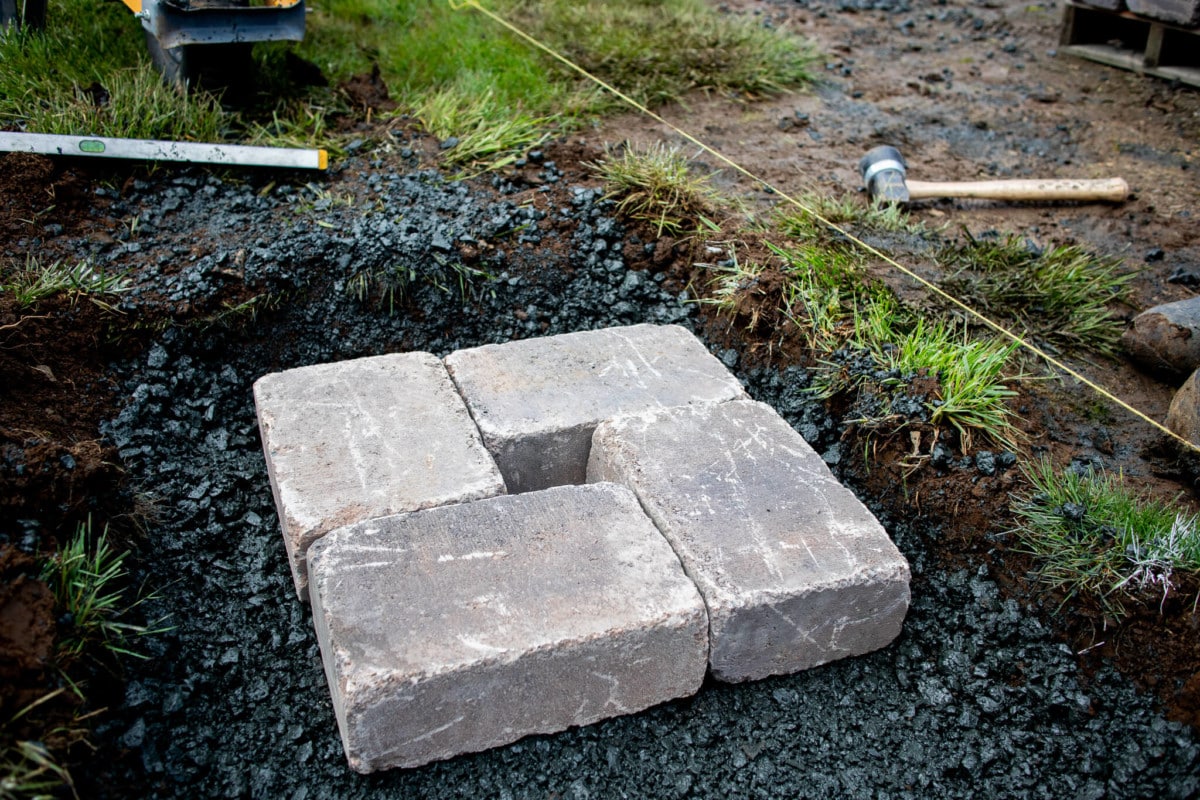
The first step to building your base is to set out your block base course. Don’t start leveling yet, just set it out.
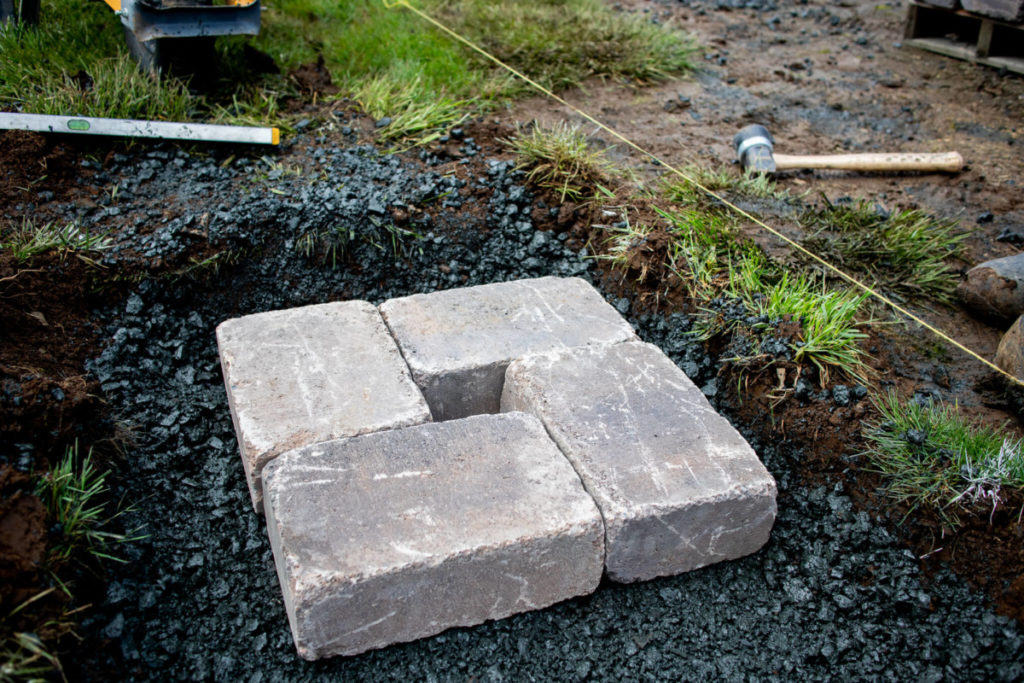
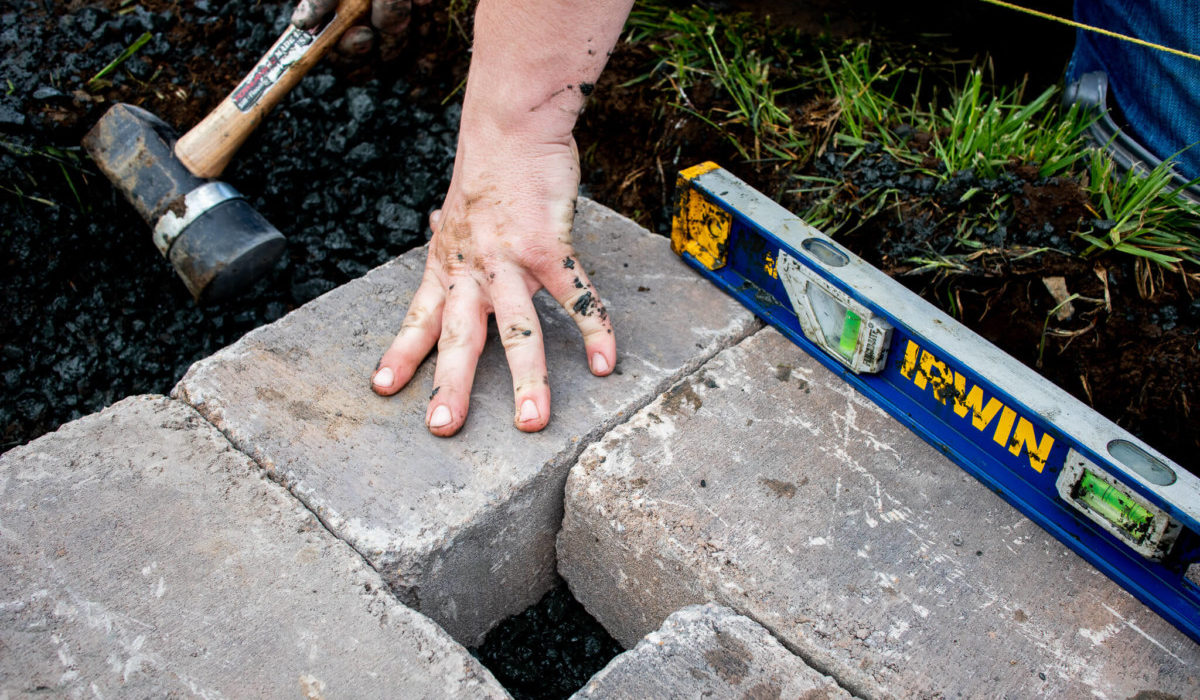
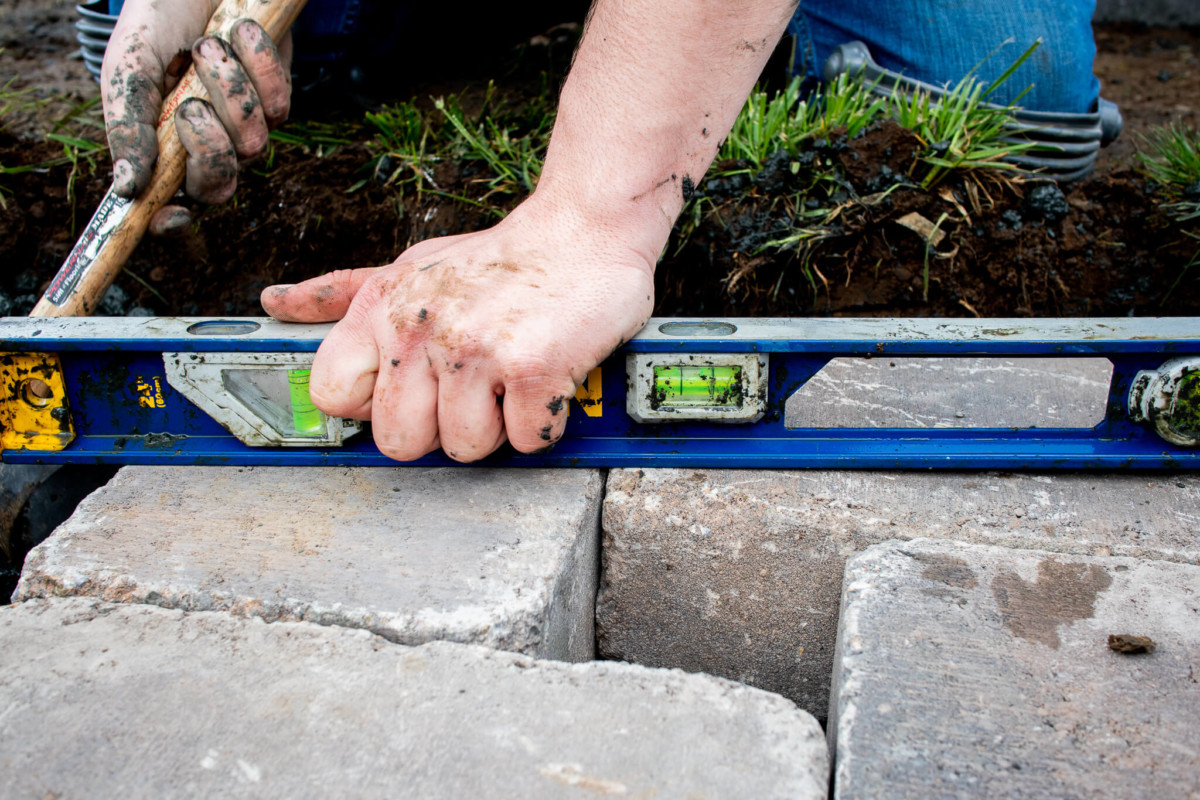
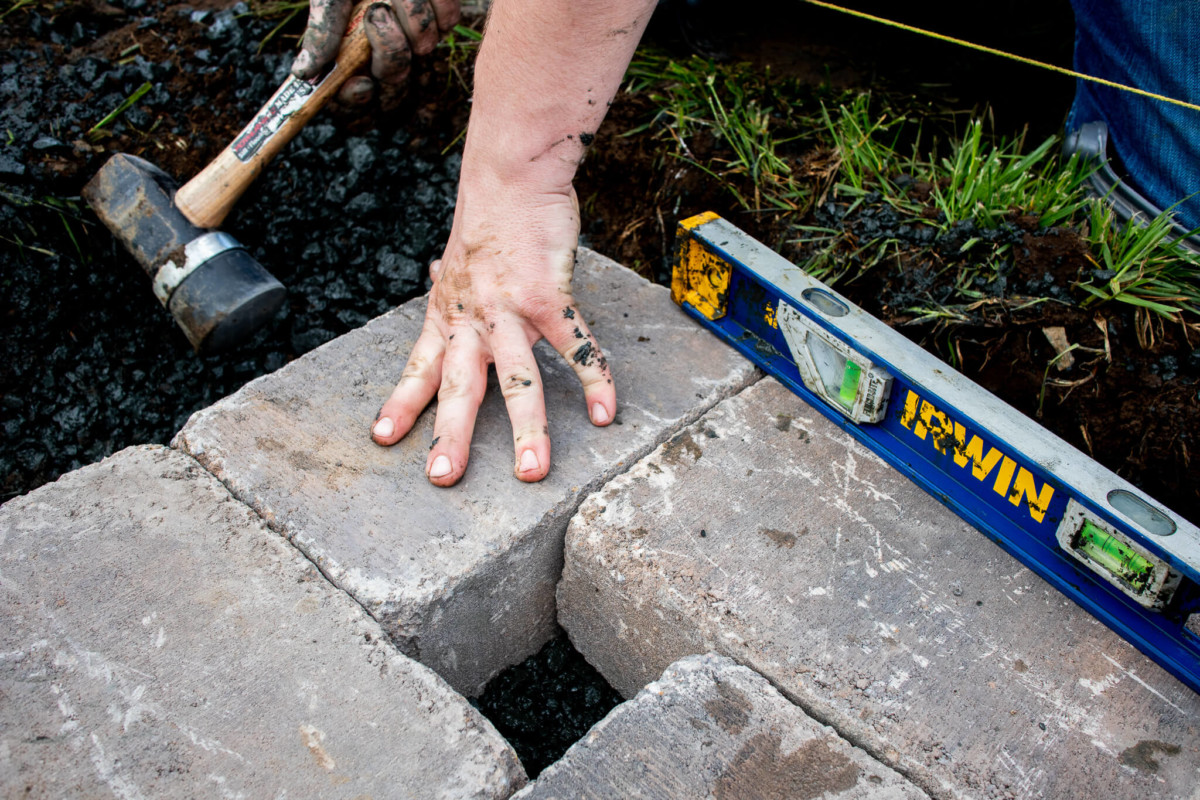
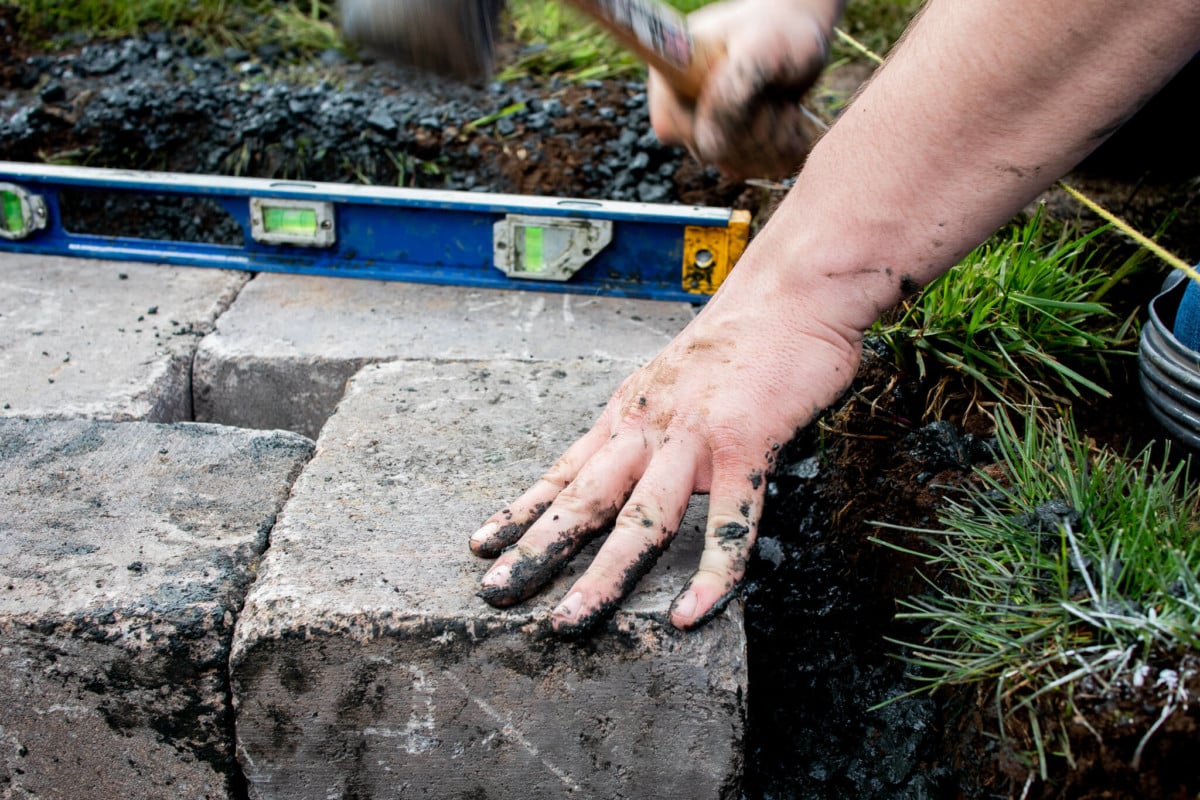
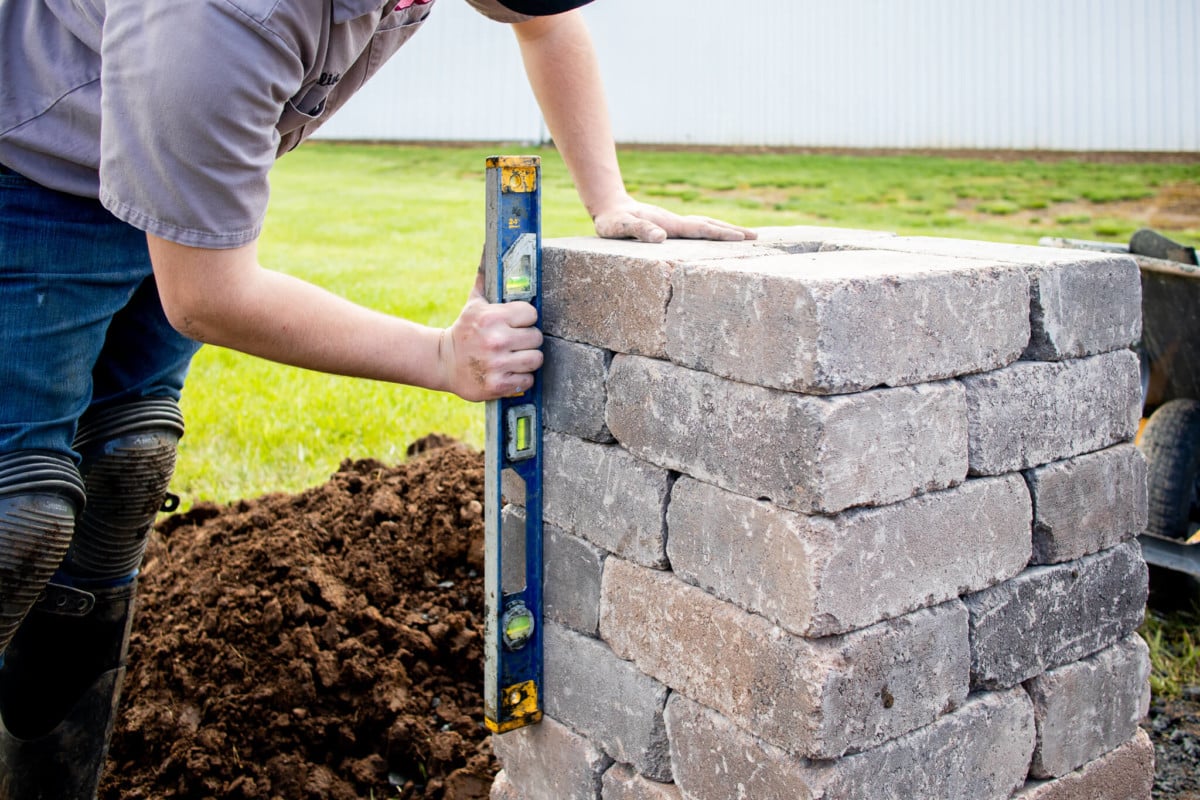
Now, once your block base is set out, you’ll want to level the base course. Initially, you’ll want to level each stone one at a time.
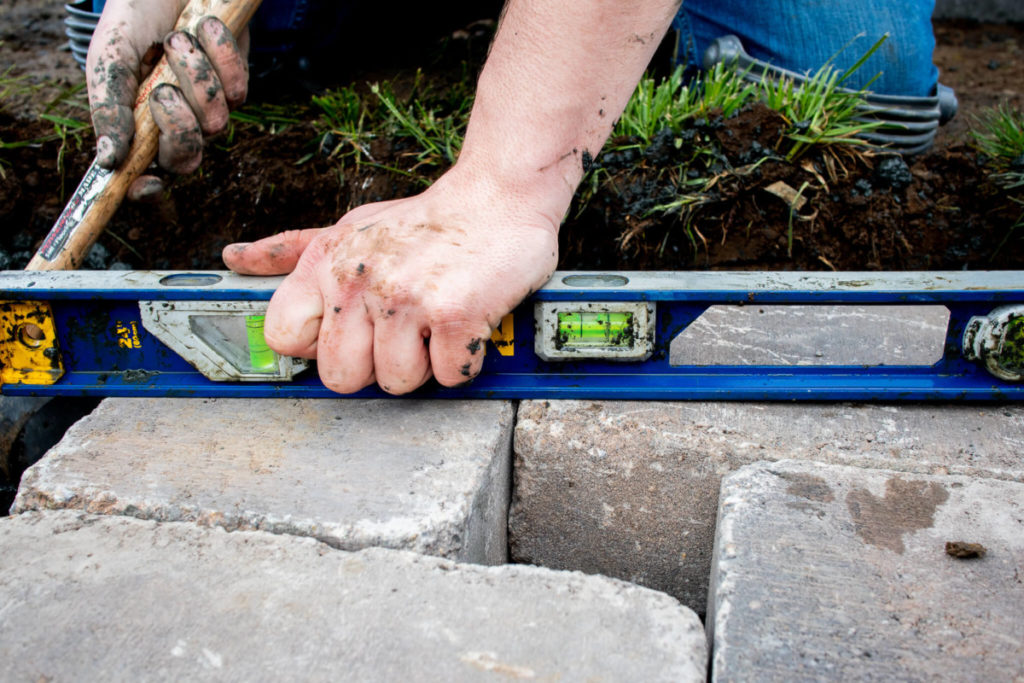
After that, to ensure consistency across the base, you’ll want to stretch your level across all edges of the base to make sure it’s completely level.
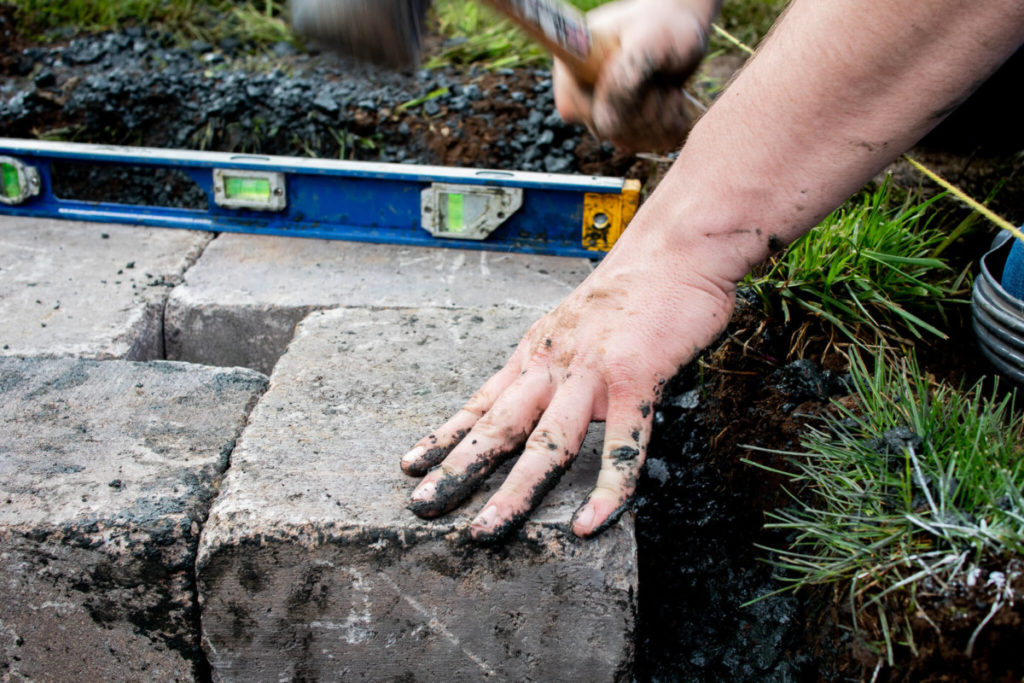
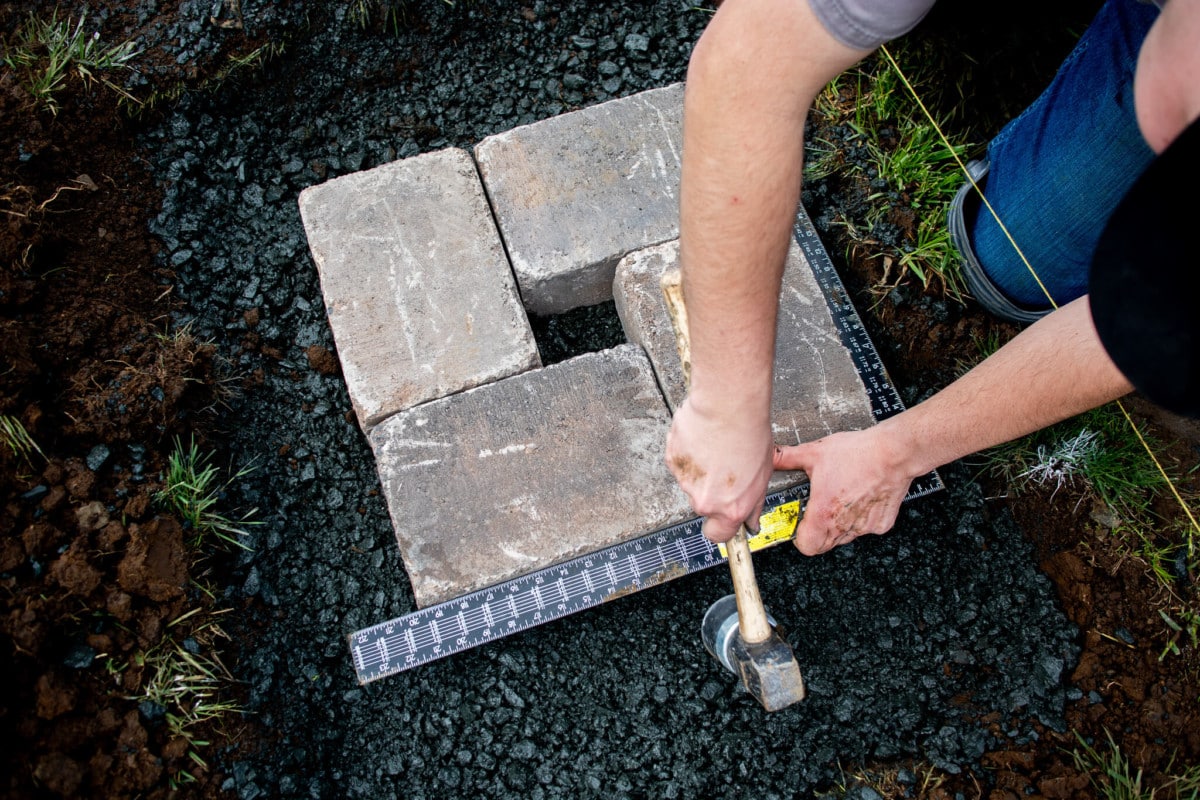
Last but not least, use your carpenter’s square to ensure each corner measures a precise 90-degree angle. Use your rubber mallet to nudge blocks into place, if necessary.
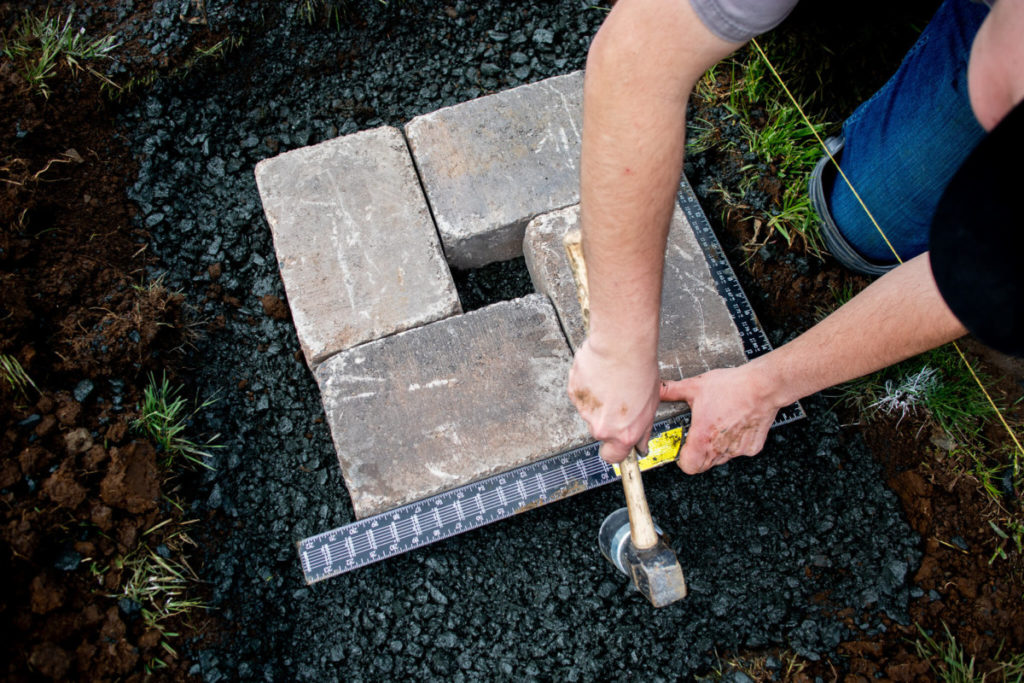
Once your base is completely level and all four corners are at a 90-degree angle, you can officially start column construction.
Step 4: Construct your column
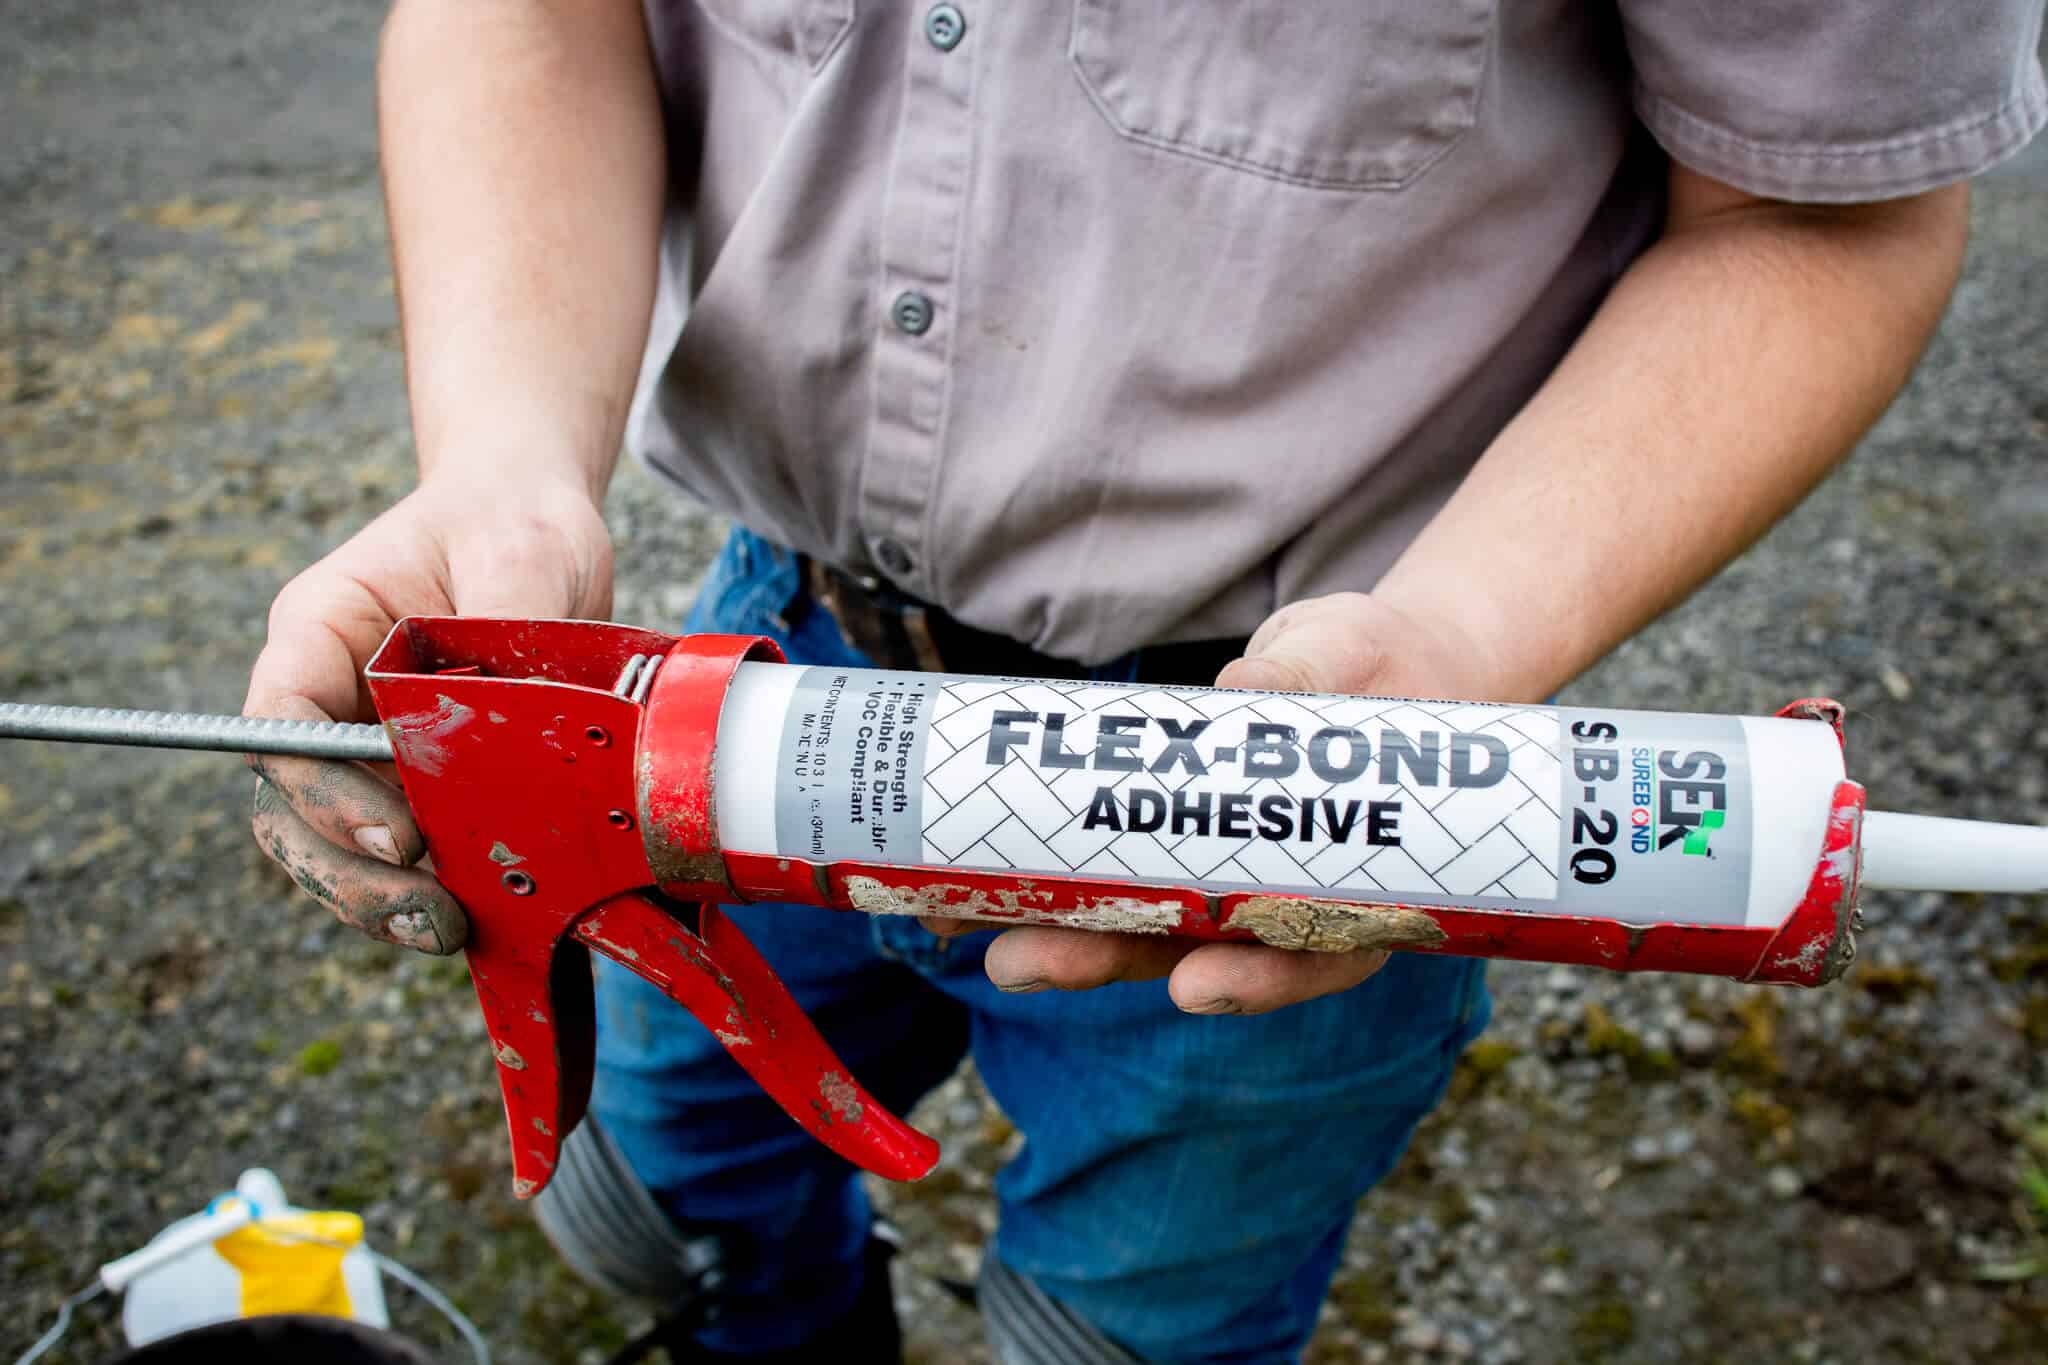
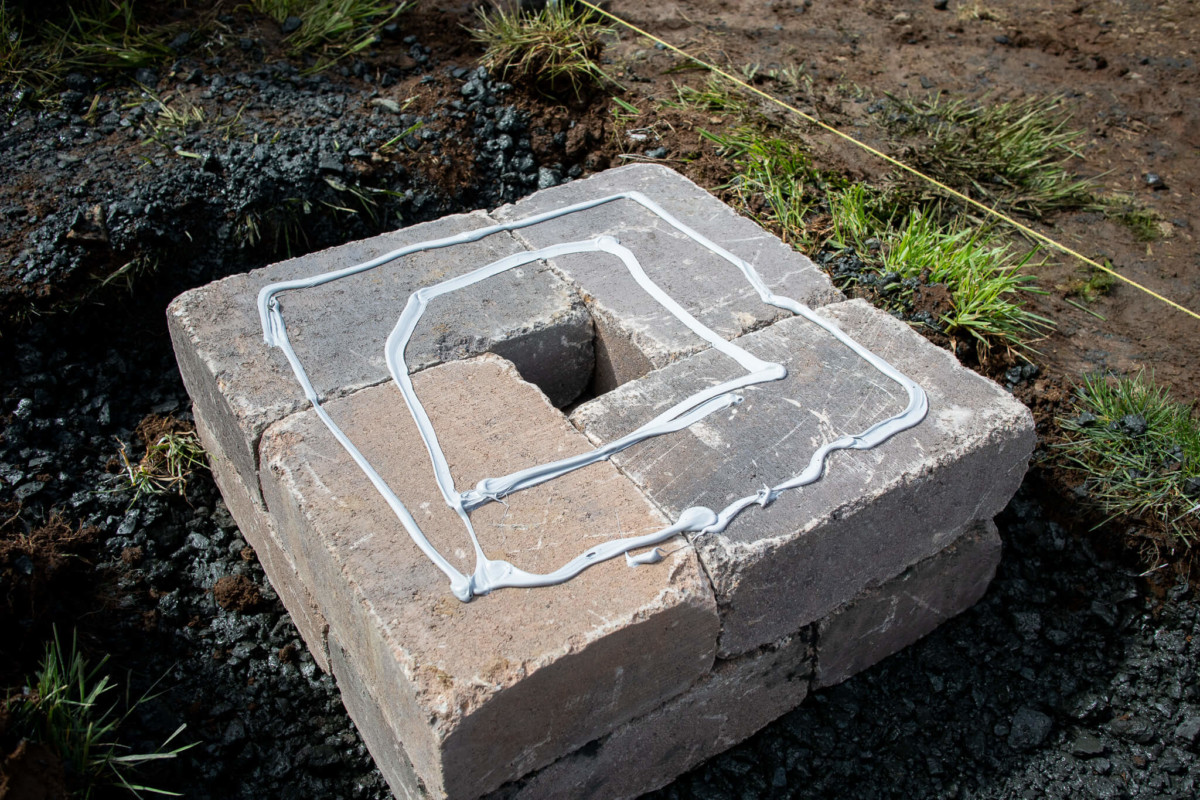
Once your base course is set you will want to apply adhesive (preferably SEK Flex-Bond SB-20) in beads or dots before each course.
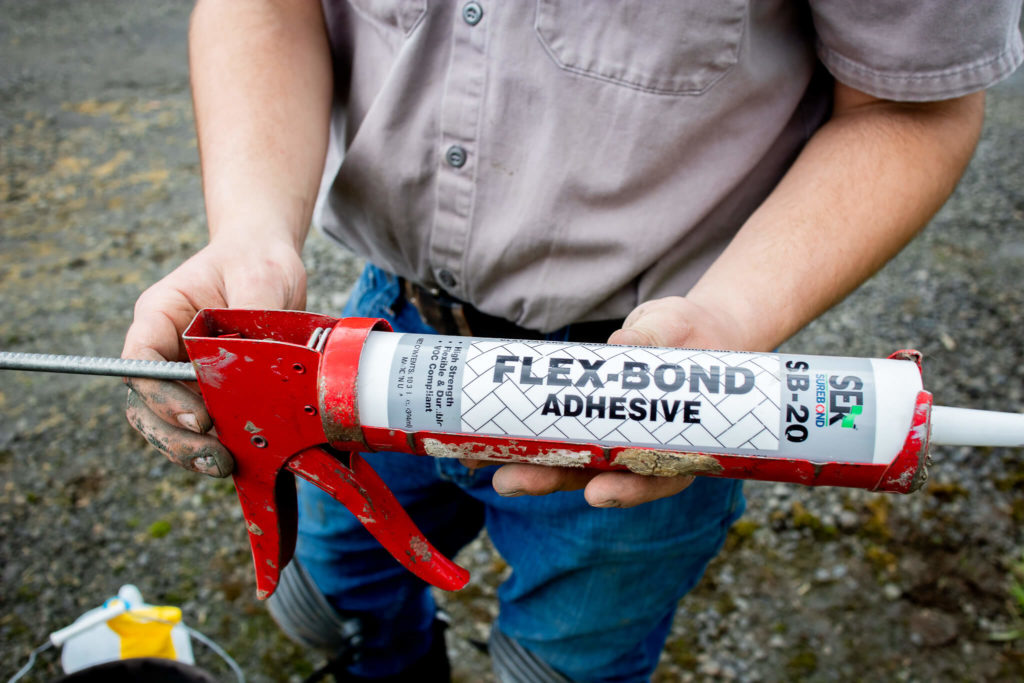
It’s worth noting that we prefer beads because it’s easier to avoid any drips or spillover on the sides of your column. Keeping your beads and dots at least 2” away from the outside edge of the block for Chateau also helps avoid glue from oozing onto the face of the block.
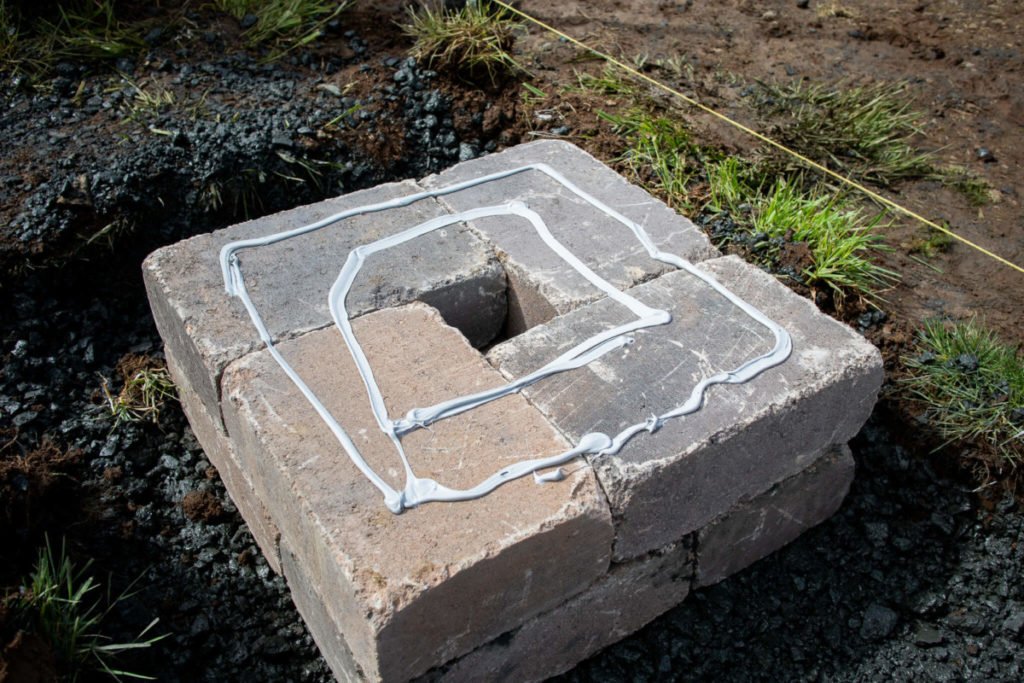
You will put beads or dots of glue on the top of every course while alternating or rotating the blocks to offset the seams. This is important for both aesthetics and structure.
Once you’ve glued your base, start stacking and gluing. It’s a pretty simple rinse and repeat from here. As you construct your column, use your level to ensure that you’re building a vertical column—not a leaning tower of Pisa.
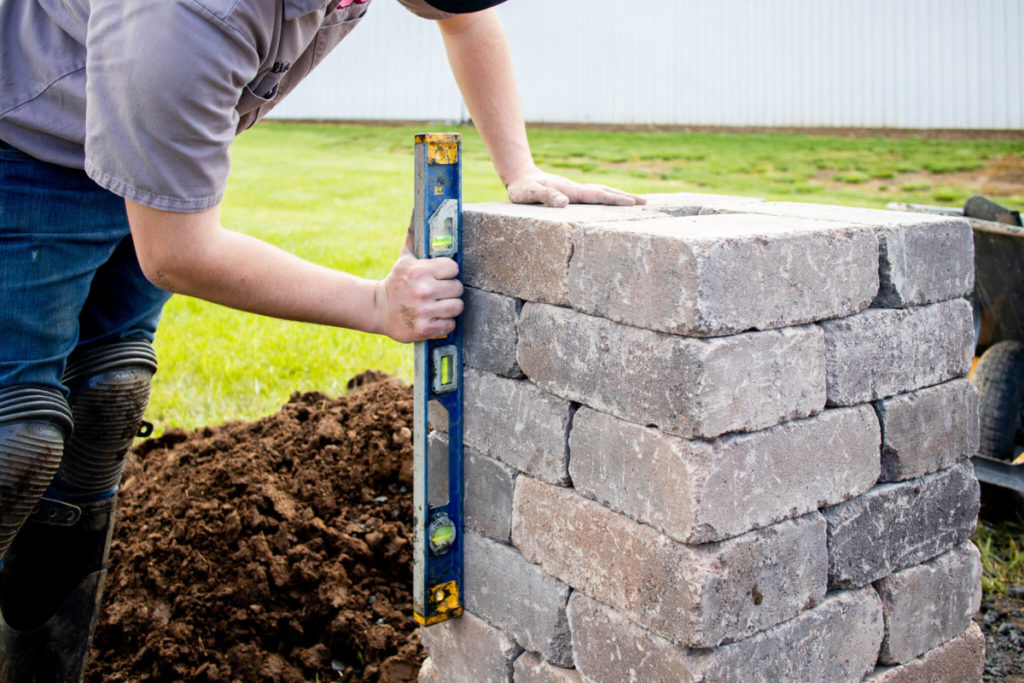
Once your column is constructed, you’ll finish it off with a cap.
Step 5: Cap it off
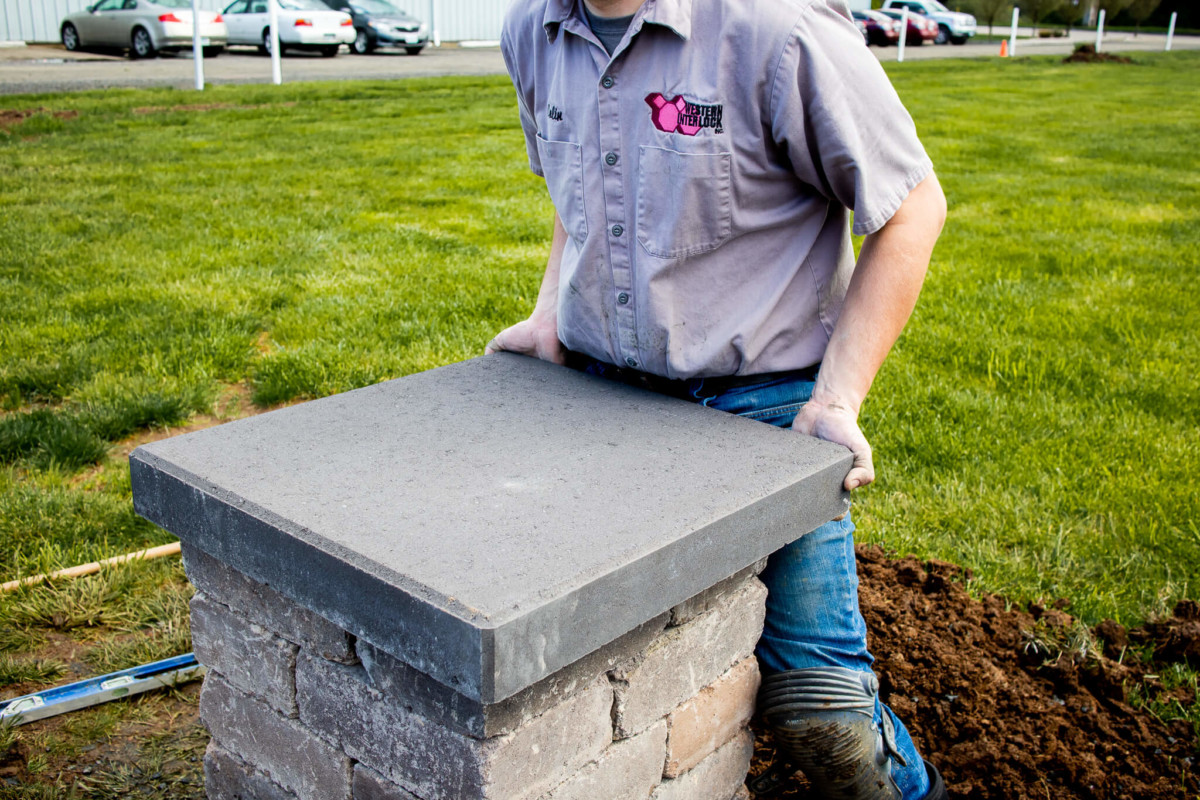
To complete Step 5, simply apply your last beads or dots of adhesive and cap it off.
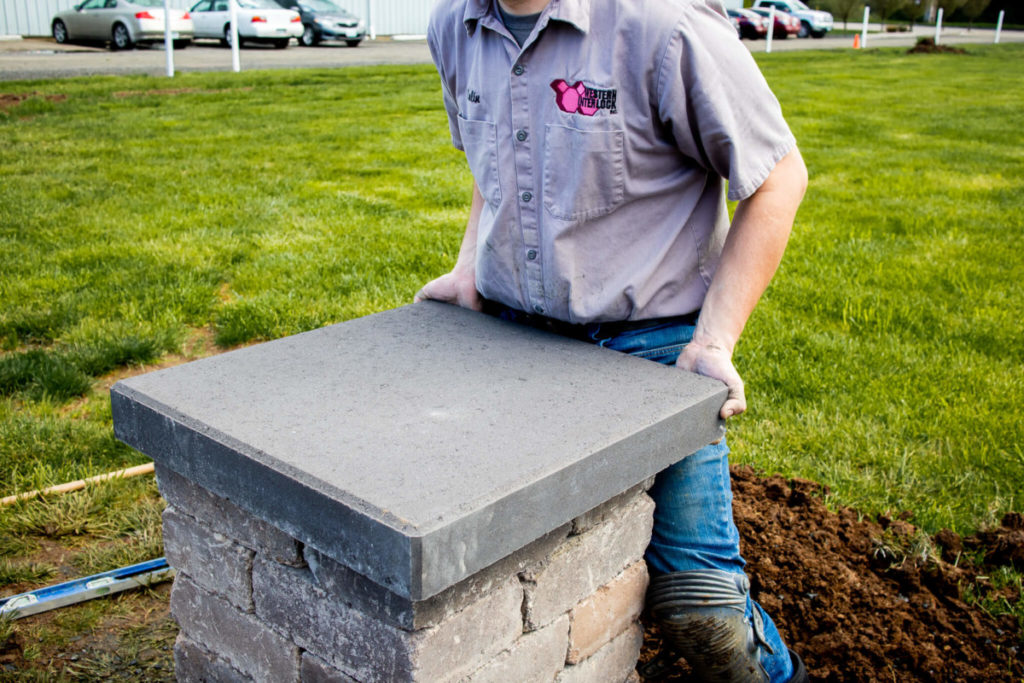
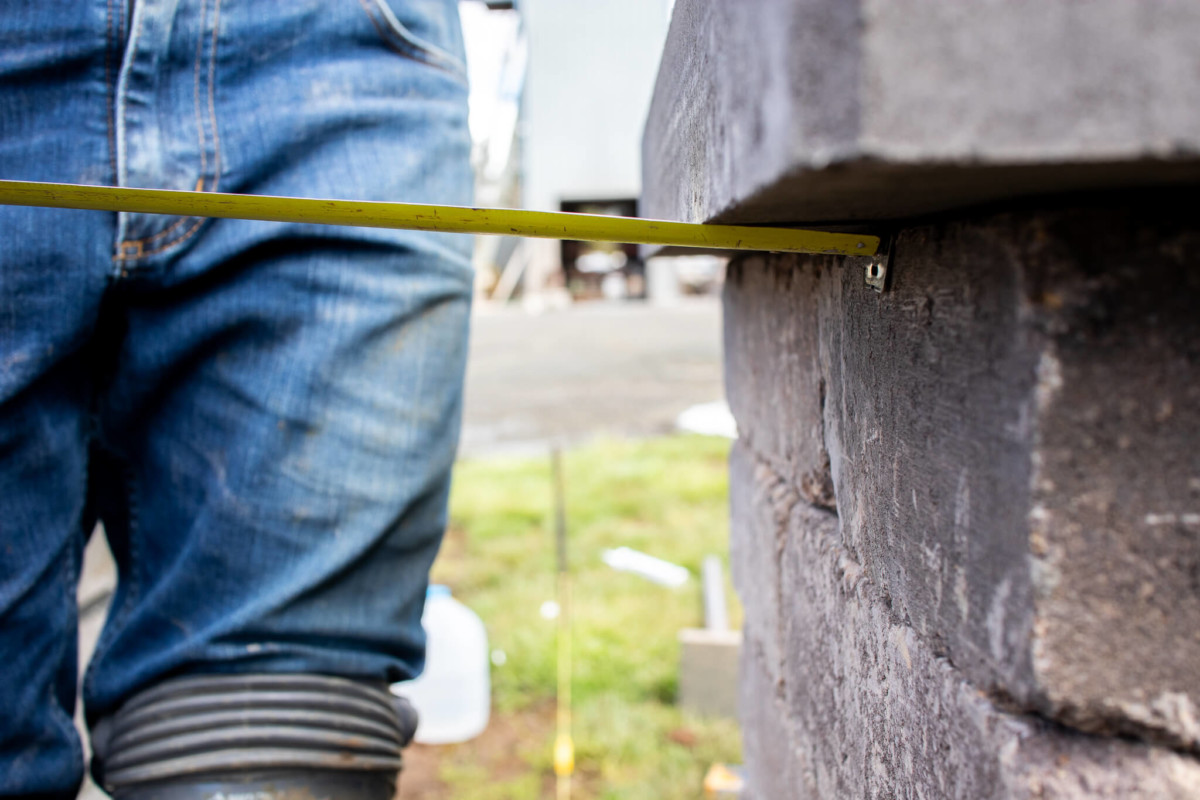
You’ll want to measure all four sides of the cap between the wall blocks and the capstone edges to make sure your cap is perfectly centered. To do that, we just used our measuring tape and rubber mallet to make slight adjustments.
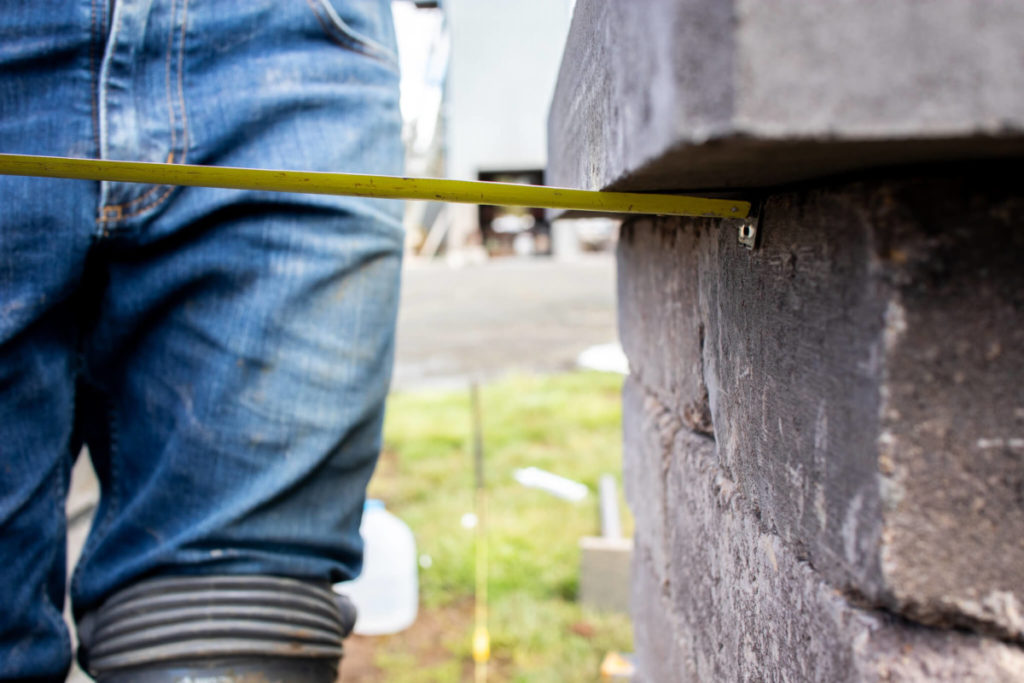
That’s all, folks! If you have additional questions, visit our FAQ page or call our installation experts at 503-623-9084. We’re happy to help.
Learn how to build perfect stone columns at Western Interlock
Here at Western Interlock, we’re on a mission to take the hard out of hardscaping. That’s why we host a live DIY seminar every month at one of our manufacturing or distribution facilities.
You see, we created DIY with Western Interlock for everyday homeowners like you and me. In each seminar, we’ll personally walk you step-by-step how to build and maintain your own hardscape. Join our next seminar for free.
Get our FREE Project Planning Guide
Tell us where to send it and we’ll email the backyard planning guide to you right away!
"*" indicates required fields


