If you envision a lovely path through your backyard or landscape, you may be considering how you’ll lay an old-fashioned path with stepping stones. Stepping stones are a beautiful and cost-effective way to create a clean and attractive way to get from one outdoor space to another.
If you consider laying stepping stones, you’re in the right spot. Let’s look at six popular options you can implement for your stepping-stone path.
1. Straight Path
Laying a straight path is the most common way to use stepping stones. It is what it sounds like—just a basic, intuitive pattern of stepping stones.
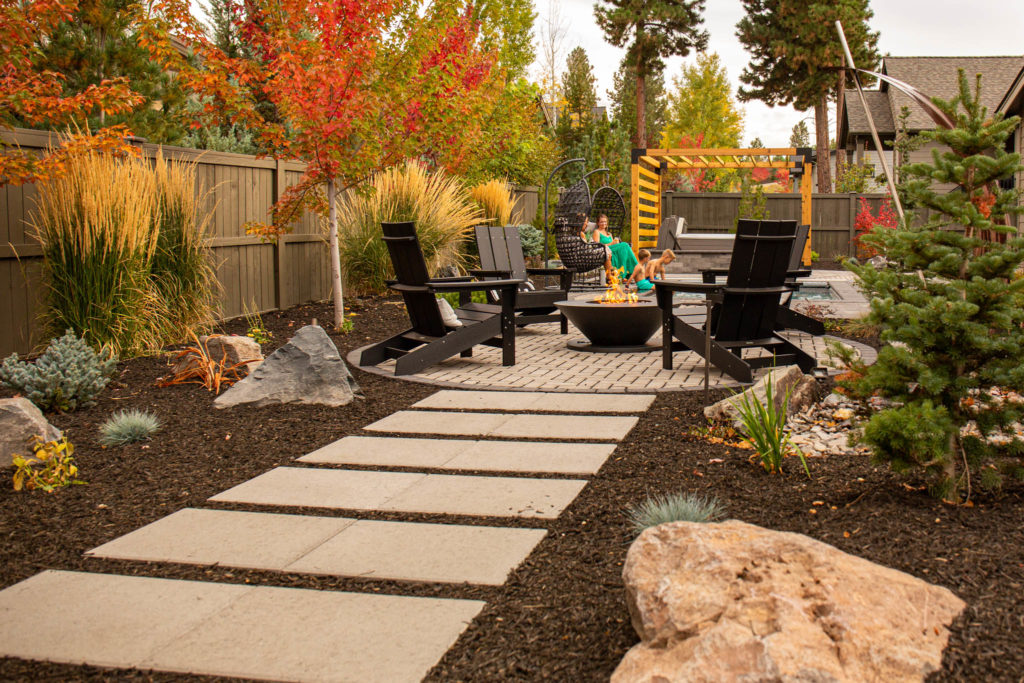
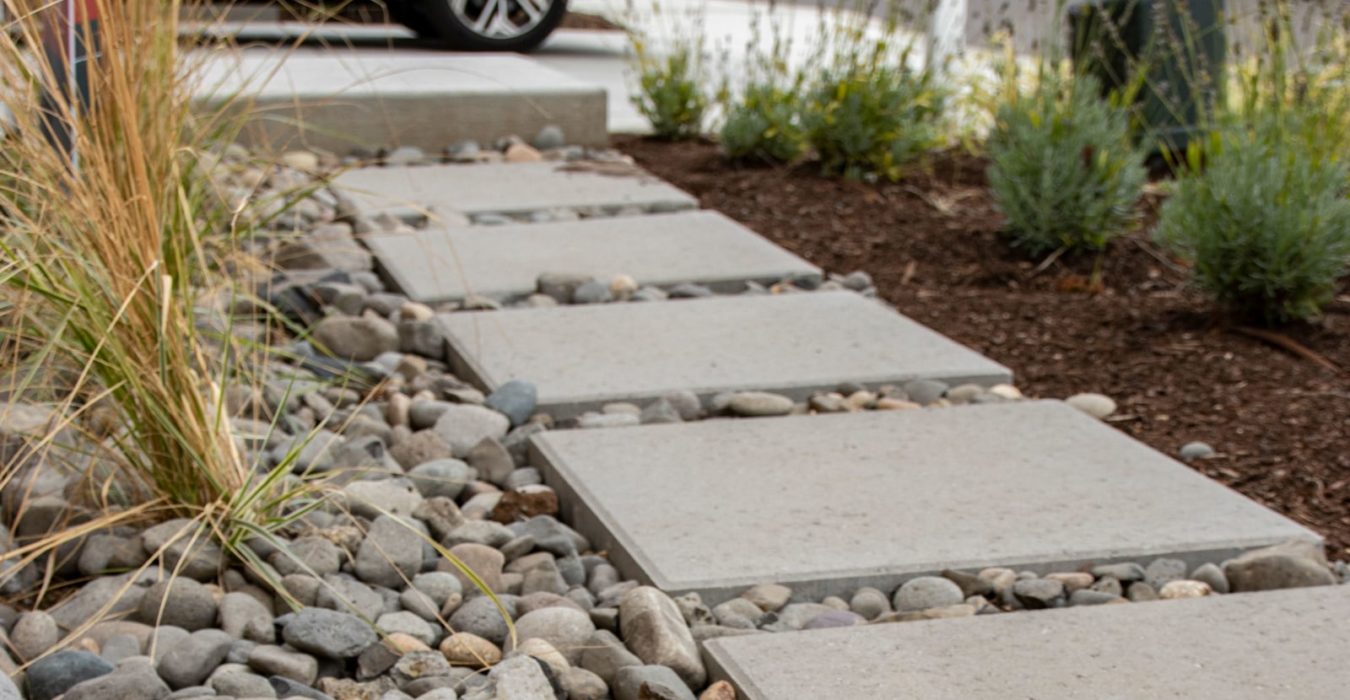
A straight path can be laid continuously, with no gaps, or it may be laid with gaps in between the stones that are set to your stride length. The space between can be quickly filled with rock, mulch, or groundcover that can also serve as an accent to your path.
DIYers frequently create straight paths out of straight-edged (square or rectangle) stones, but another option is to create your path with live edge stones such as bluestone or flagstone.
2. Staggered Stone Path
If you are going for a more modern look with your stepping stone path, you may want to try a straight but staggered look. You can lay the stones slightly offset from each other in a narrow arc, filling the gaps between each paver with gravel or mulch.
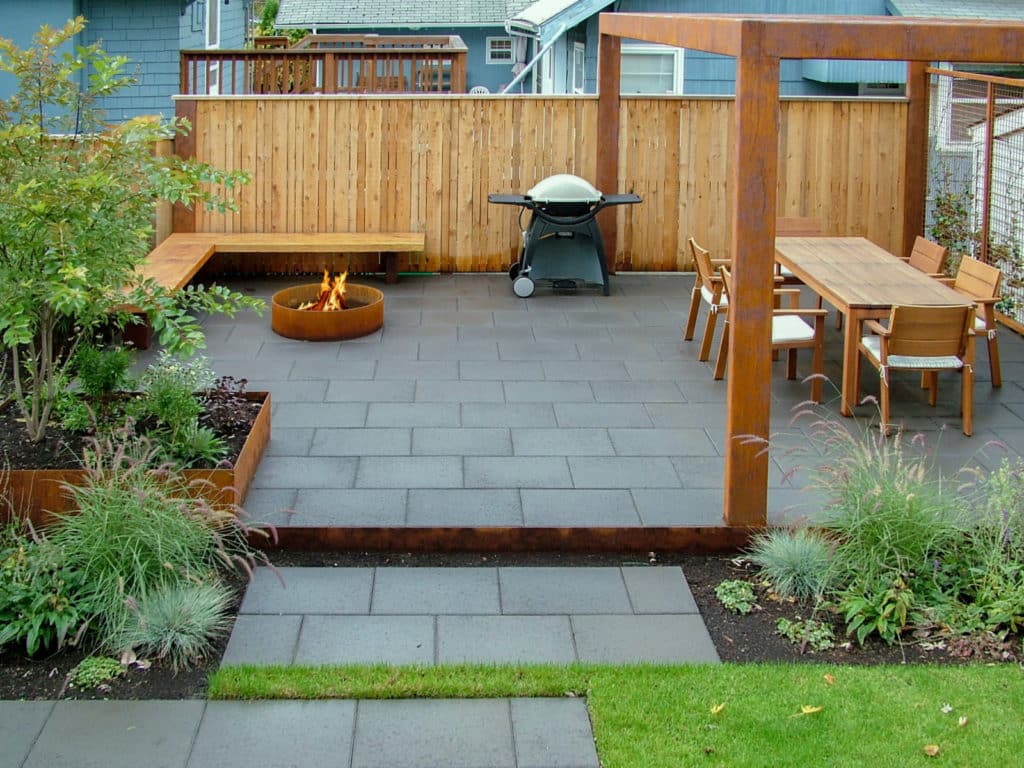
Another option for a staggered stepping stone path is to lay the stones right up next to each other like in the straight variation but offset them to make the overall look a little more random—or to follow any curves needed in your path.
You can also stagger the stones by laying a straight horizontal row of three or four pavers and then laying the next horizontal row offset from the first to create a clean and modern pattern that is still staggered.
Staggered stepping stone paths work exceptionally well with wide and straight paving stones.
3. Hopscotch
Remember the hopscotch games you played as a kid, first sketching them out carefully with sidewalk chalk? This option for a stepping stone path is designed the same way as a child’s hopscotch game. It is a blend of straight and staggered options—first one, then two stones, then one, then two, and so on until the path is finished.
Implementing a hopscotch pattern in your path is a fun and whimsical way to change the look slightly.
4. Grid
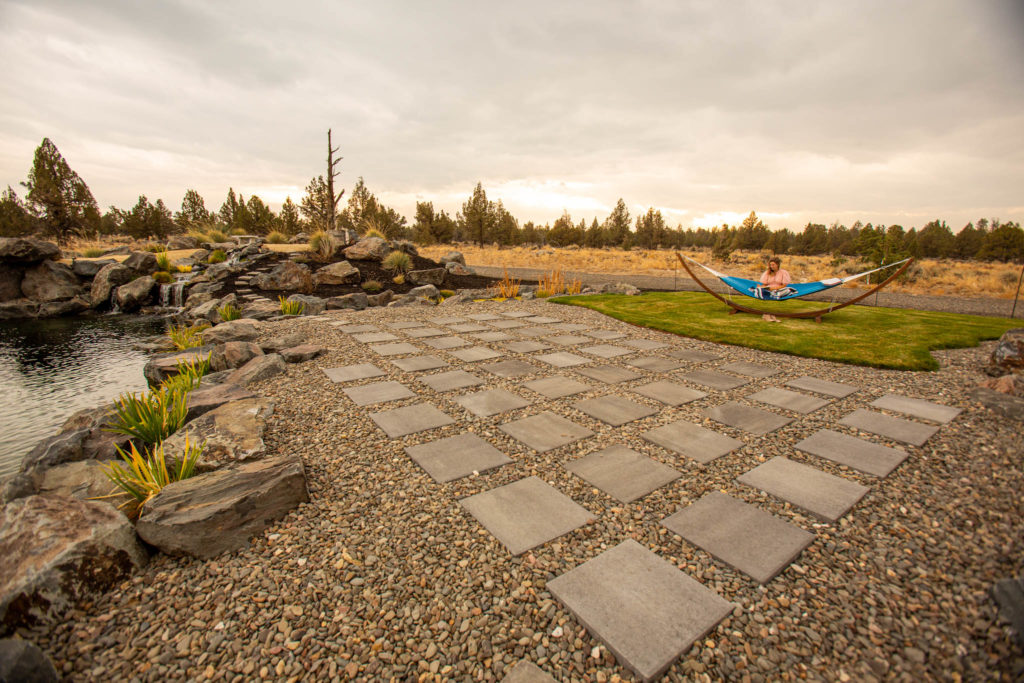
You can create a walkway as broad or as thin as you wish with a grid, from one stone across to five or more across. You can dual-purpose your walkway as a handy patio or outdoor seating area. A grid is a modern and versatile option for whatever variation of stepping stone path you choose.
5. Curve Pathway
No matter the size or type of paver you decide to use for your project, you can easily create a nice curve-shaped path without having to cut any pavers.
To create a curve pattern, tighten the space between the inside corners of the pavers as you lay them, and open it up on the outside corners of the stones. Depending on your stride, you will still want to space them consistently, but a curve can be a lovely and inviting pattern for a path.
6. Mosaic
Do you enjoy whimsy or doing things a little differently than expected? If so, laying your stepping stone path in a mosaic pattern might be your ideal option. Mosaic is just a creative way to describe laying the stones however you decide.
Opting for a more random, mosaic-style pattern is a fun way to change things up and is also ideal when using flagstone or bluestone pavers.
Get our garden landscape planning guide
If you are ready to start your paver project, grab our free Project Planning Guide to get all the details you need to get started.


