When you’re installing polymeric joint sand in your hardscape project, you want to do it right. Some of the best prep you can do is to find out what mistakes are commonly made so you can avoid them., Or, if the mistakes are already made, you’ll want to know how to fix them. Let’s jump right in.
1. Installing Polysand on a Wet Surface
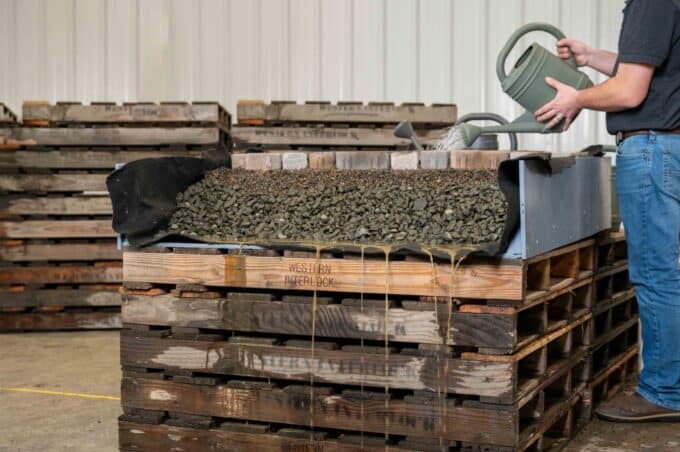
The most important thing that will help you properly install polymeric sand is to make sure that everything is bone dry—not just the materials themselves, whether it’s paving stones or slabs, but the bedding material underneath them. If that bedding material is wet, which is common if you’re installing your project in the wintertime or early spring, and you go to compact your stones, you will pump all the moisture out of those sand joints that don’t have any sand in them yet, you’ll make the paver surface wet, and you will not have a proper polymeric sand installation. Whatever moisture it comes into contact with, even if it’s before the watering cycle of a proper installation, it will stick to that, harden, and look very unsightly. It’s incredibly crucial that your paving stones, or whatever material you’re using on the project, as well as the bedding material underneath it, is bone dry before you compact that material.
2. Failing to Compact After Sweeping
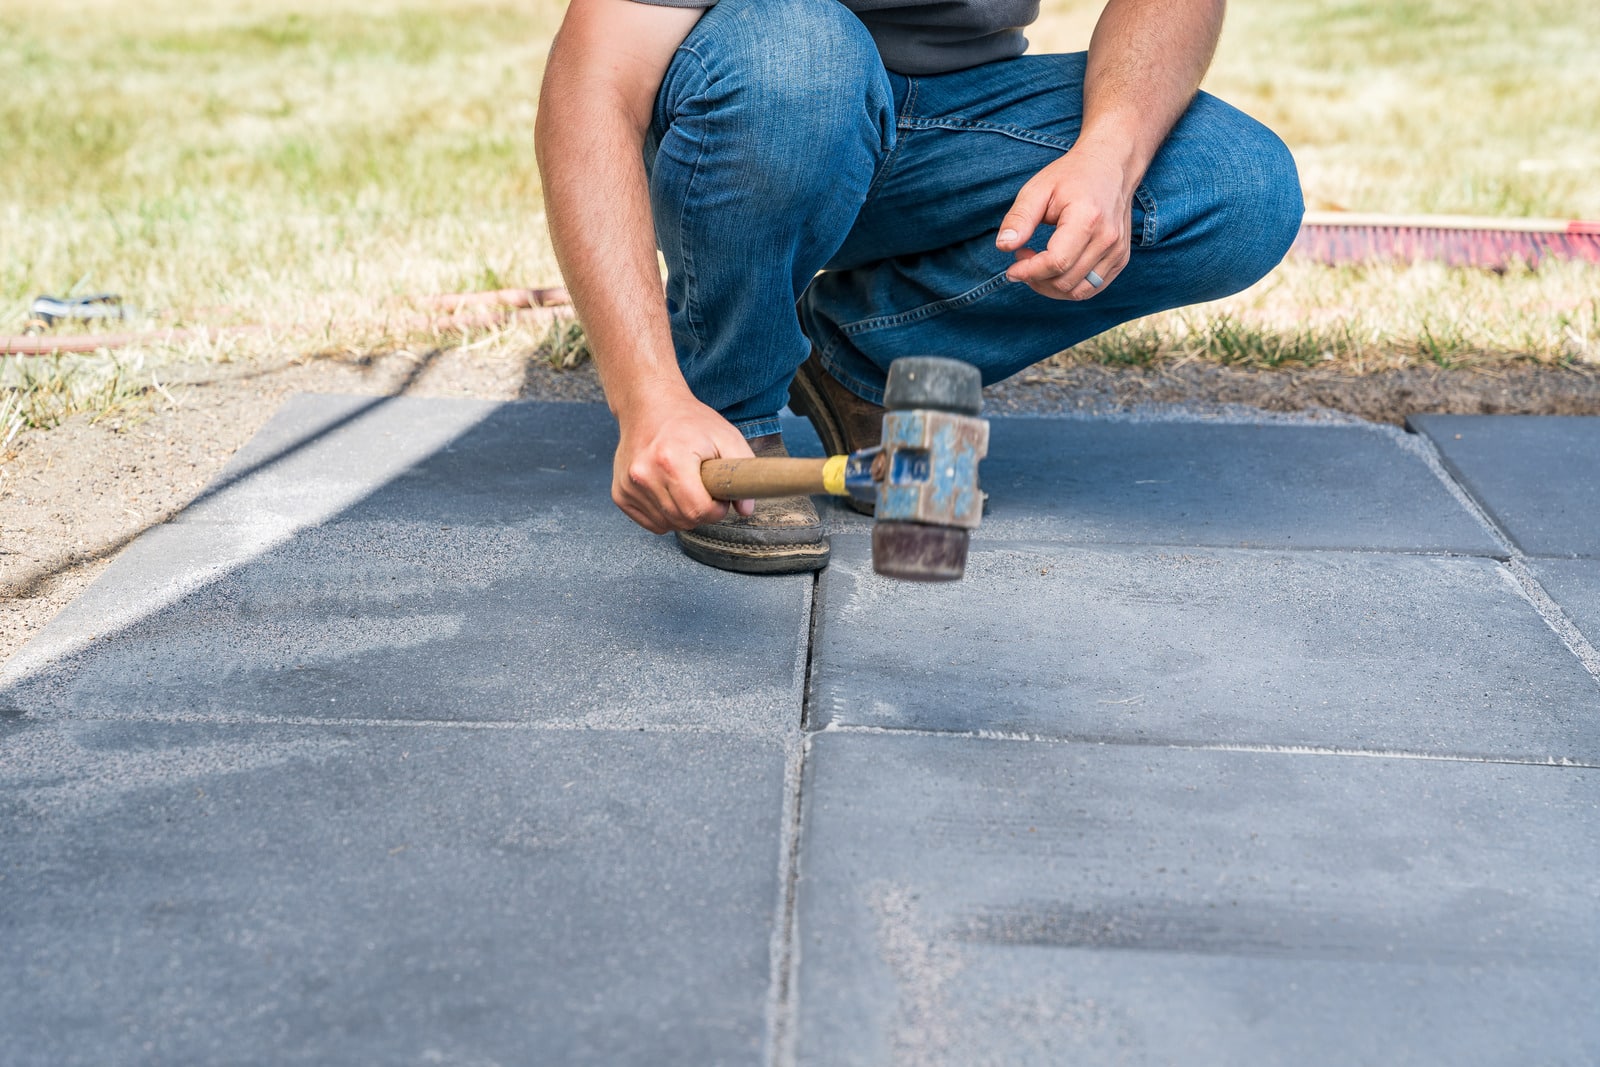
It’s also crucial to the performance of your joint sand that it be as dense as possible. The way you achieve that is by compacting the material you install. If you’re using a larger format product, like a concrete interlocking slab, porcelain tile, or a natural stone, you may not be able to use a motorized plate compactor because it could break that material. You want to, at the very least, use a rubber mallet or a rubberized hand tamper to help wiggle those stones around as much as possible. This makes the sand nice and tight. The tighter it is, the better it’ll perform over time.
3. Over- or Under-Filling the Joints
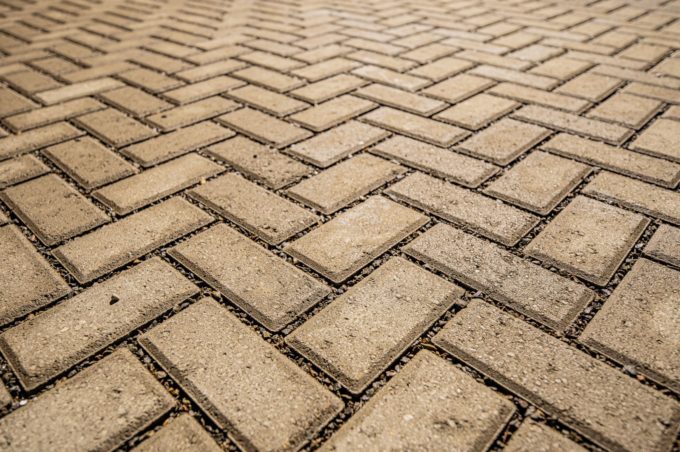
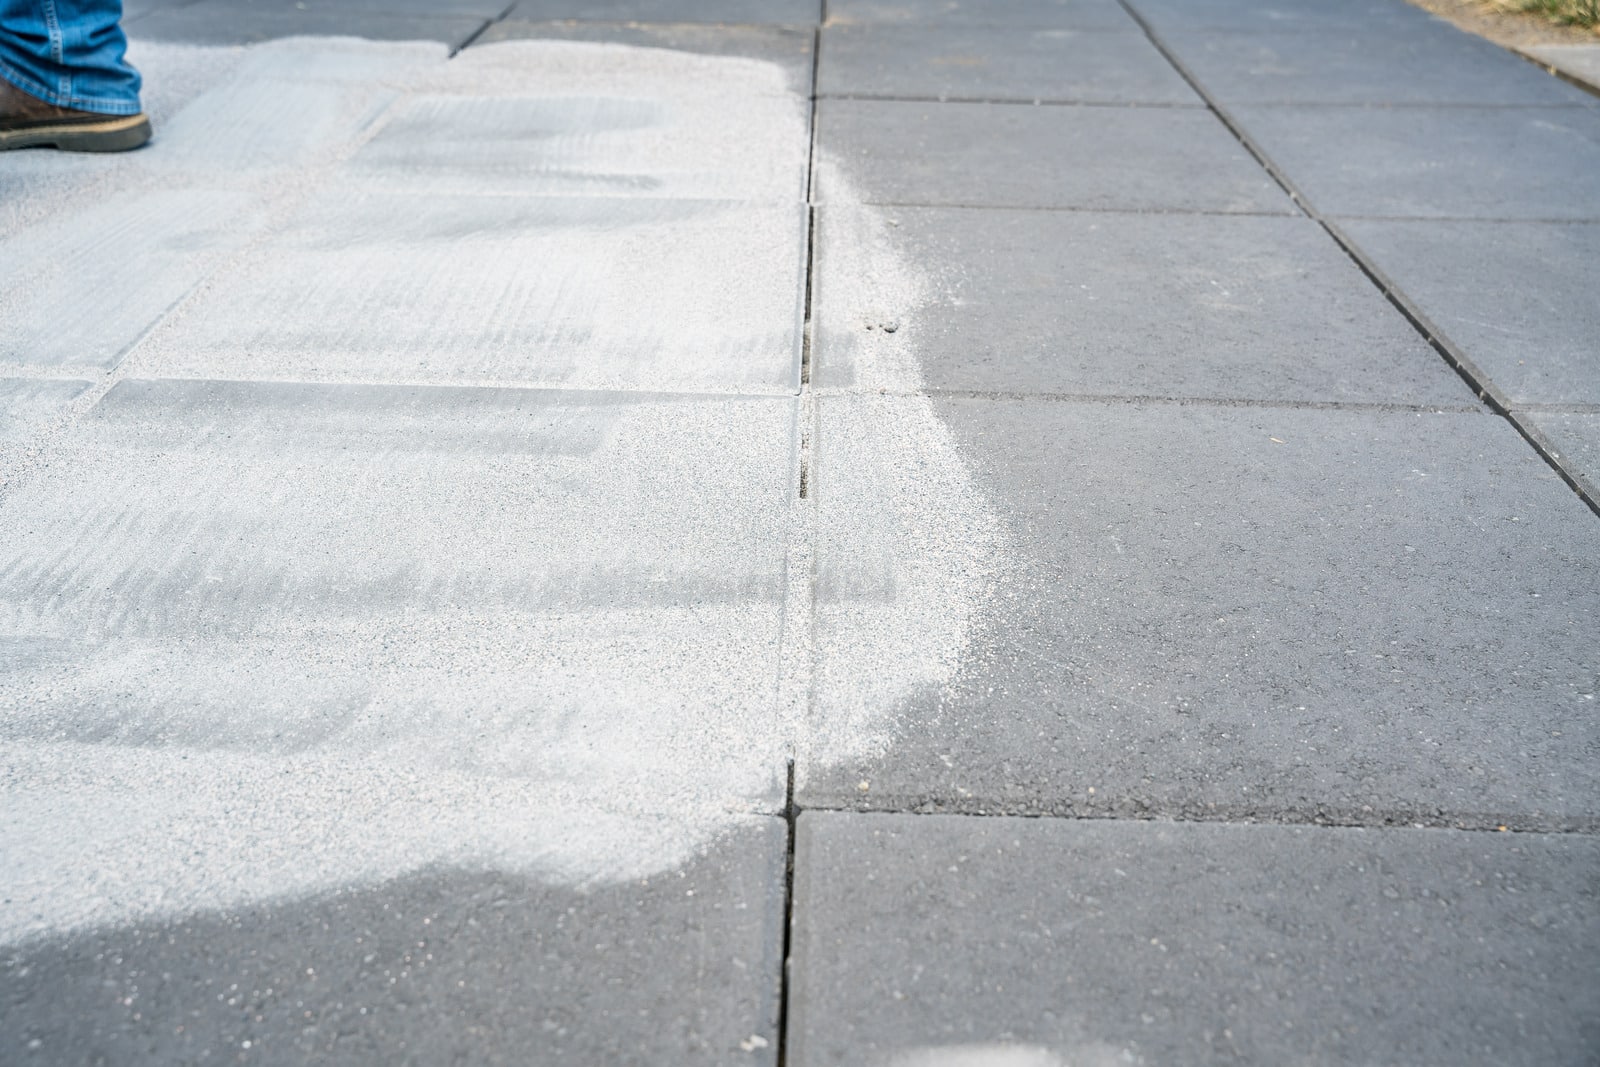
One of the more common things we see in the paver world, especially with polymeric sand, is overfilled sand joints. Some people like the idea of having the sand flush with the top of the paver, kind of like grout lines weaving through your interlocking hardscape. While this may be aesthetically pleasing to some, it does not help the material or the project structurally perform. Because pavers are a flexible system, as the material flexes over time a lot of that joint material will flake and crust off, leaving you with a mess on your hands. It’s always best practice, for both aesthetic and structural reasons, to sweep that sand as low as you can into the paver joints and then blow off the excess sand as carefully as possible.
4. Over- or Under-Watering the Joints
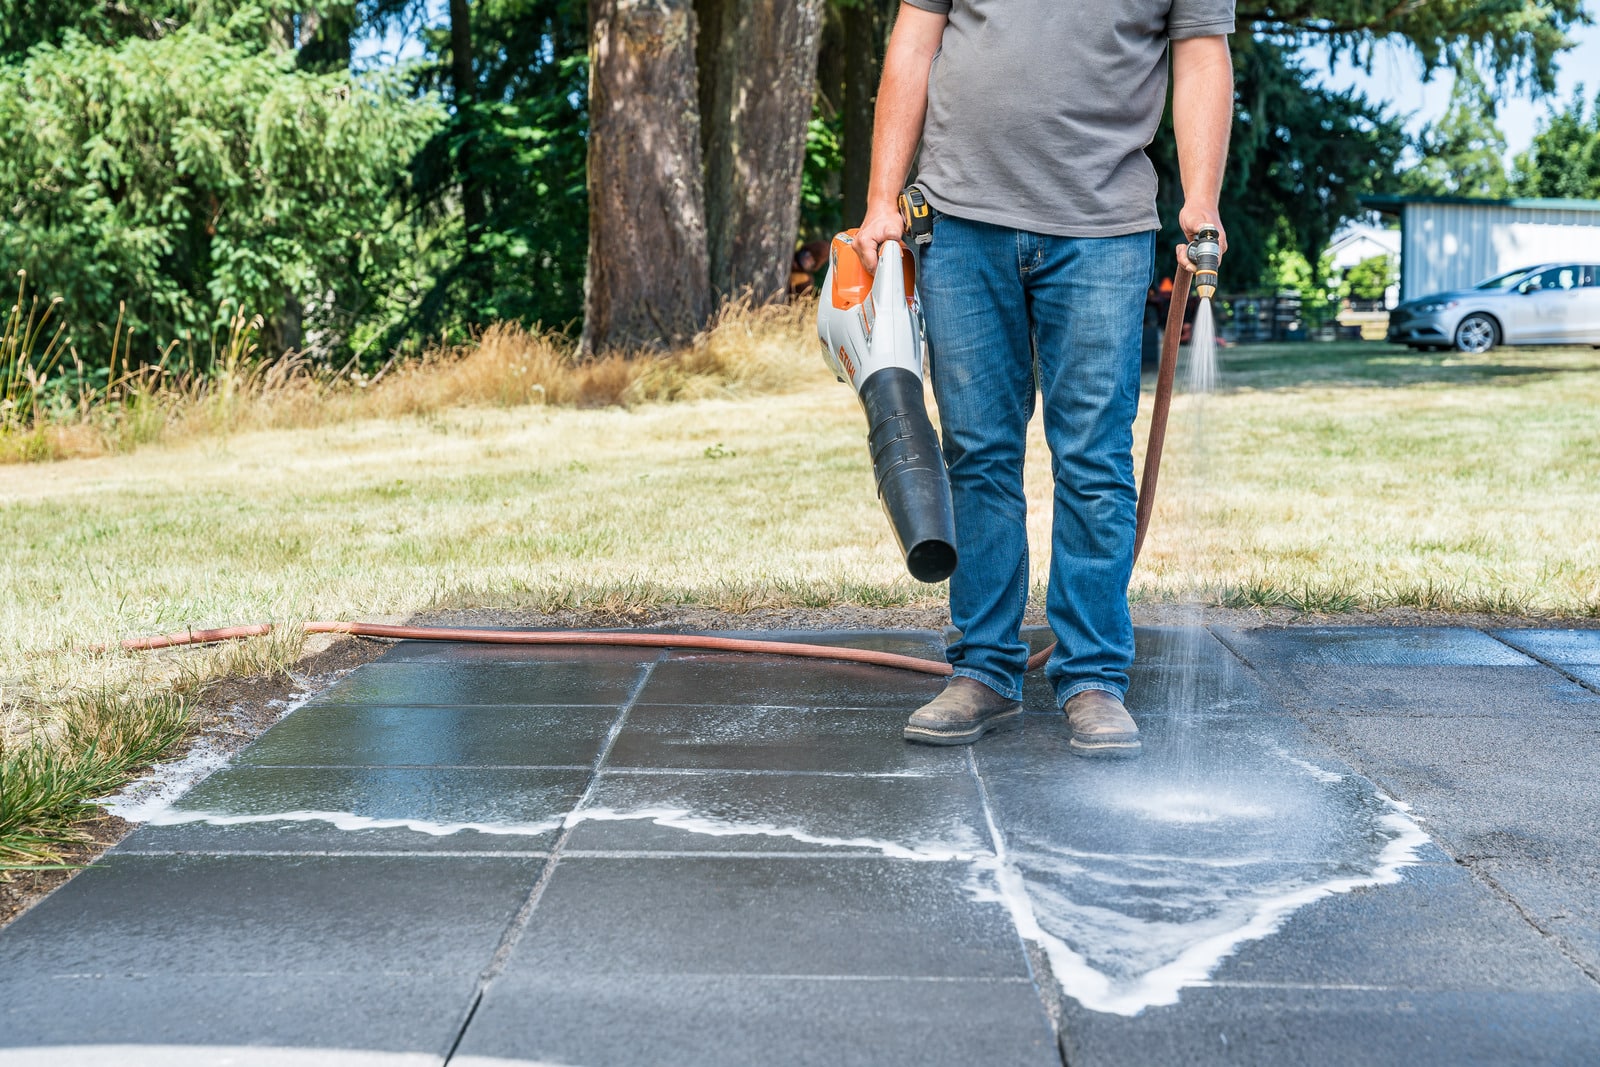
The most important mistake you’ll want to avoid is over watering your polymeric sand. It’s very easy to do, because there’s a lot of different instructions out there on the proper watering and blowing processes, but the bottom line is that if you put too much water in those joints at one time, it will wash all the polymers up to the top of the stone. As the water goes away, those polymers stay on top of your large slab or paver, and when it dries, they can turn out hazy or discolored.
To reduce that from happening you can have a hose in one hand and a leaf blower in the other. Or you could use a second person to hold the leaf blower to rid all of the excess water as quickly as possible. This keeps it off the top of the stone to reduce the polymers from drying on there, and it puts more water into the joints to promote structure.
How to Fix Polysand Mistakes
If you accidentally made some of these mistakes when installing a polymeric sand, or maybe you hired a contractor and he made those mistakes and you’re stuck with the job of fixing them, here are a couple of solutions for you.
Fixing Haze with Hot Water
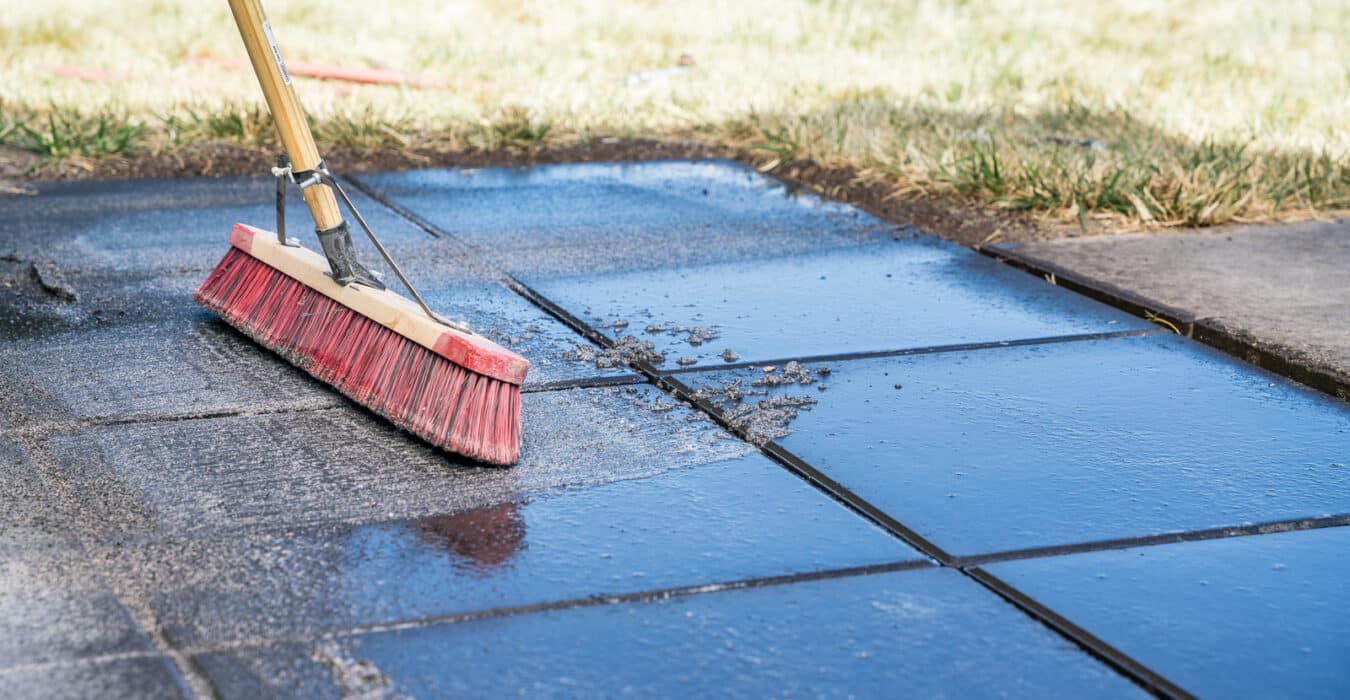
If you have a little bit (or a lot) of haze throughout your entire project on the surface of your paving stones, you can use boiling hot water or SureStrip to remove it. If you have a sealer on those paving stones, you might not want to use SureStrip as it will remove the sealer as well. With the boiling hot water, all you have to do is take the water and a brush scrub at those areas with the haze and rinse it off.
If that’s not quite doing the trick, you can move to a hot water pressure washer so you can get some natural agitation to help work the polymeric haze off the top of the stone.
Fixing Haze with SureStrip
If SureStrip is available to you and you want to use it, you’ll just dump a little bit on your area, let it dry for about 10 minutes, and then scrub to work off the SureStrip. It should remove a lot of the polymeric haze.
Fixing Overfilled Joints
If you have overfilled joints and it’s crusting and flaking off, and you want to make it a little more uniform or aesthetically pleasing, if it’s a small area you may be best just taking a scraping tool and working off the top end of the polymeric sand. That way you don’t compromise the structure of the polymers underneath the overfilled portions.
Another way is with boiling hot water. You can take that water and a scrub brush and work at the overfilled joints to bring it down to a more uniform, low joint level. Or, if you use SureStrip, it will melt those polymers in the polymeric sand, making it malleable and movable so you can remove excess joint material. You just want to be careful not to use a lot of this product because it will melt the polymers and a lot of polymeric sand if you put it in areas where you don’t need it.
If you want to see more projects you can do yourself, look around our website some more, or check out our Western Interlock YouTube channel for how-to videos.


