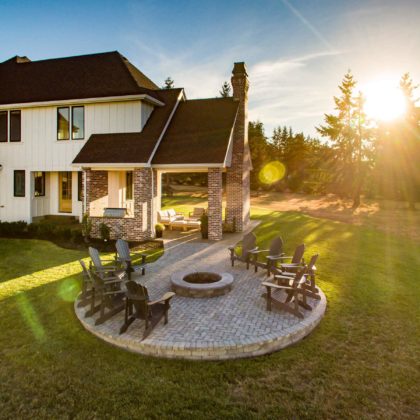
In this article, we’ll look at why you should compact pavers, what compacting is, and the options of ways you can complete the process at home.
Why compact pavers at home?
You’d think that the process of laying your patio pavers would ensure that they are all firmly in place. Almost! However, there are two main reasons you should compact your pavers once they are laid.
Interlock
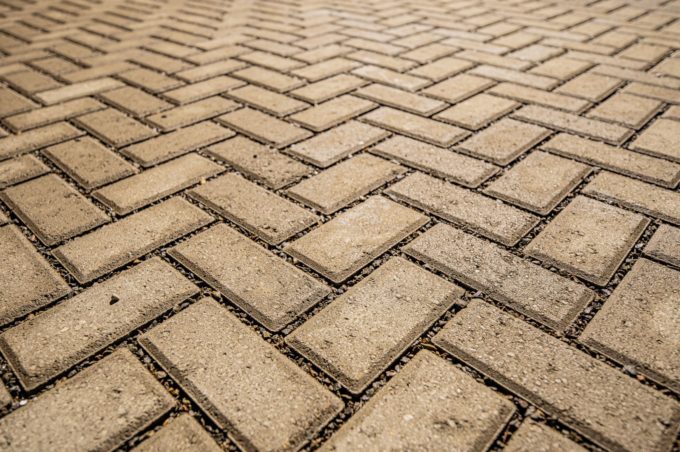
Compacting pavers forces (or wiggles) sand from the bedding layer deep into the joints. This process imprints your patio pavers permanently into the bedding underneath and ensures that your hardscape is structurally sound.
Even settling
The second reason to compact pavers is so each stone will settle evenly. You can expect ½ to ¼ inch of settlement after compacting, and it is wiser to be able to control this yourself than just let it happen.
Suppose you are controlling the “sink” and doing it intentionally. In that case, the pavers will not just settle unevenly over time, on their own.
Consistency
Compacting ensures that the pavers settle evenly into the bedding instead of just sinking on their own. It also sets each stone level with the paver next to it. This prevents uneven places and tripping hazards in your hardscape.
How to compact pavers step by step
So now that we’ve looked at why you should compact your pavers let’s move on to how you can do it yourself. The options range from cheapest to most expensive and easiest to most difficult.
Use a steel handle tamper
If you’re wondering if there’s any simple way to compact pavers without a giant plate compactor, there is–a steel handle tamper. This is one of the most basic ways to compact your pavers.
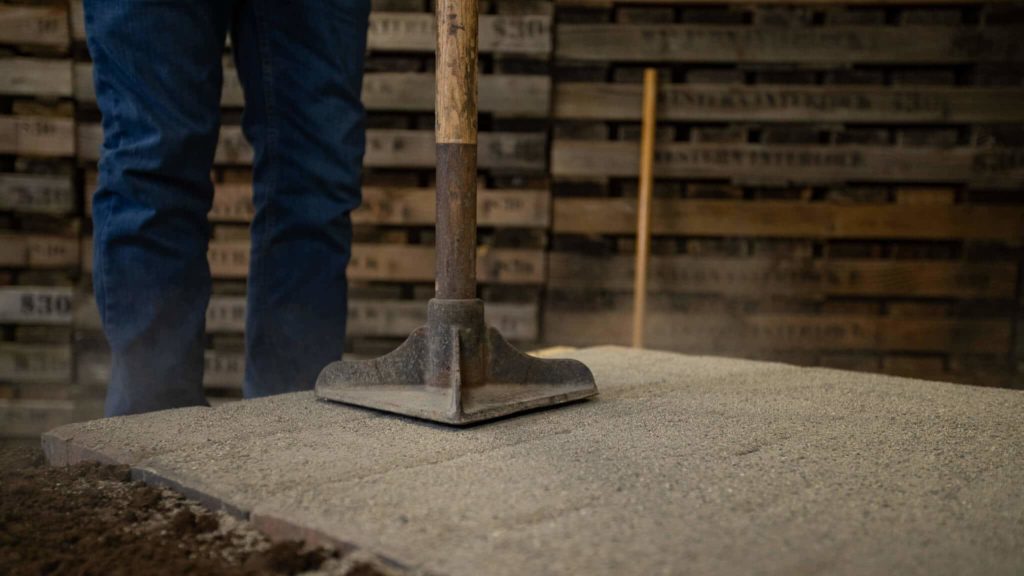
A hand tamper has the benefits of less force and impact. In other words, when using a steel handle tamper, there is less chance of cracking a paver accidentally.
You can find steel handle tamper from any hardware store or order one like this one on Amazon.
Use a plate compactor (and protective pad)
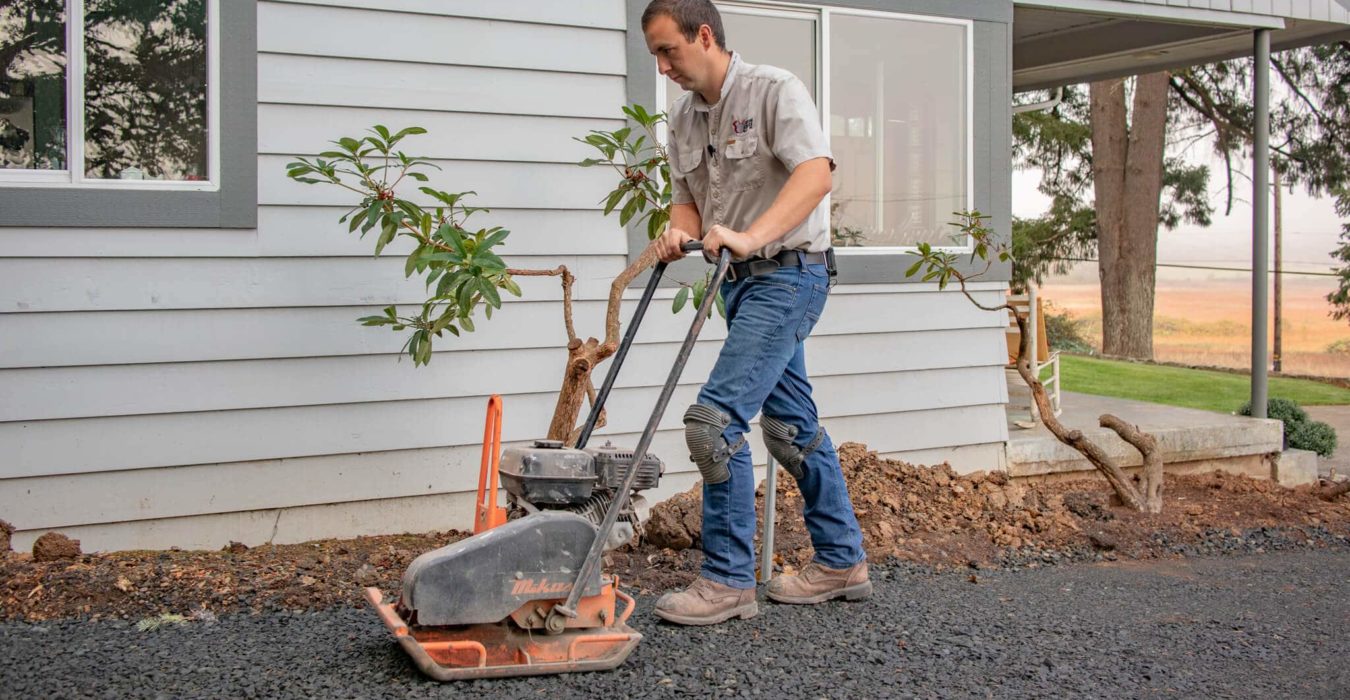
You can use a plate compactor to go a little bigger. However, you must ensure a protective pad is installed on the compactor to not scuff up the brand-new pavers.
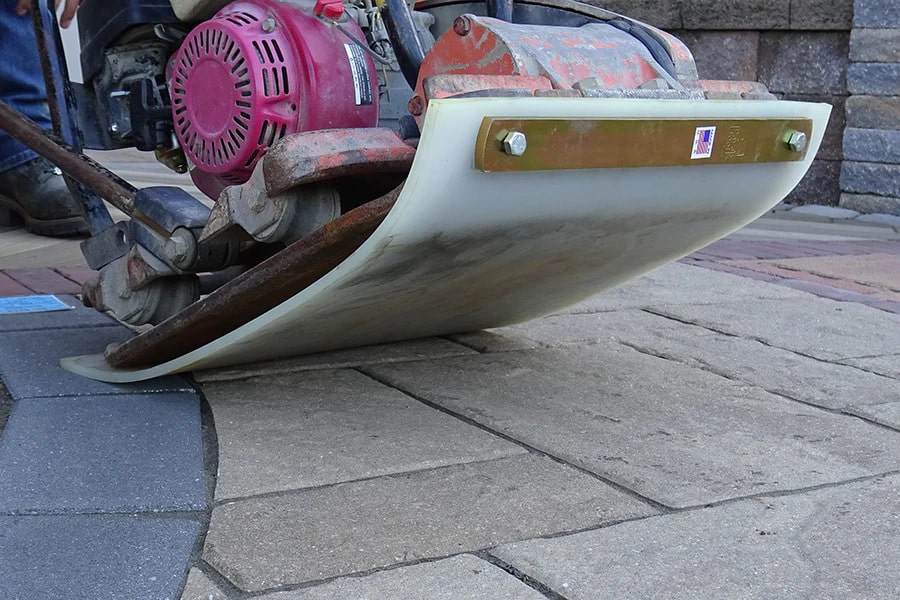
You can rent a plate compactor from most local rental companies and find a protective pad online like this one from Pave Tool. Protective pads are a little more expensive, but you will want to invest in one if you wish to maintain the quality of your pavers.
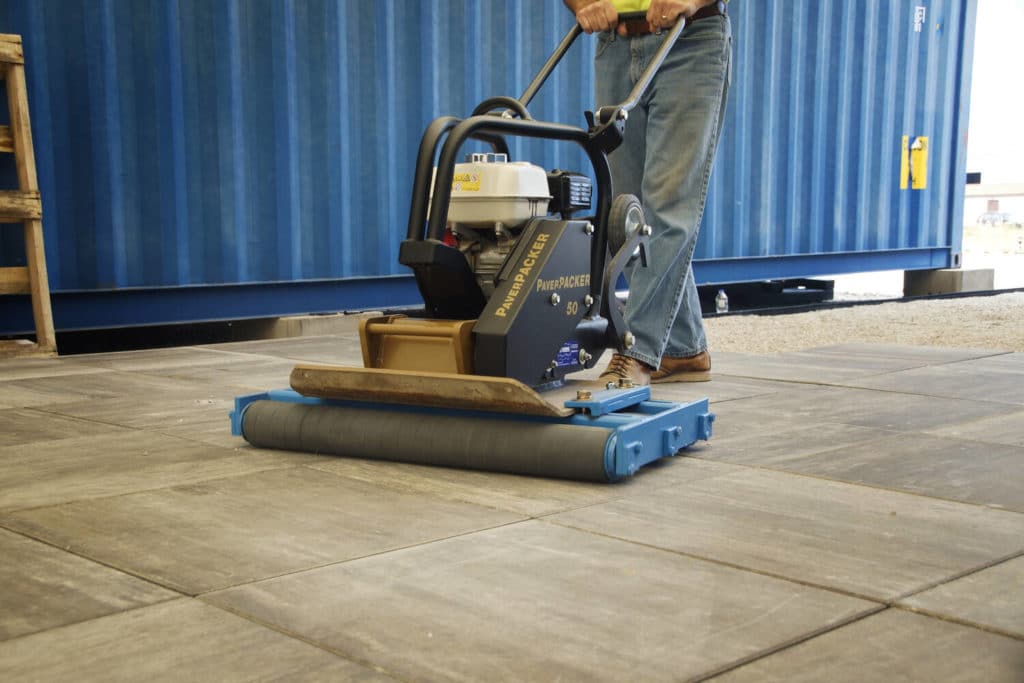
Use a plate compactor (and a roller)
You can invest in a roller on your plate compactor. A roller like the SurfaceSAVER™ will protect your pavers while helping you navigate your compactor.
Best compacting pro tips
Compact after you spread joint sand
One essential tip you should remember is to make sure you compact after spreading your final joint sand.
Suppose you compact before adding your joint sand. In that situation, you will likely settle your pavers at different levels, resulting in an uneven hardscape. Sweep in your sand first, then compact to interlock and settle that sand between the stones.
Compact in three passes
So, do you just run your hand tamper or plate compactor over all the pavers once and call it good? No. Make sure you compact in three separate passes.
Go once vertically, once horizontally, and then once diagonally across the pavers. Your hand tamper can be used for additional passes or for corners and tight places to ensure that everything is settled evenly into the bedding.
Get our Guide to help plan your best outdoor home project
You might find our free Project Planning Guide helpful if you are getting ready to start a paver project. It will walk you through all the steps you need to consider before starting your long-awaited project.


