Get our FREE Project Planning Guide
"*" indicates required fields
Sunken pavers are quite the tripping hazard and can leave you with large, unsightly puddles of water. Unfortunately, pavers sink from time-to-time, most commonly because of uneven soil drainage. There is hope, however! To fix sunken pavers, follow the six-step process we’ve outlined below.
1. Assess the problem
First, when navigating any paving stone repair, assess the problem so that you know exactly what’s going on—and so you don’t cause a bigger issue.
In this situation, we noticed that the reason our pavers sunk down was due to a drainage issue. Pavers can sink for many reasons, however. A couple of common ones are lack of water drainage and having too much bedding sand.
We will have to pull up the paving stones, remove our bedding layer, add gravel, tamper the gravel, and put some new sand back in—then we can lay our pavers again.
2. Pull up the paving stones
Next, pull up the paving stones. We recommend that you pull up 12–16” past the sunken area, in every direction, so that you’ll retain a good reference for the grade.
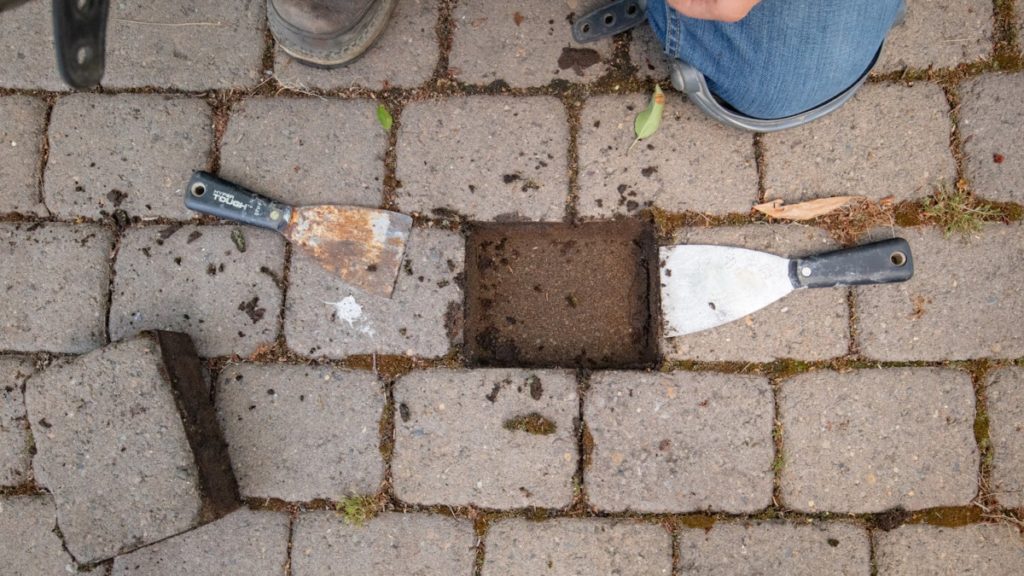
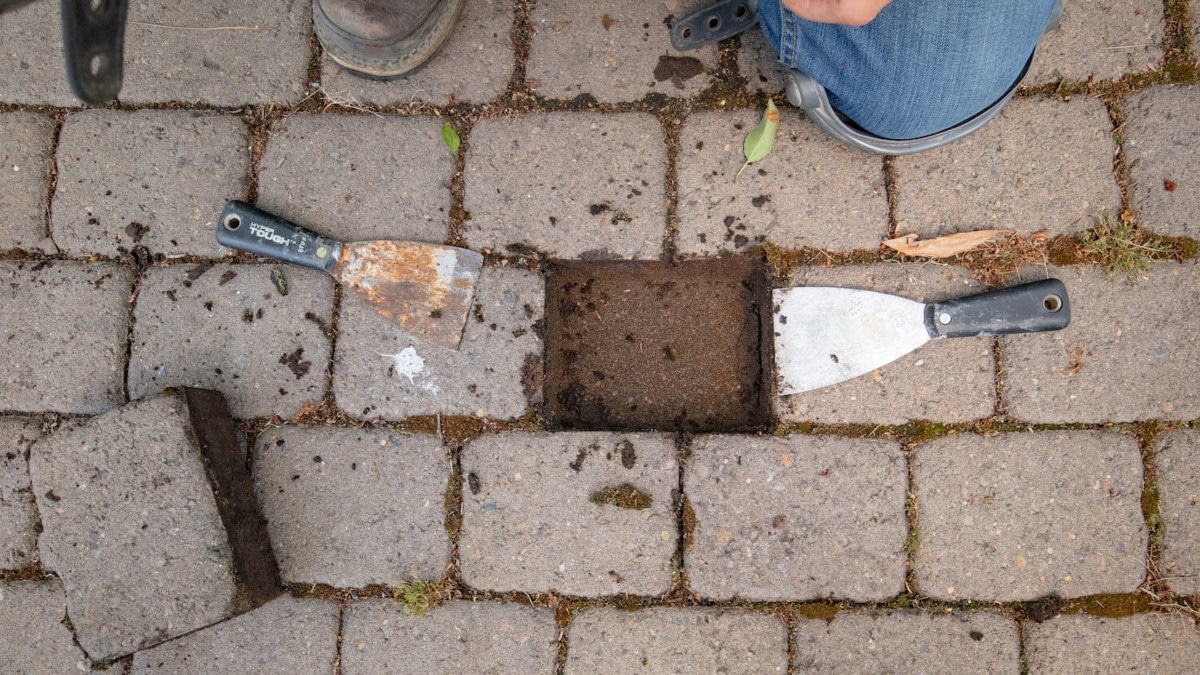
To remove the first paver, you can use a paver puller, screwdrivers, or putty knives. We chose to use putty knives because they are easily accessible and have a wide surface area that makes it easier to lift the stone.
For tips on removing a paving stone read How to Remove and Replace a Paving Stone.
3. Remove your bedding layer
Next, remove the sand from your base. Leave a few inches of sand around the perimeter of the area for a point of reference.
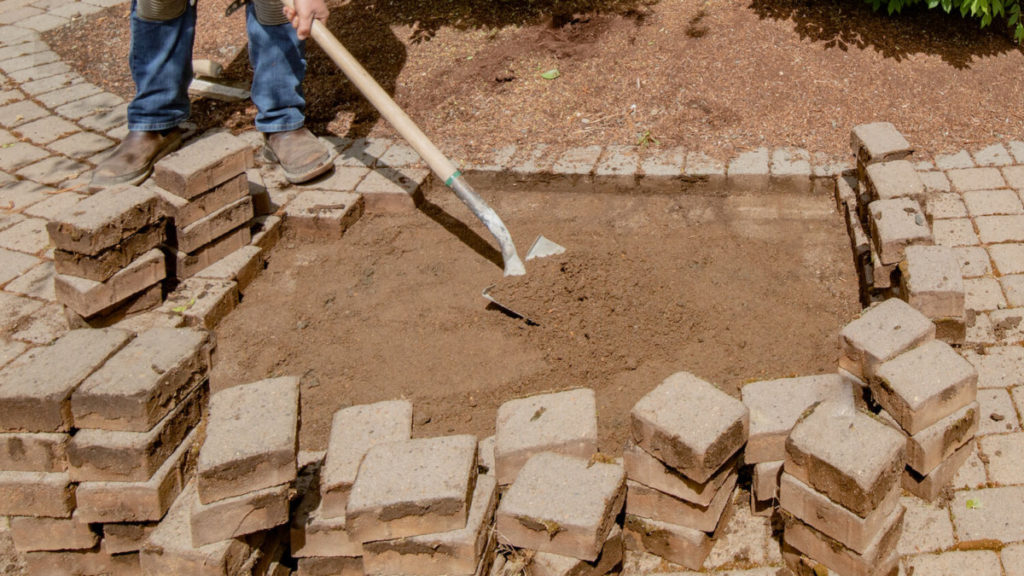
While you are removing the sand, be sure to scrape and moss and sand off of the exposed perimeter. That way, when you re-lay pavers, they’ll form a tight seal. Once you’re done, you’ll have the gravel layer left to work on.
4. Replace the base
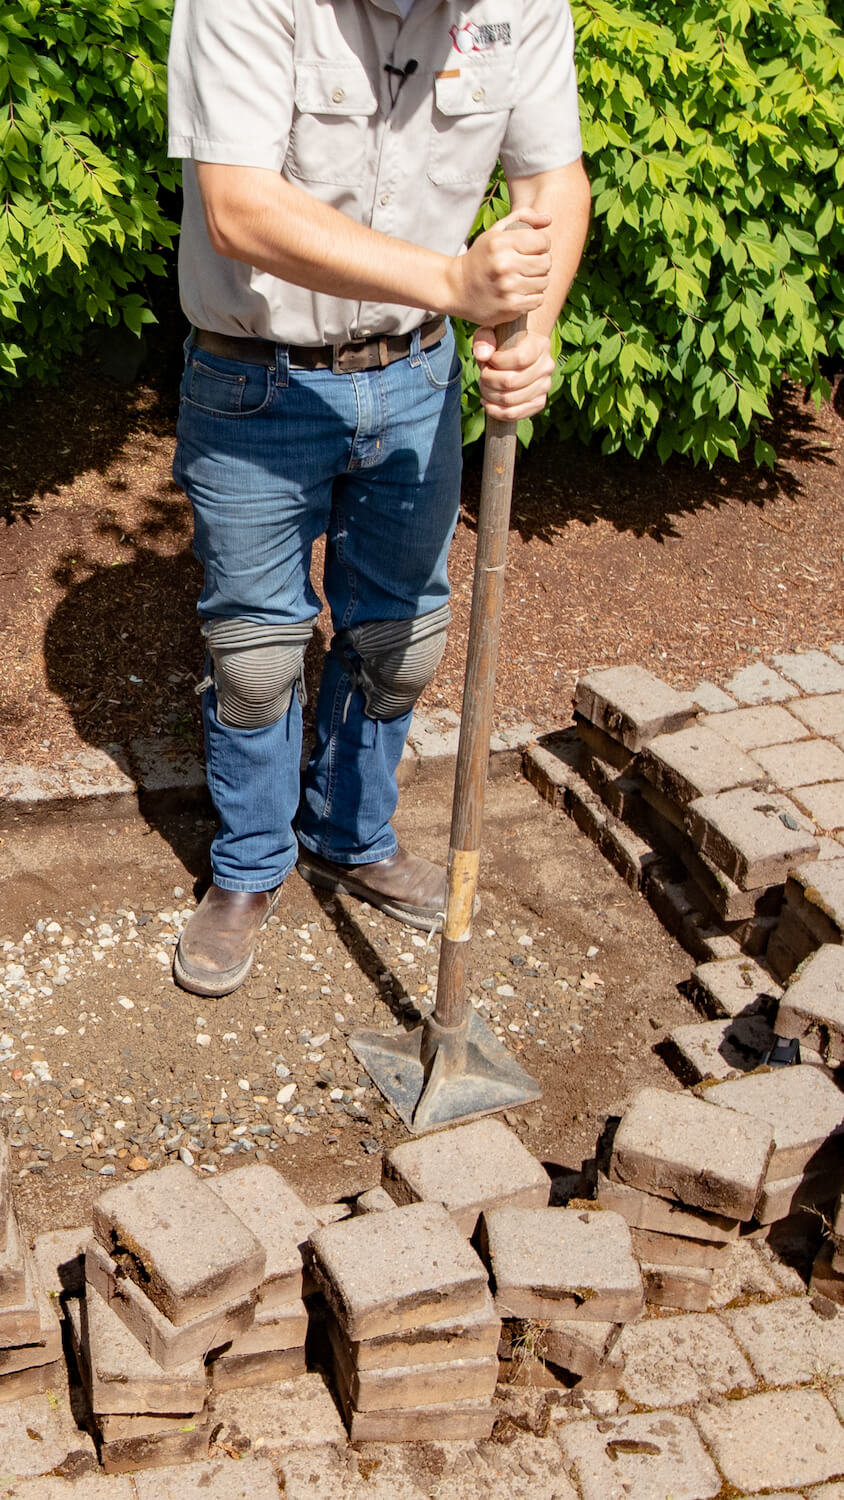
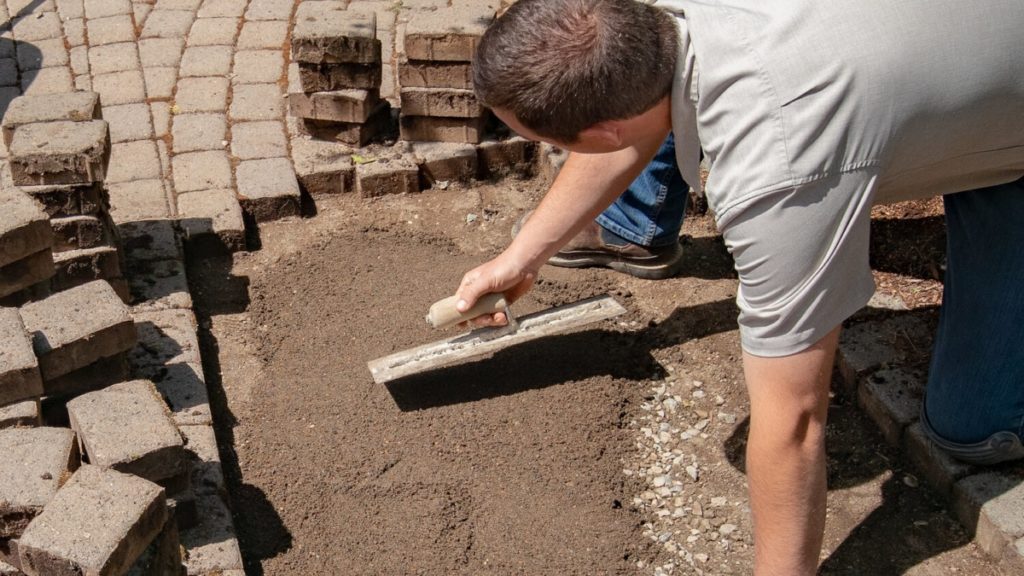
Fill-in the depression with gravel and hand tamp it back to grade.

Once the gravel is compact and level with the rest of your hardscape, add new concrete sand. Use a trowel to spread a level surface.
5. Re-lay the paving stones
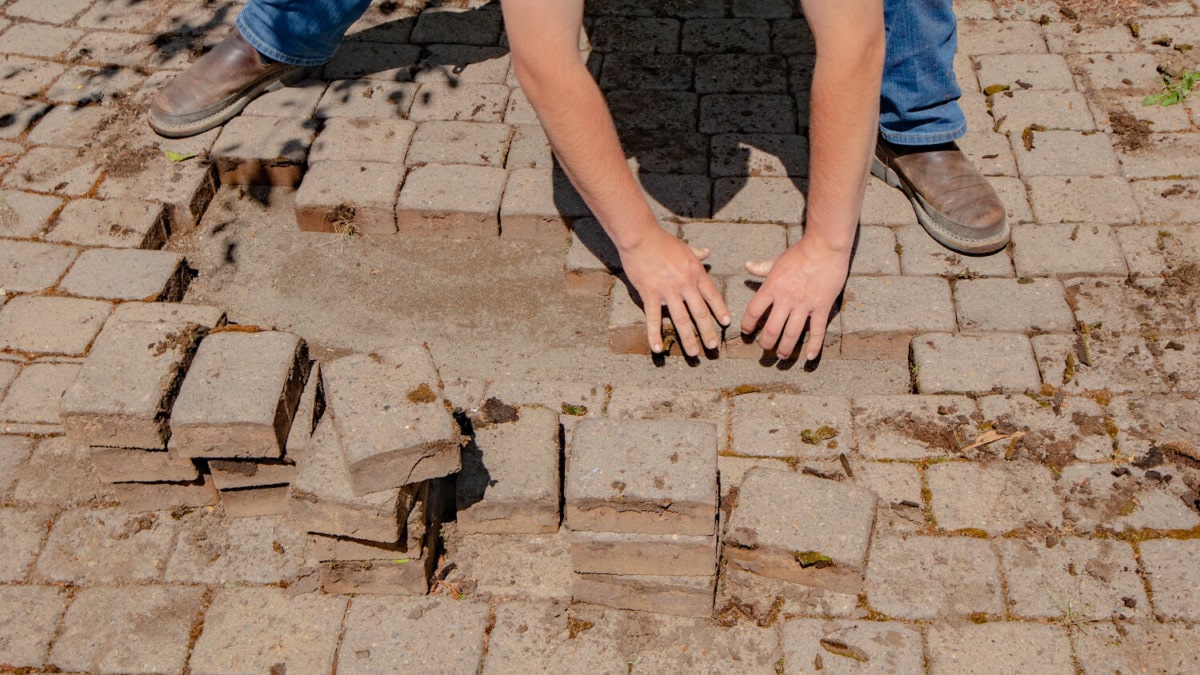
Re-lay the pavers as you would when installing a new hardscape using the click and drop method found in our How to Place a Paver tutorial.
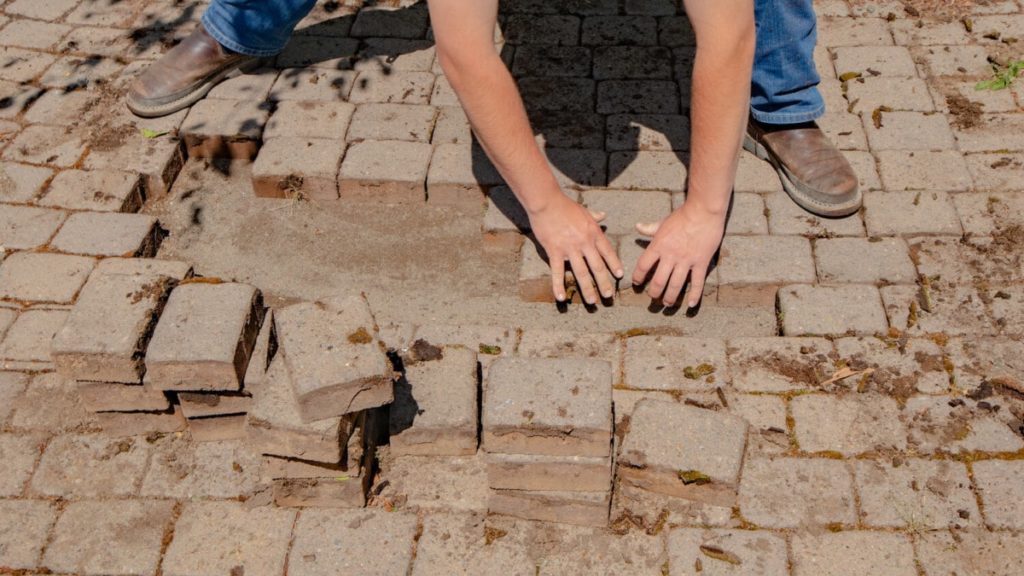
If you knock the stones together before you lay them, you’ll loosen any debris and increase the interlock of your stones.
6. Tamp and sweep
Finally, tamp the stones to ensure that they are compacted. Compacting causes the stones to form a tight bond with the bedding layer, which reduces the chance of your pavers sinking again.

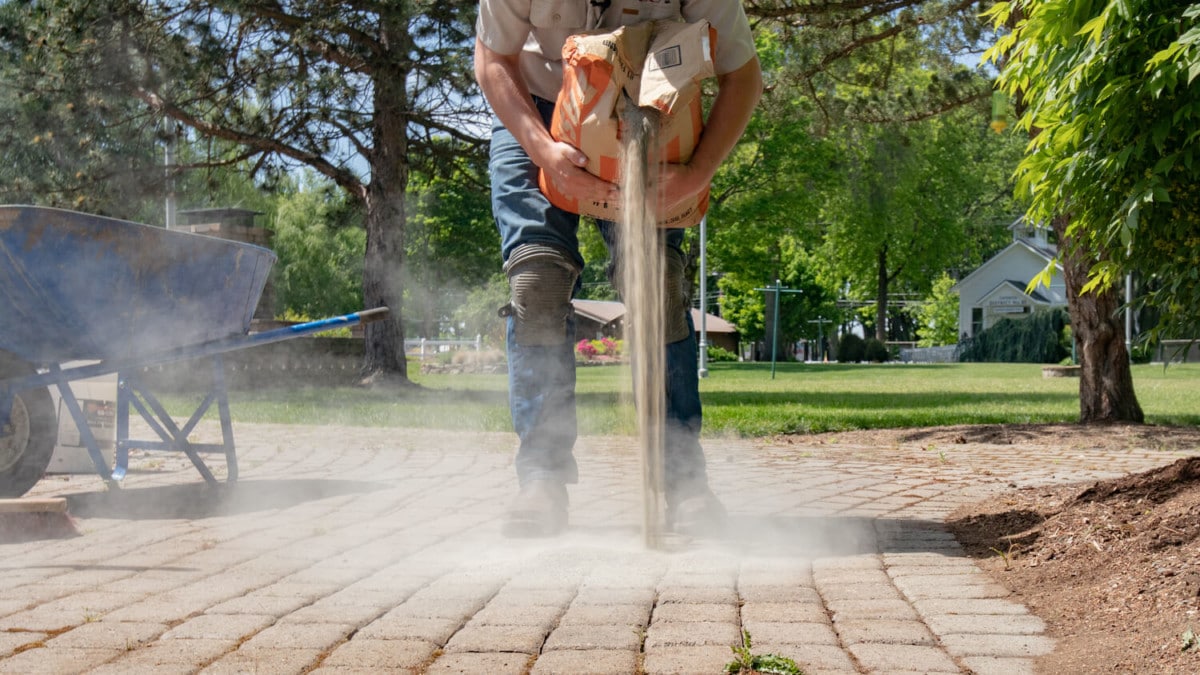
Sweep joint sand into the joints between the pavers. Do this by pouring a pile of sand on your hardscape and sweep it over the stones until your joints can’t hold any more sand.
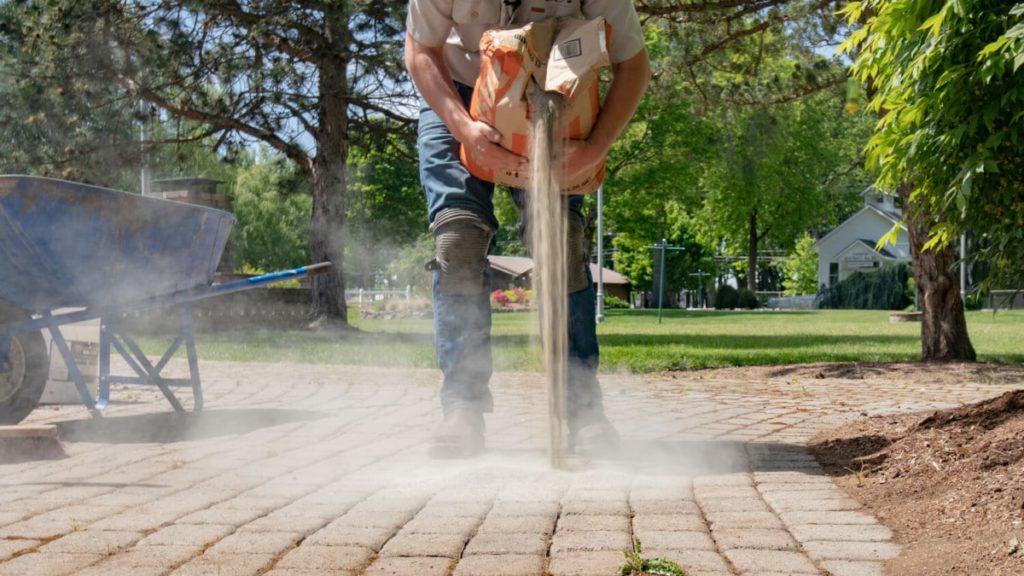
Now with your low spot fixed, you hopefully won’t have any more drainage issues and you will be able to enjoy a functional hardscape.

Take the hard out of hardscaping
Here at Western Interlock, we’re on a mission to take the hard out of hardscaping. That’s why we publish DIY tips, tricks, and step-by-step tutorials at DIYwithWI.com.
If you have any questions, you can visit our Paving Stone Display at our Manufacturing Facility in Rickreall, OR. Or, give us a call to our team of hardscape experts at 503-623-9084.
Get our FREE Project Planning Guide
Tell us where to send it and we’ll email the backyard planning guide to you right away!
"*" indicates required fields


